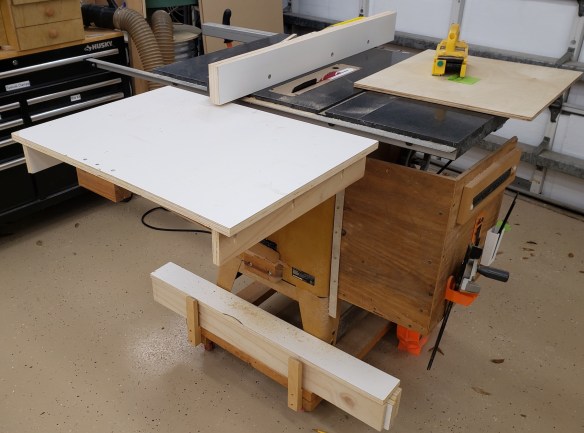
I already had an outfeed extension for my table saw. I only built it two years ago. Why make a new one? Well I love it and use it all the time, but often wish it was bigger. Wide sheet goods don’t get enough support on the side, and longer things still fall off the back of it. I have more space in my new house, and I saw a great idea from Wood Work Web. Colin over at that site used these clever folding brackets to hold the extension and in a followup added a really easy release bar. First, let’s say goodbye to the old extension.
How did I manage to get nice laminate faced plywood in these times? As it turns out if you order enough sheets of plywood from the cabinet store, they will deliver it all for a pretty reasonable fee. I got enough supplies to last me for months, supported a local business, and did it in a socially distanced manor!
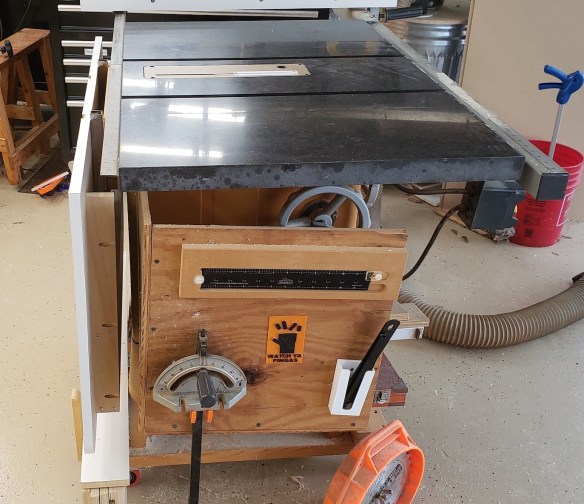
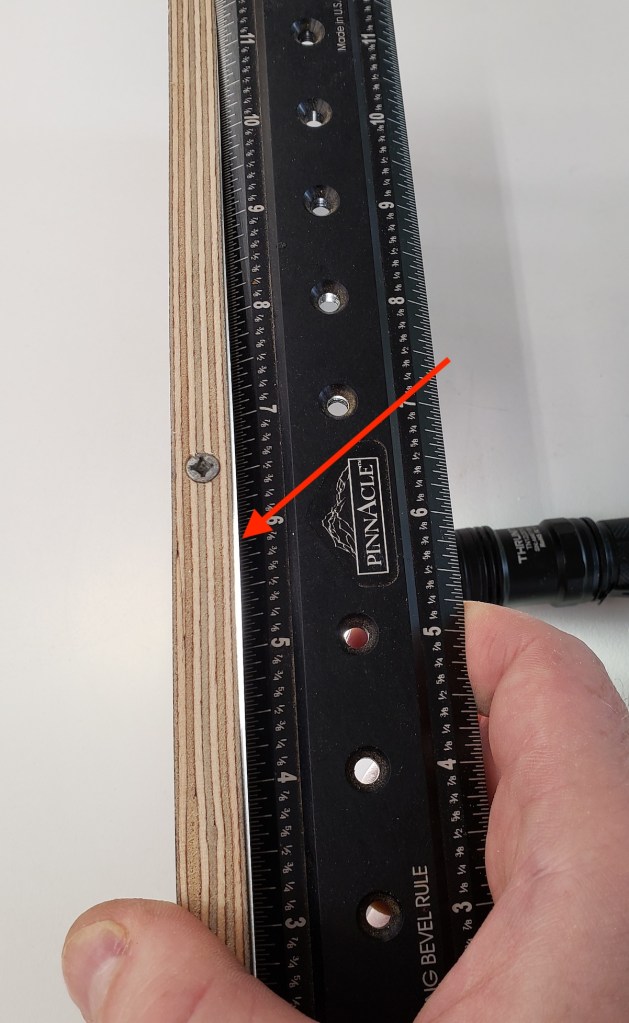
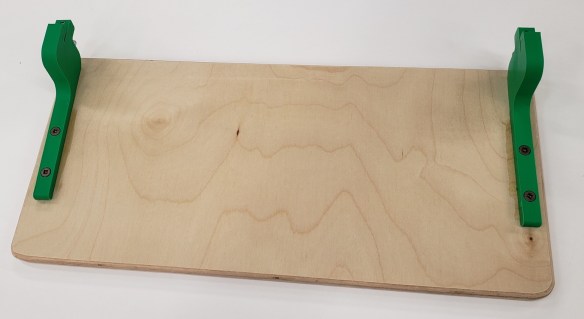
The folding brackets are a cheap amazon versions of what was used in the video. They feel sturdy enough, but aren’t actually square. A deeper read of the comments would have highlighted that fact. They slope the table away from the saw. That is ok by me, but in a lot of other applications, that could be a deal breaker. After removing the old top, I was able to re-use the bolted on pine board that served as the anchor point for my previous extension. I spaced the extension far enough away to clear my fence and its hardware. There is a bolt head (circled in red) that sits well below the height of the table. I have to avoid it or risk limiting the fence’s movement. Once installed the extension folds very compactly.


Offending screw head on my fence

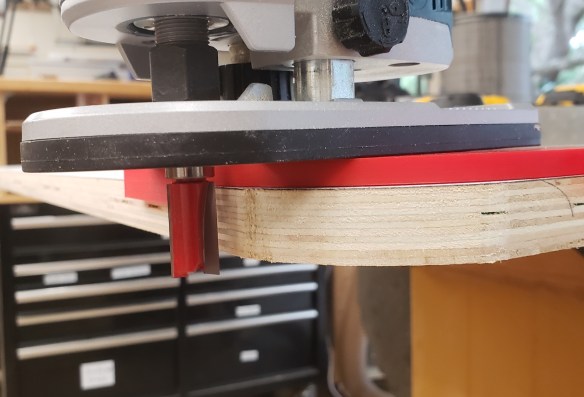
Rounded Corners
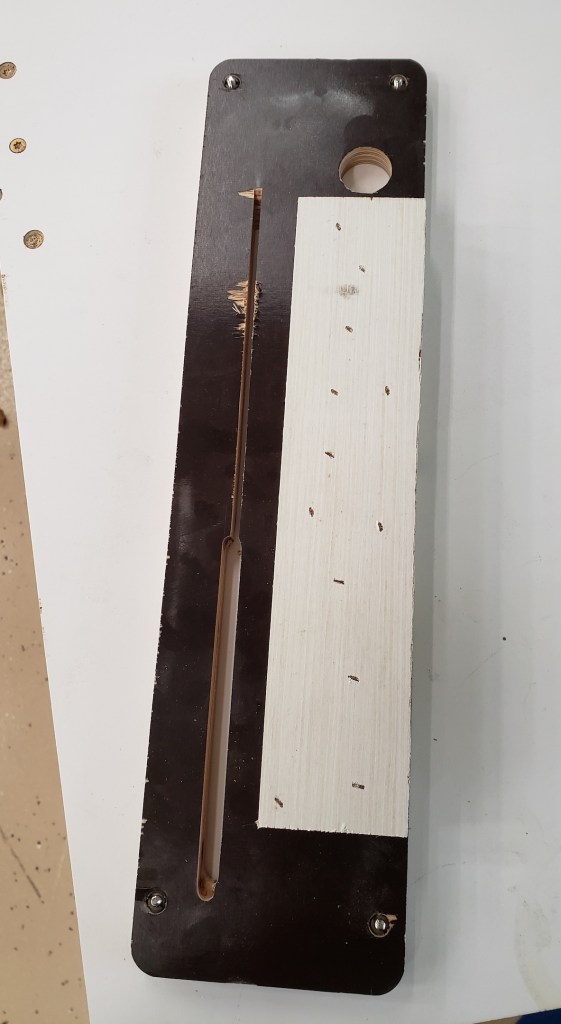
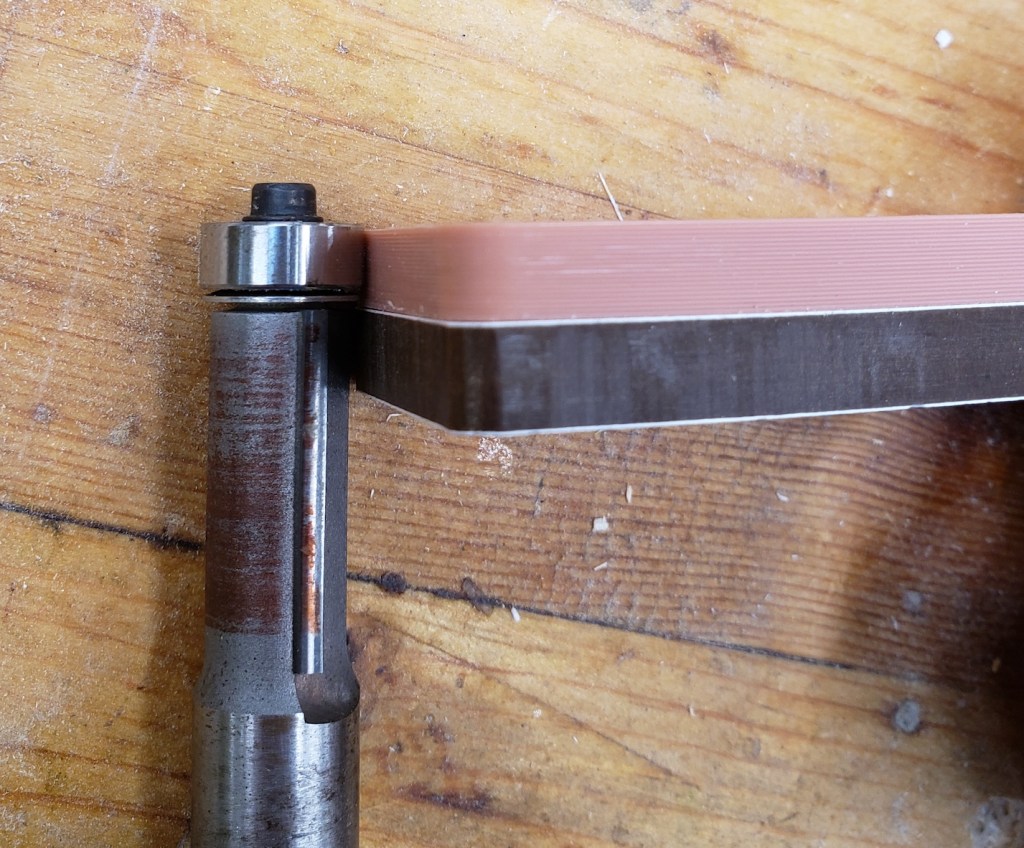
I really wanted to cut some corners on this build. I know I will be lazy and leave the extension up most of the time, and I work a lot around the table saw at my router and back into the saw and extension often. Rounding these edges would make them less painful. I started with a 2.5″ radius template and used it to mark and jig saw the corner off. Next I stuck it down with double sticky tape and used a template tracing bit to smooth out the remainder.


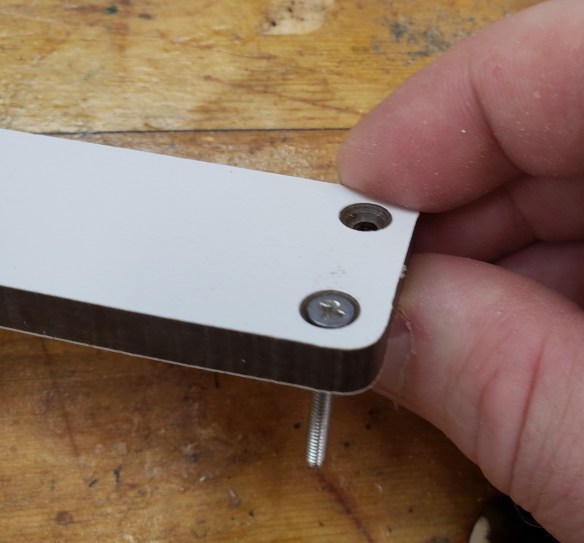
Once both corners were done I applied a white edge banding to all the edges. This should help protect the laminate top from getting chipped or damaged. I trimmed all the excess with a sharp knife.

Edge banding applied 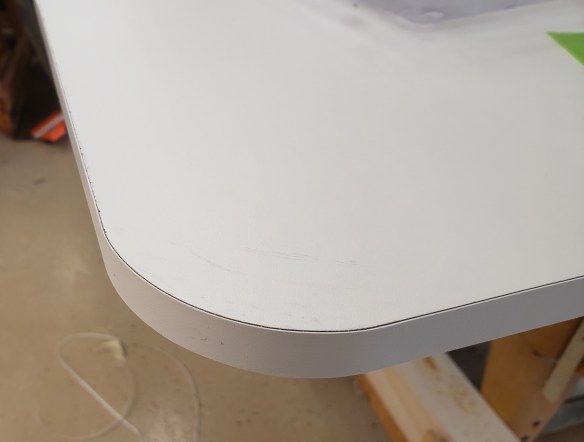
Excess trimmed
Miter Slots
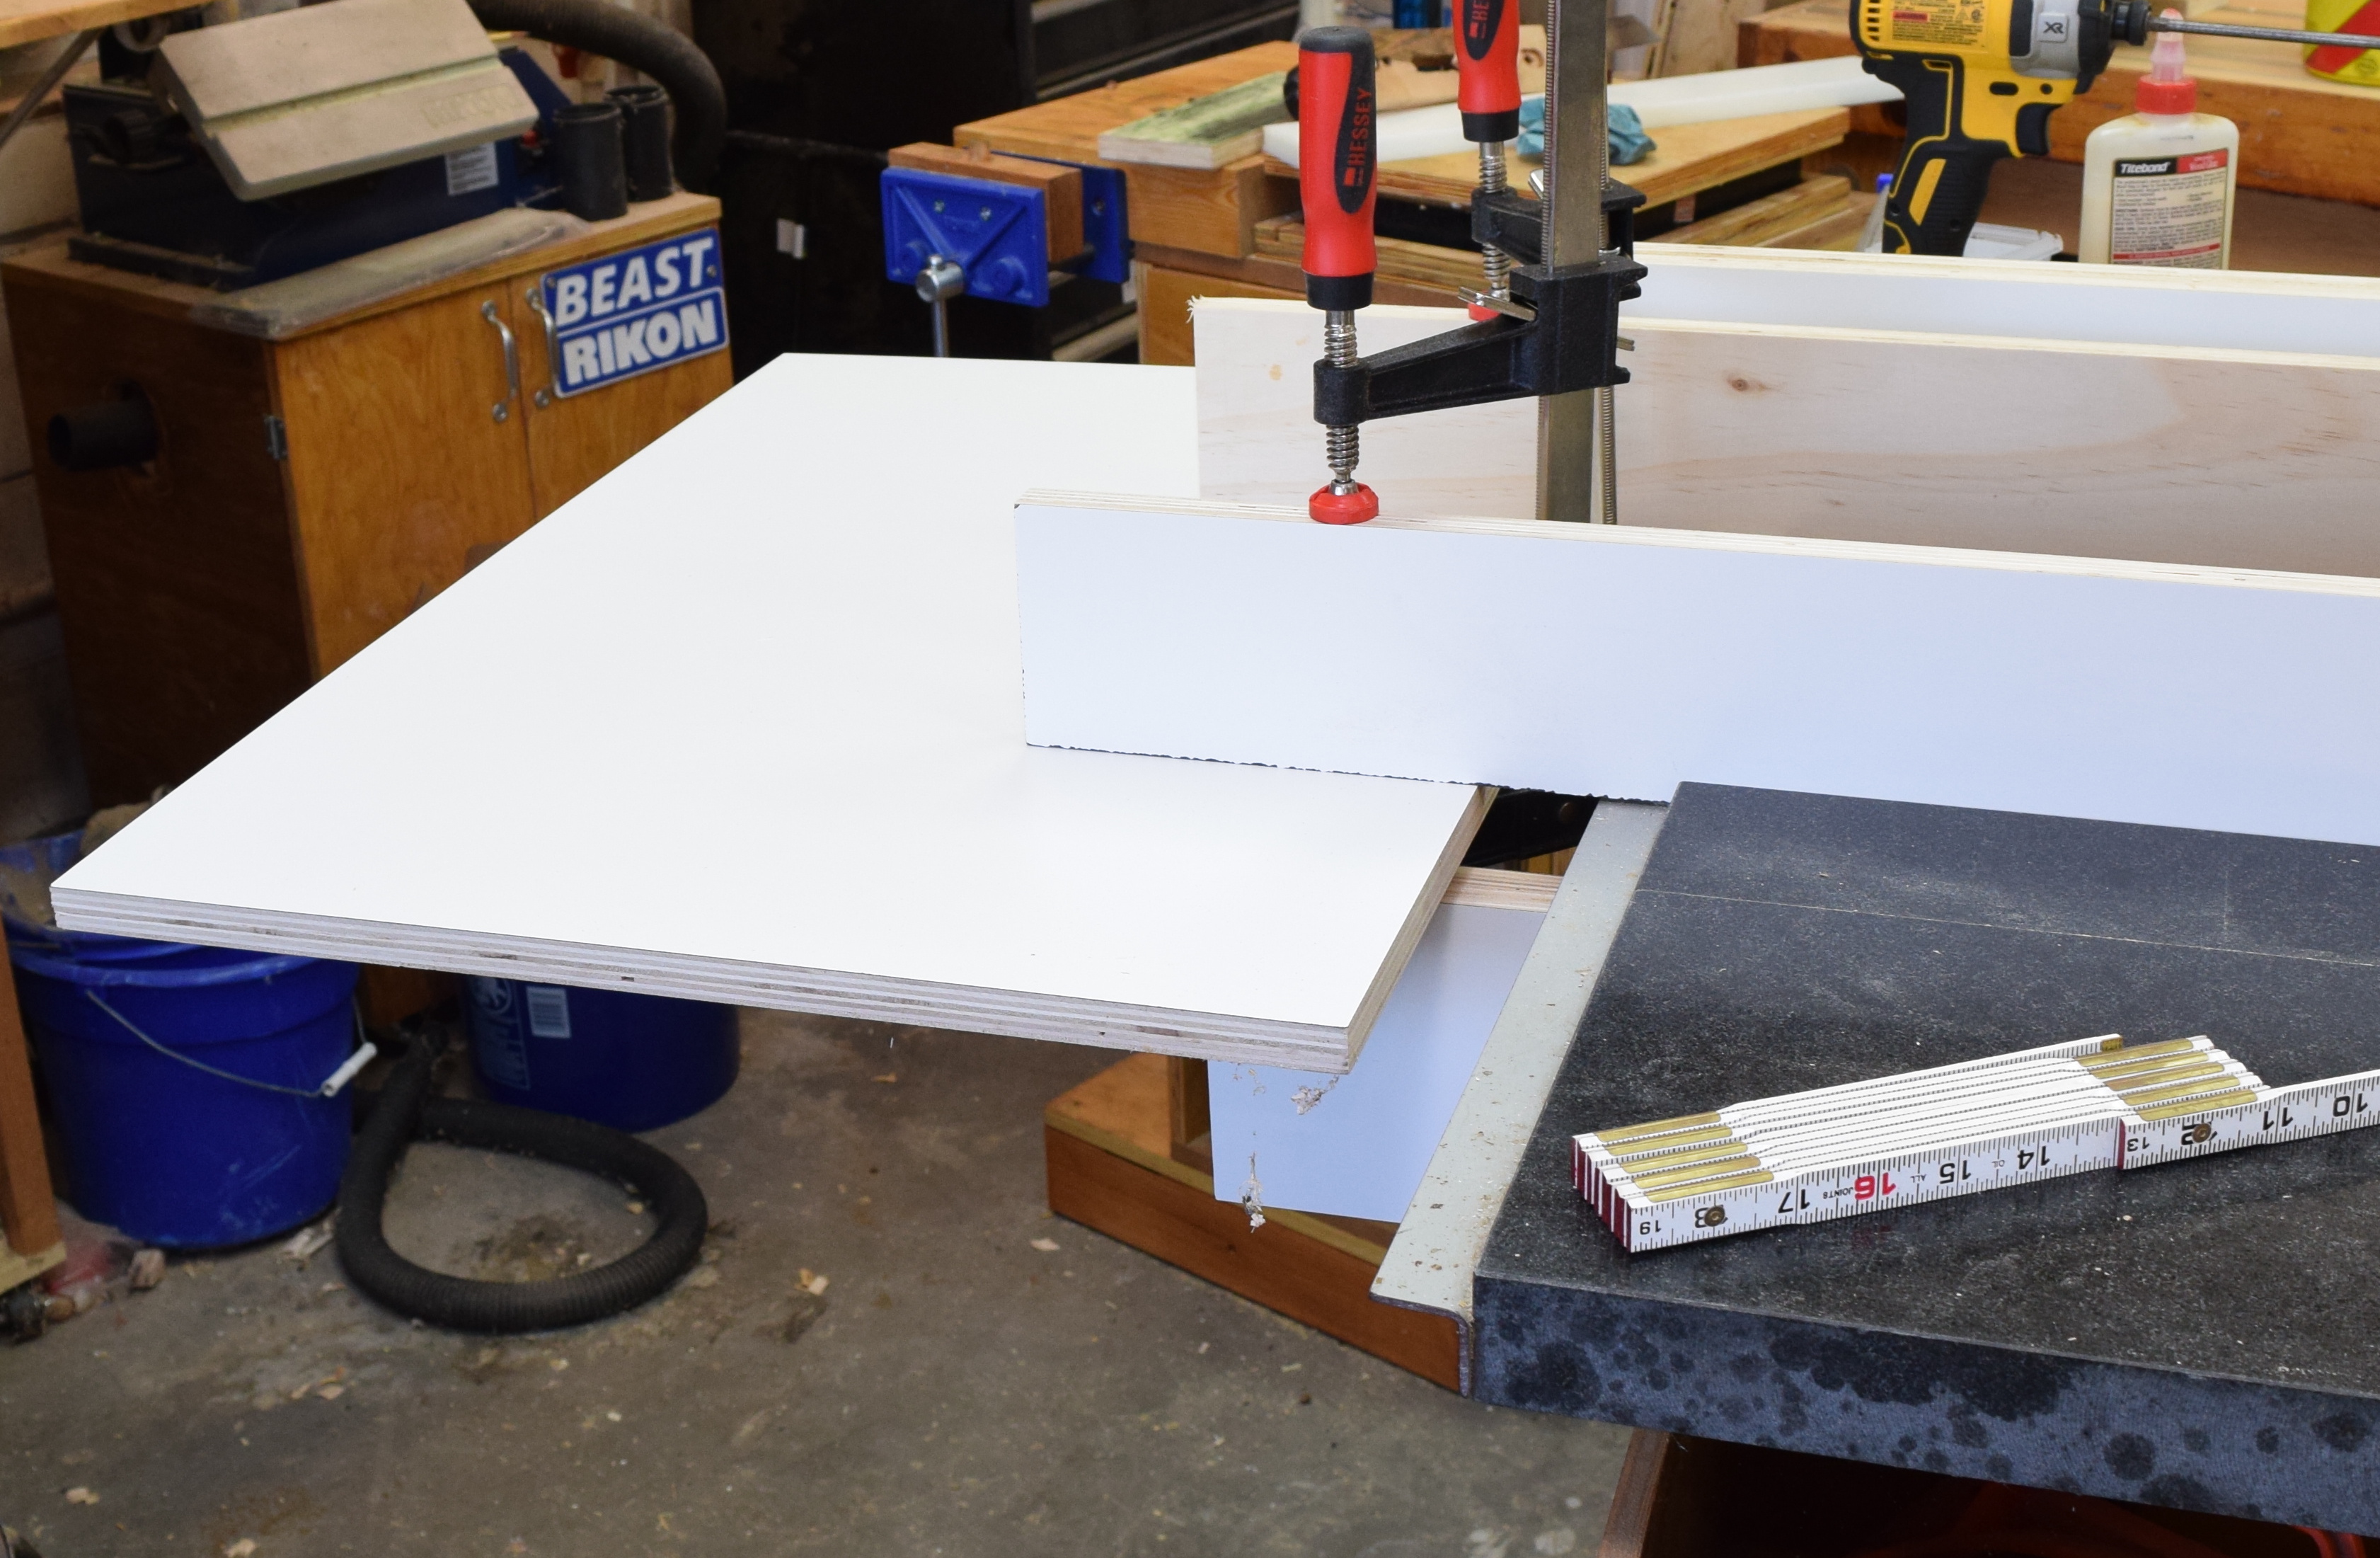
My last extension didn’t have any miter slots. If I used any kind of sled or miter gauge they would bonk against the table. I took the time to install them in this top. I clamped plywood to the top just outside of where the miter bar would pass. I then used a short tracing bit route down enough to allow clearance for the bar. I then picked up the plywood, lined it up with the other side of the bar and routed again. It wasn’t as exact as a purpose built slot template, but was quick and worked well. With the two slots routed, I soaked the edges in thin CA glue to help reinforce them and prevent the top from chipping off.


Things were starting to look really nice and functional. I did notice that my last top had a slight warp to it. I may have stored too many things on it. To prevent warpage in this top, I took it off and screwed on a set of supports underneath. These should help keep it flat.

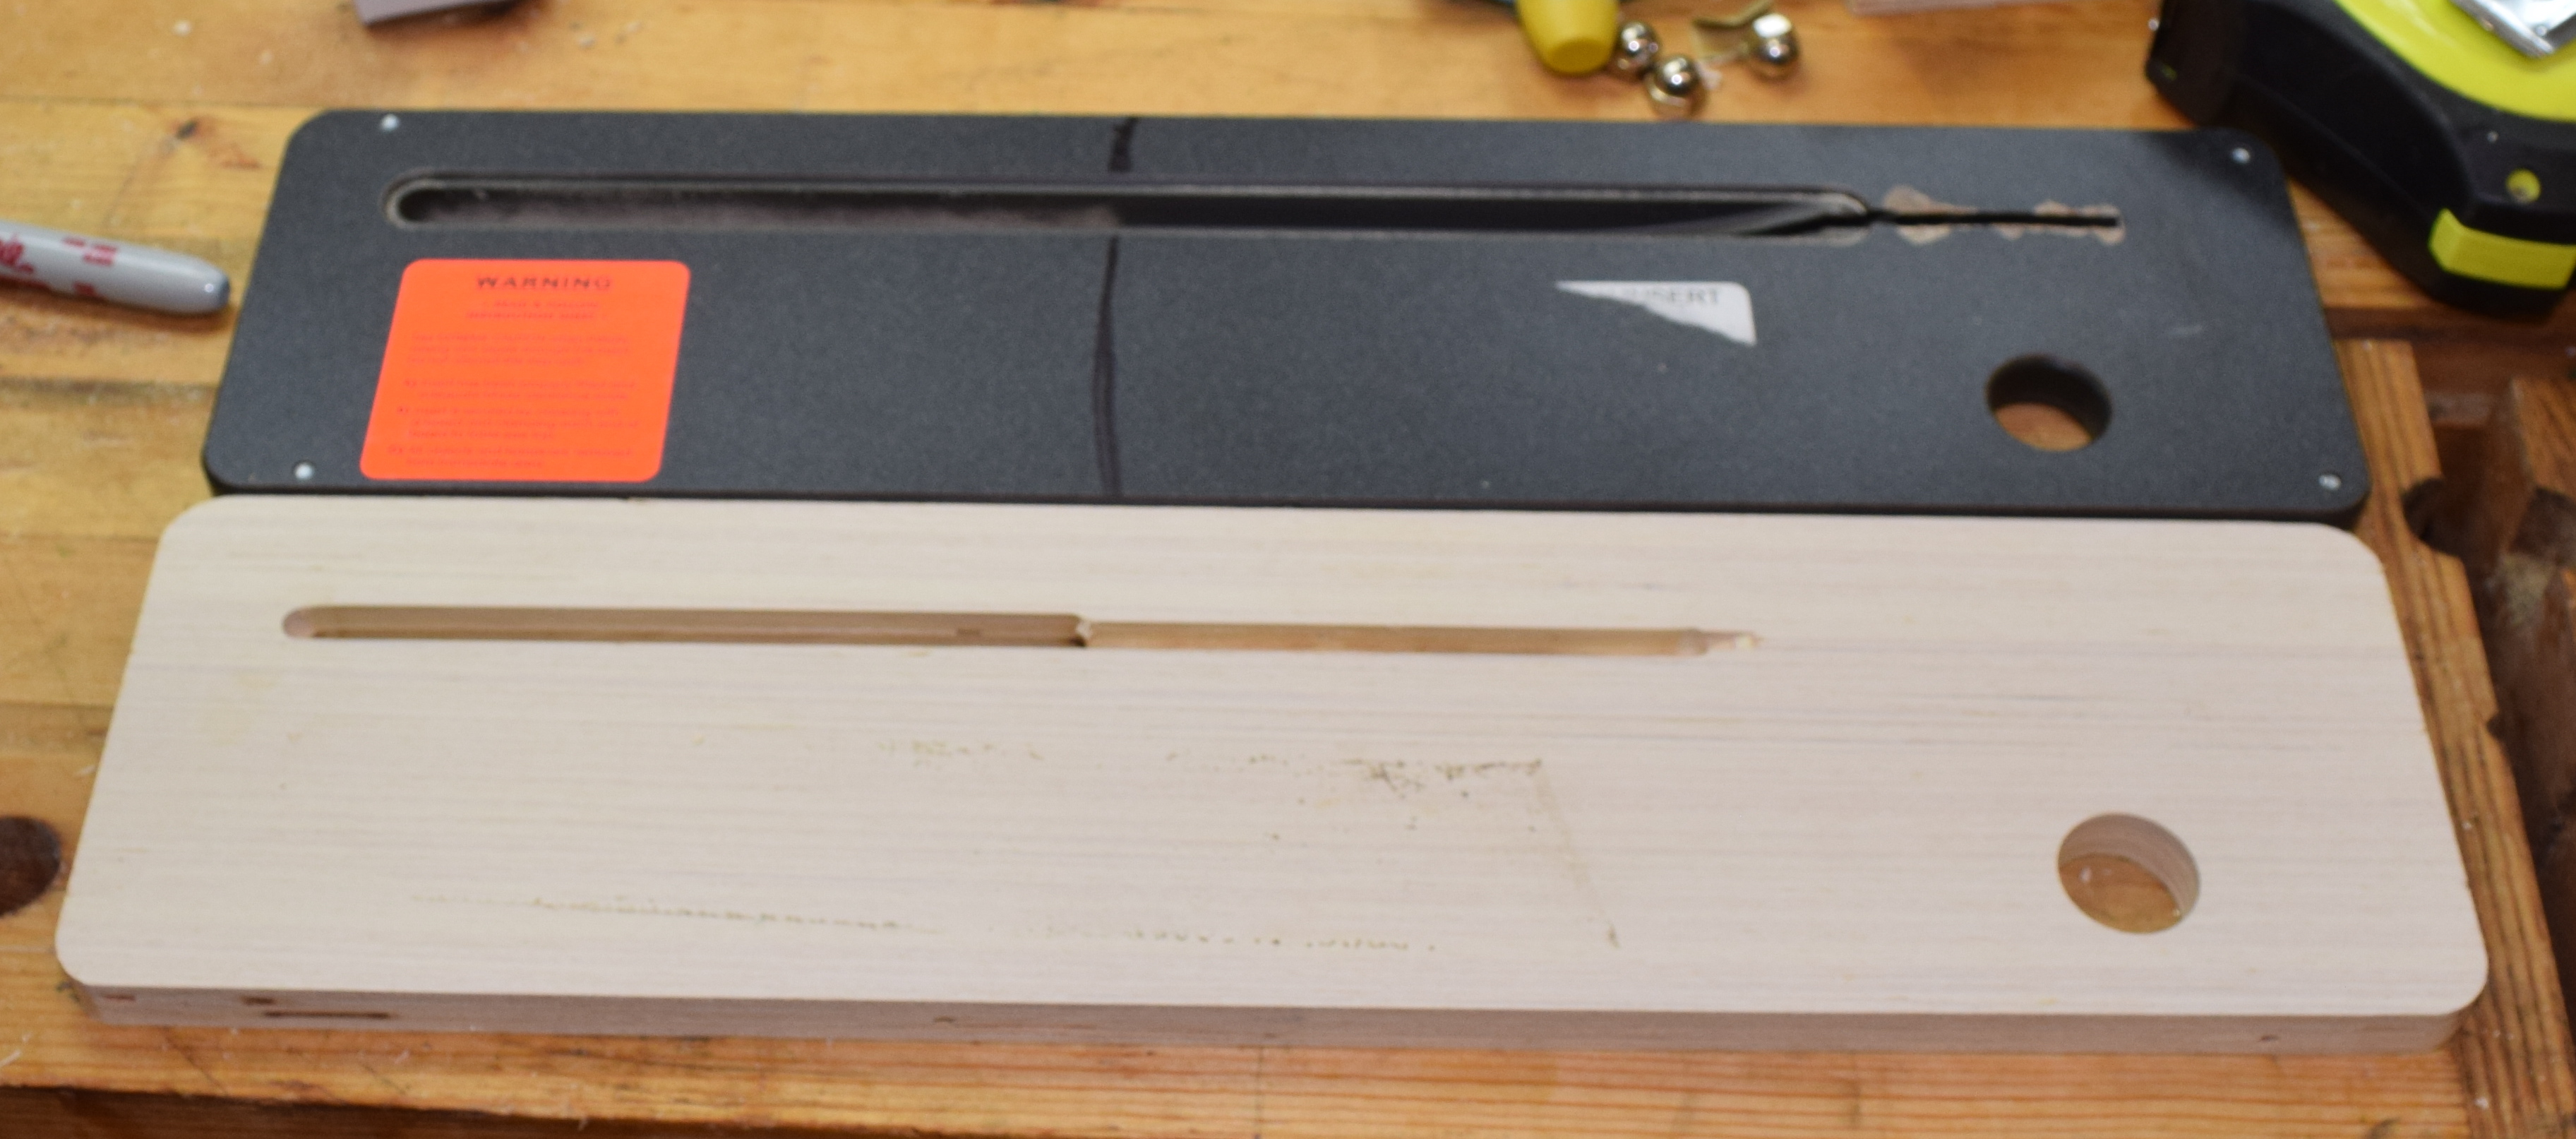
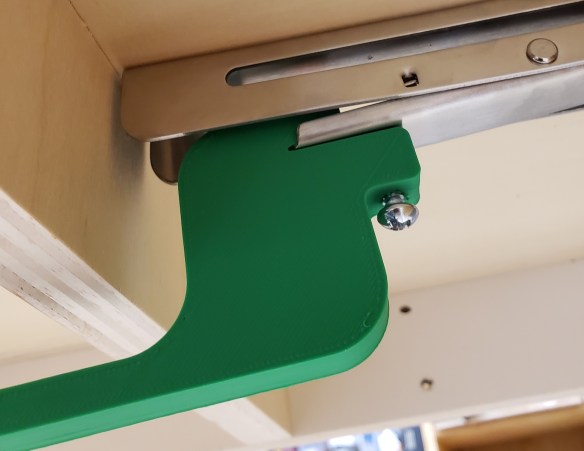
Release Bar
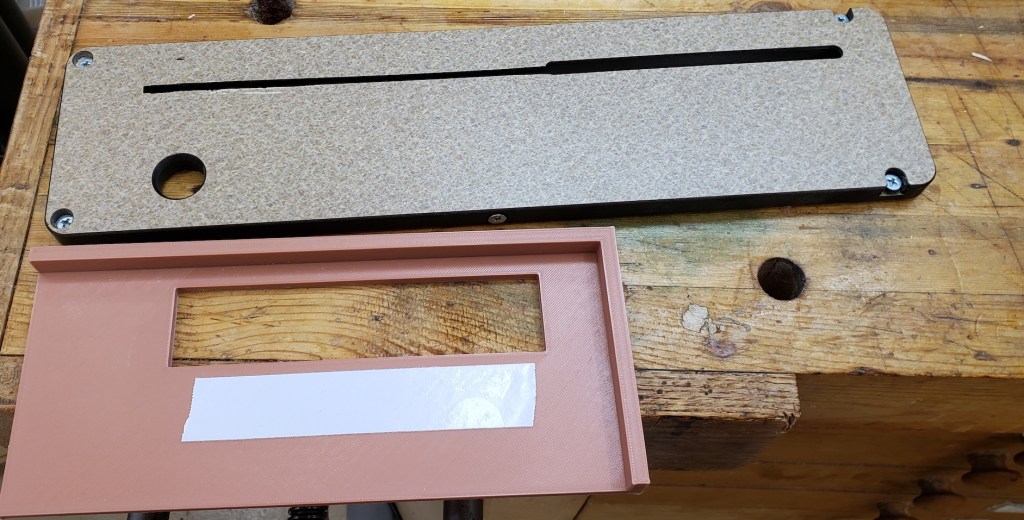
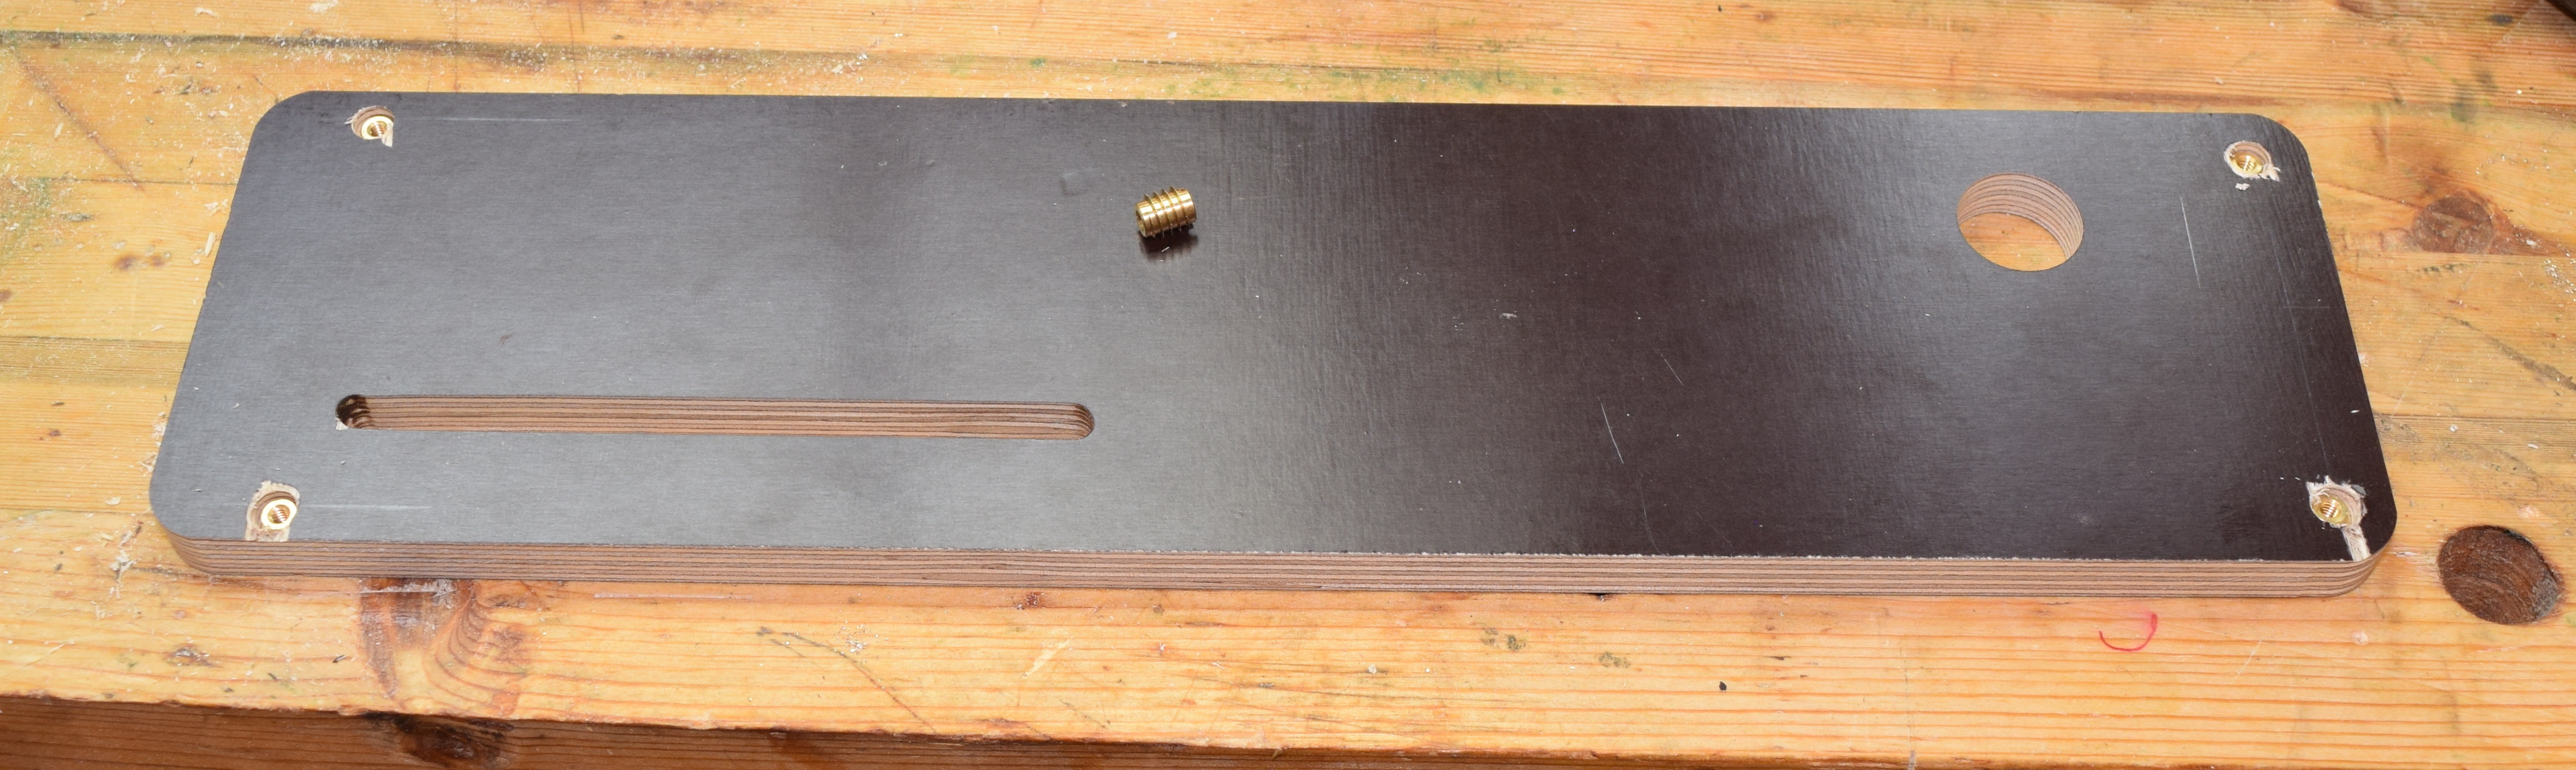
This was kind of above and beyond, but why not go all out? I wanted to add a release bar like Colin did. Between the supports I added, and the way it was anchored to the saw, there wasn’t room to do what he did. Instead I 3D printed a little funky zigzag bracket. It is threaded to accept a #10 screw. I drilled a hole in the bracket release tab so the screw would go into that hole and prevent the bracket from sliding off.

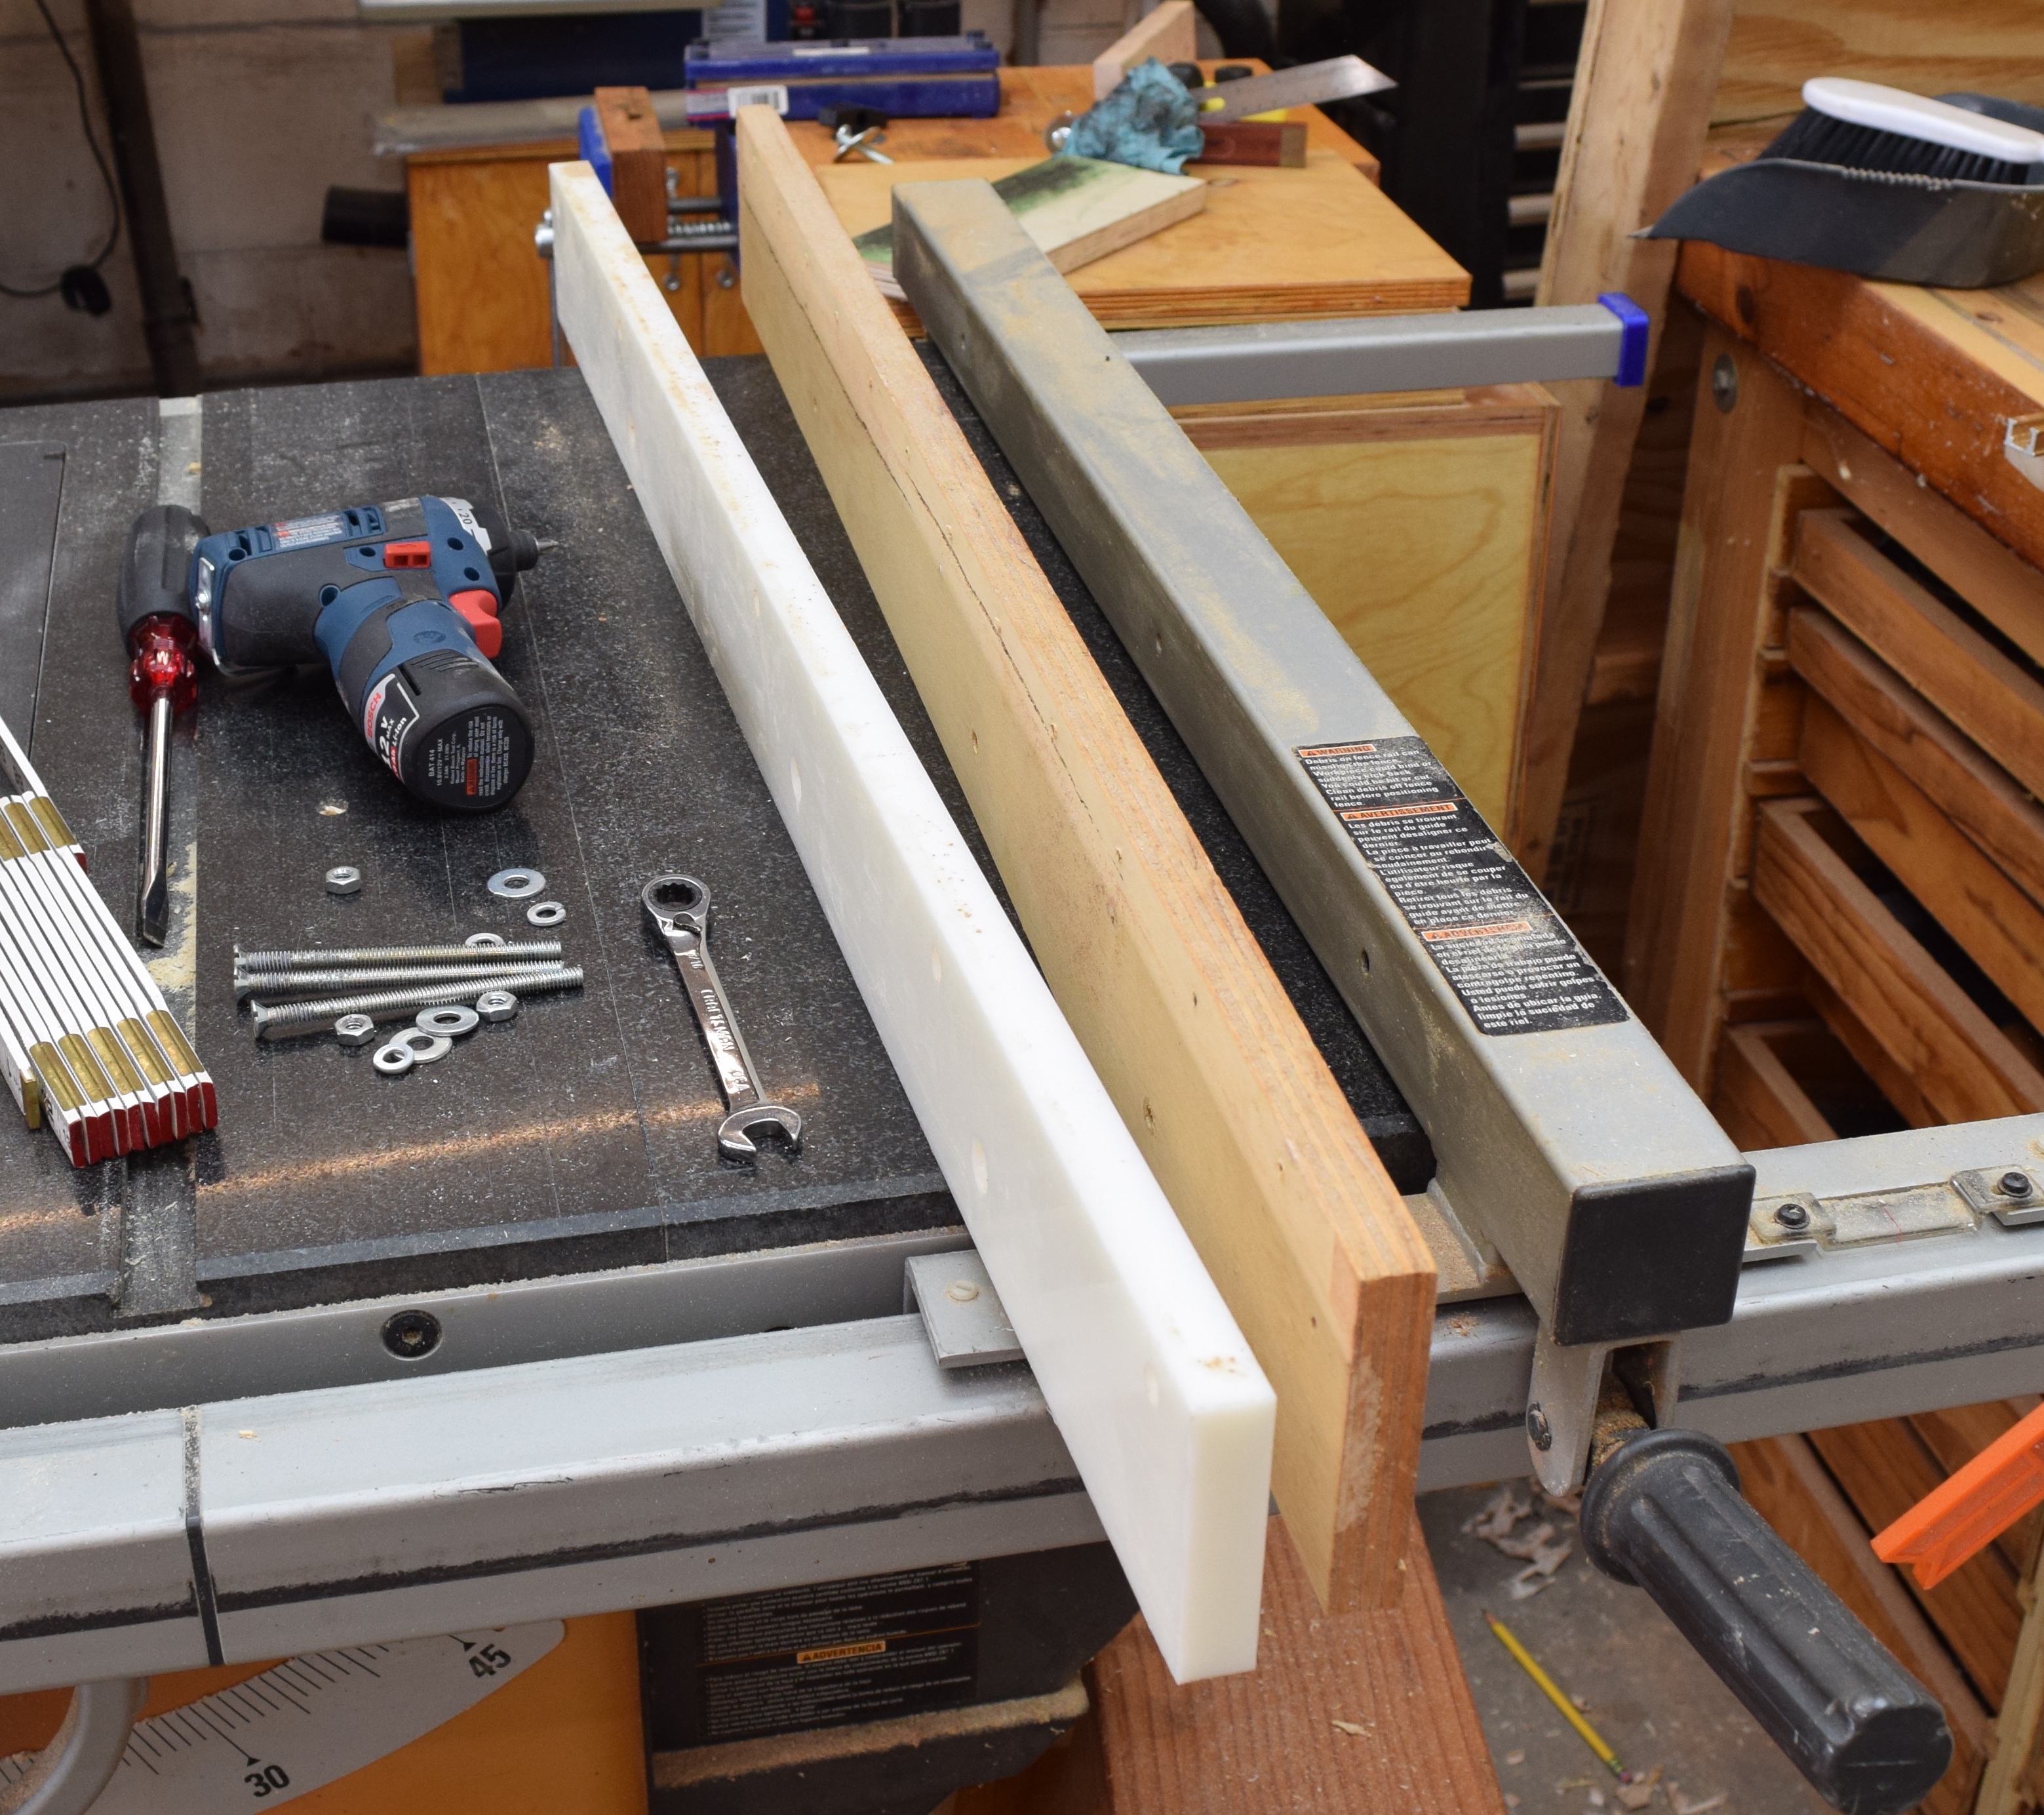
That printed part gave me a long arm to attach a wide piece of plywood. This would be the thing I press up against to release and lower the extension. I clamped it in place to make sure it was all working correctly, then screwed the release bar down.

The finished product is great! It holds a lot of weight, gives me plenty of support for wide and long cuts coming off the saw, and folds up really flat. I figured the ease and speed of pack and deploy had to be shown, so I made a short gif.