A little time off from work means a little time to spend on another home renovation. Lets hit the laundry room! First, the before. We pulled the doors off and all the contents out. There was no flooring in here when we bought the house.

Looking in from house

Looking in from garage
In removing the door to the garage I found an interesting discovery. There were two funny patched holes in the top of the door case. Removing all the case I found part of two broken off drill bits. In some distant past, the security system installers had a difficult day!

These were hidden in the door casing

Removed trophies from the house
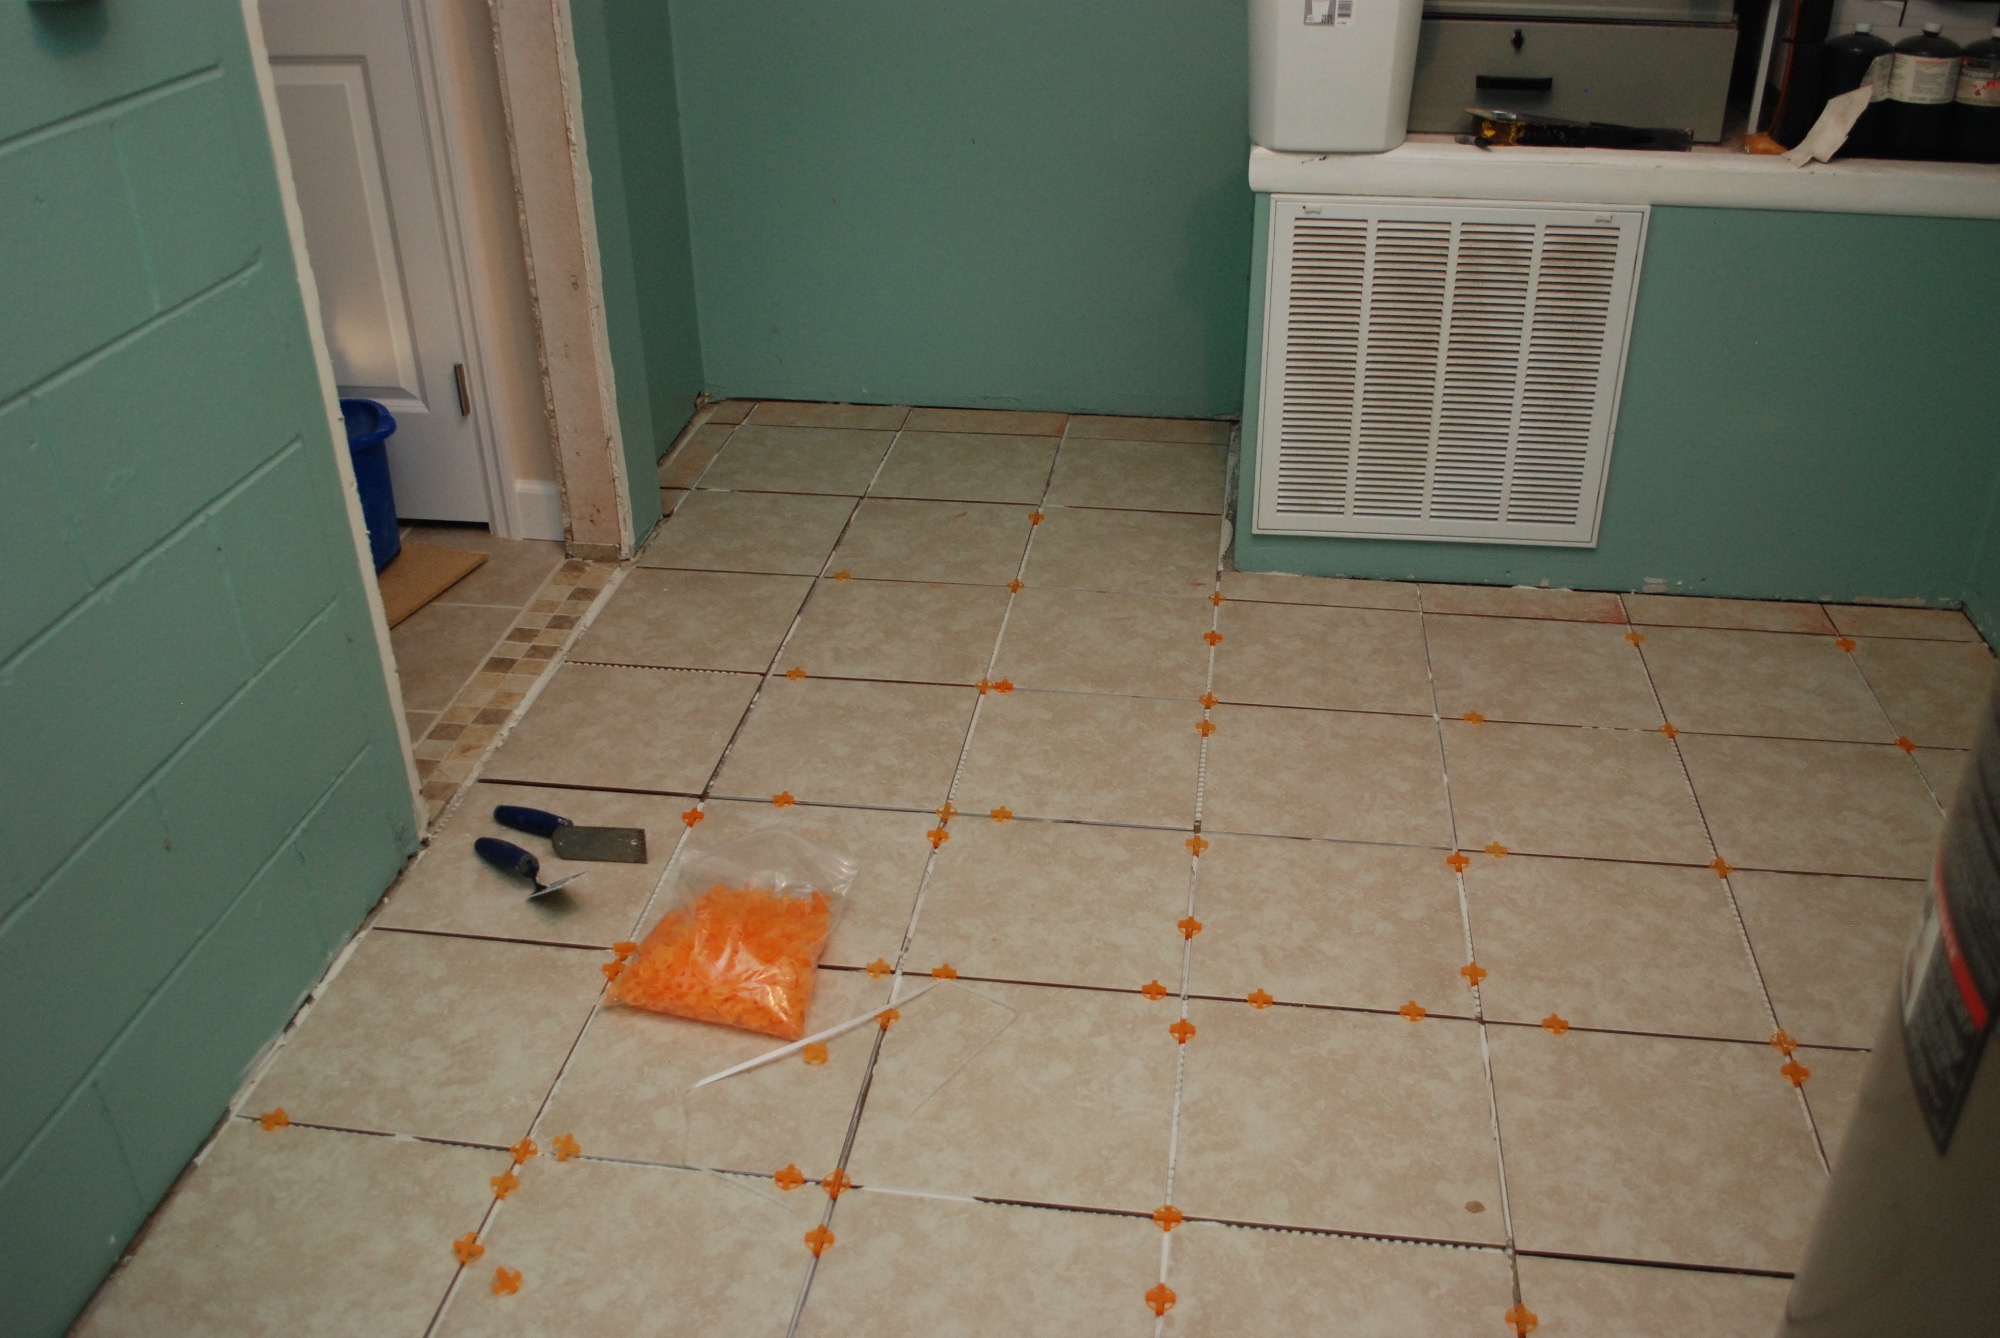
With “demo” done I went to work prepping the floor and tiling. The first day was rough. I got delayed and didn’t do prep on the previous day as I had intended. Thankfully my wonderful wife emptied all the shelves before I got started. More bad luck struck when the bag of mortar ran out sooner than I thought it would. Not a great start, but at least I got most of the tiling done on day 1.

View from house

From inside
Day 2
Ok, day one had some snags, but day two should be more straight forward. I ran to pickup the mortar, and found out they were out of grout. I had half a bag left over from the font room, but not enough to finish. That will involve a long trip to an alternate lowes. Still, I was able to finish up the remaining tile at a reasonable hour.
 The rest of the day I broke out all my doors and molding for a big paint off. Doing latex with an hvlp gun is a little touch and go. Every time I mix a new batch of paint, the settings change. I am really a hack at it, but the results are still a lot better and faster than rolling.

Door and baseboard molding

Garage door, and door into rest of the house
At least it would be faster if I hadn’t put too much down, and then had to deal with Florida’s wonderful 80% humidity winter. The metal door took hours to dry and ended up having a lot of runs. I stopped what I could with a brush and tried to even things out. In the end I had to bring it into the garage, hours later, still wet. I had to roller paint the casings after I installed them anyways, so it got a touchup with that job.
End of day 2 was not a complete disaster, but I spent a lot of time monkeying with wet paint and driving beachside to get grout.
Day 3
Go go go it is time to grout! I cleaned up the floor and mixed up a few batches of grout. It is a messy job, and you have to clean the tiles 100 times to get the haze off. Still though, I love grouting. In just a few swipes of the sponge you can making everything look right with the world. All the madness of renovation settles down into calm (mostly) even lines of beautiful grout.

Garage view

House view
While I waited for grout, there were a number of other things around the house that needed attention. Later in the day I braved some walking on the tile to install the two casings. It is kind of astonishing how twisted and out of square a house can be and still look ok to the casual observer. I guess that is why we have shims!
Day 4
The final count down. It is Christmas eve, and I HAVE to finish today. This is the last of my days allotted to home renovation. Let the molding begin!
I did a very basic baseboard molding around all the places you would normally see. No sense in buying another piece to install behind a dryer. There wasn’t anything before, so this adds a nice touch. Both the doors had their molding installed and everything got caulked and touched up. Getting molding to all fit right and have the nail holes filled properly is really tedious but worth the effort. I was done, stick a fork in me!!!
Day 5ish
After a brief foray to see family we had some time to put everything back together. Newly installed adjustable wire shelving offers more storage than before and makes it feel more open. The lighter flooring helps too. I could have painted it a brighter color, but the walls were mostly in good shape, and I kind of like the color it started as.
No renovation will change the fact that it is a small room in a house with not quite enough closet space. Still, I am really happy with the results. The soreness and smashed fingers will pass in days, but the laundry room will last for years.


 he gaps between each tile varied between 1/8″ and 1/16″. It made any errors on my part easier to hide, but keeping everything looking right meant I needed a variety of shims. When installing the tile I did my best to keep the gaps clean, but sometimes the mortar squeezed through. It is tough to clean without disturbing the wet tile too much. Instead I waited till it was cured and used a custom little tool to scrape it out. It is a thin putty knife ground down to make a small hook/dovetail shape. I was able to get into the gaps and clean out any stray mortar that even the smallest grout saw couldn’t get to.

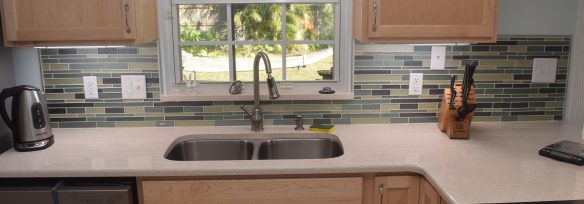


 I could now work on the small pantry without any fear of getting in the way of cabinet installation. It would give us a place to put back some of our boxed junk and help out in minor cooking adventures at Kitchen Base Camp. I went with adjustable wire shelves and wired an under-cabinet light in the top that goes on with the lights over the stove. Some basic molding happened on the inside, but most will wait till I can do everything after the cabinets are complete.