Cherry Entry Table

A little over a year ago some good friends of mine got married. I promised them a wedding present, but seeing as how we had just moved, I told them it was going to be a bit late. A bit late turns out to be a year and a few months. I did finally deliver though!

It is a cherry entry table that sits in their foyer. I made it somewhat tall because you would be standing next to it when you put things down, and narrow so it didn’t obstruct their entrance. I spent a lot of time at the drawing book coming up with ratios and ideas. I mostly stuck with them as well, only adjusting the width of the frame slightly.

It all started with a large 8/4 piece of cherry. I wanted this thickness for a bookmatched table top, thicker legs, and wrap around apron that all matched. I had some sapwood to deal with, but was able to mill most of it away and hide what was left on the inside of the aprons. Below are the three hunks that made up the entire table.

I cut the legs out first and milled them all square. I put down painter’s tape and marked out the location of the mortises. The tape is a copy of Mike Pekovich’s blue tape trick for dovetails. I still haven’t cut dovetails that way, but it sure does make mortises obvious. I mark everything with knives, then peel away the center section that will get cut.

Next I went around with a paring chisel and undercut the edges to help the chisel register on the sides and not cut any wider than is needed. Then it is just a matter if slowly chopping from one side to the other and back until you start to reach the proper depth.

The mortises all went pretty well. I made the legs extra long so I could cut some test ones and chop off the excess. After I had all the mortises cut I did the tenons. I used a similar tape technique to help visually guide the cuts. I cut a number of test ones and was happy with my progress. When I finally got to the last round I was going to shoot pictures of the process. Everything fell apart. Despite all the practice I couldn’t cut straight to save my life. I ended up cutting the whole frame down a little from the original plans because of the screwed up tenons. These two pics are all that remain of the process.

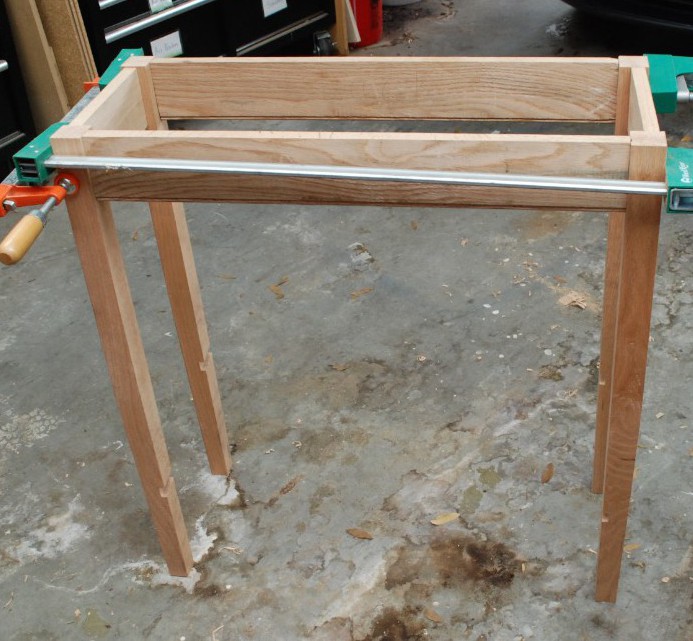
Once I finally decided they were good enough, or just gave up on trying to cut more, I dry fit everything together. Some of the fits are looser than I wanted, but It ought to hold together. Baby baby hold together.

With the legs cut to length I could go about tapering them. Probably a quick job on the bandsaw, but I went for the scrub plane. It made a huge mess, but was a good workout.

The outside two faces of the legs are straight, the inside two faces taper in almost up to the mortise at a ratio of 2:1. This gives the tape a really slim light appearance and guides the eye to the top.

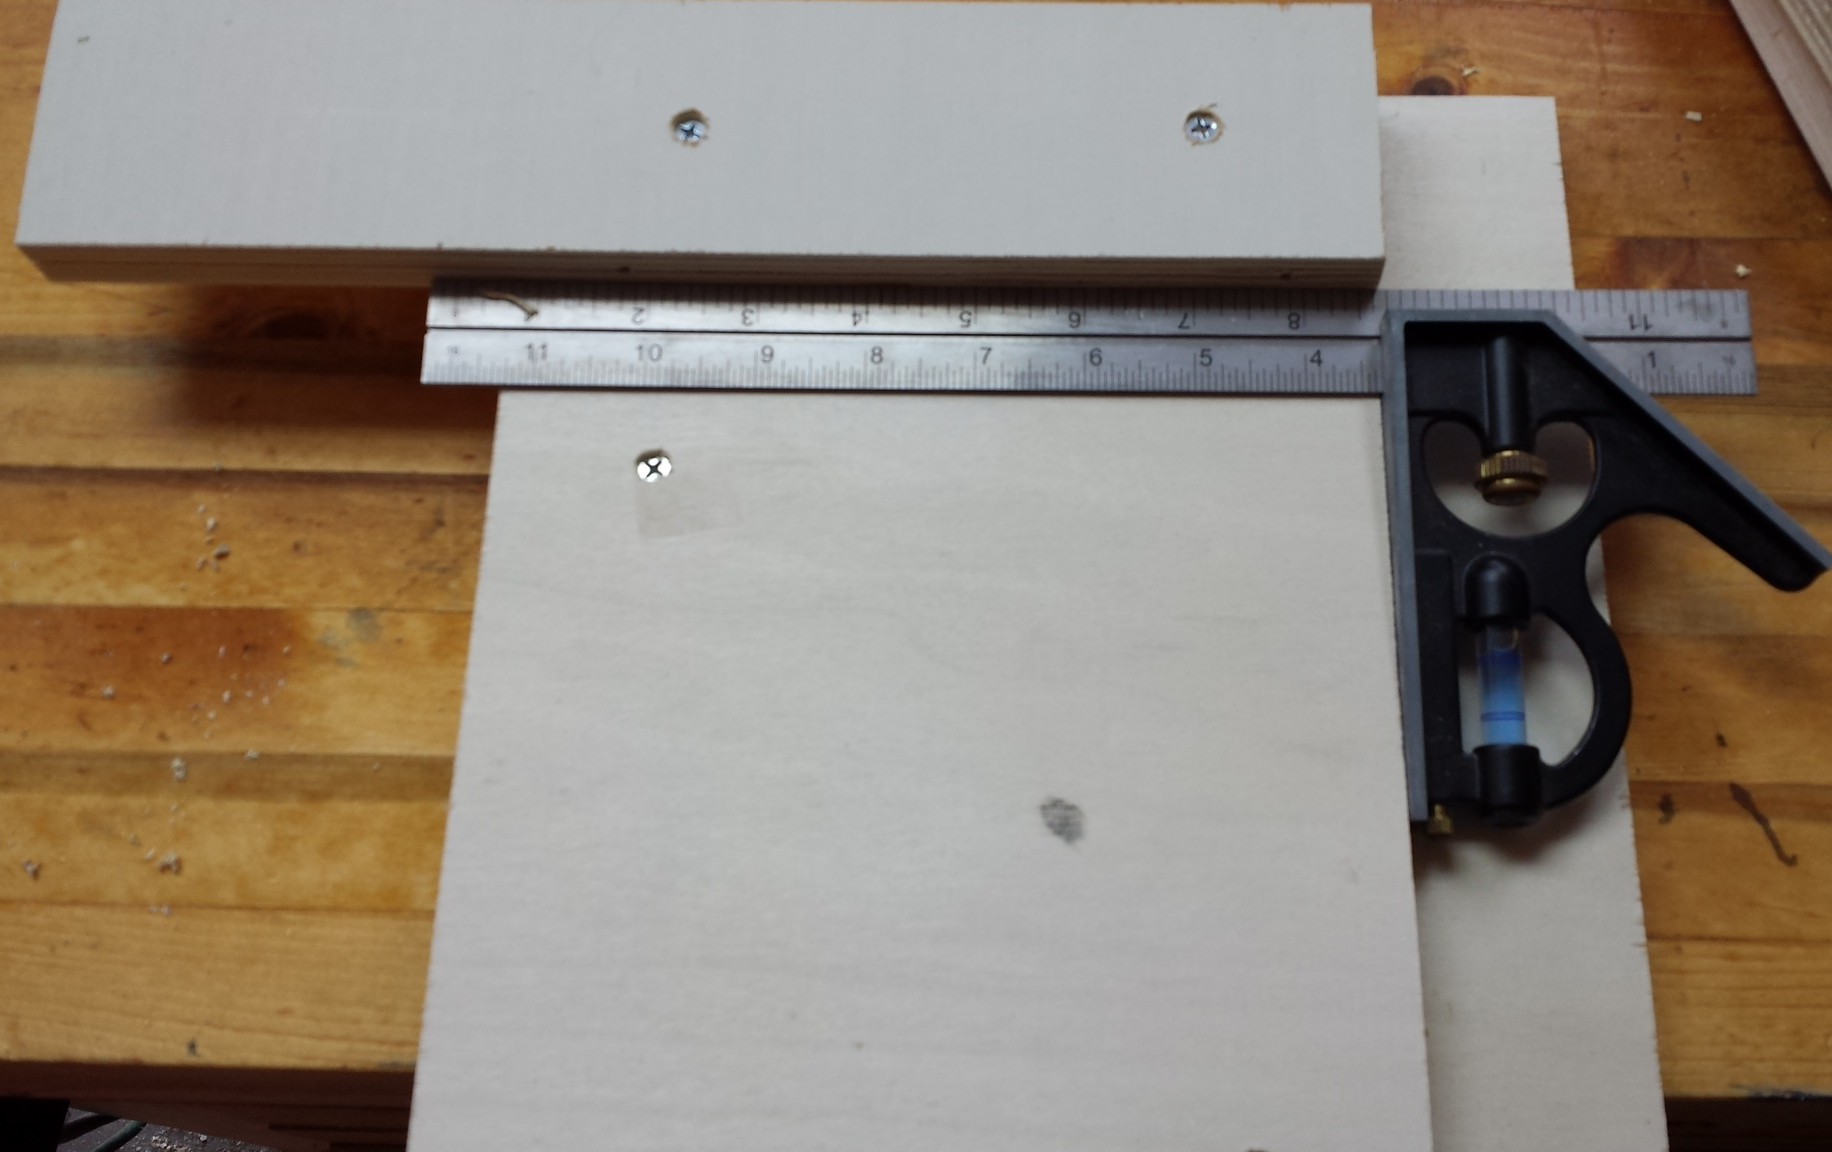
Speaking of the top, I glued it together early in the project. The top side is bookmatched and has a lovely pattern that looks like angel wings. To further lighten the design I did an underside chamfer. The ratio was 2:3 with the thickness of the table top being subdivided into 3. Two units were removed from the edge leaving a thinner profile, and the slope went back 3 units. The layout is done with dividers and a marking gauge, so I don’t know the actual dimensions, just the ratios.

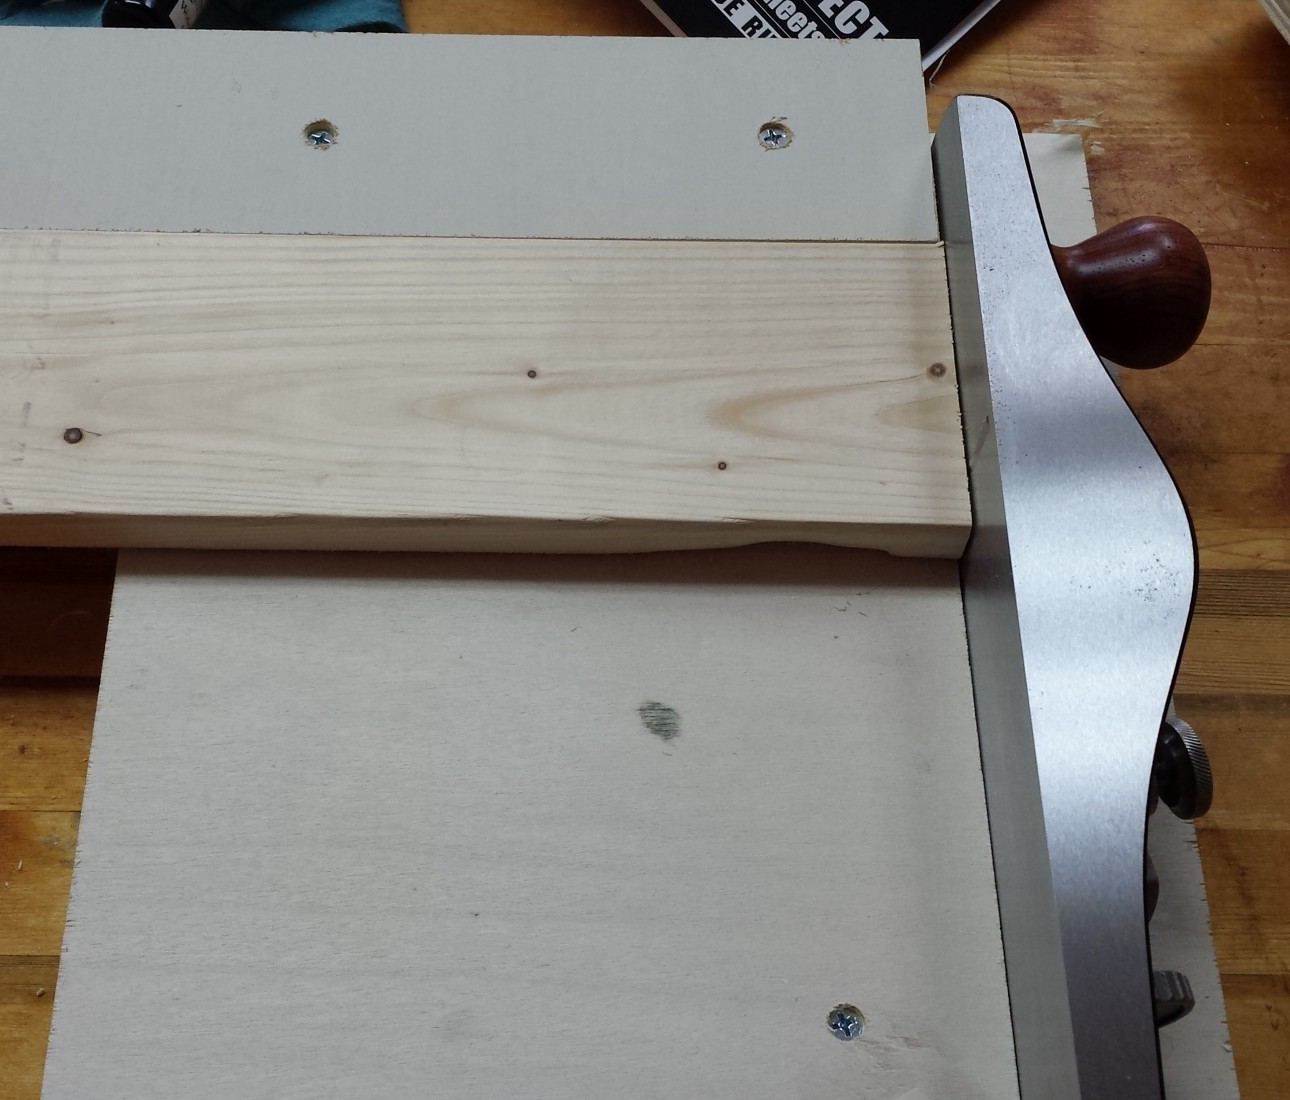
This chamfering was tested with the table top left extra long so I could get the hang of it with a few extra practice cuts. With a bevel up plane it was really easy. I made super thin (around 0.01″ or just a few sheets of paper) edge grain shavings. I have focused a lot on learning to sharpen in the past, and it is paying off now.

With the lines drawn I was able to accurately plane away the material and hit both marks just by eye. No special jigs needed! I did the end grain sections and proceeded to the long grain portions.

The last thing I had to do before finishing and assembling was put in some hardware to hold the table top down. A big flat sawn piece like the table top will want to move with the seasons. Trying to stop it is folly. Using the figure 8 brackets with oversized holes, I can attach the top to the apron and allow it to shift slightly with moisture movement. I started by drilling the first one on the outside face… DOH! Probably my only permanent mistake of the project aside from some slight dimension changes.

With everything setup I could glue the parts together now, then apply finish as I have often done in the past. Instead I finished everything in pieces. It made finishing easier because the small parts are all simple and don’t have hidden corners. As long as you keep it off the glue surfaces, everything will be fine. As a bonus, if you get glue squeeze out it comes off the finish easily. Waterlox’s wipe on varnish is a joy to work with.

After that all that was left was to screw the top on, buff with some wax, and deliver to the still happily married couple.

Maple Closet Shelves

I am starting to mix in house projects and longer term goals along with my shop infrastructure work. We pulled all the built in organizers out of the master closet when we were renovating. It was basic white particleboard and appeared to be rather old. We cleaned up all the walls and installed brackets that supported a continuous closet rod for hanging clothes. This gave both of us ample hanging storage space. The bracket is designed to have a shelf above it. I wanted something nice, and waited until now to build it.

Actually like a lot of my projects I started this a few months back and got side tracked by other house issues. I got the only 10 foot maple boards they had at the local lumber place and went to town planing them.

Buying rough cut wood is a bit like Forrest Gump’s box of chocolates. You never know what you are going to get. In this case, some cool mineral darkening and nice figure.

This is an interesting transition project. I started it with my old Hitachi planer and ended it with my new Dewalt planer. The old planer has been donated to a co-worker that is starting to fill out his shop and could put it to good use.

Goodbye old friend

With the boards cleaned and flattened I needed to work on the edges so I could joint them together in a panel glue up. I preserved the length as long as I could knowing that the ends would eventually get cut down some. Planing a 10 foot board by hand is hard work. I had to employ a helper to keep the board propped up. I haven’t had a power jointer in years, and I don’t see how it would have helped me in this situation.

After much time spent with my #7 jointer I glued the two shelves together and was ready to continue the flattening. This time with the new planer. The main reason I bought this one was because it was reviewed well, and there was an available helical cutter head for it. The two are a match made in heaven. No matter what, the thing produces a clean surface, no tearouts, and the carbide inserts will last a long time.

There is some really pretty figure in the wood. Another advantage of the new cutter head is that it makes really short shavings. You can see them wizzing around in the first stage of my dust collector window.

After a very minimal amount of sanding and clean up of the ends, I routed a round over on all the exposed edges.

With the boards in their correct shape I applied a coat of boiled linseed oil to protect the wood and give character. These will not see heavy use, so a tougher film finish shouldn’t be needed. The oil really pops out some of the birds eyes and other grain variation.

Unfinished above, oiled below

Once the oil soaked in and dried I installed the shelves. They don’t hold a lot now, but probably will as we collect junk in the future. With all the clothes in place you can barely see them. I almost wish I had used pine instead of this gorgeous wood. Oh well, it should be a good shelf for generations. The next owners certainly can’t say it was made of particle board and falling apart.

Jacked Up PushUp Bars

I built a set of pushup bars to go with my pullup bar from early last.  You grip them while doing a push up and it lets you dip down further than when using your hands on the ground.  That stretches your chest and gives a harder workout.  The only problem with them is that now I am flexible enough that my chest can touch the ground.  Time to jack them up a bit!  I started with the same 2×12 that they came from.

DSC_1017

It turns out old ratty 2x12s can be quite beautiful if you just give them a bit of planing.  Hand planing construction grade pine to make a piece of exercise equipment is probably some kind of sacrilege, but I like using hand tools when I can.  Besides, sanding is just the worst!

DSC_1018

I chopped this piece up to give two layers of material beneath each bar and glued.

All the load will be pushing down on these, so only a minimal joint is needed.  1/2″ dowels will be more than enough.  You drill in one side, insert these metal plugs with a sharp point in the center, align the other part and give it a wack.  The sharp points all transfer over the exact center of where you should drill to the mating part.

Some drilling, gluing, drying, and a fresh coat of boiled linseed oil later they looked smart.  Well not really smart, kind of chunky really.  If it were architecture I would call it brutalism.  Probably fitting for a room full of kettlebells.

DSC_1026

My beard touches easily, but my chest still has inches.  This is hopefully the last raise these will need for a long while.

DSC_1027

Wedding Present Table

Some good friends of mine are getting married and I couldn’t be happier for them.  I am trying to start a tradition where I make a nice wedding present for friends that get married.  A majority of my friends are already married, but better to start late than never!

I asked them what they wanted and got 3 answers:  A table to put keys and stuff on near their front door, a shoe rack, or a wine rack.  I chose to combine the first two and drop the 3rd.  My initial plan was done in sketch-up.  Other than a shortening of the legs due to an unfortunate accident I went with all my original dimensions.

Screen Shot 2015-03-19 at 9.43.52 PM

I don’t model every mortise and round over in sketch-up, instead using it as a way to get the general look and feel of the project and to get a rough cut list.  A trip to the local cabinet store turned up some nice looking red oak, but only 4/4 thick.  It was enough to get started with, but I eventually had to go to Orlando to get the 8/4 (thats 2 inches).  Luckily it was combined with a trip to do a suit fitting for said couple’s wedding!

DSC_0016 Resized

I cut everything out and ripped it to rough width using my table and chop saw.  Other than a router for the top edging, and a CNC mill for the “G” everything was done by hand.  I started this project in early January and managed to lose a number of pictures in that time.  I am missing quite a bit of my mortise and tenon work and the beading process.  Still, there are enough pictures to get the idea of how it all went together.


Top

I got to use my shiny new Woodriver number 7 my parents got me for Christmas.  It did a fantastic job of jointing the edges for glue up.  The rubbed glue joint held really well and is completely invisible except for grain changes.  Power jointer eat your heart out!  A run with the router gave a really nice multi-curve edge.  I don’t have enough molding planes or experience to try this part out by hand


 Apron

I was quite proud of the bead along the bottom apron edges.  It was done with a beading iron in my No 45 combo plane.  Planing off the bottom flat bit makes it look better.  One shot has two beads, one before and one after planing off the flat.


Mortise and Tenon

I am missing a lot of the photos of cutting the mortises, but I made a lot of mistakes and they are rather rough.  I used a rabbet plane and cleaned them up from the picture, but they still weren’t great.  My little rip dovetail saw wasn’t quite up to the task of cutting those cheeks.  Hopefully a full tenon saw is in my future.

I squared the legs up well enough that they could be mortised.  I initially tried using pencil mark my parts to keep the organized, but ran across a really good idea by John over at Woodworks by John.  Mark the joining parts with letter stamps.  After much trimming and swearing the table stands!


Legs

I had already cut out the legs and squared them to do the mortises.  Next I cut them to length and did a taper on the outer two surfaces.  It starts about 24″ up and drops down to make the bottom of the foot about 1″ square.  Tapering is a lot of work!

Once I got the tapering complete I was able to cut the grooves for the bottom shelves.  I assembled each side with apron and laid out each cut with a long ruler so I could get both legs.  The sides were cut down with a saw, then removed most of the waste with a chisel.  The final depth was handled with a router plane.  What a great looking job, I did something like this over a year ago before I had a router and this turned out 10 times better!  Next time I will taper last.  Everything had to be shimmed up to hold still because of the leg taper.

This is where a huge issue came in.  I cut the left side and it turned out pretty well.  Next I moved on to the right half and cut the left half again.  Lighting makes the grooves a bit hard to see.

DSC_0462 Resized

Two left sides… crap.  I set down my tools and went inside to do something else.  I had invested hours into each leg.  I was able to turn lemons into lemonade though.  The table was set to be just over 40″ tall, which after assembling feels too tall.  Two sets of shoe shelves would be useful, but looked a bit more cluttered than one.  I decided to cut the bottom set of shelf grooves off, and re-taper the legs.  Work work.  Here is the new shortened version along with one of a few piles I had to sweep up while making this thing.

DSC_0491 Resized

DSC_0455 Resized


Bottom Shelf

I assembled the bottom shelf along with the top in a similar manor.  I really wanted to bring in some decorative accents here.  Carving is out of my skill set, but the mill can do wonders.  How about a nice scripty G in the center of the shelf?  Done!  Their last name starts with G.

DSC_0511 Resized


Assembly

With all the parts cutout and shaped properly I went about finish planing every surface smooth and clean.  Some of the oak got squrley and left me with tear out.  I don’t have a high angle plane, and I am crap with a cabinet scraper so they will have to remain as a finishing “feature”.

To keep the top on I am using small clips that fit into slots on the apron and screw into the top.  They will allow the large top to have moisture movement without trying to pull the base apart.

DSC_0513 Resized

There are a lot of surfaces that needed gluing and seconds matter when glue is drying.  I did a number of test fits and got all my clamps at the ready.  The glue up went smoothly!  A short rounded over piece glued to the bottom shelf will keep shoes from sliding off.


Doweled Shelf

The bottom shelf sits in a groove.  The weight will be held well by the groove, but few glue surfaces means it could break free.  I went ahead and drilled out the legs/shelf and glued a 3/8″ dowel in to help improve the hold.  A small block plane got the dowels down as smooth as a baby’s bottom!


Finish

A dark finish was requested and I have had some great results with minwax’s stain on oak.  I think the grain pops really well, and I had a lot of the stain around.  Once completely dry I sprayed the top and base with multiple coats of general finish’s high performance water based coating.  What a great product.  That stuff goes on like silk and dries smooth.  Spraying can be a pain, but the results are worth it.

Over all, there were mistakes made, lessons learned, and a lot of sweat.  I was able to finish a few days before the wedding and delivered it to the happy couple.  May the table last for a century, and may your love last longer.

Did I mention it comes with a lifetime repair warrantee?

Shooting Board and First Dovetail

For further adventures in hand cut woodworking I will need a shooting board.  If you don’t know what one is, the use will become clear soon.  After my miter box debacle I should have gone simple for a shooting board.  I didn’t.  My first attempt had an adjustable and removable stop cleat on top with hand cut grooves and yada yada.  It didn’t work well.  I backed up and thought simple and short term.

A shooting board lets you place a low angle jack plane (good for cutting end grain) on its side while holding a board to be trimmed square against a backer fence.  The plane runs across the end grain taking tiny shavings as it goes.  I attached two pieces of 3/4″ plywood to each other allowing a two inch strip on the right for the plane.  Then, at a 90 degree angle to the plane running slot I attached a stop fence.

wpid-20141012_151232.jpg

Here it is with a scrap pine board being trimmed.  The plane is my new No 62 woodriver low angle plane.

wpid-20141012_151610.jpg

As you push the plane forward, it cuts off tiny shavings from the end grain.  If the original cut wasnt perfectly square, the shooting board should fix it.  Also, It makes the end grain finish look much nicer than any saw could.

wpid-20141012_151624.jpg wpid-20141012_151918.jpg

The top piece of pine was saw cut, the bottom was cleaned up with the shooting board.  I will have to monitor the squareness of the fence.  If it wonders over time, that will introduce errors into my work.  Until then, this one works well.  So well, I had enough time to start some dovetail practice parts.


TADA!  My first hand cut dovetail.  I needs some cosmetic help, but holds well and is a really sturdy joint.  I will post more details once I have been through a pile of them and have a more solid procedure.  The shooting board did a good job of squaring up the pine and giving me a workable surface.

wpid-20141012_161352.jpg

Next, dovetail joined crates to store half pint jars.  Practice makes perfect.