Resonator Uke Upgrade

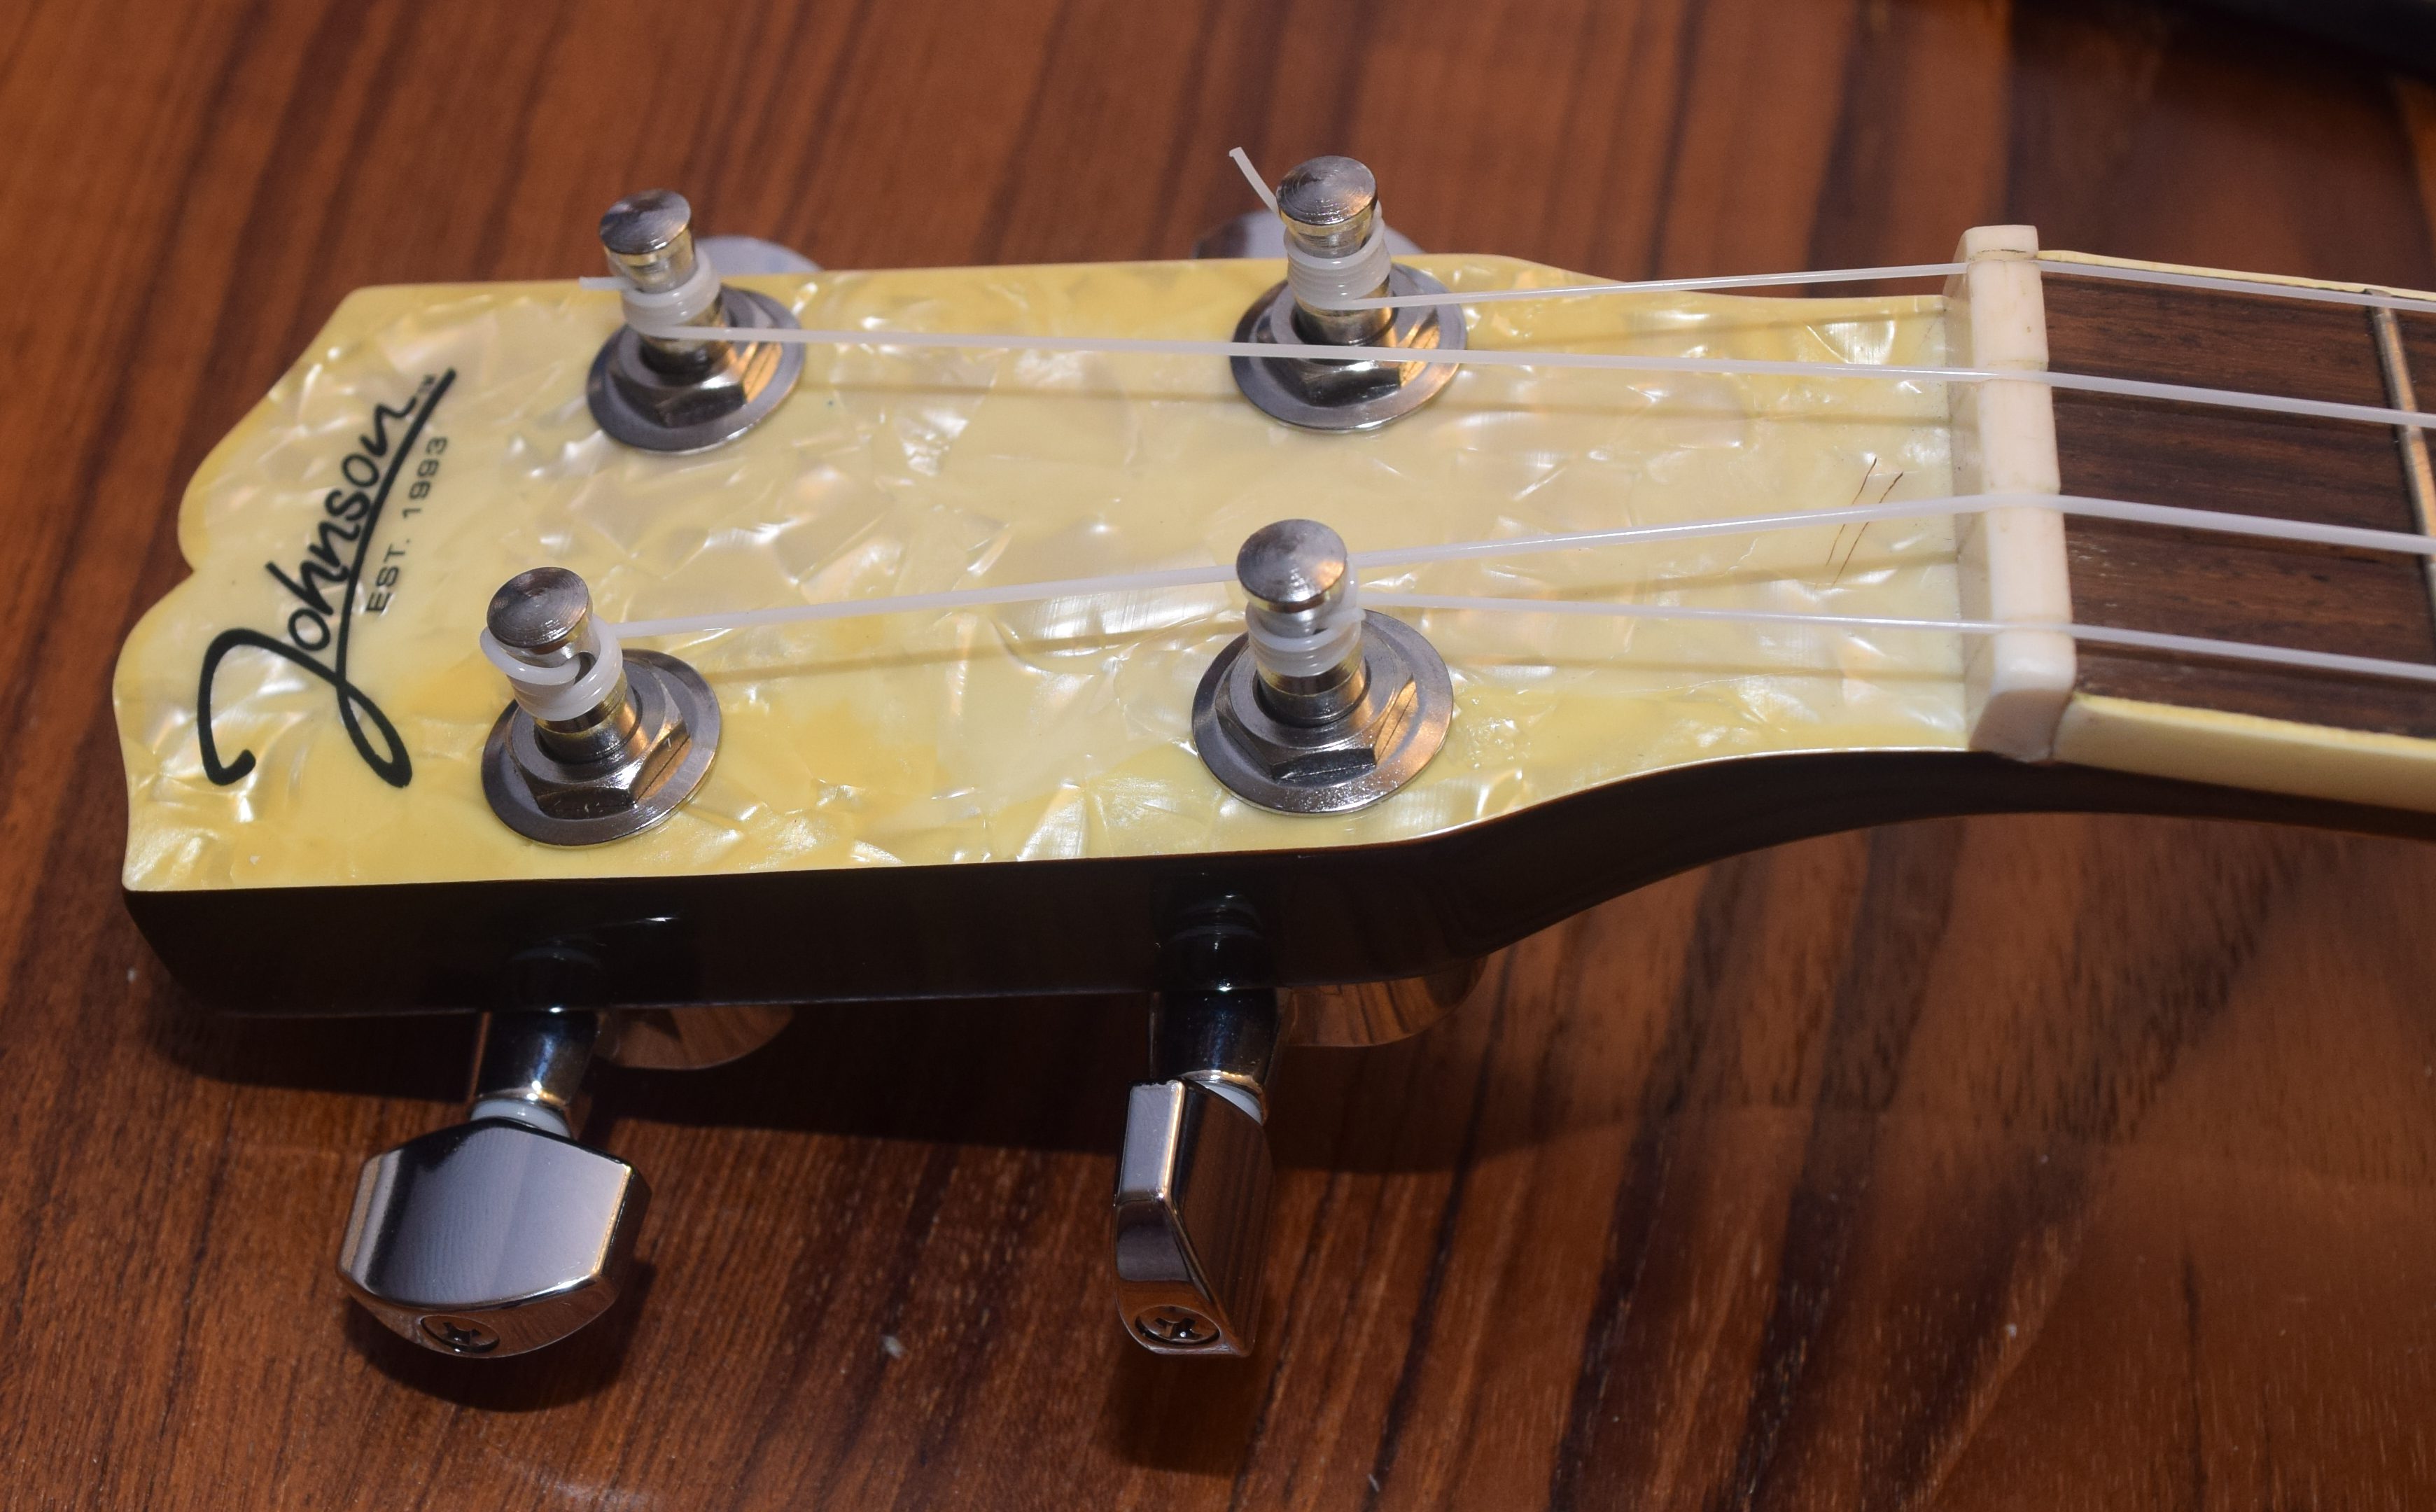
My resonator ukulele sounds really neat, but has horrible tuning pegs.  They are friction posts and get whacked out of tune every time I put them in the case.  After a lot of months of regular playing and re-tuning I decided to upgrade to geared tuners.  The old tuners are shown below and only required very small holes.

DSC_0368

DSC_0371

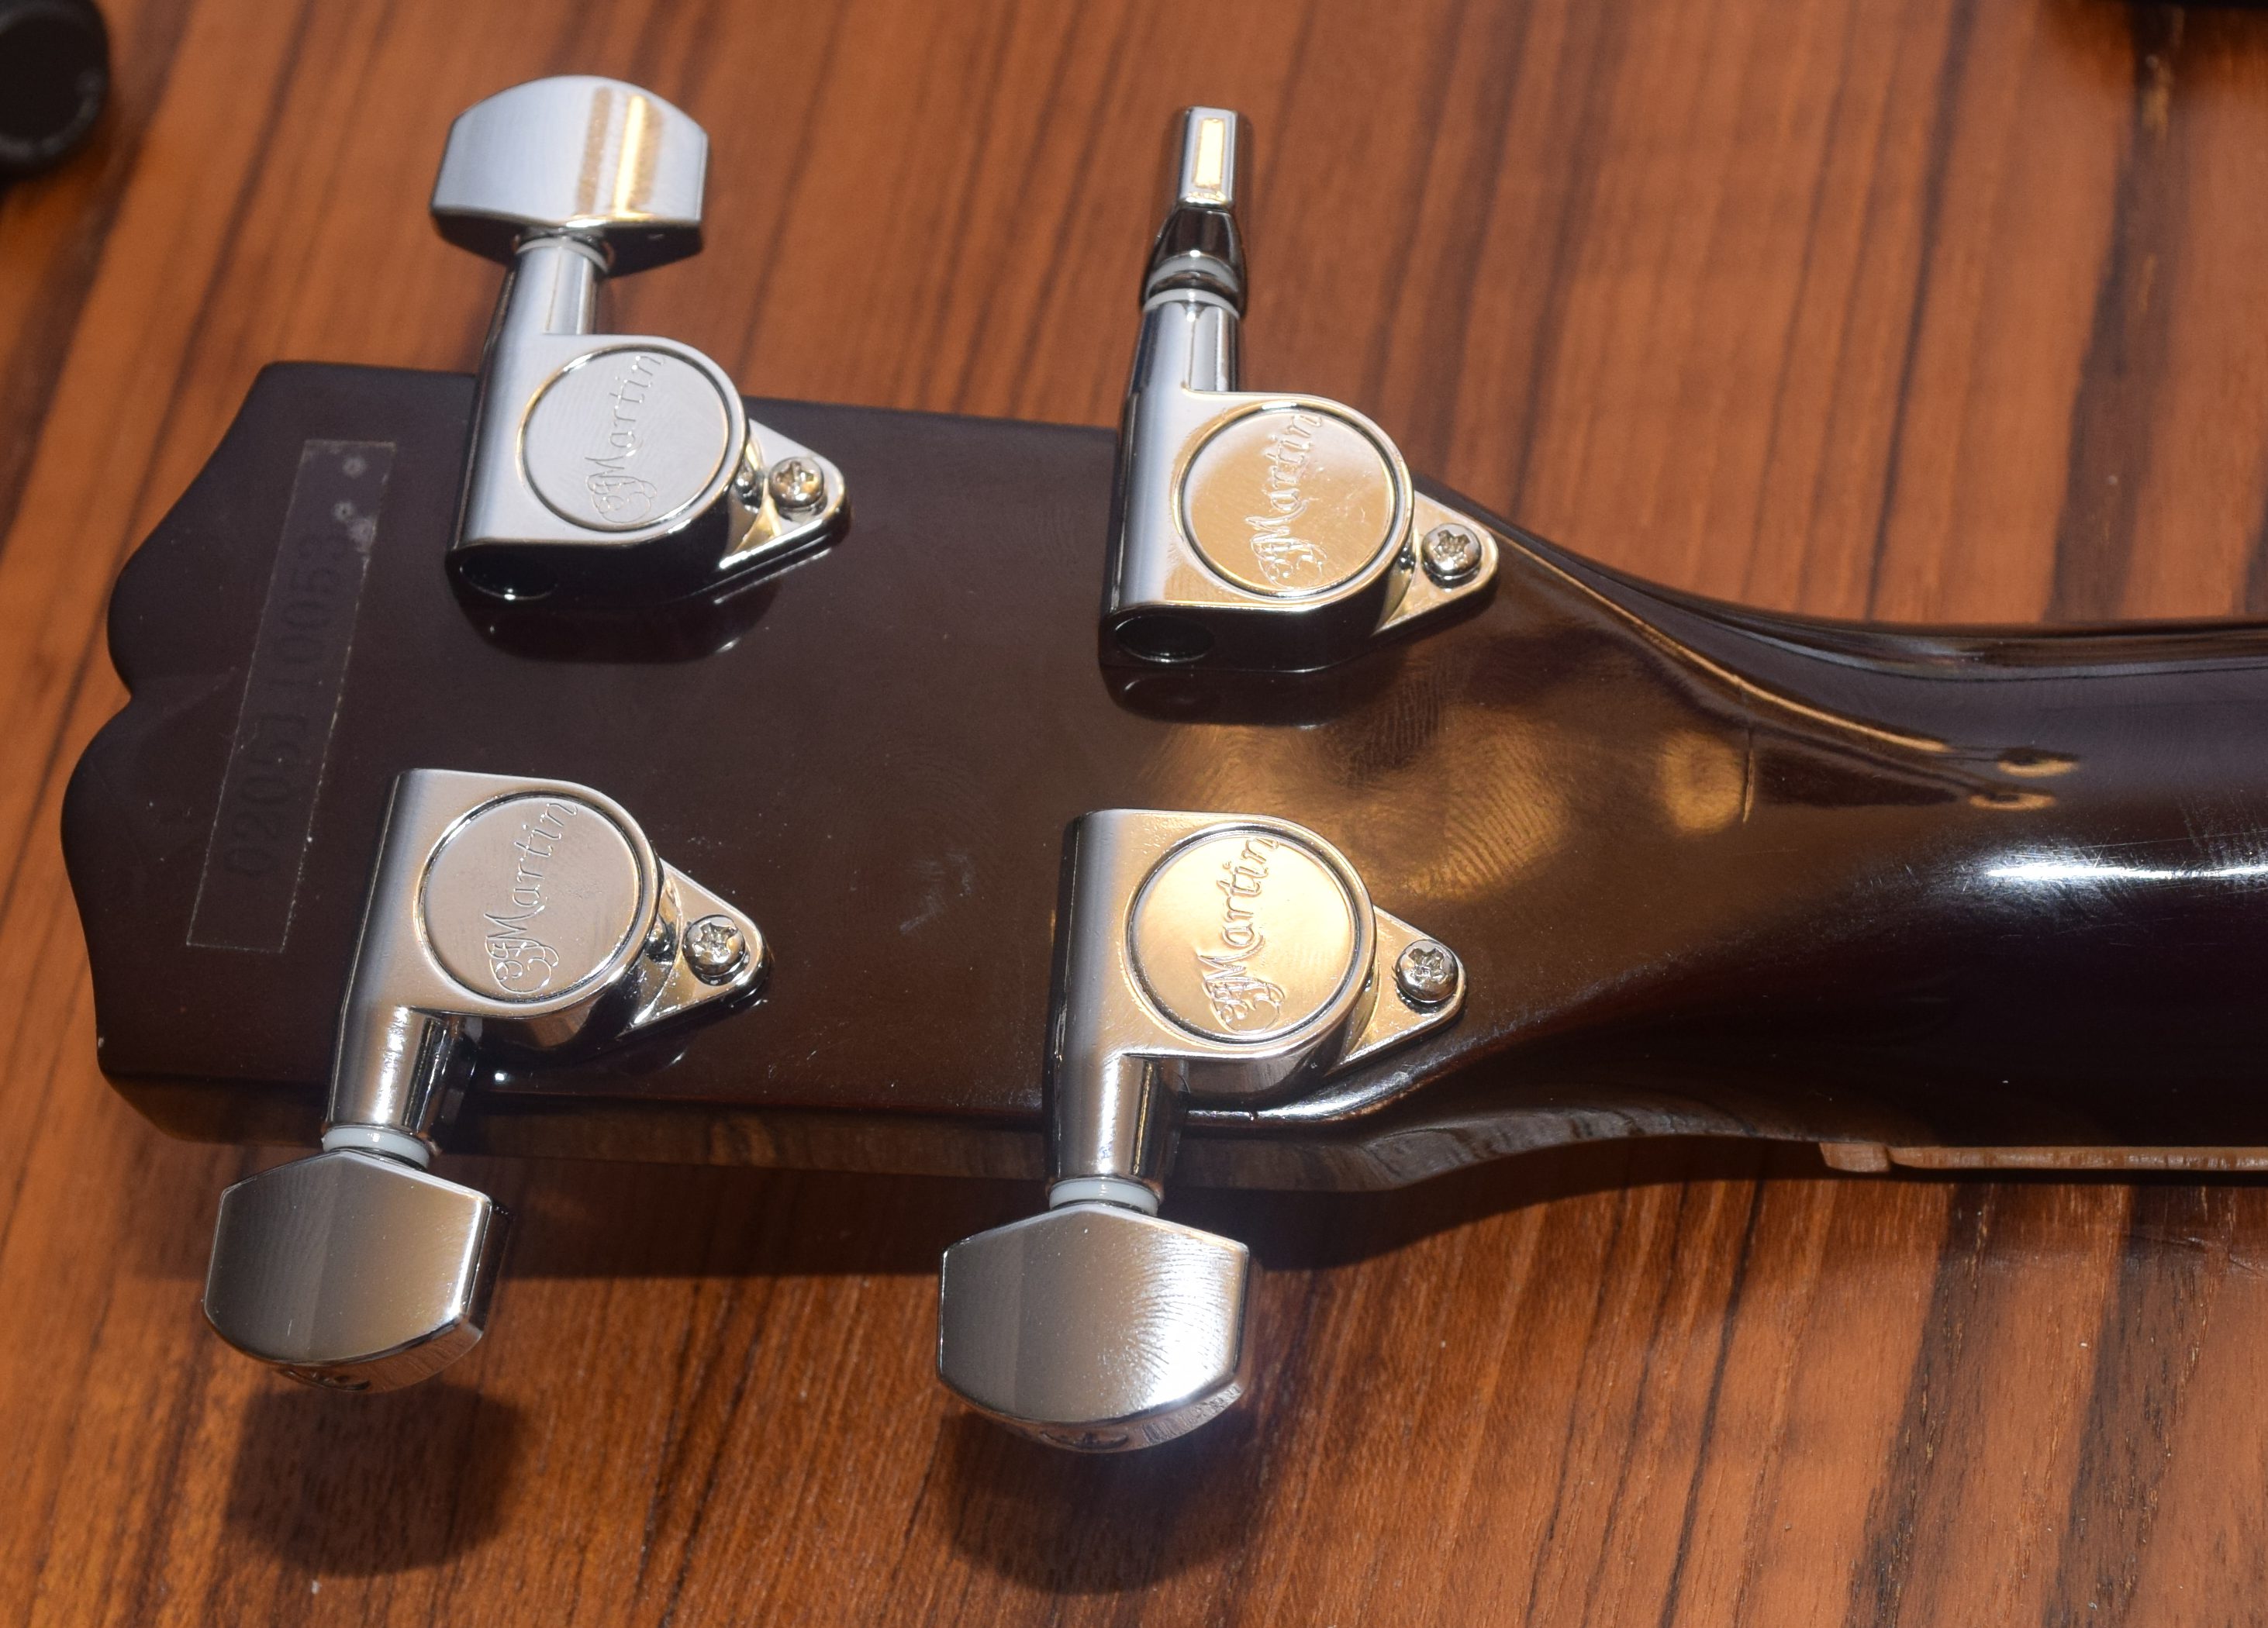
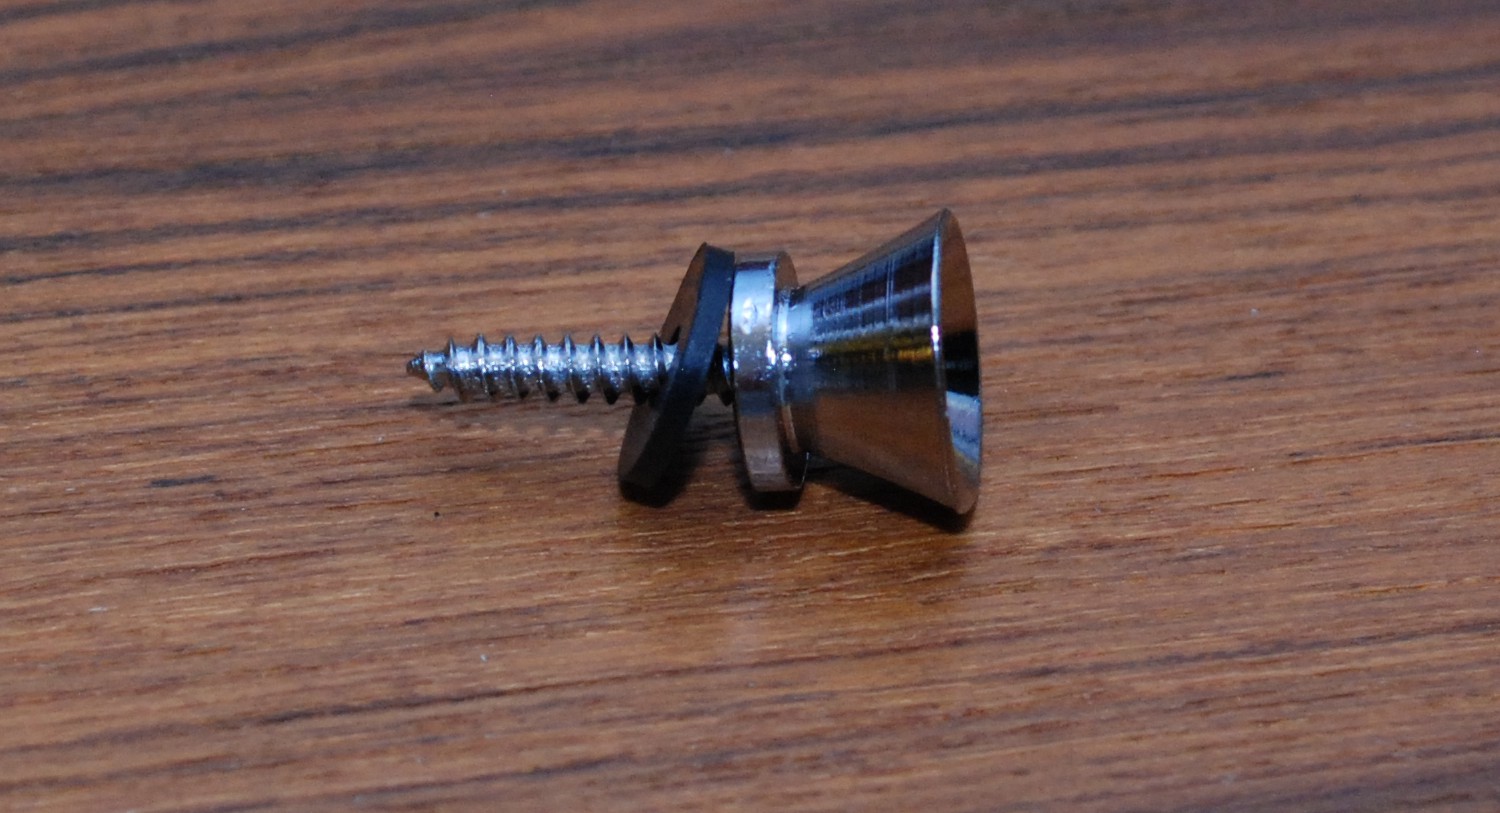
The holes on the top side are large enough for my new tuner to go in, but the bottom side is way too small.  The new tuner (below) has a large shoulder that must be accommodated.

DSC_0375

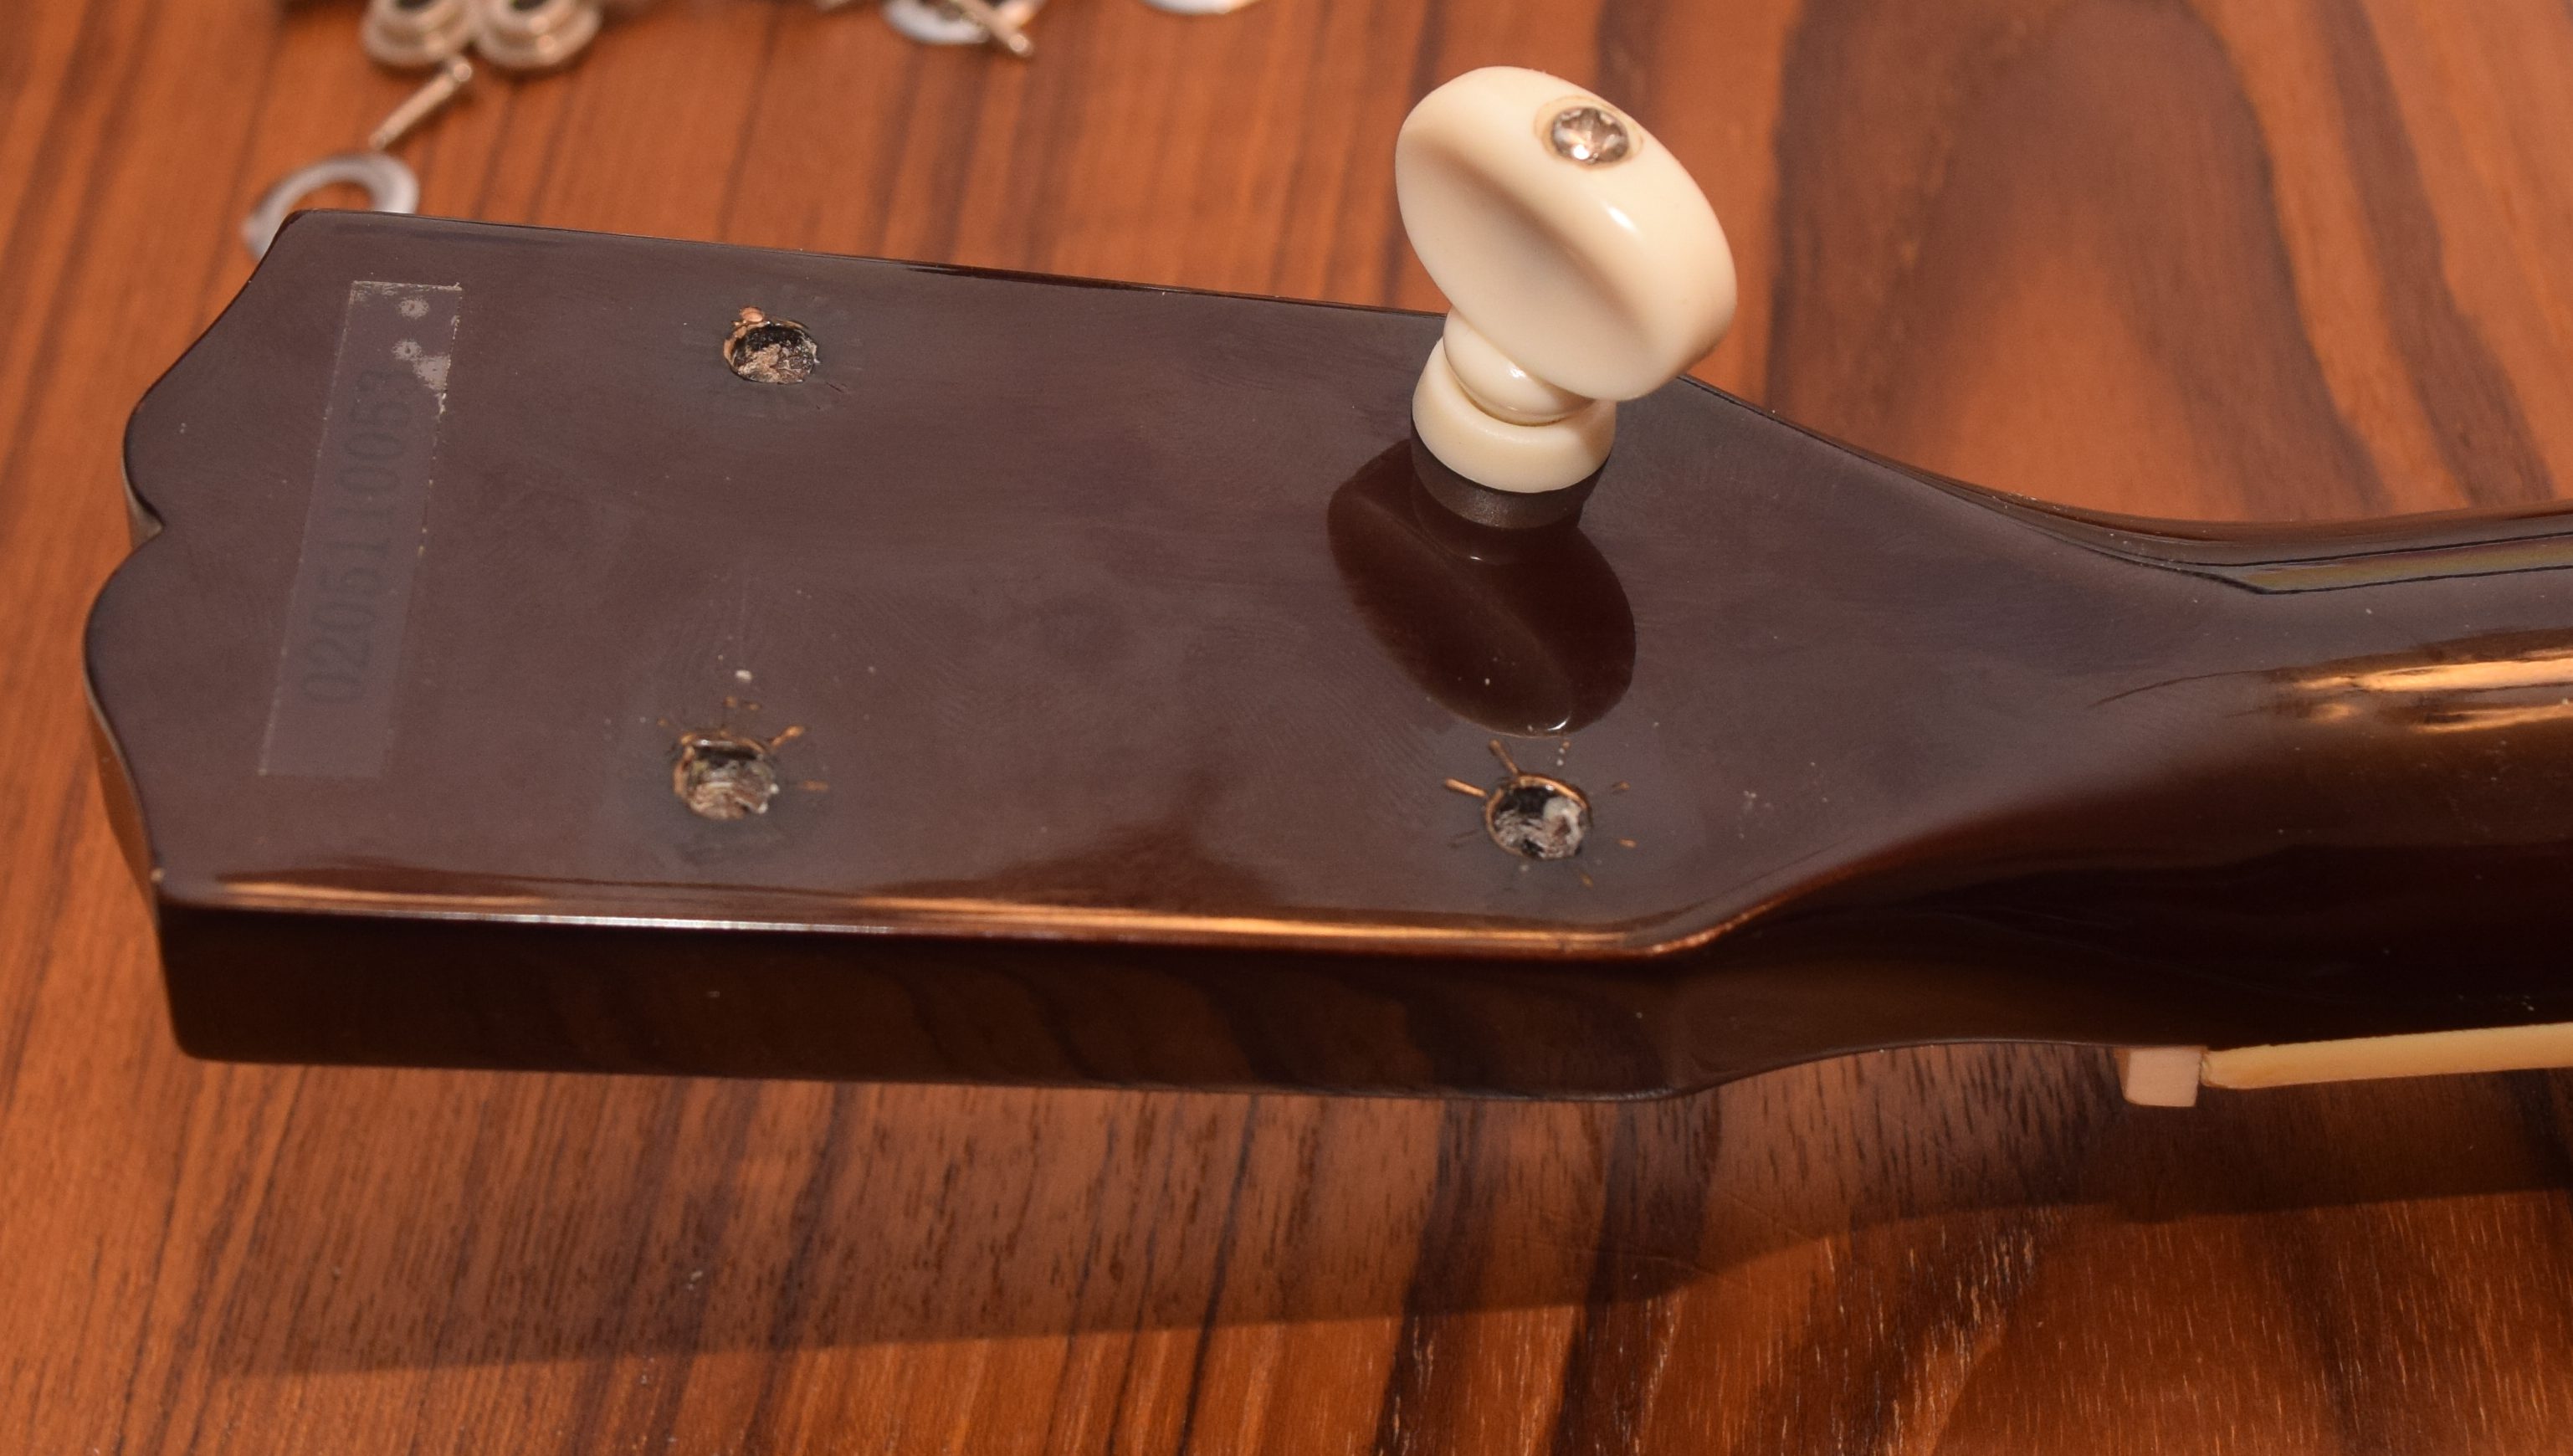
I carefully drilled out the backside and made sure not to break through to the front.  There was a little chip-out of the back paint.  Maybe not paint, I don’t know what it is.

DSC_0373

The chips and hole edges are easily covered by the tuner flange.  I didn’t have a drill bit small enough to pre-drill the screws included.  Instead I used an awl to push a good starting hole, and employed some screw wax to help them go in.  Everything went in smoothly with no damage to the screw heads.  After a few days the strings relaxed and everything stays nicely tuned.  Thinking about upgrading from friction to geared tuners?  Do it!

DSC_0377

DSC_0378

New Ukulele Collection

I mentioned in the previous post about a small collection of ukes that came my way.  After a little cleanup and a restring, they were ready to be accepted into the collective.  First though they needed straps.  I have found a strap to be very beneficial to my playing.  Changing chords goes much faster and more reliably without having to worry about the head dropping.

DSC_0135

The button installation went quickly and smoothly when using the technique I laid out in my button install post.  I pulled together a hodge podge of straps.  They all work, but some are maybe not the best style for the instrument.  I will have to keep an eye out for fun and flashy straps to match each ukulele.

DSC_0136

On the left is an acoustic-electric Cordoba, the middle is an eight string Lanikai, and on the right is the Kala I restored.  They are all tenors which is a bit bigger than the concerts I typically play.  The size upgrade is nice, and I think this might be my new standard size.

Ukulele Restoration

I came into a few well loved and used ukuleles by chance.  This kala is my favorite by far.  It is very similar to one I had looked at new in a sam ash.  This kala is a slightly different style and is even more gorgeous!  It has obviously seen a lot of play time.

DSC_0120

DSC_0122

The fretboard looks almost black near the top frets, while you can actually see the rosewood at the lower frets.  Years of finger oils has given it a great color gradient.  Likewise on the back of the neck, the finish has been polished from satin to a high gloss near the top frets.

DSC_0118

Unfortunately there was a pretty heavy level of grunge built up around the fret wire, and the nut fell off when I tried to change the strings.  A few dabs of titebond type 3 and a small spring clamp had the nut back on the road to happiness.

DSC_0123

The cleaning was all done with a microfiber cloth.  I didn’t really want to clean off too much of the oils, and I don’t know what, if any, finishes were used on the fret board.  A good microfiber cloth is perfect for this.  Good at buffing, and non-abrasive.  All that green was from the frets being mildly corroded by salty body oil.

DSC_0126

Once the glue had all dried and the body had been buffed clean, I was able to restring.  It looks and sounds gorgeous.  More images of the collection and recordings to follow!

DSC_0129

Ukulele Strap Button Installation

I got a ukulele a few weeks back and have been learning to play.  One issue I have run into is with holding the instrument while playing.  The instrument is rather small and doesn’t sit well on its own.  My left hand ends up holding up and stabilizing the instrument as well as trying to hold the strings for chords.  It makes playing difficult and tiresome.

In comes a strap to keep things stable and supported.  My ukulele didn’t have a strap or even a button, so I decided to install one.  An experienced musician friend of mine warned against messing with buttons in instruments.  It seems like it should be a simple enough woodworking operation.

DSC_0316

After watching a few guides I decided to create my own video with some steps that would be natural for woodworker, but that musicians might not be as familiar with.


Written Instructions

  1. Use painters tape to mask off the area
  2. Measure twice and carefully mark your button location with a pencil
  3. Use a nail or awl to create a small indent
  4. Drill slowly with a bit just smaller than the shaft of the screw, hold both up to a light to check
  5. Use some kind of wax to help the install, very little is needed
  6. Install screw slowly by hand, you can always tighten more later

Things you will need: masking tape, pencil, awl or small nail, drill, drill bit, wax, and screwdriver.  A ruler would be helpful.

I hope this helps others be more confident about installing a strap button.  The method can be used to install a button anywhere on the instrument.  Just go slow, tape the area and be mindful.