New Router Mill and Table

After months of messing with my 3018, I am upgrading to a shapeoko pro. Having owned a shapeoko 2 many years ago, and gained a new appreciation for the power of modern CAM software available to the hobbiest, I was ready to jump in deep. A recent engineering award at work sealed the deal by adding a monetary boost. The 3018 was fun, but kind of a toy. I struggled to get my projects to fit on it, and it was barely able to slog through the oak handles on my material cabinet.

The new tool is a big beefy bad boy! So big in fact, I had to use a toddler for scale. He is 32″ tall, and this thing can cut a 33″ square. Everything about it is designed very stiff compared to any of my previous mills, and I think to get something better would require a custom build or doubling the price tag.

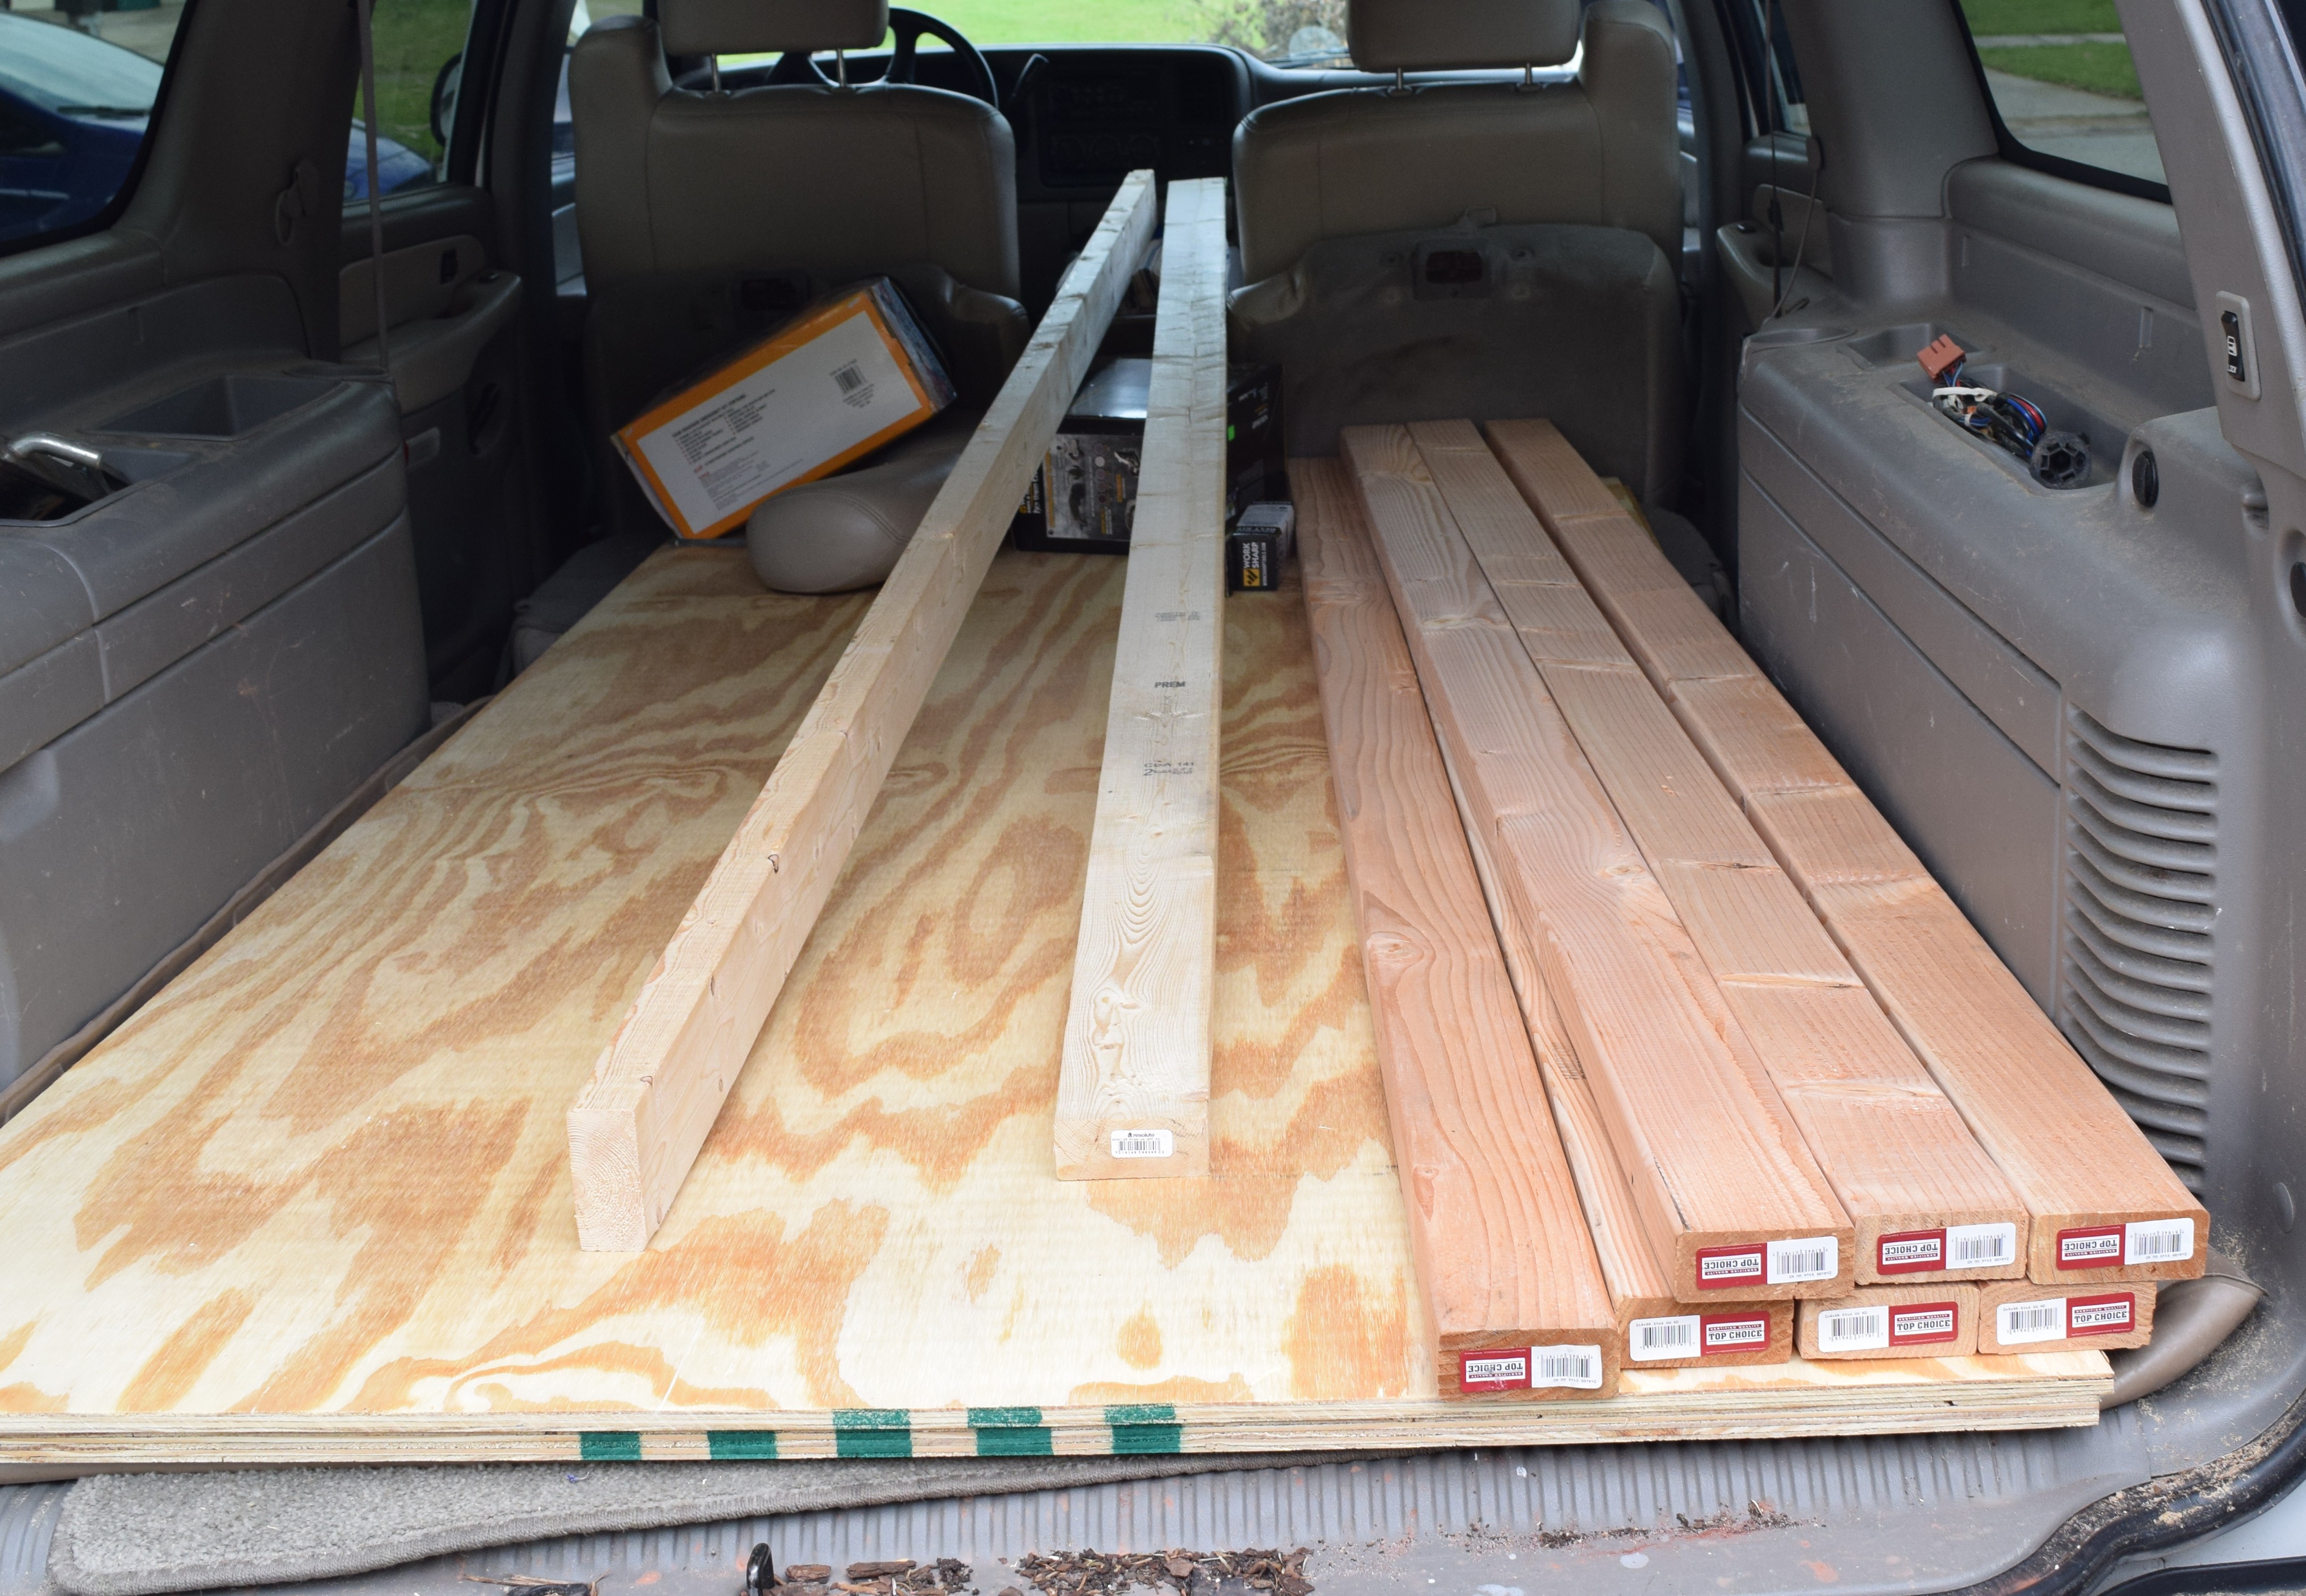
A big CNC router requires a big table. I moved a lot of shop things around in my head until I decided I could actually fit this beast. My woodworking bench had to scooch over a smidge, but there was room, and it keeps the mill in close proximity to my computer stand.

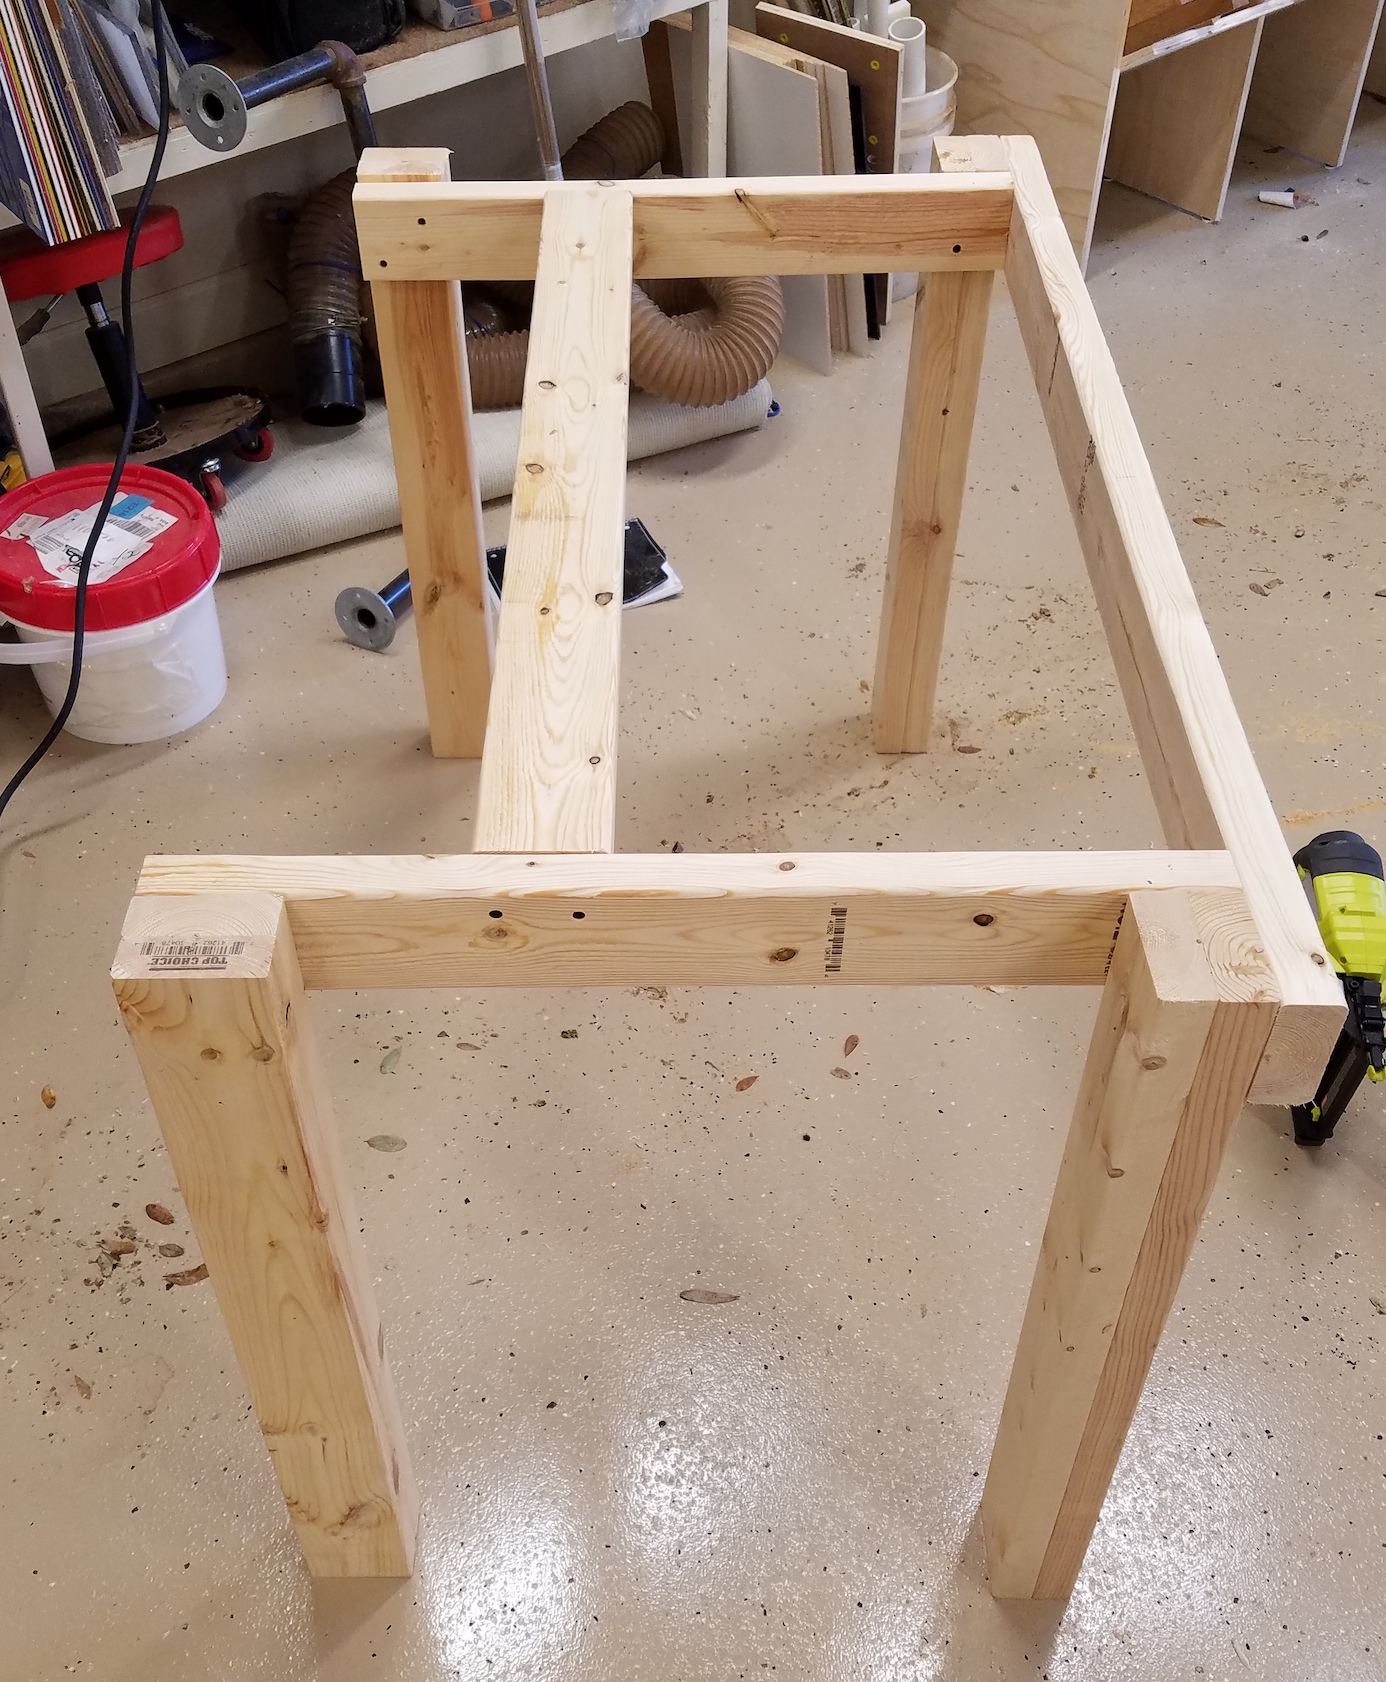
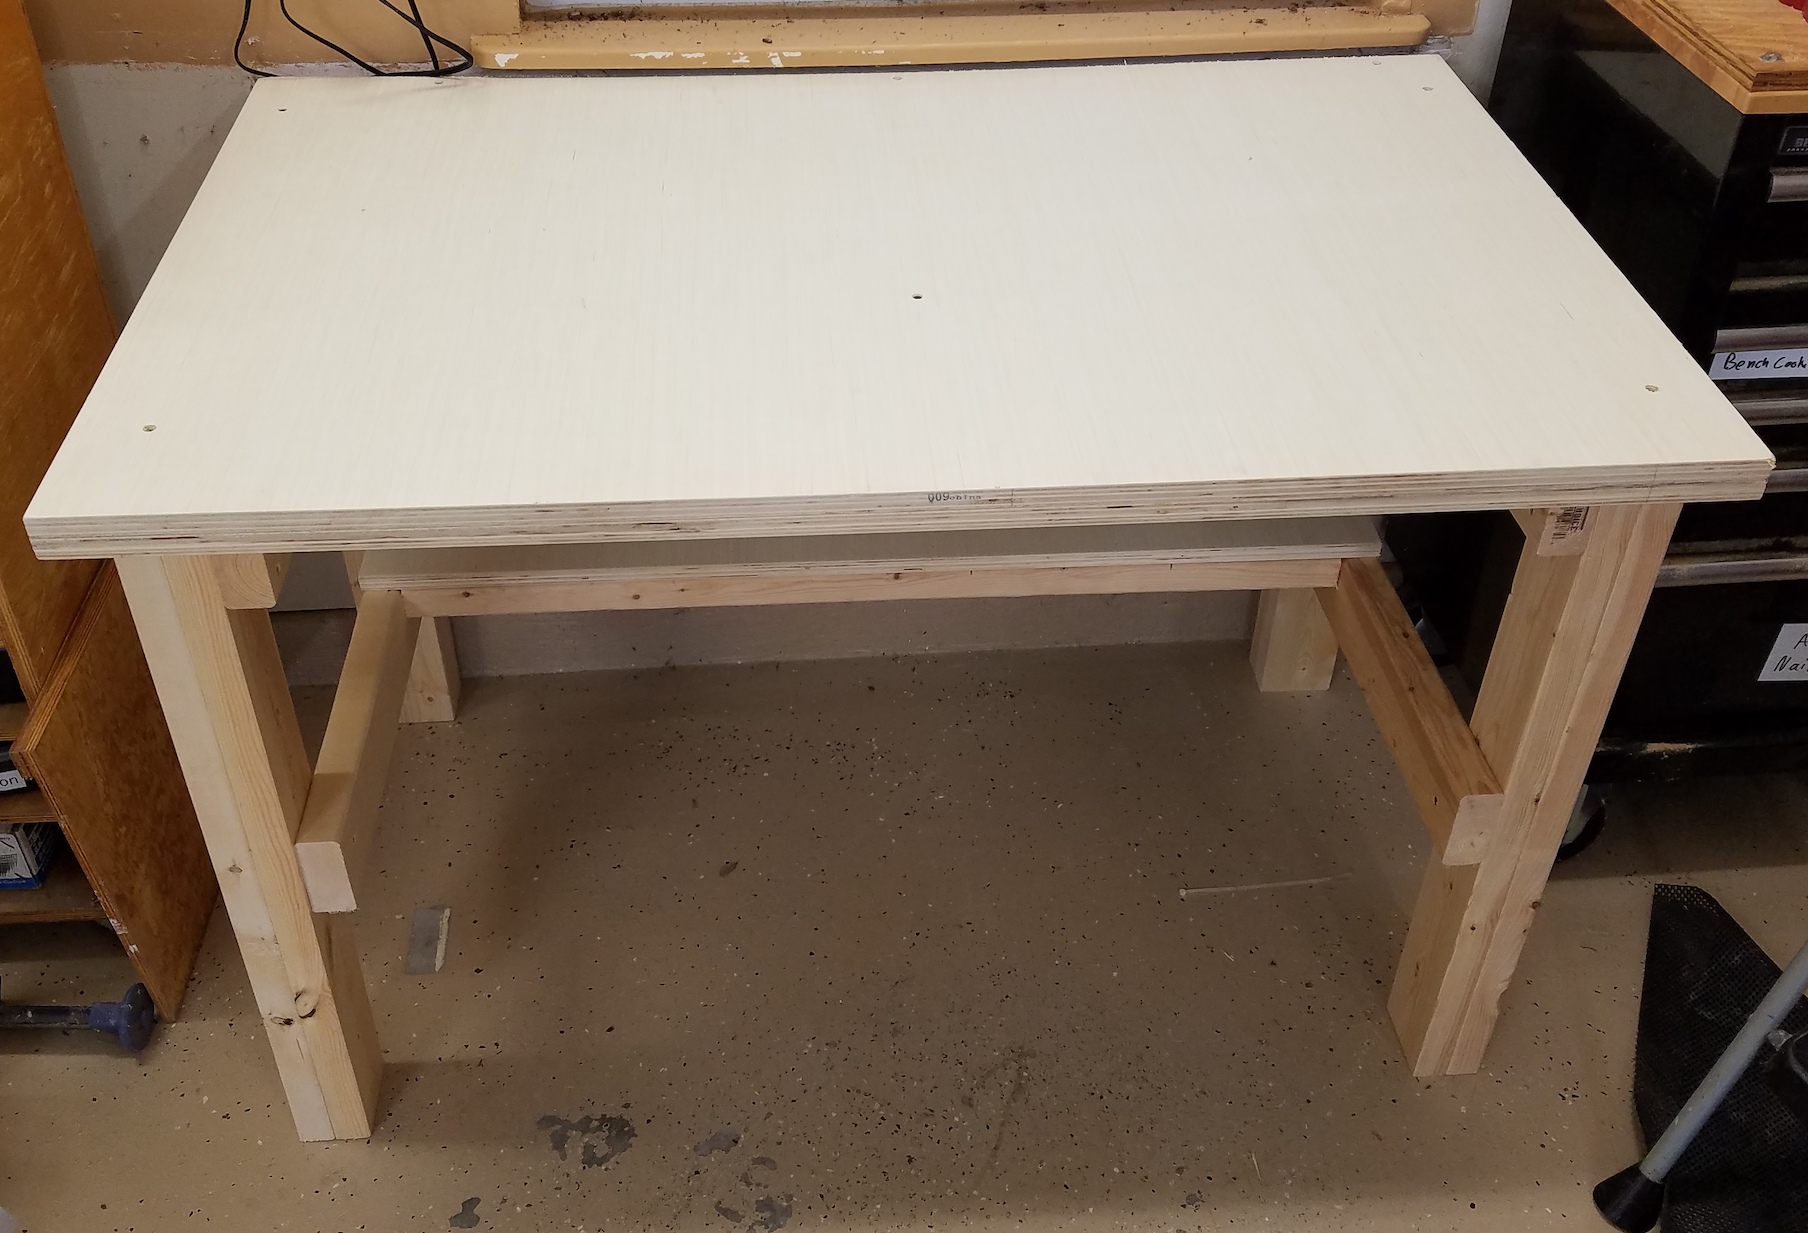
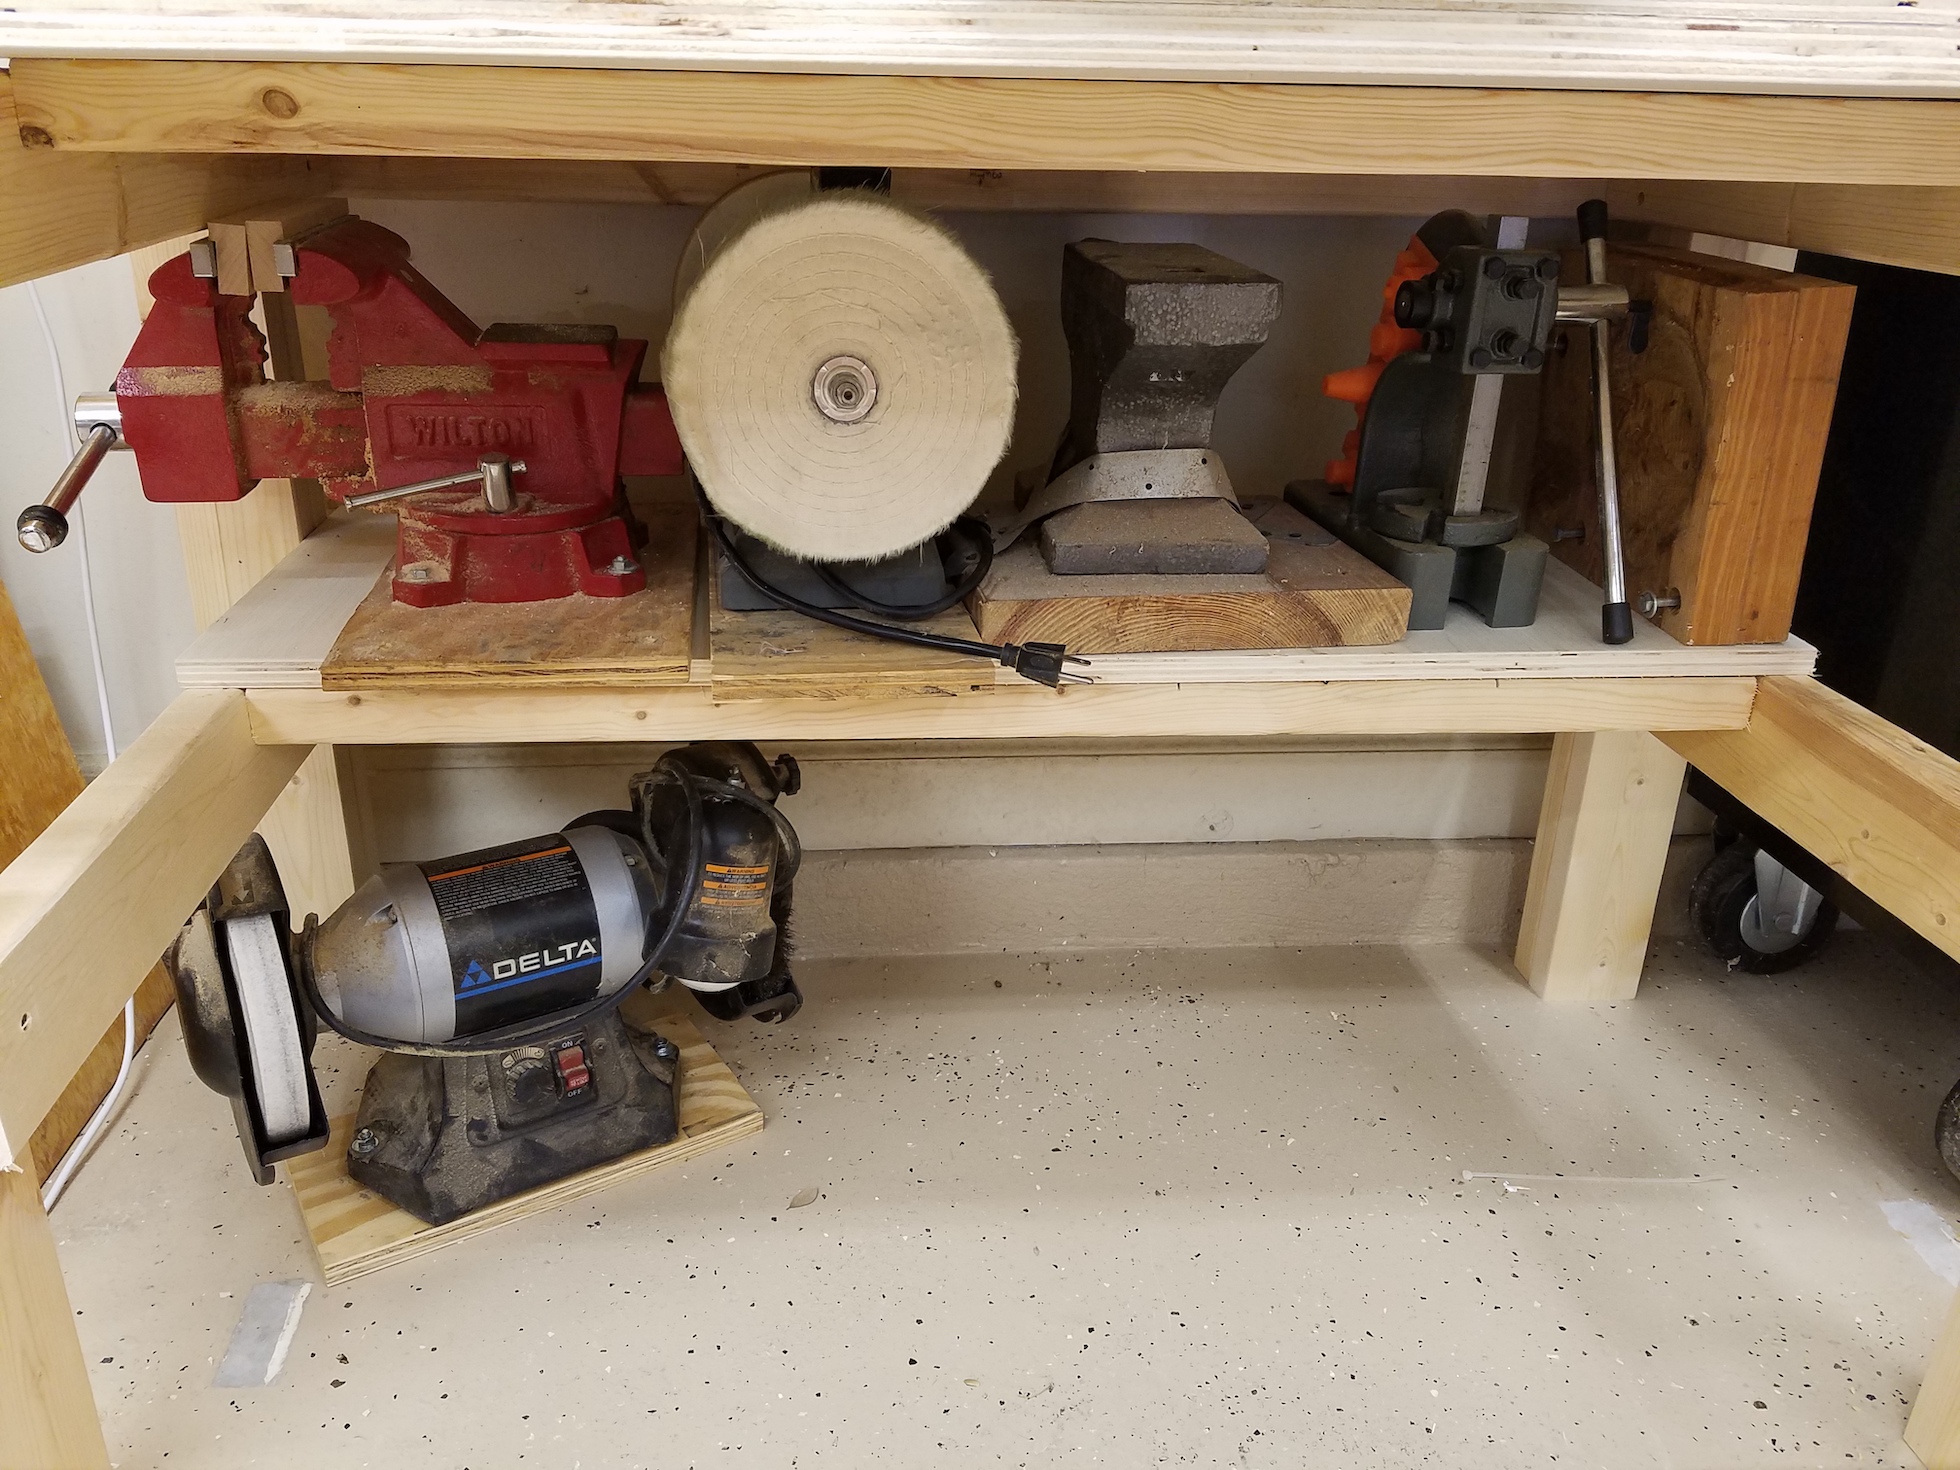
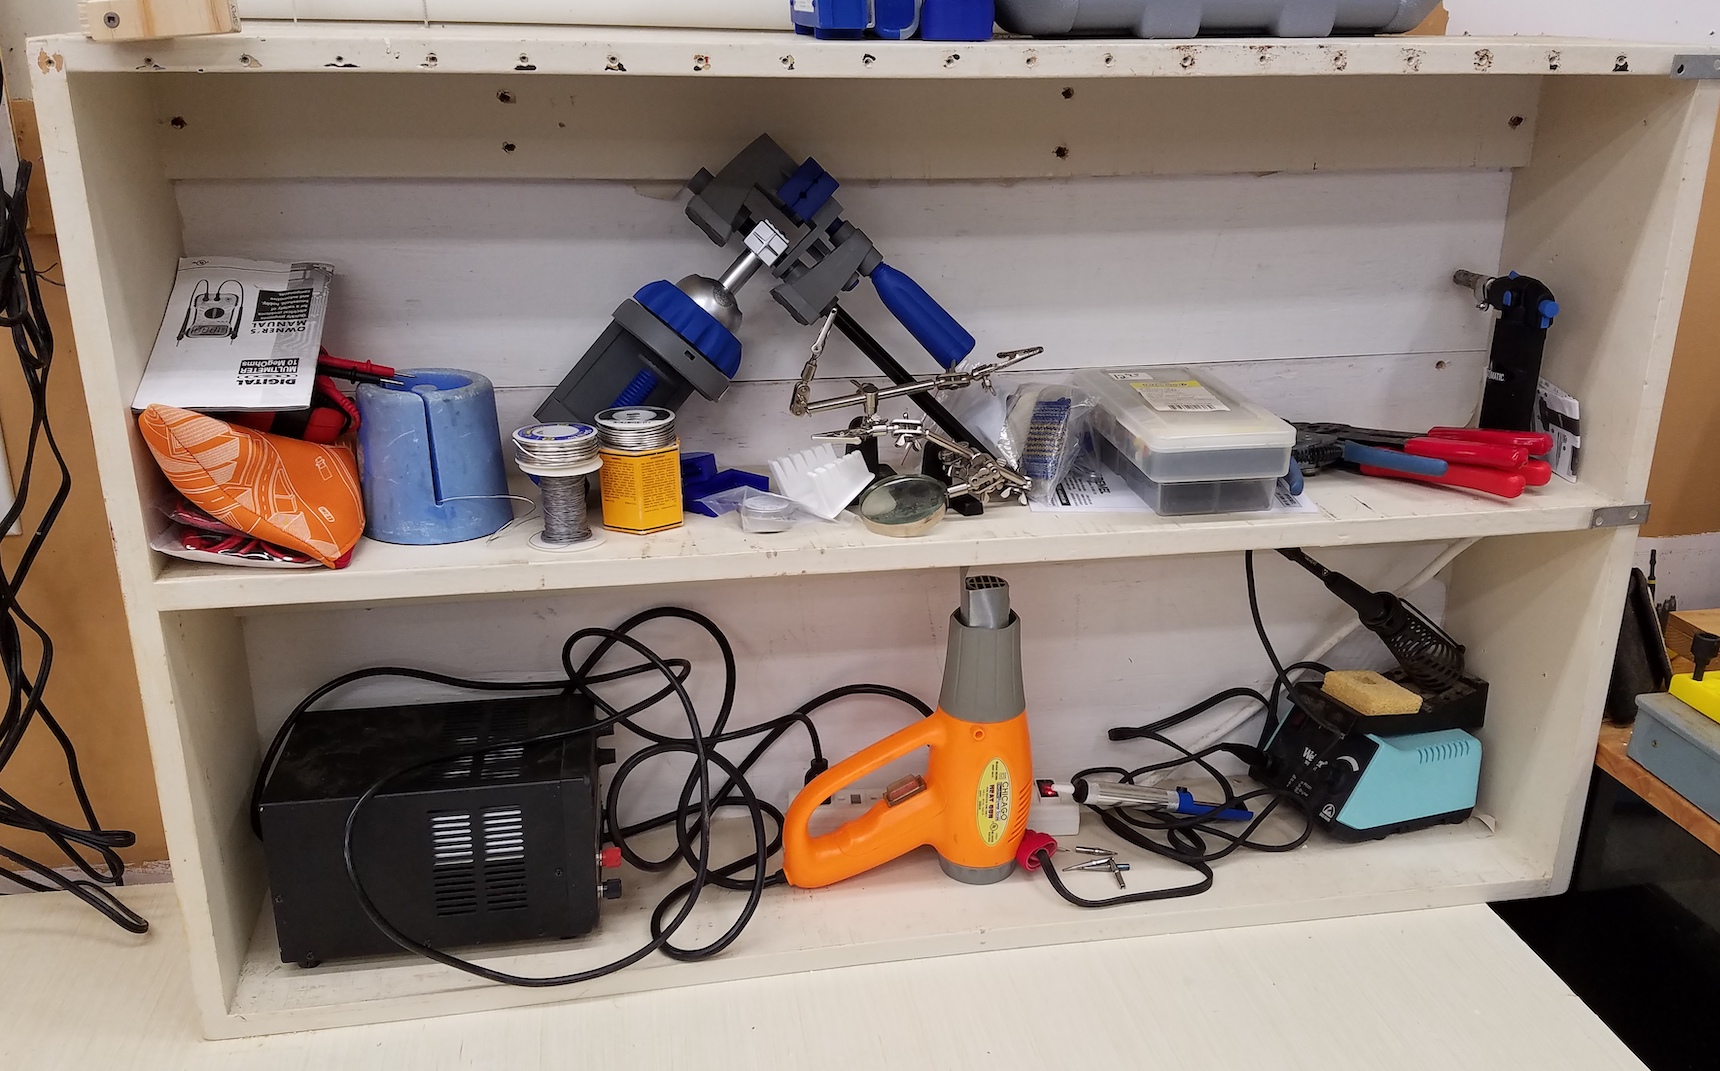
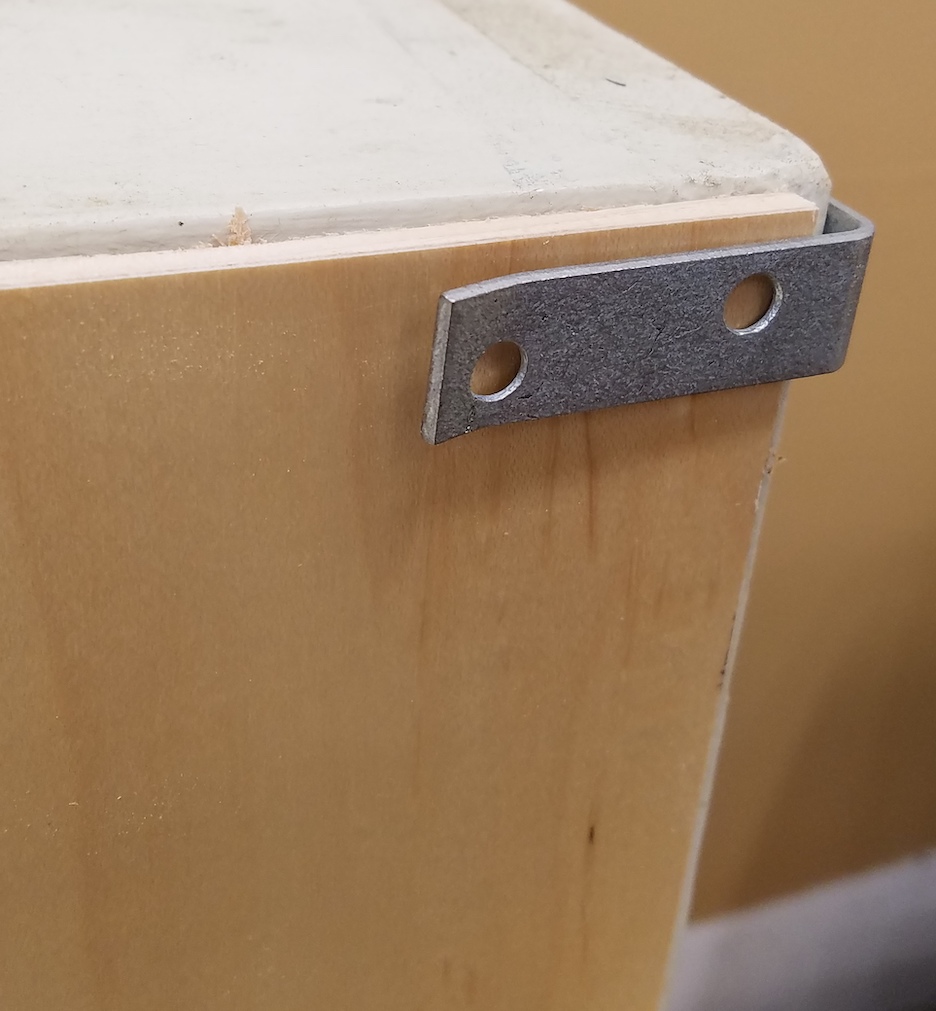
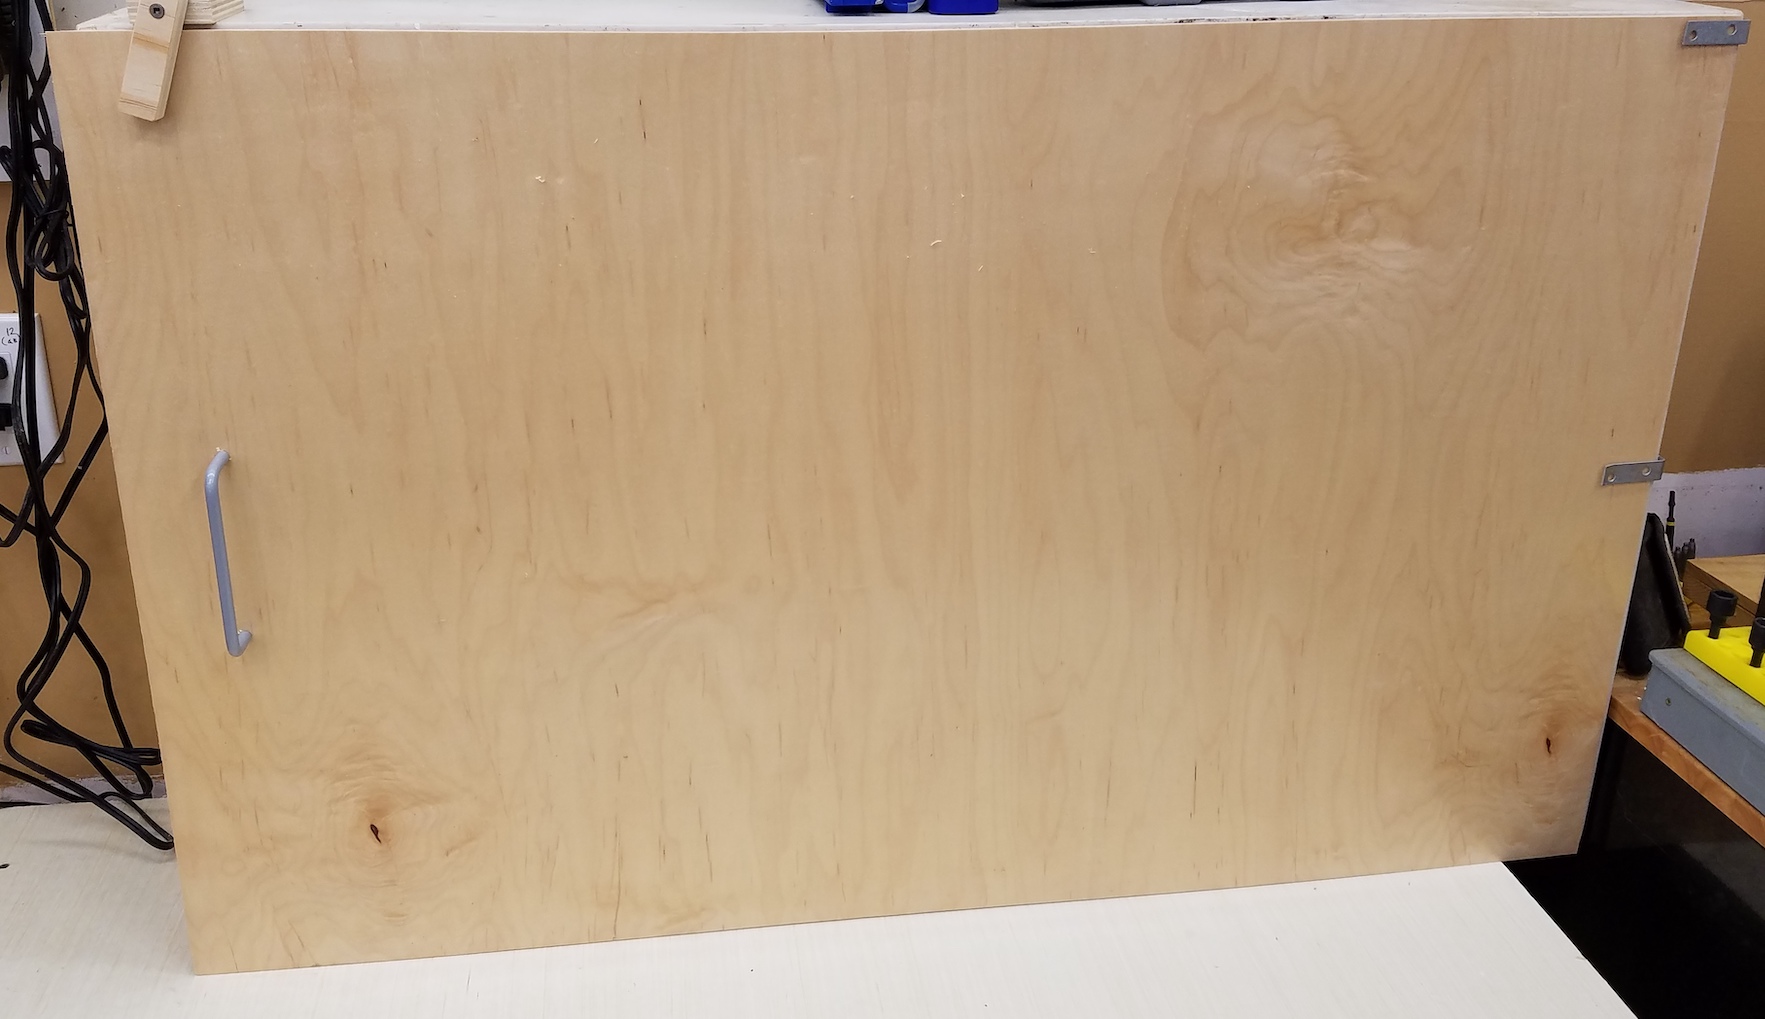
I was thinking torsion box originally, but only put a top on it. I started by running some 2x4s through the planer to get them flatter and squarer and all at an even set of dimensions. The top is 3/4″ plywood with the legs two 2x4s at right angles. I put it on casters because everything in the shop is required to be on casters. I threw a level across the top of the table and it was quite flat until you got to the edges of the plywood. That should hopefully be a good enough base for the mill. The bottom has storage area for all my plastics and metals with room to spare. I’ll probably put together some drawers once I live with the table for a bit and see where I naturally sit/stand.

The build was delightful. Good instructions, simple assembly, high quality parts, and only took a few hours. This thing is over 150 pounds of metal! My only hitch was that they sent me the wrong spindle and some headers on the controller board were installed upside down. They eventually made that all right via tech support.

I added a set of double LED strips under the X rail to help light up my projects. I expect a home made Z-touch probe and different dust collection solutions is in my near future. Regardless I got it all setup and blessed by the tech priests of the adeptus mechanicus. A coworker got me reading warhammer 40k, so I had to do some crafting for myself and him as a gift.

I got the new control board installed today and couldn’t help but start by measuring the stage accuracy, table flatness, and XY squareness. All of the numbers have been fantastic. I just have to check the spindle tram, then we are off to the races. I did try some test cuts in MDF. It was flying like a hot knife through butter.

Heavy Work Bench

Shop work is still mostly getting usurped by home improvement projects. In moving stuff around the shop it occurred to me that there was some space for a work bench. I want something very sturdy to attach bench tools to (vise, bench grinder, anvil, etc), but also a place I could sit and do repairs. I worked out a design that requires most of a sheet of 3/4″ plywood and a hand full of 2x4s. I started by planing 2x4s square and gluing them together for extra thick legs.

The frame is 4ft wide which goes well with a 4×8 sheet of plywood, and 8ft 2x4s. The recessed bottom shelf gives some space for storing bench equipment when not in use. It would store more and be more accessible if it was full depth, but I wanted leg room so I could sit comfortably at the bench.

I screwed together two sheets to make the top. I was going to glue them, but screwing was good enough and I can replace the top piece if it becomes damaged. This is a very stout table.

Bare, and in its final resting place it looks pretty good. Time to load it up with junk! From left to right, my big red vise from my dad, old bench grinder turned buffer, anvil, arbor press, carved depression used to hammer bowl shapes in wood, and bench grinder on the bottom.

Most everything is attached to thick pieces of wood. This lets me put the tool wherever I need it and clamp them down. I made sure the table top protruded from the legs far enough so I could clamp anything across the entire width. I kept thinking of fancy dovetail sliders, or bolt patterns, or bench dogs that would let me install a wide variety of tools. In the end a thick top and some C-clamps is simple and effective.


While I was dismantling parts of the garage to make space for this bench I pulled off these shallow shelves. It was kind of perfect for what I wanted to add to the bench. These shelves can be used to store my electrical/electronics stuff. That jives with my idea of this serving as a part time repair bench. The shelves were up against the wall and didn’t have a back. I added one to keep stuff from falling out the back.

The lower shelf has a power strip and commonly used equipment. It probably needs more organization in the top shelf. For now I am going to live with it and see what gets used often, and what can live elsewhere.

A front cover helps keep the dust out and things from falling off the shelf when banging on the table. Two bent brackets catch the front door on the right hand side, and a swiveled part holds it at the top. To remove you just swivel the one catch and slide the door left a few inches. That way it can be removed or installed even when the table is covered in junk.

I have had it this way for a week or two now and already I christened the table top with grinding detritus and grime from the next project. We all knew that pristine surface wasn’t going to last long.

Mobile Clamp Rack

The next set of loose junk around my garage to organize are my clamps.  In the previous shop, these filled every nook and cranny along one wall.  Those dowel holders are a very efficient way to pack as many clamps in as possible horizontally.  The professional metal brackets don’t pack quite as tight, but look nice and make the clamps easier to access.  I had bought a number of them in the past, but didn’t use very many for lack of space.  Thank goodness I never throw anything away!

My new shop has a lot of space, but not as much wall as you would think.  Windows, doors, and a lot of plumbing stuff take up much of the available wall surface.  To remedy this, I need a new wall.  A wall on wheels.  I cut down two 1/2″ sheets of plywood and screwing them down to a 2×4 frame.

The wall stands on a set of 2x4s with casters and is short enough to get under my garage door.  I can roll this anywhere in the shop now.  The frame took 4 boards, and the legs with braces another 2 for a total of 6 2x4s.  I had the casters already, but went for nicer grade plywood and ended up spending about 100 dollars to build this.

I used a few of my previous clamp holders, but ditched most of the hodge podge for the nicer looking store bought metal brackets I already had.  Everything got directly screwed to the plywood face.  This big of a blank canvas supports all sorts of solutions and lets me pack in clamps efficiently.  I even managed to get my saw/router guides and cawls onboard.  I may eventually re-organize so they are grouped more by length than type of clamp, but with everything so open it is really easy to see what is available.


Sawhorse Sheet Goods Table

UPDATE: This setup served me well for about 6 months, but died this weekend.  When assembled it is a really sturdy platform.  Disassembled, the brackets are weak and prone to bending.  During the assembly process they are easily damaged as well.  I don’t regret having built it, but will be doing sheet goods differently in the future.

I will need a temporary work surface when renovating the new house, and have a lot of sheet goods and drywall to cut up.  I thought about building some sawhorses and adding on to them, but I don’t have much time.  Instead I started with two of these Burro branded horses.  Honestly, for 20 bucks a piece, these things are pretty good.  Made in USA, stackable, stable, and strong.  Just make sure you are choosy, not all were created equal.  Explaining the build will be easier with a before and after shot.

I want to put a full sheet of plywood or drywall on these and have the cuts be well supported.  That would require a structure almost a full 4×8 feet.  I used metal brackets to help it be a quick assemble and break down job.  Two 42″ 2x4s go across the saw horses.  The saddle brackets keep them upright and a right angle bracket on the edge holds a long support to tie the two horses together.

DSC_1411

Every time I use these as a cutting surface I am going to cut into the 2x4s a little.  I will adjust blade depth to minimize the damage, but I don’t want metal anywhere near the top surface.  The brackets that hold my middle support were too tall, so I cut them down.

DSC_1416

The table breaks down into 2 stackable horses, 2 supports that go on top of the horses, 2 long ones that go from horse to horse, and a center one to help prevent sag.  The only extra screws needed for assembly are at the four corners where the long stretchers meet the supports on top of the horses.  I made sure to install the screws low so the saw won’t catch them.  The horses still stack, even with those saddle brackets installed.

When I assembled this I didn’t screw any of the 2x4s down to the horse’s saddle brackets.  It all still felt stable.  A half inch sheet of plywood and a few screws should turn it into a sturdy temporary work bench.  All the drywall cutting I need to do will be aided by this big stable platform as well.   The assembled dimensions of the top are 44×84″.  Enough to support a 4×8′ sheet, but leave some room at the edges.

When the house work is done I will probably keep it as a way to break down sheet goods.  This will be a big upgrade over my current method of hanging them out of the back of the suburban.

Backyard Ballistic Target

The kitchen renovation rages on, but between painting and tiling there is time to work on a little side project.  A backyard knife throwing target.  It also works for hatchets!

wp-1483059011512.jpgThis project took only 3 2x4s, a bit of glue, and a hand full of screws.  I started by cutting up a pile of 3.5″ long 2×4 segments.  These are going to go together like a end grain cutting board.

At 5 across and 10 tall the target comes out roughly square.  15 x 17.5.  You could add another row to make it very square, but that would have required additional 2x4s and this seemed like a big enough target.  Easy to say now when I hadn’t missed 10 times in a row.

Titebond type 3 is an outdoor compatible glue, even if standard 2x4s aren’t.  Not sure if that matters or not.  It will be a race between the environment rotting and pulling the target apart, and my ability to actually hit something and cause damage.  My monster belt sander came in handy for leveling the edges of the rows after the first glue up.

wp-1483059011520.jpg
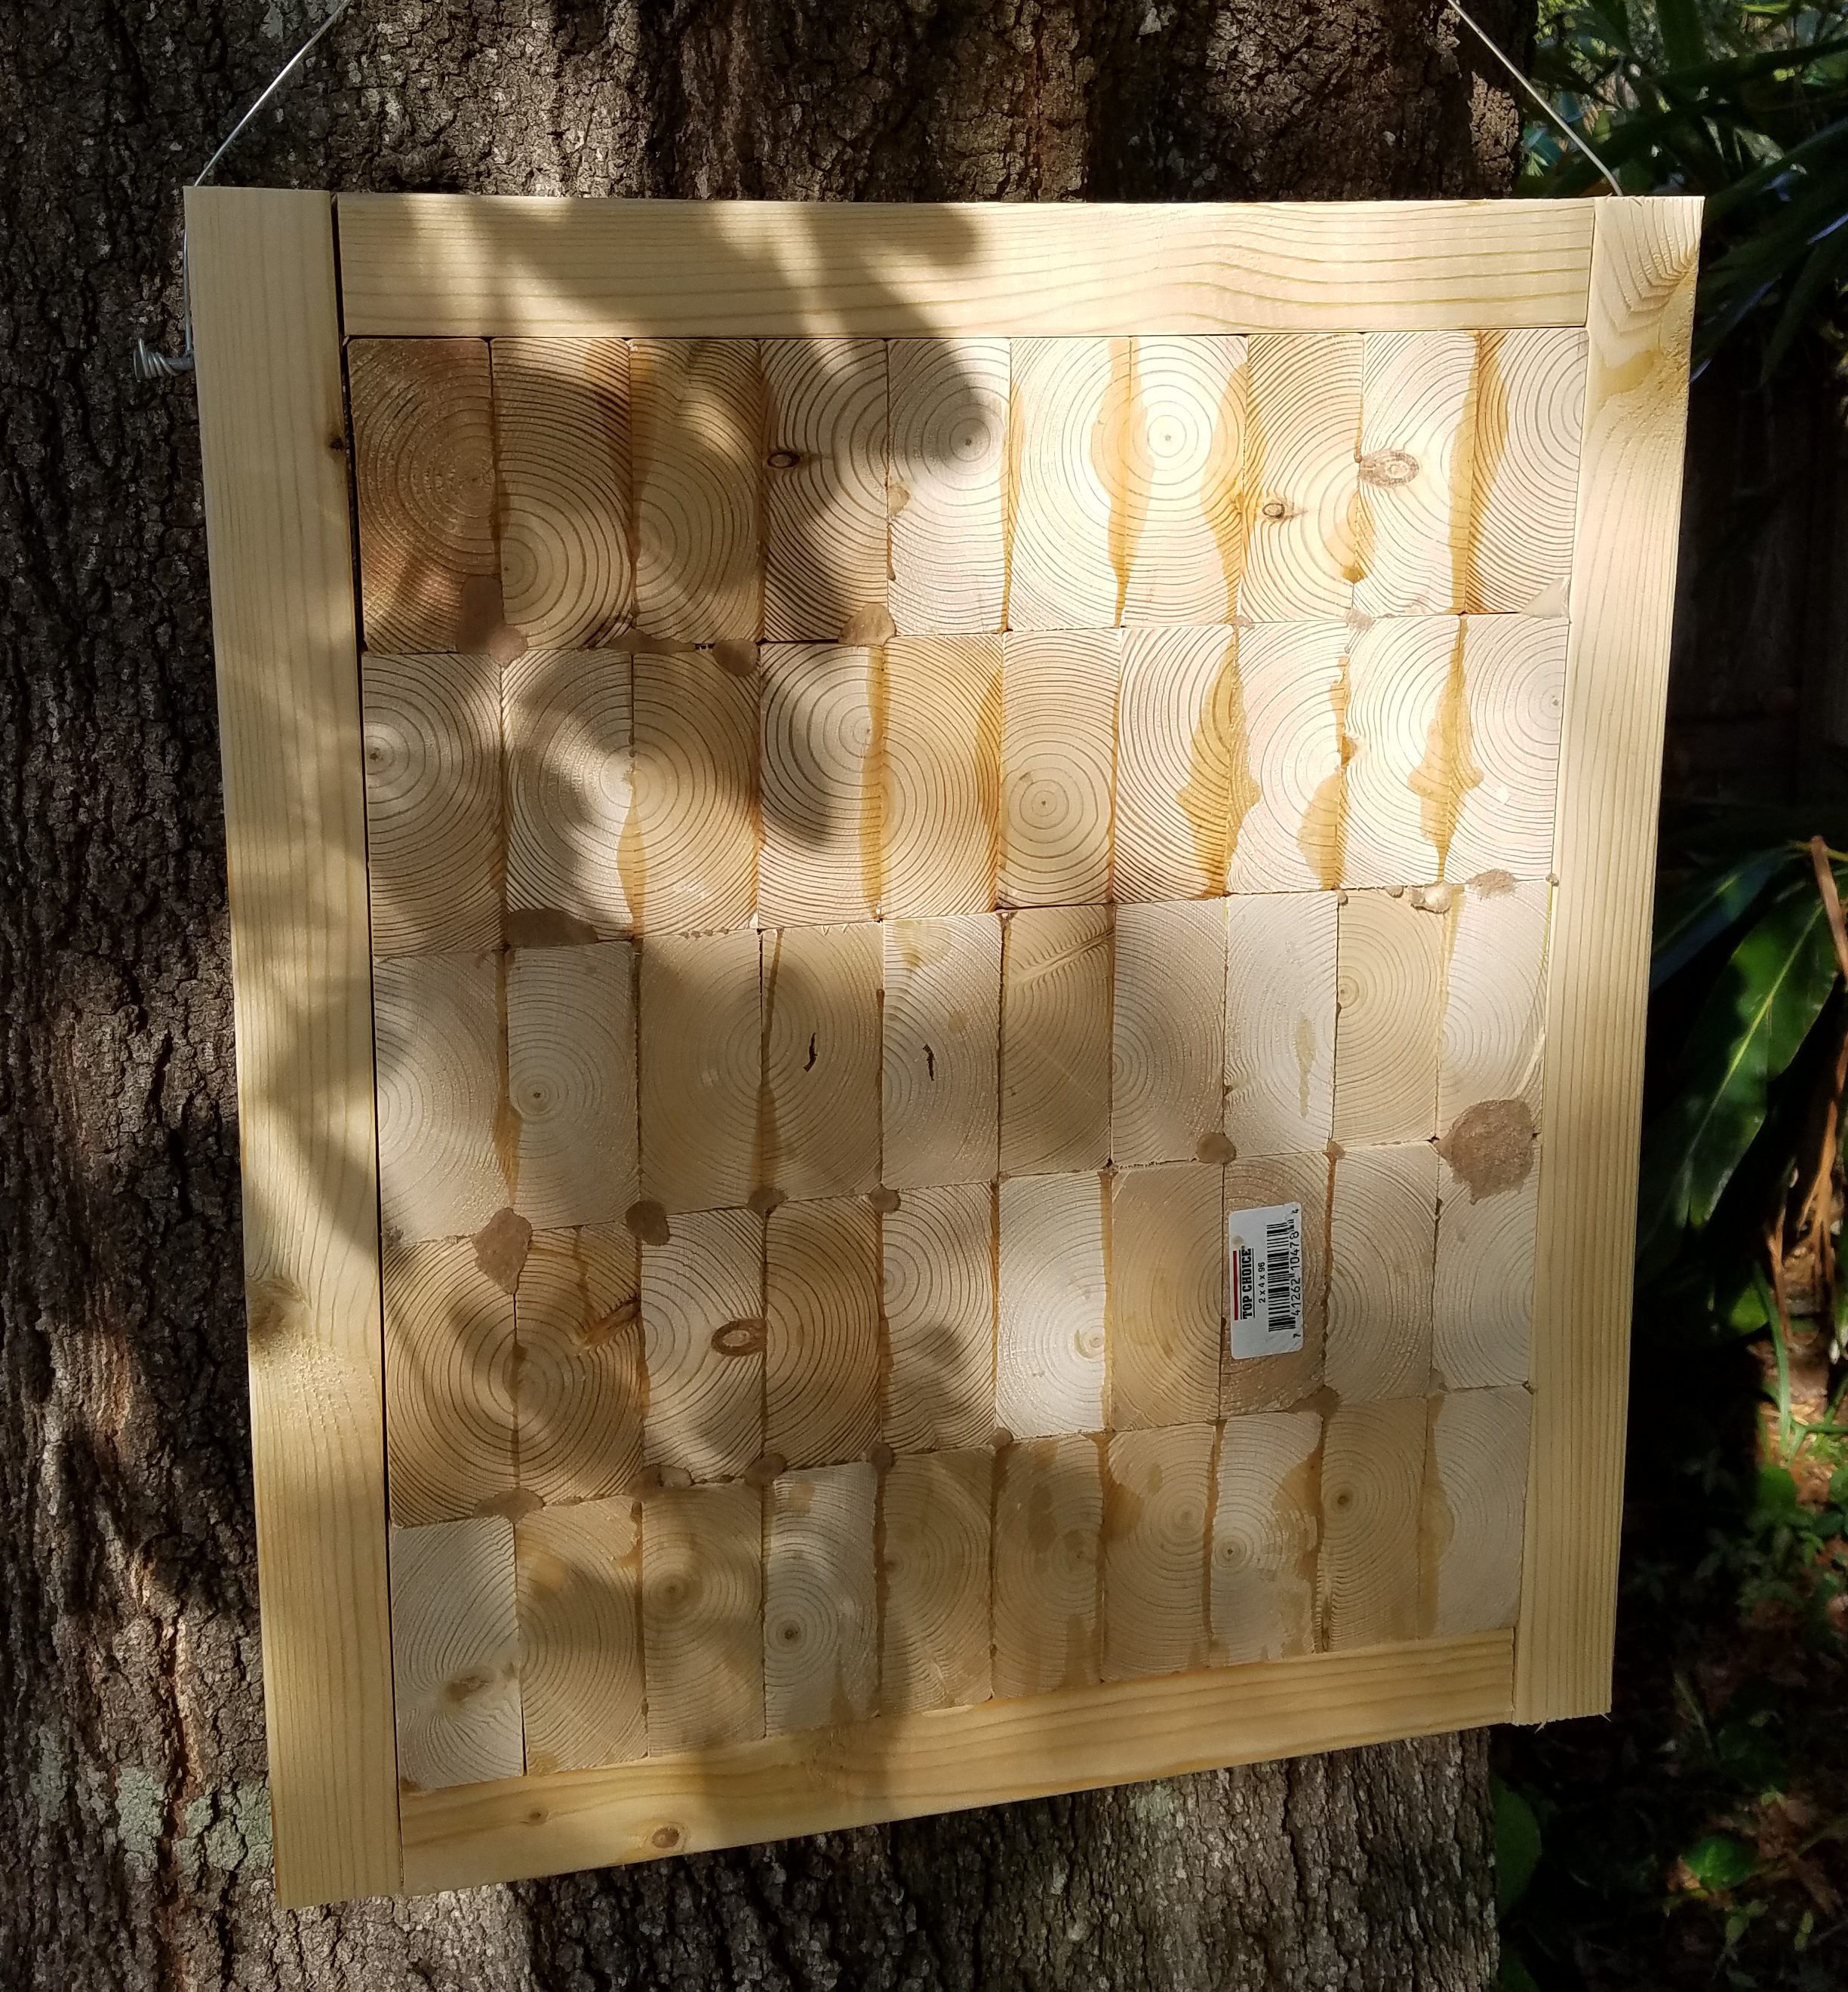
With everything glued I had a big block target.  This alone would probably last a while, but could somewhat easily cleave in half along the grains.  To help with strength I wrapped the edges with 2x4s screwed into the core.  This will help hold the relatively delicate center together longer.

A bit of throwing shows that I am no good at this.  Maybe the environment will get to it before my accuracy chunks out the center.

Giant Jenga

A few weeks ago a friend of mine asked for help making a giant jenga game.  It sounded like a lot of sanding, luckily I could make him do that part!  Step 1, acquire a lot of 2x4s and plywood to make a box.

DSC_0090

Now, cut a minimum of 72 10.5″ sections.  We cut a few extra 2x4s so we could be choosy and kick out ones with bad knots or dings.

The stack up comes out to 3 feet tall.  It is the equivalent of eight 8 foot 2x4s.  That is a lot of weight.  How about a box to move it around?  Stacking them 6 wide gives a box that is more or less square in width and height.  It should be a good dimension for picking up and transport.  We used pocket holes to tie it all together.

Once the box was assembled the moment of truth came.  Would it all fit?  I left a 1/2″ in length so the wouldn’t get bound up coming out of the box, and added an inch in width to help get fingers in for pulling them out.  It worked well, you can comfortably stack 3 wide at a time from the tower to the box.

Best of all, the box fits perfectly in the back of his hatch back.  It is heavy enough to require two people to haul across any distance, but it is a good size for one person to carry for a short bit.

DSC_0109