Pinball in Cube

This goes nicely with my nail in the block “puzzle” as a way to confound coworkers.  Once again it takes advantage of wood’s ability to swell along the grain when wet.  I started with a 3″ block of maple and drilled centered holes all the way through.  I had a 3/4″ pinball, so 5/8″ was the drill diameter

After looking at it for a bit, I felt like the holes were too small for the total block size.  I needed bigger pinballs or a smaller block.  The install was pretty easy.  I dunked the block in a bucket for a day, and then pushed the ball in on my wood vice with the help of a small 1/4″ deep socket.  The hole still looked ok, but I threw it back in the bucket for a few hours to make sure it returned to its original shape and size.

With the ball installed and everything dry, I took it back to the table saw for a diet.  All the edges came down till the proportions seemed right.  I liked the look of the chamfer, but my crummy chamfer bit chewed up a few edges.  Still, overall it looks nice and should leave some heads scratching.

Full Sized Mite Board

I built a small mite board using sticky pest strips a while back.  It worked, but you had to keep buying the strips, and the sample area was small.  The new mite board is bigger and instead of sticky strips uses white coated masonite board and spray oil.

DSC_0241

The bottom board (right) is the white coated masonite with a 1×2 cleat attached to the bottom.  Its purpose will be more obvious later.  The top that holds the screening is a 1×2 ripped in half and held together with small angle brackets.  Everything got a coating of bright yellow spray paint as much for ascetics as for environmental reasons.

DSC_0243

Once the paint had cured I put down more of my aluminum 1/8″ screening.  Looks good, but I am starting to wonder if my use of yellow for every bee related article is over doing it…  NAHHHHH!

DSC_0291

Now to put it under the hive.  Before I do, I gave the mite board a heavy spray of cooking oil.  The coated masonite shouldn’t soak anything up, so when I am done I can clean it and use again as many times as I want.

DSC_0292

It looks good under the hive, and the cleat is more obvious now.  Just sit the top on there, and slide it back until you hit the cleat.  It also gives you something substantial to quickly grab and get away.  Trust me, you don’t want to spend a lot of time messing around under there.

The board works perfectly, I am really happy with this design.  It installed quickly, caught the mites, didn’t cost much, is super reusable, doesn’t trap bees, looks great, and makes it very easy to see mites.  The only problem is that I have a lot of mites.

DSC_0294

It is hard to distinguish in the above picture, but there are dozens from a single day of monitoring.  We are going to have to start doing something immediately.  I have read good things about the powdered sugar treatment.  I still have honey supers on, so I can’t use some of the really aggressive stuff.  A single powdered sugar treatment isn’t highly effective, but done consistently week after week, it can supposedly knock down the population.  Our starting numbers are really high, so hopefully it can only go down from here.  Look at those horrible buggers!

DSC_0296

Mini Test Extraction

There is a lot involved in extracting honey.  You have to get the frames into your house without them being covered in bees, there is the removal of capping, the extraction, filtering and bottling.  Lots of steps with lots of potential for disaster and hang ups if you are new.  We are very new, so I thought a 2 frame mini test extraction would be worth a shot.  The girls are busy filling up the empty frames we added a few weeks ago, so we picked two (mostly) ripe frames to test my home built extraction rig.

This is the spinner portion of the centrifuge extractor.  I built it to go inside 5 gallon buckets so they would be easier to store.  There was an issue though, I didn’t give myself enough room on the bottom set of guides, and it didn’t fit.  So I started cutting and modifying and came up with an even better version that requires fewer parts.

DSC_0262

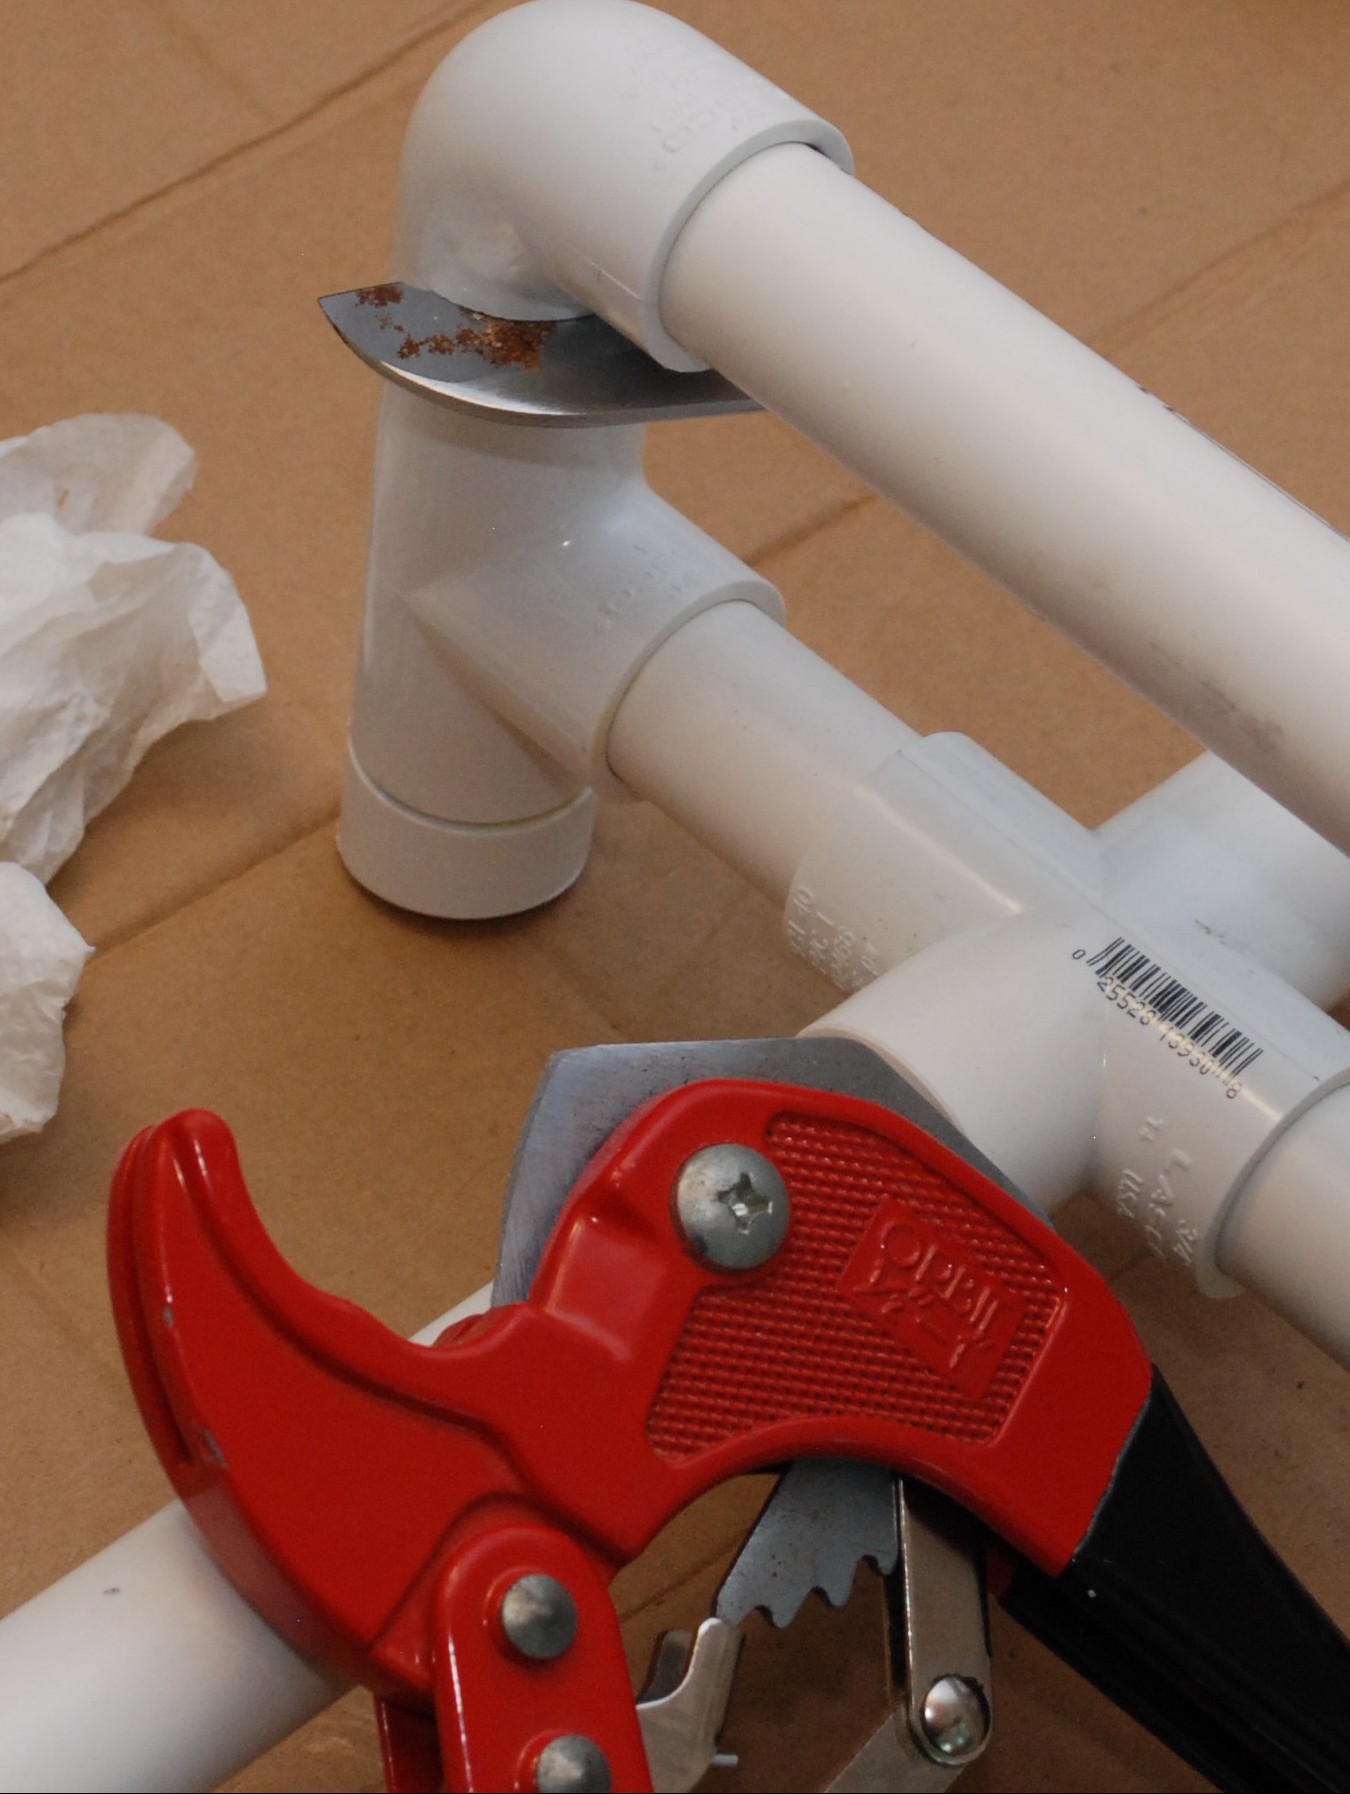
While modifying I broke the blade off my PVC cutters =(

DSC_0279

Now that I have learned how to properly build the bottom section I will make another and post it with full plans (parts list, lengths to cut, etc.).  Until then, just see what the results are from an extractor that cost less than 50 dollars in parts.


The Extraction

We took a set of full frames, de-capped both sides with an electric hot knife, and gave them both a spin.  The result was a pretty thorough extraction.

Once the honey settled and went through a filter we got some really amazing biscuits and honey.

DSC_0283

One frame was completely packed on both sides.  It lost 2lb 10oz going through the spinner.  The other was a bit lighter to start with and still had some open cells.  That one lost 2lb 1oz in the process.  We were able to bottle about 3.5lb of honey and 1oz of wax.  There is about a pound missing that probably got lost in the filters and side walls.  That will probably happen for extracting 2 frames or 20.

Assuming you do a pile of frames you can expect around 2.5lb of honey per full frame, or 25lb per super.  I have 2 supers full, and a 3rd on the way.  Oh boy, that is a lot of honey.


Wax Refinement

After letting the cappings drain through the filters for a bit I put them in a tub and did a series of rinses and soaks.  After a day of rinse and soak they appeared to be free of honey.

DSC_0284

A jelly strainer bag turned out to be perfect for refining.  It has a fine mesh on it, and you can toss it when done.  Basically dump everything inside, put it in an old pot and set the stove for low.  After a while the wax will all melt out and the junk will be left inside.

There will likely be some water in there from all the rinse cycles.  No bother, it will separate from the wax naturally.  Once you get everything melted, dispose of the bag and pour the pot contents into a form.  I used an old yogurt cup.

The hot wax will separate and float to the top.  Once cooled, break the wax out.  I ended up with a fairly clean chunk of wax weighing just over an ounce.  Bees are the best pets ever, thanks girls!!!

Raised Bed Clover

The variety of flowering plants we have been putting down over the last six months has started to bare pollinator fruit.  There have seen a number of bumble bees in our yard, and of course our own honey bees have something close to snack on.  I thought adding some clover would help out.  I picked up a pound of white and yellow clover and got going on a raised bed garden.

I considered tilling up some of the back yard and trying to plant where the grass had been.  I might give that a shot sometime, but doing a raised bed garden seems to be more of a guarantee of success.  I picked out enough cedar to make two joined 4ft x 8ft raised sections.

DSC_0249

12 foot board cut nicely down to 8 and 4 foot sections.  The corners and centers that tie everything together were made up of 4×4 pieces.  I went with galvanized lag bolts with washers with the hope that it will last longer than screws.  Time will tell.  Once assembled the thing was bigger than my garage, and almost too big to carry to the back yard.

DSC_0250

Before putting it in place I gave everything a coat of waterseal to add a little extra life to the cedar.  Once in the backyard weed screening was stapled to the inside to form a sealed area.  This meant I didn’t have to tear up the grass or worry about it growing up into the bed.  In all a serious time saver.

DSC_0253

A million trips wheelbarrow trips of dirt later and the beds were full.  I sprinkled down a few hands full of seed and mixed it into the top inch or so of dirt.  The picture below is about a week old with a few little sprouts start to poke through.

DSC_0261

Extended Apiary Area

When I first built our apiary I put down a few 20×20 pavers to serve as a base for the hive and working table.  It worked pretty well, but mowing has been a bit of a pill.  I haven’t gotten stung in a while, but it is always pretty dicy.  They just don’t like it when the mower gets right in front of the hive.  I can’t blame them, it is noisy and vibrates a lot.

My solution was just to roll down a bit of weed screen and extend the area out by another set of pavers.  We have already inspected the hive once with the new setup, and it makes seeing the bees easier in our immediate surroundings.  The first mow went really well too.  Just that little bit of extra space made a big difference in their comfort level.  When planning your apiary, it might do both parties some good to plan a mower buffer zone in front of the hive entrance.

Before

DSC_0186

After

DSC_0255

My Mi Trip

I went with the lovely wife up to Michigan to see the family in laws.  I didn’t intrude with my camera on any of the reunion activities, but I did get a chance to shoot some nice time lapse and highlight a few roadside attractions.  Mi is very green and gorgeous this time of the year, but their roads are terrible!