Sous Vide Ribs

You can sous vide just about anything, but should you?  I typically smoke ribs a few times a year, and mostly get pretty good results.  Exact texture can be tricky, but honestly as long as you don’t dry it out or have it be way under cooked, they are always good.  A foodie friend of my highly encouraged me to try sous vide ribs, so I took the jump.

This will be a good chance to finally field test my franken-cooler.  I have had it for over 6 months and haven’t actually used it for real until now.  By my friends suggestion I read over this serious eats article on sous vide ribs.  It is comprehensive and potentially more than you want to know about ribs.  I wen’t with some st louis cut spare ribs because that was the sale of the week.

20180127_154731

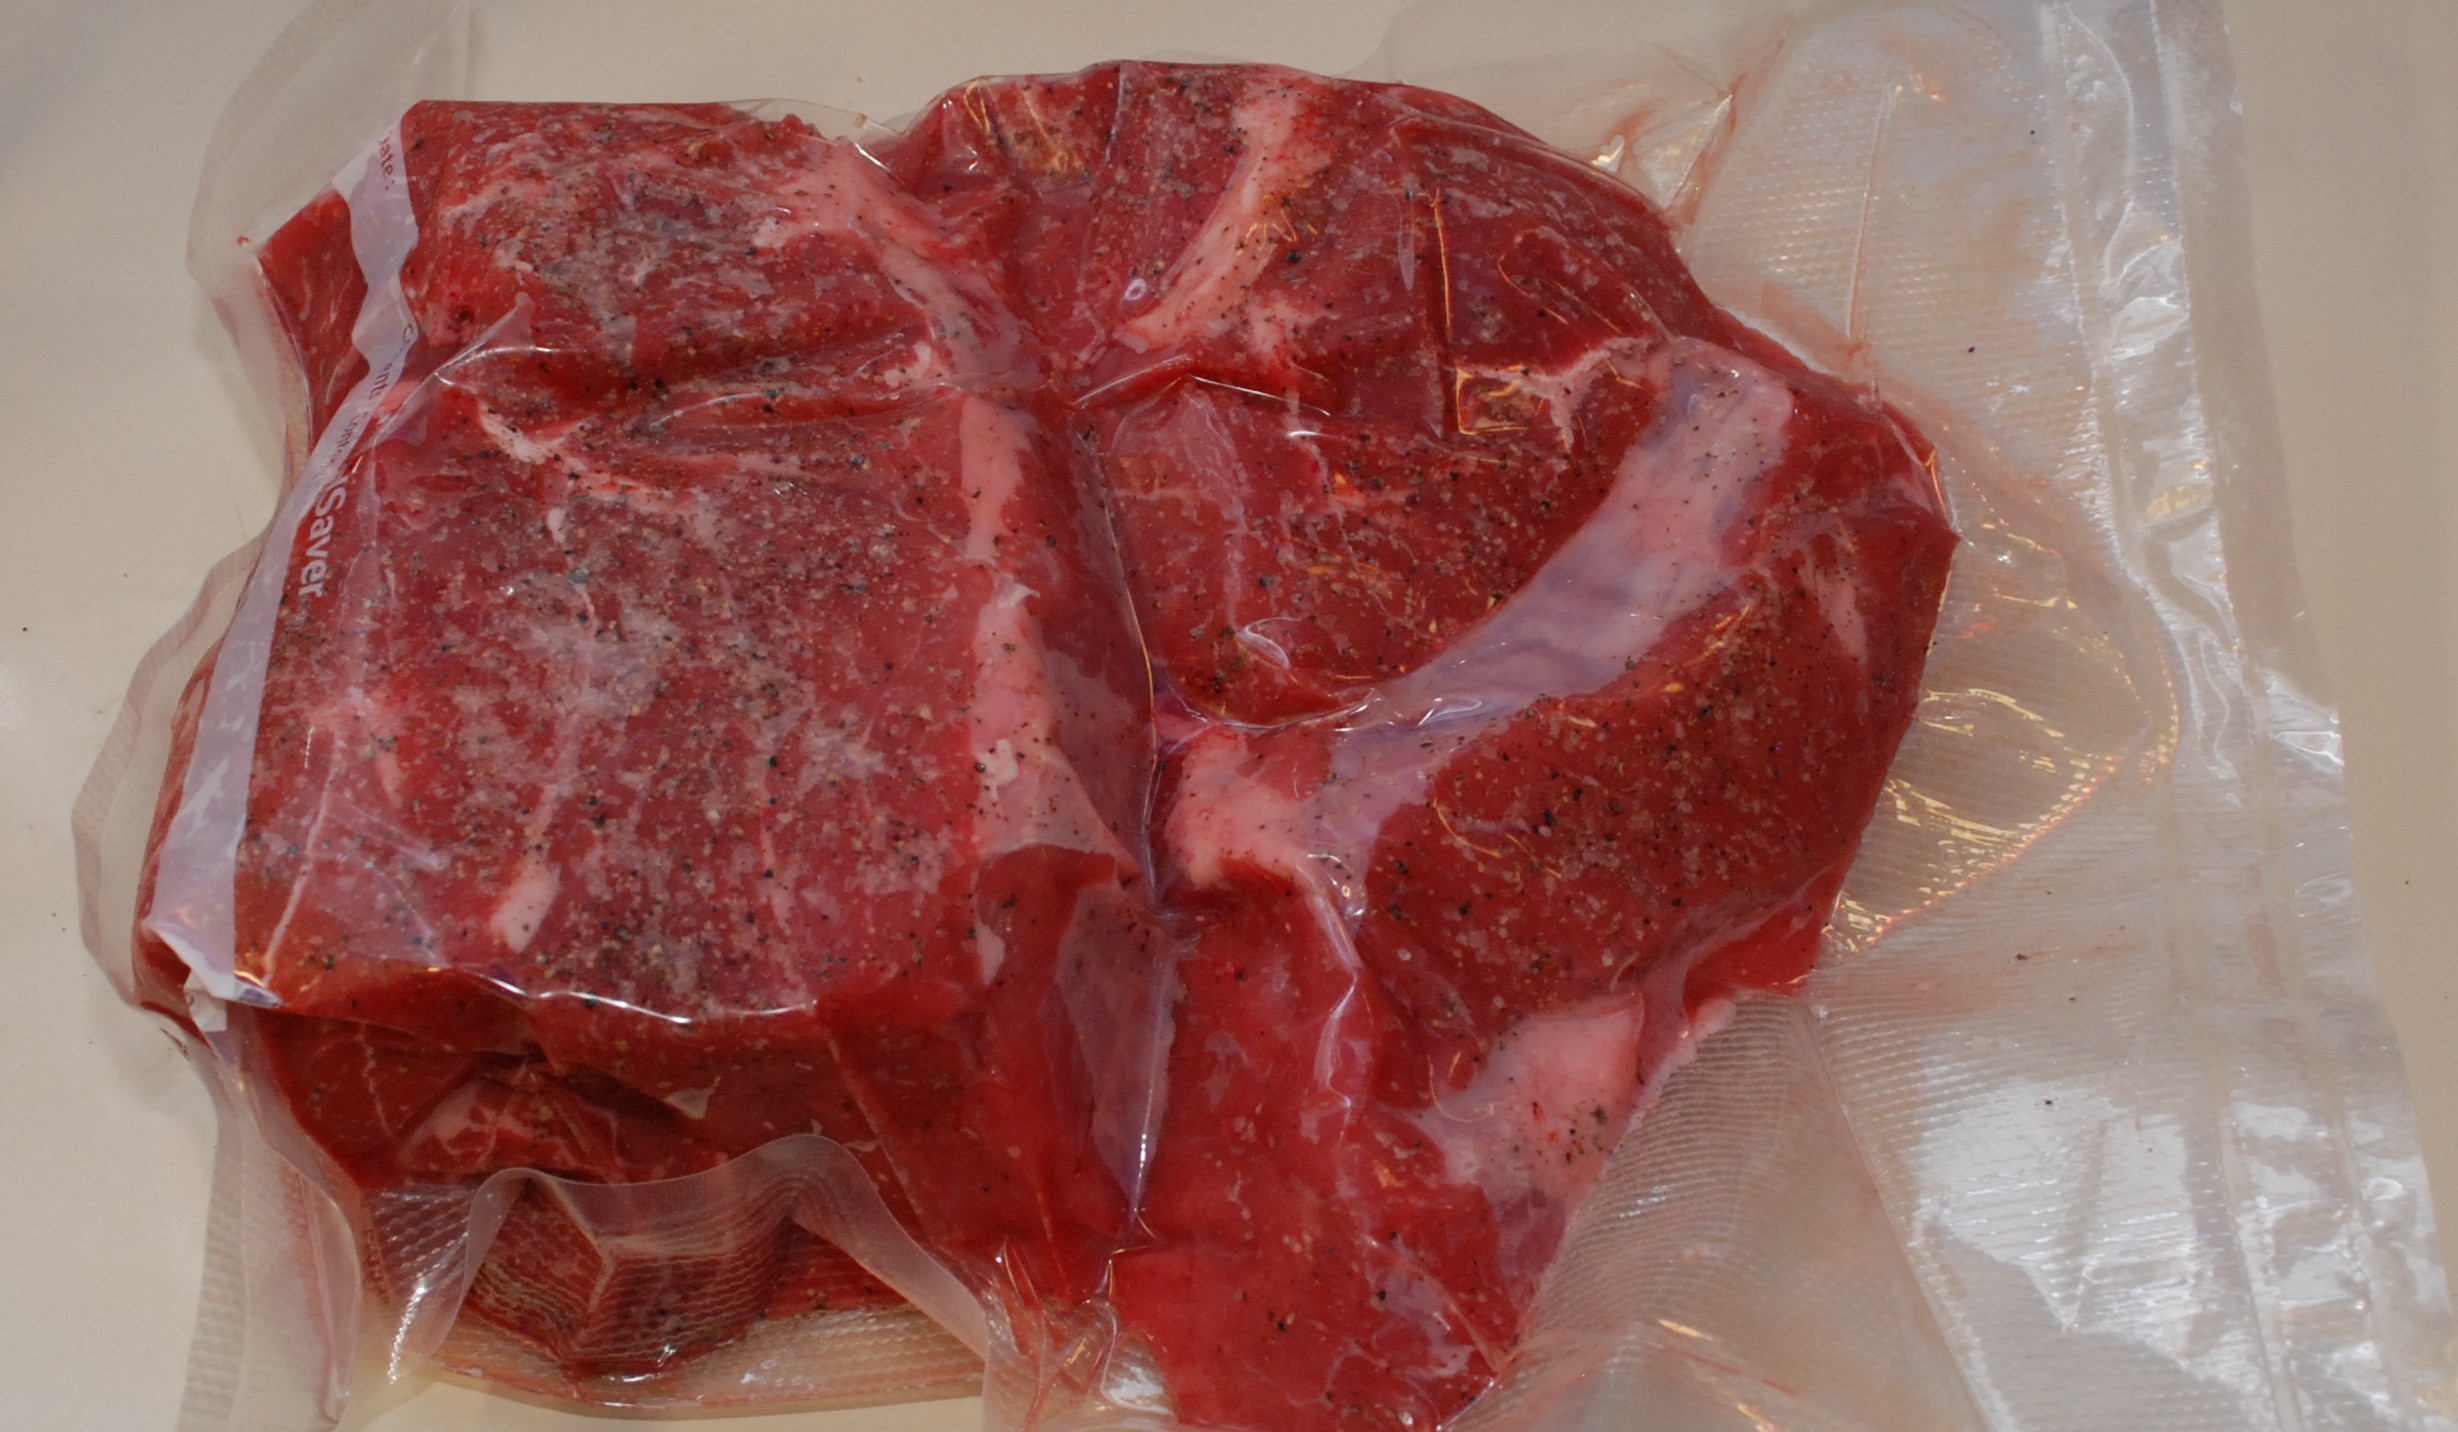
I went with a rub I had on hand, but did take the article’s note on salt to heart.  I had an idea to help speed up the heatup time of the franken-cooler.  That is a lot of water to bring up, and often the whole cavity isn’t full.  I filled a new paint can with just enough sand so that it wouldn’t float.  Pound for pound, water has 5 times the heat capacity of sand.  It still took forever to come to temperature.  Maybe some styrofoam weighed down with bricks would be even better.  Maybe I will just not bother to worry about it next time, once up to temp the outside barely gets warm, so it has to be pretty efficient.

20180127_161213

In they went at 152 for 24 hours.  They looked and smelled good a day later, but there is one final step.

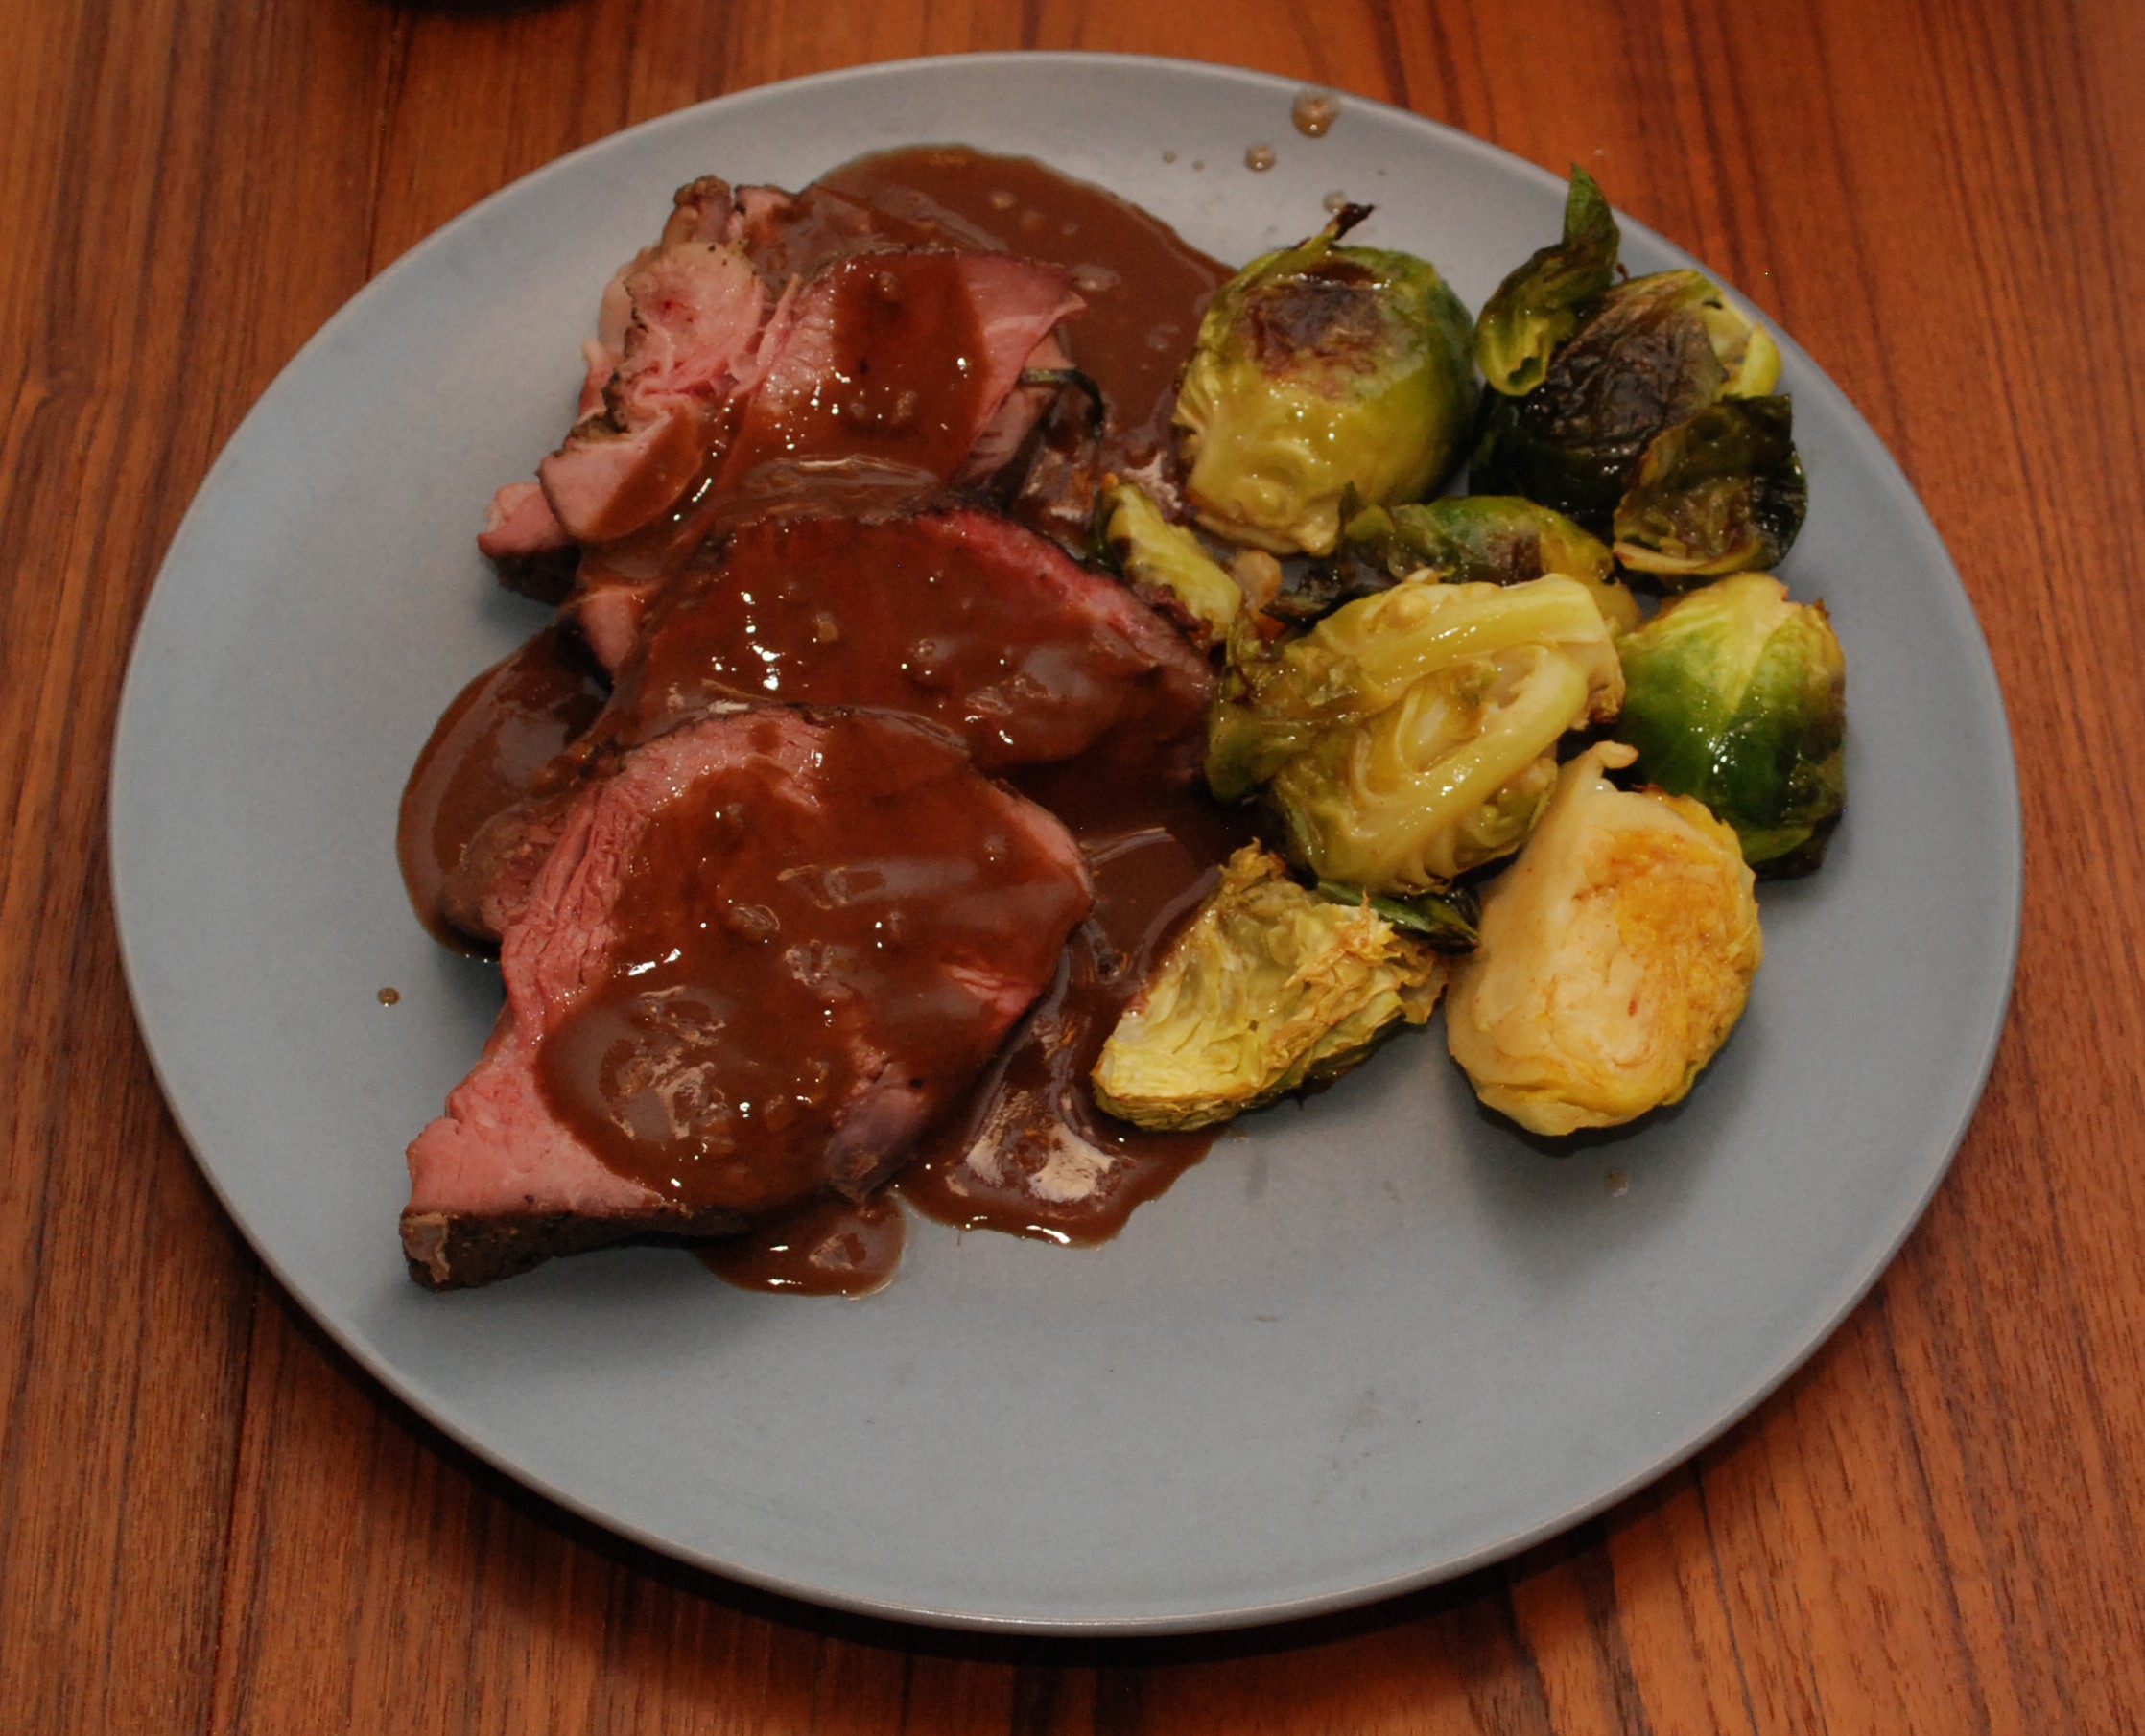
The instructions had an oven or grill finish.  I opted to grill them for just a bit and throw a little bbq sauce on.  This is kind of a lot of work for ribs, but smoking them isn’t exactly simple either with the wrapping and unwrapping.

The texture was amazing of course.  There was a very consistent moisture level, rendering of fat, and soft pull apart amazingness.  The flavor was good, because it is ribs.  Still, I missed the smoke.  I think in retrospect this might be a better method for baby backs.  They are leaner and more susceptible to drying out.

Conclusion: yeah, these are really good.  It took a lot of time, but if you are around isn’t too big of a deal.  Maybe not my default method, but I am gonna have to try again with baby backs.

Franken-Cooler

My sous vide adventures have sometimes been serious mis-adventures.  Case and point was the Easter Brisket Saga.  I wanted something sturdy, large, and well insulated for large and longer term cooks.  Something that would be efficient and not heat the house as much.  There are some guide out there that recommend drilling a hole in a 24 quart coleman stacking cooler.  They don’t sell those in my area any more, and I didn’t want to online order one.  A local sporting goods store did have 48 quart coolers on sale for 16 bucks though!

Most guide recommend a 2-3/8″ hole in the lid.  The sous vide cooker will slip down the hole, but stop before the electronics get submerged because of a shoulder on it.  The larger cooler meant the device would sit much higher, and it comes out of the water every time you lift the lid to check on things.  Instead I printed a bracket to get it clipped to the side and held much lower than the stock bracket would allow.  I started in orange PLA to get the dimensions all worked out, then printed in black PETG.  It is a higher temperature material and should withstand the cooking temps.

DSC_0879

I cut the bottom section off the orange test part and used it as a tracing template for cutting the lid as tight as possible to the bracket.

A little sanding cleaned up the edges, and everything was looking nice.  The only trick being that the lid hit the top of the cooker when opened.  I was considering taking the hinges off anyways, so I just did that.

It turns out the lid on these cheaper coolers is hollow.  Not too shocking.  Instead of leaving it that way I shot it full of foam.  I don’t think I got every square inch, but it should be an improvement.  Either break off the excess or cut with a sharp knife once fully cured.

With that all setup I was able to start my first ambitious project.  I did an 8 hour run at 179F for barbacoa.

It was a really high temperature for sous vide, and right around the limit of PETG.  Though the cook came out well the bracket had a few issues.  The bottom had a little bubbling from the heat.  That wasn’t the issue though, there was a crack started where the outside of the clip sat on the cooler rim.  I played with it a bit and got it to break off.

When printing, that segment is printed as a bridge (filament free hanging out in space), so ends up being kind of weak.  To compensate in the second bracket (top in right and picture) I increased print temperature for better adhesion, increased number of bottom layers to make sure the bridging didn’t compromise strength in that area, increased thickness of that bridge, and the thickness of that outside clip area.

Even though it broke I am happy with this design.  It went for hours at a really high temp and only broke when I started prying on it heavily.  Anything that asks for a sous vide temperature this high can probably be done in the crock pot on low (~190F typically).  Still, the lid didn’t get too warm, and the sides of the cooler were room temp to the touch.  It was a great stress test.  This thing can sous vide anything!

Sous Vide Barbacoa

I am a huge chipotle addict and love the spice flavor and texture of their barbacoa beef.  Why not make my own?  I found some recipes you can make a home.  Some involved the slow cooker, but sous vide was also an option.

DSC_0885

I skimmed a number of recipes and came up with a simple ingredient list.  5+ pounds of chuck roast, AC vinegar, onion, garlic, lime juice, cumin, chipotles in adobo, salt and pepper.  No measuring, just seat of the pants cooking.

DSC_0886

Everything sat and mingled together over night so the flavors could soak in.  I stuck it in a jumbo zip back and into the bath at 179F for 8+ hours.  This gave me a chance to test my newly created frankencooler.  More on that in another post.

DSC_0889

I drained 80% of the liquid and poured it all into a bowl.  It was still looking pretty chunky, but a few minutes with a potato masher got it in good shape.  It tasted wonderful, though not quite the same as chipotle.  I was worried about it being too spicy, but it really wasn’t.  I might buy more adobo next time, and perhaps add some kind of tomato sauce or paste.  It is gonna have to go into the rotation.

DSC_0891

Sous Vide Chuck Roast

I am still riding high on my sous vide cooker.  I have done piles of pork chicken and steaks.  All of these were cooked in a few hours.  It is time to try an overnight cook.  Behold the chuck roast!

It is cheap and kind of tough which makes it a perfect candidate for a long cook.  I started with a kosher salt and fresh cracked pepper coating.  I then bagged the two together and chucked (haha) them into the sous vide.  My instructions came from Baldwin’s website.  That place has seriously good info on sous vide.

DSC_0190

After around 27 hours at 135F it was dinner time, and the roast was ready to rock!  I pulled it out and dumped the liquids in a measuring glass.  The dark color on the roast was natural from the cooking, no searing needed.  A really nice dark brown on the outside, and a consistent red throughout.  Searing might be a good idea, but I sliced it up without.

DSC_0193

The poured off liquids went into making a really kick butt gravy.  All that pepper that was on the outside of the roast got into the liquid and really carries through the brown gravy.  Mix that nice peppery bite with some honey Sriracha brussel sprouts and you have a seriously good dinner.  Tender and juicy, this is hands down the best roast I have ever made.

DSC_0194

Sous Vide Cooker

I purchased an Anova cooker a few weeks back, on their father’s day sale, and have been sous videing up a storm.  Is that how the verb form works, sous videing?   At any rate the unit is quite impressive.  It can heat up a large quantity of water quickly, and keeps it at a very stable temperature.

Initially it was a few degrees low compared to two different meat thermometers I had.  Luckily there is a straight forward way to alter the calibration.  See the instructions for details.

DSC_0095

One interesting thing is that unlike big professional models, this one is placed in a container of your own choosing.  I have used two different crock pots, and a large polycarbonate container to cook in.  That makes it really flexible for doing either two pork chops, or a pile of food.  I clocked the unit while it was heating up these various amounts of water and came up with a few pre-heating times.  Times will vary depending on container and starting temp of the water.  Around here it is nearly 80º.

  • 3 quarts:  145ºF in 13min, 167ºF in 20min
  • 5 quarts:  145ºF in 25min
  • 8 quarts:  140ºF in 30min

8 quarts is a pretty good amount of water to heat up that quickly.  I was surprised.  In my first run with the full sized polycarbonate bin I filled it to the max.  A good sale at my local market resulted in a pile of chicken and pork chops.  I pre-seared the pork chops and some chicken before they went into the bath.  The rest of the chicken got various marinades.  I was able to fit 10 pounds of chicken (before trimming) and 8 big pork chops in the large container.

In all I have cooked chicken breasts, pork chops, pork tenderloin, buffalo burgers, scrambled eggs, and steaks in the sous vide.  Everything, eggs somewhat excluded, has turned out to be some of the best I have ever made.  I would highly recommend this method to anyone interested in taking the plunge.

This unit is great with the slight exception of their interface.  Setting a temperature is easy enough, but calling the timer setting process convoluted is being generous.  The unit has bluetooth and the app is ok, but thats about it.  Setting times and temp requires a lot of scrolling.  It is a minor annoyance, but I feel like it could have been much better.  Still, for the sale price I love this thing!

Sous Vide Steaks

My madness for cooking gadgets knows no bounds.  I saw a sous vide cooker on sale for fathers day and couldn’t help myself.  A coworker friend of mine has had one for a while and made some awesome meals in it.  His enthusiasm for this method of cooking was infectious and I had to do it.  If you are not familiar with the method, basically you bag food, ideally in a vacuum sealer, and place it in a water bath of the desired cook temperature.  You basically can’t overcook things!

I got an Anova cooker, and I will talk about it more at some later date.  For now I had to rush head first into this new world and try out steak.  Cooking steaks is one of the things sous vide is famous for.  I lined up some test subjects (coworkers) picked up a pile of steaks from the local meat market, and got to cooking.  Take a look at these gorgeous steaks.

DSC_0067

While sous vide cooks the meat and pasteurizes it to a food safe level, it doesn’t look that great.  Kind of wet, grey, and unappetizing.

DSC_0069

That is where a good searing comes in.  You want to cook in sous vide and then brown with high heat.  I got 4 steaks, and seared each with a different method.  On the grill, on the grill with steak seasoning, cast iron, and with a blow torch.

after

  • Blow Torch: I used my mapp gas plumber’s torch to sear the outside.  This was the softest because of how little time the steak saw the heat
  • Grill: Great steak.  Probably the most cooking on the outside.  The outside had some good chewiness while the inside was still good and tender.
  • Grill w/ Season: Same as above but with montreal steak seasoning sprinkled on before the sous vide.  Best flavor of all!
  • Cast Iron: I put a big cast iron skillet on the grill, and seared there.  Kind of in between the grill and torch.

All the steaks were good.  The torch was definitely the softest if that is what you are looking for.  Seasoning goes super well with the sous vide process, so that one is a winner.  Really there are no losers here.  I think we will try the cast iron next time with seasoning on it.

As a curiosity and because I have always adored time lapse, I did a time lapse shot of the steaks in the sous vide cooker.  They were in for about 1hr 45minutes.  It took me about 5 minutes to get the GoPro setup, but in that time they had already started greying quite a bit.  Amazing how fast that happens!


Bonus steak and eggs

The next morning I warmed up some left over steak, and did scrambled eggs in the sous vide.  I set the cooker in my mini crock pot and tossed in the eggs when it hit the right temperature.  20 minutes later it was finished!

DSC_0072

I broke it up with a fork and sprinkled on my steak.  It was a good breakfast, but the texture was a little odd.  I don’t mind my eggs being a little loose, but these were really consistently so.  I almost feel like eggs need searing for the same reason steaks do.  It adds flavor and provides a good texture contrast.  The experimenting continues.

DSC_0073