I haven’t done a print grab bag in ages and realized I had a pile of fun and useful prints bouncing around. Let a montage of 3D printed goodness begin!
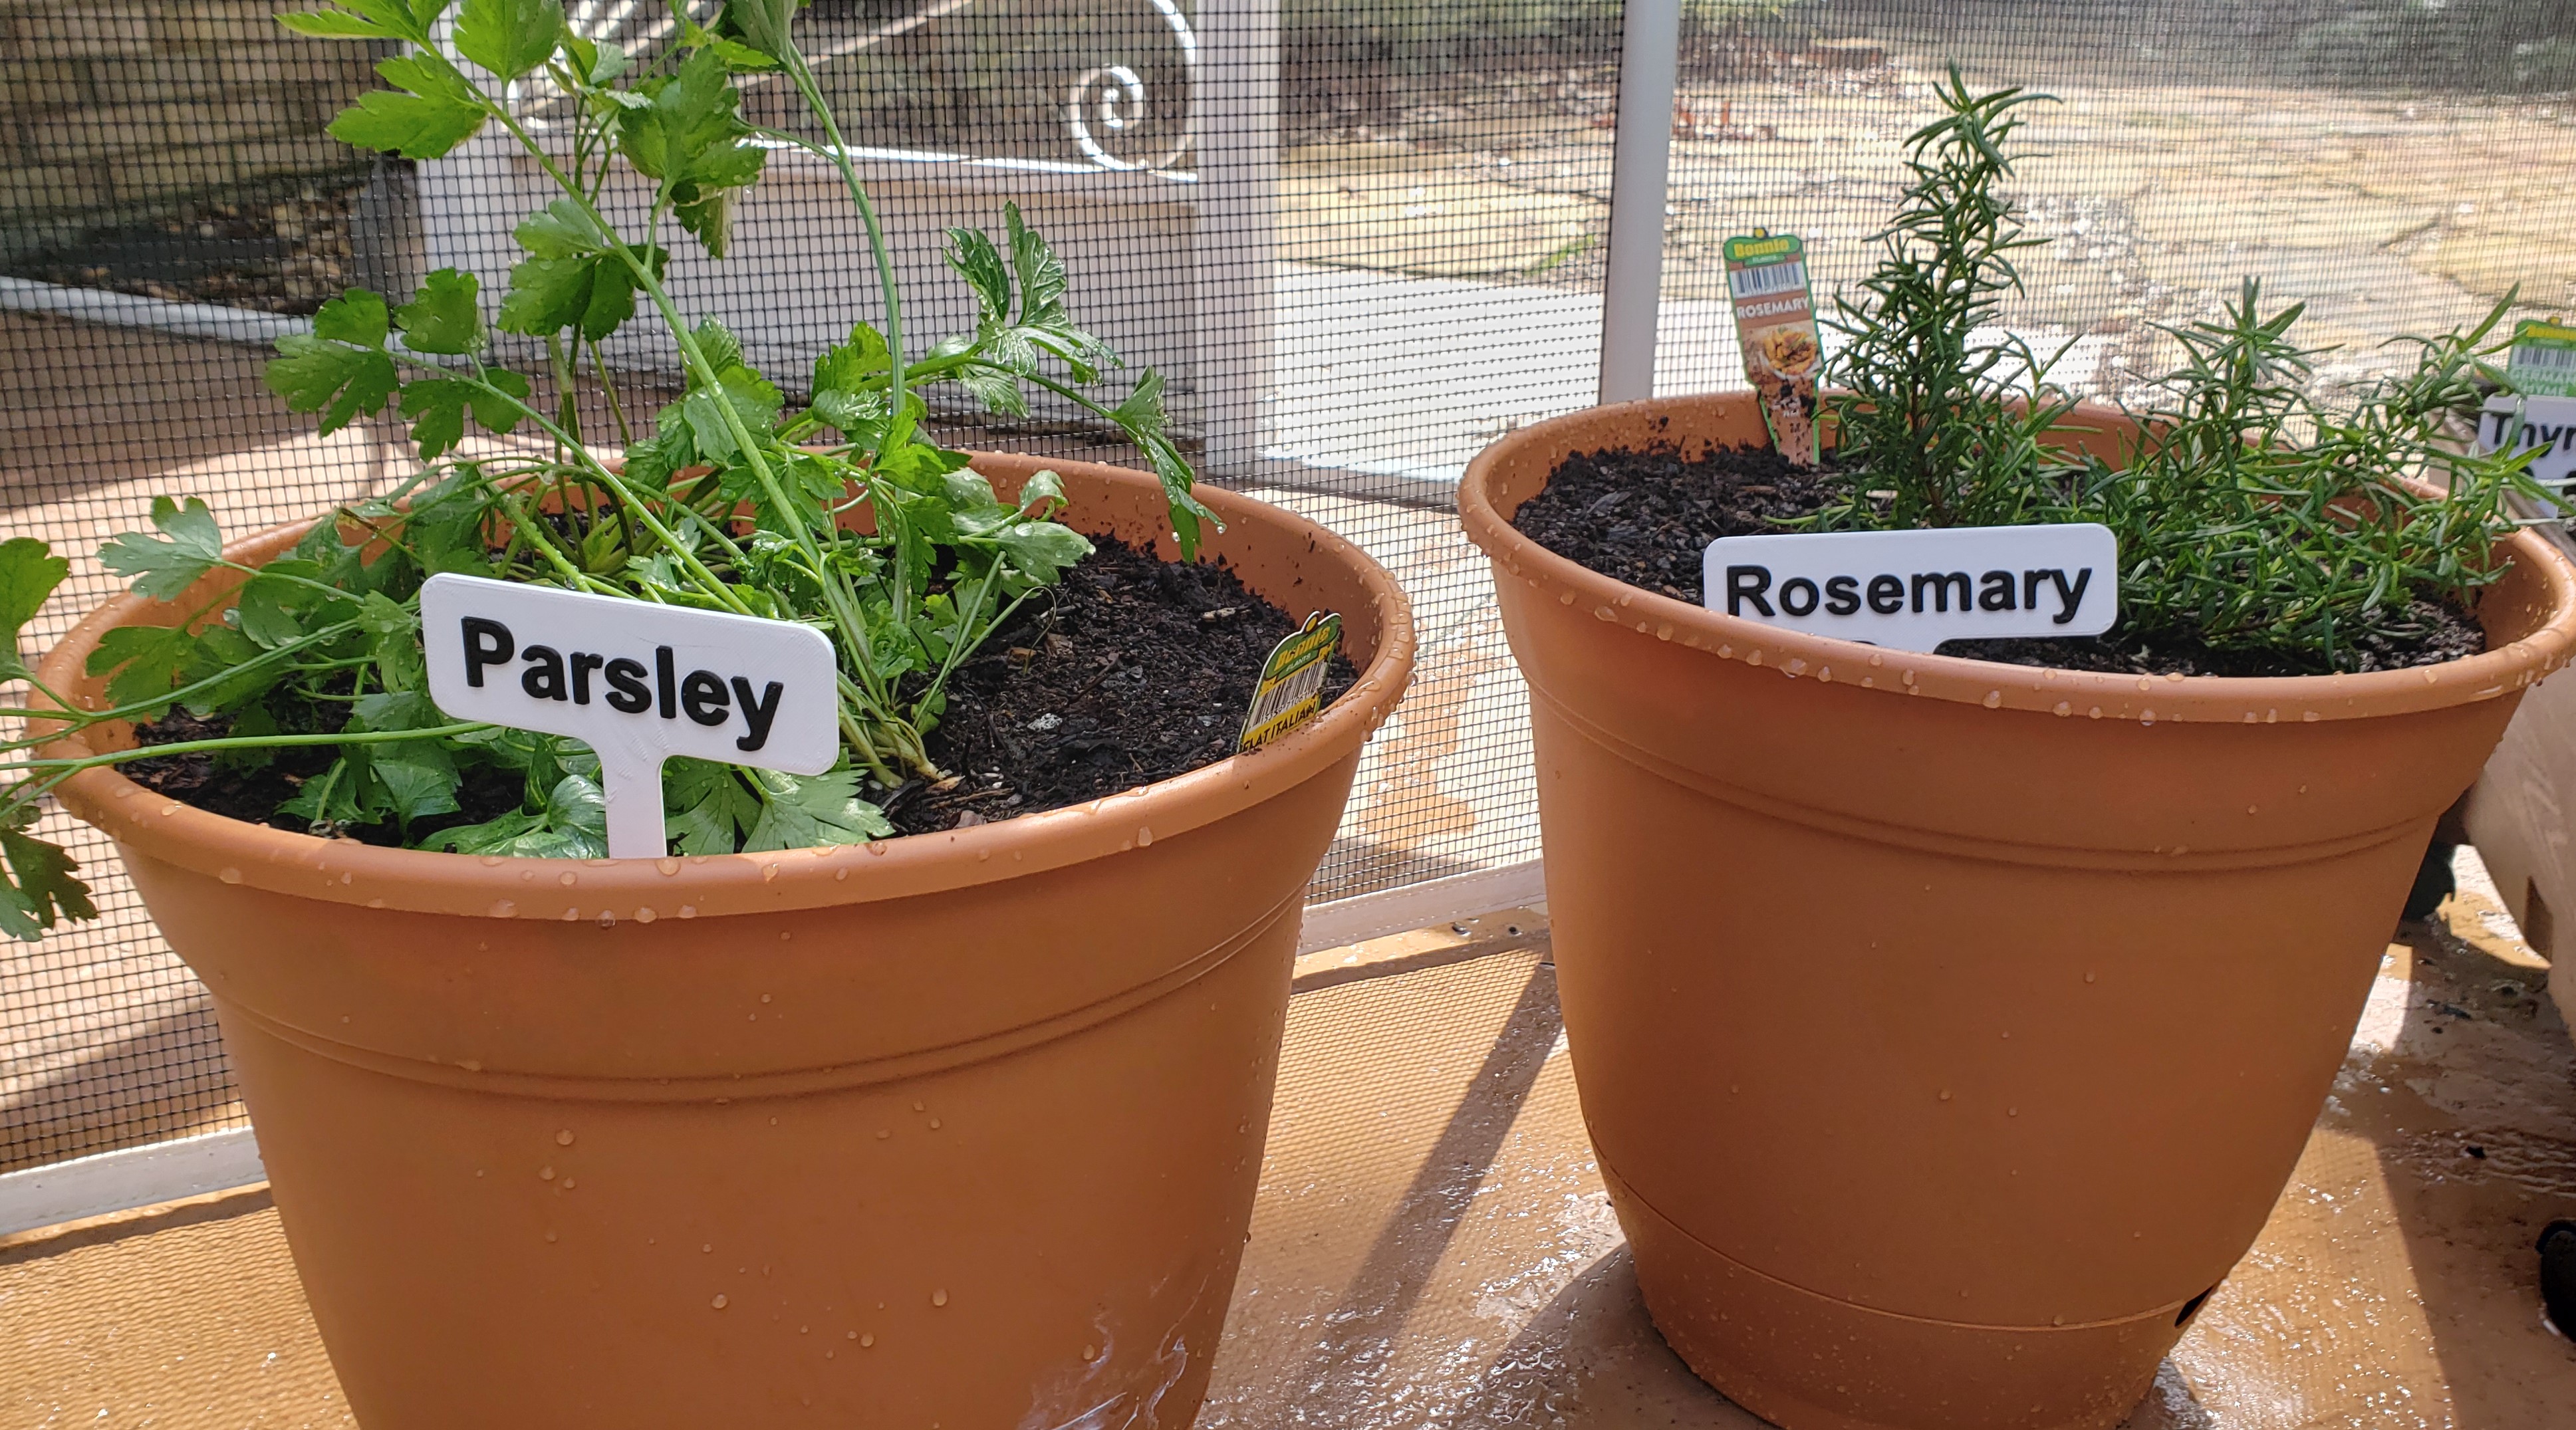
Plant Labels
Not super original, you can find a zillion of these online, but I wanted my own. First up, they are nice and big for me to read, and secondly, there is always something you have that isn’t in the list given online. The first set were just white with black paint marker coloring. I later started doing batches and swapping to black on the right Z layer to make the lettering pop.


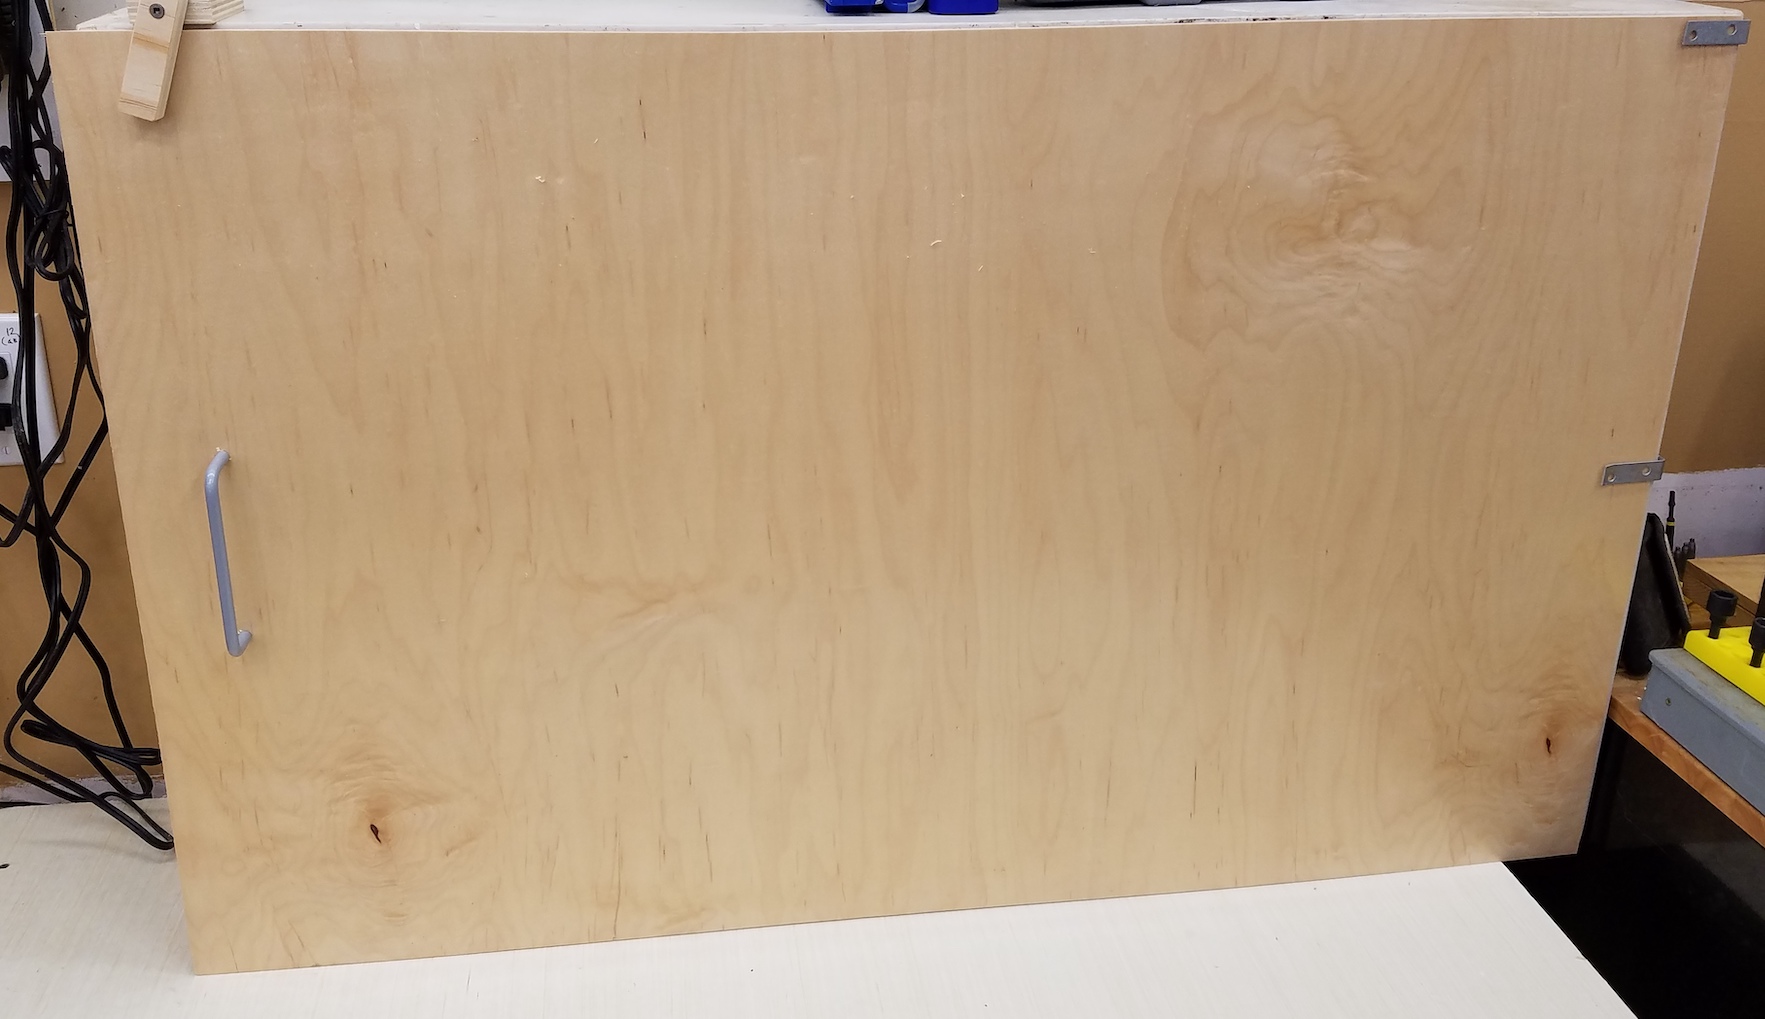
Tool Holder
I always keep a big exacto blade and a few deburring tools around in my shop. They tended to float on my messy table top and get lost (part of the reason I have two deburring tools). In an effort to keep that area clean I made a tool holder that screws to the underside of the shelf. Previously unused space now keeps me better organized. It tilts back 10 degrees to keep them from vibrating out when I slam the door on that wall. No unexpected falling knives please!

Dispenser Bins
Sticking with the shop theme, I have a supply of semi-disposable items I always keep around. Popsicle sticks of various sizes and acid brushes are really useful for mixing, spreading or applying different substances. I used to keep them in loose piles or cups, but now I have a custom dispenser for each.

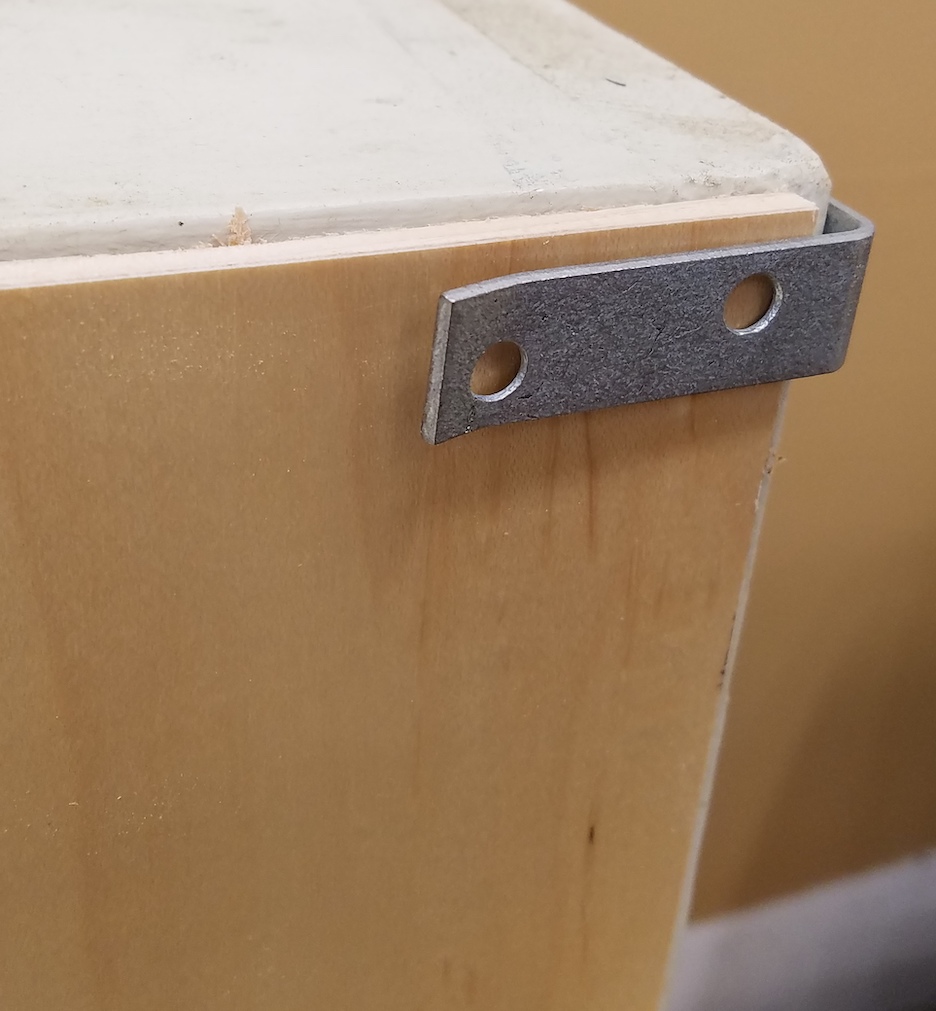
The basic design is the same in all, but with some modification to dimensions depending on what was being dispensed. The front wall slides in and has custom text for each one. A lid keeps the dust out and allows stacking. I printed them with 5% gyroidal infill and a hole in the bottom. That let me use sand to add weight, capping with epoxy. I have been using this trick a lot lately and love doing it. I used hot glue on the bottoms of each, then smashed it down on a silicone mat to make quick non-skid bottoms. The weight from the sand and the non-skid bottoms keep them from moving around easily. You wouldn’t want them to fall off the high shelf they are on.

Non-skid bottom made from hot glue 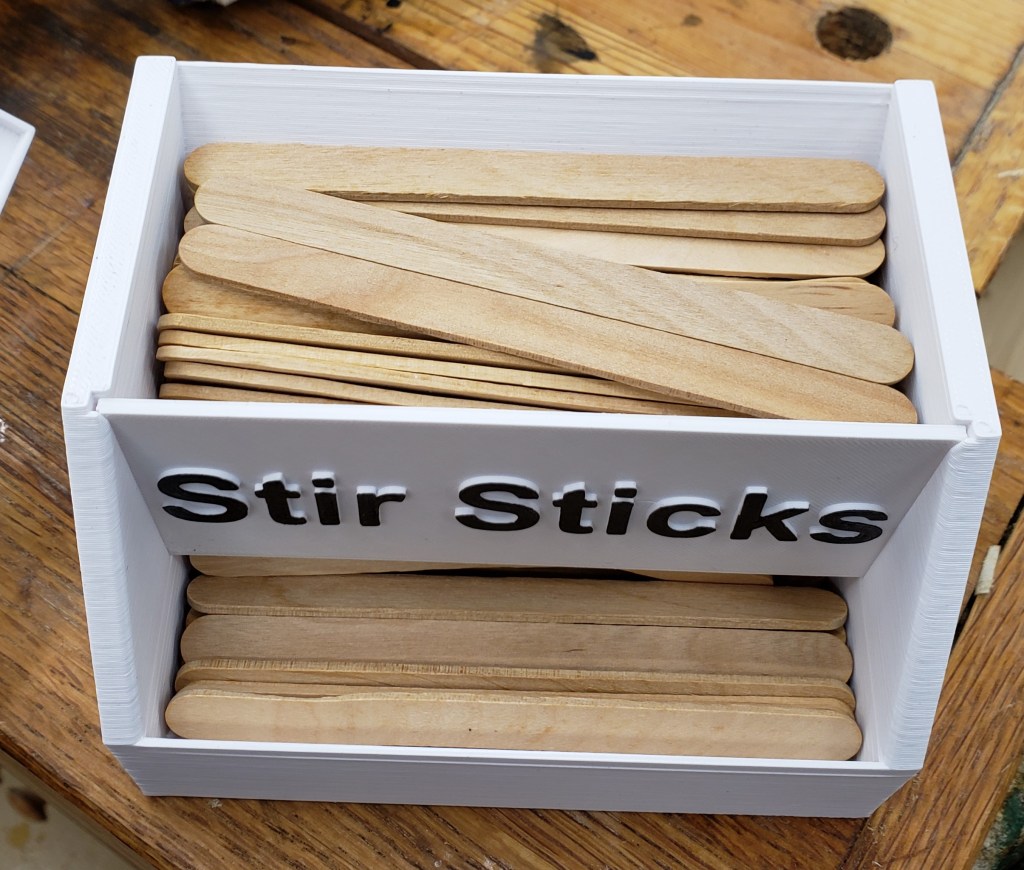


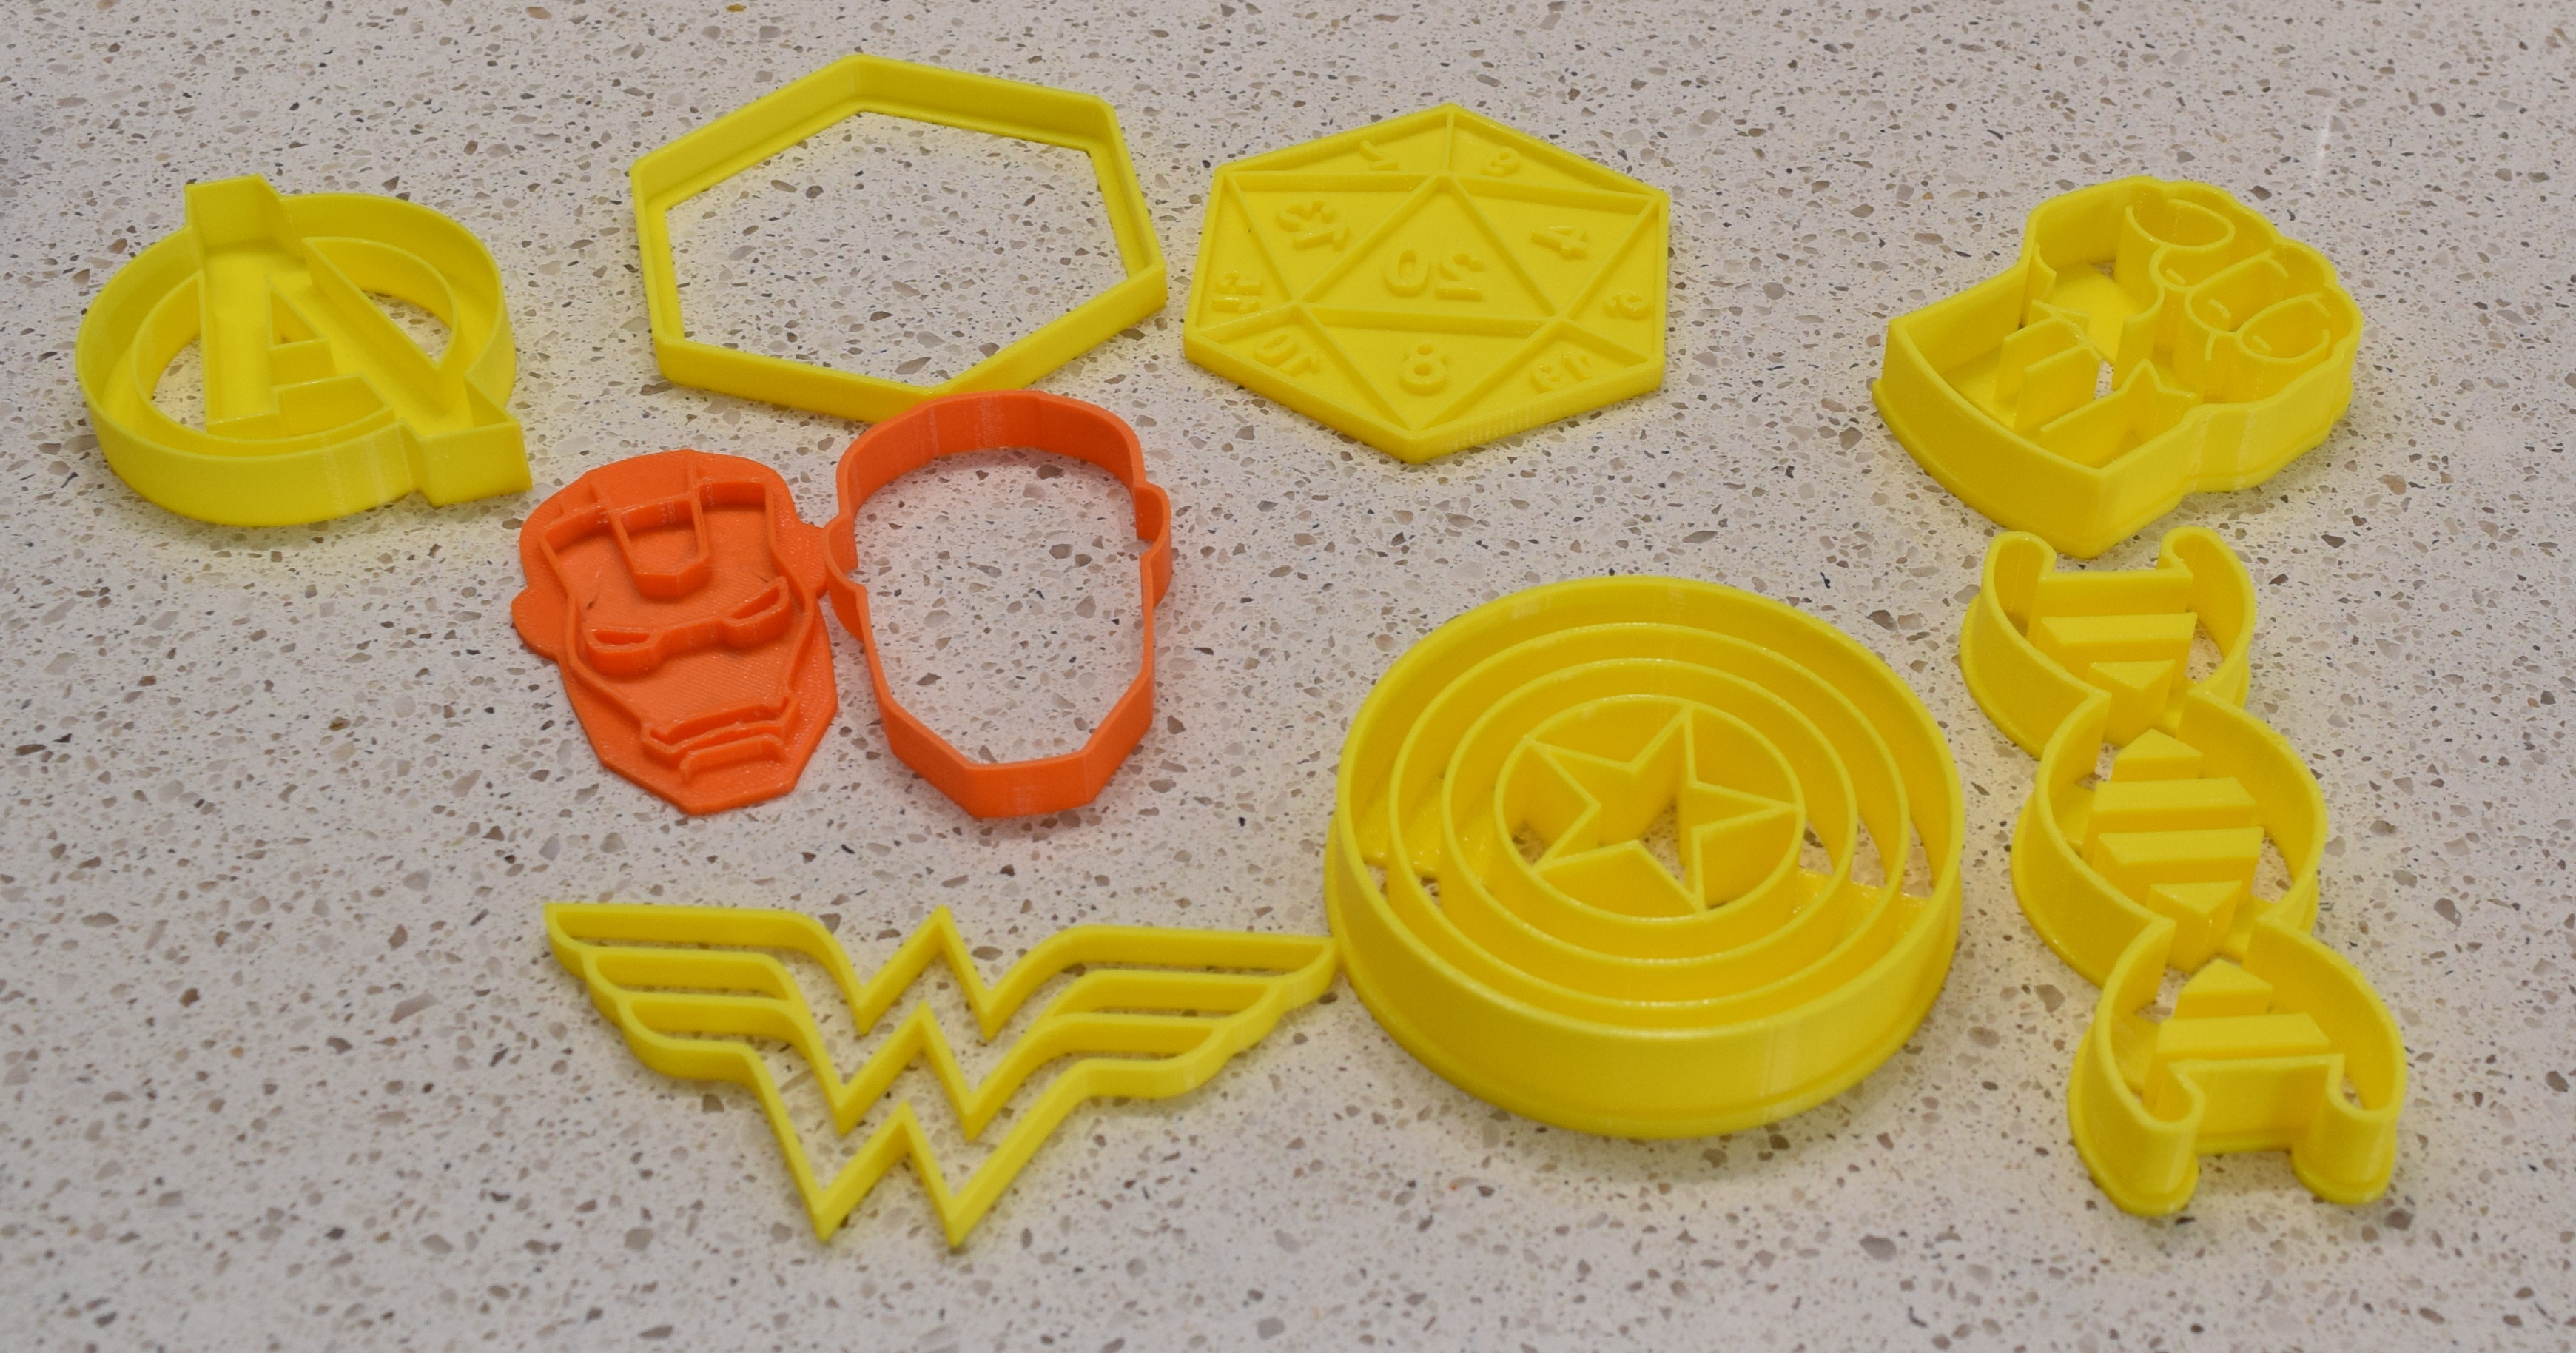
Shark Bite Remover
Shark bite fittings are a great plumbing invention. They fit over the 1/2″ cpvc plumbing in my house and mean the fittings can be replaced without cutting the pipe. I had a supply valve go bad in one location, and wanted to switch orientations in another location. No cutting required! The trick is, getting them off is a beast. You have to push in on the release sleeve, twist and pull. All while being gentle and not stressing the pipes too much. They sell little C clips to make it easier, but I lose them and they aren’t comfortable on your fingers. Enter some printed ones.

I printed LOTS of these and sprinkled them throughout my plumbing supplies. They have more finger surface than the store bought ones, so you can get a better grip. Plus they are thinner. I found myself having to replace a fitting that didn’t have much pipe sticking out. These thin ones got in there, the store bought wouldn’t fit.
Chess Set
Moving from the shop into the house, my wife has been playing chess a lot recently. She wanted a chess set so I made one out of sparkly galaxy black filament and marble filament. I printed each one hollow, filled with sand, and capped with epoxy. The board is a set of 4 tiles printed with a color change from black to white. I put it all on a piece of MDF. That part wasn’t brilliant. I started with black polyurethane then tried to move on to spray paint. I still don’t have a good MDF painting technique apparently. The edges endlessly suck up what ever you put down. That part will probably get remade at a later date.


To hold all the chess pieces I made a box with sliding lid. The fit is good enough that it kind of blends in when fully assembled. Embossed along the sides are a symbol of each chess piece type.


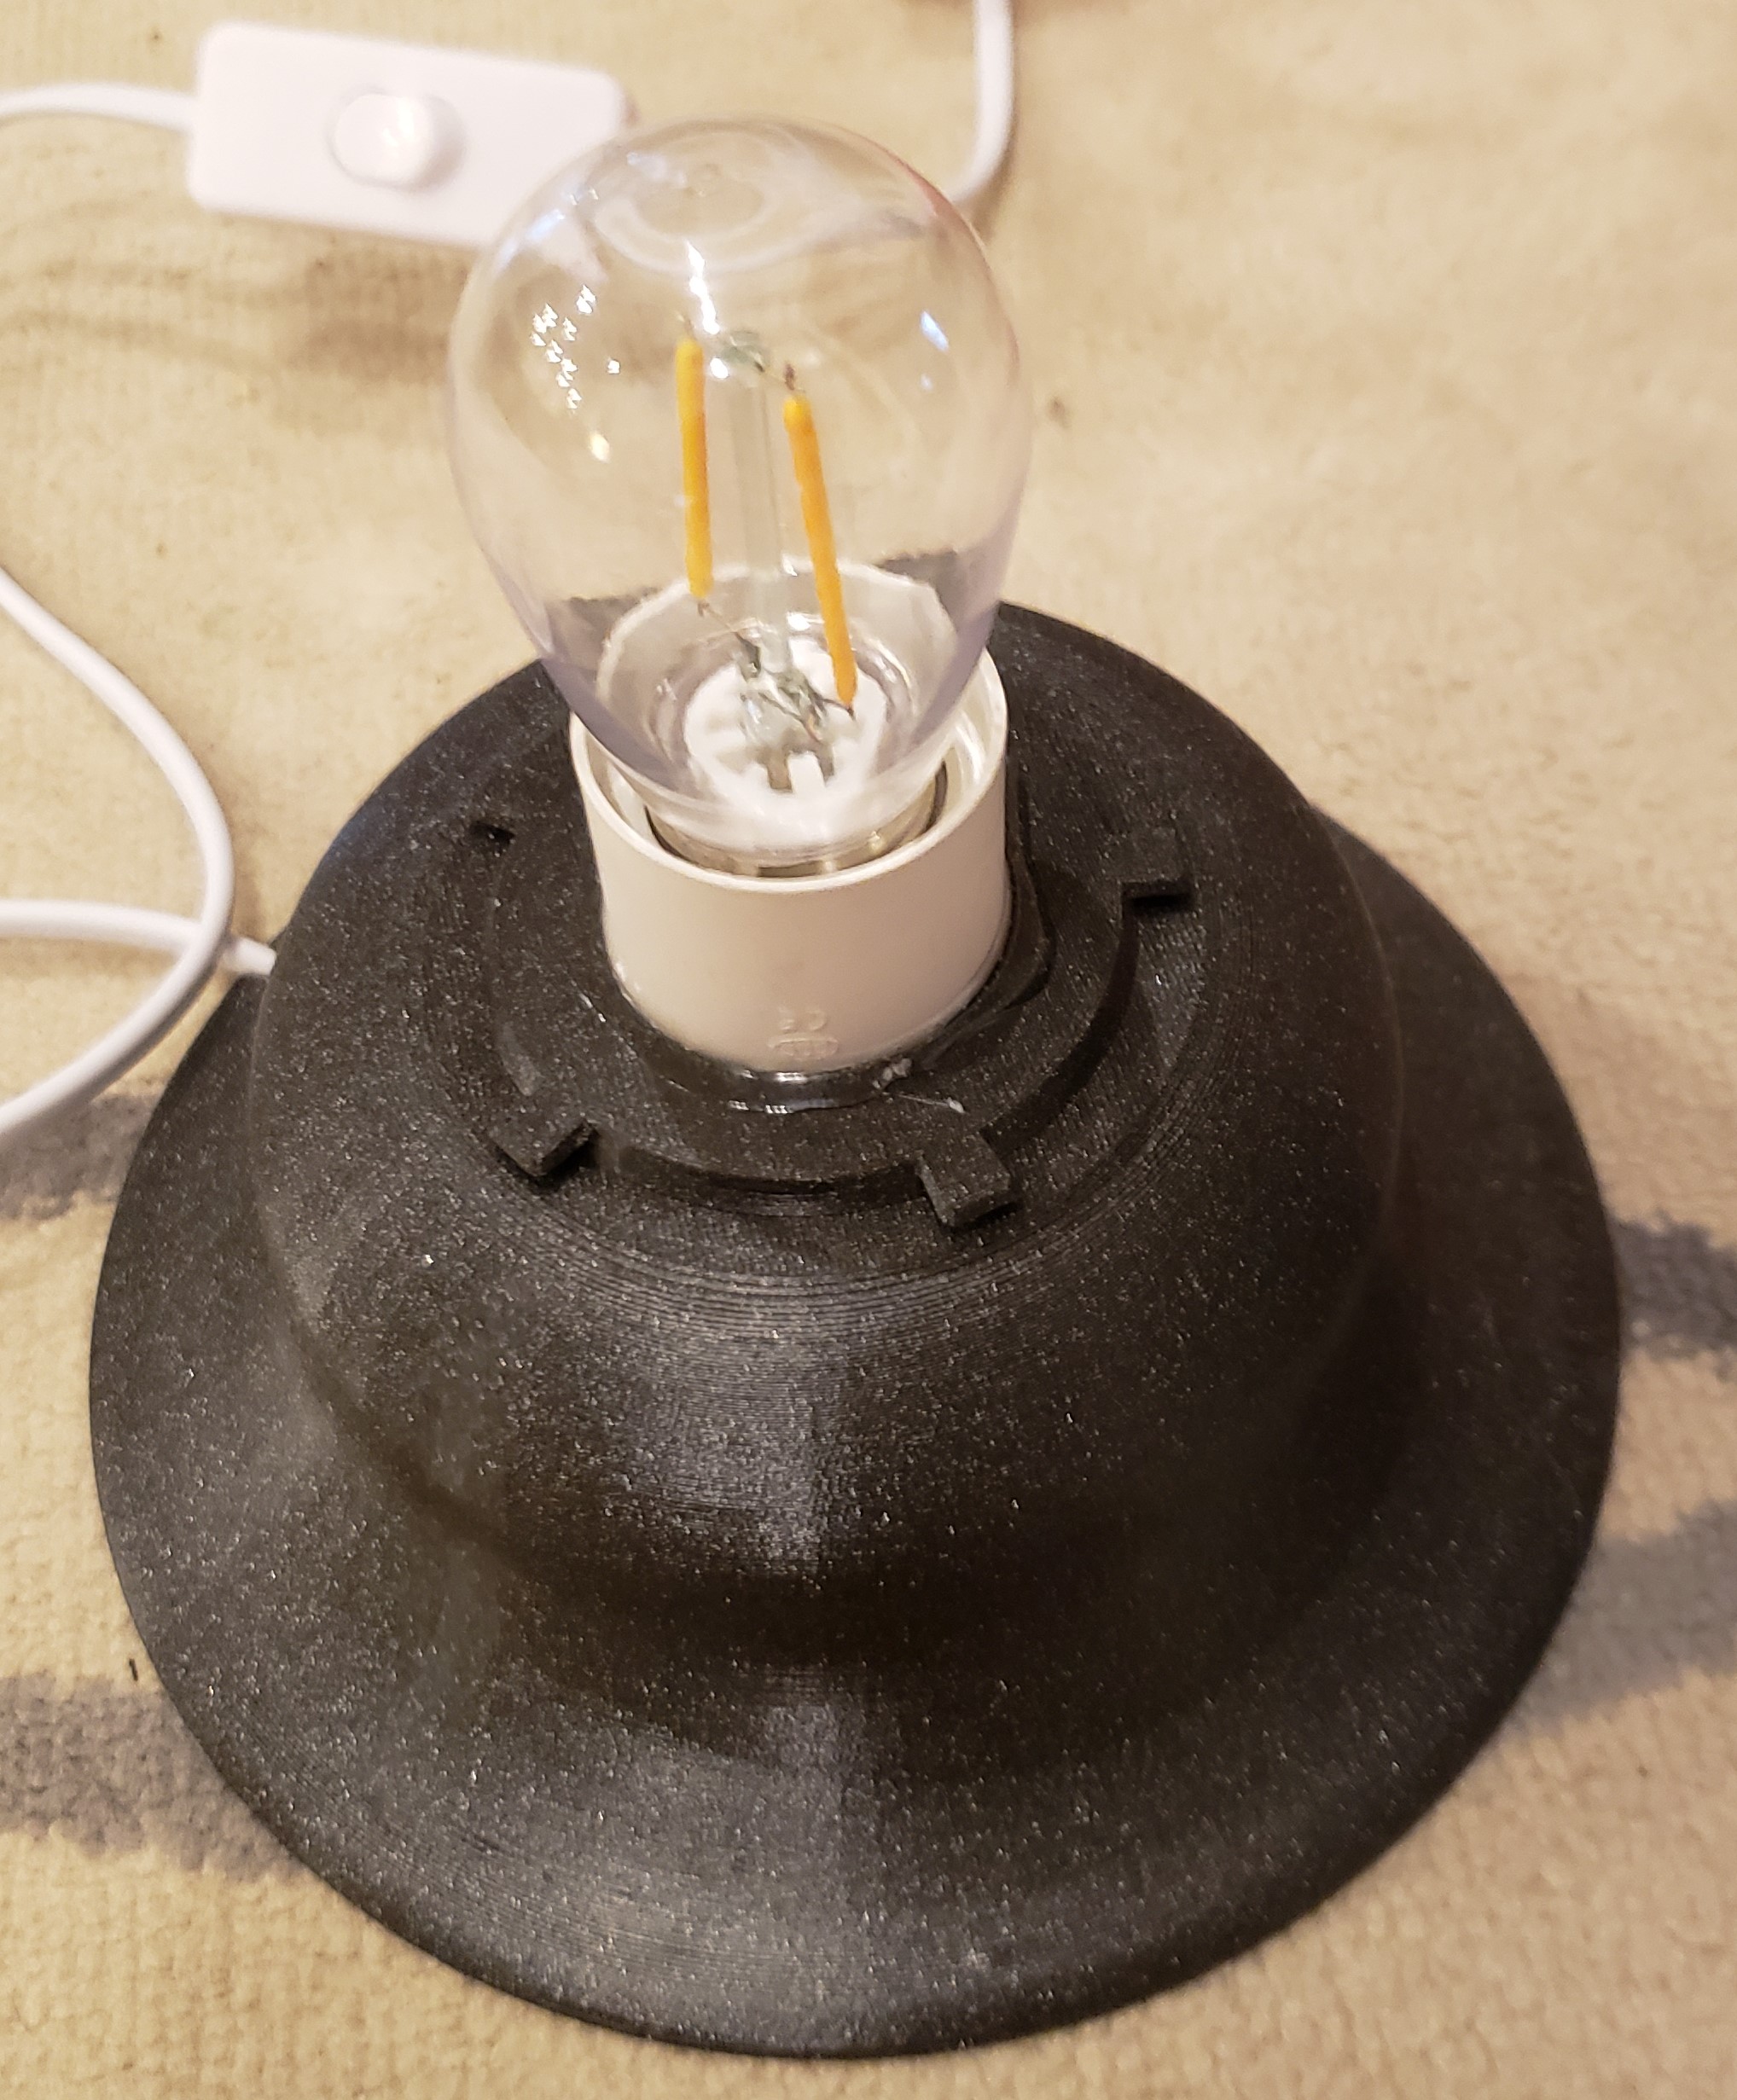
Moon Lamp
This moon lamp design comes in many flavors online. Thingiverse My implementation isn’t that unique. I did copy the spline shape used to attach the moon, and made my own base to hold the bulb. The base was once again filled with sand and capped. Now the lamp is quite hefty. The main challenge of this job was that the moon print took about 3 days. I accidentally interrupted one attempt when it was 90% complete… oops. The base is 6.5″ in diameter and the moon a little over 8″.

Monitor Picture Holder
Last but certainly not least, I got this cool frame for fathers day. I wanted to keep it close by, and for some reason the top of my monitor jumped out at me as the perfect location. A simple print later, and there was a perfect space for the frame to sit. The little guy is always on my mind, and now always on my monitor.