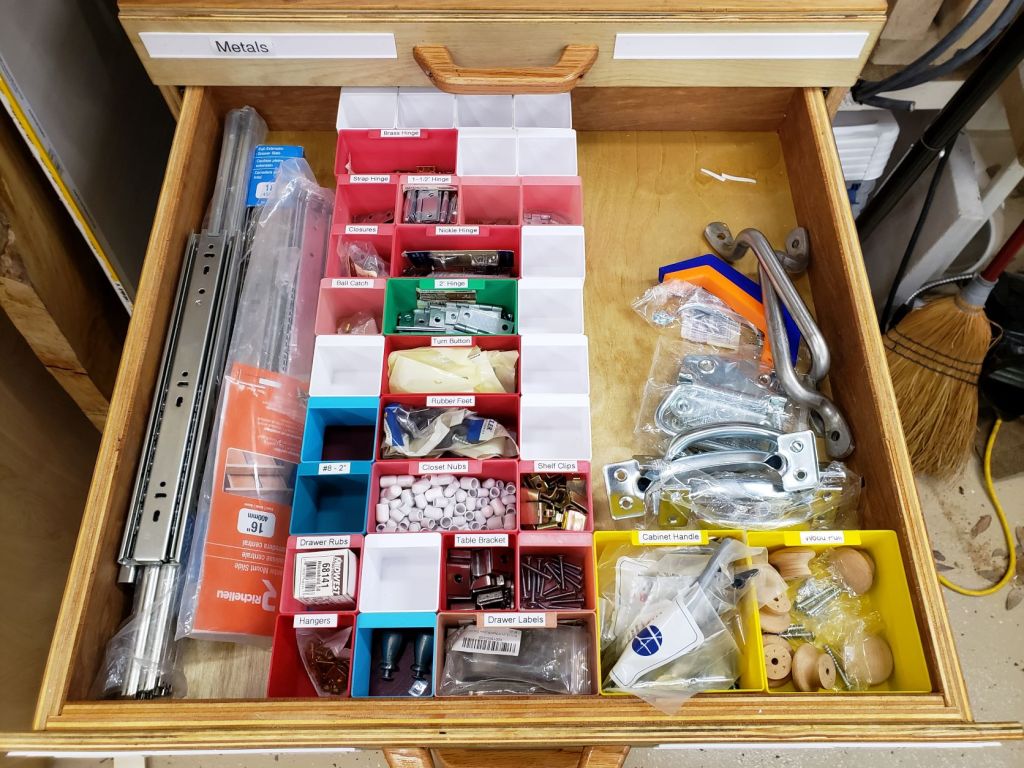
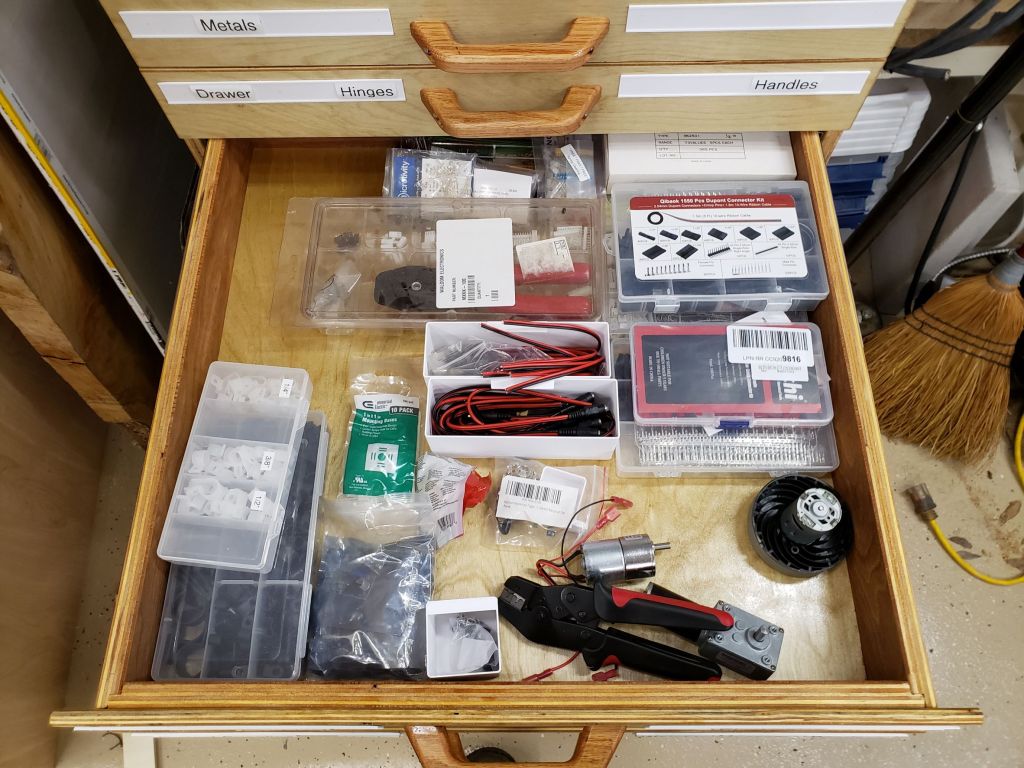
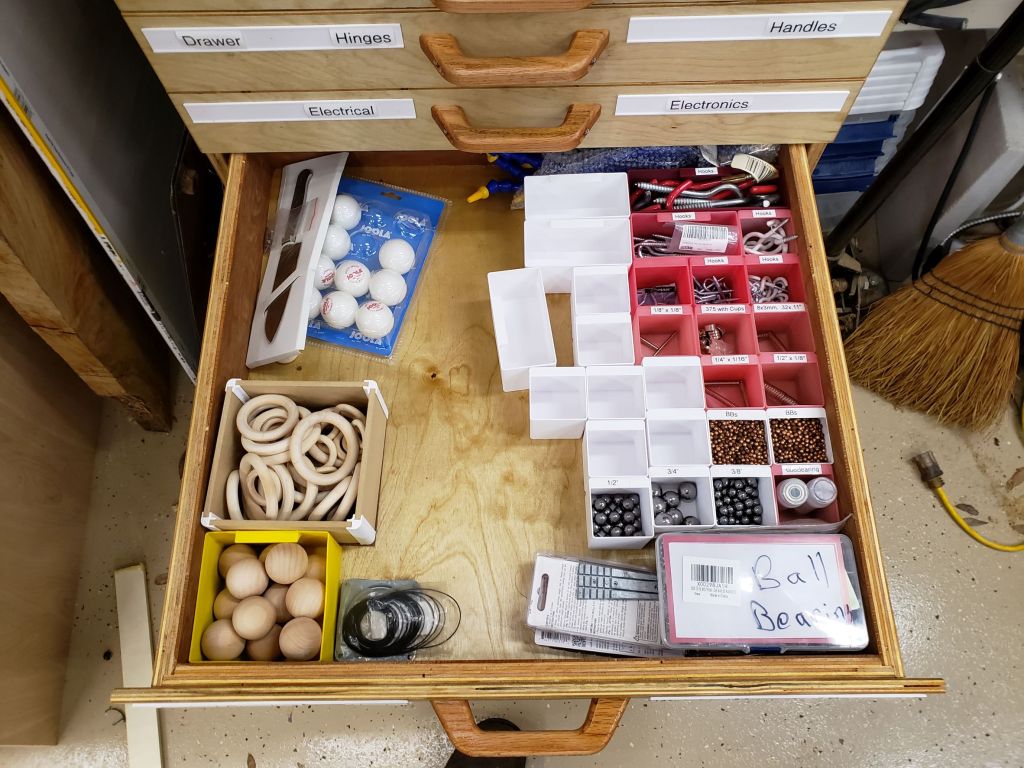
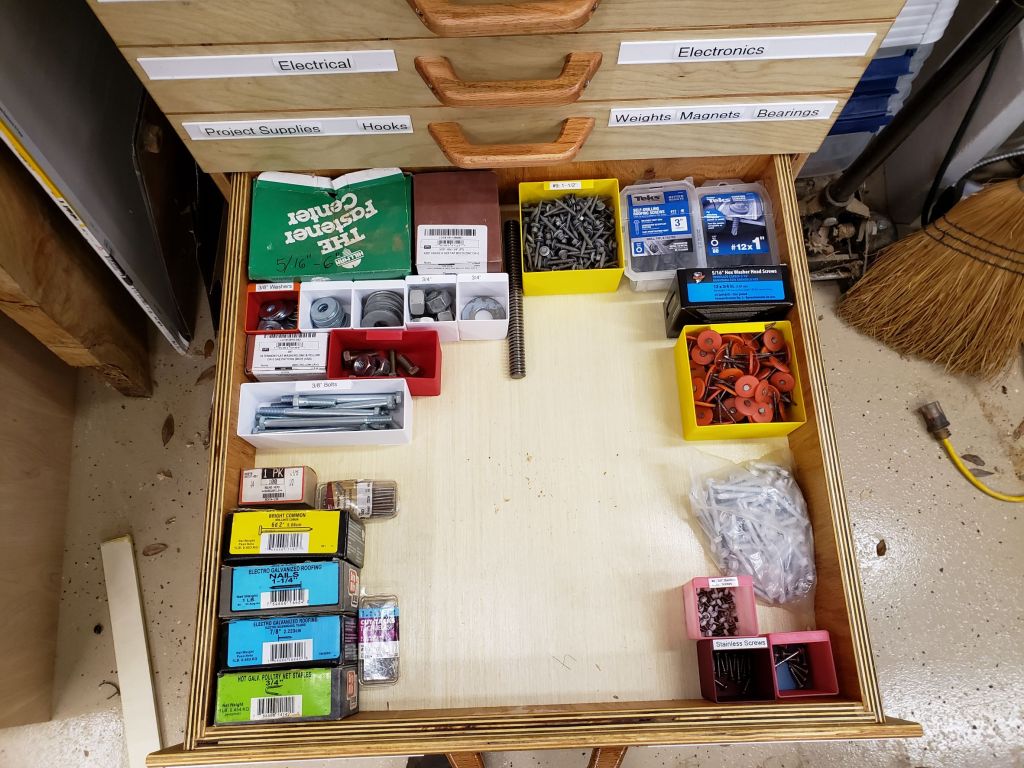
Materials Cabinet

In industry there is a line of drawer cabinets from a company called Vidmar. They can be short or tall, but are usually pretty wide and deep and super well built. Each drawer can hold hundreds of pounds, they have different divider systems, and full extension drawers. Also they tend to have fancy features that don’t let you pull out too many drawers. You could easily tip one over on yourself and cause serious injury.

In looking at my materials storage area, I have a lot of plastic bins that are organized, but maybe only half full. I have made hardware drawers in the past and love their organization and dense storage capacity. This new cabinet will be much larger and deeper and use full extension metal slides. I started with a lot of planning. I wanted to maximize the materials I used, my limited shop time, and the space available.

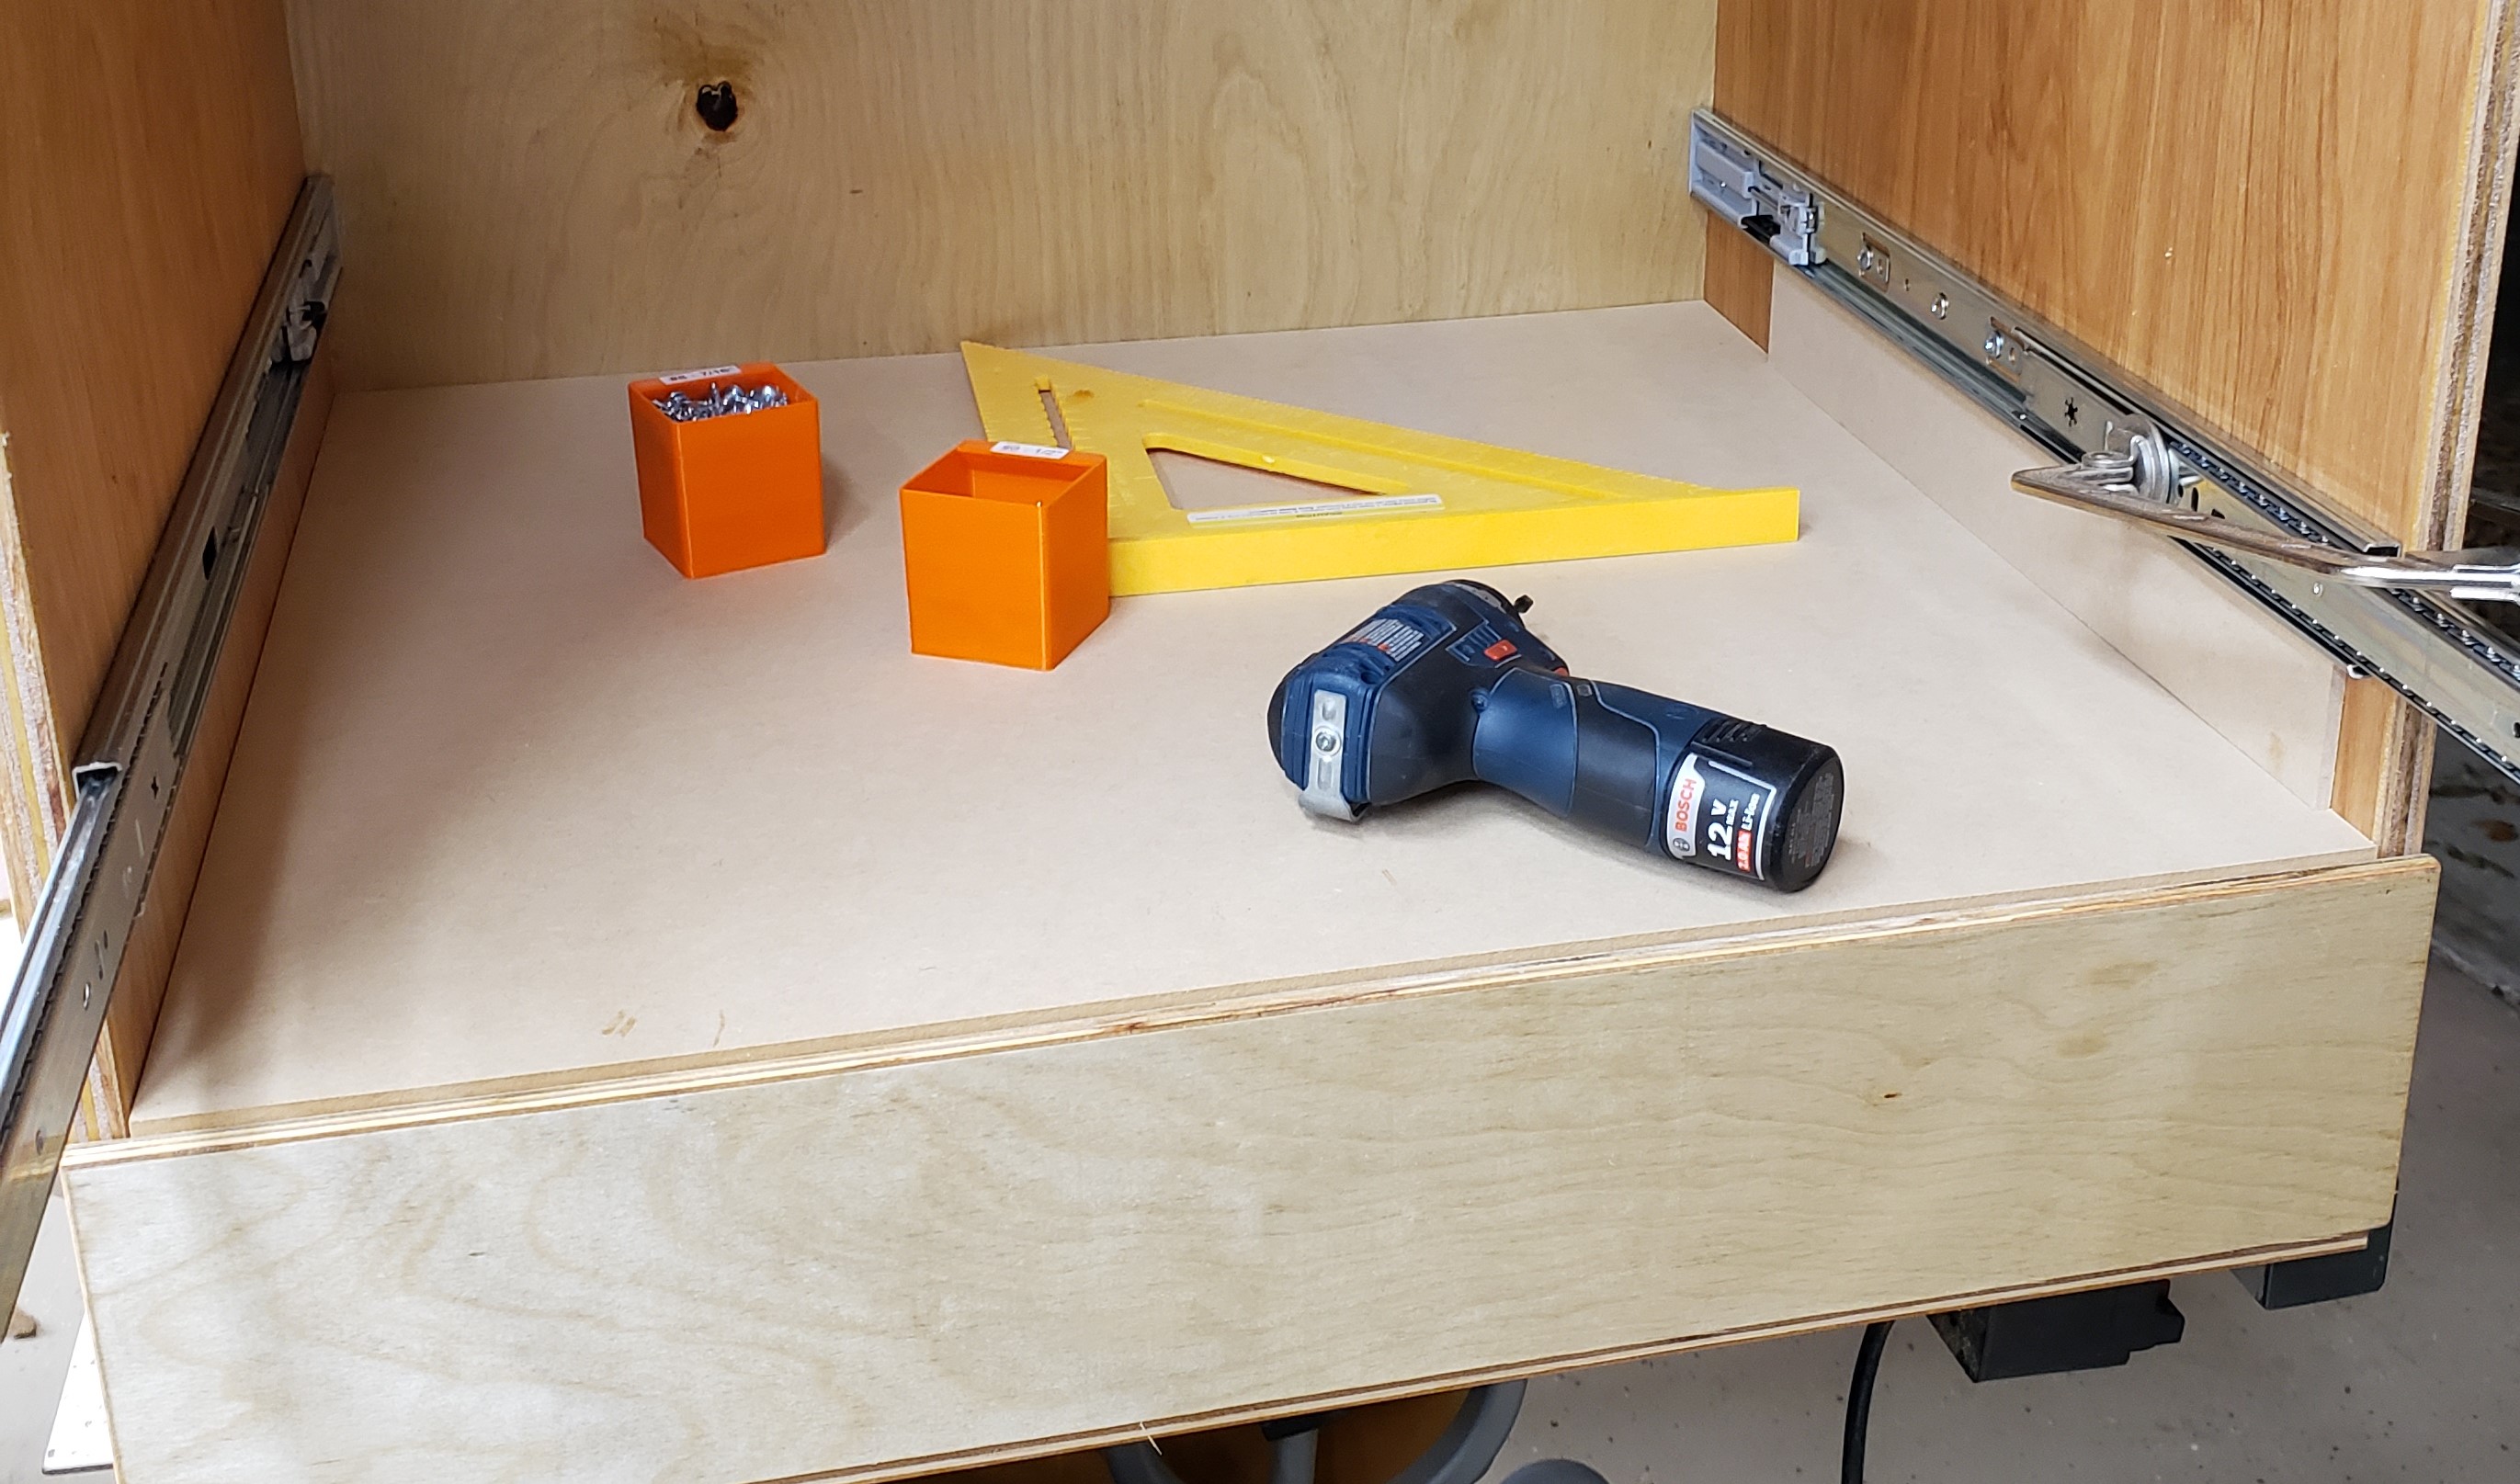
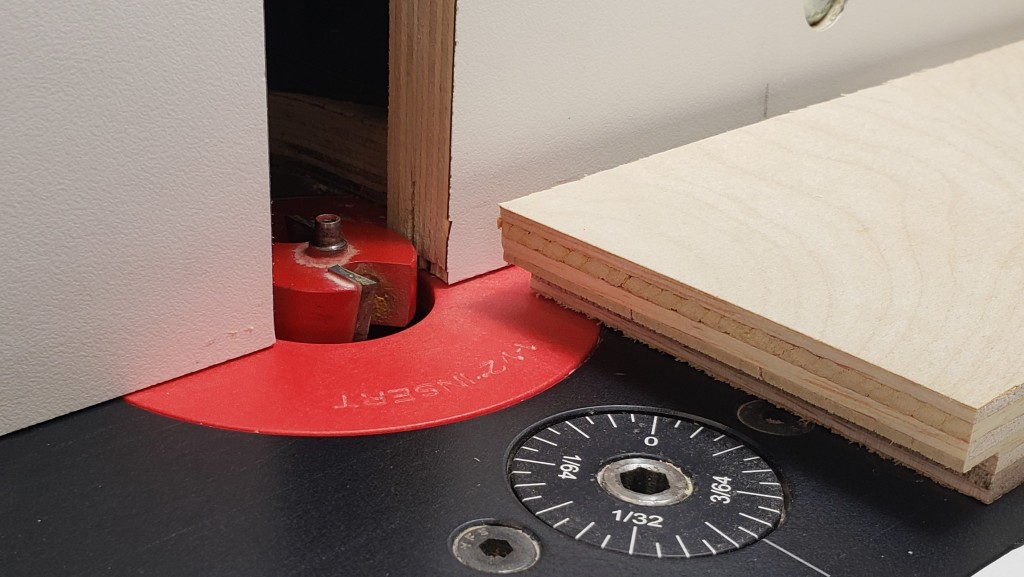
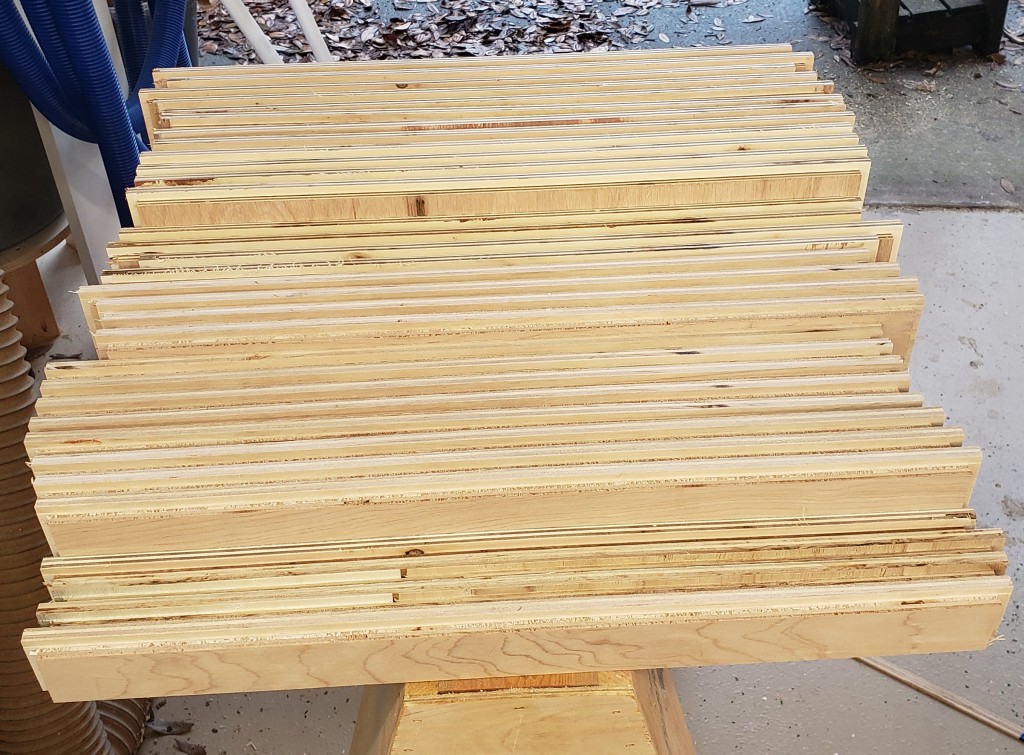
I had it all worked out on paper, and started with the drawers. I cut 24″ wide sheets of 3/4″ plywood and put a rabbet down two sides to make half lap drawers. All four sides of the drawers would all be the same length. This made batching easier. Routing bulk material was faster and cleaner than cutting out individual sides, then doing the routing. This was a big improvement over previous drawer efforts.
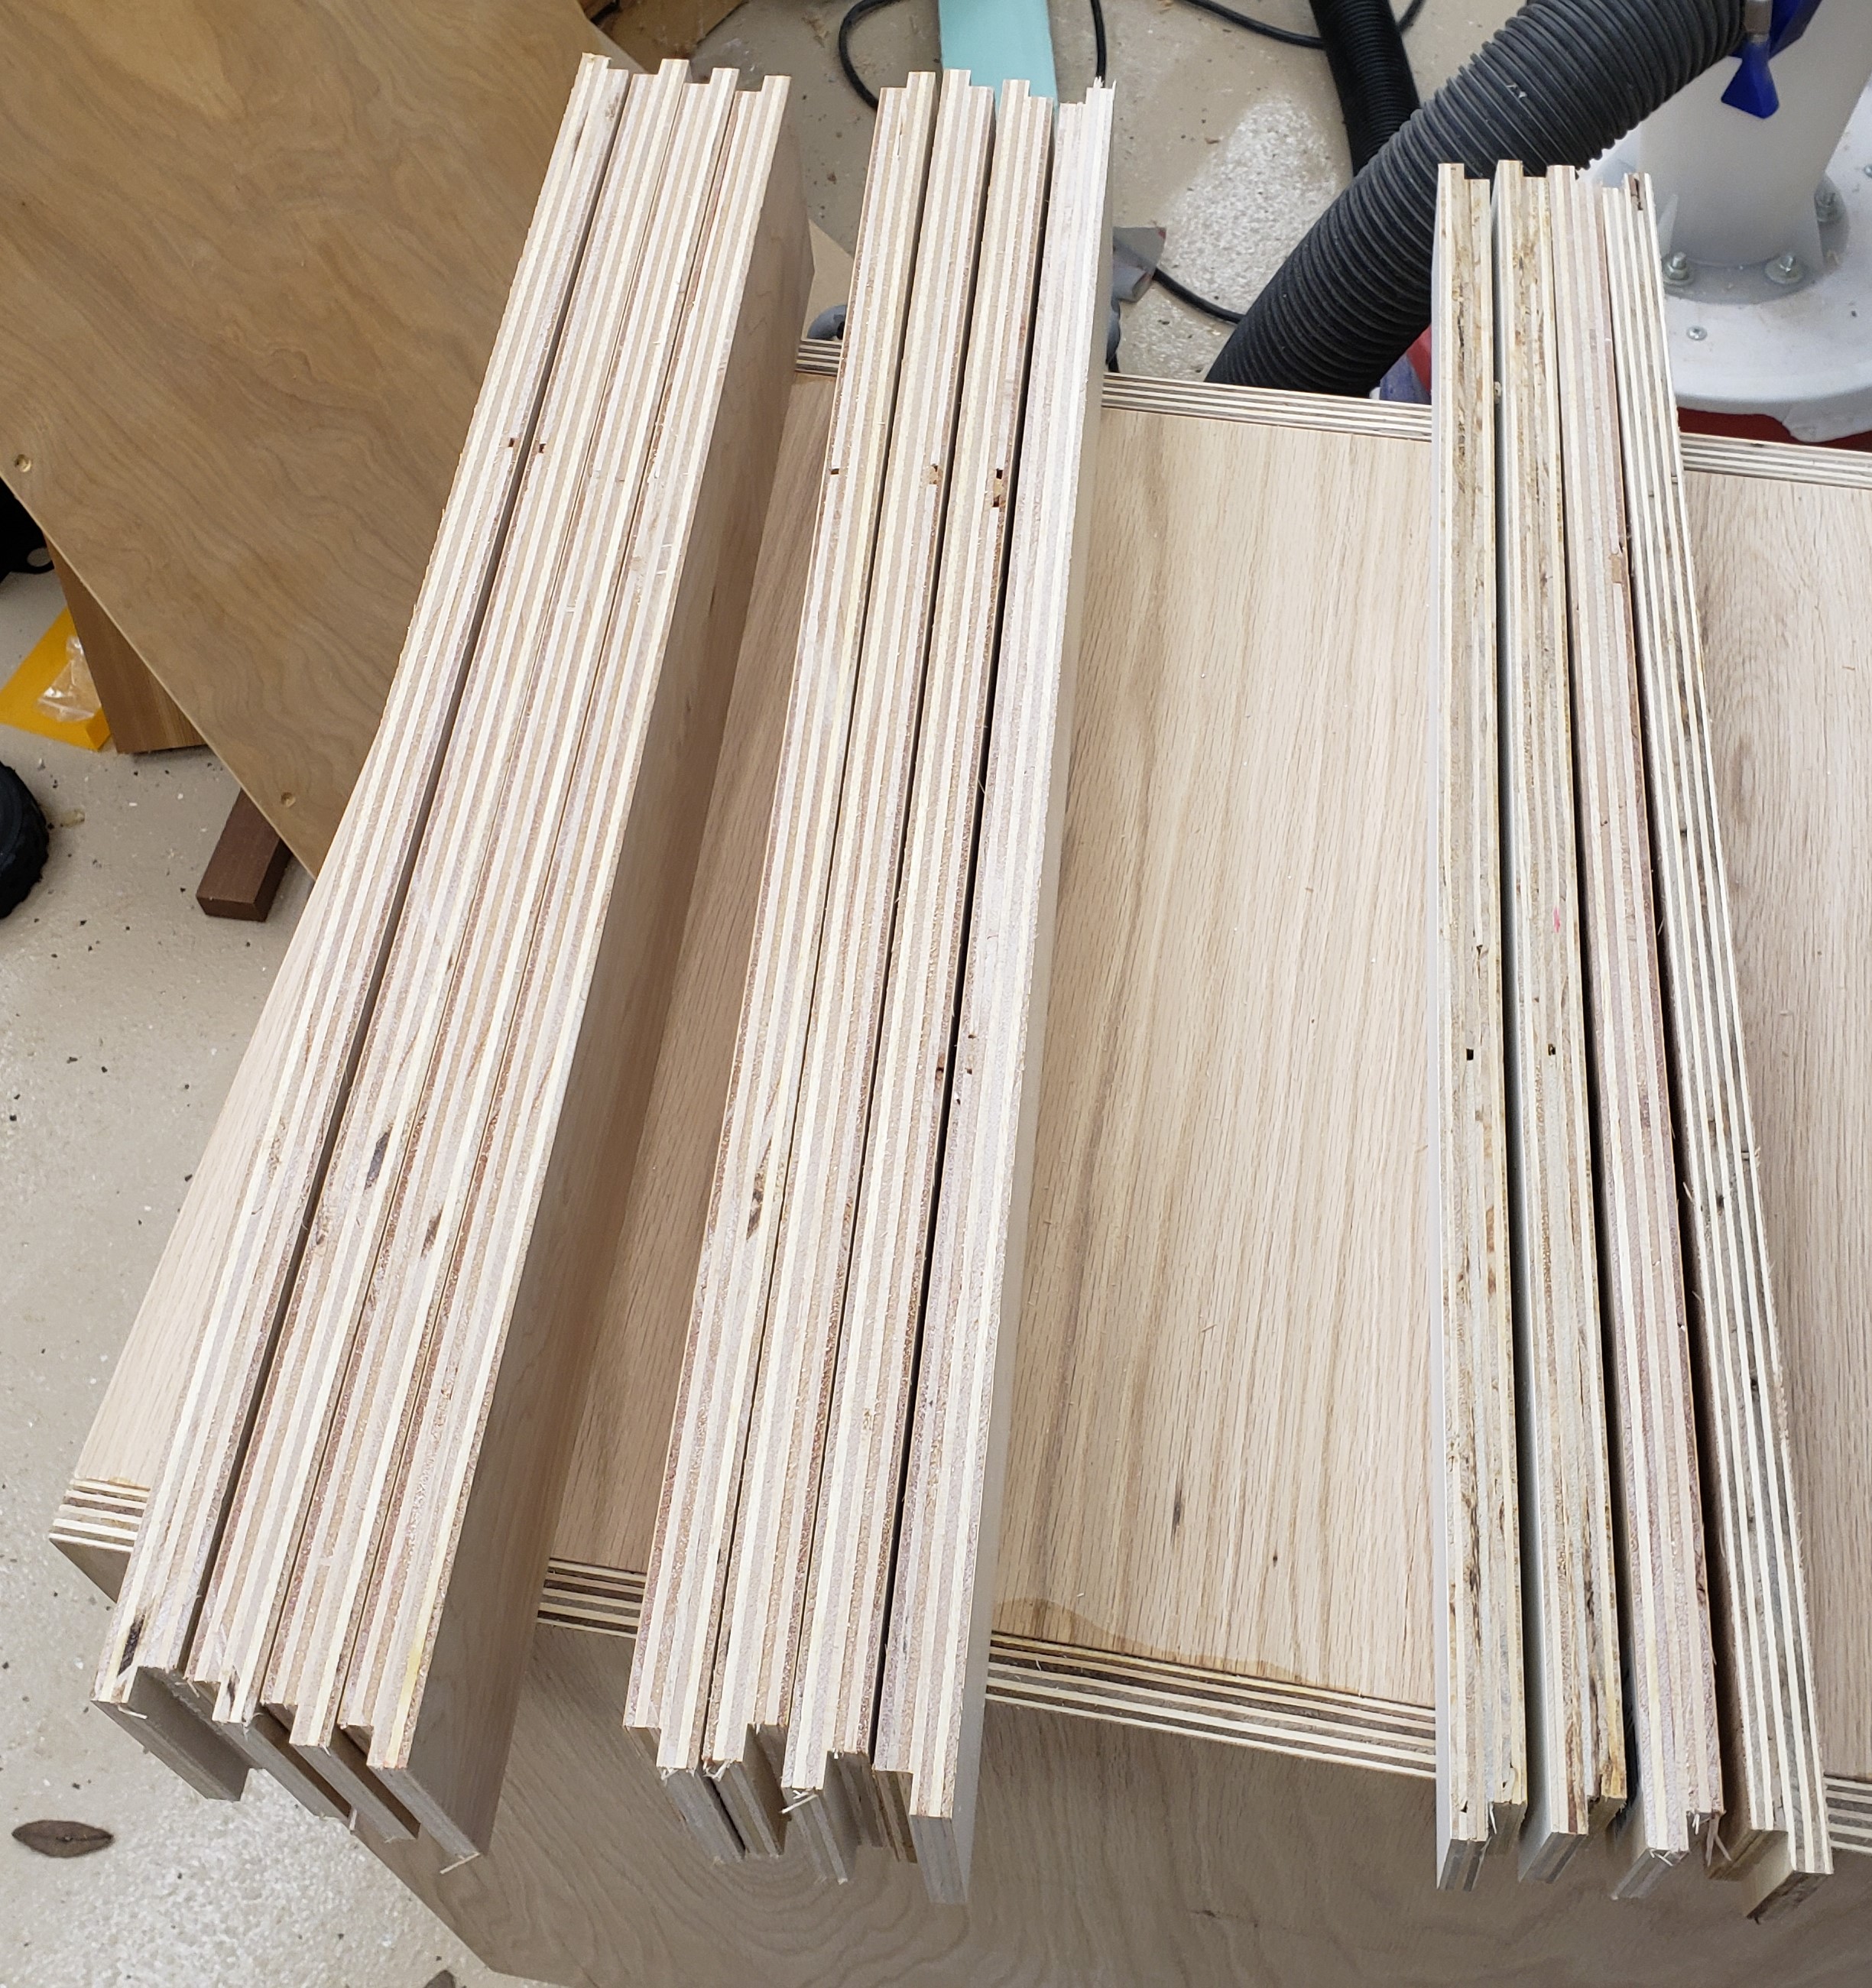
Rabbet for the half lap

With all the sides cut, I put another rabbet along the bottom of each board for the drawer bottom. Each would get a 1/2″ piece of plywood in the recess. Probably overkill, but I want them to be able to handle a lot of weight. Eight 24×24″ drawer bottoms worked out nicely to 1 full sheet of 1/2″ ply. It was subtle, but I put a little radius on the top edges of all the drawer sides to make it easier on your hands when reaching in. They took a bit of sanding to smooth out.

Routing for drawer bottoms
Slight radius on drawer side top edges
All drawers ready to assemble

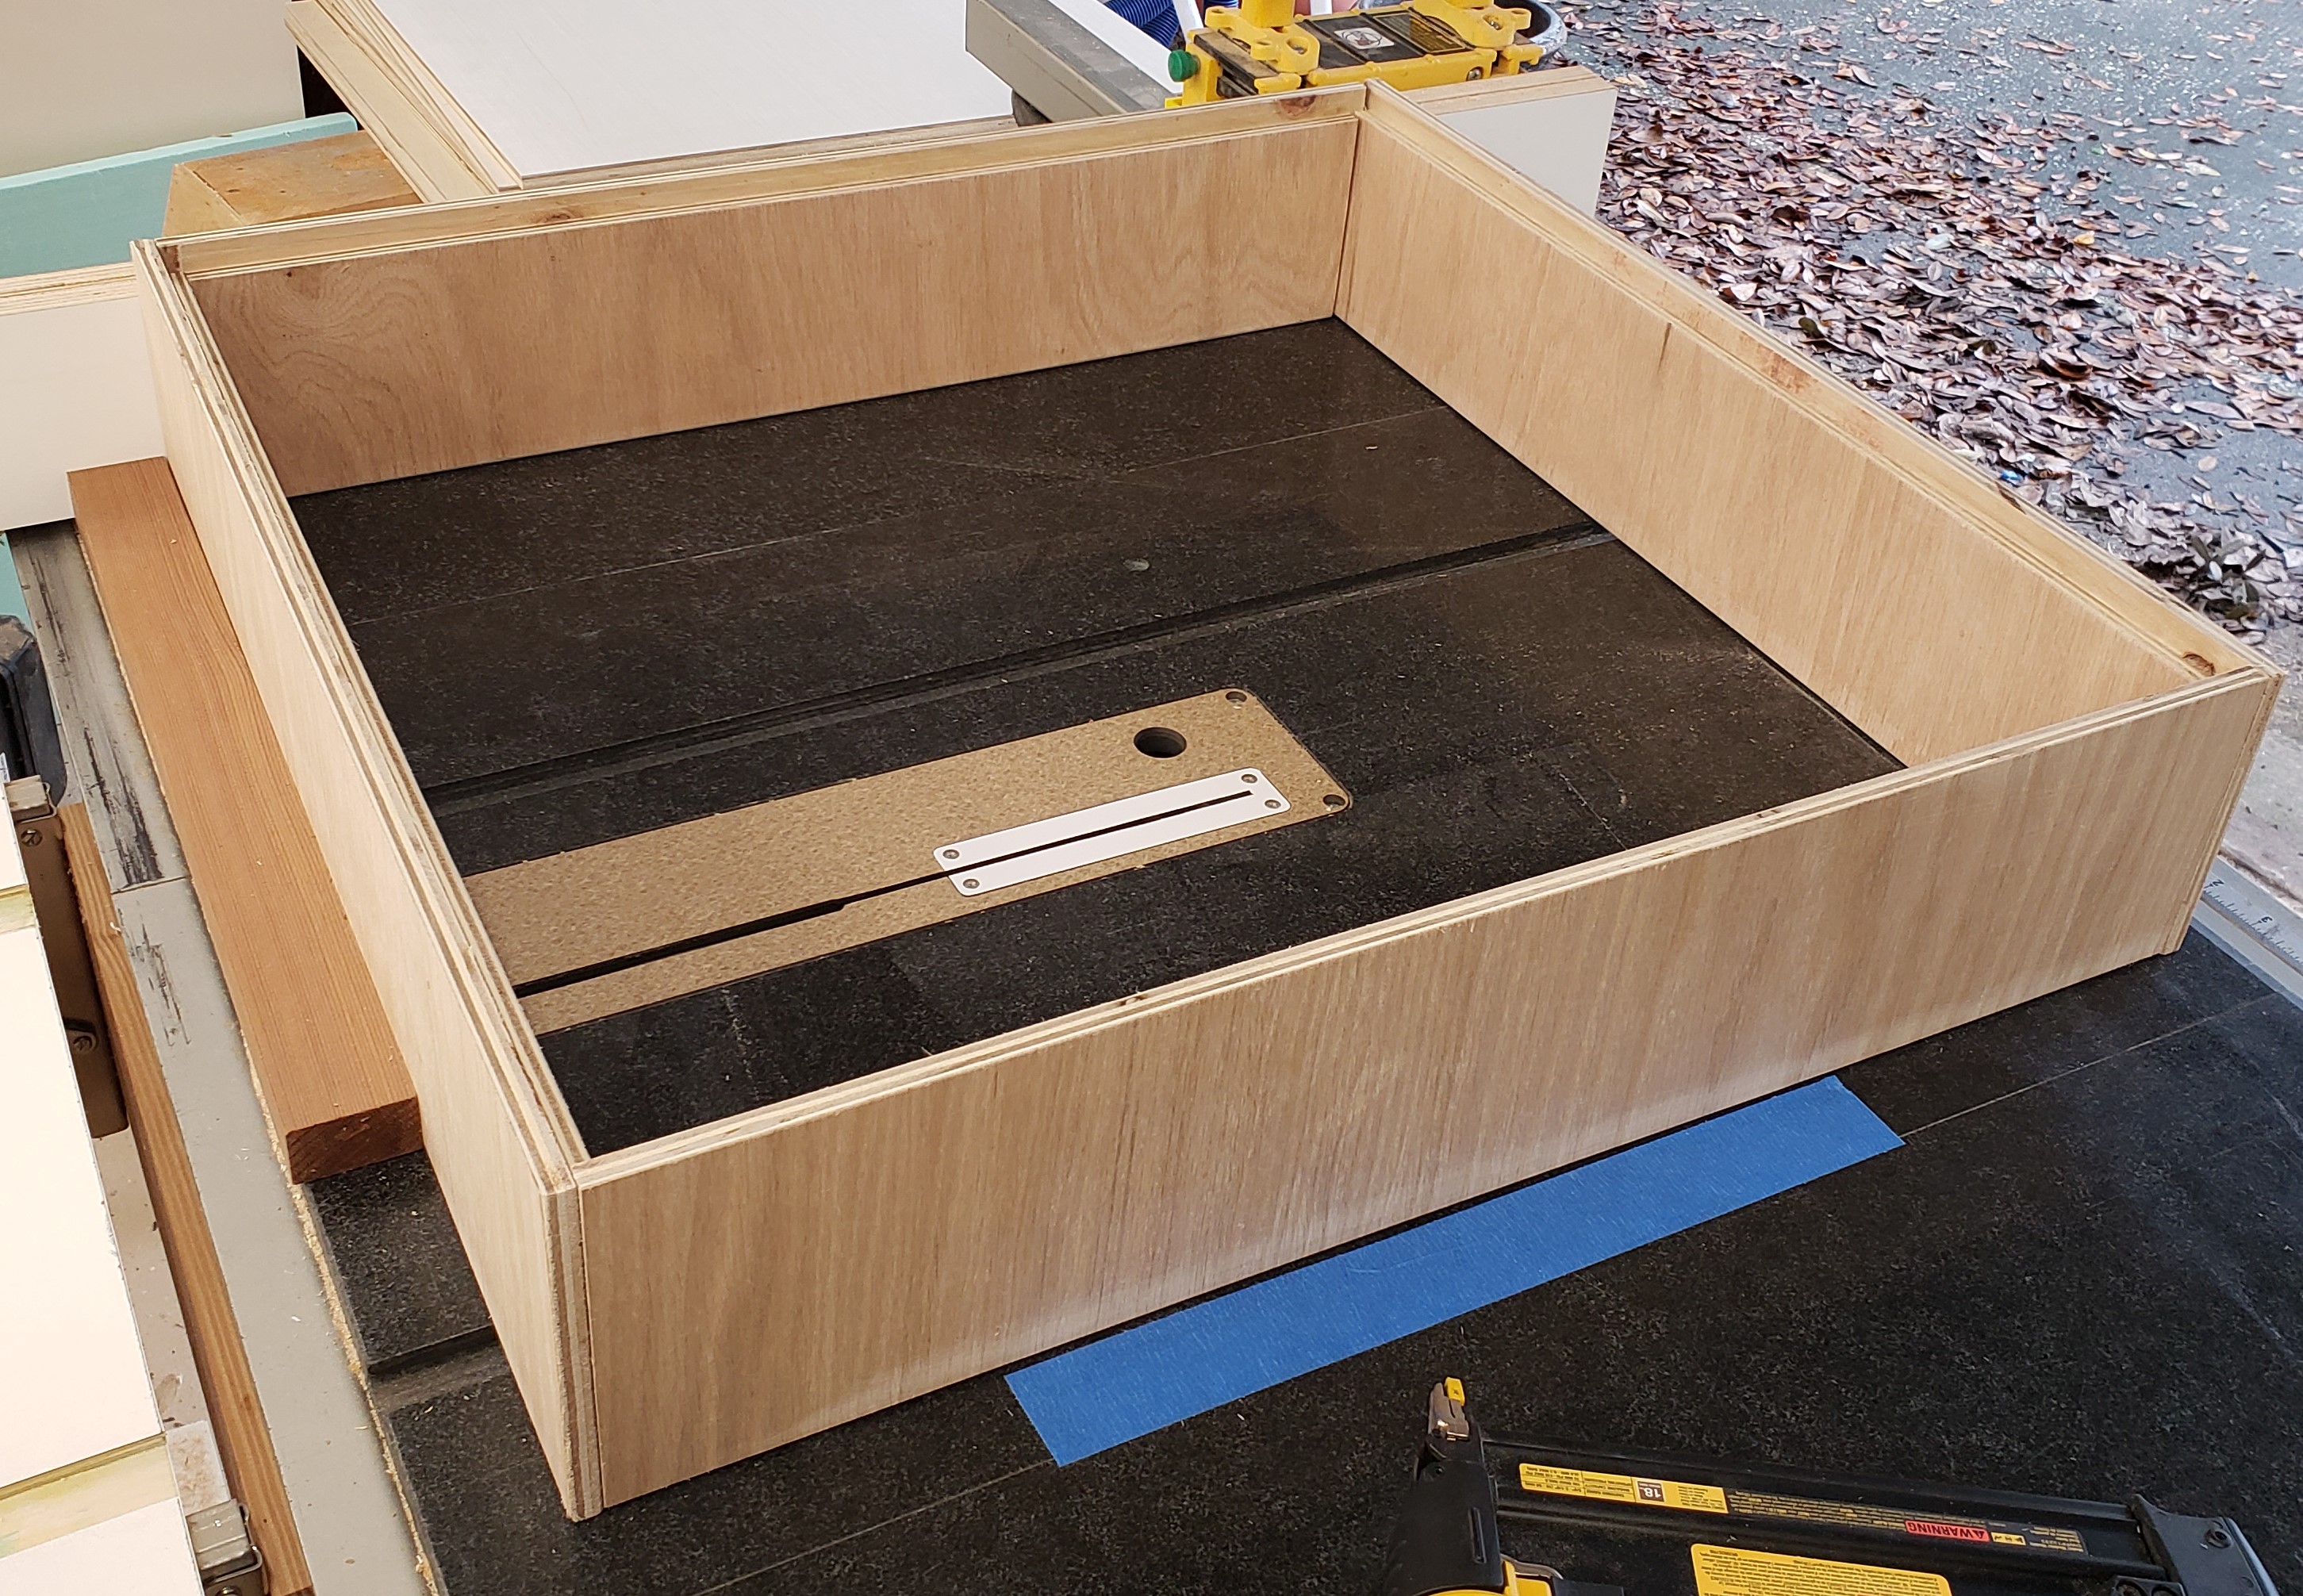
I had everything figured out really precisely, and cut all the drawers at the same time to reduce error. If they went together with any kind of bows or warp, it would throw my plans off. I attached a board to my table saw to act as a square, and used the top as a large flat assembly surface. Each side got glue and nails in two directions. Nailing and gluing a half lap like this is really fast, easy, and strong. The drawer bottoms got glue and nails in from the bottom, and into the side of the bottom plywood. They were fast to assemble, and should be bomb proof!
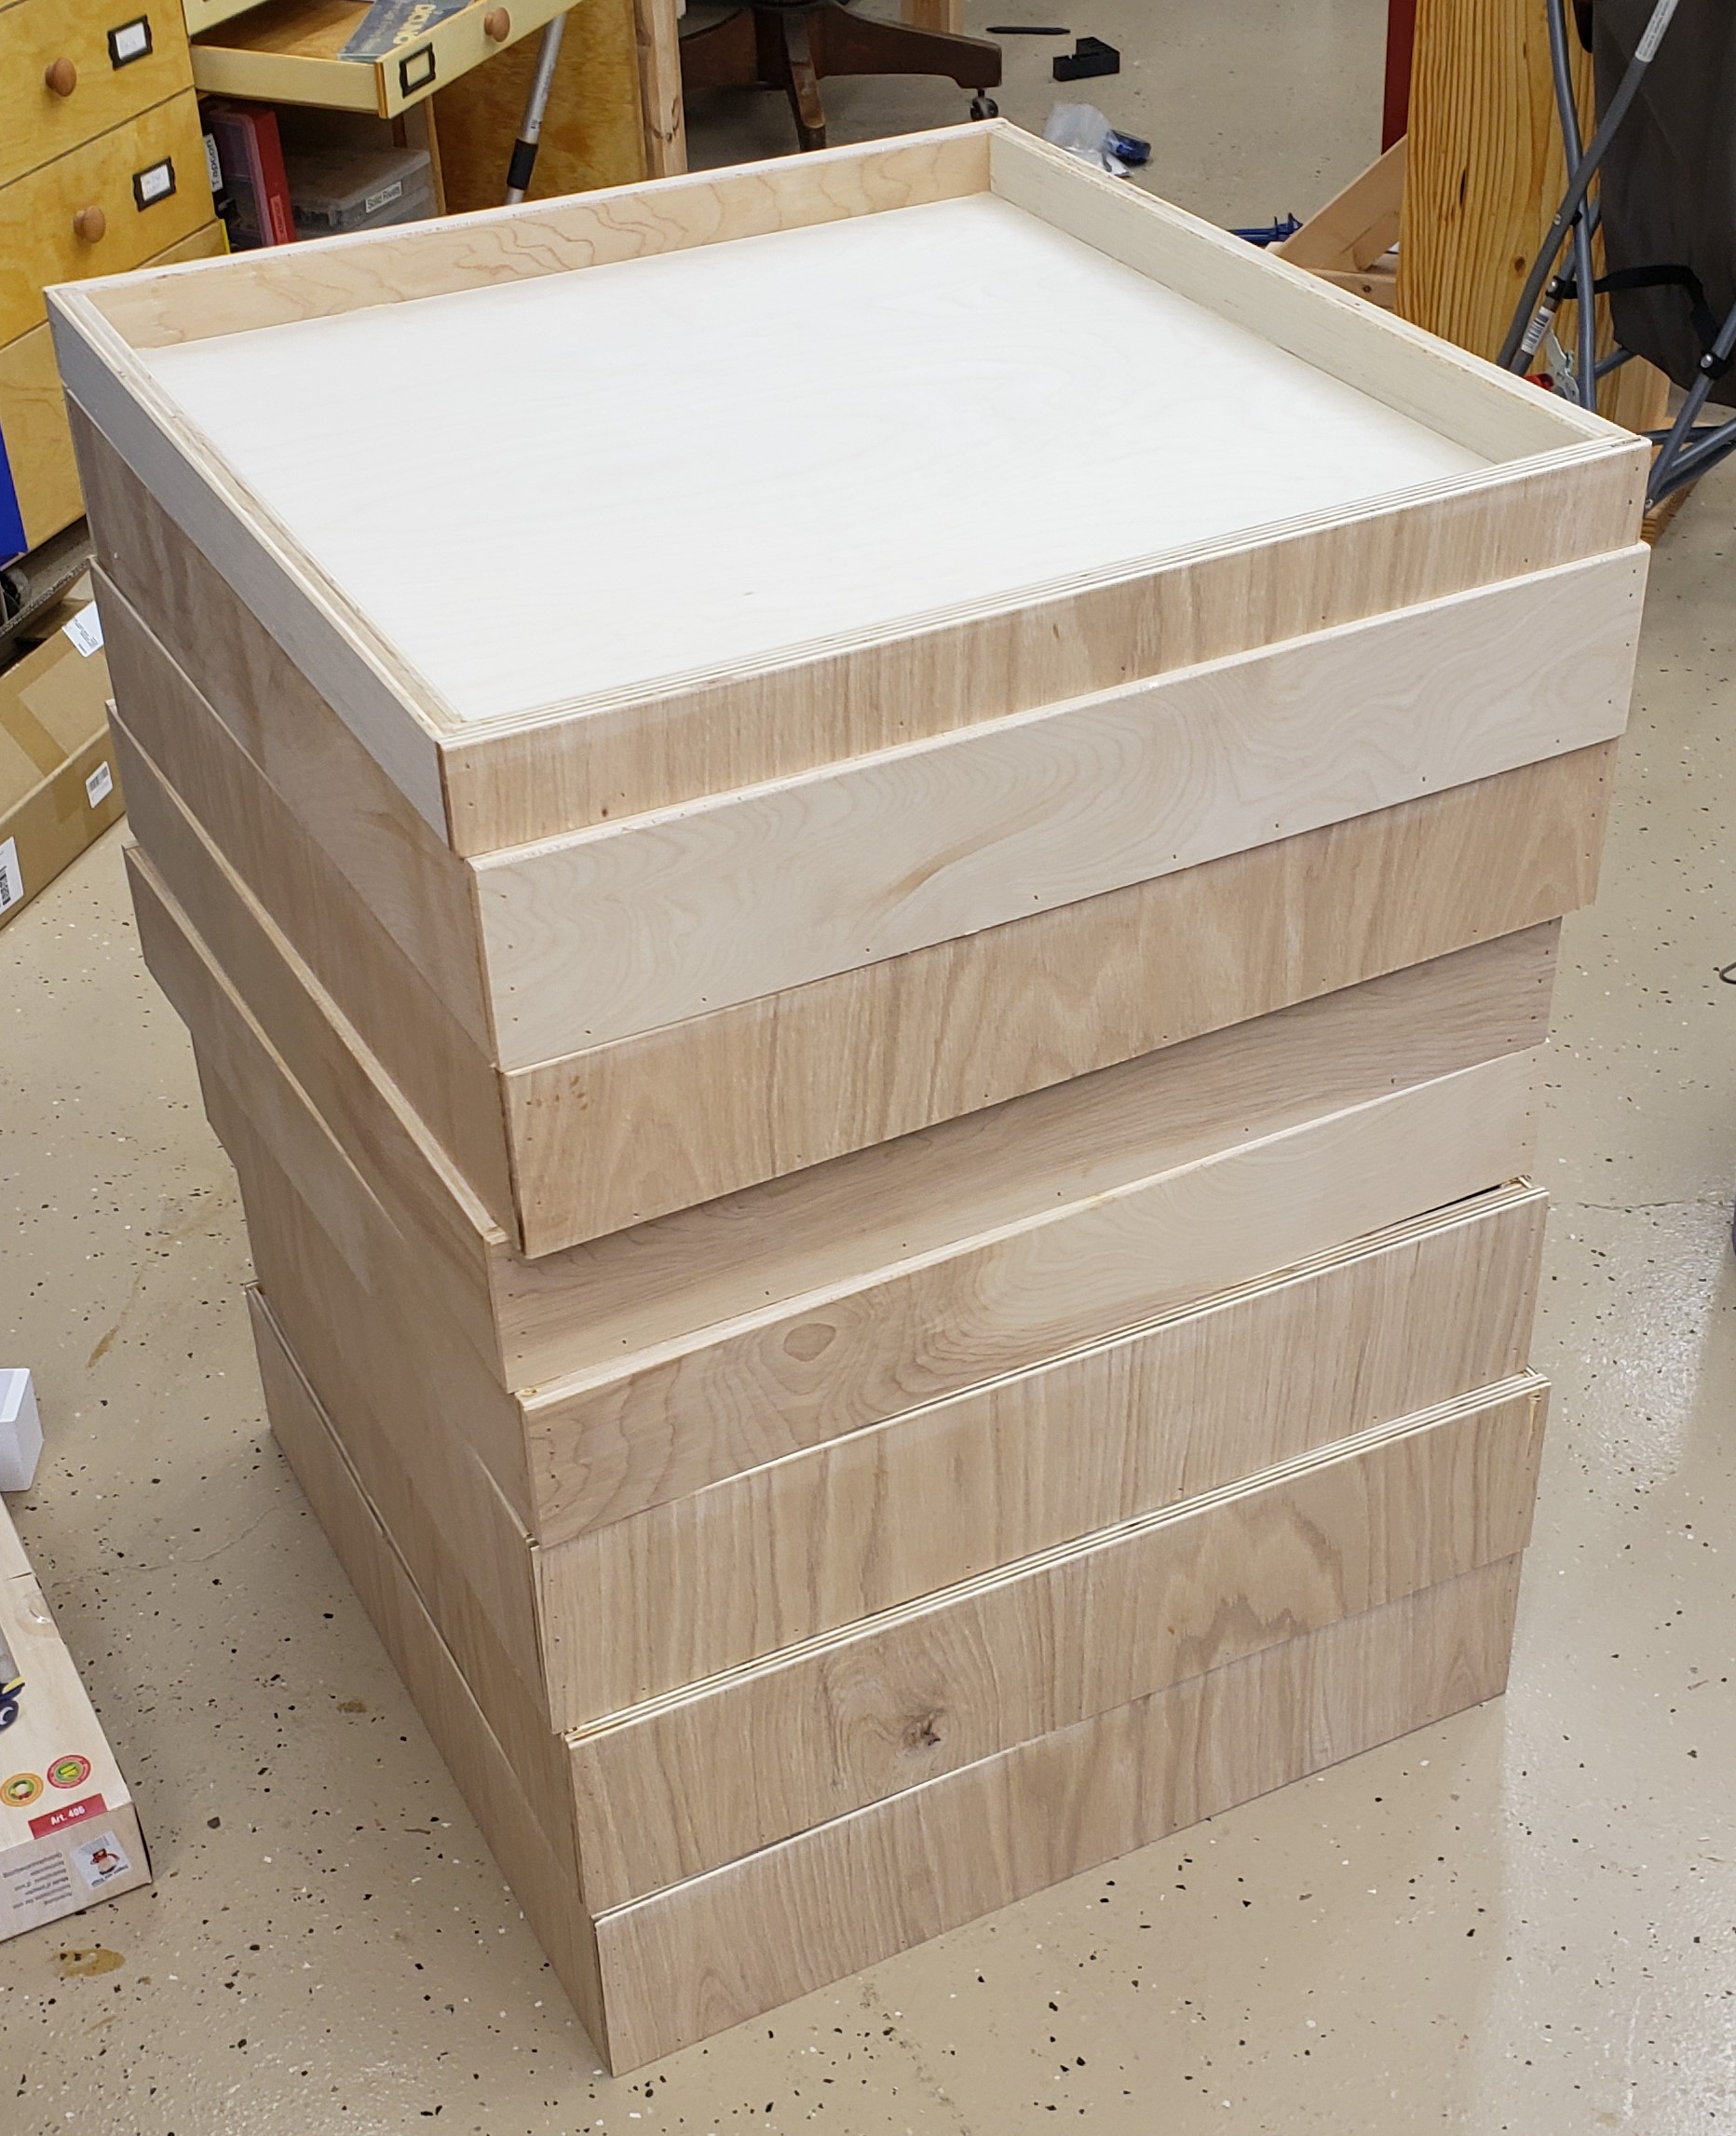
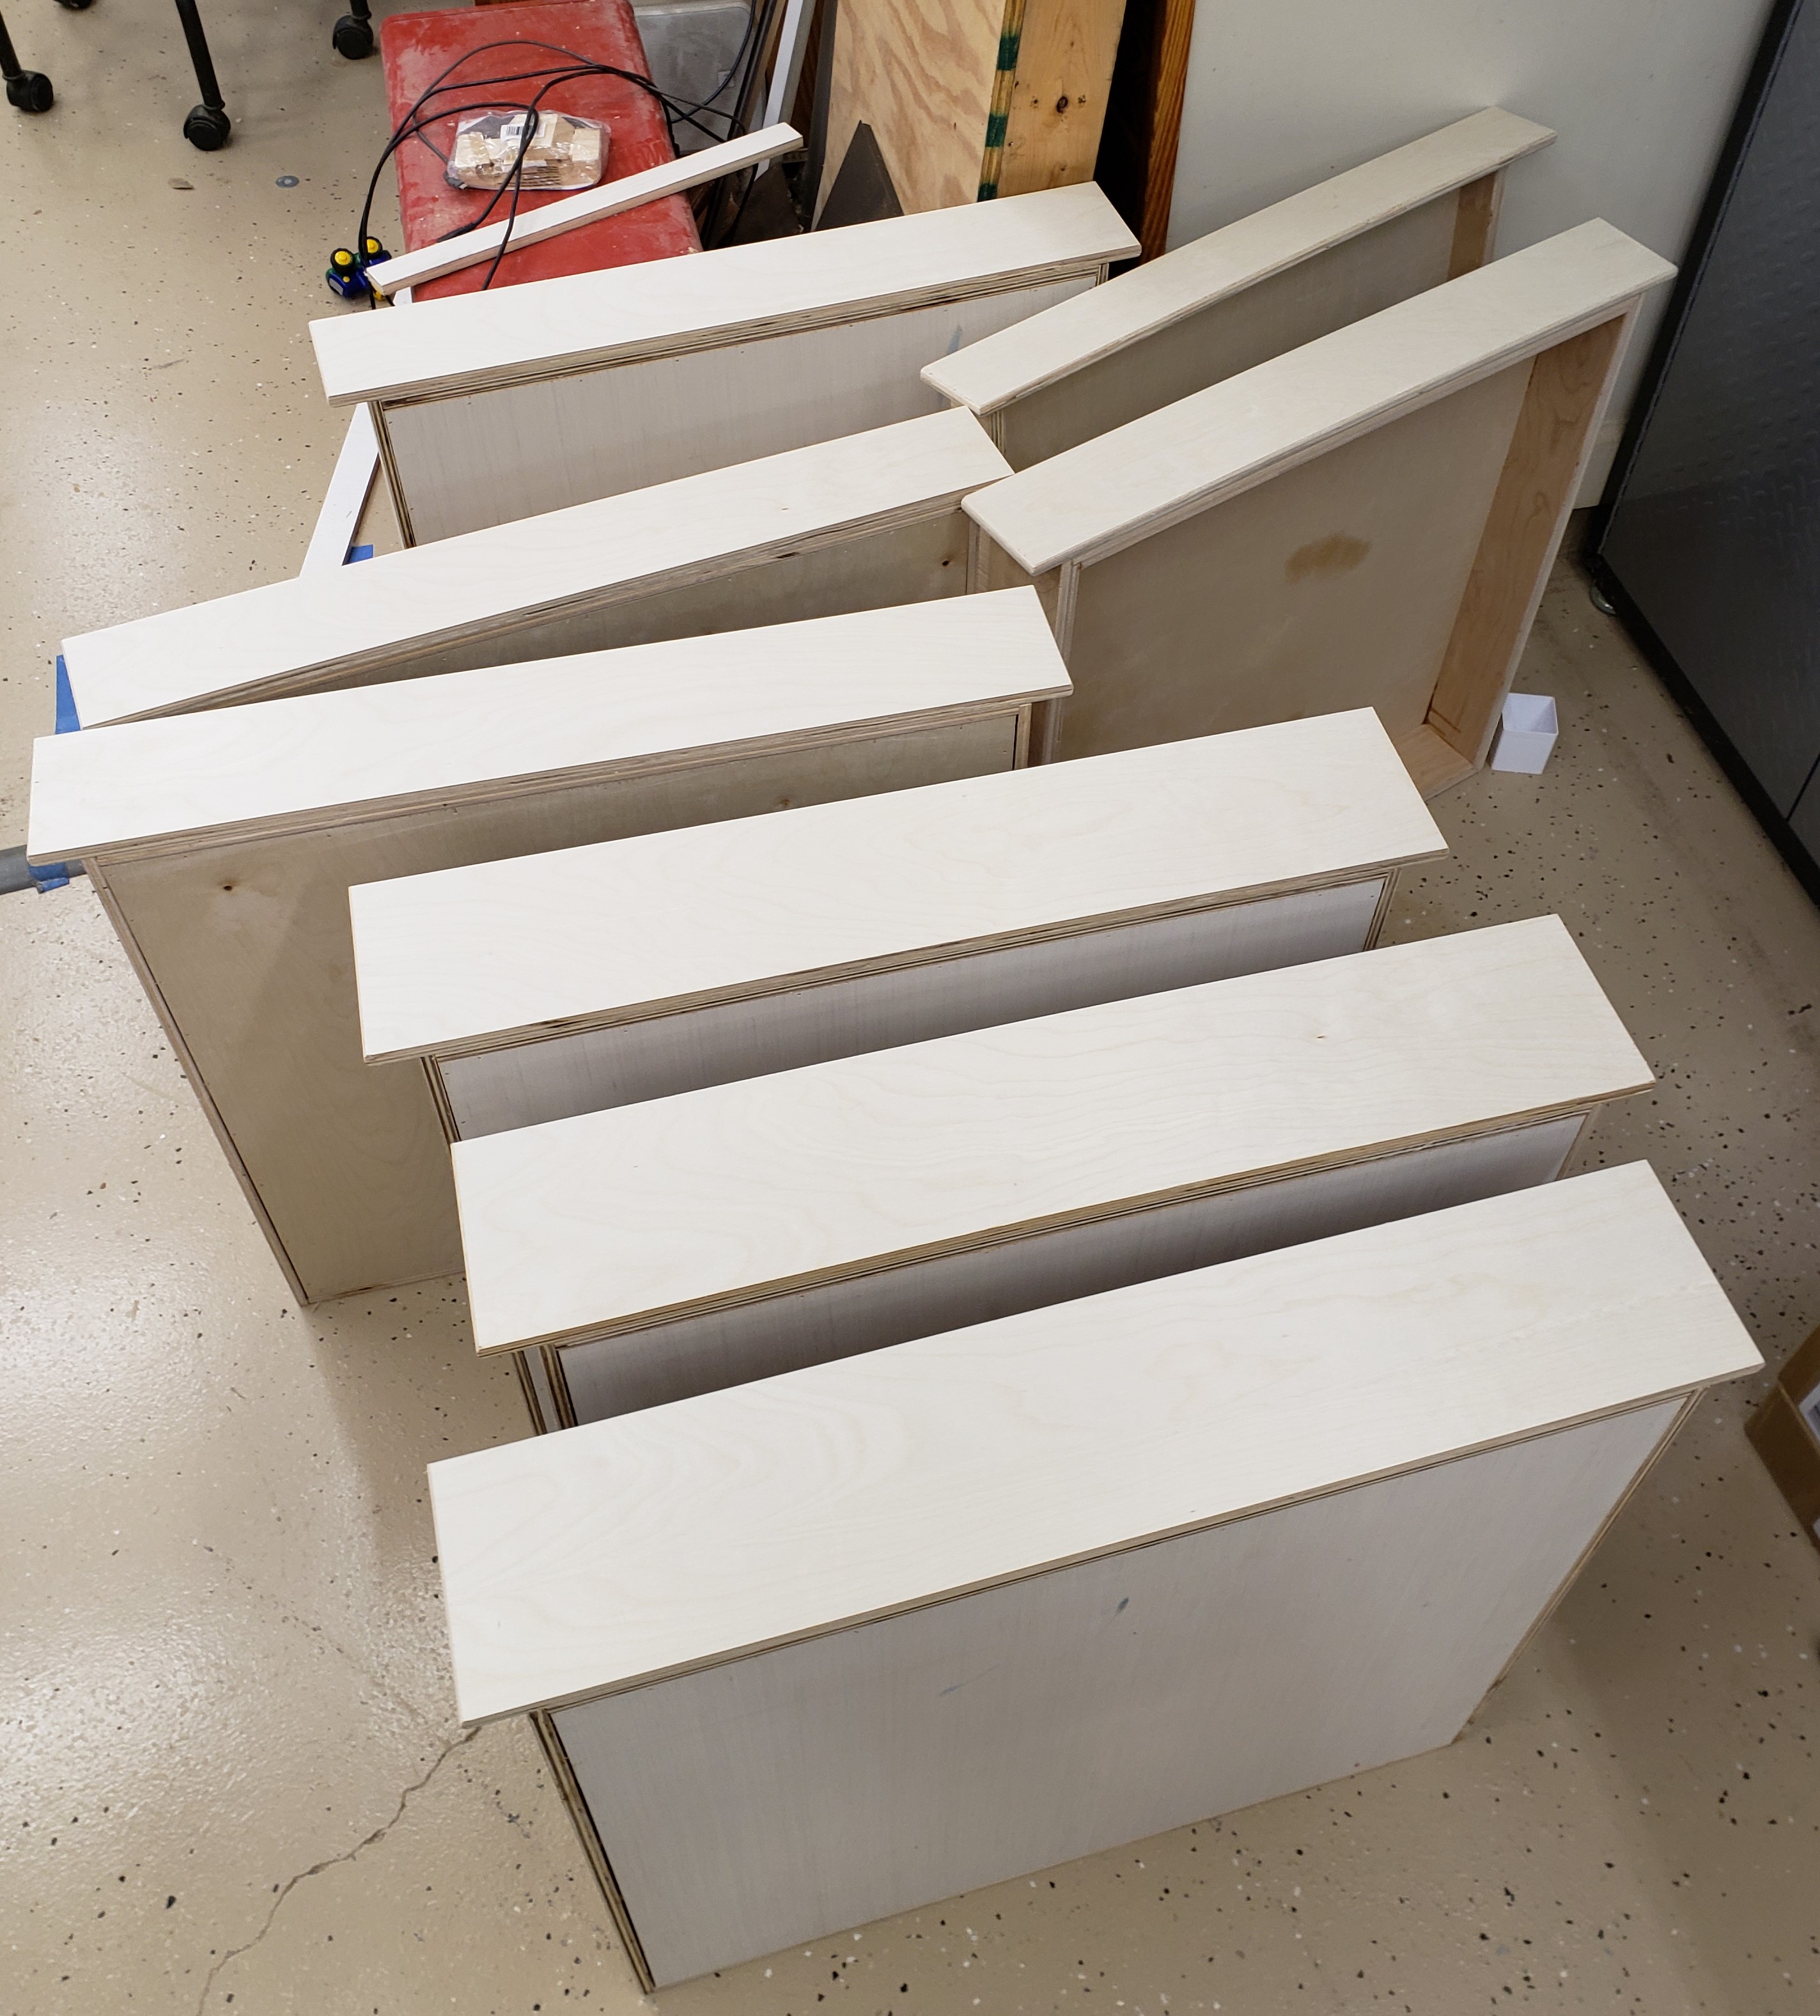
For the drawer fronts I cut a single strip of 1/2″ plywood and aligned each front with numbers so the grain flows naturally from bottom to top.

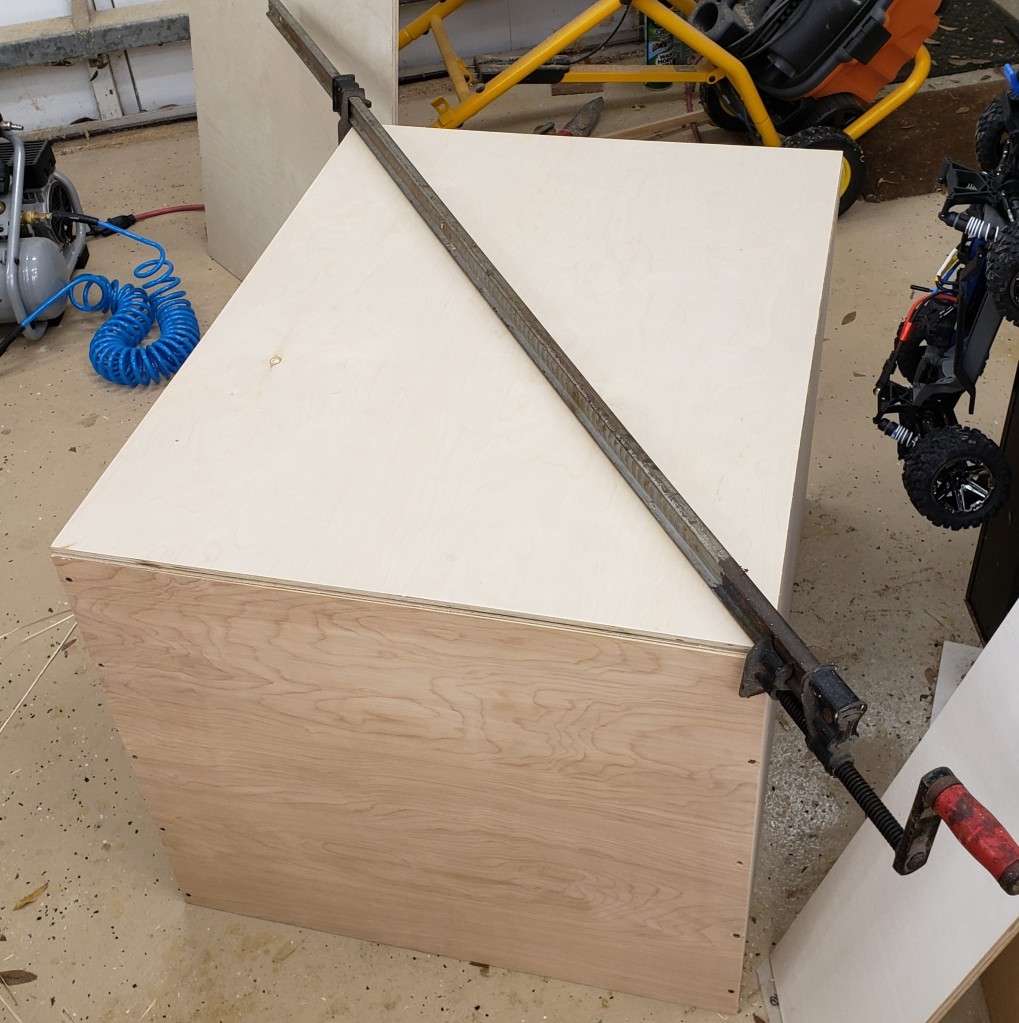
Next came the carcass of the cabinet. Nothing special here, just a box with an open front. I had to be very precise though, if the sides crept in, I couldn’t fit my drawers, and if it got too tall, It wouldn’t fit in the right spot in my garage. I had a little squareness issue, and had to break out my biggest clamp to fix it while installing the back.

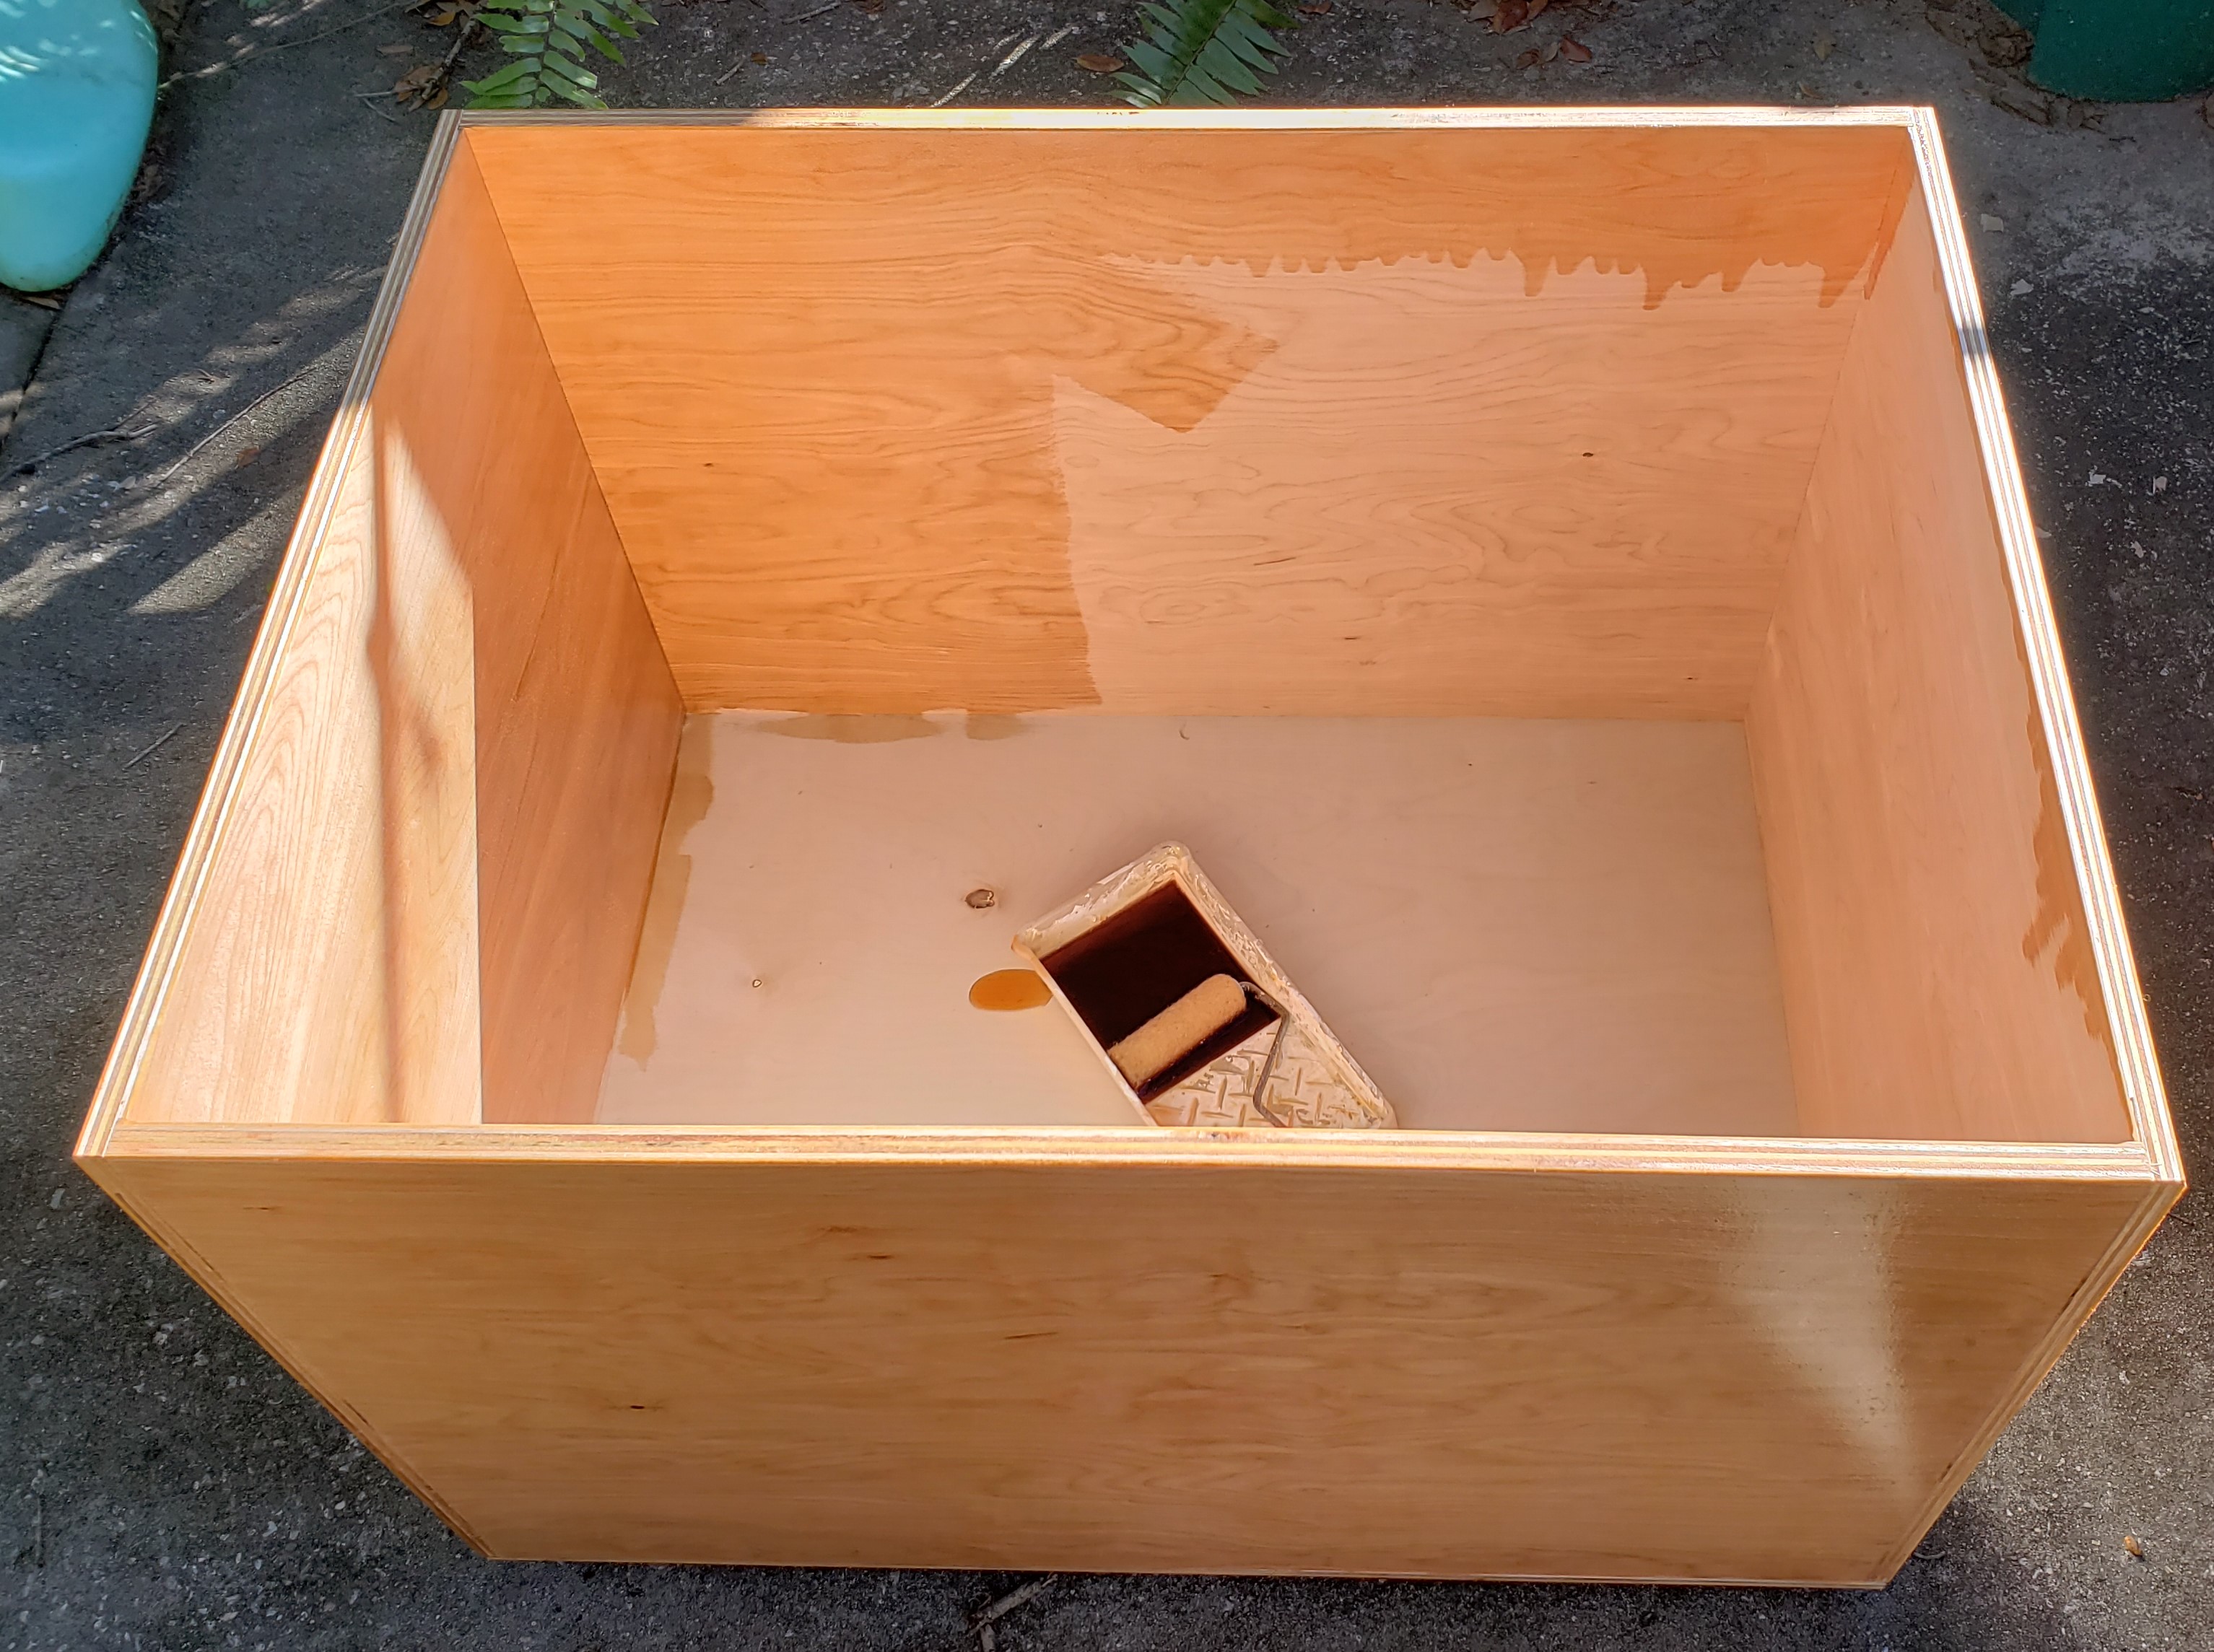
For finish I turned to my usual boiled linseed oil shop tool finish. There was so much to do I broke out a roller and tray to put it all on. I think I went through half a gallon to do the cabinet and drawers. My shop helper was sprinkling the painter pyramids all over the driveway for me to step on.
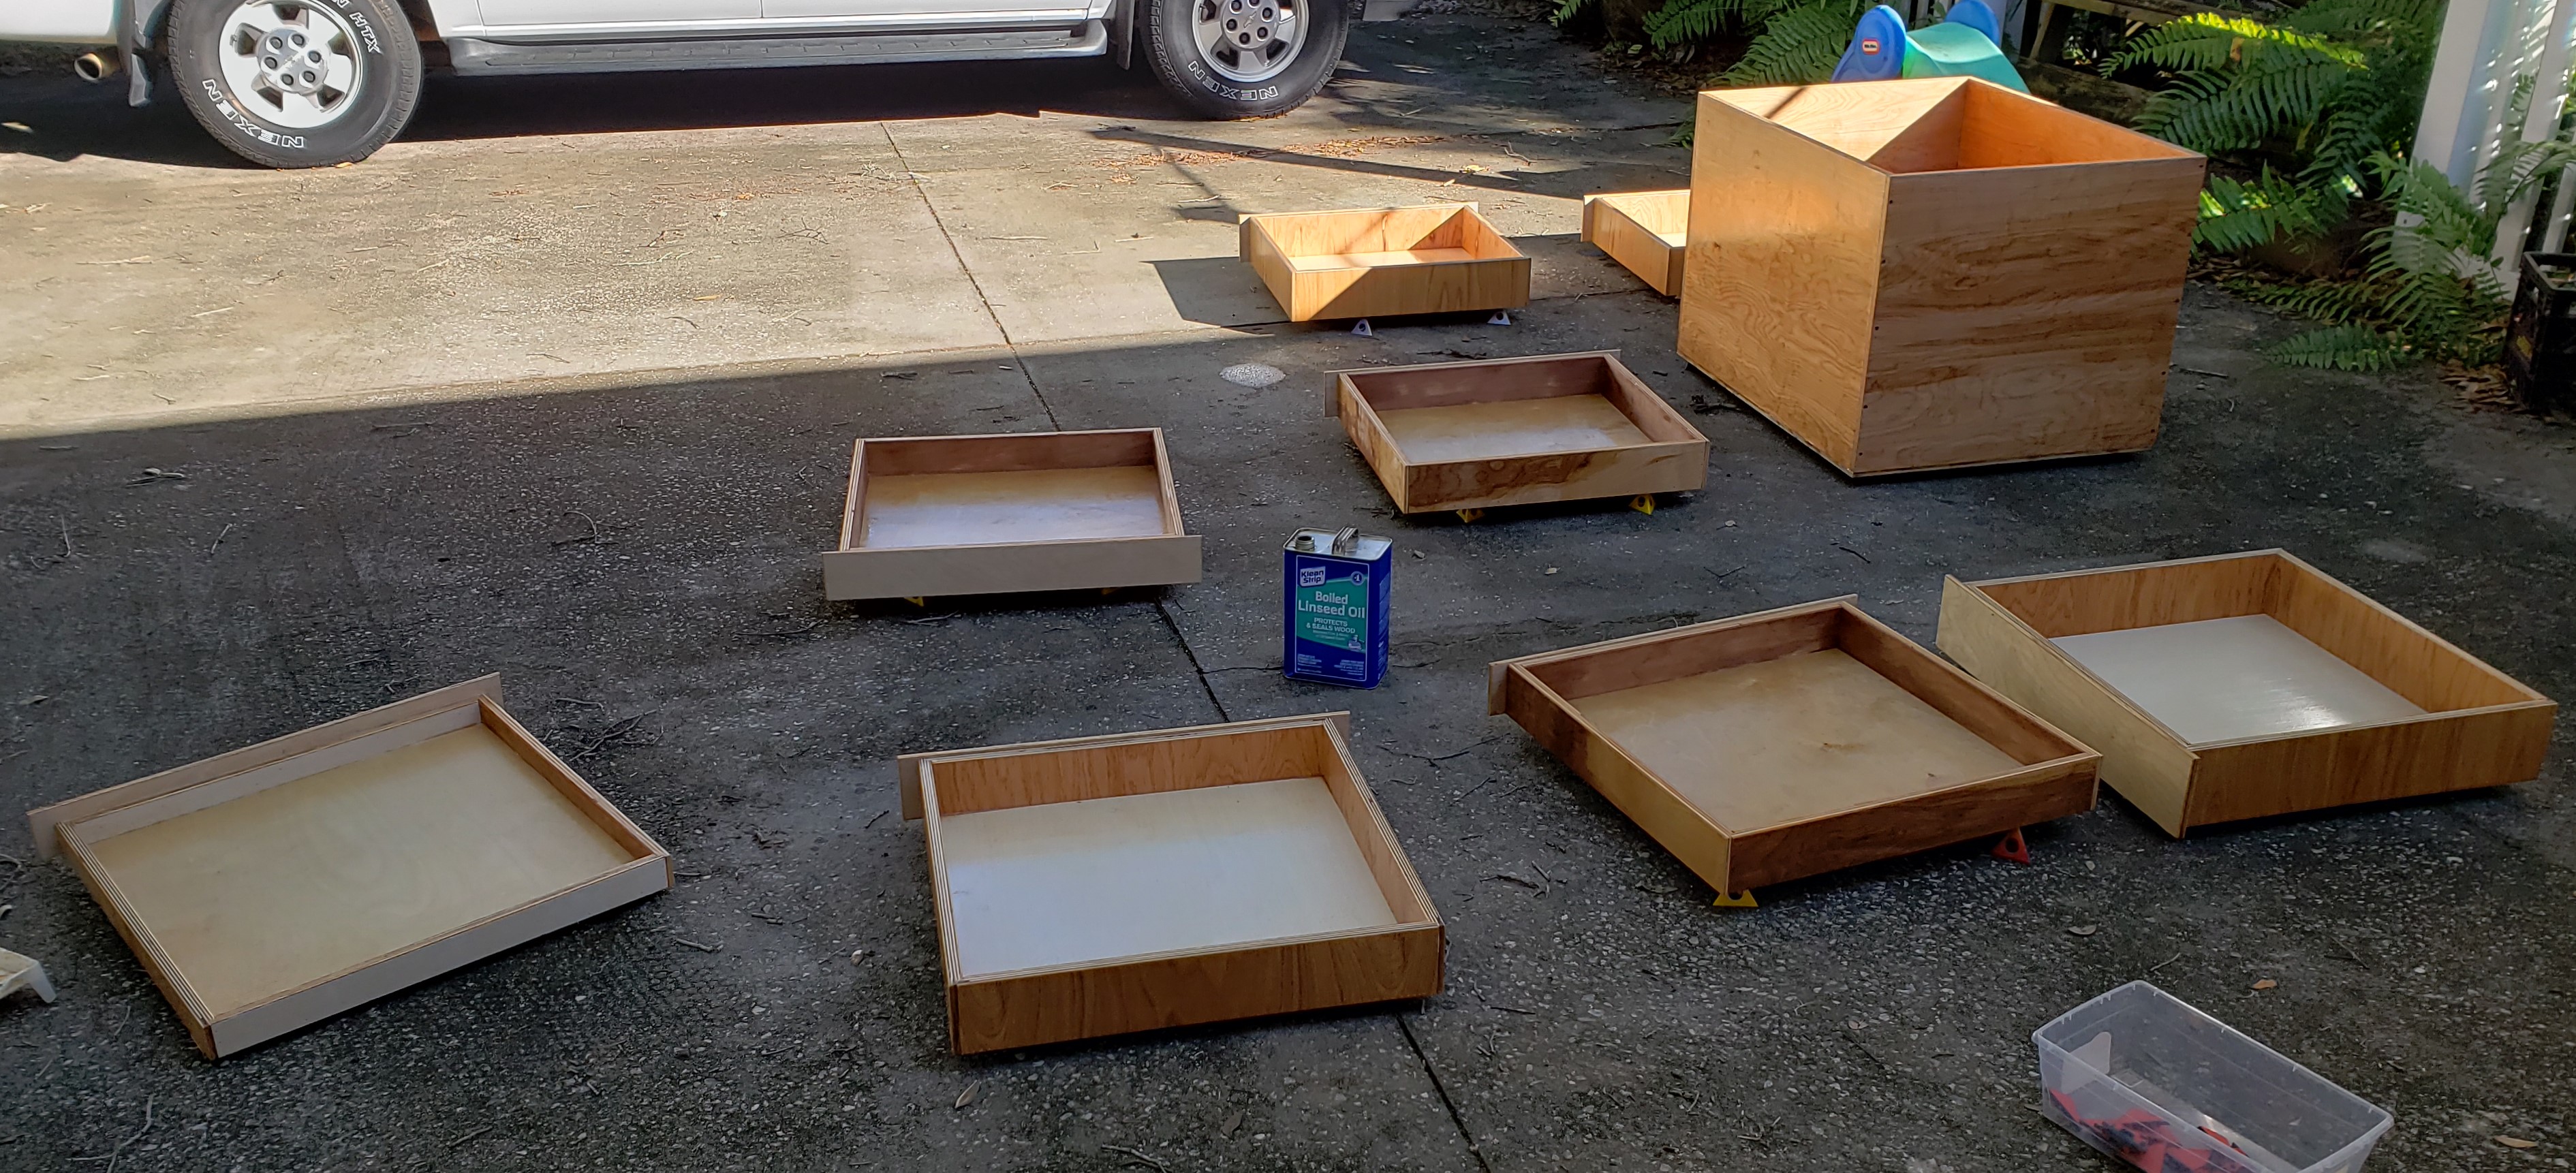
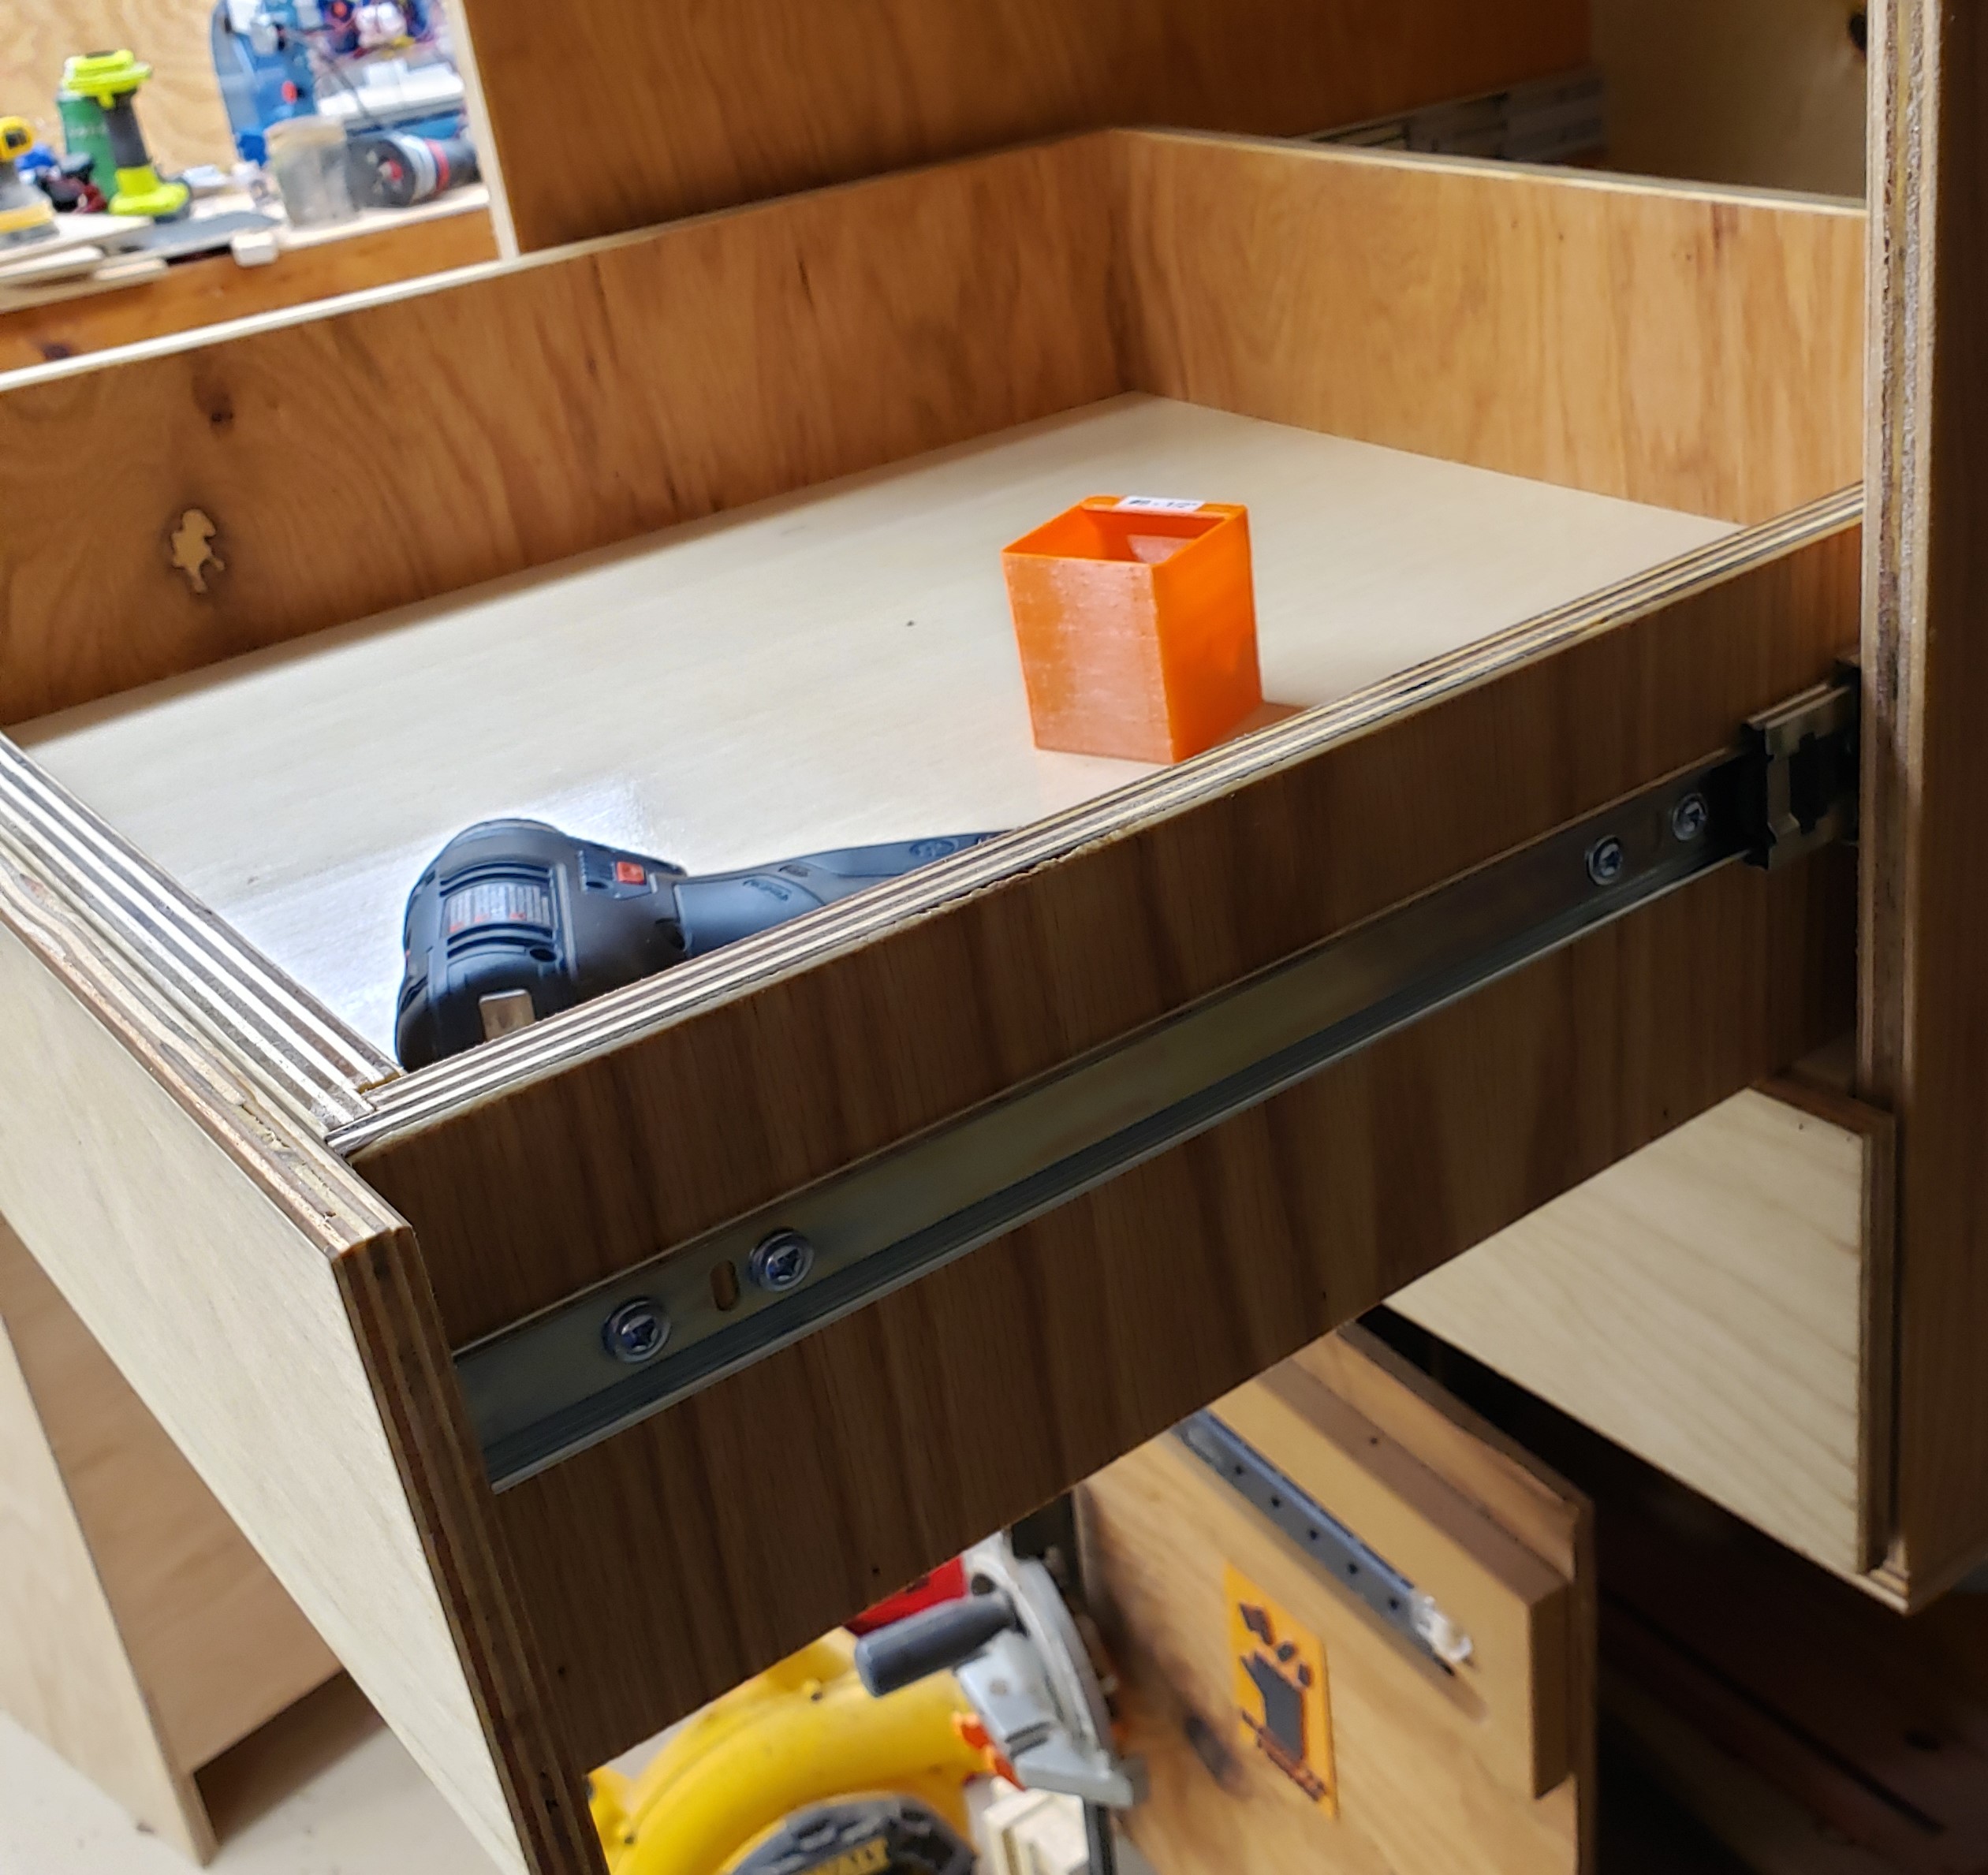
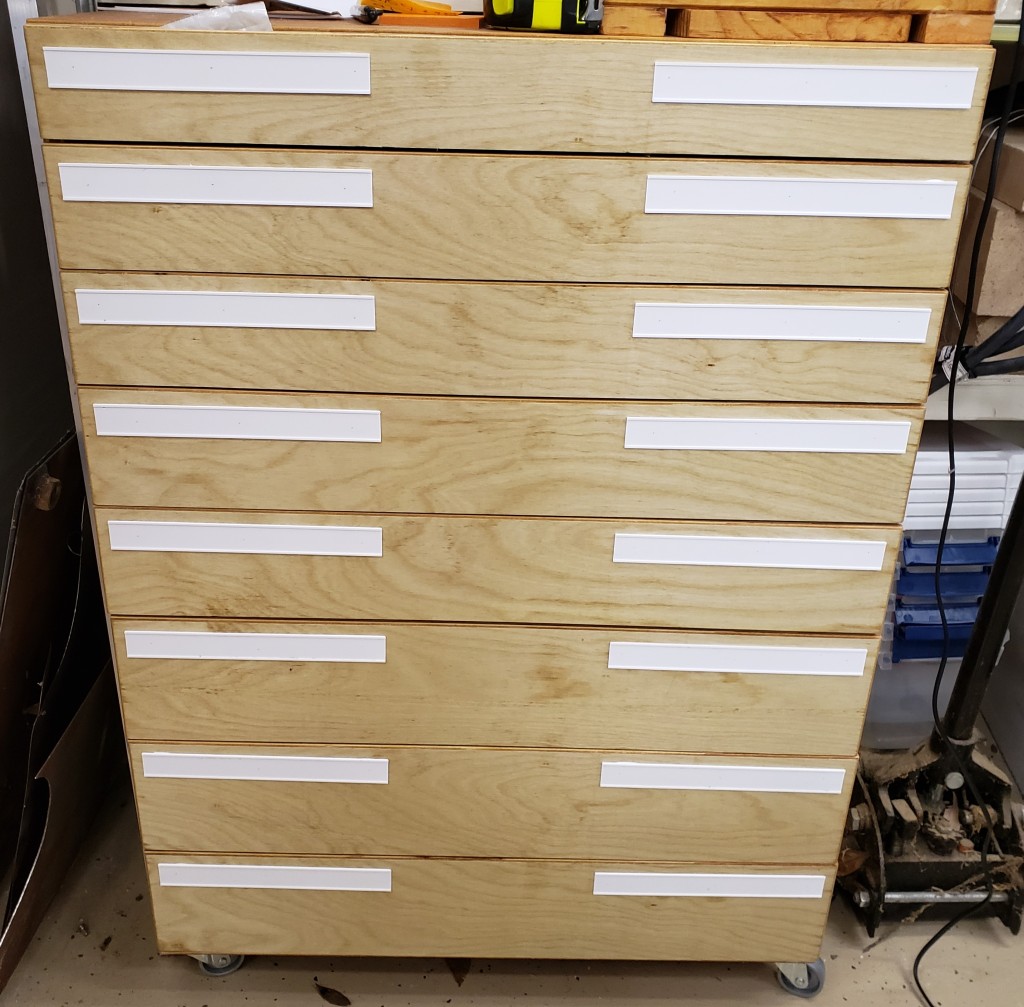
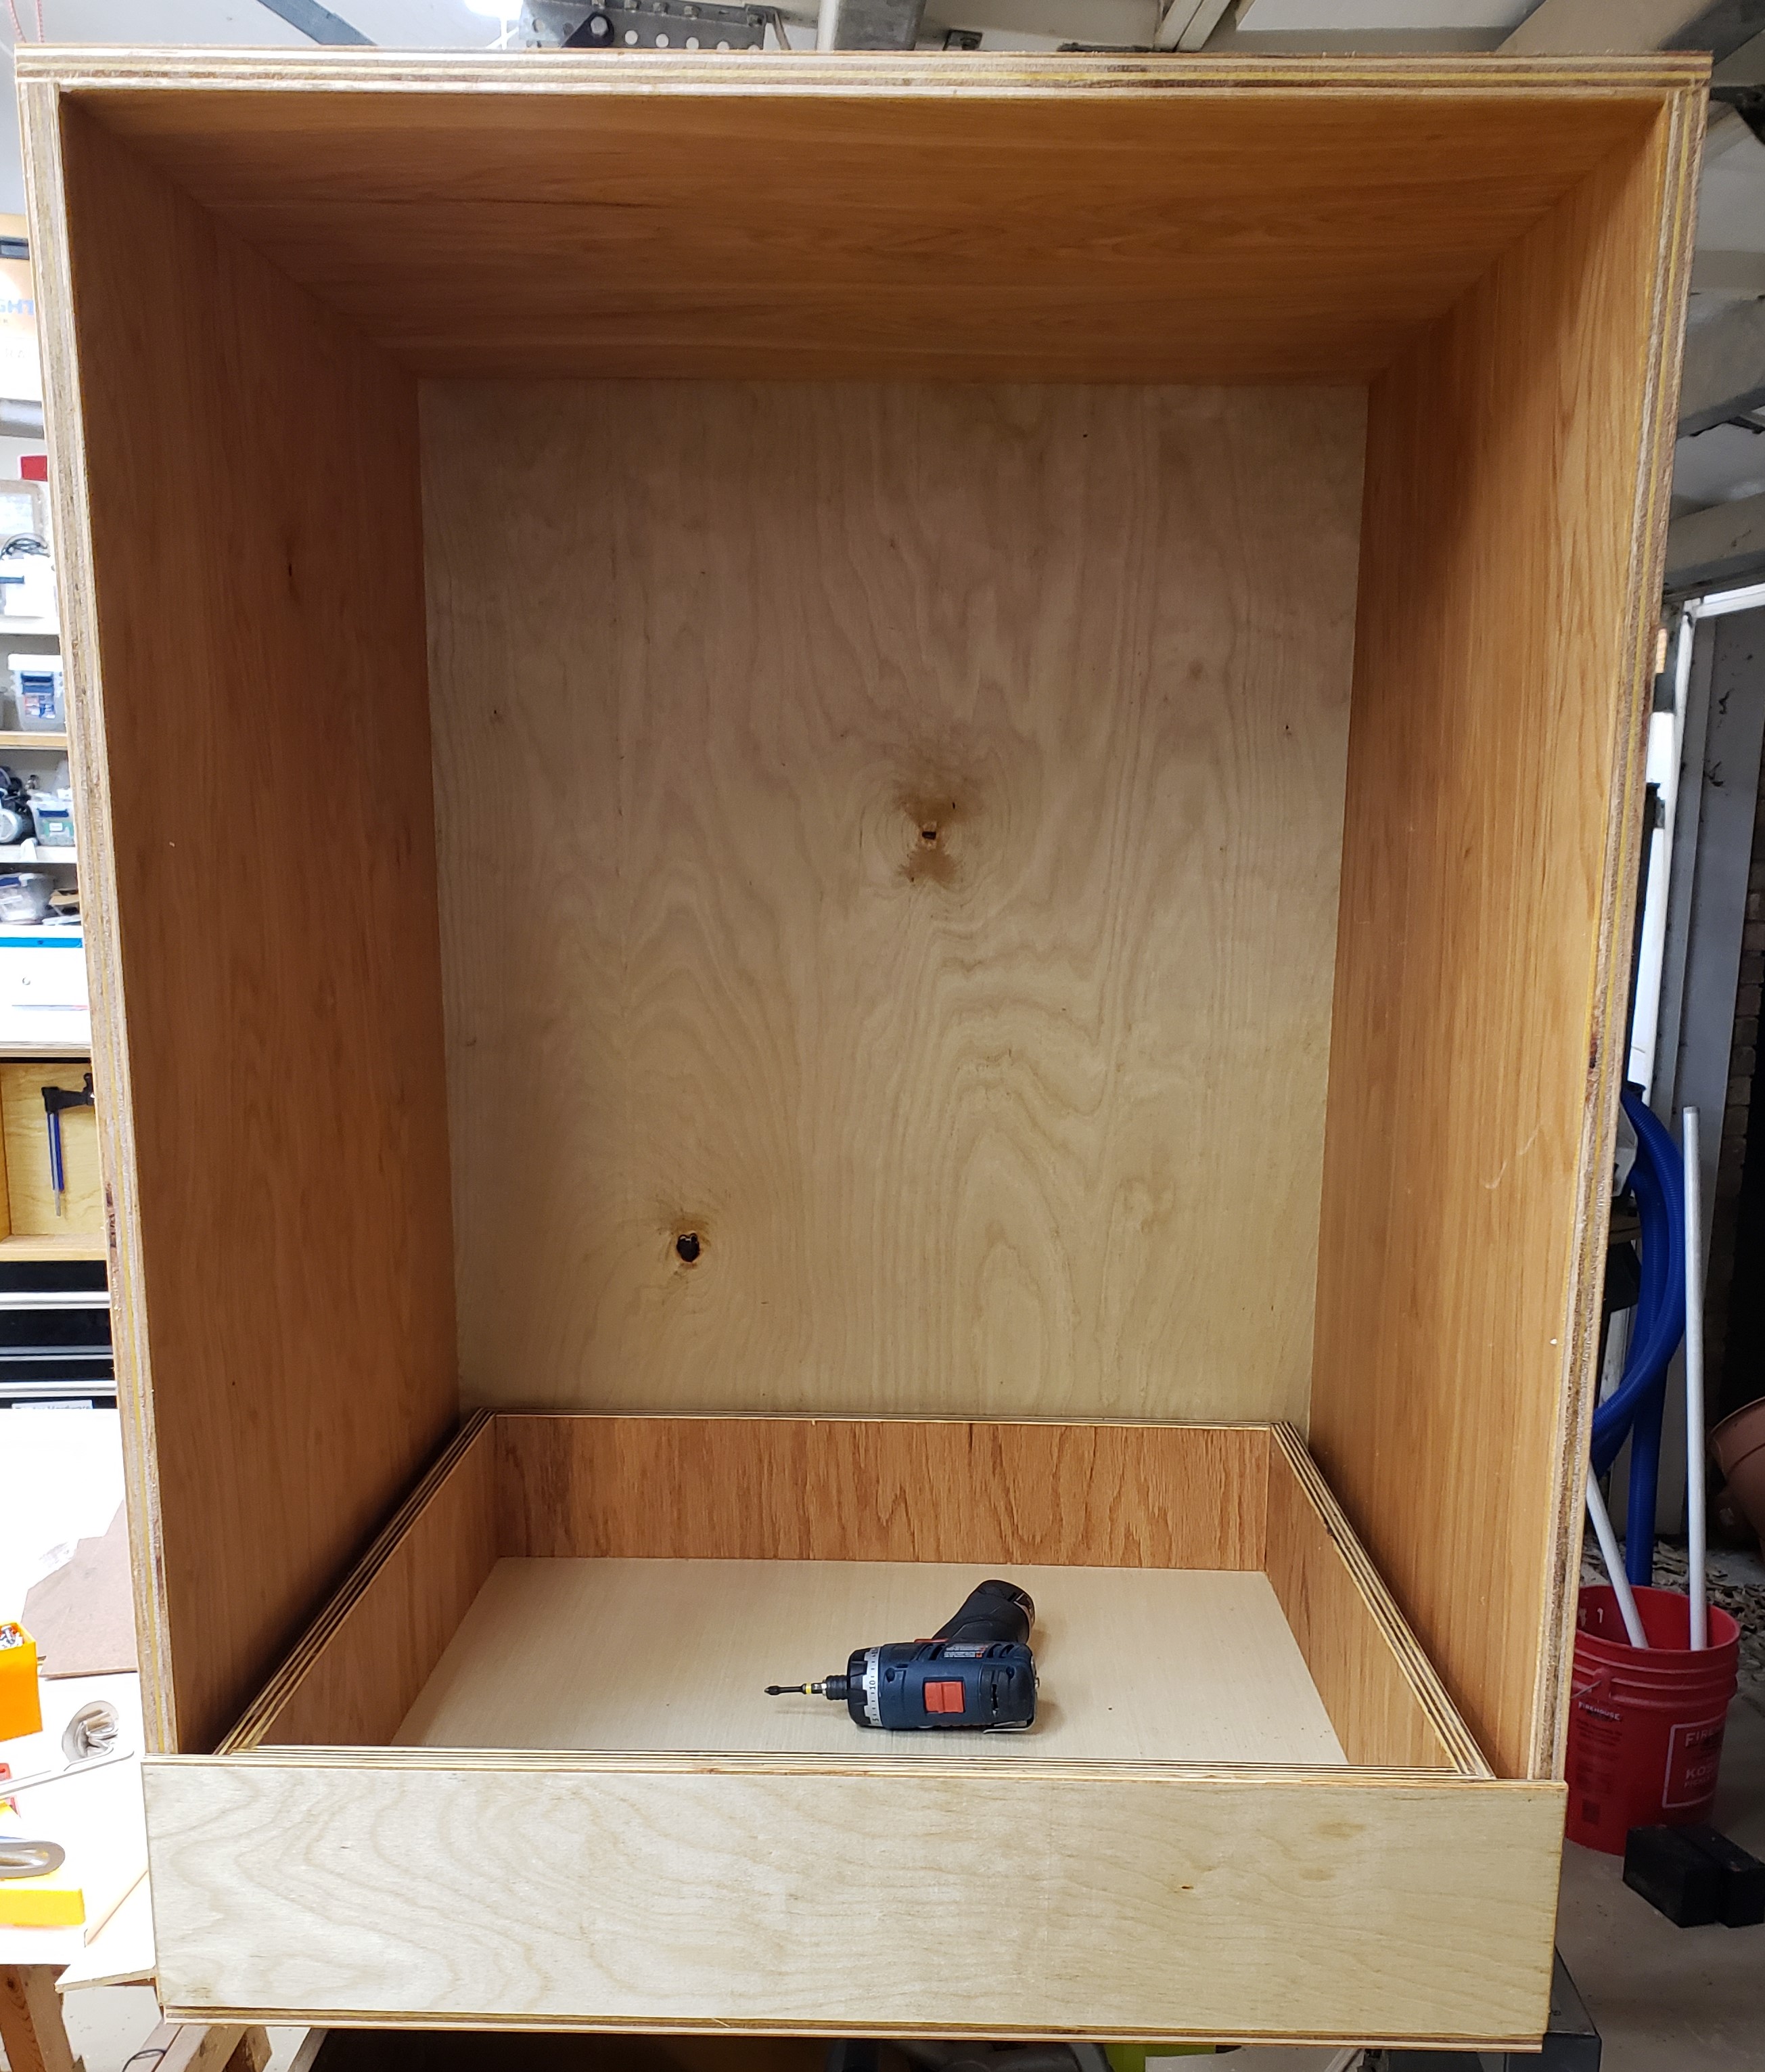
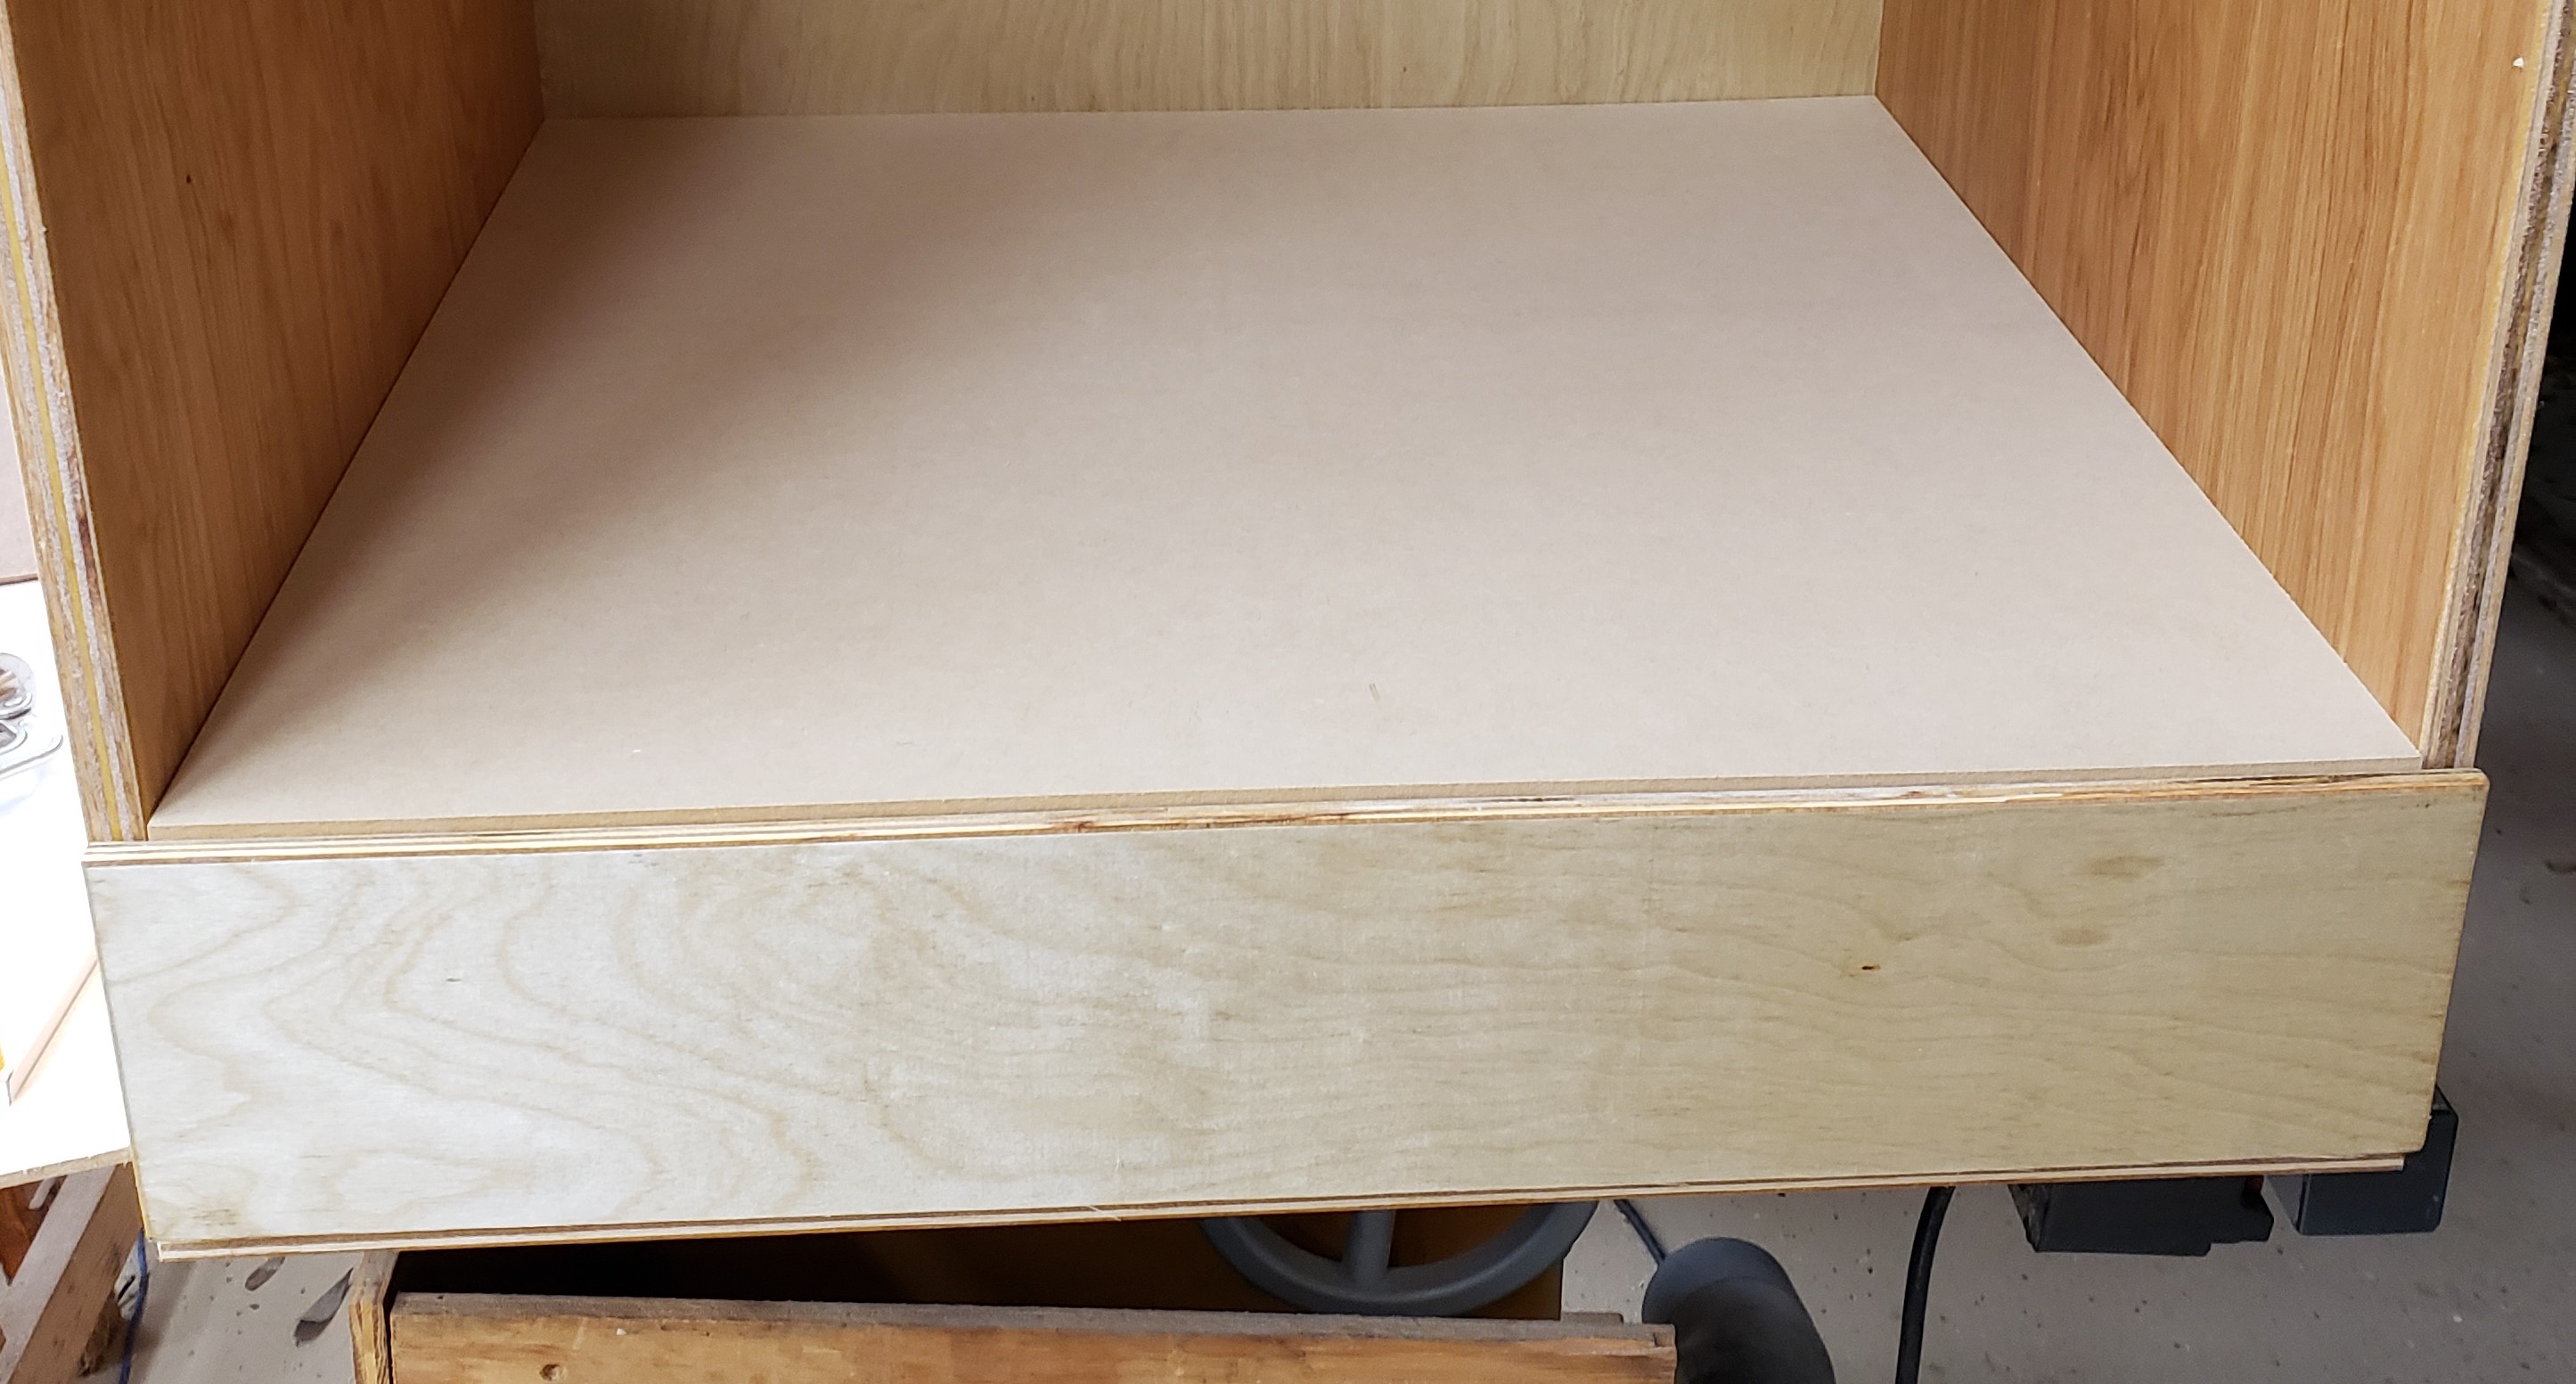
A few days later when it had all stopped smelling I started assembly. The bottom drawer was numbered, and went down with a small spacer between it and the floor. I installed the hinges, then slowly pulled out the drawer and attached the runners. With the first drawer done, I put a 1/2″ sheet of plywood down to provide proper spacing for the next drawer to sit on top of the first. The runners go on the cabinet at a set height, then the next drawer goes in for installation. That gets washed rinsed and repeated until all the drawers are in.
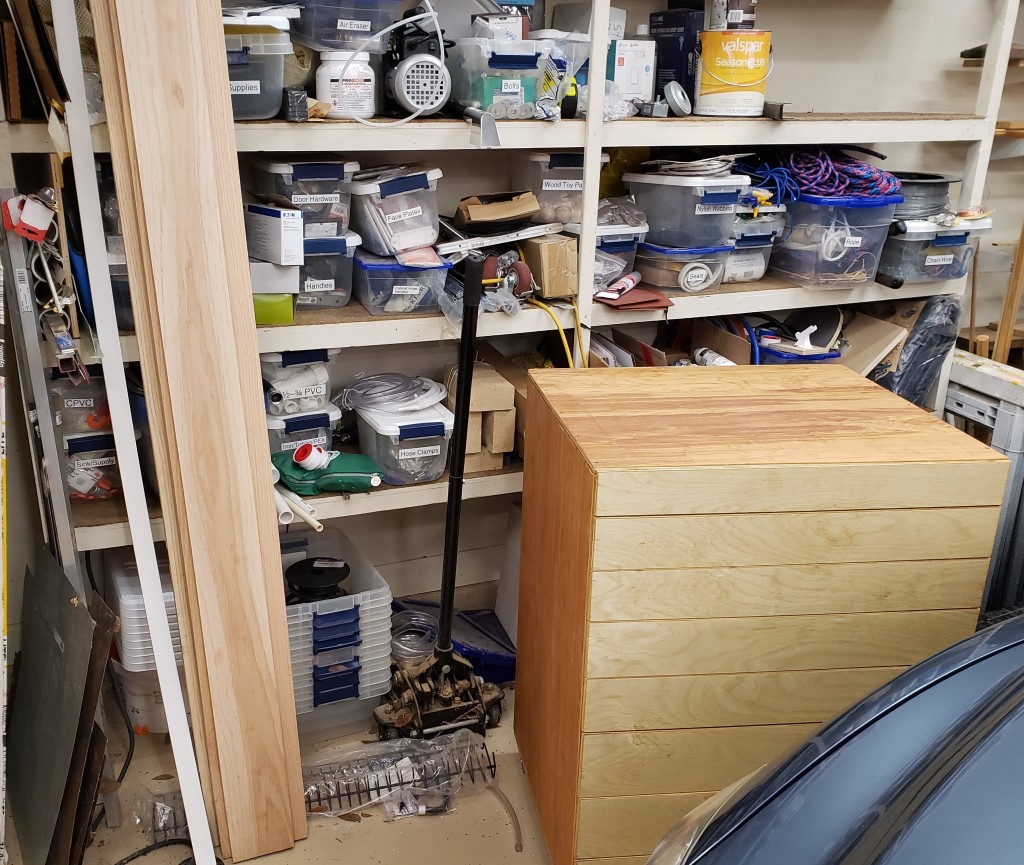
Next comes the home for this big fella. I put heavy casters on the bottom so I could roll it around to clean underneath or rearrange easily. It cost a little storage space, but who wants to bend down that far anyways? Here is the cabinet next to its final resting spot.

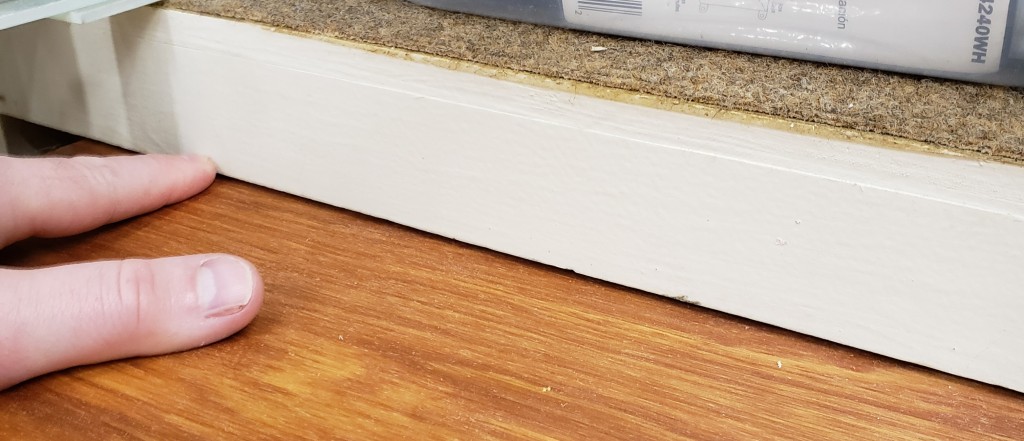
Yes it is a mess, that is why I need this cabinet. I cut out the bottom shelf and slid everything home. I had planned it perfectly. The drawers all fit, the drawer fronts align well, and the cabinet fits up to the next shelf with only a tiny bit to spare.
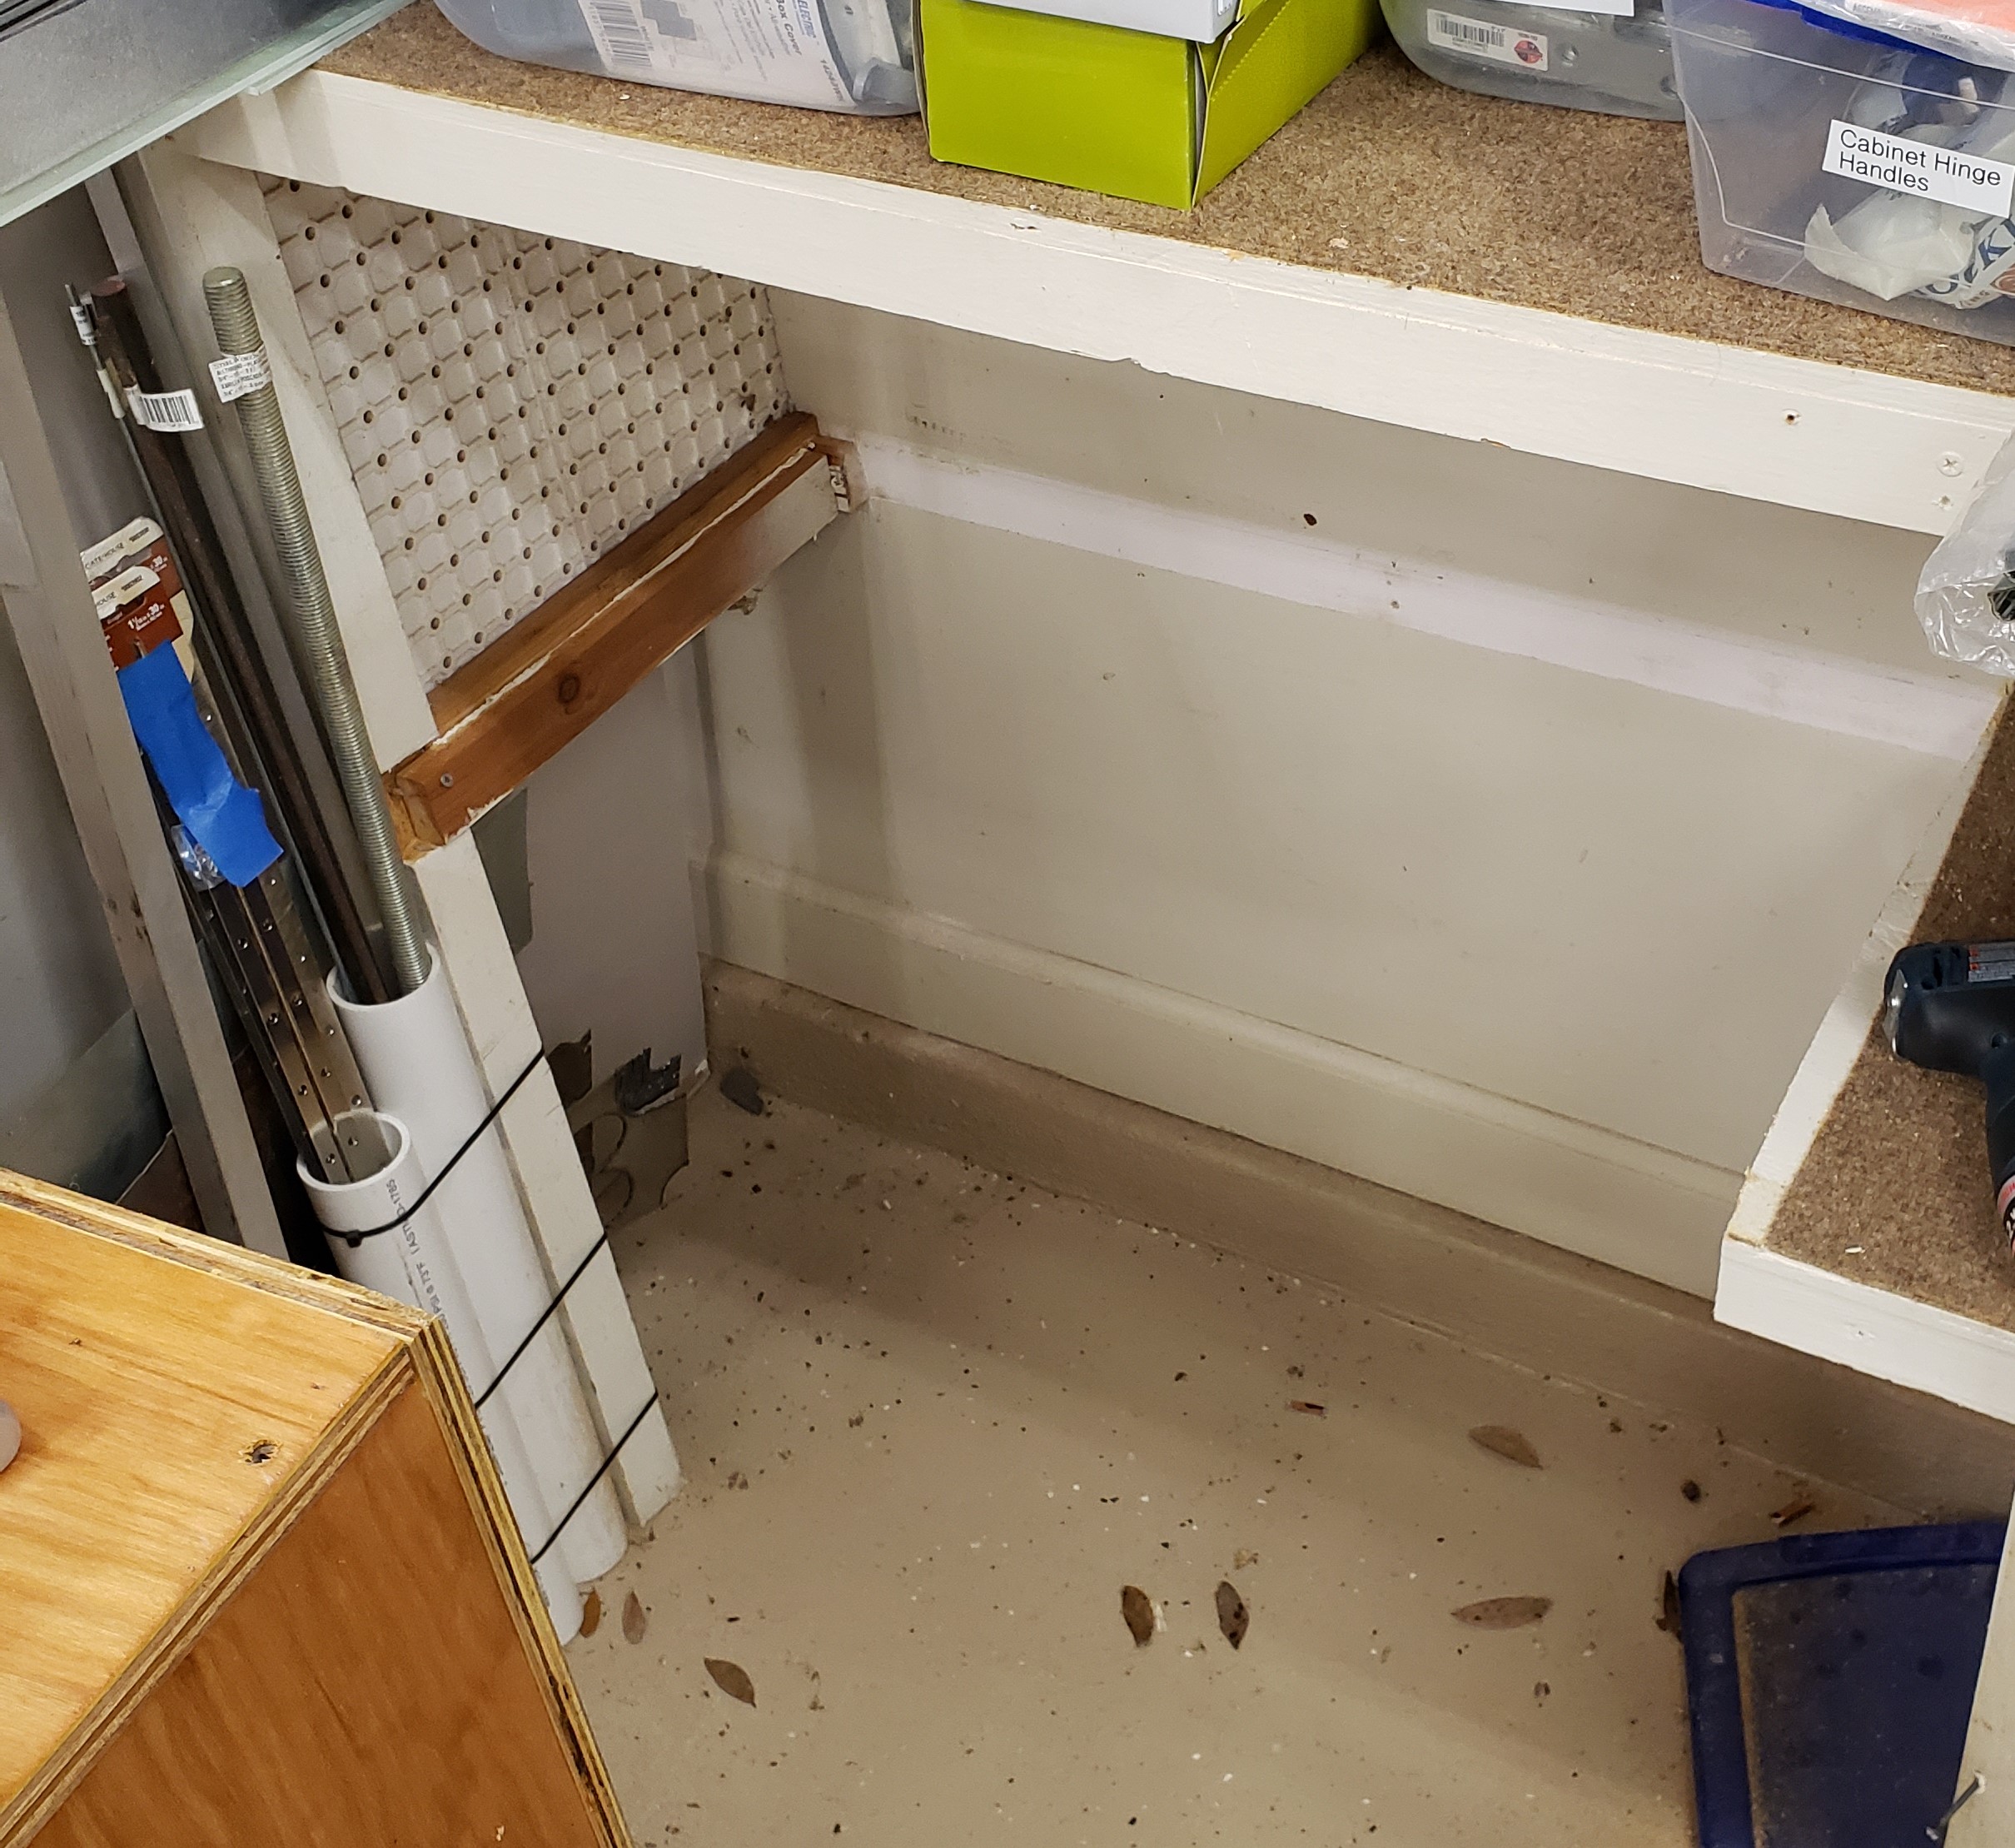
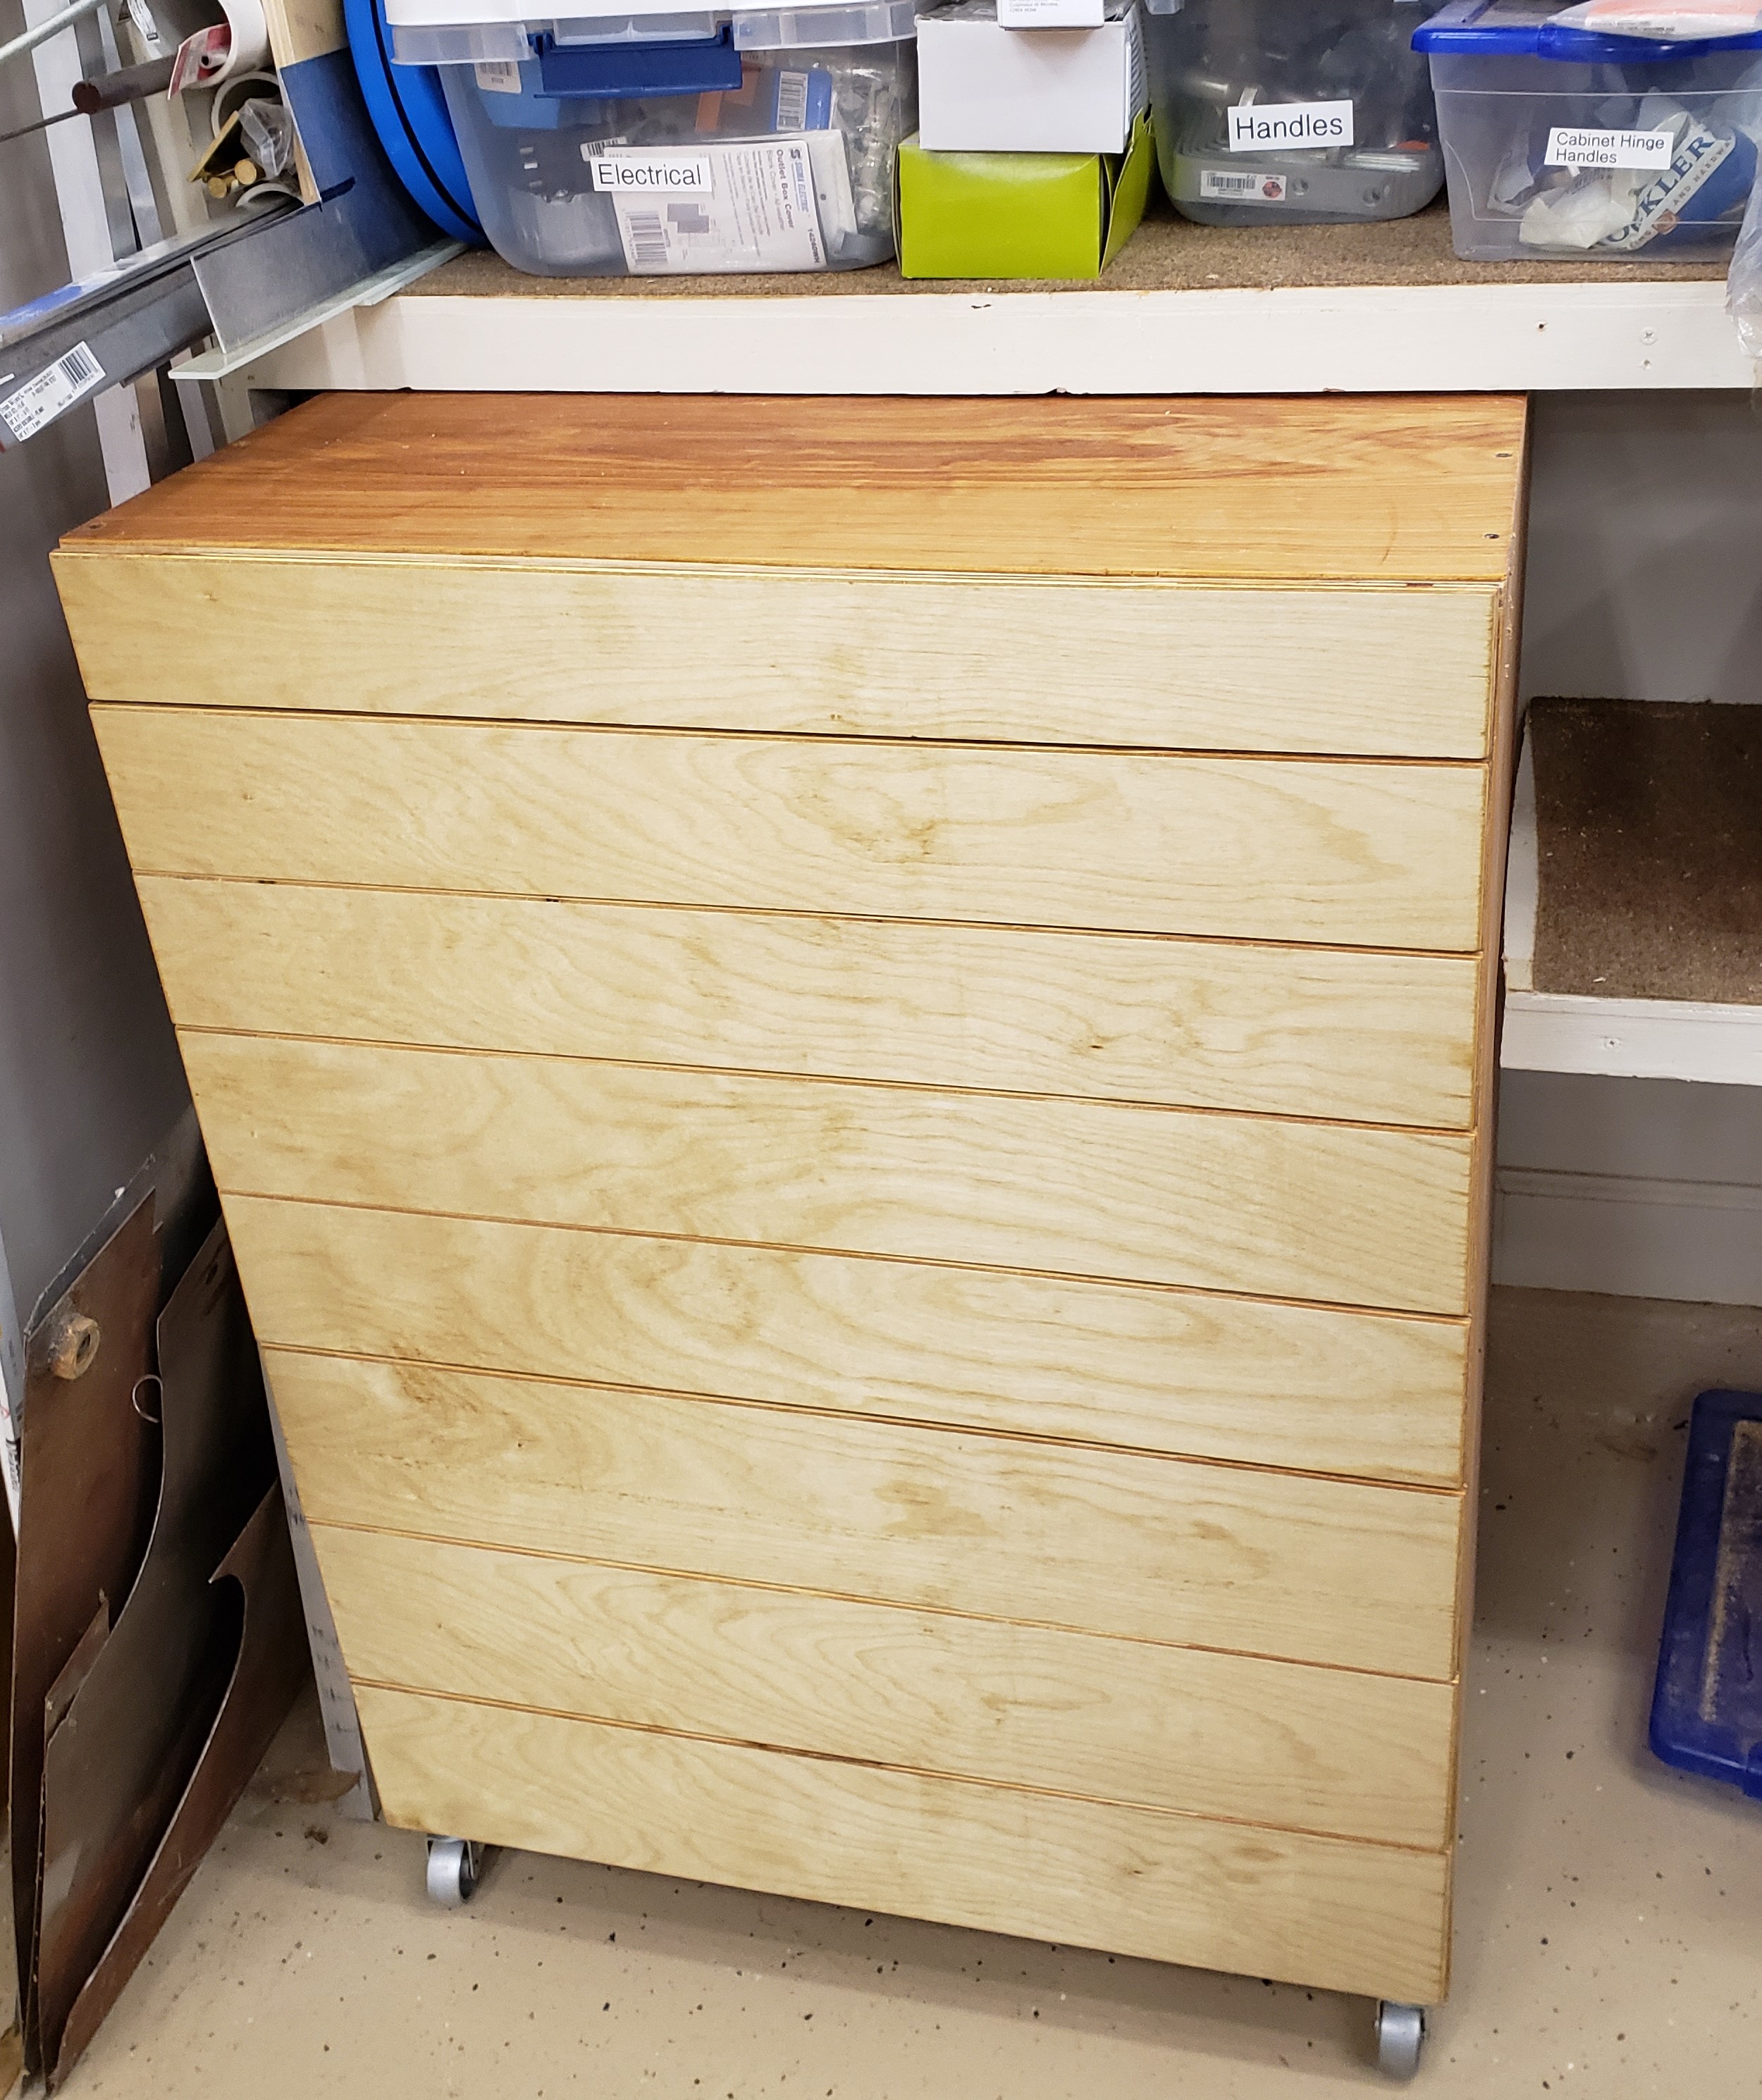
Gap between the top of the cabinet and the next shelf. Less than 1/8″

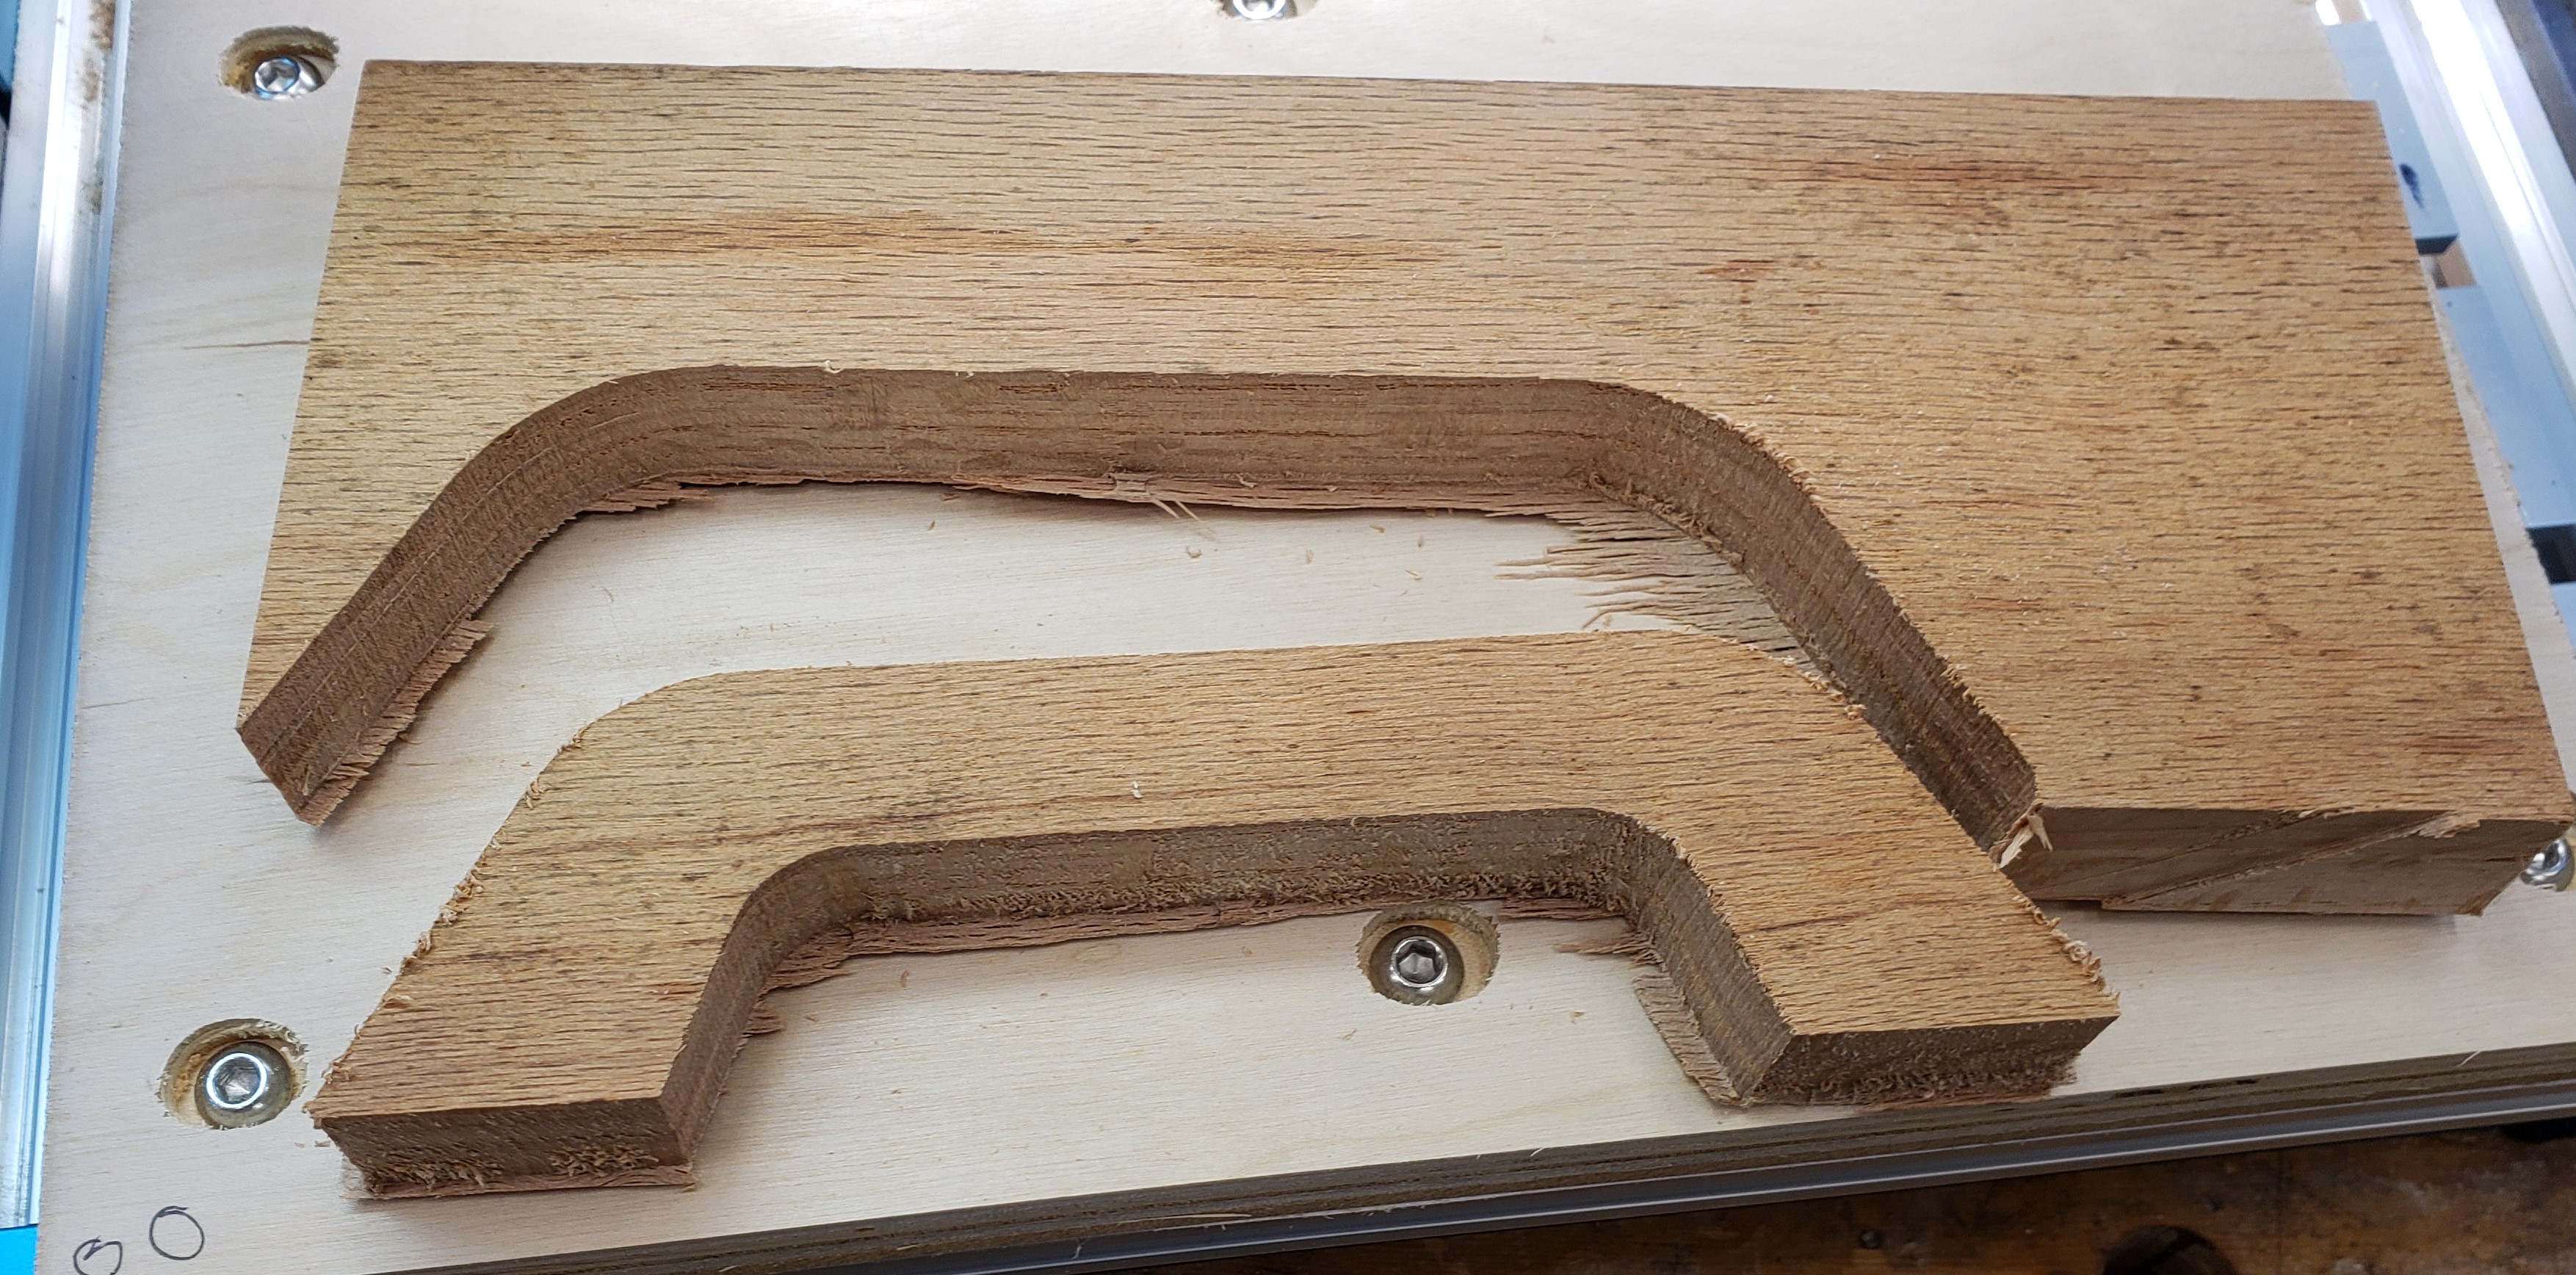
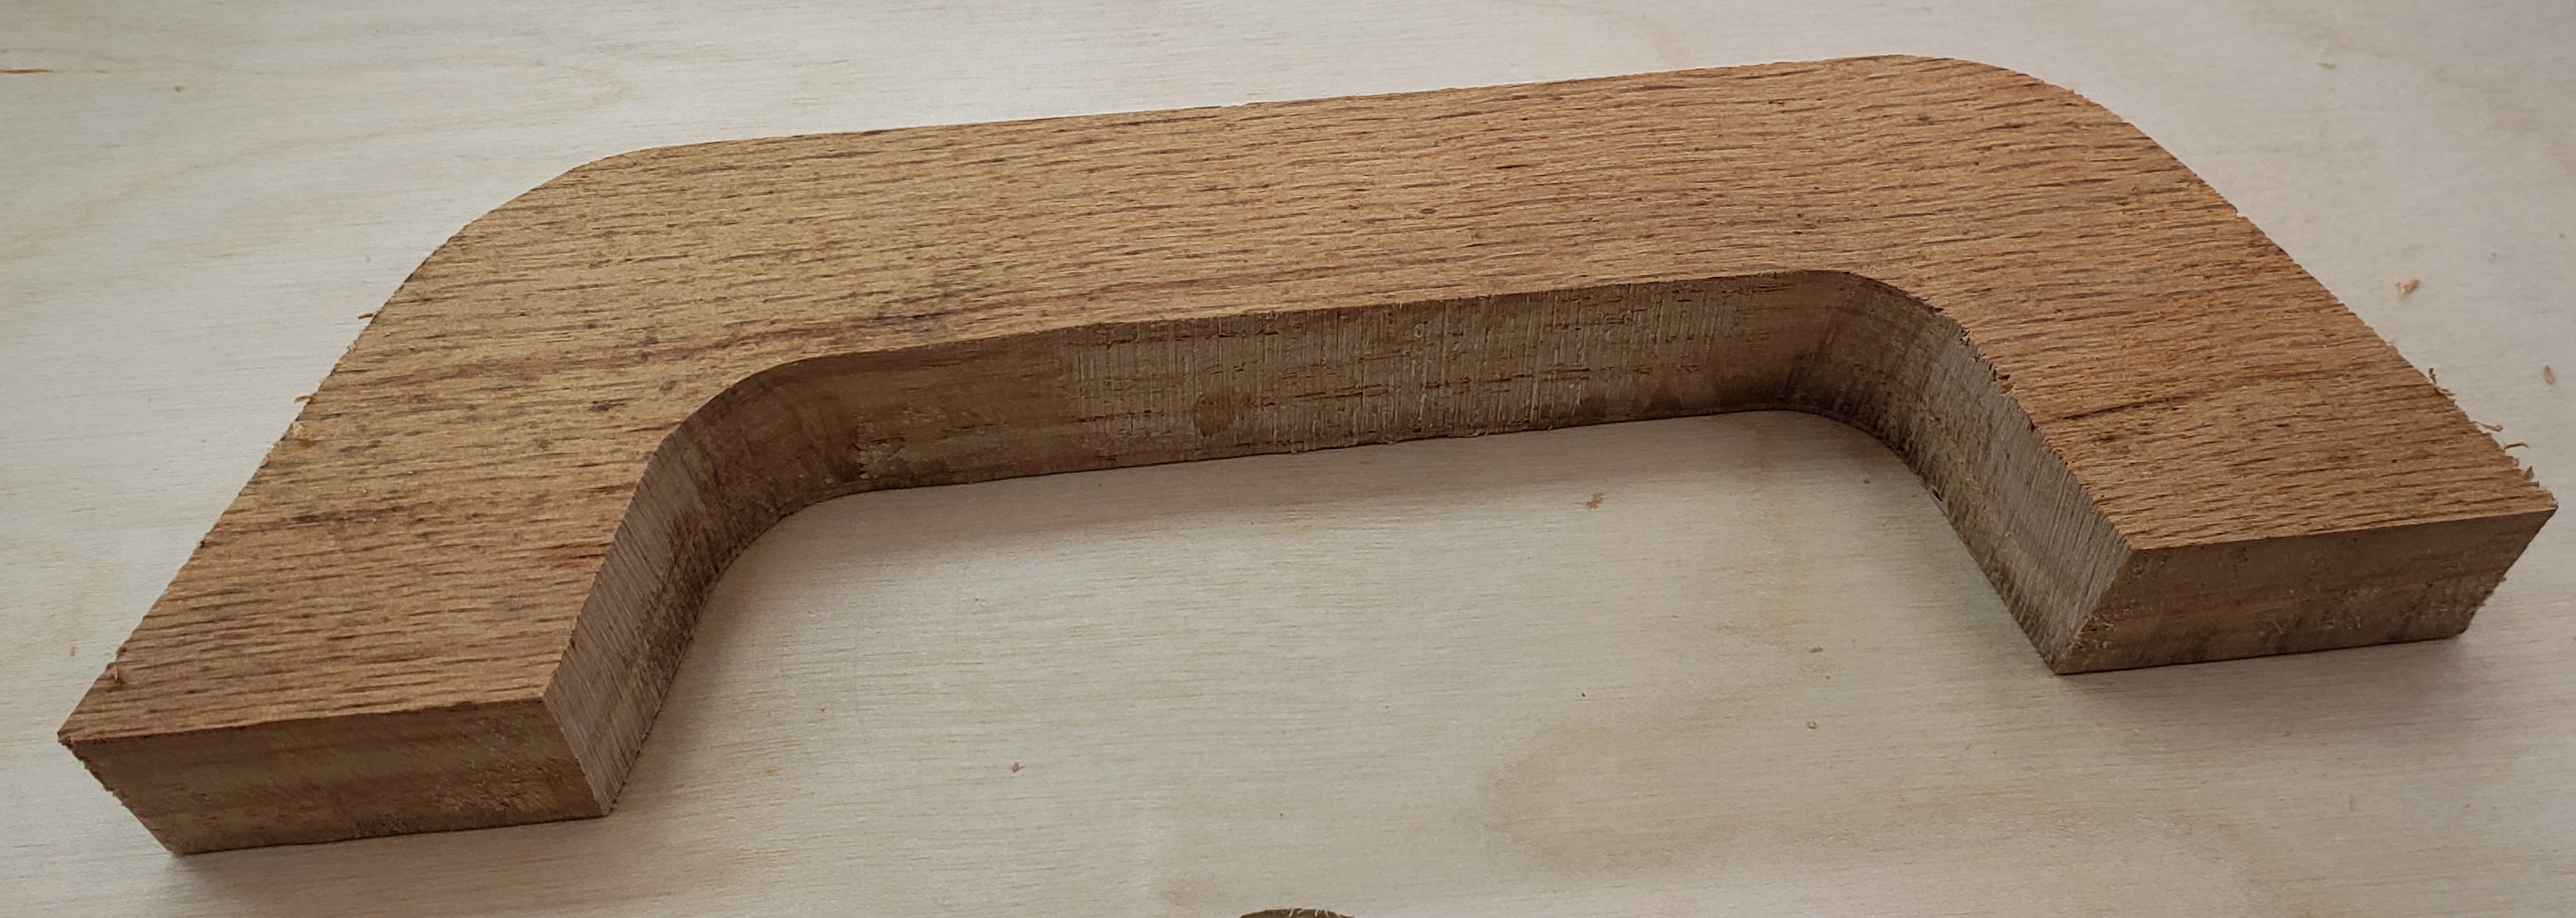
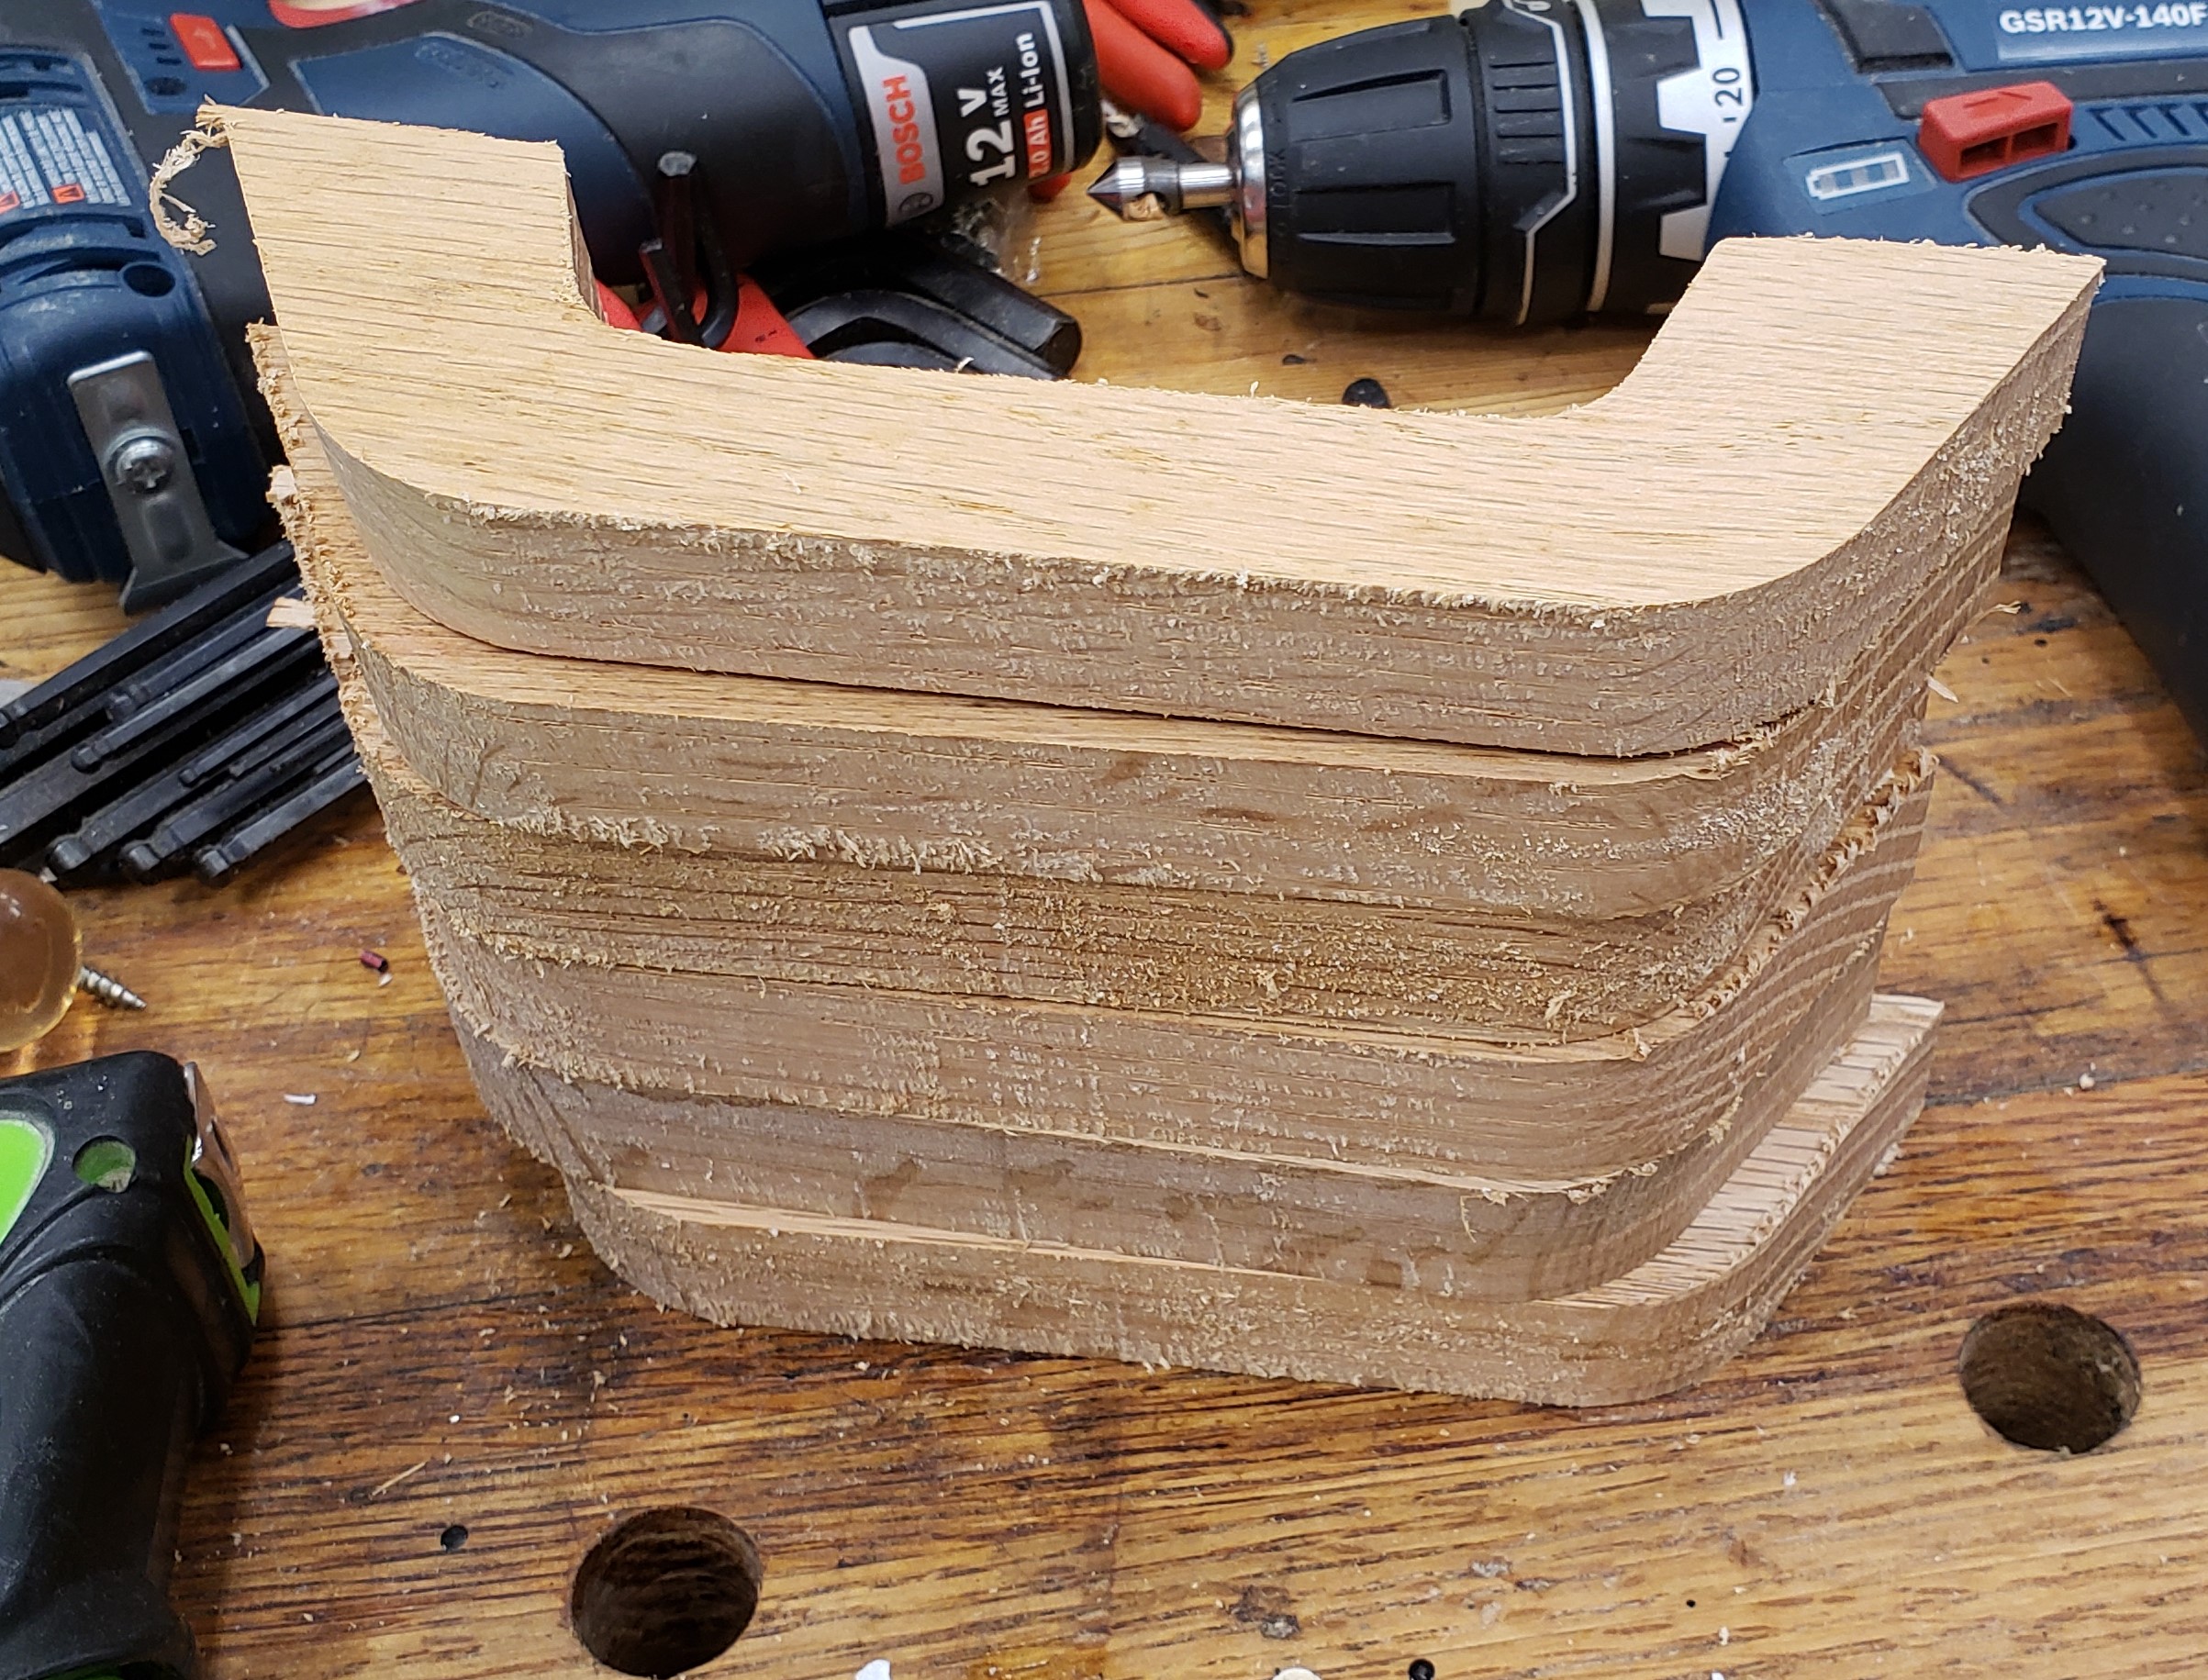
Drawers of this size need a good beefy handle. I employed my mill to cut a nice looking handle shape. It was a bit more of an ordeal than I thought it would be. The machine really bogged down in oak, and a number of them broke off the double sticky tape before finishing. After numerous failures I got the feeds set slow enough and incorporated a screw in the work holding.

To keep from drilling tons of holes in my waste board I made the first operation to drill a hole for my screw, then pause the program. That drill operation is quick, and doesn’t stress the double sticky tape. With the screw installed in the same space every time, I reused the hole in the waste board, and knew it would be out of the way of my cutting. The results were rough, but they worked.
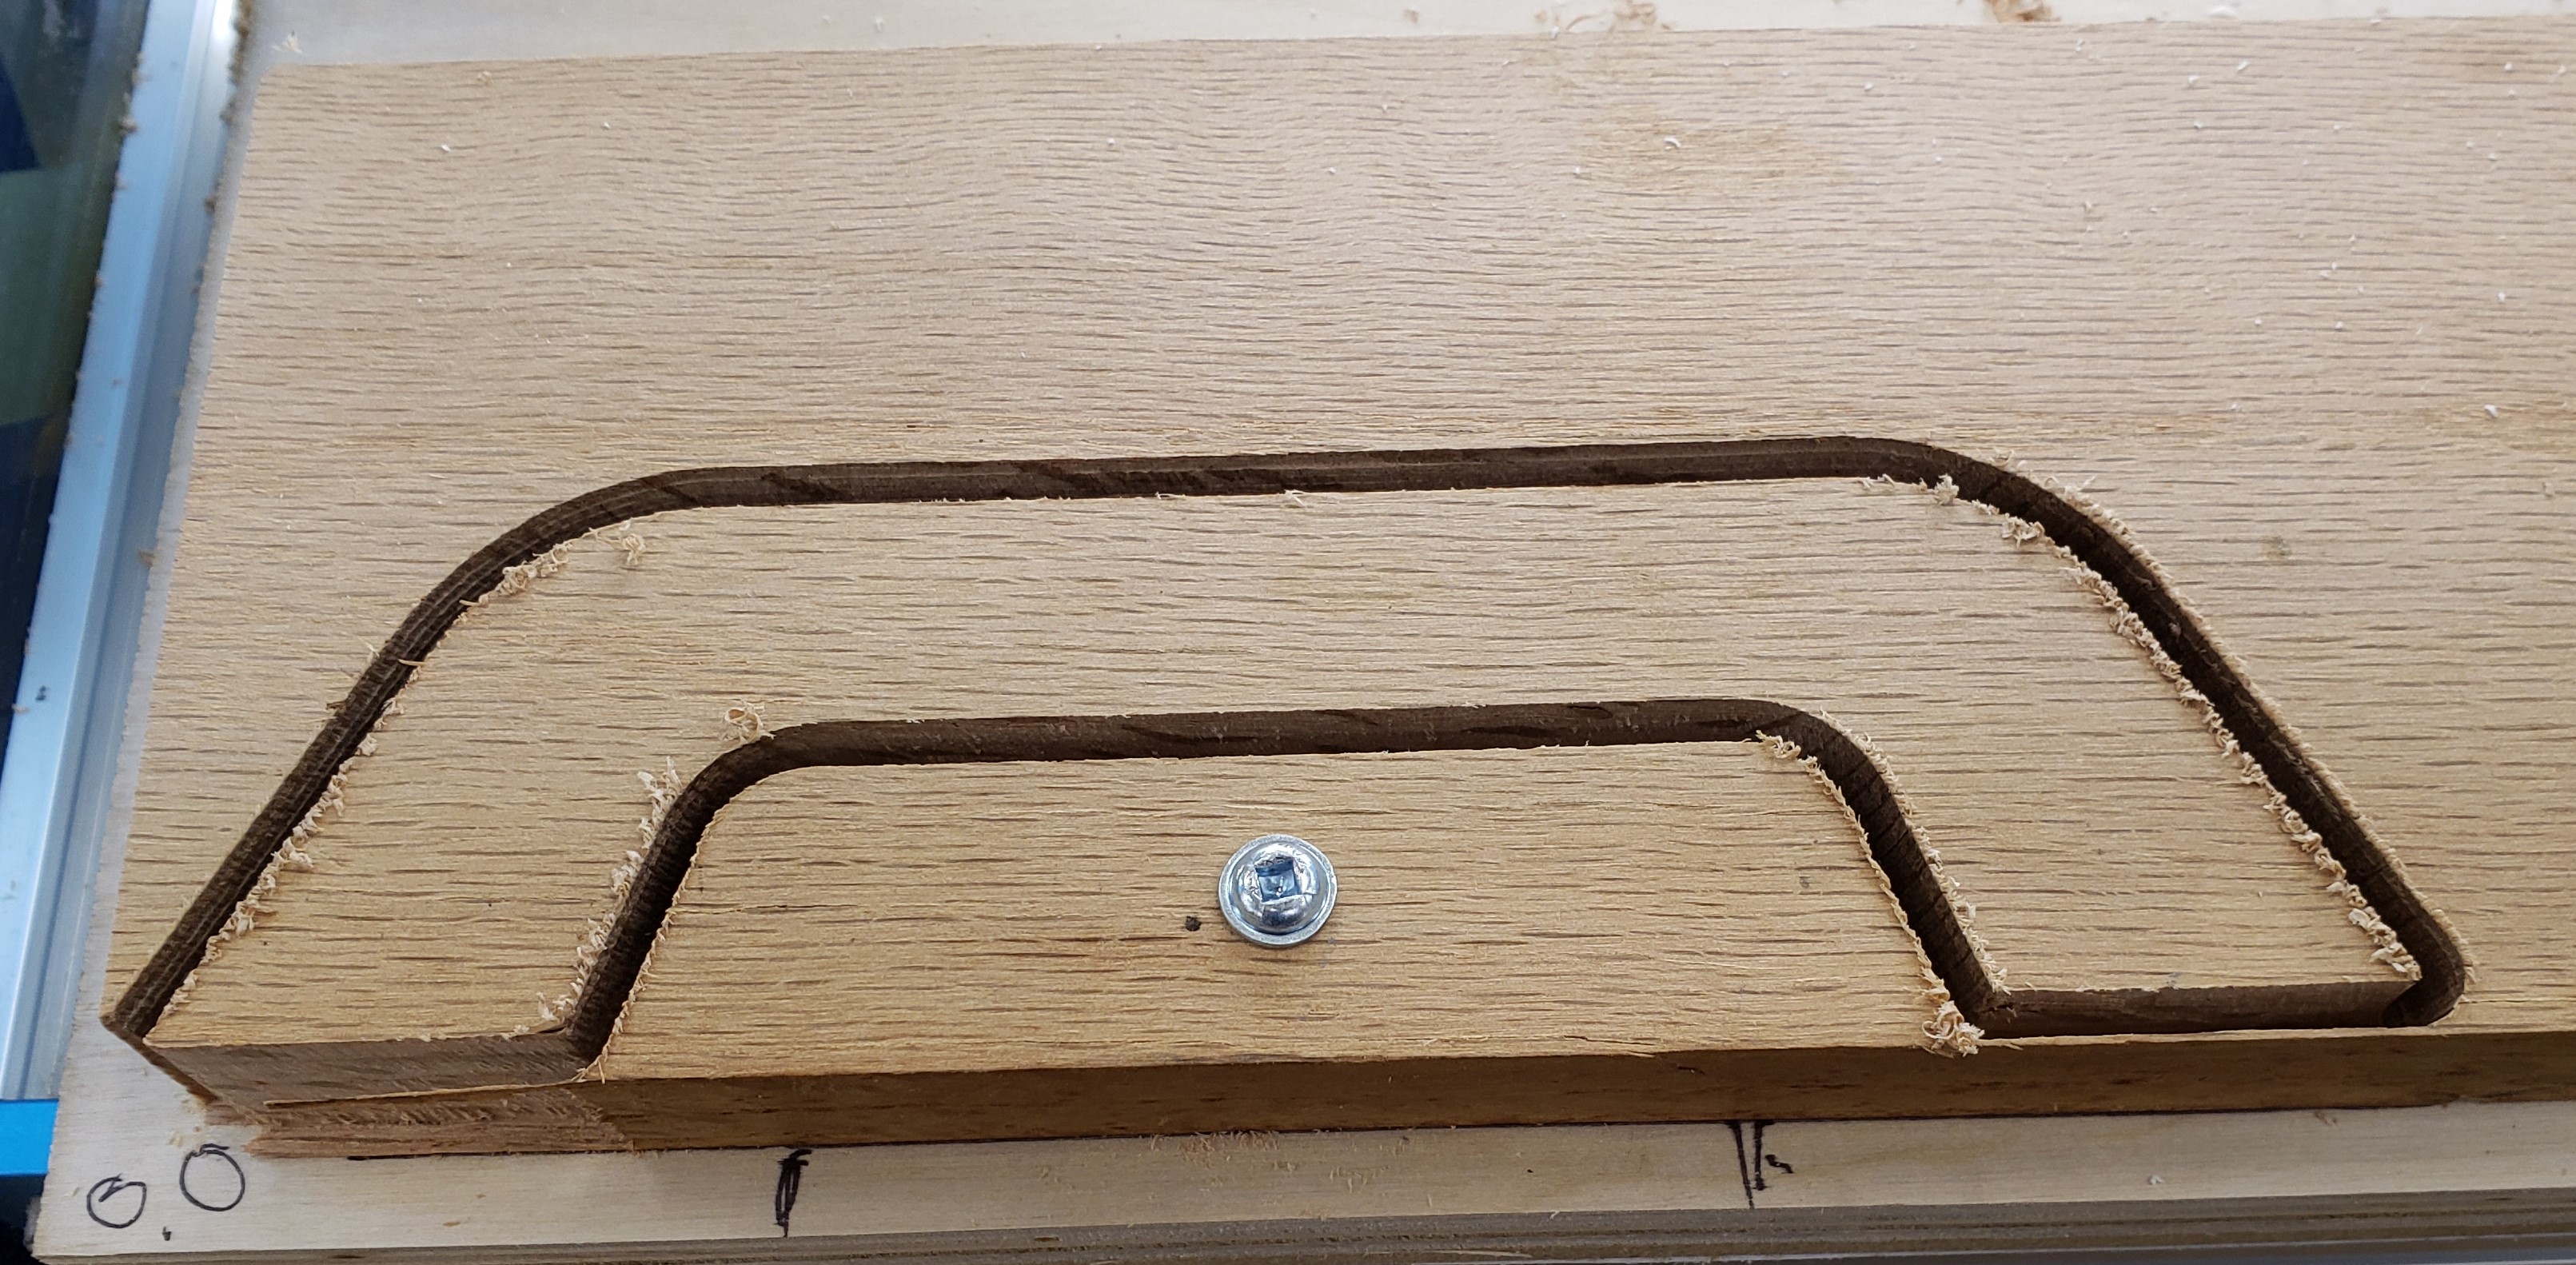
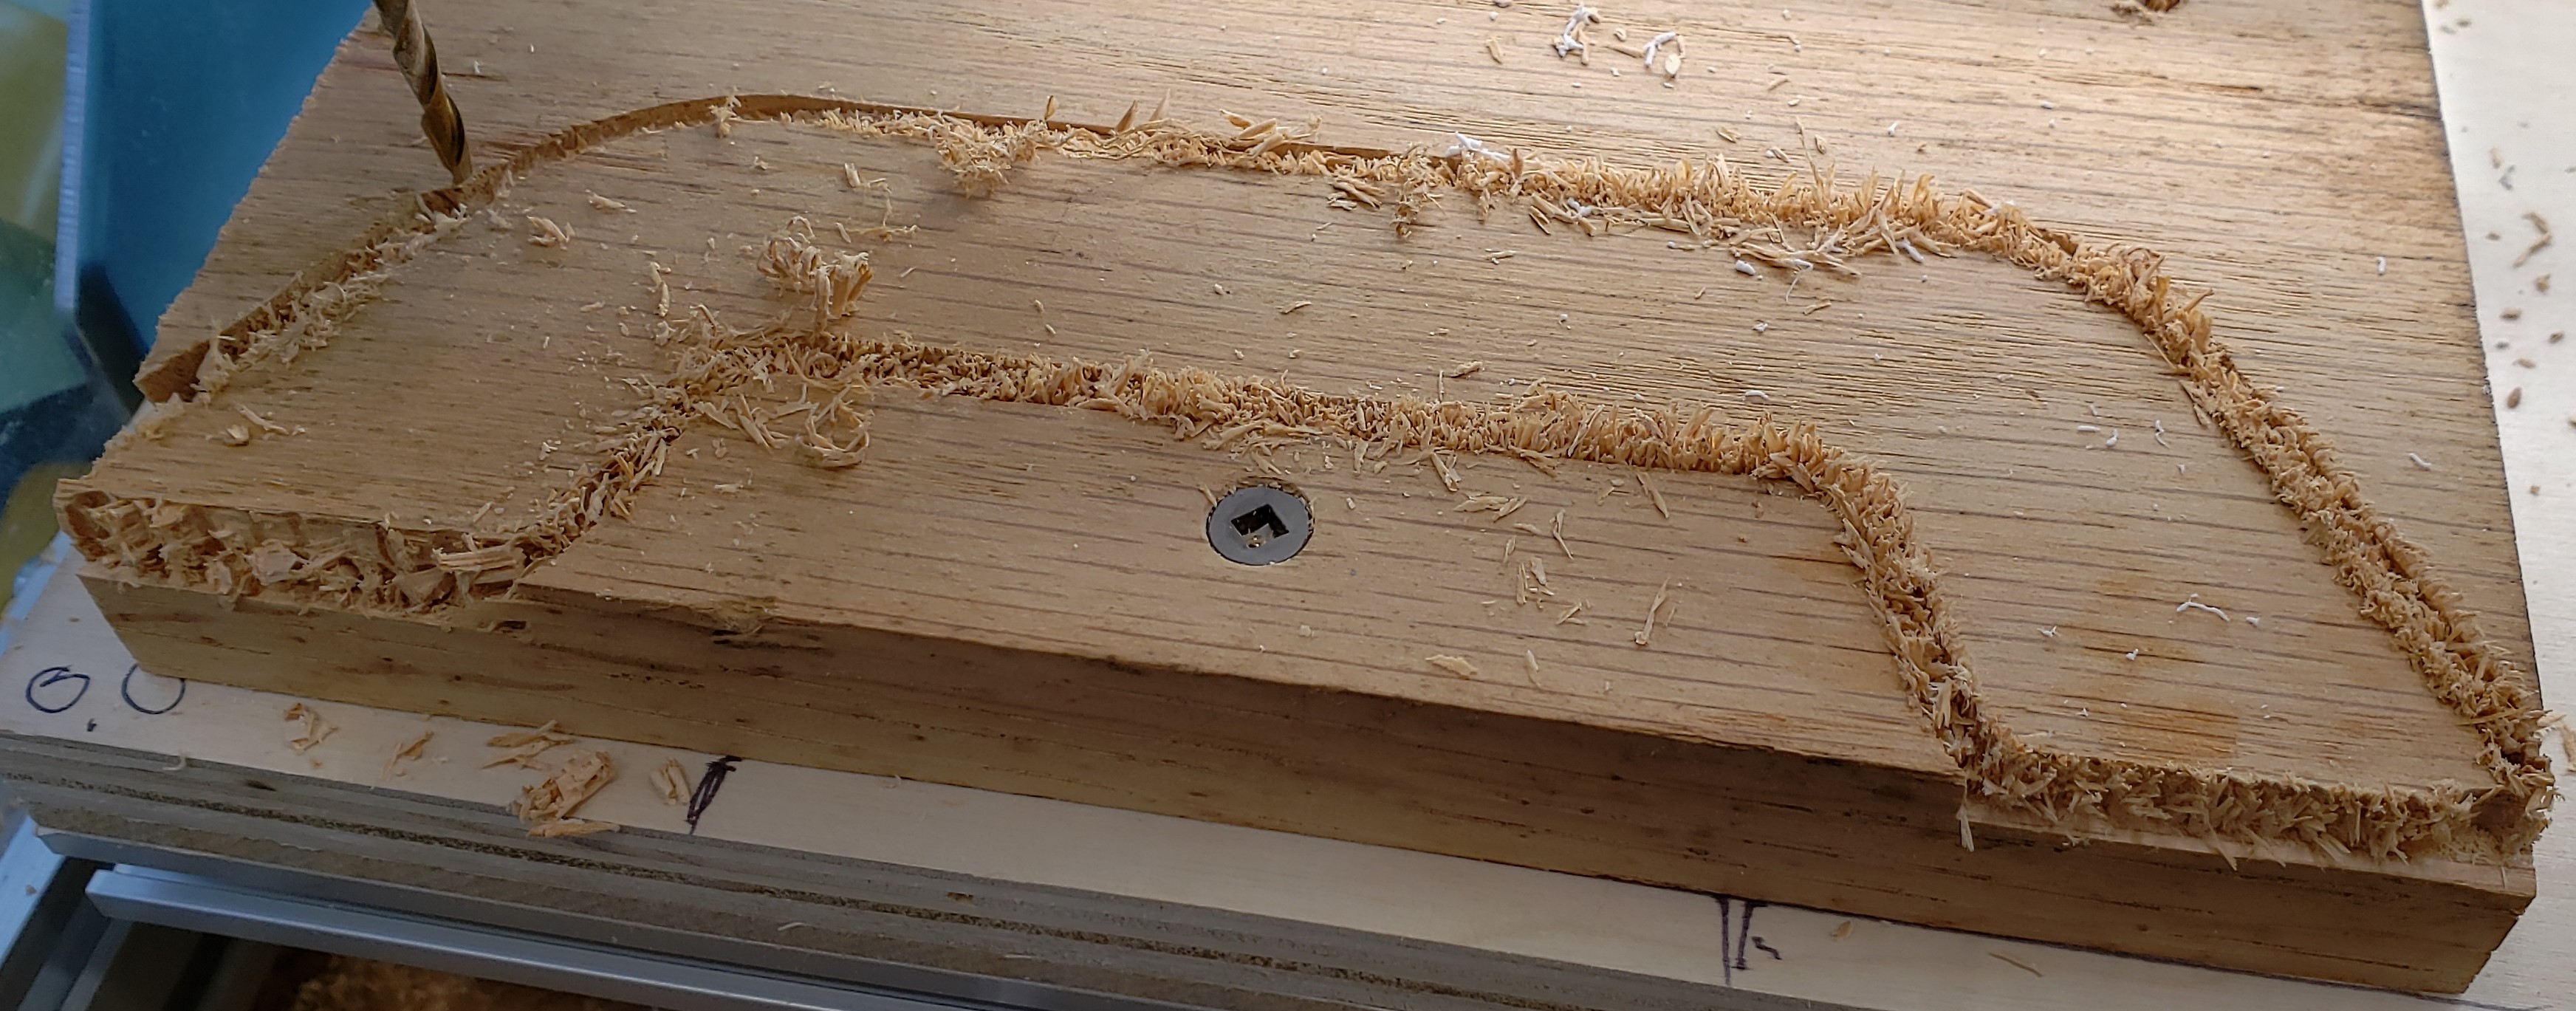
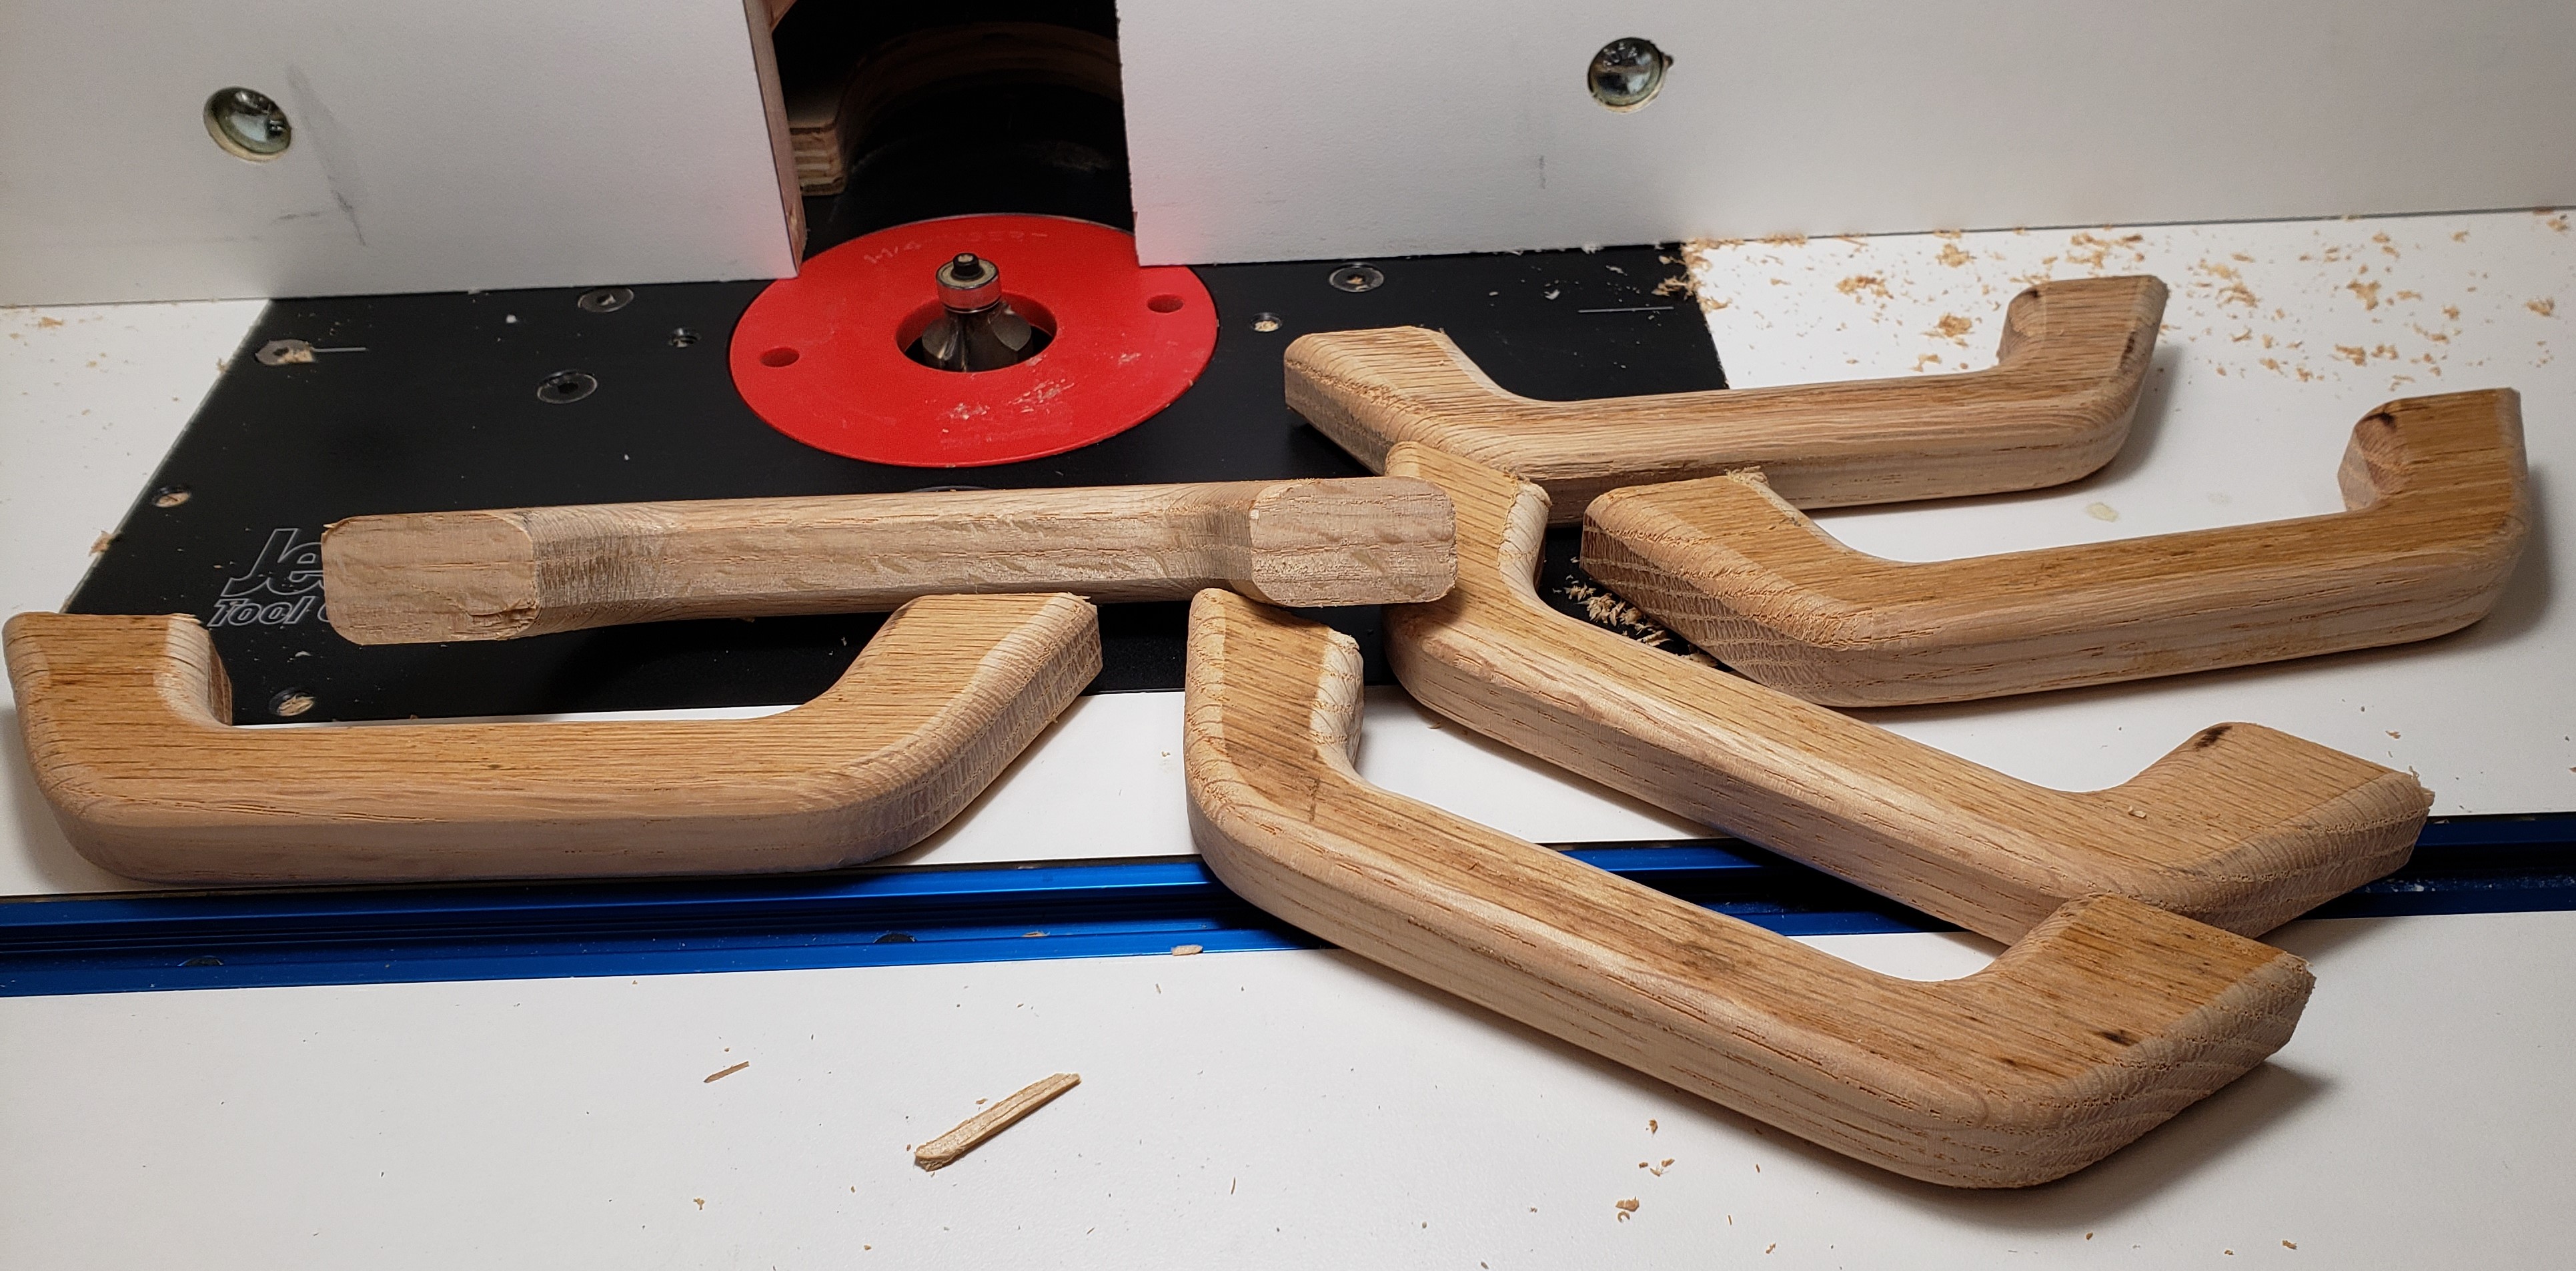
Next the handle blanks got sanded, a round over, and more sanding. I figured I would make their look a little more industrial, and set to counter bore the front for a screw. Lots of stop blocking and clamping was needed for that. This would be stronger than screwing through the back, and easier to install. I like the aesthetics of it too.
Things were coming together. I needed some labeling, so I printed slots that would accept 1″ label tape without the back removed. It meant I could rearrange tags quickly without peeling anything. A little calking on the back held the holders down. I used a few pin nails to tack them in place while the calking dried. No heads on the pins means they don’t interfere with the labels sliding in from the sides.

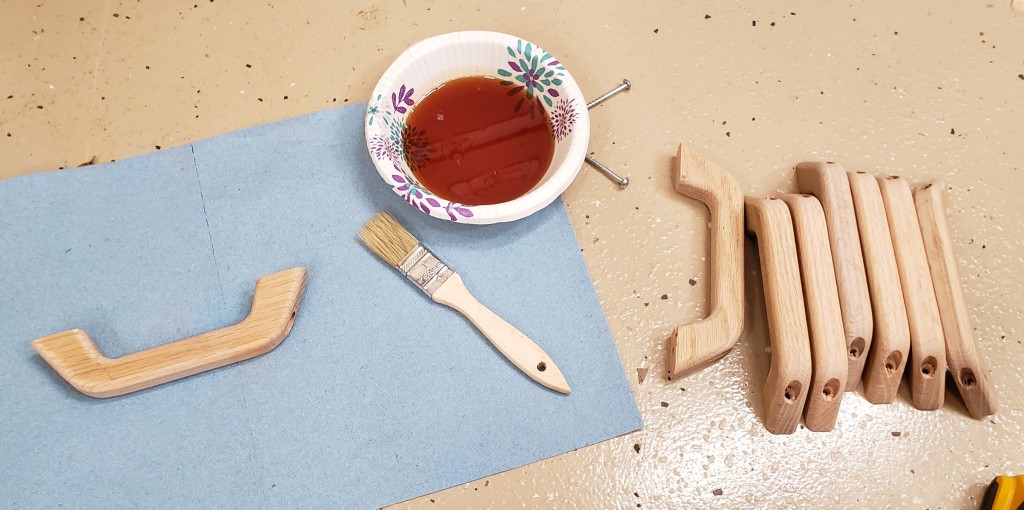
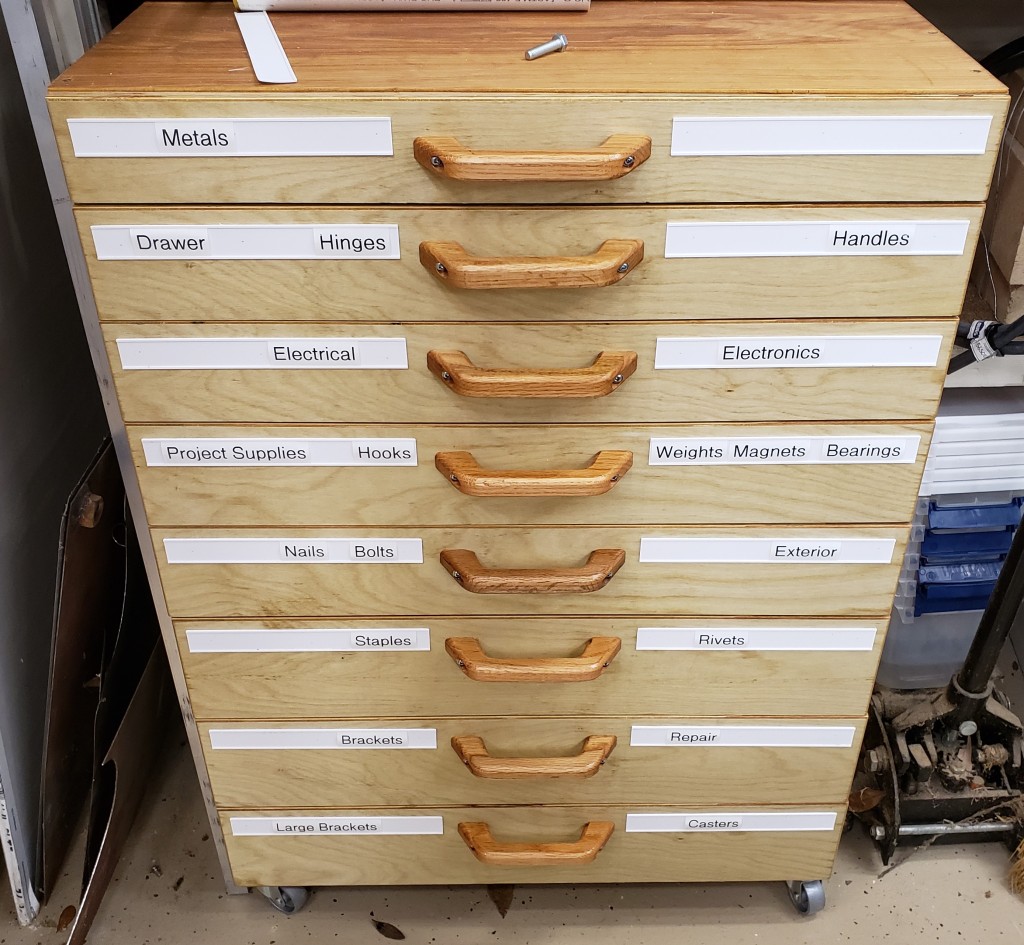
I painted on a little linseed oil on the handles and installed each one down the center. They are comfortable, easy to use, look gorgeous, and finish off a wonderful cabinet. I should make my own handles more often. I feel like my experience and planning payed off. Other than some issues with the handles this job went off without a hitch. I have done a lot of other stuff like it before though, so I shouldn’t be making as many mistakes at this point.

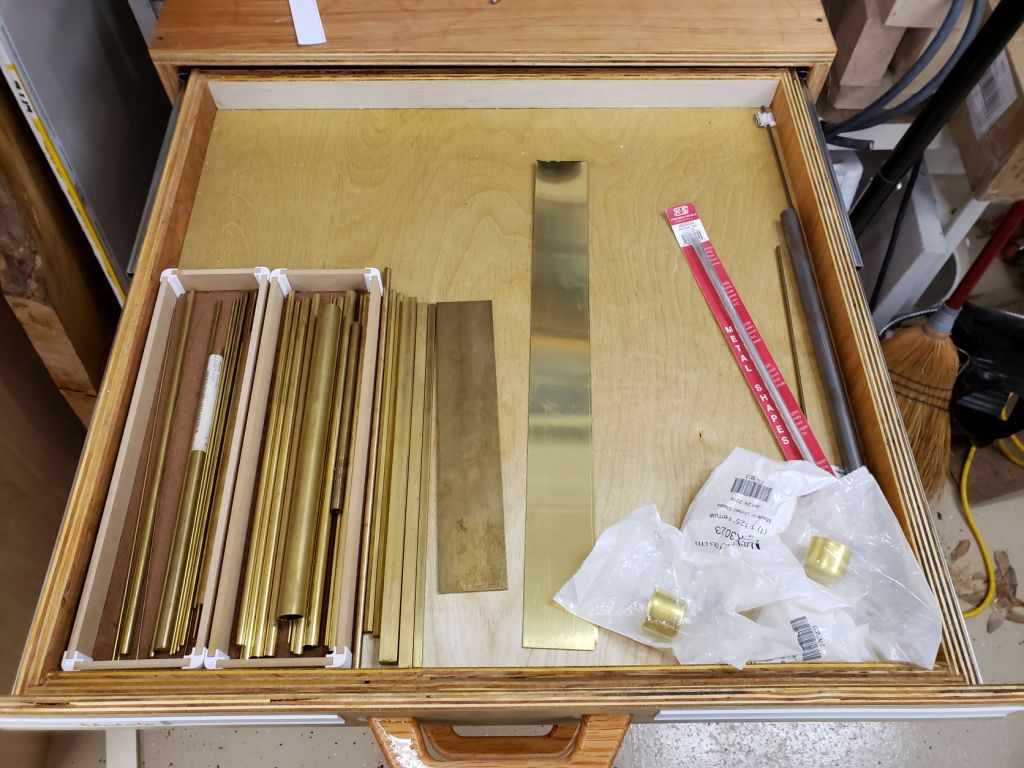
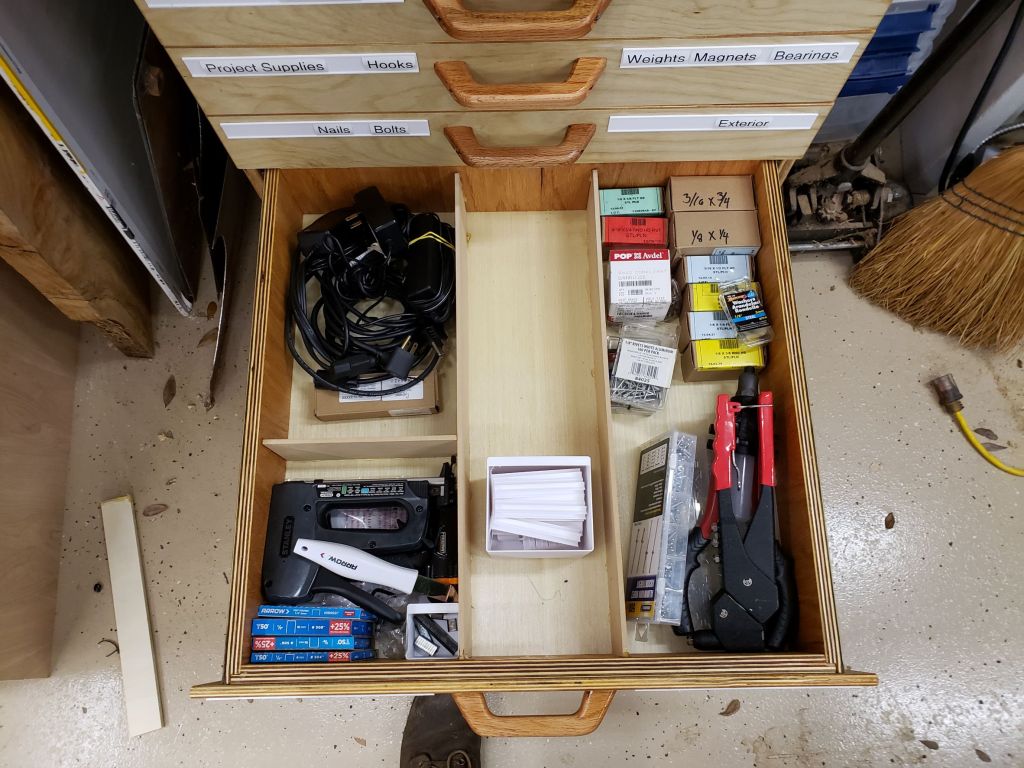
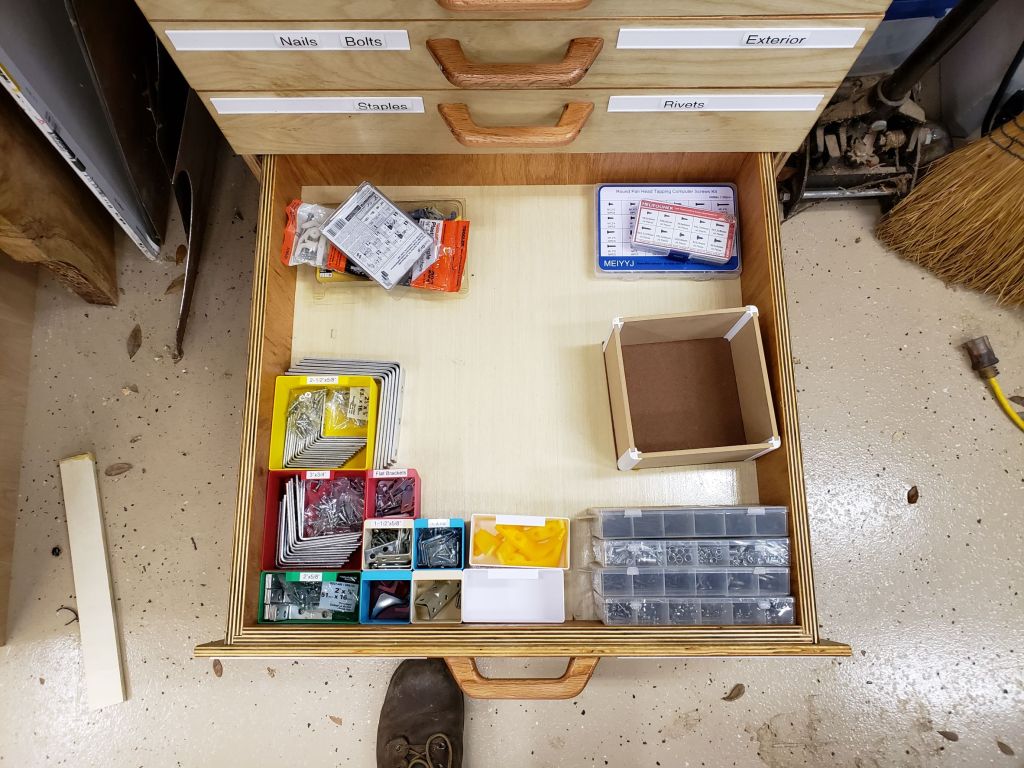
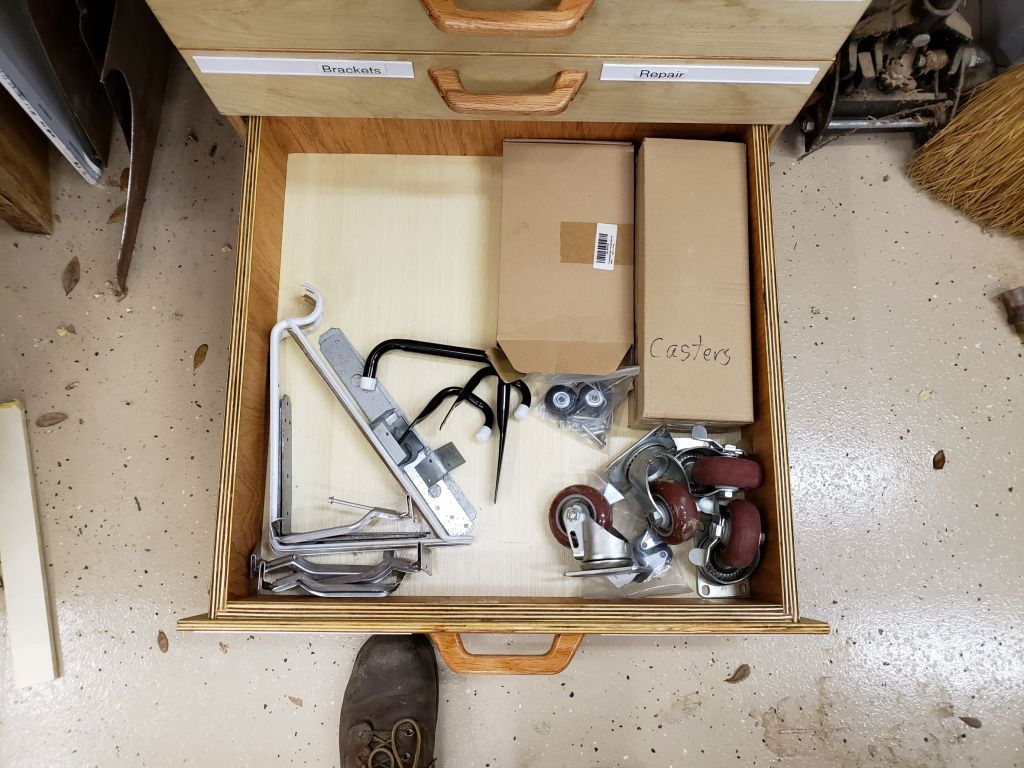
I spent days pulling things out of bins and drawers, organizing, cleaning up and throwing away junk. This isn’t the final configuration, but it is close. The shelves are a lot cleaner and I still have a lot of room left in this guy. It isn’t hoarding if you use labels!

Early 2021 Prints

I haven’t done a print grab bag in ages and realized I had a pile of fun and useful prints bouncing around. Let a montage of 3D printed goodness begin!

Plant Labels

Not super original, you can find a zillion of these online, but I wanted my own. First up, they are nice and big for me to read, and secondly, there is always something you have that isn’t in the list given online. The first set were just white with black paint marker coloring. I later started doing batches and swapping to black on the right Z layer to make the lettering pop.


Tool Holder

I always keep a big exacto blade and a few deburring tools around in my shop. They tended to float on my messy table top and get lost (part of the reason I have two deburring tools). In an effort to keep that area clean I made a tool holder that screws to the underside of the shelf. Previously unused space now keeps me better organized. It tilts back 10 degrees to keep them from vibrating out when I slam the door on that wall. No unexpected falling knives please!


Dispenser Bins

Sticking with the shop theme, I have a supply of semi-disposable items I always keep around. Popsicle sticks of various sizes and acid brushes are really useful for mixing, spreading or applying different substances. I used to keep them in loose piles or cups, but now I have a custom dispenser for each.

The basic design is the same in all, but with some modification to dimensions depending on what was being dispensed. The front wall slides in and has custom text for each one. A lid keeps the dust out and allows stacking. I printed them with 5% gyroidal infill and a hole in the bottom. That let me use sand to add weight, capping with epoxy. I have been using this trick a lot lately and love doing it. I used hot glue on the bottoms of each, then smashed it down on a silicone mat to make quick non-skid bottoms. The weight from the sand and the non-skid bottoms keep them from moving around easily. You wouldn’t want them to fall off the high shelf they are on.

Cross section of dispenser

Shark Bite Remover

Shark bite fittings are a great plumbing invention. They fit over the 1/2″ cpvc plumbing in my house and mean the fittings can be replaced without cutting the pipe. I had a supply valve go bad in one location, and wanted to switch orientations in another location. No cutting required! The trick is, getting them off is a beast. You have to push in on the release sleeve, twist and pull. All while being gentle and not stressing the pipes too much. They sell little C clips to make it easier, but I lose them and they aren’t comfortable on your fingers. Enter some printed ones.

I printed LOTS of these and sprinkled them throughout my plumbing supplies. They have more finger surface than the store bought ones, so you can get a better grip. Plus they are thinner. I found myself having to replace a fitting that didn’t have much pipe sticking out. These thin ones got in there, the store bought wouldn’t fit.


Chess Set

Moving from the shop into the house, my wife has been playing chess a lot recently. She wanted a chess set so I made one out of sparkly galaxy black filament and marble filament. I printed each one hollow, filled with sand, and capped with epoxy. The board is a set of 4 tiles printed with a color change from black to white. I put it all on a piece of MDF. That part wasn’t brilliant. I started with black polyurethane then tried to move on to spray paint. I still don’t have a good MDF painting technique apparently. The edges endlessly suck up what ever you put down. That part will probably get remade at a later date.

To hold all the chess pieces I made a box with sliding lid. The fit is good enough that it kind of blends in when fully assembled. Embossed along the sides are a symbol of each chess piece type.


Moon Lamp

This moon lamp design comes in many flavors online. Thingiverse My implementation isn’t that unique. I did copy the spline shape used to attach the moon, and made my own base to hold the bulb. The base was once again filled with sand and capped. Now the lamp is quite hefty. The main challenge of this job was that the moon print took about 3 days. I accidentally interrupted one attempt when it was 90% complete… oops. The base is 6.5″ in diameter and the moon a little over 8″.


Monitor Picture Holder

Last but certainly not least, I got this cool frame for fathers day. I wanted to keep it close by, and for some reason the top of my monitor jumped out at me as the perfect location. A simple print later, and there was a perfect space for the frame to sit. The little guy is always on my mind, and now always on my monitor.

Side Table Organization

My side table is a mess. It kind of always has been, but now I have a small one crawling around and yanking on every cable he finds. I can see a job as an electrician in his future. He loves wires! Here is the horror.

I can’t even bare to show the top side, it is not safe for the internet. In order to cleanup and keep my little guy safe from random power cords I started moving things to the underside of the table. The first step would be to anchor the power strip. Everything else would revolve around that. I measured the mounting hole spacing and made a drill template on the 3D printer.

Now I could start putting down wire anchors. Some of these are closed loops you can use with zip ties or velcro, others are open, and you can slip loops of wire into them. I designed my own, but lots of printed options are available online. I made a set of brackets to strap down my USB power brick. I will leave it under the table, and run the needed free lines around to the top.

As I was going, I realized I didn’t have anything for my laptop’s power brick. I found that velcro straps can make a quick flexible hold down if need be. Much faster and cheaper than printing something custom.


With the underside of the table taken care of I moved on to the top. General cleanup was in order. I wanted to consolidate as many things as possible into a single unit. This block will hold my weather station screen, has space for pens, roku remote, fan remote and echo dot. I printed it with 5% gyroid infill, filled everything with sand, and capped it with epoxy. Hot glue makes for thin grippy feet. Just squirt on the hot glue once it has gotten fully up to temp, smash the block down on a silicone glue mat. After a few when it is all cold the glue mat should peel off easily.


To help with all the speaker cables I made a box that slides around the backside of the sub-woofer. I screwed the speakers to the sides so they couldn’t be pulled out. The rear left and right speakers sit on the far side of our couches. Their wires are getting covers to keep them safe from small hands.

I screwed down some wire cover to the legs of the table. This gave me a place to run up and down the various power and connection cables I needed. The only free thing now is the audio cable between the echo dot and the speaker controller. I might either get a longer cable, or mount that to the underside of the table at some point in the future. The top looks pretty good now, and I have managed to keep it tidy for the last month. On to the next baby-proofing project!

Paint Cabinet Organization

After my spray paint crates got my paints organized, I got to taking a harder look at my cabinet. I 3D printed a series of holders for the different calking tubes I have, then I went through and got rid of some old glues that were past their prime. Next thing I knew I was re-organizing the whole cabinet. This isn’t quite a before shot (Wish I had one of the beginning), but about half way through.

This cabinet has really deep shelves. That is great, but small stuff gets lost and even medium stuff gets hidden. I started making stadium seating for all my cans jars and bottles. I taped together two or three sheets of plywood, then laid out the stair step cuts. Glue bottles are smaller and got more layers that go taller. The wood finishing stuff tends to be bigger, so fewer wider shelves. 1/2″ plywood across the top makes a sturdy mini shelf.

I had a pile of tapes rolling around one of the lower shelves, so I looked for how to store them. I had recently picked up some harbor freight magnetic hooks. Turns out the hook is just a M4 stud, so if you unscrew it you can put in your own screw. I picked up a bunch more hooks and combined them with a stash of M4s I already had. Now I can flexibly store tape all along the inside of the doors.

I put more like things together. The spray paint was up top, but is now down low with the solvents, the glue and calking are together, the wood stains and finish have their own shelf, etc. I cleared up enough room to bring my hot glue out of a packed drawer and in with the other glue stuff. Magnetic bars and plywood gave me a wooden surface on top to attach my printed calking gun holder and a pvc hot glue gun holster. I printed a kimwipe box holder and stuck it to the roof too. Got to think in 3D when maximizing storage here! Use every surface possible.

To summarize, when organizing something like this:

  • Store like with like
  • Get creative about typically unused space (backs of doors, top of cabinet)
  • Make sure you have elevated seating for all shapes and sizes so you can see what you have

Spray Paint Crate

I picked up a few extra cans of spray paint for different things I have in the works. Those added to my modest collection of paints meant I was way over capacity in my limited storage arrangement. I tossed out the old setup (which I forgot to take pictures of), and built myself a set of spray paint crates. This was a nice small project, but probably the biggest woodworking thing I have done since Ira came along. It is good to make sawdust again.

Every good shop project starts with some plywood. I had a lot of 1/2″ lying around from the toy and baby furniture days. The front, back and bottom are 1/2″ ply glued and nailed together with 1/4″ glued and nailed to the sides. It made for a pretty stout box without being too bulky or heavy. With 18 fullish cans, this thing was heavy enough.

For the front and back handles, I could have just drilled out the sides and used a jigsaw, but I wanted something repeatable and re-usable. I 3D printed a jig with a sized cutout for my hand and with a reasonable offset. There is a notch in the center so I can line it up with a mark. Not sure how often I will use this jig, but it was cheap to print, worked like a charm, and should last a long time.

With the handle cut out I rounded the corners with my corner radius template and then used my trim router to round everything over. Some quick sanding later and the handle area was smooth and comfortable.

The assembly was as mentioned before. Glue and brad nails. I eventually let that dry and put a coat of boiled linseed oil on these to make sure they stay together for a long time. They are just the right size for fitting in the bottom shelf of my paints cabinet. It need more cleanup and rearranging to get the second one in there. That calls for more shop organization!

Hardware Drawers with Organizer Trays

A few years back I built two rolling cabinets to hold all of my screws and other hardware. They were a big boon, but I quickly converted one over to having only drawers. It looks like the other is about to have the same thing happen. I have lots of plastic organizers that are well labeled and sorted, but they have a few issues. The first one is that I go into them so often they pile up everywhere. I even added a pull out shelf so there was always a place to sit one. There tend to be 2 or 3 stacked up at any given time.

The other issue with them, and this is minor but super annoying, is that occasionally the dividers shift and start mixing all your hardware up like a bad drink recipe. Lastly, I find myself taking the organizer with me to the project I am working on. Sometimes you absentmindedly pull the wrong screw, and it takes up more space where you are working.

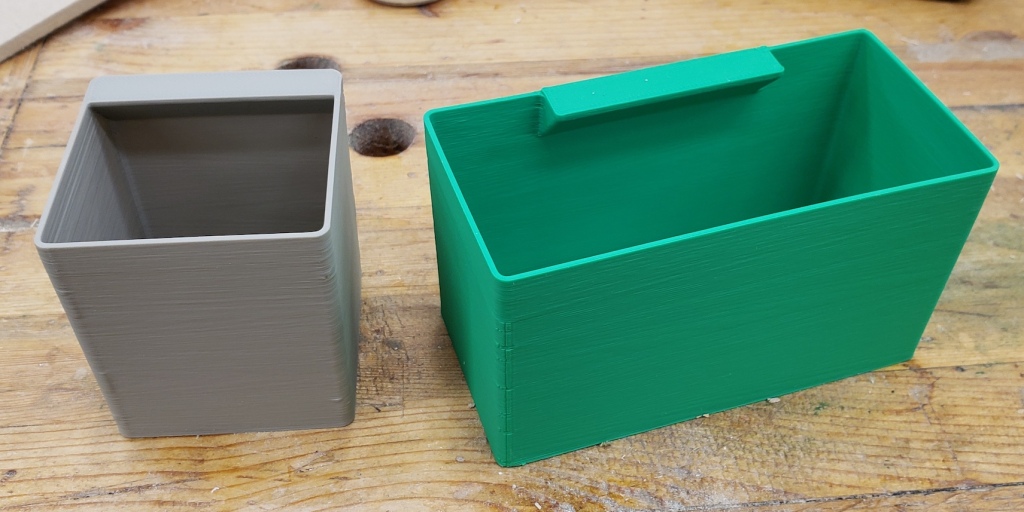
I was inspired by Alexandre Chappel’s video about printing little trays and using them to organize hardware. I printed out a few of his trays and thought the concept was fantastic, but had some issues with the wall thickness in the model and wanted more label space. I made my own instead. They have rounded corners to help speed printing, consistent wall thickness, a slight taper to the sides to make pulling them in and out easy, and a large label area. Now I can pull only the tray of screws I need and take it to where I am working.

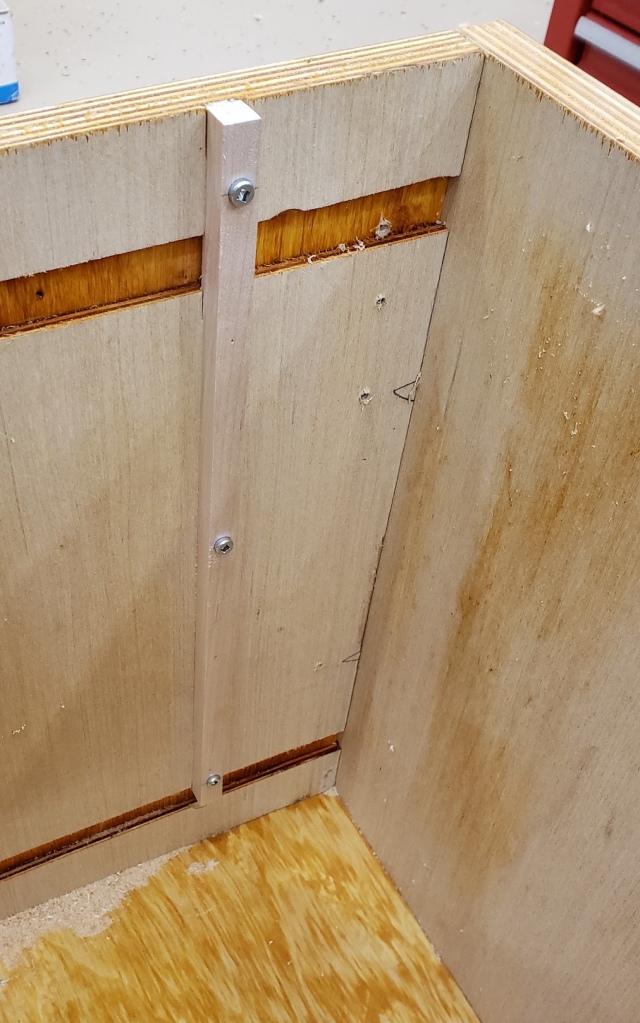
With the tray sizes worked out I did some measurements and found I could fit a drawer 8 trays wide if I was careful in how I cut everything. I went ahead and started installing runners in the cabinet. I cut a template that would set spacing and act as a router guide to cut a dado in the cabinet sides. Once again my trim router comes to the rescue. This will help with the drawer runner alignment and expose new wood for glue. The inside was covered in boiled linseed oil when I made it.

I took thinned maple and had a small production run of drawer runners. I sand the top and bottom smooth, marked the board for screw locations, ripped out each runner, drilled clearance holes for screws and then installed them. Each runner got glue, a few brads to keep it still, and 3 screws. There will be a lot of weight on these, so I didn’t want any movement.

I planned out all the drawers to be the same, and installed runners for each. Before I went into drawer production though, I made a prototype held together with clamps. Good thing I did! The original plan was for the drawers to be 6 trays deep. Looking at the left picture below, I have the drawer pulled out as far as I dare given the weight. I can’t see the label or the contents of the last row. Dropping back to 5 rows leaves plenty of drawer still inside the cabinet for stability. Metal slides would cost more money and drawer width, but allow full extension. I could have had a few more trays had I gone that way, but I am happy with my decision.

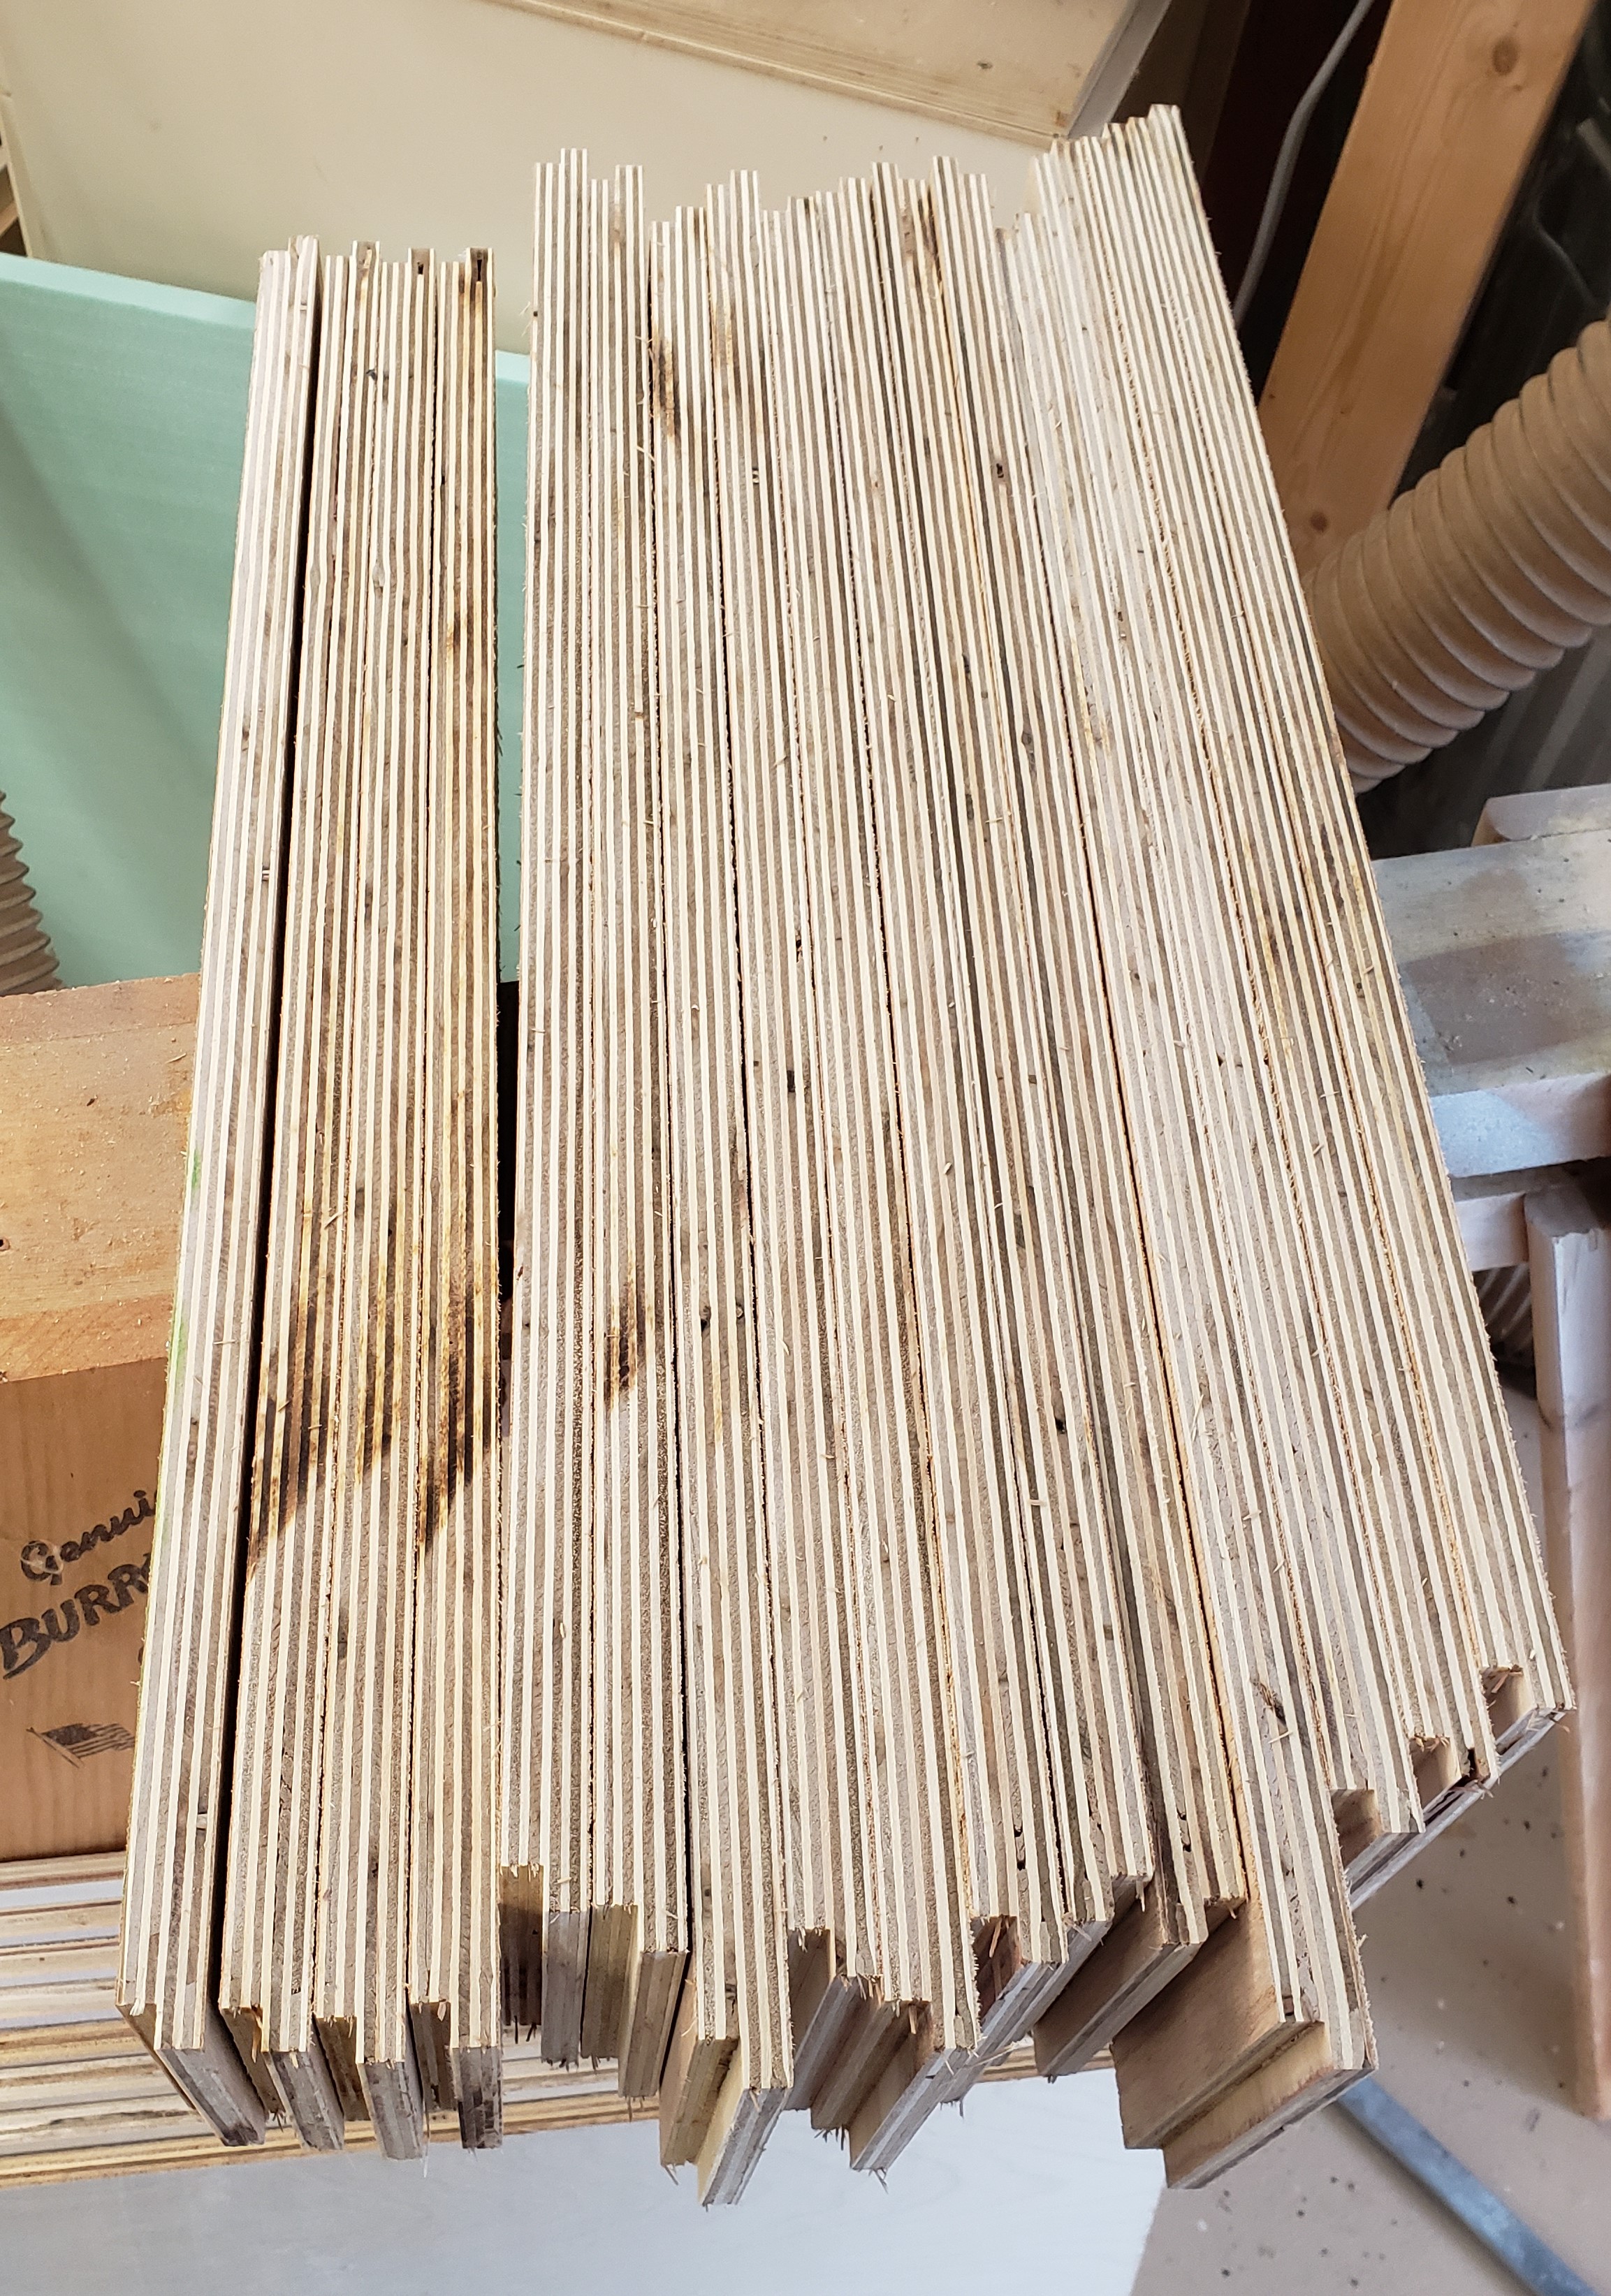
With the drawer parameters set I went back into production mode. The cabinets originally had a number of shelves made for them. I didn’t need those anymore, so I figured out how to incorporate them into the new drawers. I am working really hard to minimize waste these days, so I don’t have to go out to the store. No fancy joinery, just a rabbet on the bottom to help keep the drawer bottom in the right position. For the fronts I attached new plywood and kept the orientation the same so the grain pattern would flow down the front.

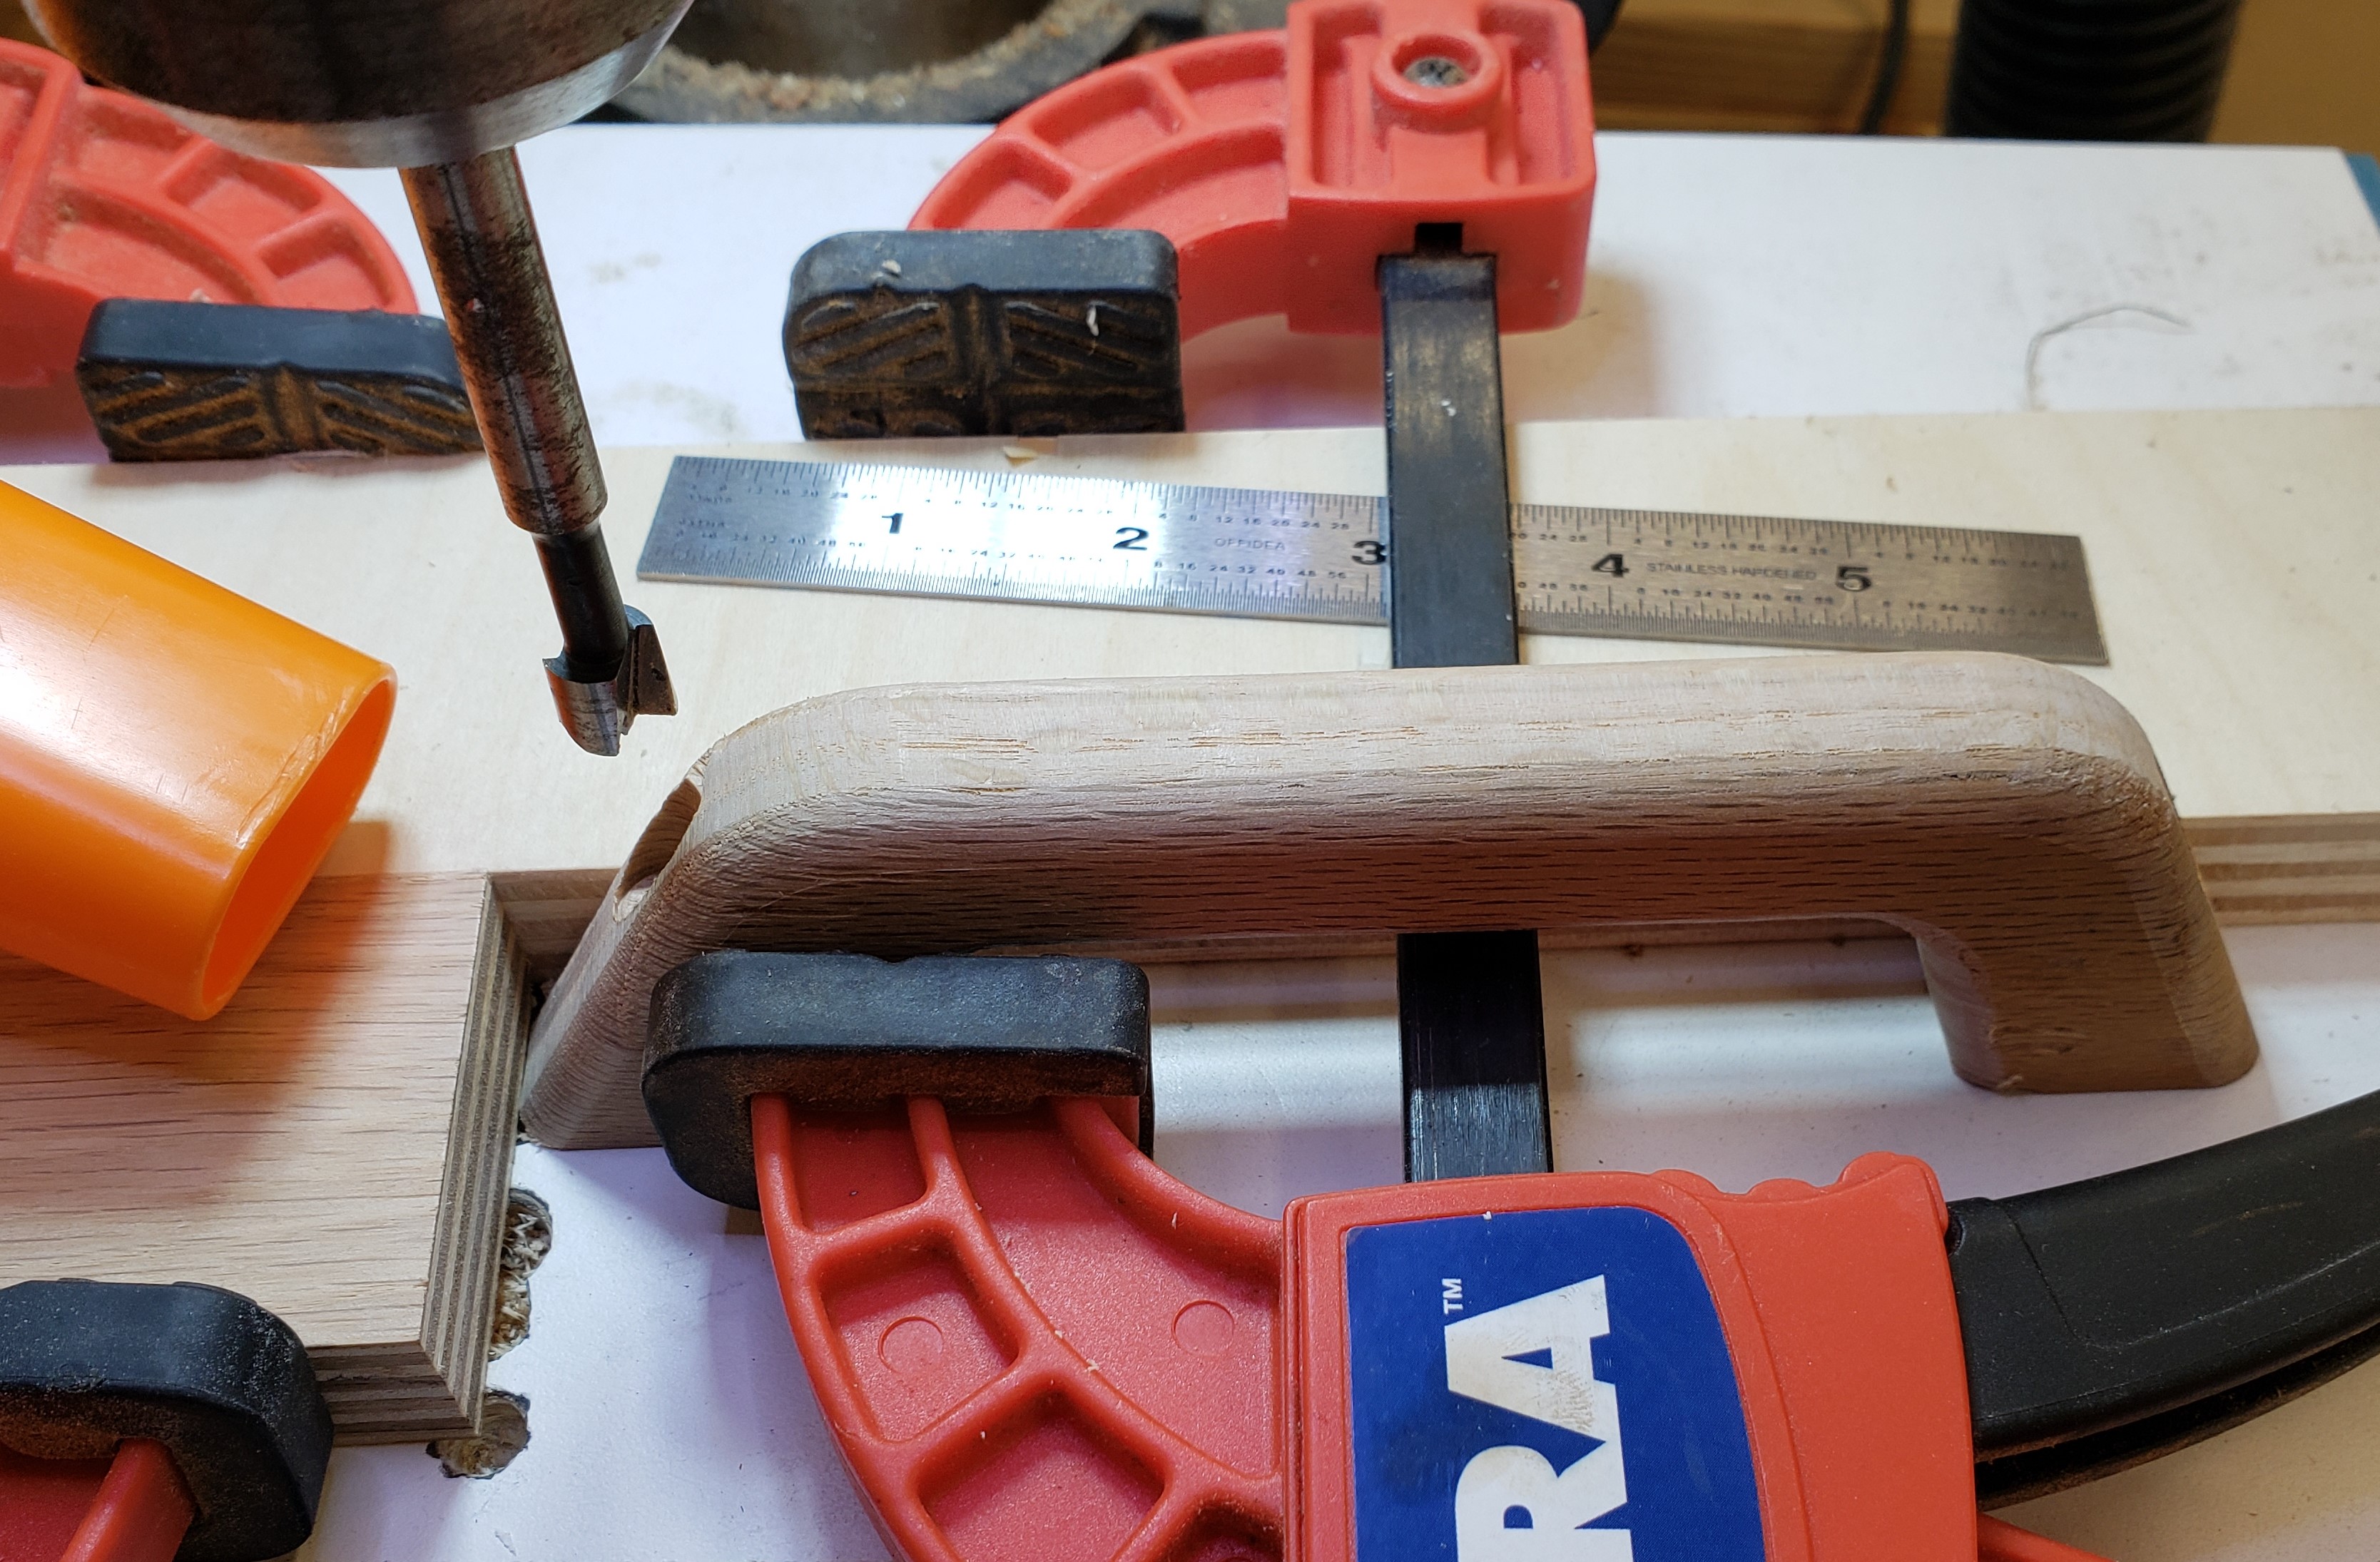
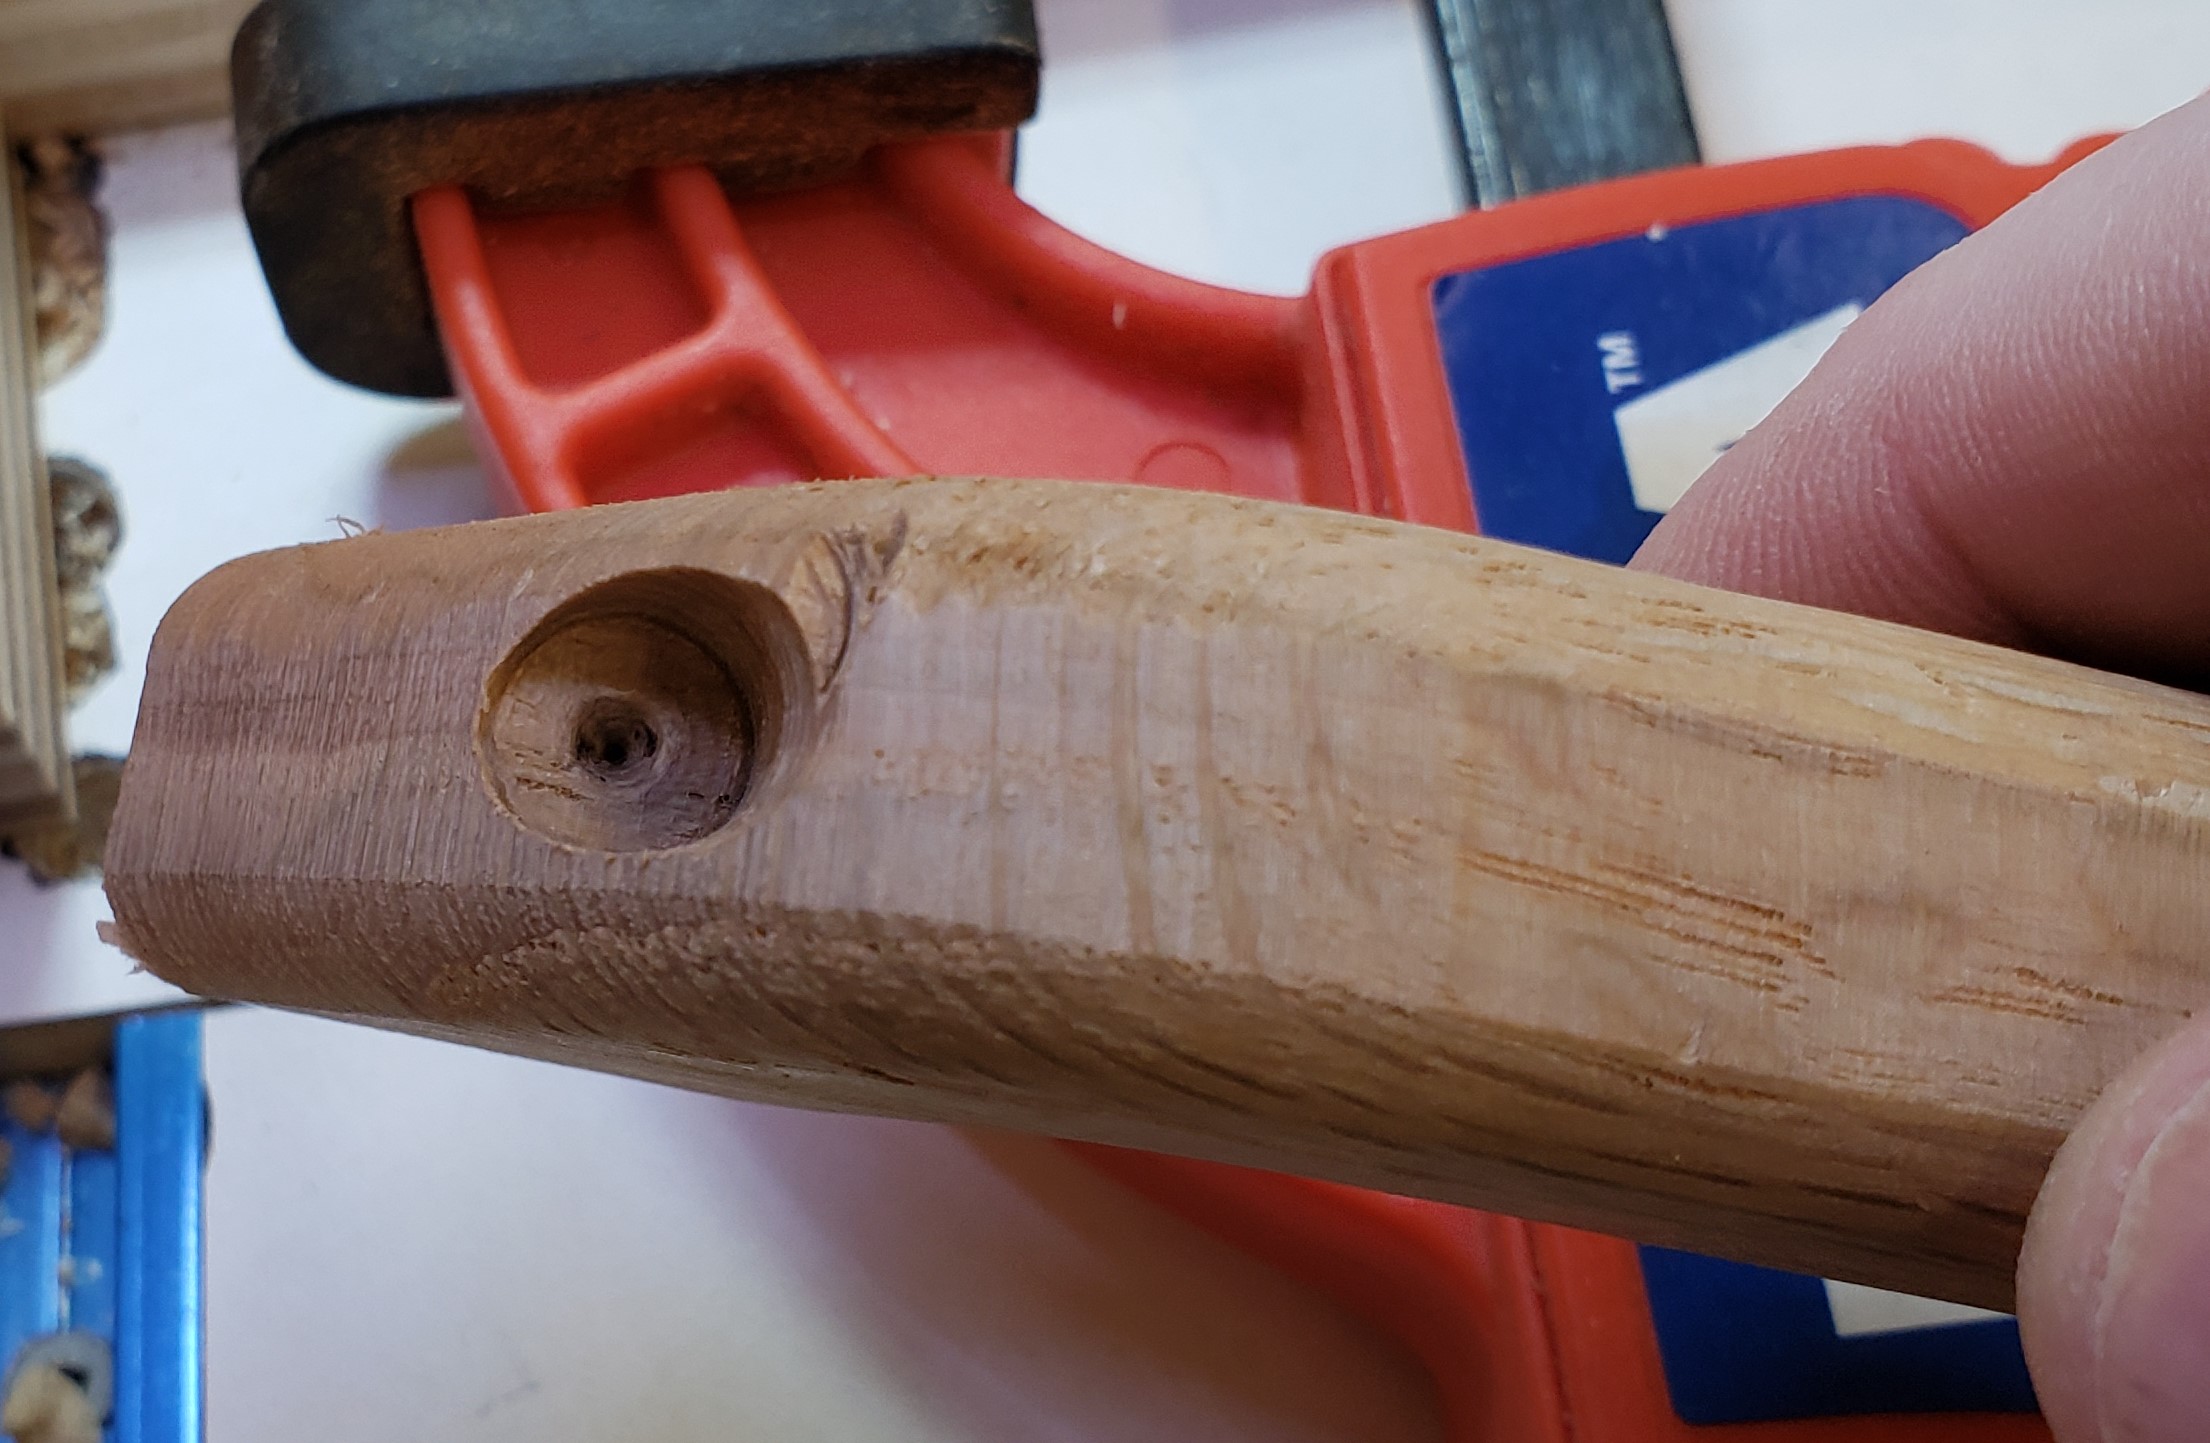
With the drawers all assembled and dried I needed to countersink the screws that hold the drawer pull on. Once again a template makes this repeated work fast and easy. The template goes inside the drawer and guides a forsner bit big enough for the drawer pull’s screw head. Countersinking like this keeps the head from interfering with my trays and protrudes the screw far enough so that It can bite into the drawer pull.

Drawer pull template in place inside the drawer
Hole drilled and drawer pull screw installed

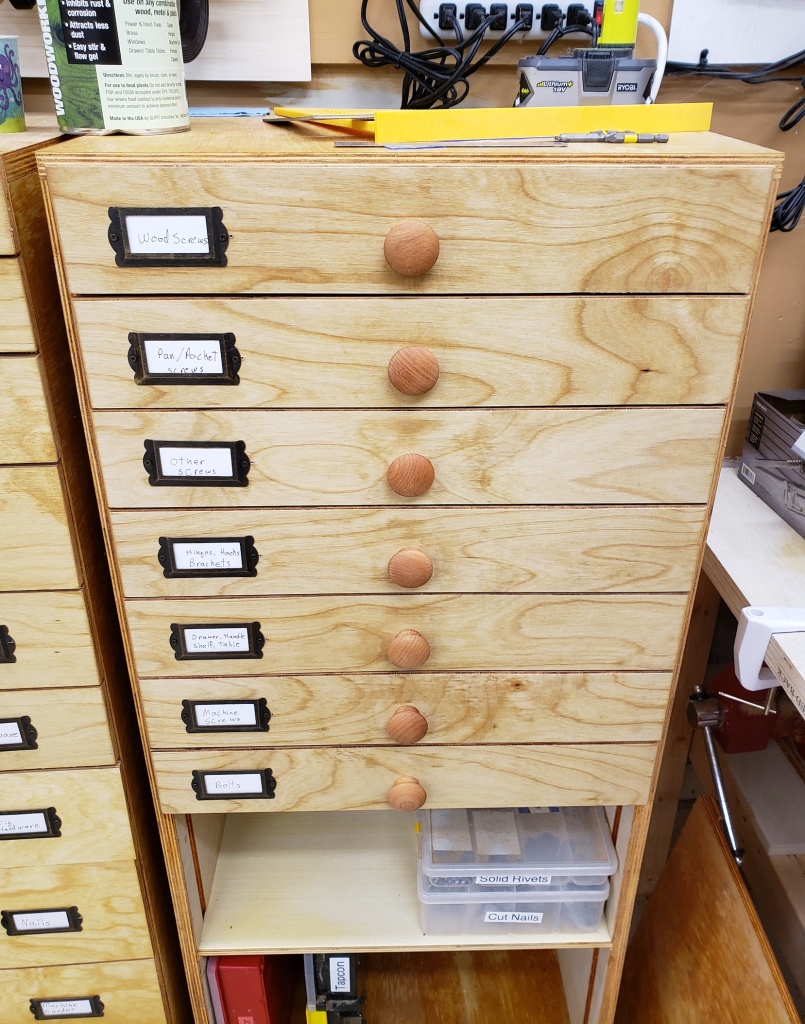
The finished cabinet looks gorgeous and I was even able to use the same label holders as I did on the other cabinet. There are still shelves below for organizers I thought were worth keeping. The shelf space below is at only 1/3 full at most, and the drawer space is 3/4 full. I doubt I will have to build any more drawers in the future, but the cabinet has enough space for another 5 or so. Each drawer has a magnet embedded in the front to hold onto a small steel ruler. That way you can double check what you pull out, and always put fasteners back in the right place.

Router Table

While building my baby bookcase I noticed the table top on my router was not flat. The joinery was poor enough I had to go to the table saw instead. 10+ years of Florida humidity and a heavy router finally did it in. The red arrow is pointing to all the light coming out from under the straight level.

I use my router table a lot, so I wanted something nice to replace it. A full professional router table setup can cost 1,000 bucks with all the bells and whistles. I want something of decent quality, but not for that much money. I did a ton of research and finally broke down to buying a really high quality lift, and building the rest. Say goodbye to my old friend! By the way, I took the mounting plate out and tried it on my tablesaw top. It had a very distinct rock, so it wasn’t flat either.

The Top

These days my building and blogging are badly out of sync. Some short projects get posted in a week or two, and bigger ones linger for months before getting posted. This one started right about the time we were all supposed to limit our trips out to essentials only. The hardware stores are open, but I can’t call this router table essential. A broken toilet or water heater, this is not.

I normally would have gone to pickup laminate faced plywood, but instead I looked around and decided to use this big piece of butcher block counter top. Some friends were having their kitchen redone and saved it for me.

I got to cutting off a nice hunk and my saw went a little nuts. It turns out the way they clamp everything together is with screws! Lots and lots of screws. If you look at the side, they even cut through some to make the counter top the right size, and just filled the void with putty. They must make these things in massive sheets, then cut down what they need.

I took my number 5 to it and planed off all the old finish that was feeling a little gummy. It looks a lot nicer now. This is really soft pine and not as flat or as stable as I was hoping. There was some twist I couldn’t quite get out.

With the top mostly flat, I built up a set of guides to install my router lift. This part didn’t go quite as planned either. I tried to attach each piece together with pocket hole screws, but going into the plywood sideways with a screw caused it to de-laminate and bulge. I muddled through with double sticky tape and got to routing with a template bit.

Once I had a recess routed that was the thickness of the router lift top, I went through and cut out the inside area. Those pesky screws came to bite me again, my jigsaw was not happy. When it was all cutout I marked the location of the leveling set screws and soaked the area with thin CA glue to stabilize the wood. I was worried the set screws would slowly sink into this soft pine otherwise.

The top’s twist was a little evident in the fit of the router top, and the template bit’s radius was off. It turns out the lift has a corner radius of 3/4″ of an inch, and my bit is 3/4″ in diameter which yields a 3/8″ radius. I think we are going to call this a practice table top. I will eventually get a new material and make a better one. I put down a few coats of polyurethane to seal it up and give me a solid surface to wax.

Base

With the top basically finished I was able to move on to the base. Using the plywood I had available I made a 3 chambered base. The left was going to be for open storage, the center would house the router and collect most of the dust, and the right would have a set of drawers for bit storage.

I set the top down and the twist is even more evident. The bottom is really uneven, so I guess they only ever planed the top to flat-ish.

I thinned down some maple scraps and cut them up to make runners. I used a piece of hardboard as a template for the drawer side height, and it also served as a square and guide for installing the runners. I nailed and glued those in place, then hit everything with boiled linseed oil to finish.

Fence

I had some ideas about how I wanted to make a fence, but wasn’t quite sure which way to go. I was also running low on some materials, so to conserve, I just re-purposed the fence from my old router table. I added wings to make it reach out further. To hold it in place I made it go past the edges of the table, then used a little clamp paw to squeeze it down to the edge of the table.

To attach the wings I just screwed them down from underneath

It worked reasonably well, except that any time I pushed on the fence in the center, it seemed to bow outward. The system wasn’t rigid enough. I added a support across the back to help stiffen it up. That reduced the bow. Next time I will sink some tracks into the table top to facilitate more centralized clamping.

Drawers

Things were starting to come together. With the top in place and a working fence available I was able to employ it in making drawers. Nothing fancy, just some plywood sides with half lap joints and rabbeted bottoms. I added drawer fronts with rounded edges and finished everything with boiled linseed oil.

The top drawer holds my trim router and all 1/4″ shank bits. Only got this thing a month or two ago, but have found it to be an incredibly useful tool.

Next are all of my 1/2″ shank bits. They fit with plenty of space to spare. I 3D printed the holders for these because I didn’t have the right sized drill bits. A 1/2″ bit will leave a really snug fit. My next size up was a 5/8″ forstner bit. Too loose! Everything is kind of grouped and there is a lot of room left for new bits. The last drawer is empty believe it or not. Plenty of room to grow!

Finishing Touches

With the drawers set I was able to work on a few finishing touches. I moved the power switch over from the old table to the new one. This works great and will stay. There is a hole in the back for the router’s power cord to come through. I covered it with a custom 3D print cover. I put a cover over the front router cavity with magnets. It comes right off if I need to service something, but otherwise has gaps to pull air and dust through when in operation. On that cover I have two printed holders with magnets for the collet release and hex tool that runs the lift. Lastly I added a shelf to the left cavity. It holds common use accessories and a stack of different brass setup bars I cut from 12″ lengths of key stock.

I have been using this table for a few weeks and it has been working really well. The router lift was pricey, but is a dream to work with. It adjusts easily and locks down securely. The top is fine for now. The pine has already gotten dented and my install job has left some gaps. The fence clamps work well, but it flexes too much. I will take all these lessons learned and do a series of upgrades soon. For now, it is back to work on other projects.

Under Desk Mess Wire Shelf

I will be honest, underneath my office desk is a hot mess. Wires everywhere and power strips piled up. I tried to push everything off to the sides, but it always migrates back to the center. I kick the stuff around and have switched off the power by accident before. Time to fix this pile.

I had an idea that trimming a set of wire shelves narrow would give me a good platform to hold up all the power strips and lots of spots to strap things down. This 4 foot shelf was only 10 dollars at lowes. It gives me a really great jumping off point. I started by taking off the longer rung section. This left me with a 6.5″ wide shelf.

From there I designed some brackets to go under my desk. They would strap down the shelf with zip ties, align with a shoulder to the desk’s back edge, and screw into the sides of the desk.

The shelf fit check went well and I pulled my desk out to install the brackets. That is where things went a little south. I had measured, but not realized just how far away from the wall I would have to pull my desk to accommodate the shelf. The gap behind the table top was big enough to allow a lot of stuff to get tipped over and fall behind.


I regrouped and cut off the next row from the wire shelving. That shortened it to a little over 4 inches which was a lot more manageable. I shortened up and reprinted the brackets. This let me retest the distance between the desktop and the wall. This size is going to work out.

With the bracket on I was able to slip the shelf into place and start wrangling wires. It took disconnecting everything and a lot of velcro, but I got it all organized and away from my feet. I don’t know how many places this kind of organization is useful. Certainly entertainment centers and computer stations, but beyond that I am not certain. I will have to keep this trick in my back pocket if I find myself with another big interconnected wire mess to straighten up. Brackets added to thingiverse by request. I only modeled one side, mirror in your slicer software to get the other side.

Rolling Sink Carts

Now that my summer slog rock project is done, things have cooled down enough to get back into the shop. I am still refining the organization of my shop and turned my attention to the area around my sink. There was a pile of spray bottles and gallon jugs of cleaners scattered all over the place. I wanted to make a little set of carts that slide out to hold the junk.

The two carts sit low on either side of the sink and roll out to expose all their contents. These are already mostly full which means I either made them too small or I need to pair down the stuff I keep around.


I designed this project back in the spring based on a gallon jug of headlight fluid and two scraps of plywood I had. Thankfully 6 months later the jug was still the same size and the plywood was still there. The design is like a two shelf book case, only with no back. I made runners to go on either side of the shelf to prevent sag and keep everything from racking.

The assembly was mostly glue and brad nails, and once dry felt quite stiff. I gave everything a single heavy coat of polyurethane. I would typically use boiled linseed oil for shop furniture, but had some old urethane around and figured these would get splashed around the sink quite often.

I found really small wheels to put on the bottom. They don’t swivel, but I don’t need them to. The carts just roll in and out. Plus their compact size means I waste as little space as possible. Lastly I printed a beefy handle on top to help me grab and roll the loaded carts.

April 2019 Prints

RTIC Tumbler Handle

For some reason RTIC has changed the shape of their 30oz tumbler. Not sure if YETI did this, and they followed suit or what. I suspect it is a plot to sell more handles and accessories. As it stands, the old handle I designed doesn’t fit on the new style of cup any more. The taper angle and diameters are just a little different.

My old handle was printed in 2 parts because most low end printers (including the one I owned at the time) couldn’t print something that big. Now a days at least a 6×6 bed size is pretty bog standard. This new design will be all one piece. The cup is large enough in diameter that getting my calipers on it wasn’t going to work. I printed some rings of different diameters and used them to estimate the taper angle of the new cup.

With that figured out I just printed a new handle that looks a lot like the old one, only with slightly more finger room and a longer grip. Thingiverse link

Drawer Pull Centering Jig

I picked up a Kreg cabinet handle jig for one of my recent projects, and because handles are something you install pretty frequently. It is certainly possible to do them well without a jig, but that always makes repetitive work easier. The jig does a good job of setting the height and width of the holes. It doesn’t center them on the drawer though. I made a few add ons to help with that.

I took a length Kreg track that you would normally imbed into a table to make moveable hold downs. Instead, this becomes part of the top fence used to set depth. Now with a spacer it registers across the whole top edge of the drawer. That also lets you use an edge stop. Now it is all centered. Once set you can put handles in the same drawer position over and over again with no more measurements or adjustments. The only downside is that there was a scale on the back of the jig for setting depth. That no longer measures true because this vertical stop doesn’t register where the old one did.

Router bits

Storage and organization is a place where the printer continues to be endlessly helpful. I have had this nice router bit set for years, but always had trouble getting the bits back in their slot. They end up clanking around the drawer and taking up more space than they should. A simple printed tray gives them each a home and takes up a lot less drawer space. For smaller prints like this, a label maker works better than trying to 3D print the text.

More Dust Collection Adapters

Woodworking Dust Collection Rule 1: No two dust collection ports are ever the same size… EVER

Once again I find myself trying to fit a dust collection hose on to some of my tools and wind up having to 3D print a custom solution. Why is it always like this? This time it is a port for my random orbit sander to 1.25″ hose (which isn’t really 1.25″), one for my belt sander, and an adapter to go from that hose to my dust deputy inlet (which has some funky taper on it). The good news is that the ridges left over from 3D printing these always helps the adapter stay in place, even if it isn’t perfect. This is exactly why industry standards and groups like ASME and SAE exist.