New Bunny Hay Feeder

I made a quick feeder for the new buns in kind of a rush and without a lot of research.  It was a shallow 3 sided box with vertical dowels to hold the hay in across the front.  The dowel spacing was bad.  First it was hard to get their heads in because it was too narrow, then when I removed a few dowels it was too wide.  They tended to pull a ton of the hay out into their box.

DSC_0419

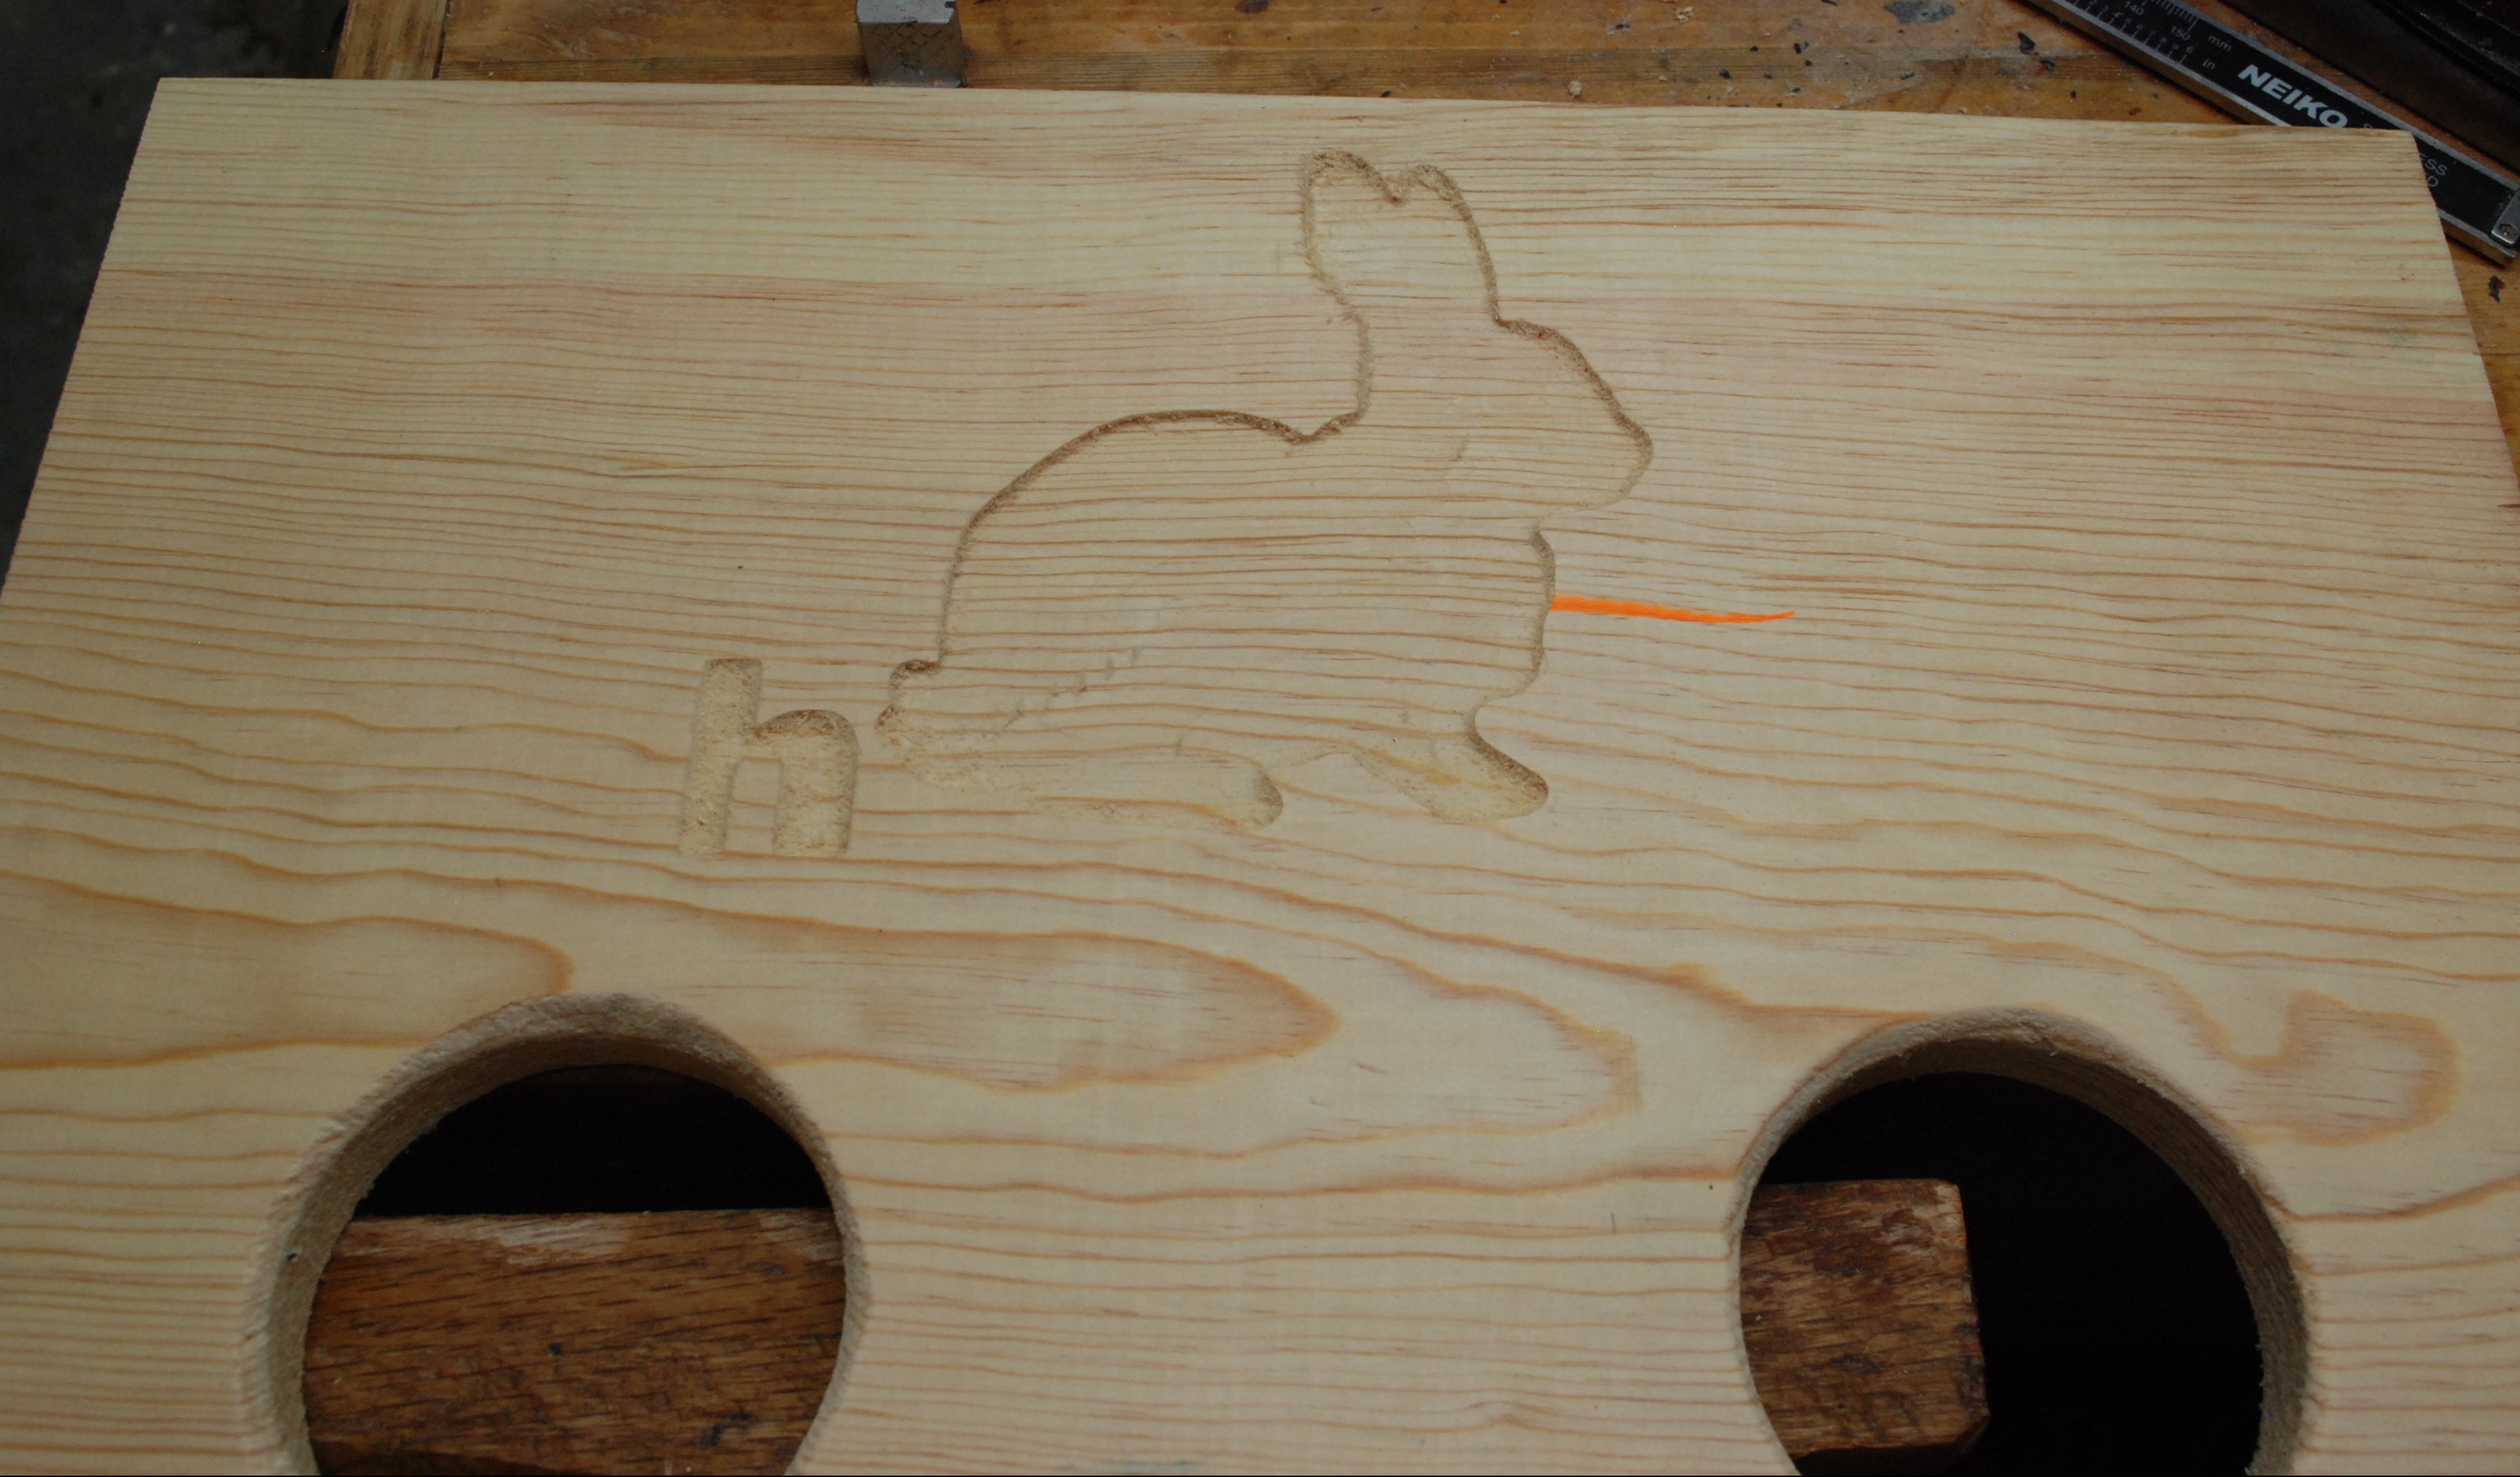
A solid box with two holes is the right way to go.  I used some 1×12 pine to give a nice tall body.  I wanted to engrave a bunny silhouette and the words “Chow Time” on the front.  Unfortunately I didn’t center the piece well and my CNC hit a hard limit.  It got to the “h” and I knew the rest would be ruined.  So skip the words and make the bunny bigger instead.  Had it gone well I would have taken the time to do some color inlay.  oh well, next hay box.

DSC_0492

I assembled the front with sides and a back to make a box with no top or bottom.  Instead of a flat bottom I used a plane to put a rough angle on the two edges of a board.  Once installed at an angle it made the bottom ramp towards the two feed holes.

DSC_0493

This picture shows the ramped bottom better.

DSC_0494

I installed it to the bunny fence set at a good height for their litter box.  There was going to be a lid, but I decided against it.  No reason really, just dump hay in when needed!  UPDATE: As it turns out, they can get inside.  A lid might not be a bad idea.

DSC_0495

This box has a ton of capacity, and because of the smaller openings than my previous attempt they tend to pull a lot less into their litter box.  This means less filling and less waste.  They can often be found with their little faces stuffed in nomming on bits of hay.

DSC_0504

Ham Shack Hutch

My father in law dropped a hint about his birthday/christmas present the last time he was over.  It was in the form of a sticky note drawing of a hutch to complete his new ham shack.  My wife is losing her old room, and he is gaining a shack.  He wanted something simple with light wood that would hold a bit of equipment.  Thankfully my years of having bought ikea furniture came in handy.

It was going to be over 30 inches wide, just under 2 feet tall, and 16 inches deep.  Fitting it inside a car for the long ride to their house would be trick.  Instead of gluing I decided to employ dados and have everything screw together.  Chase style flat pack!

DSC_0428

I took 8″ wide poplar boards and face joined them to make the 16″ depth I was looking for.  Saw benching is so much more peaceful and fun than using a noisy miter saw.

DSC_0429

Once jointed together I used the router to make a 1/4″ dado in the uprights for the middle shelf, and one along the edges of the top shelf.  That one probably wasn’t absolutely needed, but I felt it would help with assembly alignment.

DSC_0445

This was my first poplar project and I like the look of it, but boy is this stuff soft.  Planing without tearout was tricky and any misuse of a tool left gouges and dents in the wood.

I decided to try my new bottle of tung oil out and was not disappointed.  Tung oil is such great stuff.  Finishing was a breeze with everything disassembled and my new screw wax made putting it all together quick and easy.  When they stopped through on their way back home the car was full enough to make carrying an assembled hutch impossible.  No problem, it comes apart.  They could have fit 10 of the flat pack ones in!

DIY Screw Wax

Screw wax is a miracle of woodworking.  The original woodscrews were probably medieval or earlier.  There is debate on when they were first used.  I don’t know the correct time, but I bet they were universally hated until someone discovered screw lube.

With or without a pilot hole, by power tool or hand, waxing a screw makes it go in so much smoother and easier.  No stripped phillips slots, no broken off heads, and less arm ache if doing it by hand.  I picked up a little tin of screw wax a few years back, and it has become my best friend for doing anything finer than 2×4 construction.  I love the stuff so much, I wanted to create my own.  After all, what is having a backyard full of bees good for if not making your own beeswax products?!

DSC_0473

My mustache wax experiments told me I wanted a few parts wax to a single part of something with a lower melting point.  Beeswax alone is just too hard to be really useful, so I chose petroleum jelly.  I had 32g of wax in this little puck.  I wanted to start with a 5:1 ratio, but my scale had issues measuring the jelly weight.  Not sure why, but I guessed at somewhere between 5 and 10 grams.

A soda can made an excellent disposable double boiler.  Once melted and consistent I let the contents set.  I wanted to test the wax before pouring it into a bunch of small containers.  I broke out some commercially bought wax, my attempt at screw wax, and straight beeswax.  A finger nail impression, while not exactly a rockwell hardness test, showed my version to be similar to the store bought stuff.  Beeswax barely leaves an impression with your nail.  Screws seem to pick it up just like the commercial stuff too.

DSC_0476

DSC_0477

Satisfied with the results I remelted the puck and poured it into small 2oz metal tins with nice screw tops.  I ended up having to do a second batch to get 4 tins full.  Between my dad, my father-in-law, and myself, I needed at least 3.  Two tins for me probably represents a 10 year supply.  Who knows though, with labels that snazzy, I might find myself reaching for it even more.

DSC_0478

DSC_0479