To The Best of Buns

16465569_1653277584969017_6315287317531590656_n(1).jpgAs if allowing two long eared fuzzy ingrates in the house wasn’t enough, I eventually relented to us hosting a temporary visitor.  A particular bun from the mean streets of Melbourne got picked up by a cop and needed a home for a short while so he could get fixed and make his way to the greater Orlando rescue group.  I was expecting an ornery skittish bad bun.  What I got instead was an incredibly sweet creature.  Someone either lost him or kicked this guy out.  Either way, they are losing out big time.

I have never been much of a pet or animal person.  Herbie changed how I feel about keeping animals a bit.  Every time I would open up the back door he would be pawing at the edge of the cage for pets.  I could scratch his nose, rub his ears, pet his side, and he would just lean in for more.  I was sick while we had him and sat in his cage quite a bit.  He came over and gave me lots of love and attention that helped take my mind off the cold.

This story ends in tragedy though.  We were supposed to have him for a month.  A few weeks to recover from his street injuries (a few bad scrapes on his side and back), a quick neutering from the vet, and then a few more weeks of recovery before going off to the main Orlando group.  Though he appeared quite healthy and healed from previous injuries, he did not survive the neutering operation.  Rabbits are very delicate and sedation for surgery is touchy.  Maybe he had other issues we didn’t know about.  Maybe he was very old.  Maybe we just got unlucky.  We will never know.

In the two weeks we had him he completely nuzzled his way into my heart.  I was even starting to think of a way we could keep him along with the other two we are beholden to.  In the short time he earned himself a few nick names.  Herbie was the name he came with, but he also went by Herbacious, Herbie The Love Bun, Herb-a-licious, Herbert Hoover (when food was around), and Herbert J Whiskers (when he was feeling formal).  Honestly I probably forgot a few at this point.

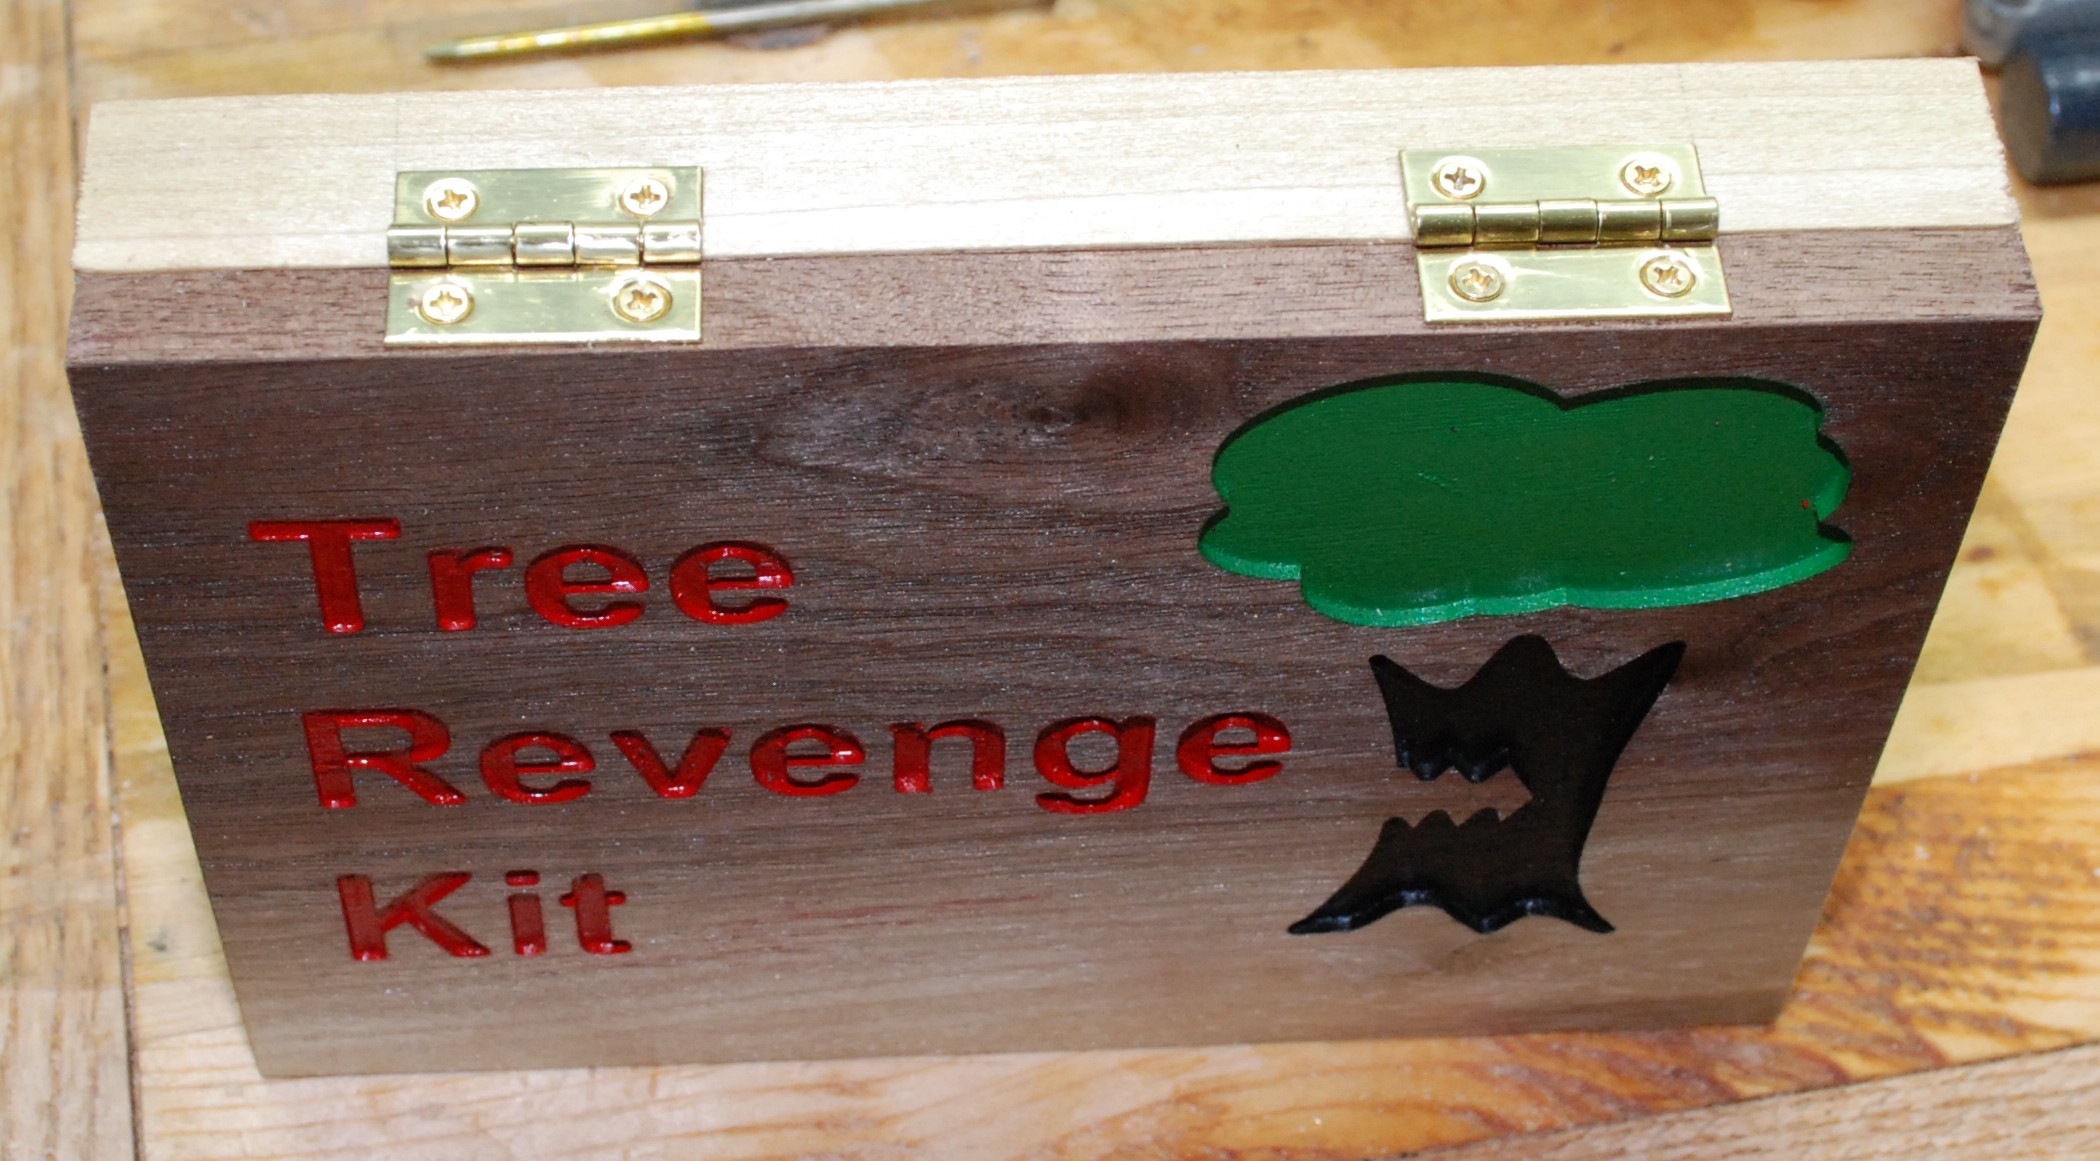
Though we never got him to a forever home, we can still give him a final resting place.  We had him cremated and collected his ashes.  I thought it would be fitting to build a little box for the occasion.


20170212_144546

Something this serious calls for the family wood.  These walnut pieces have been in my family for decades.  I cut a chunk off and decided to go for a bandsaw box.  I have never made one before, but thought this was a good time to try something new.

I didn’t make any layout marks, just went went with my gut and cut out the first things that came to mind.  First the overall shape is cutout, then the back comes off.  With that set you can cut out any number of drawers you please.  In this case, just one.  A similar thing happens for the drawer, only you need to cut a front and back before carving out the central drawer cavity.

Cutting and glue-up went smoothly.  I did only minor sanding and didn’t bother with finish.  A wealth of off cut pieces gave me plenty to make a drawer pull in the shape of an H.

20170215_191515

After a few weeks of waiting we got his ashes back along with a few paw imprints in clay.  We laid him to rest in his little hand made home under the orange tree in the back yard.  Maybe we should call it the Herbert J Whiskers memorial orange tree.

16230127_751708518314283_6814505707241472000_n(1).jpg

Father’s Day Knives

The family wood strikes again.  Mother’s day gifts one and two have already been delivered, and it is time for the dads.  I found these letter opener kits at woodcraft, and they include a blade, leather holster and brass pins.  All you have to do is make up the scales, bond them on, and sand away the excess.  It was actually that simple, and by going really slowly and carefully they turned out great.

I wanted three total.  One for my dad, one for my father in law, and one for me.  This is far enough out of my comfort zone that I bought a fourth kit to build first as a test article.  I have watched enough forged in fire to know that things can go wrong at the handle assembly.  Enter the family wood, and a thin slice via my bandsaw.

I cut down two small rectangles and held them together temporarily with carpet tape.  I clamped the blade on and match drilled the holes all the way through.  Once bonded on everything excess will have to get sanded, so I trimmed as close as I dared with my band saw.  The metal surfaces got a light sanding for bond strength and everything got a wipe down with alcohol.  I used T-88 which has a really long working time and high bond strength.

The next day the clamps came off, everything seemed solid, and it was time for the sanding.  I have a junky harbor freight 1×30″ belt sander.  It rattles and shakes, but really did the job.  First I went over with an 80 grit to remove everything sticking beyond the metal.  Once squared I went to 400, then 1000 grit belts to refine the shape and polish the metal interface.

It turned out really well.  The instructions wanted you to cut the scales to match exactly, then bond.  I figured this way guaranteed that everything fit smoothly, and if you used high enough grit, the metal could be put back to a polish.  I was right!


With one down and finished I had everything figured out to do the other three.  Doing them in a batch made things go quickly and efficiently.

My only point of confusion comes with the pin insertion.  Do you put them in the bottom scale, then install the tang, then the top scale?  It is hard to see if the pins are a little crooked, and everything is sticky with glue.  Pounding them in from the top with all pieces sandwiched means you are hitting the bottom scale’s holes blind.  I tried variations, and still haven’t refined that part of the build well yet.

The last picture on the right shows the first one with a coat of tung oil on it.  It looks good and feels smooth in my hand.  All of them turned out great, and the 4th one was kind of unnecessary.  I’ll bet I can find a worth recipient.

DSC_0288

DSC_0289

DSC_0292

Mother’s Day Gift #2

I had another gift in mind using the family wood.  I couldn’t leave my mother-in-law out.  She is an avid reader, so I stuck with the book theme and made a set of bookmarks.  This is the thinnest resawing I have done, and I was planning to sand down even further.  We are getting into thin veneer territory here.  A fun project with a little skill building thrown in.  Cue up that gorgeous family walnut!

DSC_0210I planed the right side flat to have a good surface to start with, then used a marking gauge to mark off a plank of about 1/8″.  I might try my hand at doing thinner next time, but this was pretty thin for me.

DSC_0211

I cut two just in case, but as it turns out each one was wide enough to make two bookmarks.  I left one quite long, and kept a full thickness of the top inch or so.  The rest of that one got thinned dramatically.  The intention is that the thicker portion will add strength, and keep a portion of it proud of the book when shut.

The shorter one was thinned across its entire length till it was pretty flexible.  To keep it from splitting It found a small piece of purpleheart and glued it on with the grain running perpendicular to the walnut grain.  A lot of shaping at the sanders gave it a nice look and feel.  The purpleheart piece will also keep the bookmark from slipping down inside the book.

Once sanded smooth both pieces got a few layers of spray lacquer.  The shorter one should be good for novels and other small paperbacks while the big one should be great for larger hardcovers.

DSC_0238


Mother’s Day Gift

There are some pieces of walnut that have been in my family since my mom was a small child.  They were used to hold things down and as ballast in a sailboat.  Some sections are incredibly solid, while others are somewhat worm eaten.  I needed a good mother’s day gift and got inspiration from what I call, the family wood.

The pieces are 2-3 inches thick and 6-8 inches wide.  Quite a heft to deal with on the miter saw.

DSC_0196

I chopped off that nice rotted wormy section at the top for this project and a few others I have in mind.  I think with a bit of cleanup this could be a perfect book end for all of mom’s fancy book creations.

DSC_0198

It probably isn’t heavy enough on its own to hold the books up.  I considered drilling it out to add shot and a grippy bottom.  Instead I cut a small relief in the bottom to allow a metal tongue to protrude.  The weight of a few books on this tongue should resist movement.  The metal is a bit of 20ish gauge sheet steel.  A good hit with a center punch depressed the area enough so that a countersink screw wouldn’t protrude.  Two part epoxy was probably overkill, but it will keep it from rattling.

I pulled off the really loose chunks, brushed everything down, and planed the 3 vertical sides that weren’t wormy.

DSC_0203

No project is complete without a little message to remember it by.

DSC_0205

I may have gotten carried away with getting it finished and off to her early.  I did a number of coats of spray lacquer and never took a photo of the finished product.  Luckily for me, mom is a great photographer, and sent me some really pictures of it in use with her homemade books.  Happy Mother’s Day!

IMG_0230

IMG_0227


Cheese Boards (Part 1)

In the beginning of December I took a look at my wood pile and decided to kill two birds with one stone.  First, get rid of a lot of one off boards I have lying around, and two, make a ton of gifts.  I made a big pile of handles for pizza cutters, ice cream scoops and the like on my lathe.  Every once and a while I want a quick gift, and bam, there it is.  Lets start with my smattering of wood.

DSC_0481

DSC_0482

I later added my roasted hardwood to the pile.  Everything got planed down to an even thickness.  I started to take a picture of each board glueup, but I started going through them so quickly I forgot the pictures.  The plan was to run them through the thickness planer, so I didn’t need the top or bottom to be perfectly aligned.  This let me just use side clamps and ignore cawls.  It was quick and easy, and I had enough clamps to do 4 or 5 sets at a time.

I glued together everything I was going to make in three big waves.  Many of them I made long enough to cut into 2 or 3 cutting boards.  Much more efficient than doing each one individually.

After glue-up

After glue-up

Cleaned up from the power planer

Cleaned up from the power planer

I took about half the pile and moved forward.  I was running out of time before a big house renovation and wanted some to get finished before Christmas.  Everything got squared up on the table saw, and a nice round-over on the router table.

After a minimal sanding on the faces and round overs, they were ready to get oiled.  I like to use howard’s butcher block conditioner on these long grain cutting boards.  It has a little wax in it which works better for long grain in my opinion.  I love how the colors come out when you just start to hit them with oil.  Below is a shot of each one half oiled so you can see the before and after color.

DSC_0008

DSC_0009

I have already given most of these away, and will have to get started on the next batch soon.  I also plan on making a nice video to discuss the care and feeding of these cutting boards for anyone that has one.

Tree Revenge Kit

I love trees!  The whole oxygen-necessary-to-life thing is neat and all, but their dead dried carcasses are where it is really at!  Aged cherry, bright maple, dark smooth walnut.  Every once and a while these trees get their revenge.  Splinters don’t happen often, but when they do… OUCH!  Thus, my Tree Revenge Kit was born.

The kit sits right next to the entry to my shop and contains a single set of tweezers.  I like the ridiculous idea of a monster kit that has all kinds of fancy locks, and when you open it up there is only a small simple thing inside.  This isn’t that extreme, but the box certainly could be a lot smaller.  Or I could just put the tweezers in a drawer.


The Build

This is another mix of woodworking and CNC milling.  The lid is walnut and the base is poplar.  I started by making the top, and milling out the text and tree all in one go.  Each color got masked off and hit with spray paint.  I think this might be my new preferred method of inlaying color into wood.  It is quick and easy, and goes down well over a quick coat of spray lacquer.  Having done a number of color inlay projects at this point, nothing is faster or cleaner than hand planing off the excess paint on top.

Once the lid was cut out and finished I could cut the poplar base to match.  Nothing special was done to it aside from milling out a slot for the tweezers to go in, and some relief cuts for a set of big fingers to pull the tweezers out.

A really funny project would have been to cut the slit, but not the finger relief.  Then, make a tool (with magnets?) to extract the tweezers.  Maybe that tool would get its own box.  It should have a lock to keep people from stealing it.  I digress.

DSC_0214

A set of simple hinges hold the two halves together, and that about wraps it up.

Wooden Comb

My goatee is getting pretty long and is need of some combing.  I could buy a regular comb for a few bucks, or I could spend hours making my own.  Is it even really a choice?!

Looking at what others have done, the table saw seems to be a popular choice for making the tines.  I figured a 1/8″ mill bit would do a pretty decent job, so lets mill this puppy.

I created a basic low profile pick that fit on some thinner scrap walnut I had available.  I really like how it looks with the lighter sapwood on the one edge.  A relief of half the thickness let me easily inlay some maple.  The grain runs counter to the walnut for strength and is proud a bit to help with holding.  It took a pile of sanding to point the ends of the tines.  A power sander made it pretty quick, but manual sanding is completely possible.  After glue-up and sanding I gave it all a coating of spray lacquer.

So far my goatee is happy with it.  A little oil and a comb post-shower seems to make it lot more manageable.  After all, there is nothing worse than a bad beard day!

DSC_0148


Chalk and Magnet Board

Chalk boards are big now.  Not sure why, I can’t stand chalk.  Chalk markers exist though, and those are pretty cool with me!  Our fridge is stainless and doesnt allow for the typical magnet and picture collection that I am used to.  I combined the new trend and my old fridge problem to make a magnetic chalk board.

I cut down a sheet of metal to 18in x 24in.  I picked up a spray can of chalkboard paint from valspar to give it the right surface.  The metal got a light sanding to rough things up, then a wipe down with alcohol to clean everything up.  1 coat of primer and a few coats of chalkboard paint and it looks like a disaster.

DSC_0007The spray chalkboard when on really patchy and irregular.  I tried sanding it a bit between coats to help even things out, but it isn’t going to happen.  I flipped the piece over, sanded cleaned, primed, and then switched to rolling on chalkboard paint from a can.

DSC_0006This looks much better, but it took 3 coats.  The first didnt appear to like the primer coat.  It had a crazed look to it after drying.  I just kept putting on coats until it had consistent coverage.  I took some decent looking walnut and made a frame.  No pictures of the progress, but it is a basic miter frame.  The metal plate fits in an inside groove.  After gluing it all up I used a lot of epoxy on the backside to keep the metal from bowing or rattling around when writing on it.  Tung oil is the finish.

The can of paint said to coat with chalk, then wipe off as a finishing move.  Once cleaned up I threw up some pictures and magnets and it looked perfect!