Easy Toolbox Labels

I constantly struggle with organization in my shop.  I have a lot of boxes with drawers, but always move and misplace things.  In aid of my shop woes I have found a better labeling scheme

You can buy sheets of whiteboard material that are magnetic backed.  9″x12″ sheets are less than 20 bucks  They are thin and easily cuttable with a paper cutter, scissors, or a straight edge and knife.

wp-1461964798857.jpg

Small drawers got small labels big drawers got big ones.  They are easy to pickup, reposition, and when a drawer’s contents change, the label changes quickly too.  My only issue might be wiping them off too quickly with my fingers when grabbing the drawers.  A few weeks in the hot garage ought to cure the writing a bit.  Time will tell if this trick helps my organization problem.

wp-1461964798851.jpg

Double Owl Box Rescue

I have been without bees for a few weeks now since the death of Ester II.  I was sad, but my mourning is over.  I was able to do a double rescue with my best bee buddy Willow.  We had reports of two owl boxes occupied by bees that needed to come down.  Both were in really rotten shape and not long for this world.

The first is this guy only about 8 feet up in a tree.  It must be reasonably full of bees, because it weighed a ton and they had started building comb under the roof entrance.

20160423_094410

I pulled the comb off, duct taped shut the 40 odd holes and cracks that they were coming in and out of, then pried it off the tree.  We took it home, screwed it to an inner cover, and drilled a hole in the bottom of both.  Hey presto, couldn’t be easier!

I shot a little video right after we got them in place, then again a day later.  I think they are here to stay for the long haul.


With my new hive secure, it was time to pop over and take a look at the next one.  First though, we had to visit some new baby chickens!

20160423_132014


Ok, on to hive number 2.  This one was a bit higher up in the tree.  What do they say, don’t look down?

20160423_134435

This one felt really light and was very rotten.  We got it home and instead of drilling a hole we just pulled the bottom clean off.  We found a small hive, with not much comb.  They must have moved in recently.

20160423_142652

Once again the duct tape came to the rescue.  We didn’t think screwing it down would work well.  Doesn’t that look pretty!?  Time will tell if they stay or not.

20160423_143056


Kukri Restoration

I have been watching a show recently called “Forged in Fire”.  It is a bladesmithing competition reality show that is very much worth watching.  Everyone in it is skilled and helpful and most of the knives and swords produced are works of art.  One episode in particular piqued my interest in the Kukri.  It is sort of a hacking weapon like a machete or short sword, but has a big belly on it for chopping.  It has been used by the Nepali solders (Gurkhas) for ages, and they dismembered enough British solders with them in the early 19th century that the fighters and their swords grew quite a reputation.

As it would happen a coworker turned me onto a site that bought a Nepali palace’s entire armory.  There was stuff stored in there from all different ages that never got used.  This included 19th century Kukris that were packed in grease and forgotten.  A good friend and I went in together to purchase two and restore them.

100+ years has left them pretty pitted in places, but over all in decent shape considering the age.  The one picture shows a greasy thumb print from someone handling them before they went into storage.

Our first job was to cut through a lot of the remaining grease and gunk.  WD40 and steel wool got through with a lot of elbow grease.

DSC_0175

The staining was deep and didn’t come up with steel wool so I moved on to a brass wire wheel on my bench grinder.  It was slow work, but after a while you could see a lot of the pitting cleaned up and the staining faded.

DSC_0178

We switched from the brass wheel to a buffing wheel with coarse emory polishing compound.  It helped the luster, but didn’t do much to the remaining staining.  Maybe a heavy sanding is what we needed to start with.  They aren’t polished to a mirror finish, but neither is the surface completely dull.  The letter on the spine looks great.

My blade had a decent chip taken out of the center of the belly.  I spent some time on the bench grinder trying to grind past it.  I got part of the way there, but didn’t want to dramatically change the shape of the blade.  I am not an expert in this.  Both went to my work sharp belt grinder to get a battle ready edge.

DSC_0180

Now to test them.  You can’t just refinish a blade like this and not put it to good (bad?) use.  It is time to make some fruit suffer!  I picked up a watermelon and some coconuts just for this test.  Pictures don’t do it justice, so we shot some video.

Frame Saw – Giant Hack Saw

Paul Sellers has a really great video on making your own frame saw from a band saw blade or blades available specifically for frame saws.  It is a wonderful project that can be done with a minimal amount of tools and material.

DSC_0154

I started with a metal bandsaw blade and a few pieces of scrap oak I had around.  Typical hack saw blades are only 12″ long.  This one is going to be 18″.  The extra length should translate to a much faster more comfortable cut.  I will also have a lot more fine control on blade tension vs a normal hack saw.

DSC_0143

DSC_0144

The shorter pieces will make an upright and the long piece will act as a pivot bar in the center.  The uprights got a small set of mortises with a rounded relief to let the pivot bar do its pivoting!  The bar got a matching tenon on each end with a rounded section.  I did the round with a few saw cuts to get it close, then finished with a rasp.

When I got those fitting reasonably well I moved on to the bottom.  A saw cut will let the band saw blade in, and a hole set 3/4 of the way over will accept a nail to hold the blade in place.

DSC_0149

To hold the string I cut a small notch down, then used a chisel to sculpt both sides into that saw cut.  Once roughed in I pulled out the ole spokeshave and went to town.  What a fun tool to use.  It can be hard to see in the picture, but I did a lot of subtle shaping on the handle side.  Being able to hold it, then shape, then hold again is a fast way to make a part like this fit you really well in a short amount of time.

DSC_0151

DSC_0152

When everything was rounded I assembled, tensioned the bow by twisting the strings with another small scrap of oak, and tried it out on a bar of steel I had around.  Very nice!  The saw is light and well balanced, and the 18 inches of length meant I could really get into the cut without having to hold back.

DSC_0153

Next time I will work harder on making the rounds at the mortise/tenon joint more consistent, but otherwise I am very happy with this.  With testing done, I disassembled it, coated everything with BLO, and reassembled when dry.  The first picture of this post shows the saw with finished and in a low tension storage state.

Hive Ester II is Dead

We aren’t doing very good at this whole beekeeping thing.  We checked our hive just over a week ago.  They showed some signs of mite issues, but otherwise were laying a lot of brood and had a decent looking population.  Today they are nearly all gone.  I bagged and sealed up the frames and left them in the yard.  We are having some pretty harsh sun which should kill the small hive beetle larva and other nasties that were starting to take hold.

20160405_160303

I am very seriously considering getting rid of these frames and starting over again.  It is horrible to see, but below is a picture of one of the brood frames.  Poor little girls.


20160405_154752

Stop Loss Bag Jig

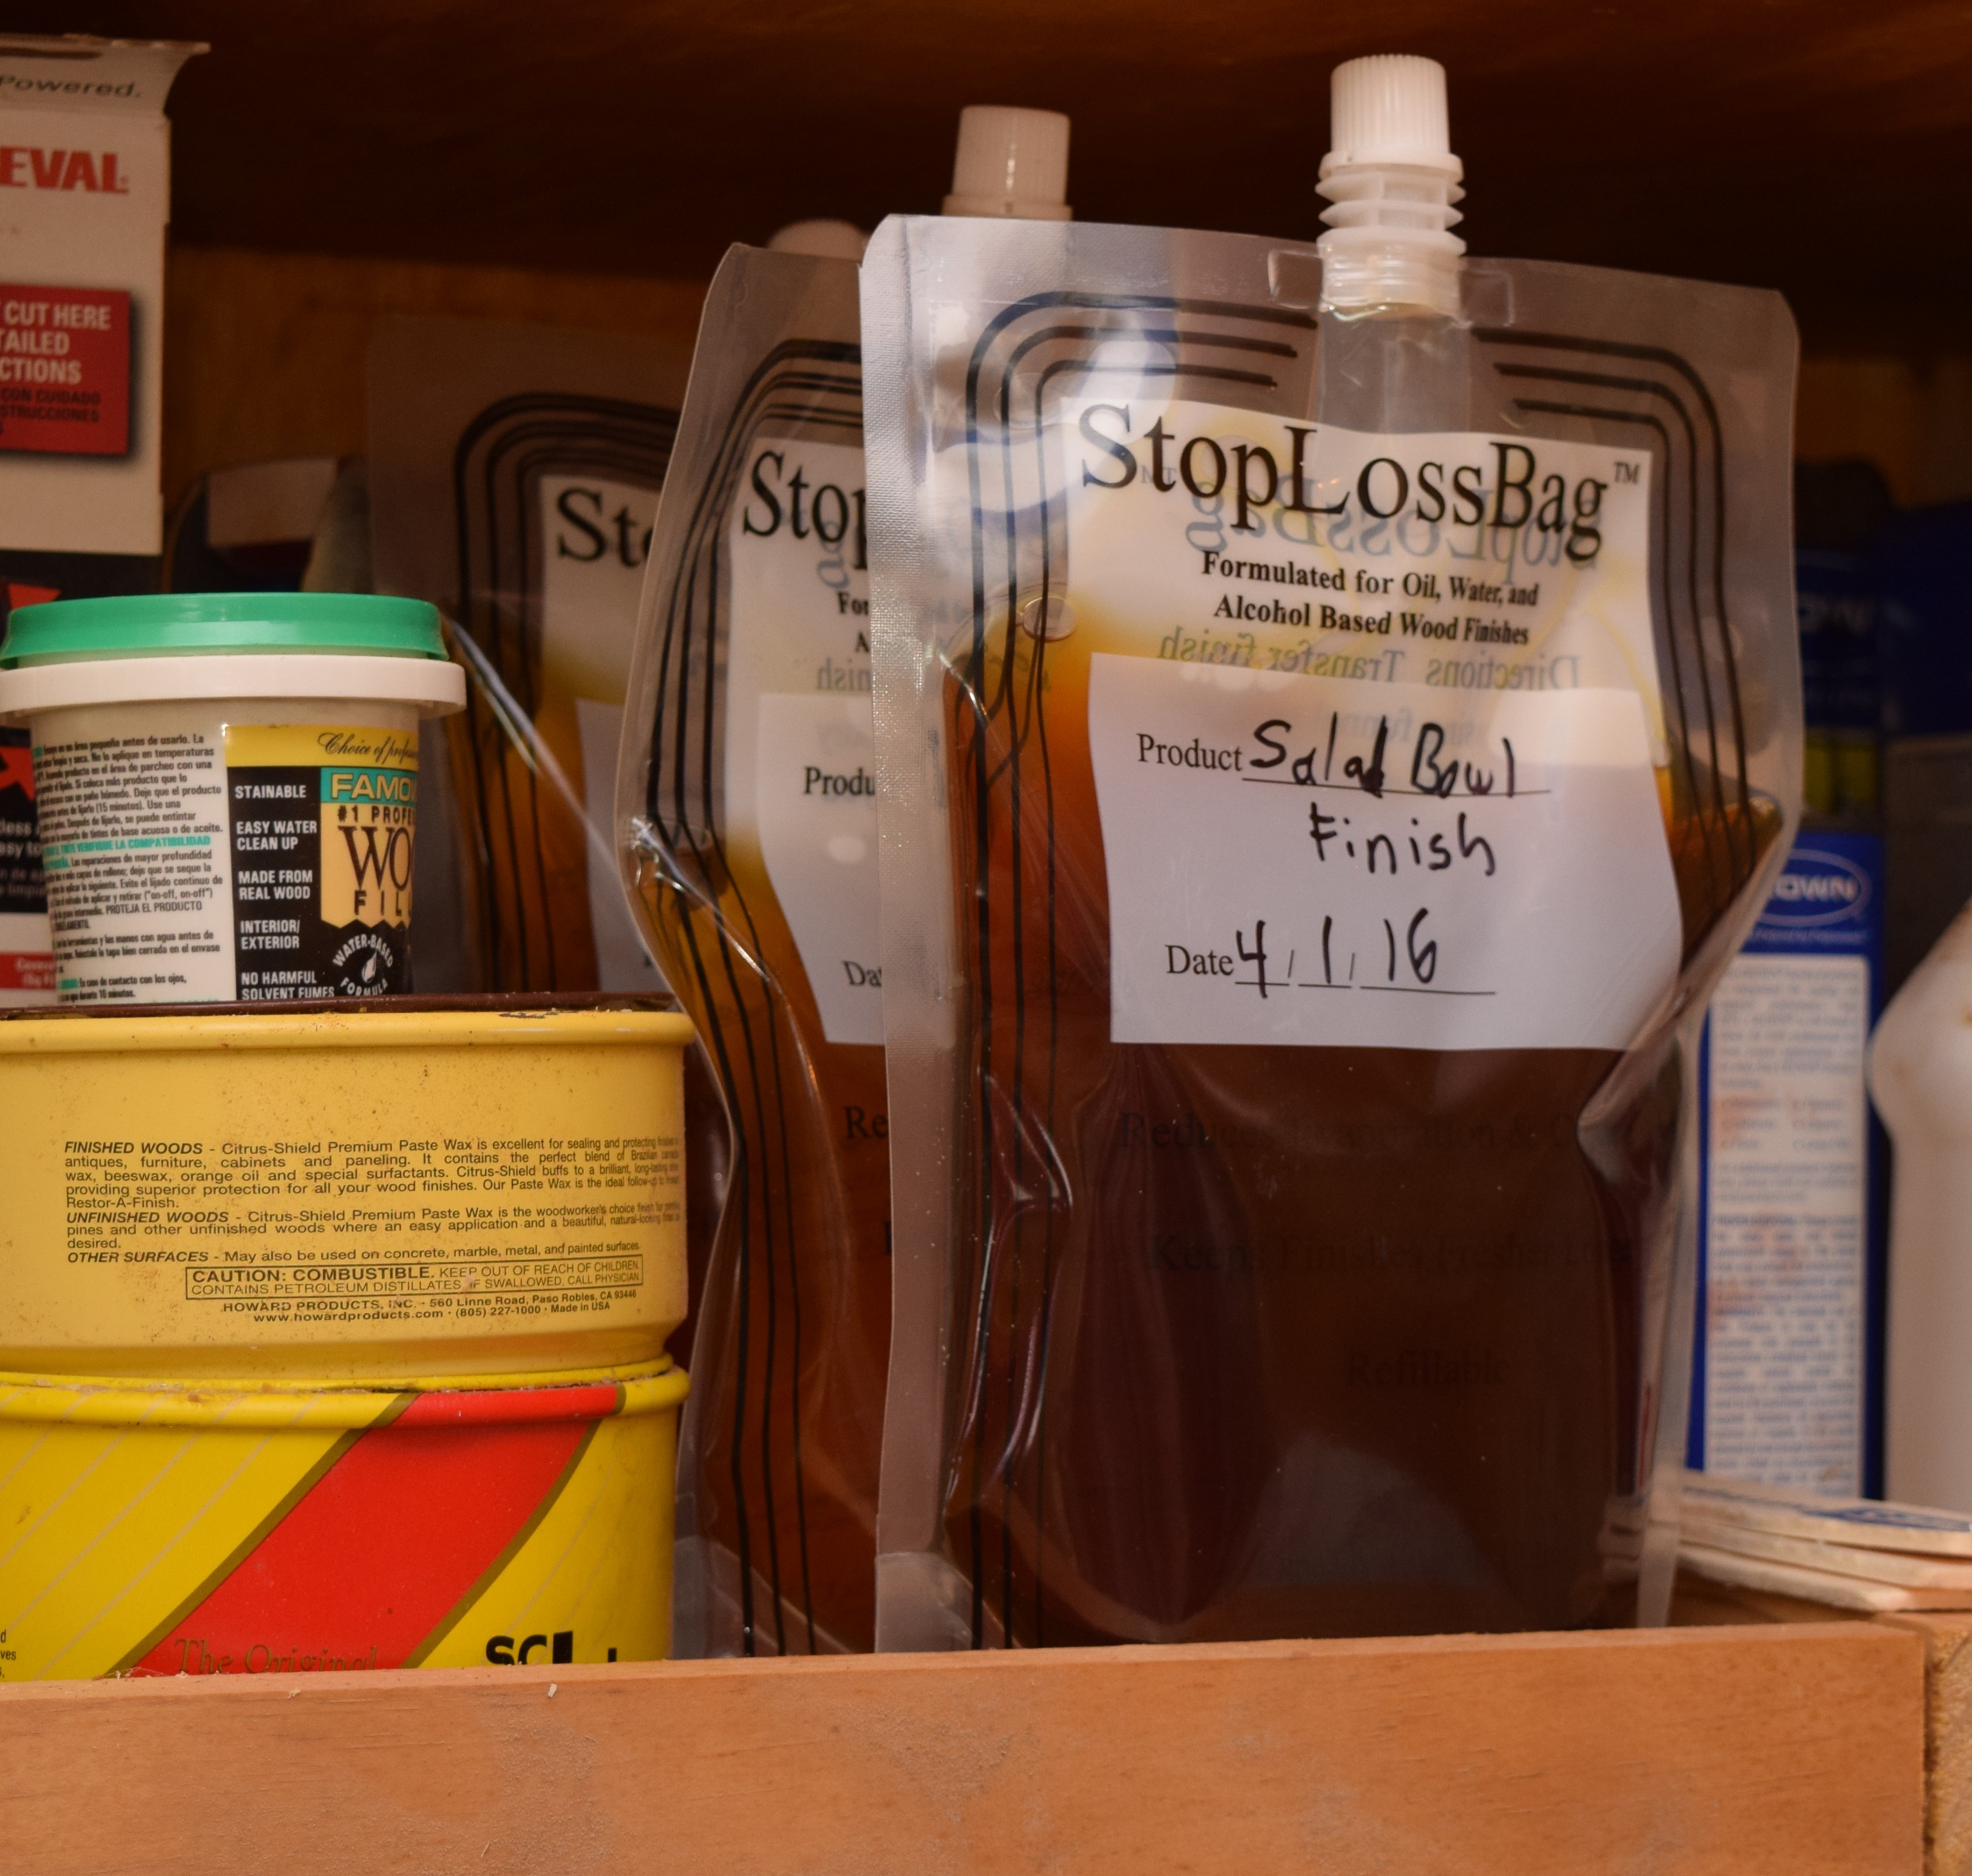
I never intended to do any reviews when I made this blog, but I have picked up a few things recently that I feel warrant some ranting and raving.  This is only half of that.  I have been moving away from new finishes like polyurethane, and towards older finishes like tung oil and shellac.  The problem is some of them spoil easily if not stored properly.  That is where stop loss bags come in.  You can fill them up and push all the air out every time you use them.

Filling is a bit of a problem though, they don’t stand up on their own when empty, and are pretty floppy even once filled.  Buying the bags gets you free plans for a funnel and turkey baster stand.  To fill, you push this tubing thing on your bag and a funnel and sit in the stand.

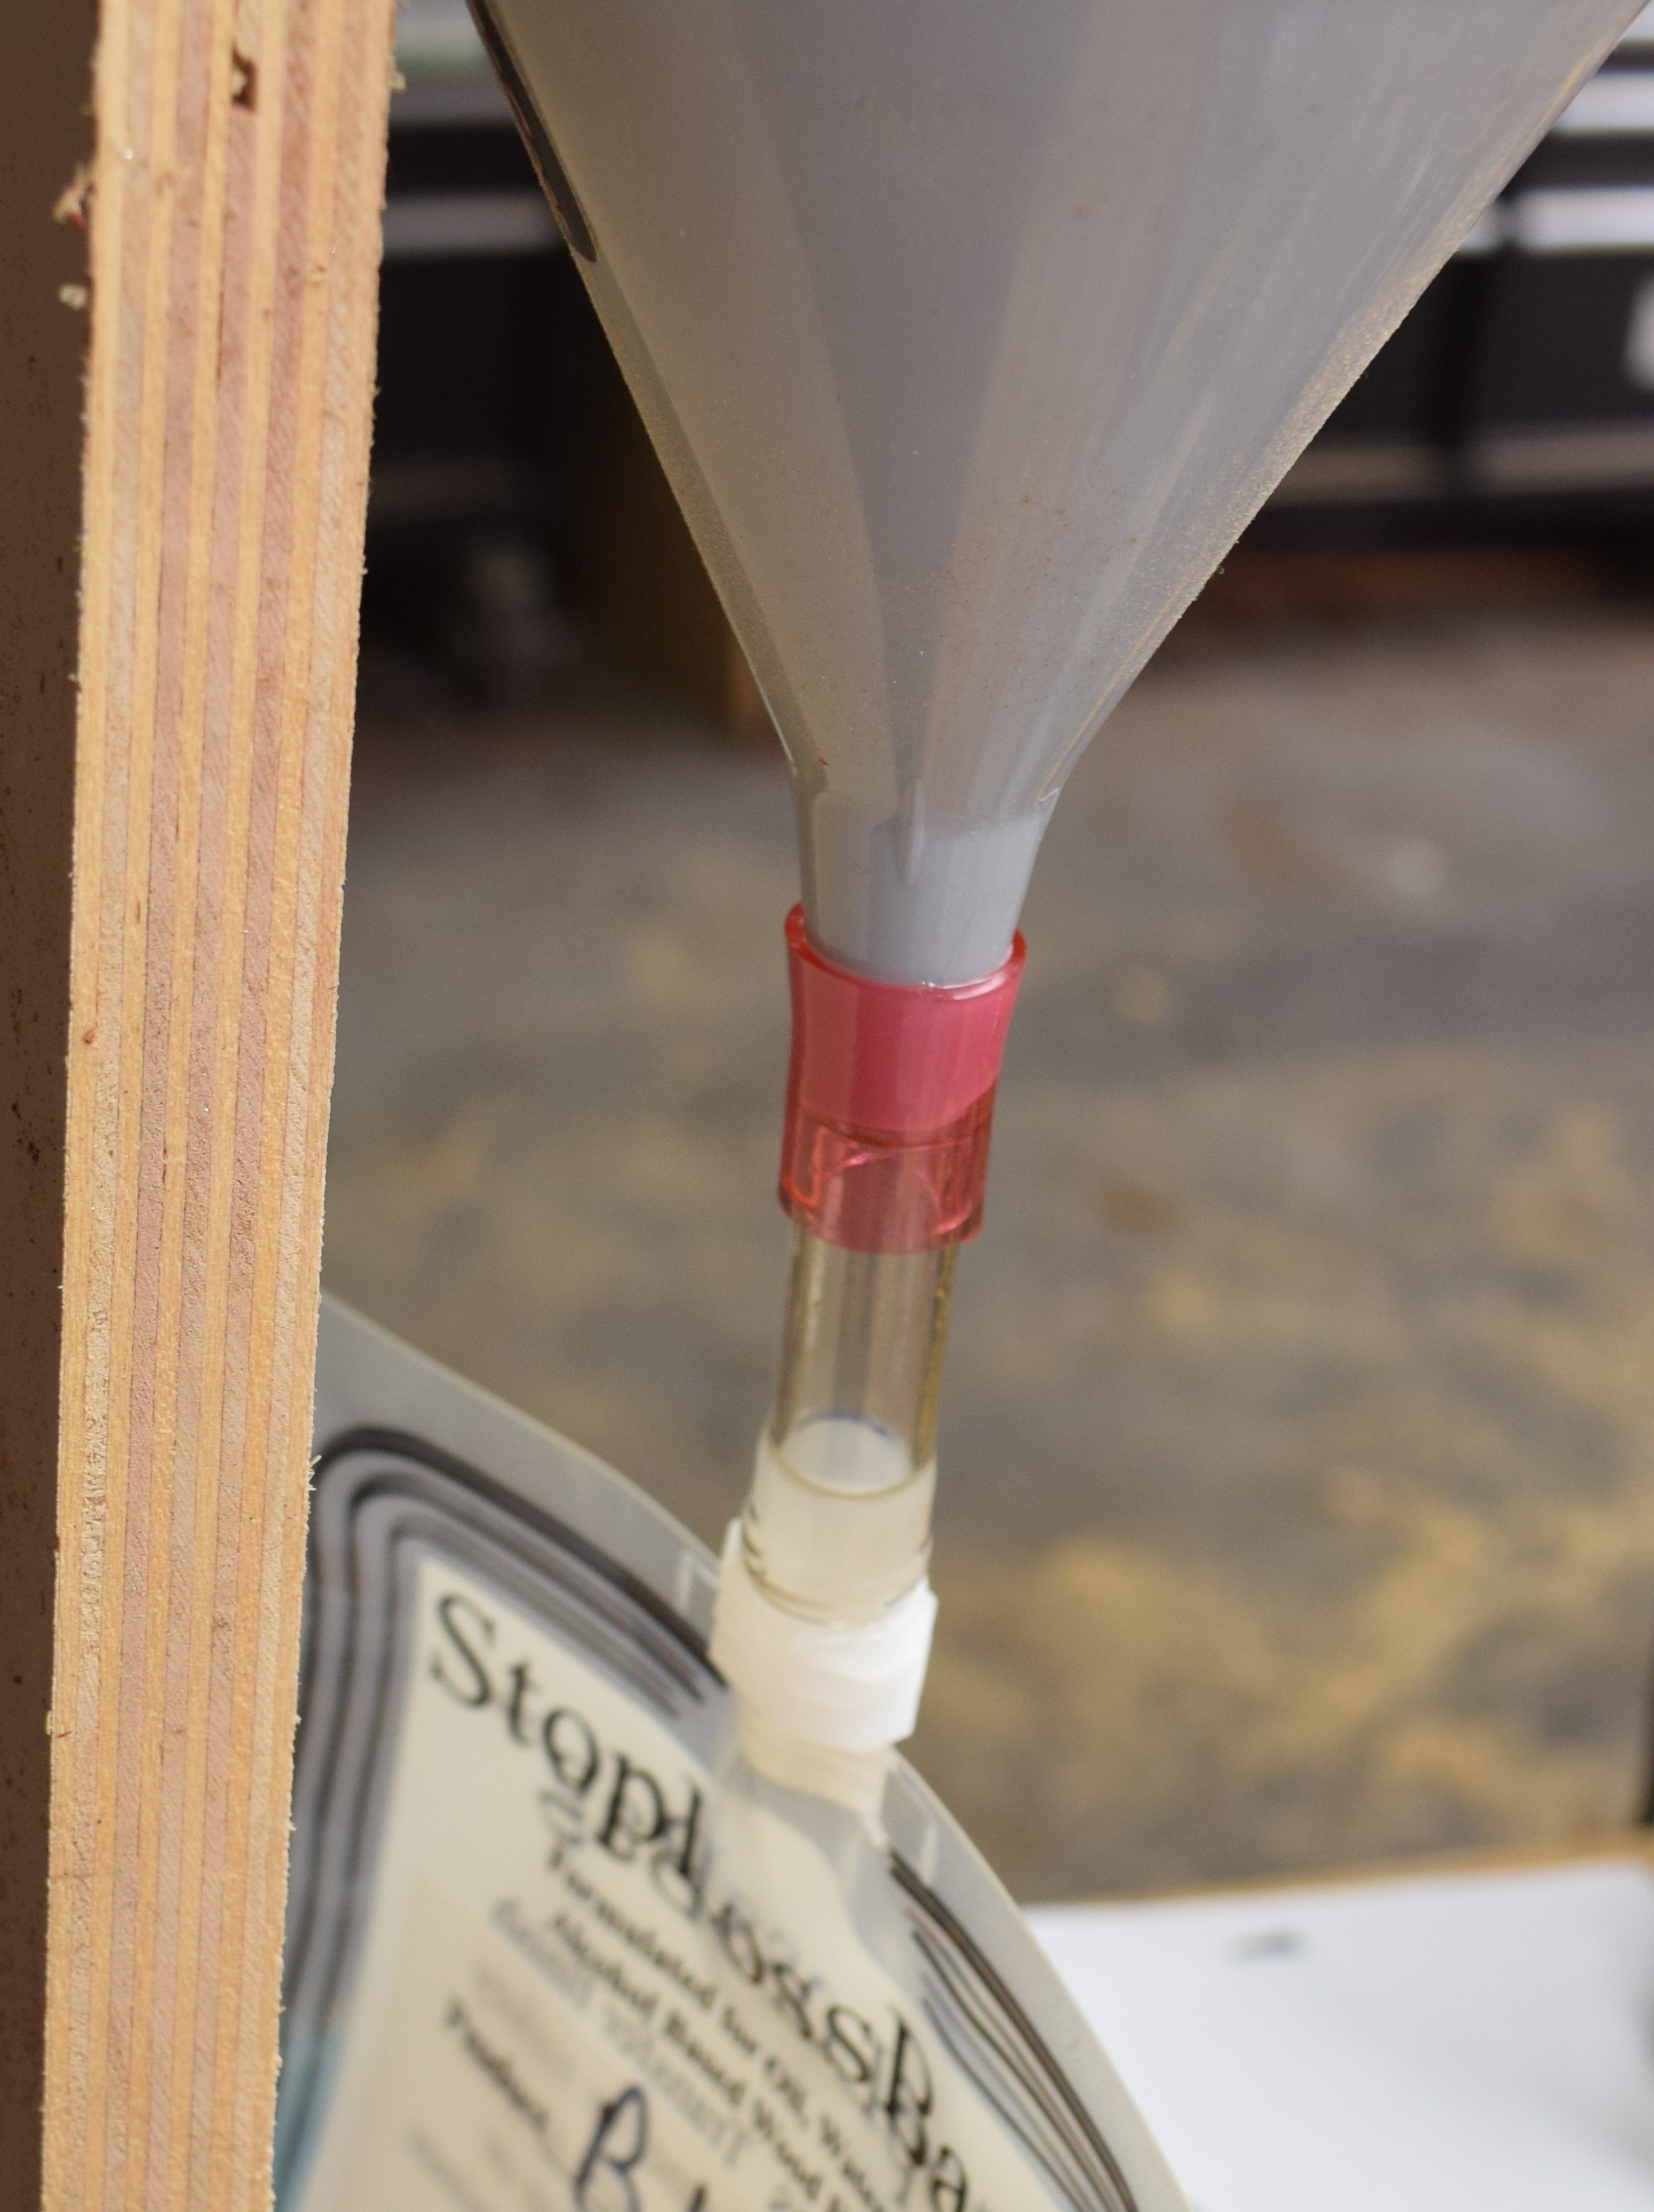
The filling is fine, but I am honestly going to use this thing a few times a year at best.  I hate having a thing around that rarely gets used and takes up space.  Instead I took a small funnel and screwed the holding tab into a board.

I clamped the board in my front vise and adjusted the height until the bag was at a good level.  This worked out really well.  Any board will do, and you can throw it back on the scrap pile when done.  Don’t bother with the jig, do this.

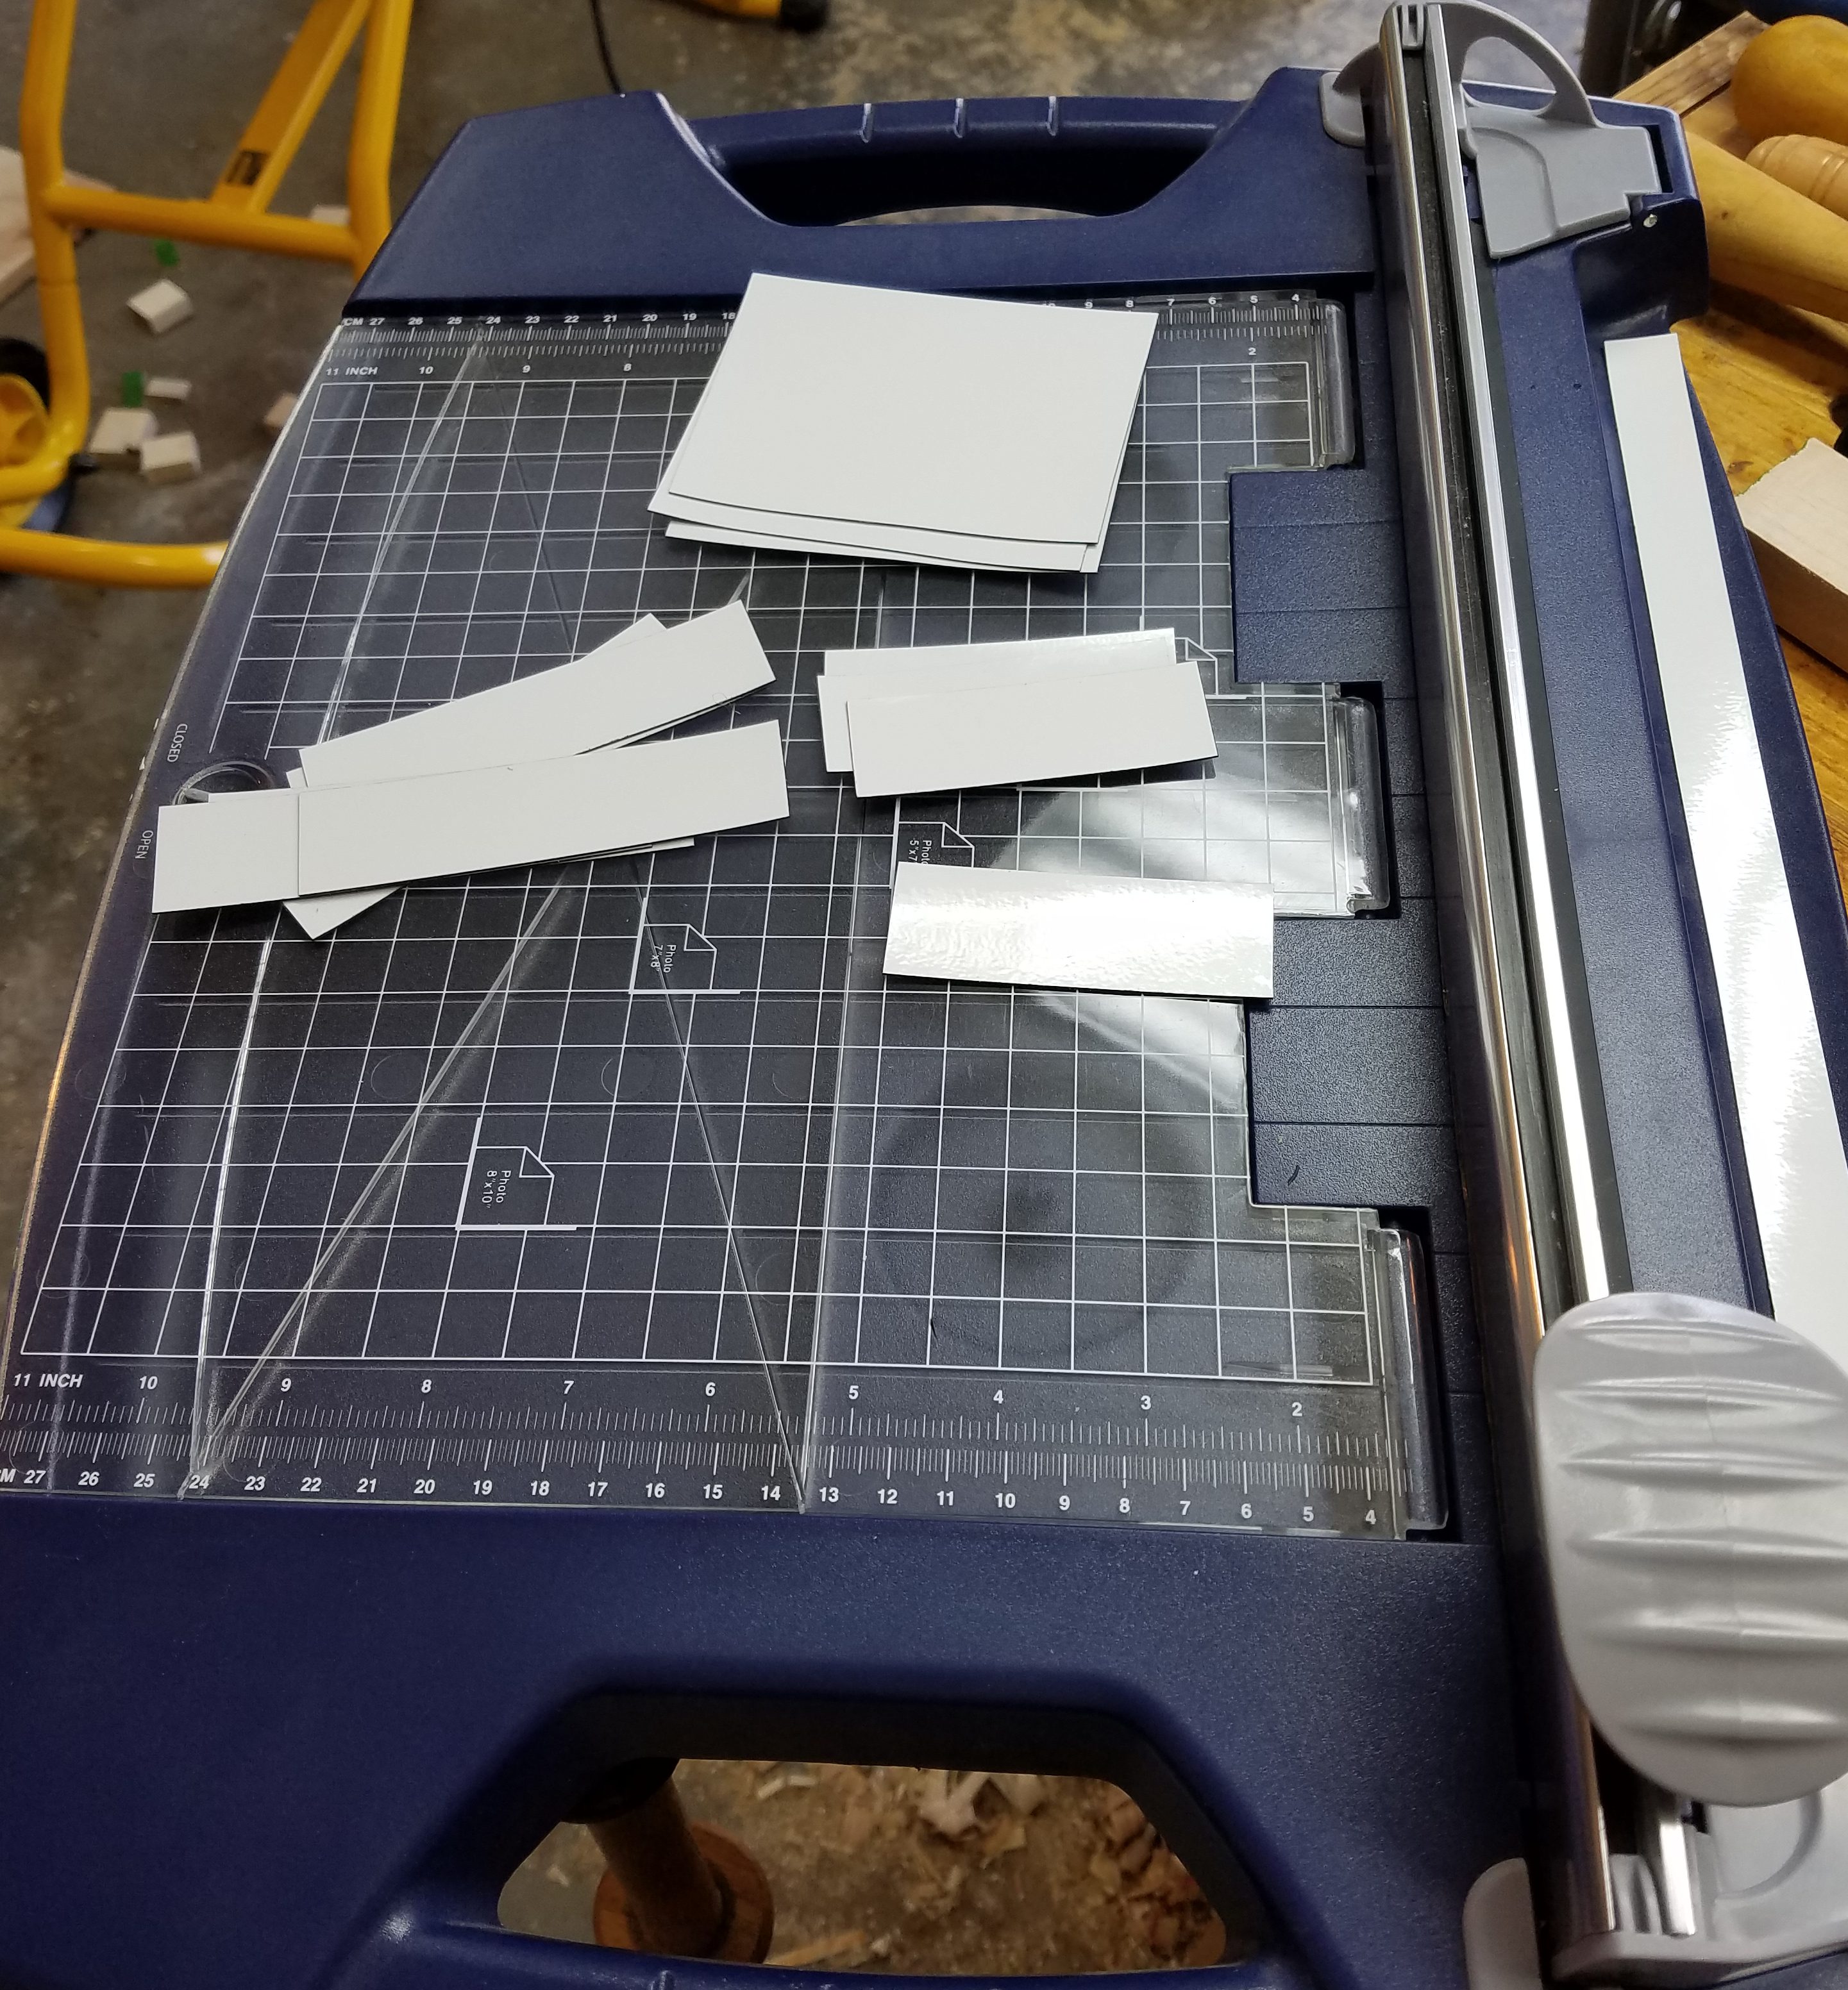
Off we were to the races until the bag started to slip off.  It turns out the clear tube should go over the bag, and the red part should go over the funnel.  Oops!  The picture below is the proper setup.

DSC_0131

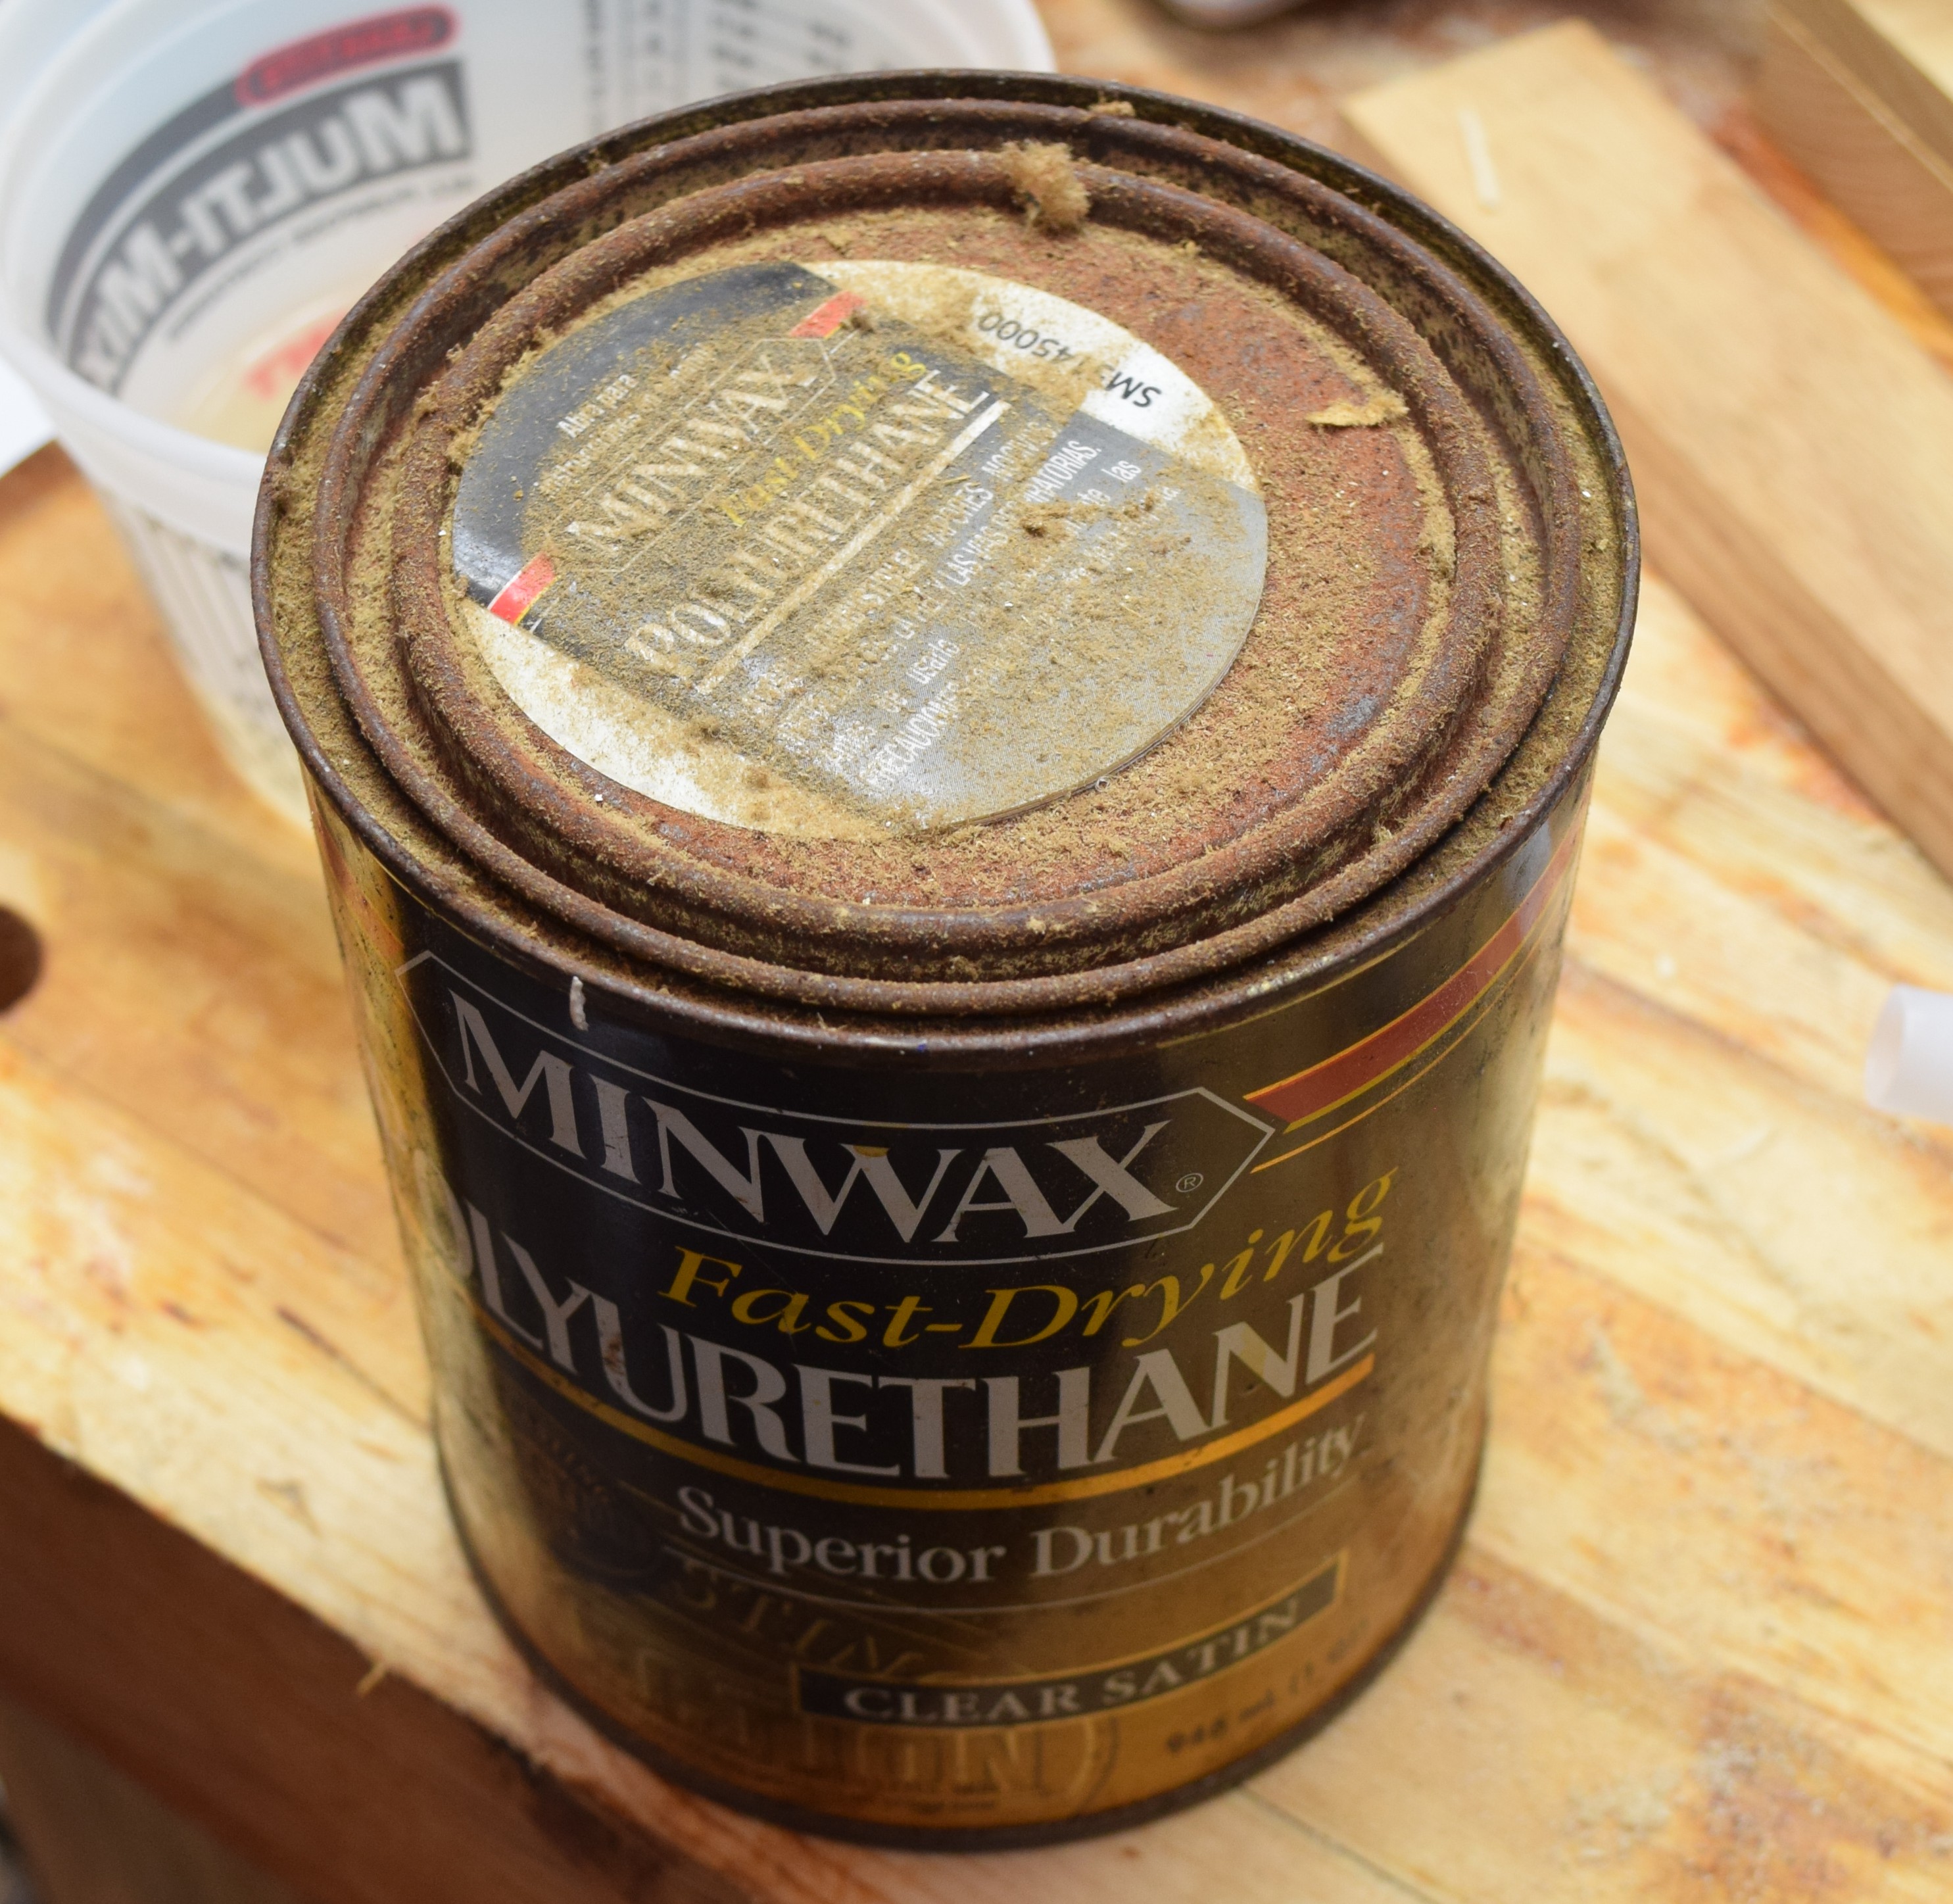
Getting the air out involves an awkward squeeze and screw on of the top.  It does stand up reasonably well once past about half full, and pouring has been easy.  I went into my boiled linseed oil bag twice so far and both times I found it easy to do a controlled pour.  Time will tell if these are a keeper or not.  Over all I find them a little finicky, but worth the effort.  They help me get rid of rotten rusty cans like this one, and stack nicely in my finishing cabinet.

DSC_0132

DSC_0133

Conclusion:

Filling is a bit finicky, but very doable with help of a single board.  Long term storage remains to be seen, but he principle seems sound.  Labeling is easy.  Pouring is a big bonus that I hadn’t thought about.  I hate pouring out of cans, you always gunk up the rim.  Even the big upright tins get the finish all over the threads.  The difficulty of pouring finish back in is also kind of a feature, you shouldn’t be doing it.  I want to start using a lot more tung oil and varnish, and this should facilitate!

Giant Jenga

A few weeks ago a friend of mine asked for help making a giant jenga game.  It sounded like a lot of sanding, luckily I could make him do that part!  Step 1, acquire a lot of 2x4s and plywood to make a box.

DSC_0090

Now, cut a minimum of 72 10.5″ sections.  We cut a few extra 2x4s so we could be choosy and kick out ones with bad knots or dings.

The stack up comes out to 3 feet tall.  It is the equivalent of eight 8 foot 2x4s.  That is a lot of weight.  How about a box to move it around?  Stacking them 6 wide gives a box that is more or less square in width and height.  It should be a good dimension for picking up and transport.  We used pocket holes to tie it all together.

Once the box was assembled the moment of truth came.  Would it all fit?  I left a 1/2″ in length so the wouldn’t get bound up coming out of the box, and added an inch in width to help get fingers in for pulling them out.  It worked well, you can comfortably stack 3 wide at a time from the tower to the box.

Best of all, the box fits perfectly in the back of his hatch back.  It is heavy enough to require two people to haul across any distance, but it is a good size for one person to carry for a short bit.

DSC_0109