Bandsaw Lighting

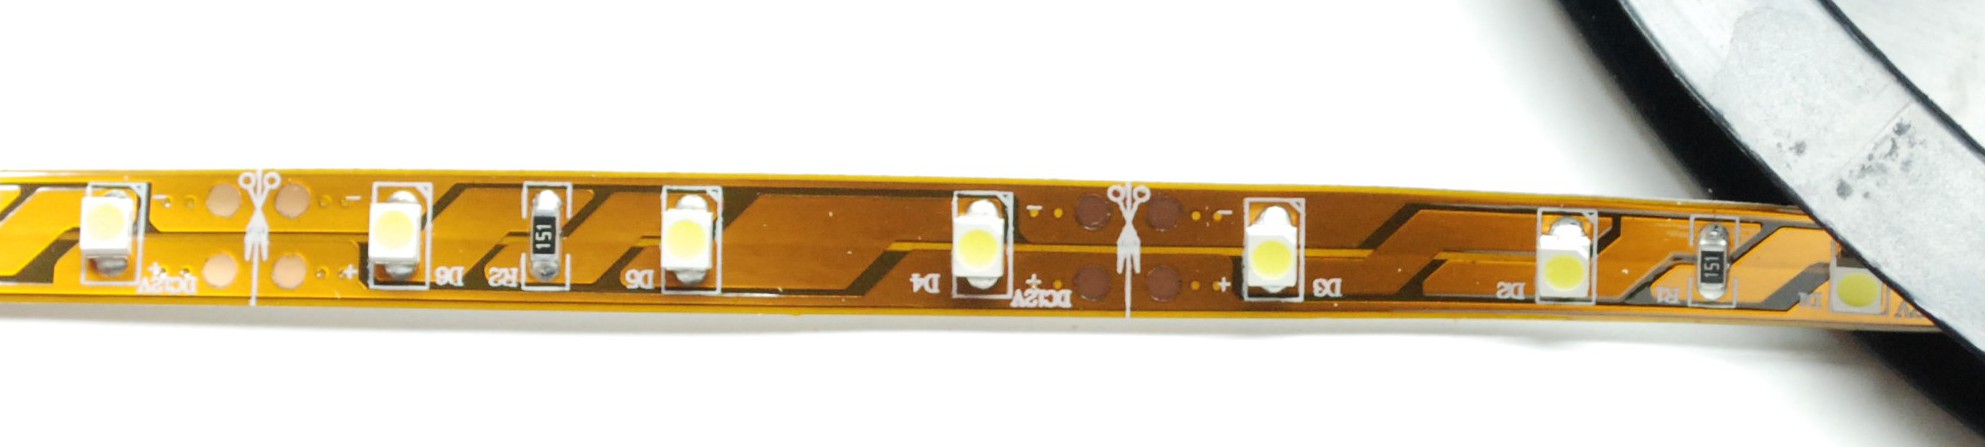
My drill press lighting scheme worked out really well and I have other tools that could use a helping light.  Enter a few useful items.  1.  Is a pair of car accent headlight strips (7 bucks for the pair and super bright)  2.  Inline switch  3.  12v power supply.  All told, about 20 bucks of stuff.  DSC_0433

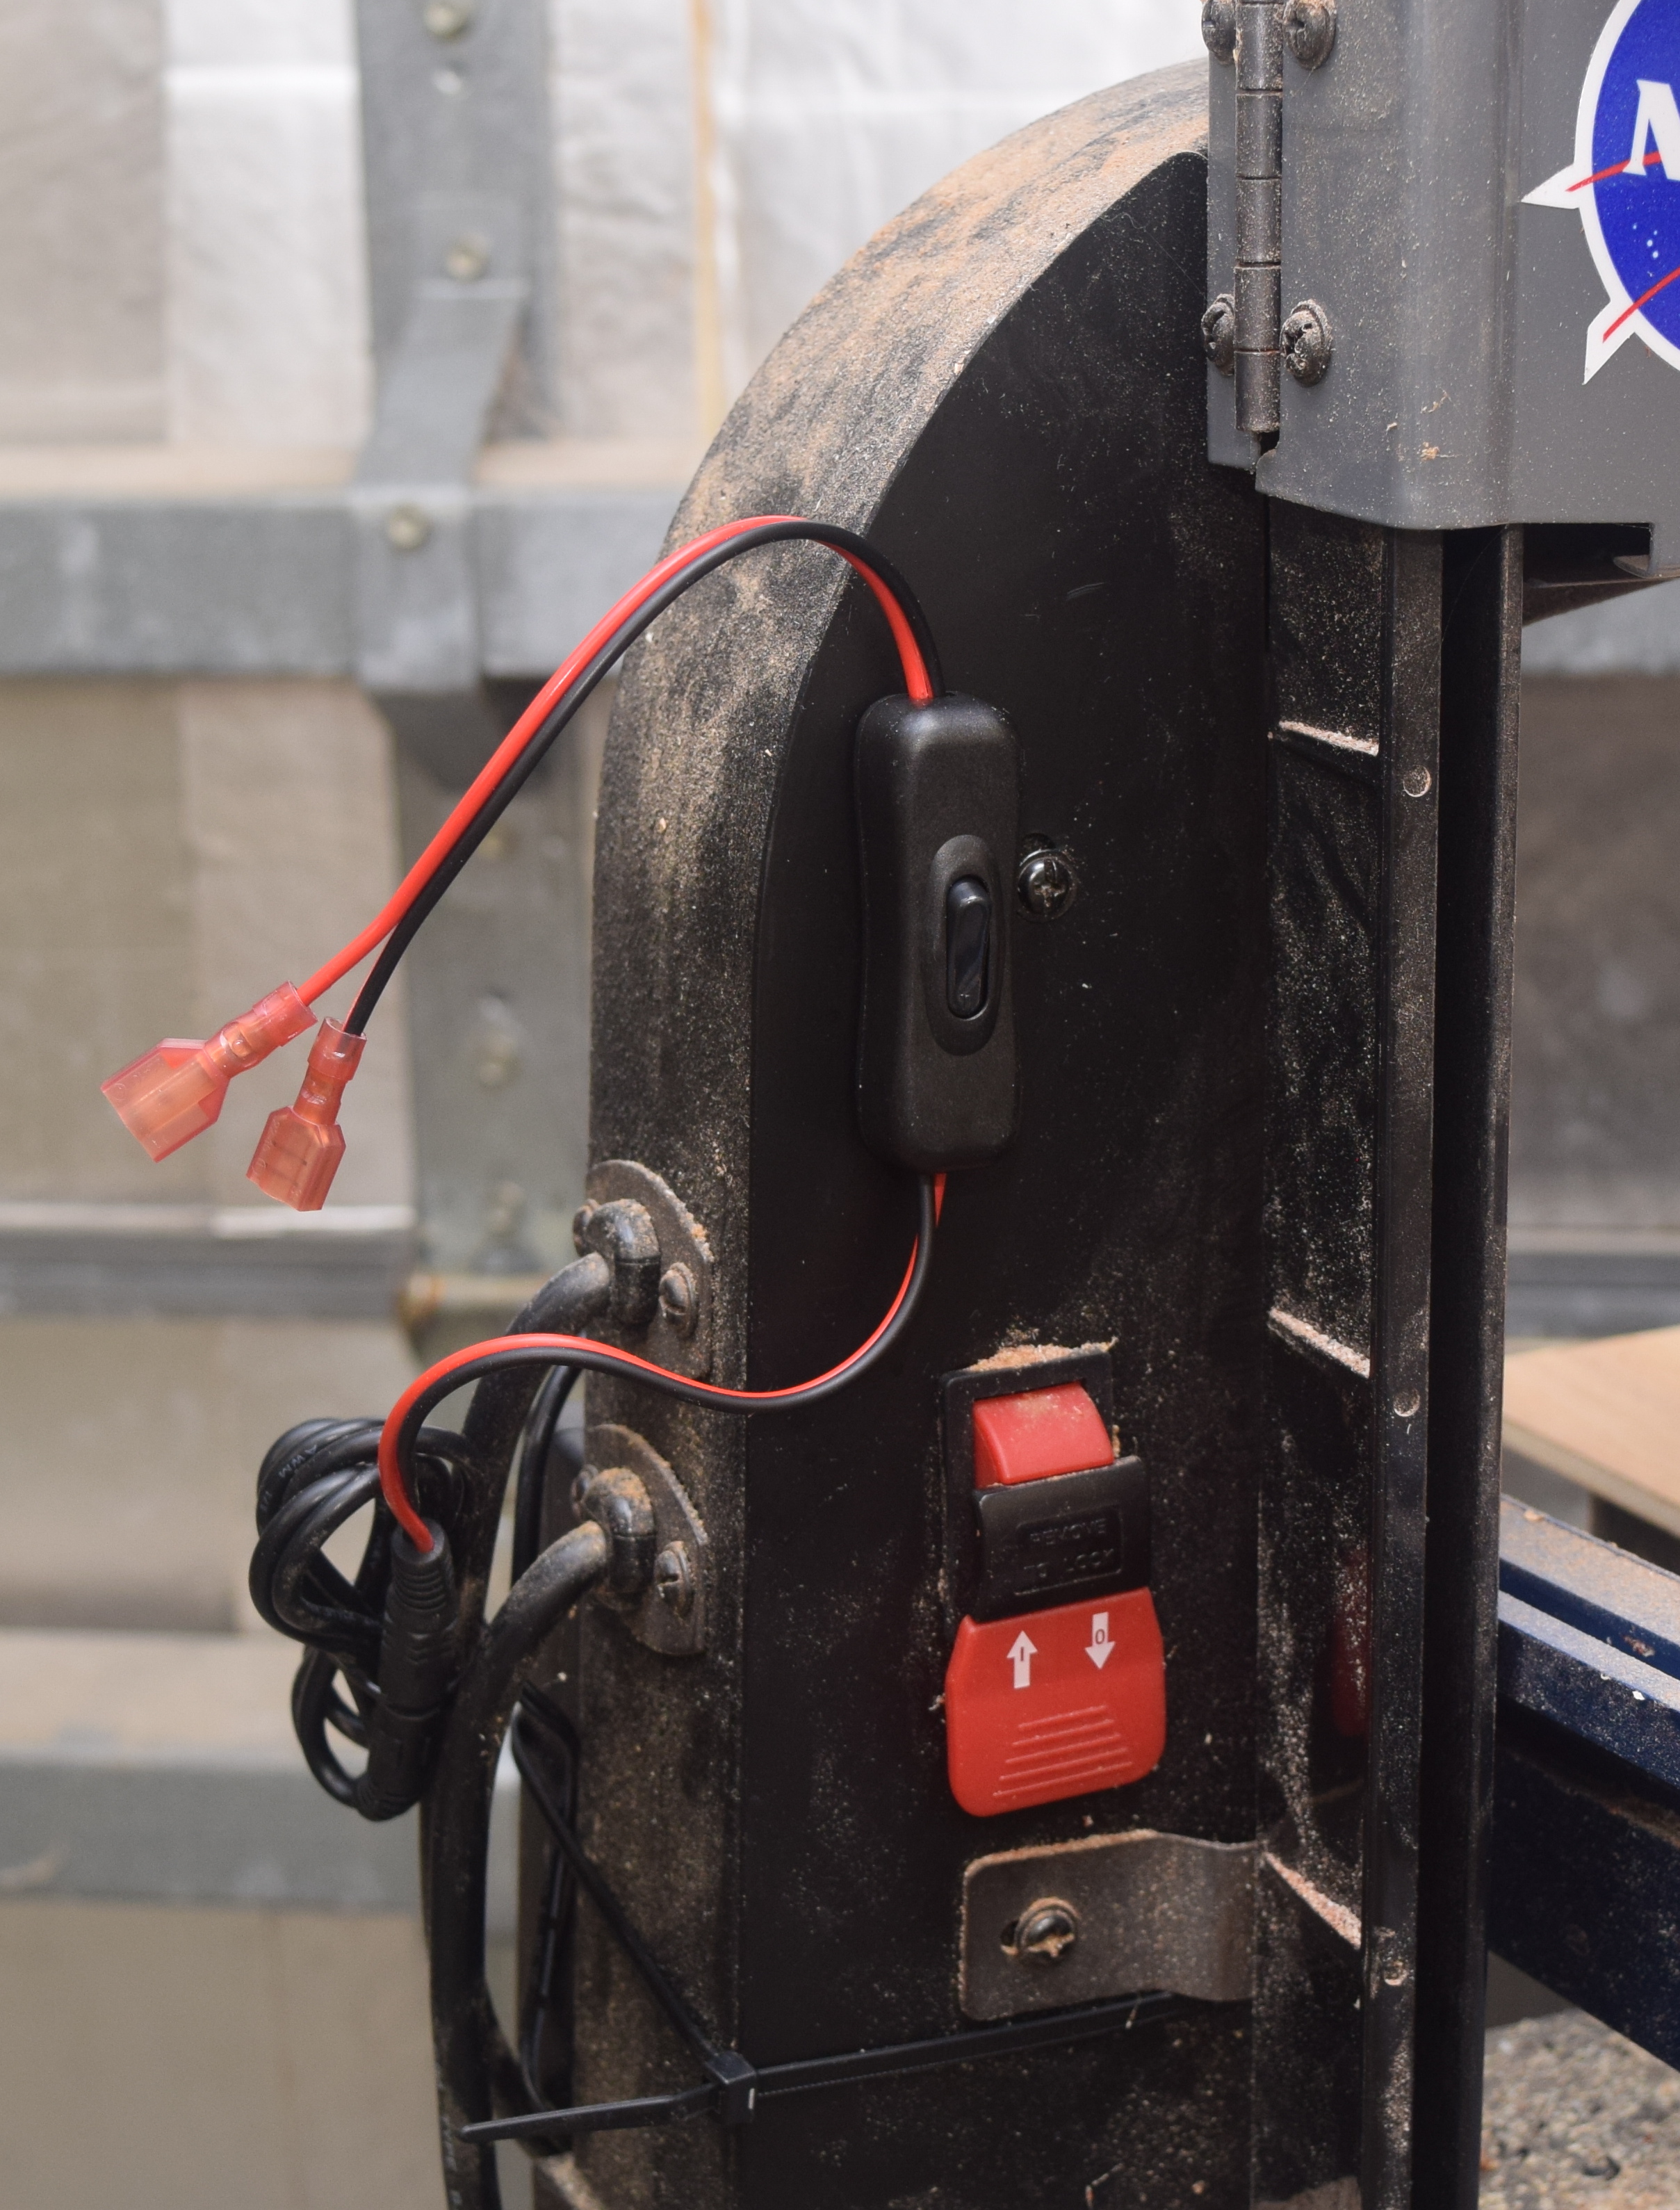
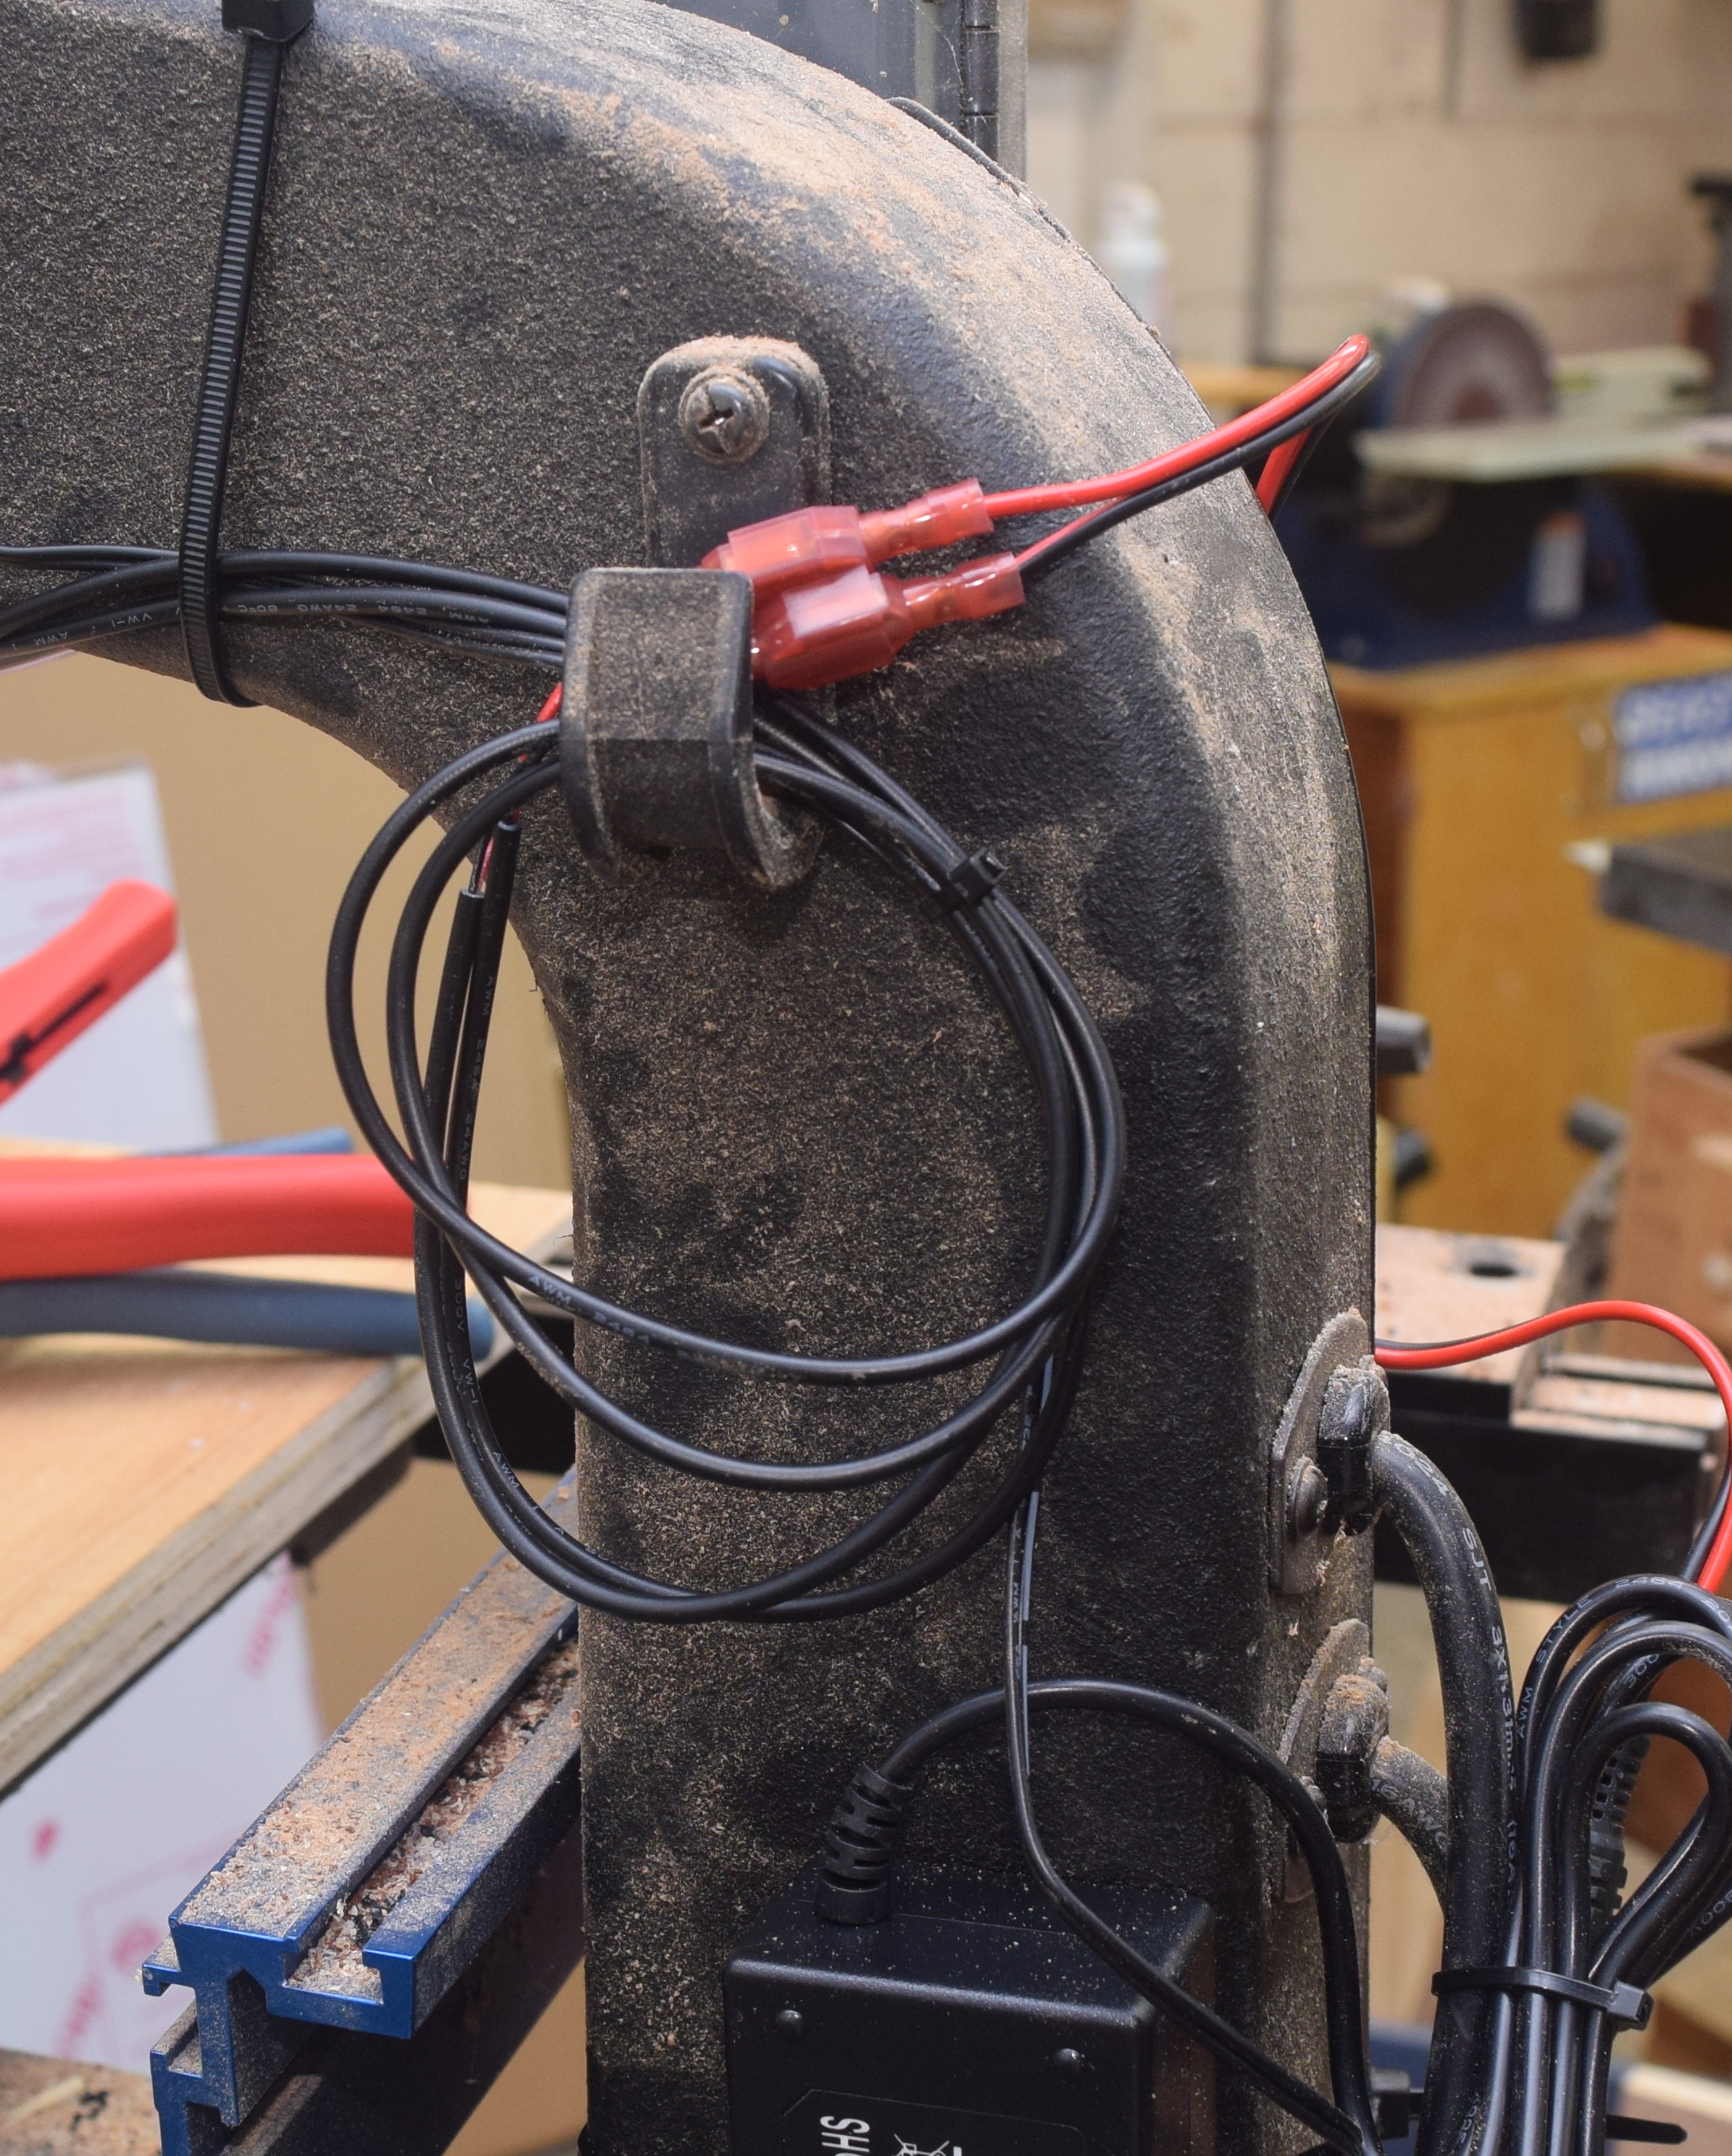
I started by zip tying the power brick to the back side of the bandsaw housing.  Make sure all the cables and zip ties are in places that won’t get snagged by wood passing through the bandsaw.

DSC_0434

I used some 3M VHB tape to stick the switch to the front of the machine within easy reach of the tool’s power switch.  VHB tape is a bit pricy, but really good stuff if you need something to stick and stay stuck.

DSC_0435
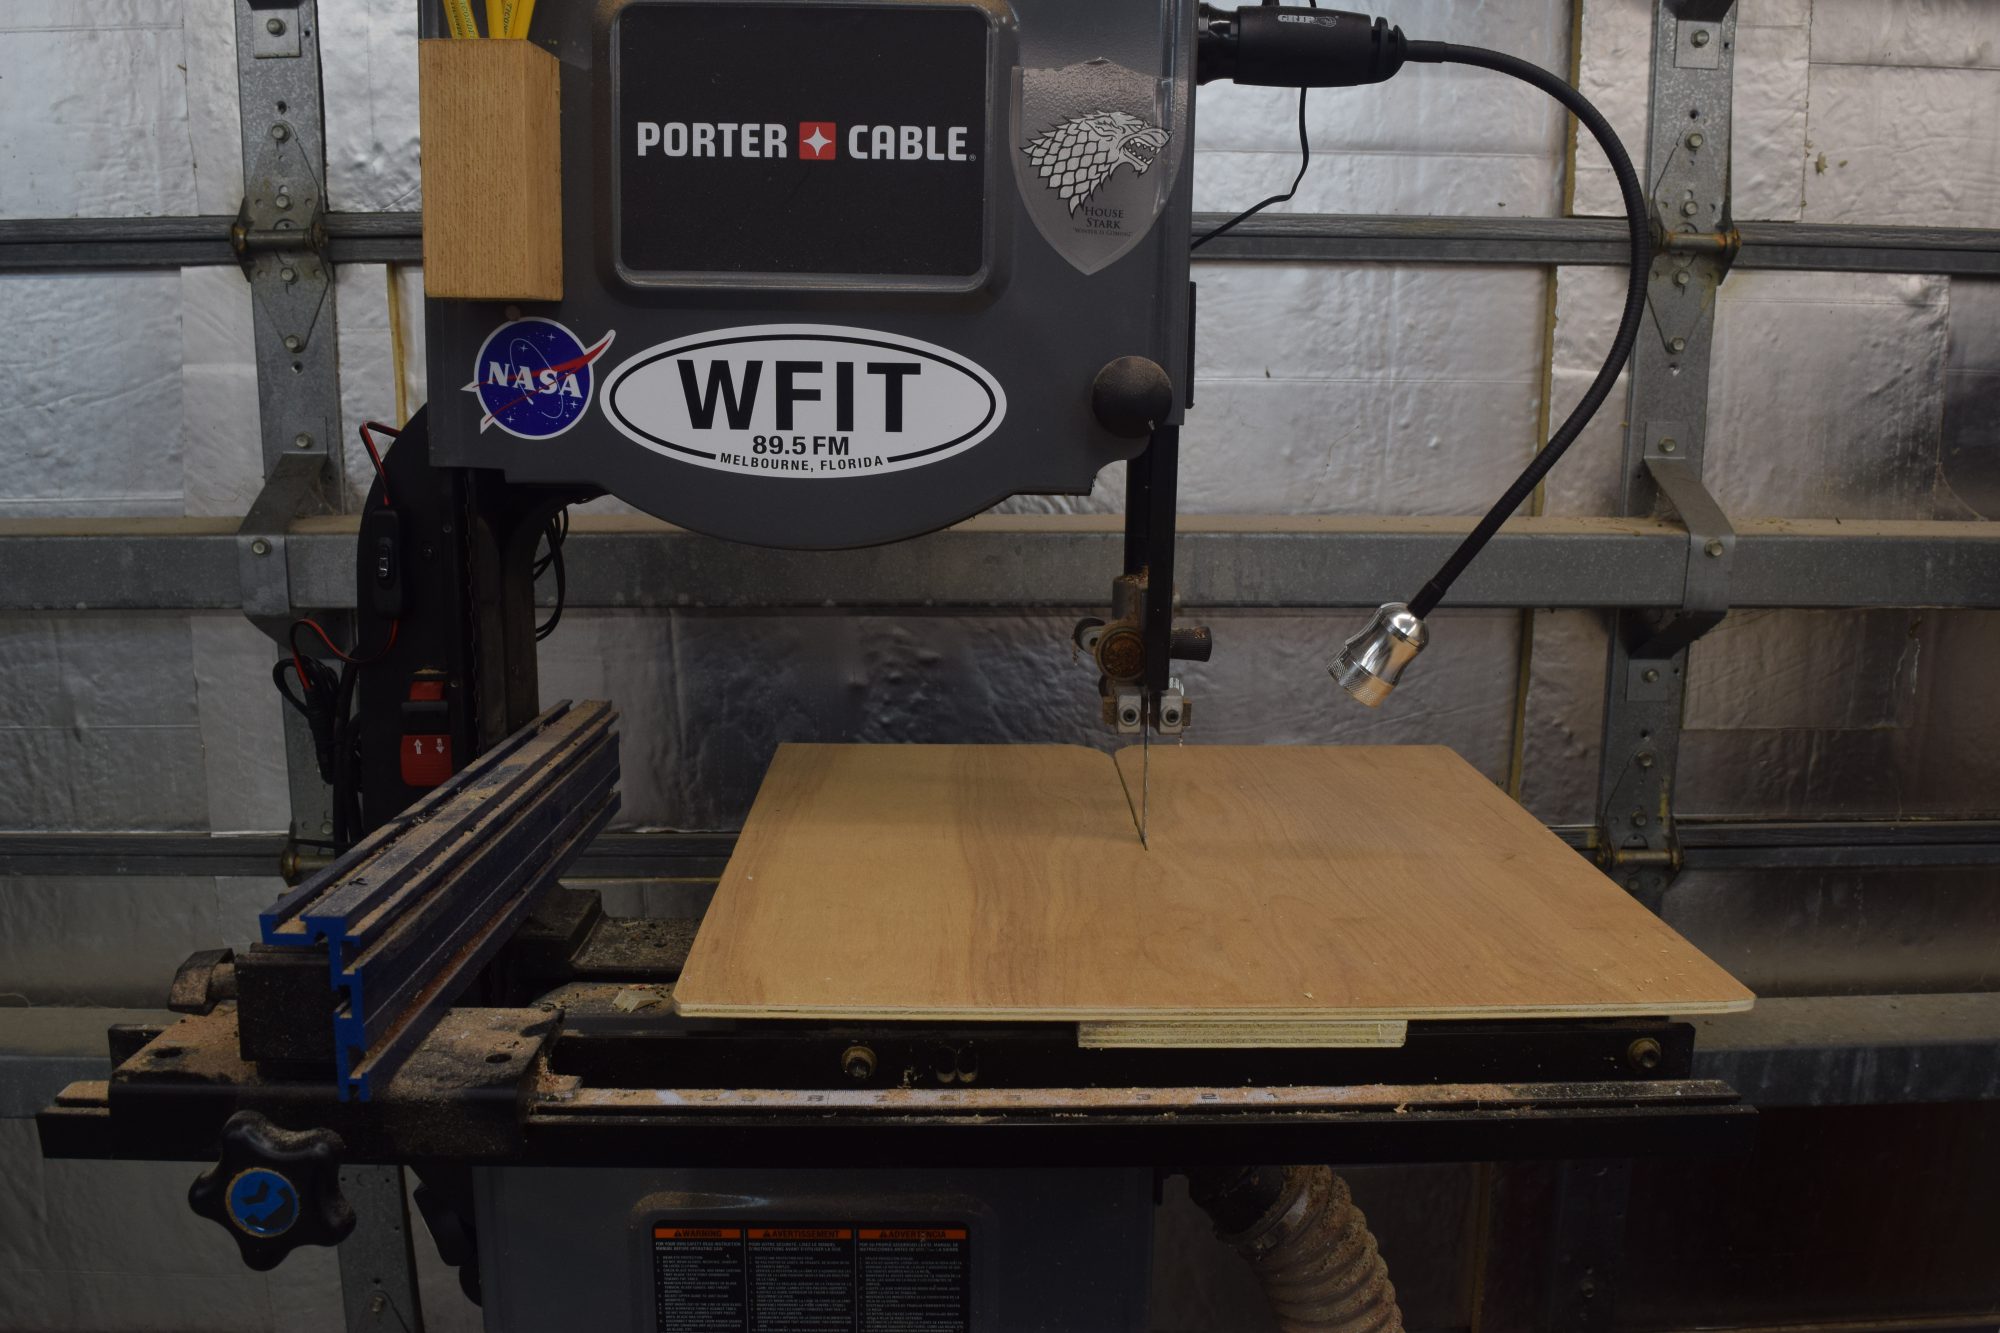
The light strips fit nicely under the top section of the cast band saw structure.  The strips came with some basic double stick foam tape.  For now they are sticking ok, but the cast housing is rather rough, so I expect they will need additional shoring up after a bit of Florida summer gets to them.

DSC_0436

All the lighting wiring comes to this point behind the switch.  I tied the two lights together and connectorized them to the switch.  I used a lot of zip ties to keep all the wires out of the wood aperture, and I think it was pretty successful.

DSC_0437

I had a goose necklight already installed from a while back.  It does an ok job, but with the new lighting strips everything is really nice and bright when working on the bandsaw.
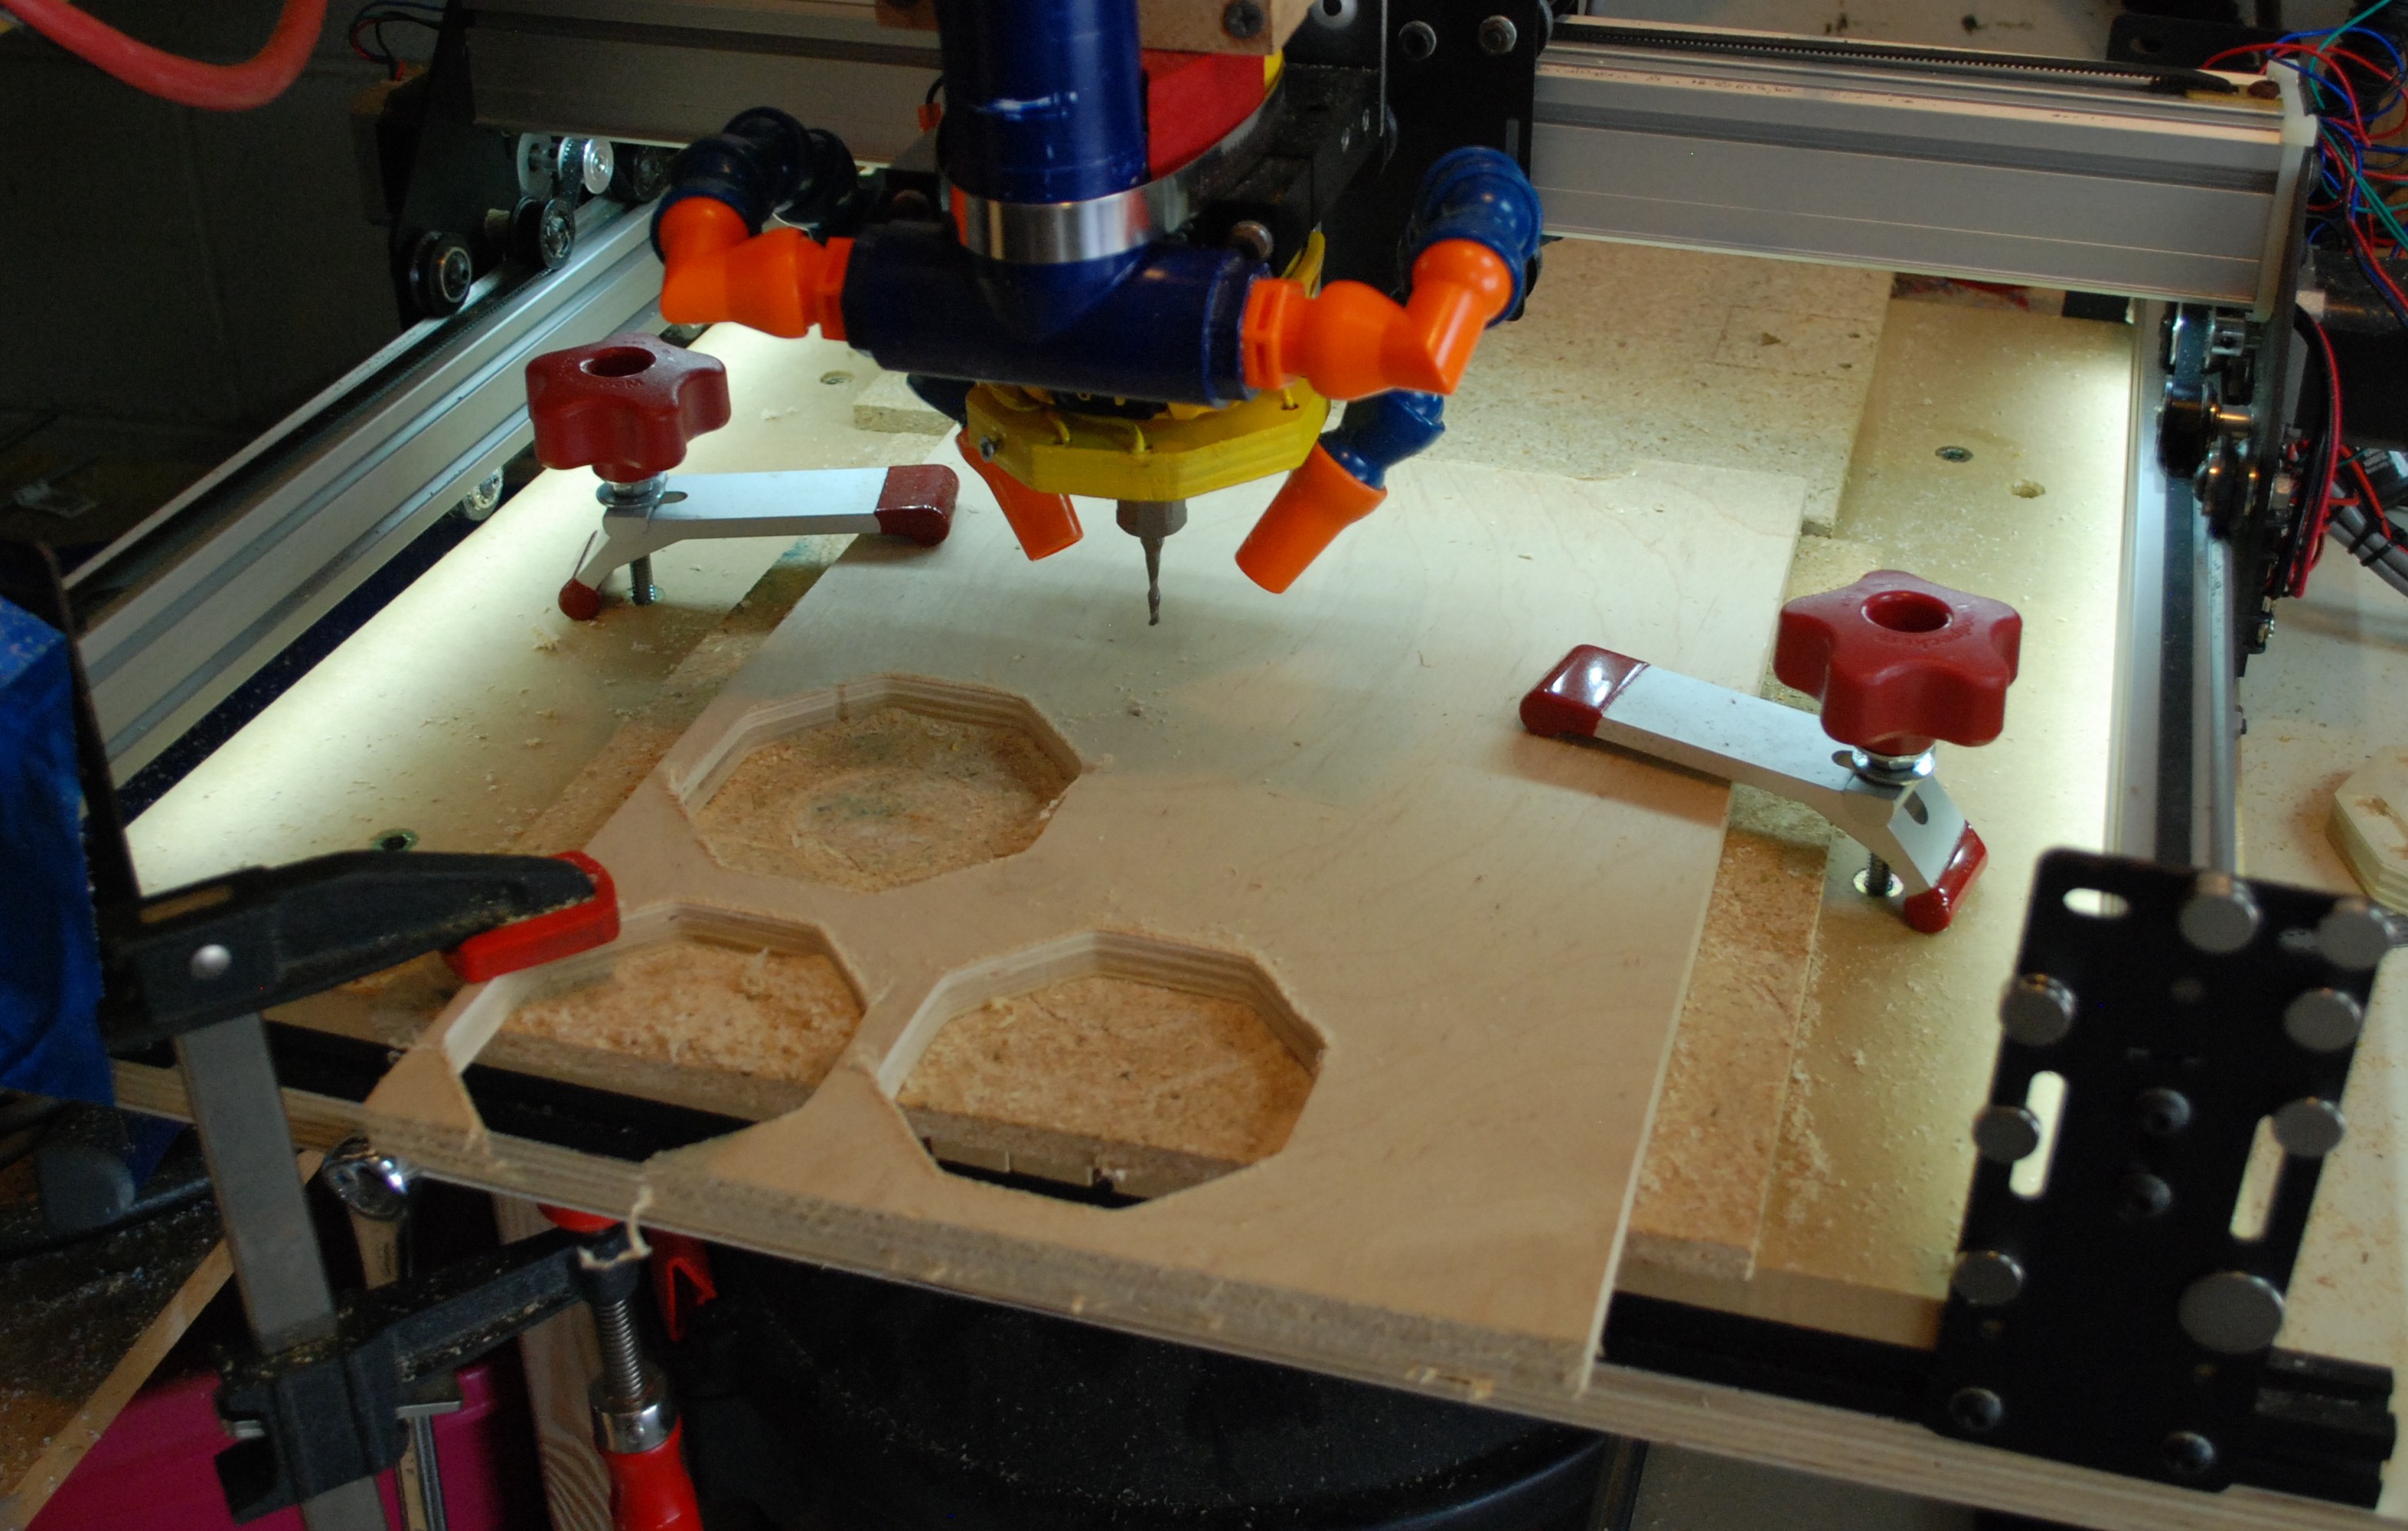
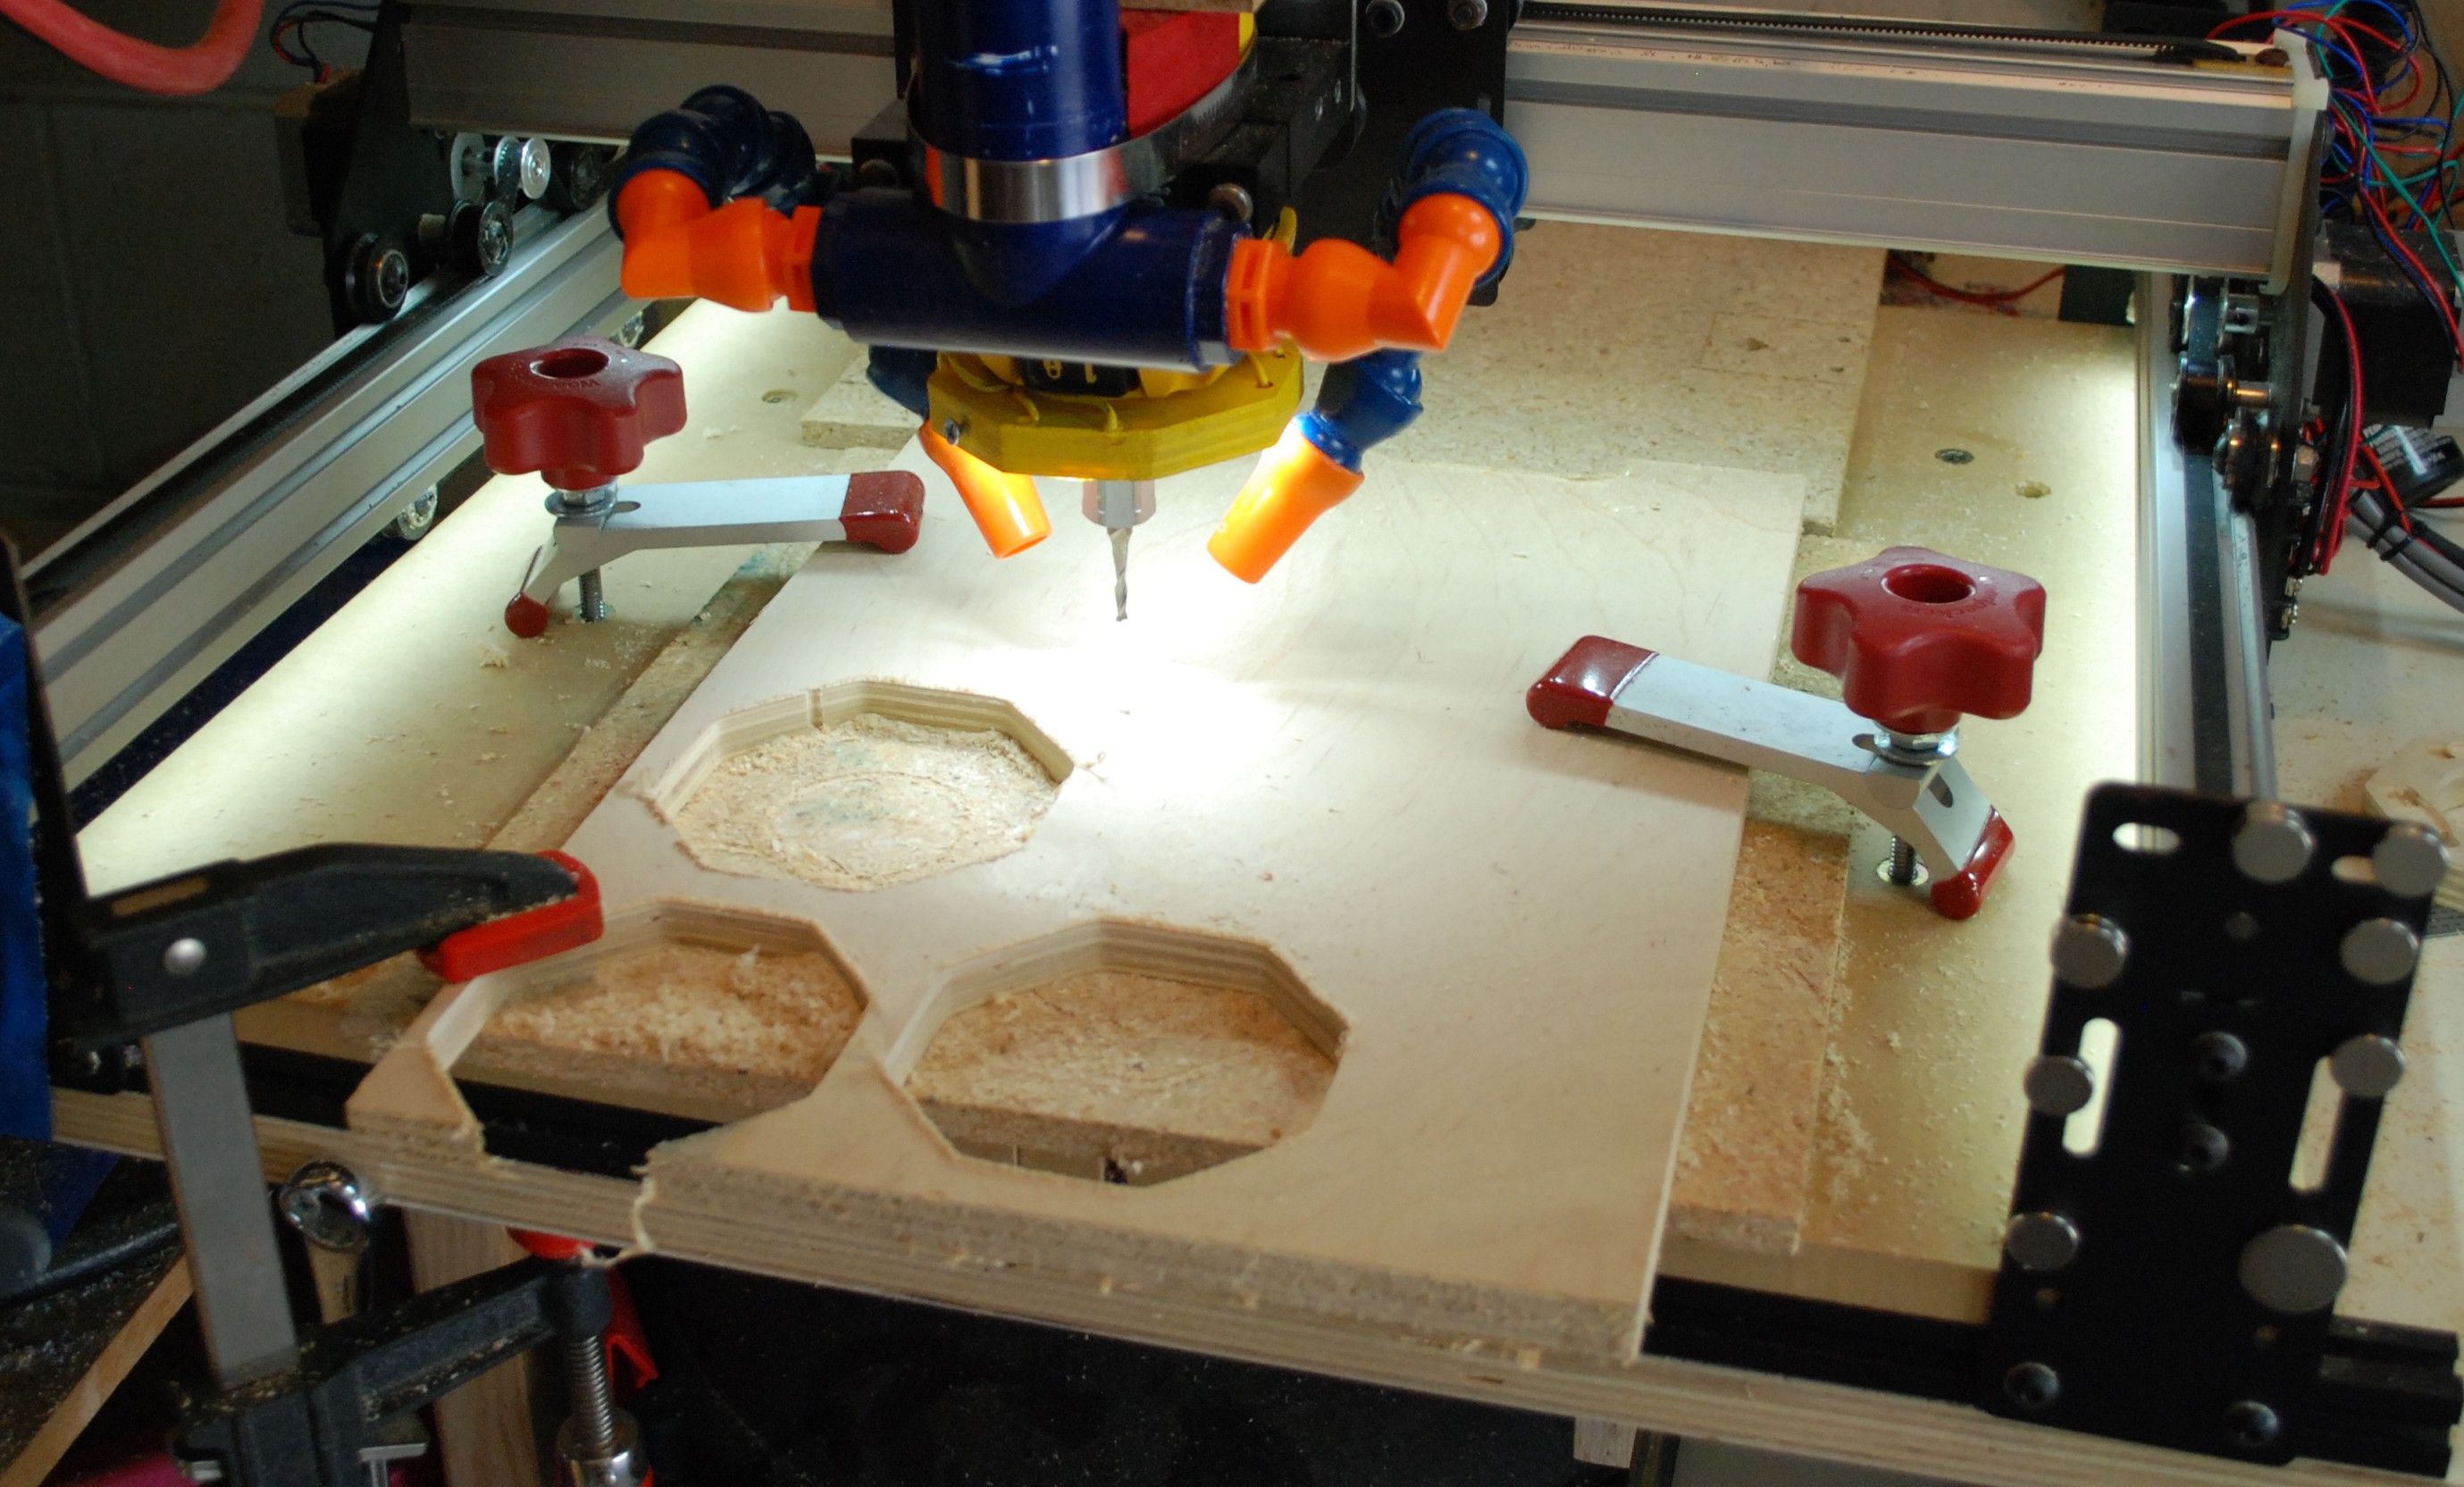

Lighting Test

DSC_0438

No Lights

DSC_0439

LED Strips

DSC_0440

LED Strip with Spot Light


Drill Press Lighting

I love my drill press.  It is a 1980s era craftsman floor standing drill press.  The table I made for it is honestly not my best idea, but that isn’t the drill press’ fault.  The lighting scheme is a little lacking.  It has a single bulb tucked behind the spindle, and it does ok, but LEDs will make it better!

DSC_0417

I found these things called “angel eyes” for cars.  They are used to make cars look like they have fancy rings around their headlights.  You can get a two pack of different diameters for around 10 bucks.  They are perfectly suited for ring lights.

DSC_0416

I took the ring and bonded it down to a bit of plywood cut with an inner diameter that just presses onto the un-moving part of my drill press.  To add additional lighting I found these patches of packaged LEDs used to replace in-car dome lights.  They can be found in 4 packs for around 10 bucks.  All of these parts already have resistors built in because they are designed to be hooked up to a car’s 12V line.

The plywood square will go over the area that previously had the drill’s light bulb.  I used recessed magnets to hold them in place.  The wires got wrapped around to the back, and soldered together along with the ring light.  Hot glue helped with all the cable management.


I connectorized the lighting half and the power supply so I could separate the two if need be.  Speaking of power supply, the ring light and each light patch take a few hundred mili-amps each.  Get a 12V supply with at least an amp output.  I used an adapter that screws into a regular bulb socket and gives a plug outlet.

DSC_0424

The power supply is screwed into where the bulb used to be, wires are routed, and lights installed.  Lets see how it looks with no light, with the old bulb, and with my new lighting system.

DSC_0427

No Lights

DSC_0428

Old Bulb

DSC_0429

New LEDs

Very bright!  I guess for the 30-40 bucks I spent on parts I could have bought an off the shelf drill press ring light.  Maybe it would provide more light, but I kind of doubt it.  I know it wouldn’t be as compact or fit as snugly as this thing does.  The last thing to keep in mind when doing this is free slack on the ring light.  The section I attached the light to moves when the drill press comes down.  Provide enough slack to allow free movement.

Illuminated Wall

The LED strip lights strike again!  The reason I originally bought strip lighting and used them on my mill lighting project was because I wanted to add lighting to a partial wall in my great room.

I started by running solid core wire down the inside of the wall, and tying into an existing switch.  The wire runs up and terminates into a single female receptacle (indicated in red in the picture below).  The 12V supply lives up there and will need a small cover at some point.  You can just see it peeking out on the left hand side.

DSC_0045

With the wiring installed I just plugged in the 12V supply and started running strips down the length of the wall.  It went quickly, and aside from a pile of dust was easy.  The results are pretty good.

The picture was taken around dusk with very similar camera settings.  I adjusted exposure a little to help match what you actually see.  The after still looks a little bright.  It provides a nice mood lighting around the great room.  The only issue I have is that the CFLs in the living room are a lot warmer than the light.  I will probably slowly change out the other bulbs to match.

I love soft indirect lighting in my living spaces!

CNC Mill Ring Light

There is a warm and fuzzy feeling that accompanies using my mill to make something for my mill.  Not quite a self replicating machine, but it helps make itself better.  I finally figured a ring light design I like.

I have made a number of different test parts and played with a few different LEDs before I settled on some LED dome light replacements.  They are from amazon.  They have 4 surface mount LEDs with a resistor built in, and are supplied with 12V.  The metal cones are meant to go into a car’s dome light receptacle.  I removed the cones with a soldering iron to leave a flat solder pads.

DSC_0589I milled a few test pieces and settled on a design that was compact but allowed enough room for the lights.  The mill did a fantastic job on 1/2″ plywood.  Once cut out I popped a quick hole in each pocket for the wires and glued the lights down.  A quick spritz of yellow paint will help it blend in with my dewalt spindle.

It goes right above the bit area, and two screws coming in from either end help hold it in place.  I gathered the red and black wires to a single connector each.  They connect to a set of wires that run up to the 12V that powers the under-mill lighting I installed a while back.

DSC_0026

I could fit more lights in if I wanted, but the 4 “bulbs” look great.  Very bright and easy to see what is going on.  The camera made it look a little blinding, but it is not.

DSC_0022

DSC_0021

I ❤ my mill!

Under-Mill Lighting

I shot some GoPro video a week or two back on my mill.  It was tough to get enough lighting over there.  That area of my shop just isn’t really well lit.  I could crawl up in the attic and try to wire another light, but I will probably move the mill before too long.  In comes LED light strips.  I picked some up to play with a while back and hadn’t gotten around to using them.  They are strips that are largely made of copper foil, the resisters are already installed, and you can cut it every few inches to the length you want.

DSC_0509

These narrow strips will fit perfectly under the rails used in my mill’s gantry system.  You can little double headed clip-on connectors to link multiple segments together or make turns.  I cut the one end off and used them to splice in power.  They have springy tabs that are supposed to connect to the round pads.  I found their connectivity wasn’t very solid, so I shored it up with solder.  Now vibration and movement shouldn’t be a problem.

DSC_0505

With all the connectors soldered and everything cut to length I pulled the backing off and carefully applied it to the underside of all my rail sections.  For the connector end I wrapped a zip tie around them so that any tugs on the cable wouldn’t rip the lighting off.  Everything got wired up in parallel to a 12V supply I bought from a similar amazon vendor.  The results are pretty good.

DSC_0507

DSC_0506

My camera was in full manual mode, so what you see is what you get.  One strip went under each Y rail (front to back) and I was able to sneak two under the X rail (left to right).  This doesn’t completely fix my lighting problems, but it feels a lot better work around the mill.  I will probably come up with some kind of ring light to give really good direct lighting lighting on the bit.

The total cost was about 25 bucks.  I bought a lot bigger power supply than I needed so I can add as many lights as I want.  About half the reel and a pile of connectors are left over.  If I ever make an enclosure It will probably get gobs of this strip lighting.

Laundry Room Update

After moving everything back into the new laundry room I felt I had neglected a few small things.  The original light was a single bare bulb hanging from a fixture.  It worked, but didn’t provide any amazing lighting.  In comes the LEDs!  I picked up a big round LED light with diffuser cover and installed it.  Here is a before and after.

Afterwards the lighting was a lot brighter.  The top edges of the room didn’t get quite as much illumination, but walking in or working on laundry is much improved.  I had to upgrade the motion sensor switch to a mechanical relay version.  It was totally worth it the new one has a much better sensor than the old one, and you can set the leave-on time delay.

Lastly I think some zazz and sass were required.  Peeking on etsy (dangerous sight) I found this…

DSC_0410

Ah yes, NOW the laundry room is complete.  It is a 40″ wide wall sticker and fits nicely over the washer/dryer.  Also it fits nicely with our personality.