A helping tower is like a step stool you use in the kitchen with a child. It gets them up to a height to be able to help out with basic cooking tasks. Unlike a basic step stool, this has sides and a back so they can be kept in place, and not easily fall off. There are a million different examples online, but most all of them are bulky (by necessity) and end up being a bit of an albatross in the kitchen. I wanted a folding one that could be packed away easily. It took a lot of prototyping, but I did it.
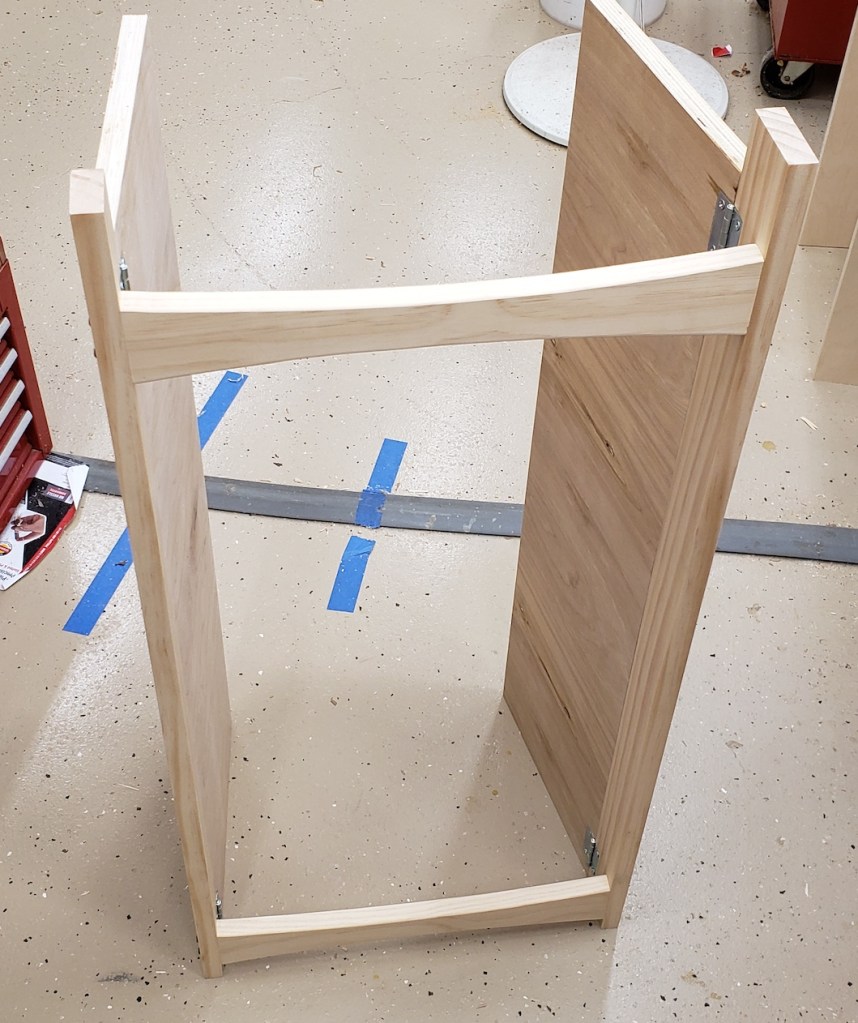
I normally jump into projects, but this one was a very slow methodical trial and error build over nearly 2 months. A broken AC and baby tasks stretched that out a bit. The front frame of the device consists of two permanent uprights with an upper and lower stretcher. To those uprights, a set of folding sides are attached. The right upright is thinner so that the two fold over each other in an overlapping pattern.

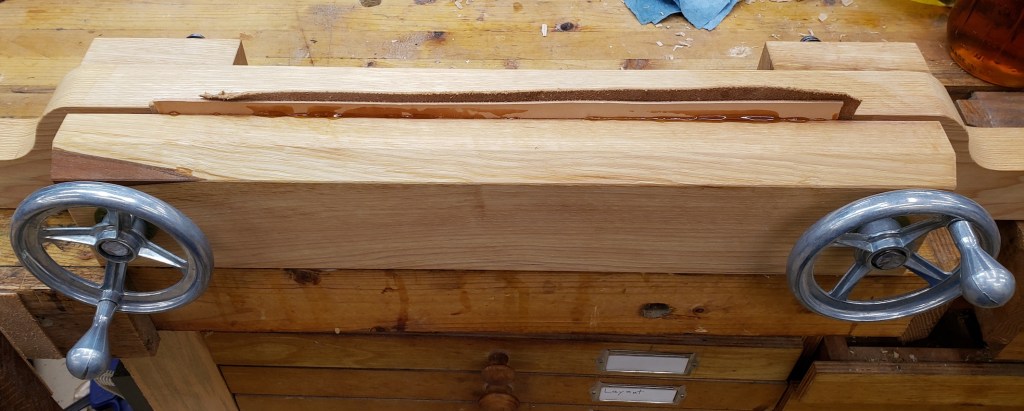
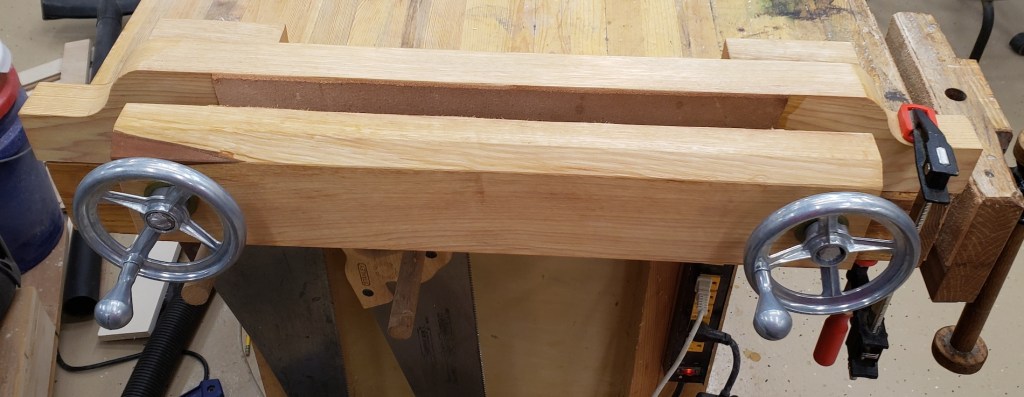
The middle stretcher will hold the step and let it swing into place. I needed a strong stop that would support the step and draw the sides into the step. I used a dovetail bit on the bottom of the step to make a slightly angled groove. The stops had the same angle in reverse. Now, the more weight put on the step, the tighter it will draw the sides in.


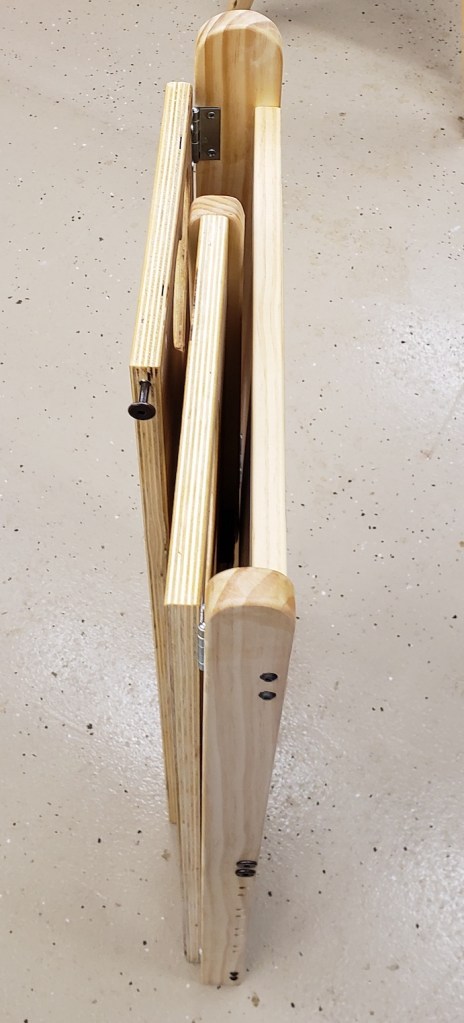
The seat can fold up and the sides fold in. Everything is compact and easy to deploy. The stops are only 1/2″ thick and don’t interfere with the fold up.


It needed some kind of back to keep people from falling off backwards. A simple swing arm accomplished this task. It was narrow enough so as not to interfere with the unit’s ability to pack up. This had all the rough mechanics I wanted, but was narrower and not as deep as I felt it should be. Also I wanted the step portion to be adjustable as the child grows. On to the next prototypes.


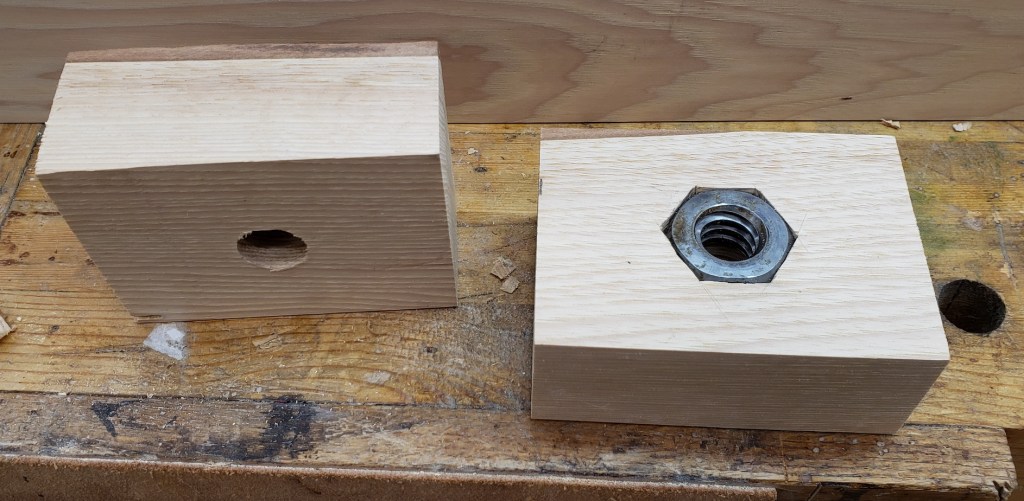
I am going to use dowel nuts and binding screws to make something that was strong, but could be removed and reassembled. It would take a number of holes drilled in the right places to make that work. I planned the sizes of the parts and printed out drill guides that would hold brass tubes to act as drill bushings. The brass won’t last forever, but is easy to cut and insert, and helps keep the hand drilling accurate.
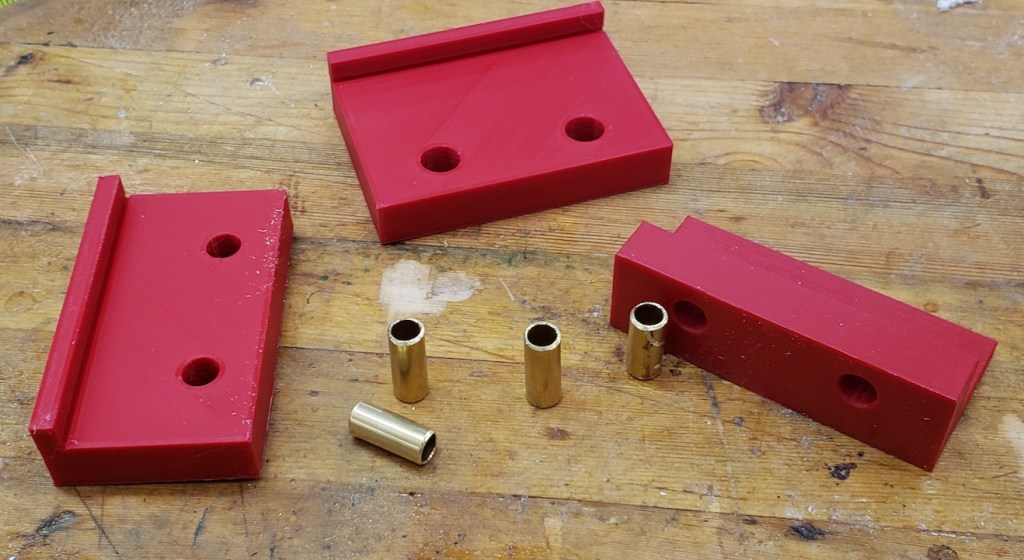
First up I clamped the jig in place and used a transfer punch to mark the centers of where the barrel nuts will go. This makes drilling on the drill press easy.


Next to accommodate the bolts, I need to drill a long hole end-on to meetup with the cross holes. This can’t vary much and the parts are too long to use the drill press, thus the drill jig idea.


With both sets of holes accurately drilled, the nuts and bolts will meet up in the correct spots.

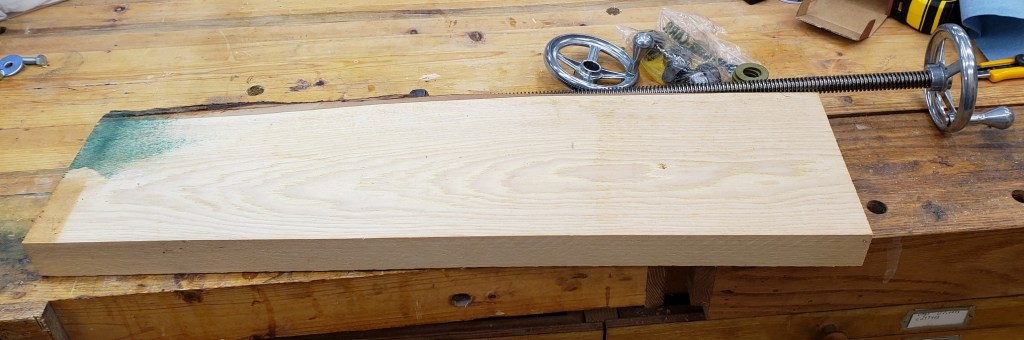
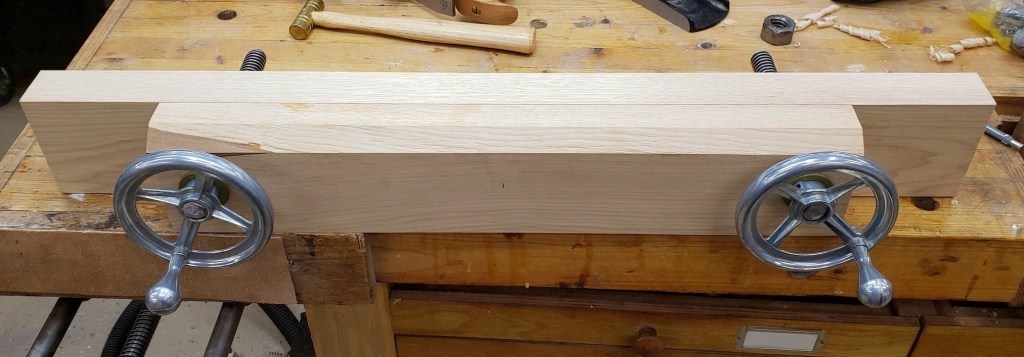
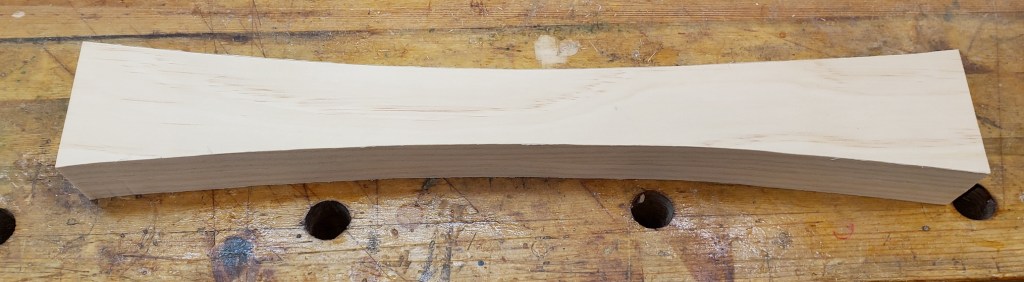
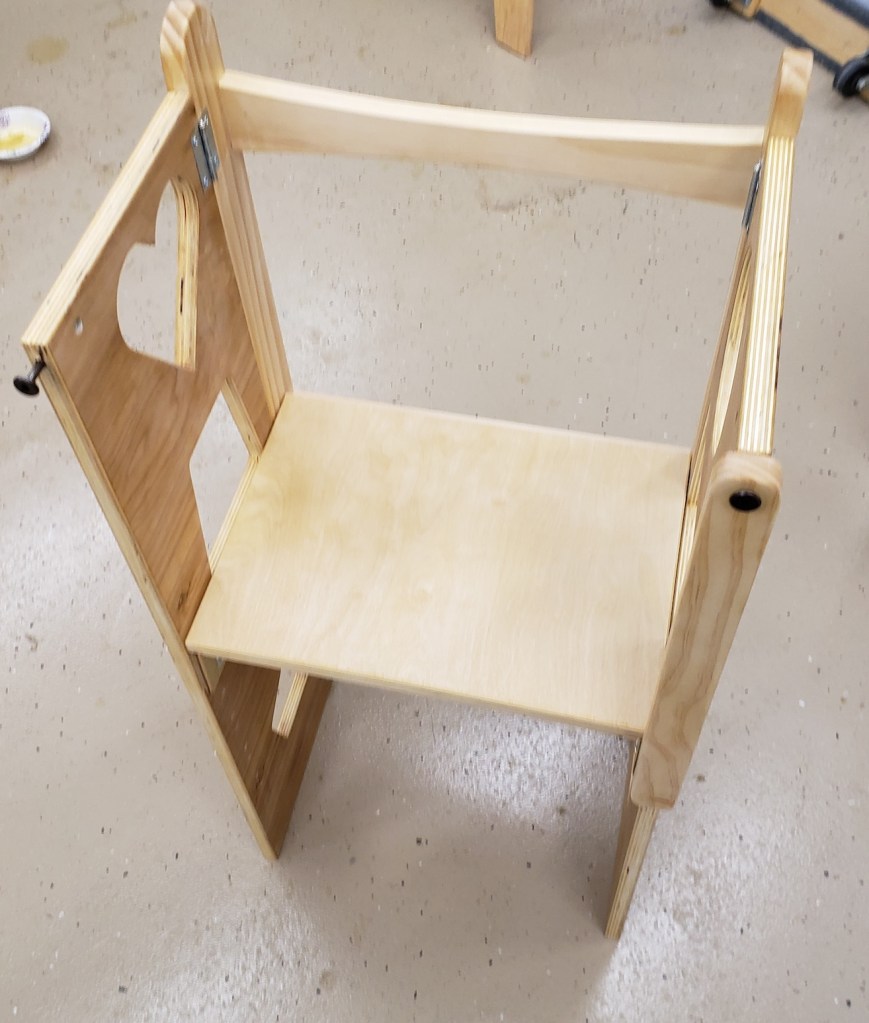
With the folding and adjusting mechanics worked out I could move on to the real thing. I selected 1×3 pine for the uprights and spreaders. The step spreader got its holes drilled with the above jigs, and the other two spreaders received a set of fair curves thanks to my new drawing bows.


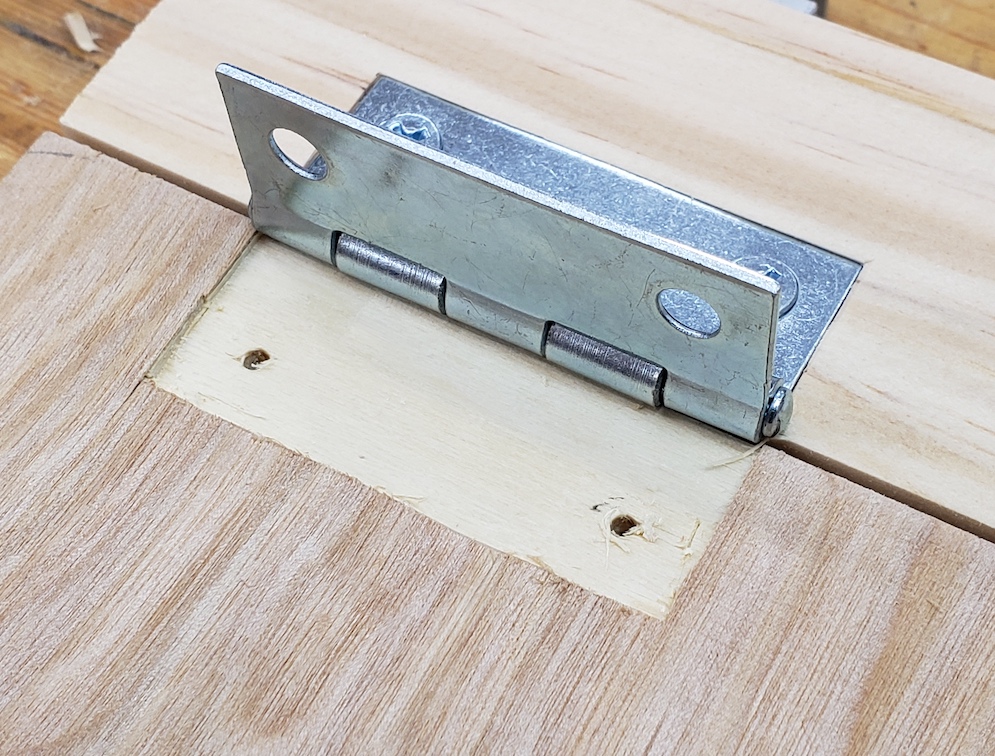
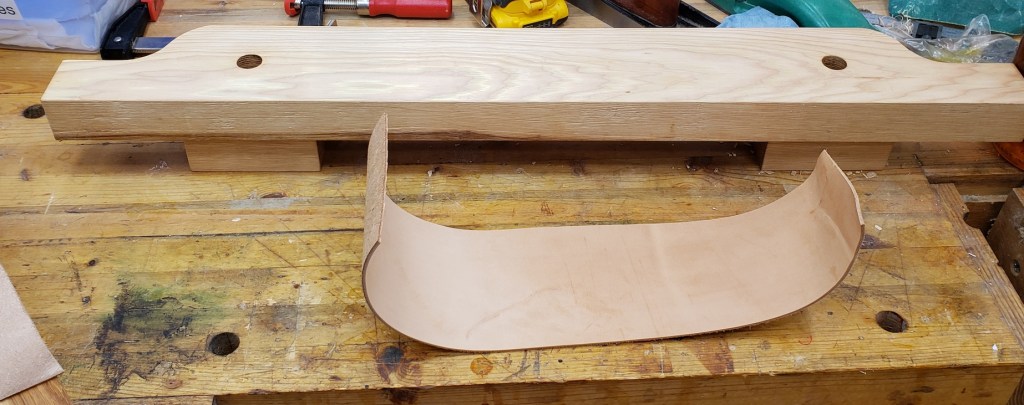
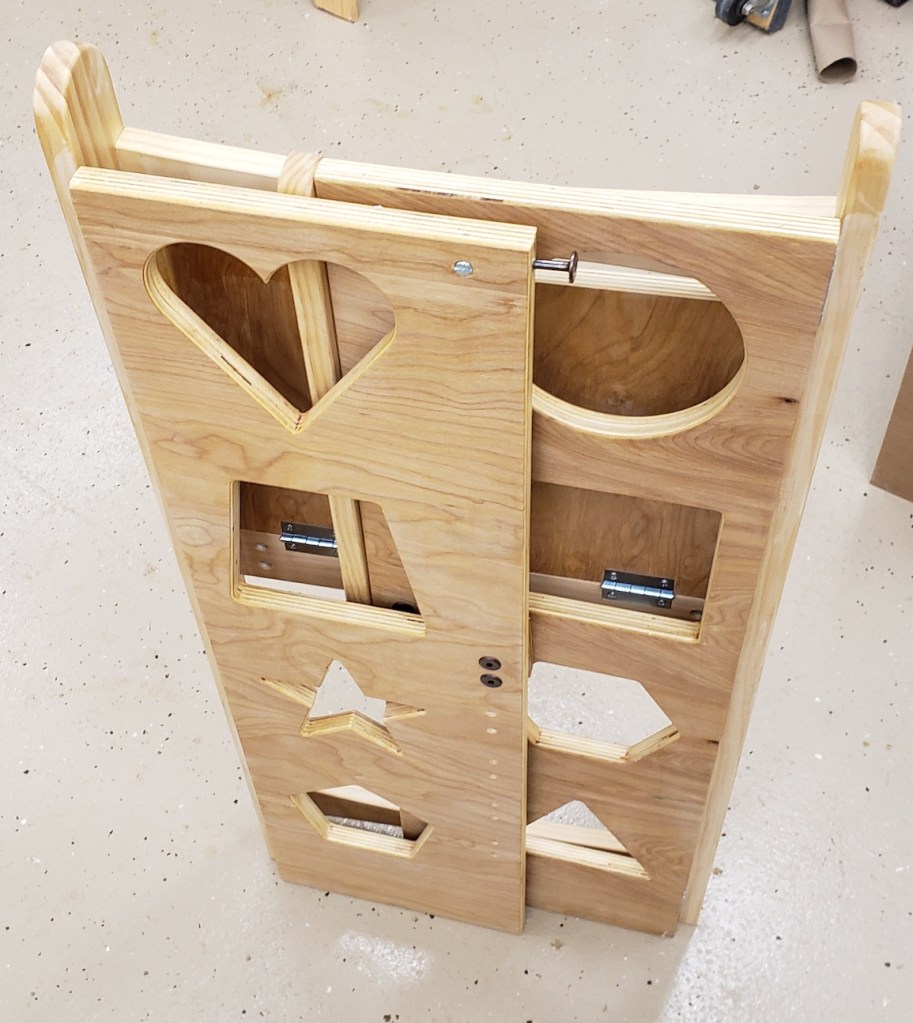
Part of the assembly folding out and being stable is having the sides only fold out 90 degrees. They must positively stop when they reach the right angle. I do this by firmly clamping the sides and uprights together and routing a small pocket for the hinges. This 3d print has a center-line mark on it and is perfectly spaced to make a tight mortise for the hinges. The result is a flush hinge and sides that do not swing out past where you need them.
I assembled the step and determined how high it could go when folded up. Too high and the step hits the top spreader. Marking those places I could make a row of holes that would allow the step assembly to adjust as needed. The sides and uprights got a set of holes placed every 2 inches.

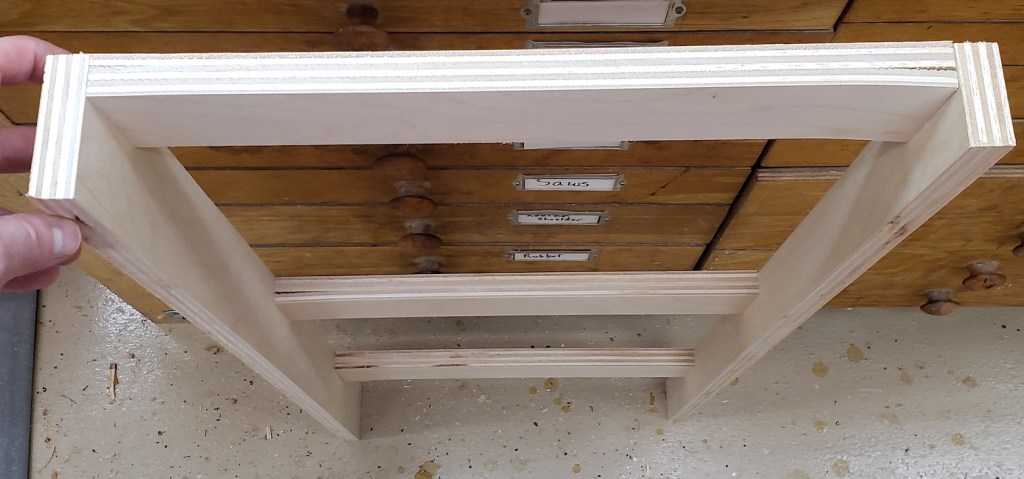
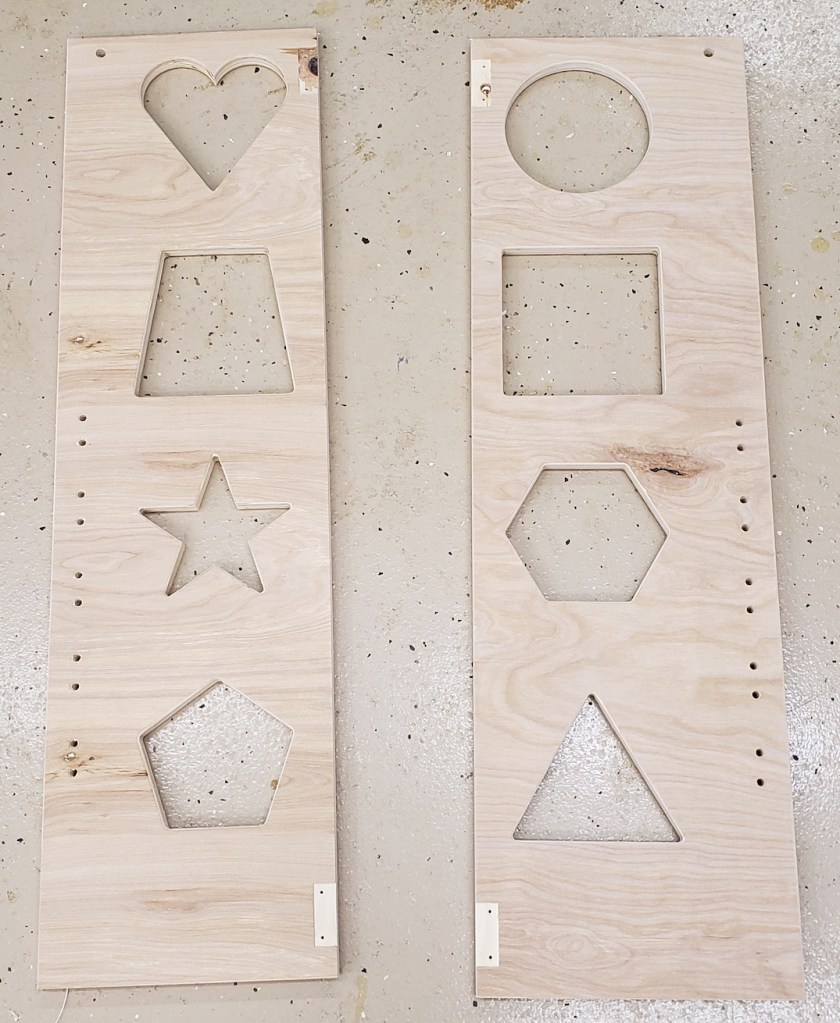
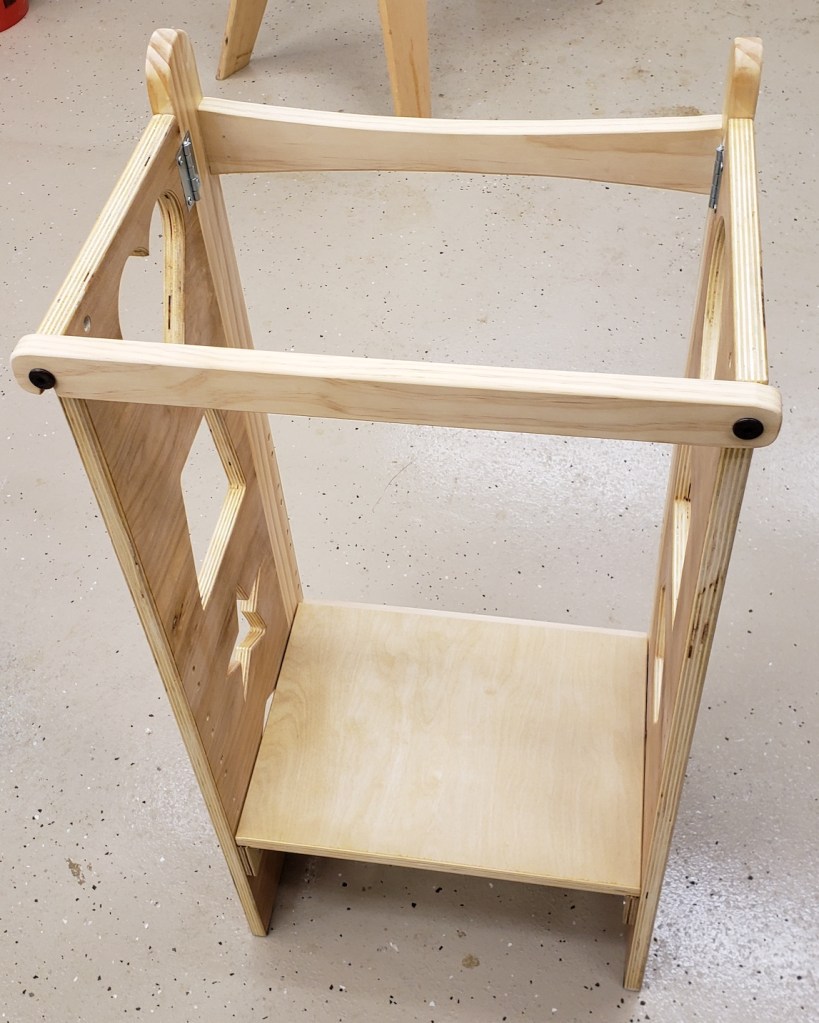
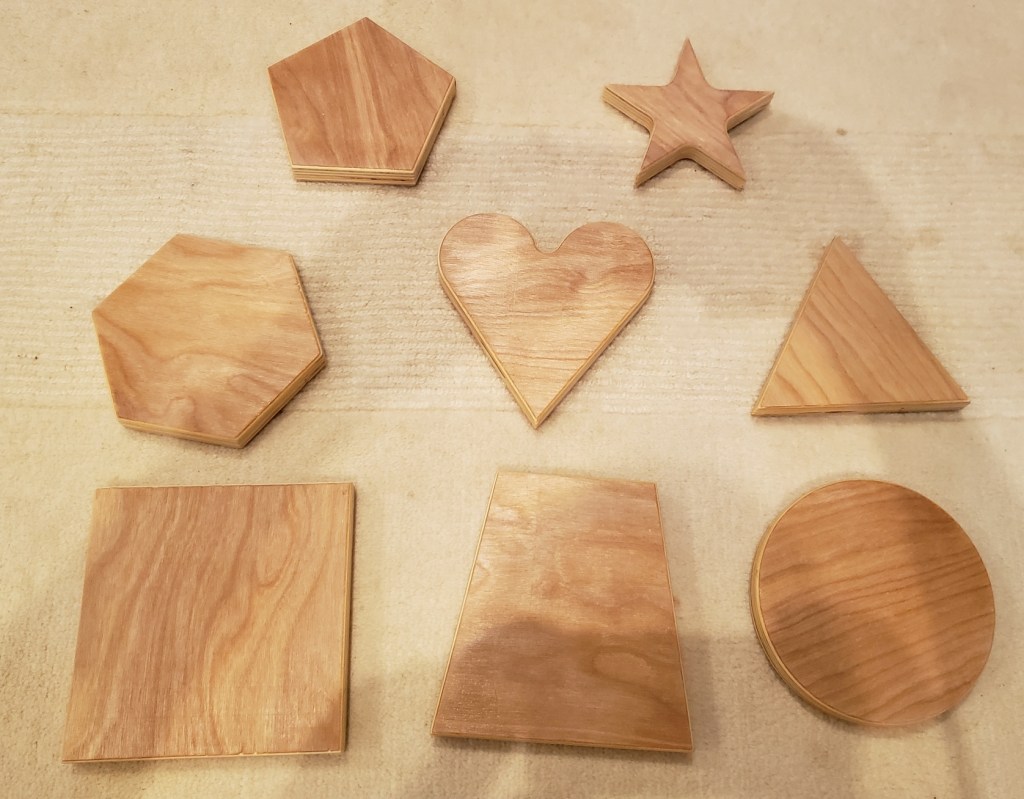
To lighten the structure and add something fun, I printed a series of shape templates. Double sticky tape holds them down, and a plunge router cuts them out quickly. I made 8 unique shapes and it really adds a lot.


Stop 
Step Spreader
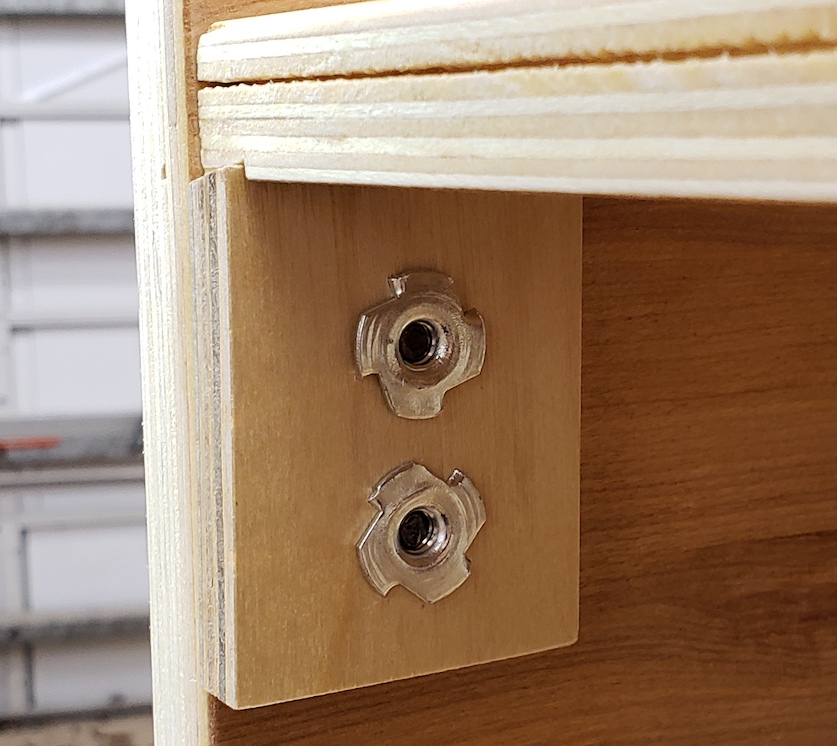
I put the center spreader in at the top most position and marked where the stops should be. Each one has two t-nuts hammered in place. Bolts go in from the outside to hold those securely. Now to adjust the height you have 8 bolts to remove. 4 from the stops, and 4 from the folding step. The final unit is light, compact when folded, looks decent (even though most of it is plywood), and should have enough room for any kid small enough to need it. The swinging back stop is made with another set of dowel nuts and binding screws. Everything got a coat of shellac as basic protection.


As a final bonus, I was able to cut the shapes out carefully enough that they all survived in tact. I rounded the edges and shellacked them as well.
I want to be able to re-create this again in the future. Here is a rough parts list with sizes. Dowel nuts and binding screws are both 1/4-20s.
| Qty | Description |
| 6 | Dowel Nut |
| 4 | Binding Screw, 5/8” |
| 6 | Binding Screw 1-3/16” |
| 4 | T Nut |
| 8 | Pan head screw, 1-1/2” |
| 1 | Back Bar: 18-1/4 x 1-1/2” |
| 3 | Spreaders: 16 x 2-1/2” |
| 1 | Upright Left: 38 x 2-1/2” |
| 1 | Upright Right: 38 x 1-3/4” |
| 1 | Side Left: 36 x 10” |
| 1 | Side Right: 36 x 10-3/4” |
| 1 | Step: 16 x 11-1/2” |