Our little guy is growing fast and I wanted a way to help document that. Kids are usually interested in seeing how big they are, so I decided to make a height ruler. I started back in July because I wanted to be done by the time his birthday hit. I got done in time, but hit a bunch of snags along the way, and still have trouble getting him to hold still for a measurement.
First up, I bought some pine boards to experiment on and 3D printed this guide to make the ruler marks. This took a few iterations, I was trying to use a pattern bit, but ultimately a bushing and plunge route was the best way to go. You can flip the template around to continue the pattern and route the whole ruler with one template. I based the marks off of an old folding wooden ruler I have.

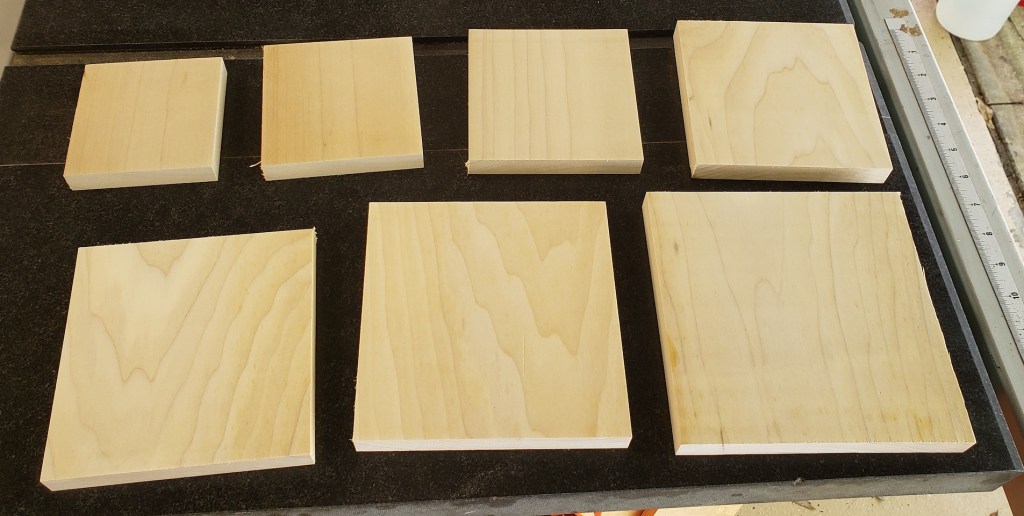
The first big issue I ran into was inlay. I wanted to route a pattern, then mix black epoxy to pour into the cut grooves. The epoxy kept wicking into the grain. I tried poplar, it wicked too.
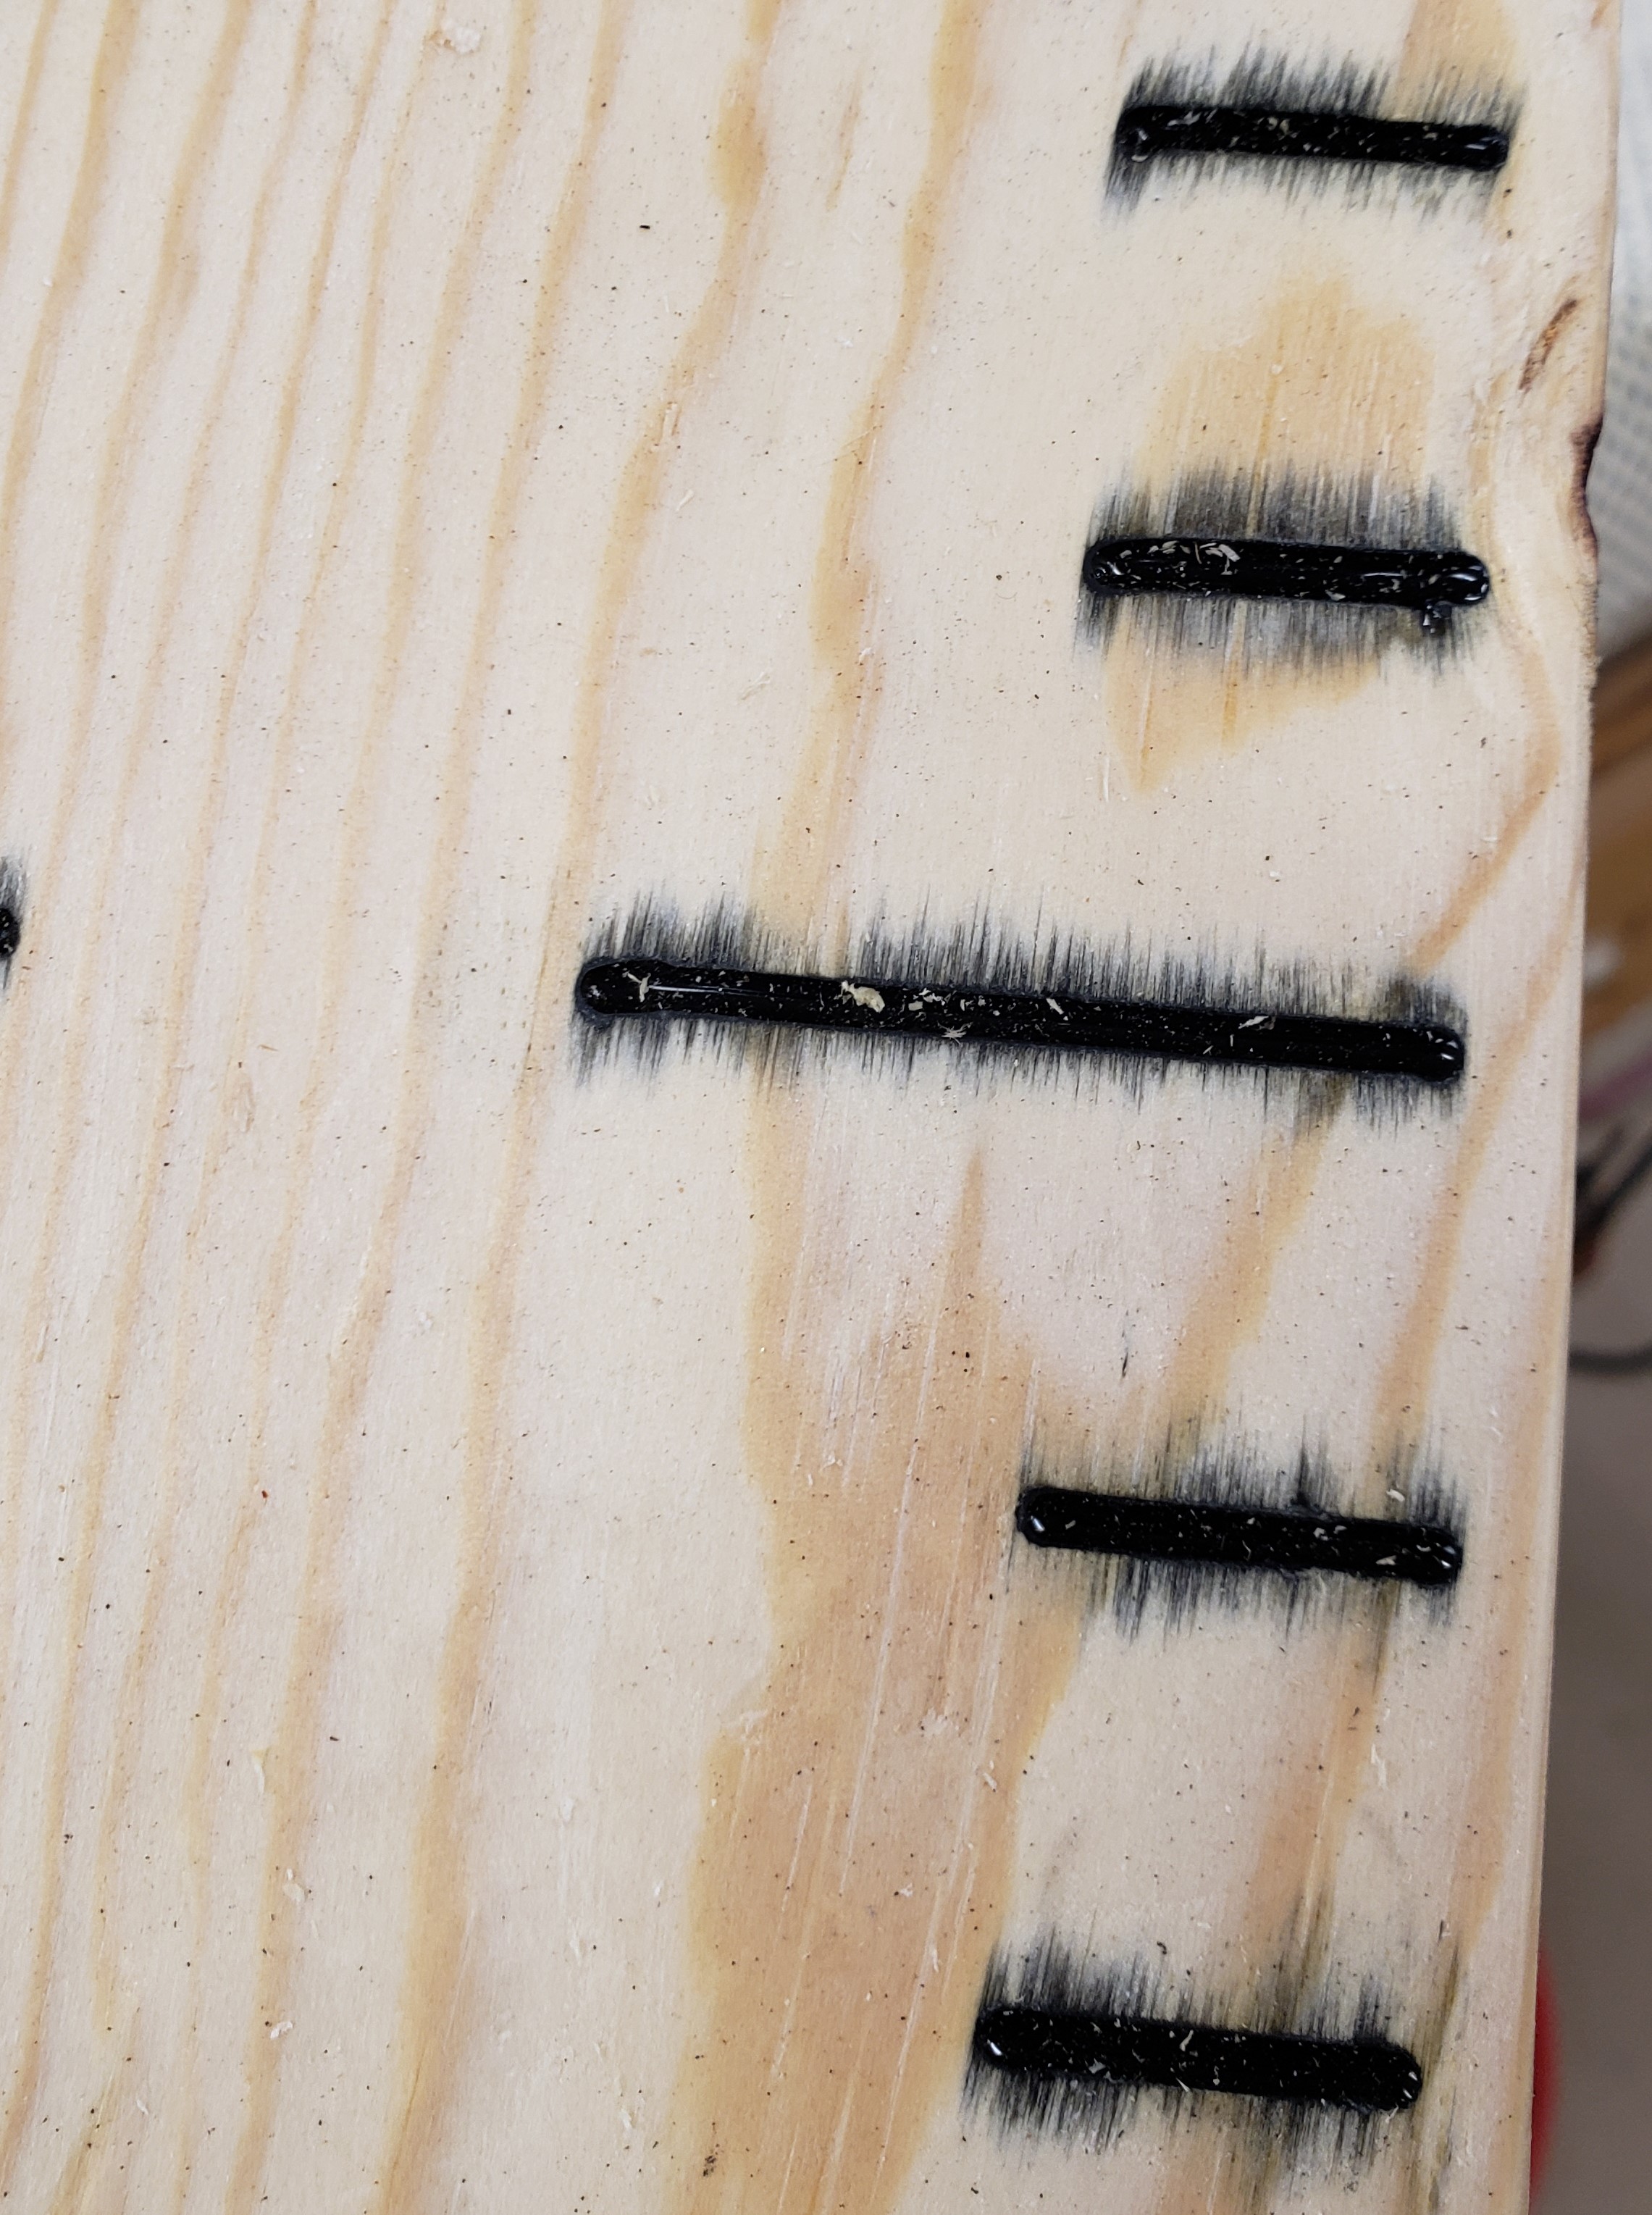

I tried sealing the grain with multiple rounds of shellac and still ran into some issues on the poplar samples. I should have started with a hardwood of some sort.

I eventually got enough sealing done on pine and filled another test piece. There was still some grain seepage and in trying to plane through the top surface and get to flat inlay, I kept hitting bubbles. I tried vacuuming the epoxy and still couldn’t get it to be void free. Here again, the rough pockets that are left by the routing might be allowing air pockets. Again in retrospect using maple or something would have been better.

Burning through the epoxy to clear the voids 
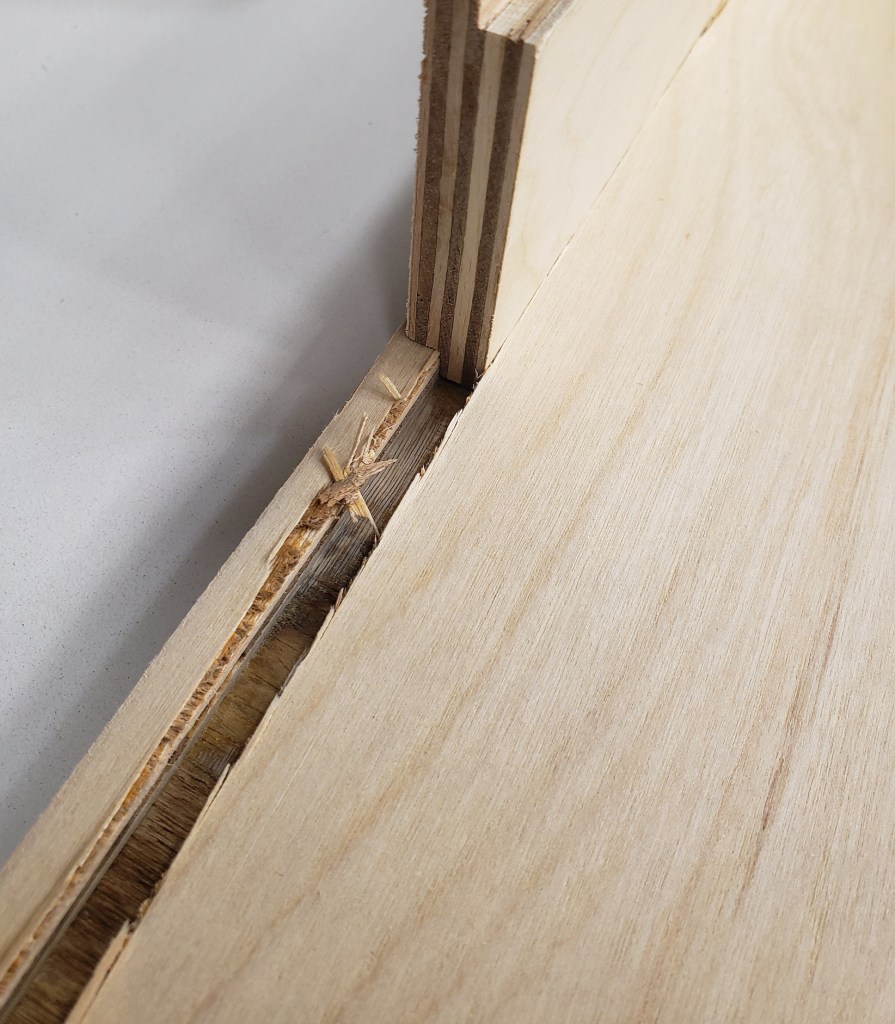
Epoxy voids
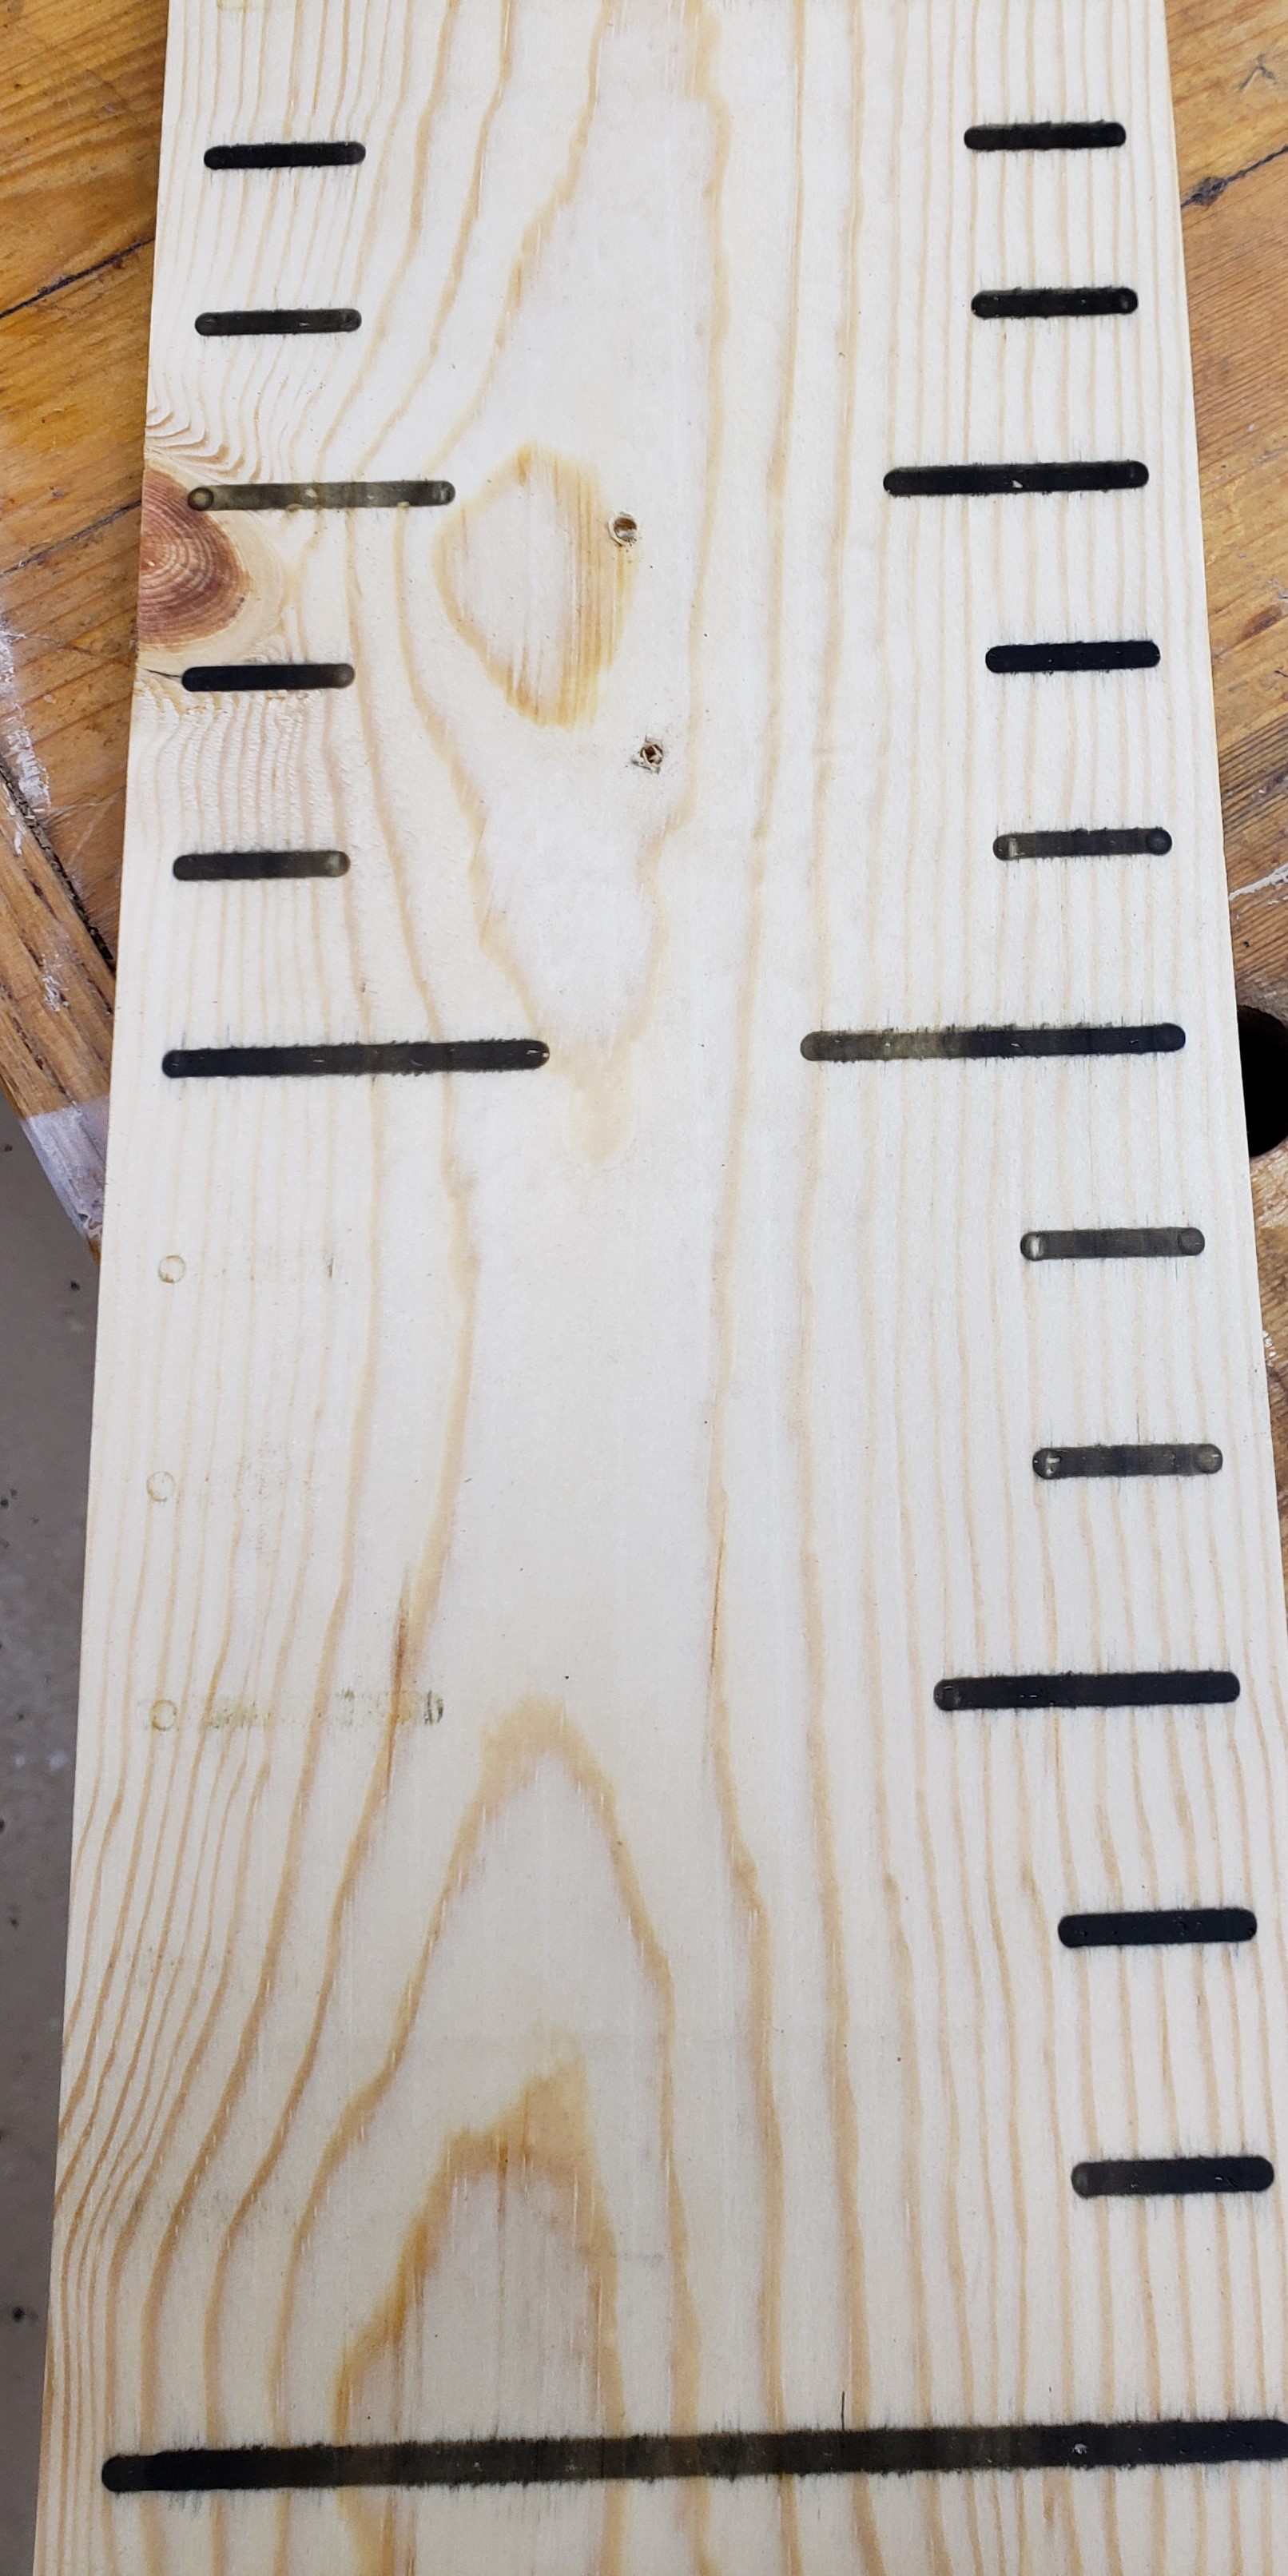

Finally I settled on a quick clear coat to seal, and spray paint. It makes the router cuts dark and visible, and is easy to apply. The sample board turned out well enough, so I moved on to the real thing. I will work on improving my epoxy inlay techniques later.

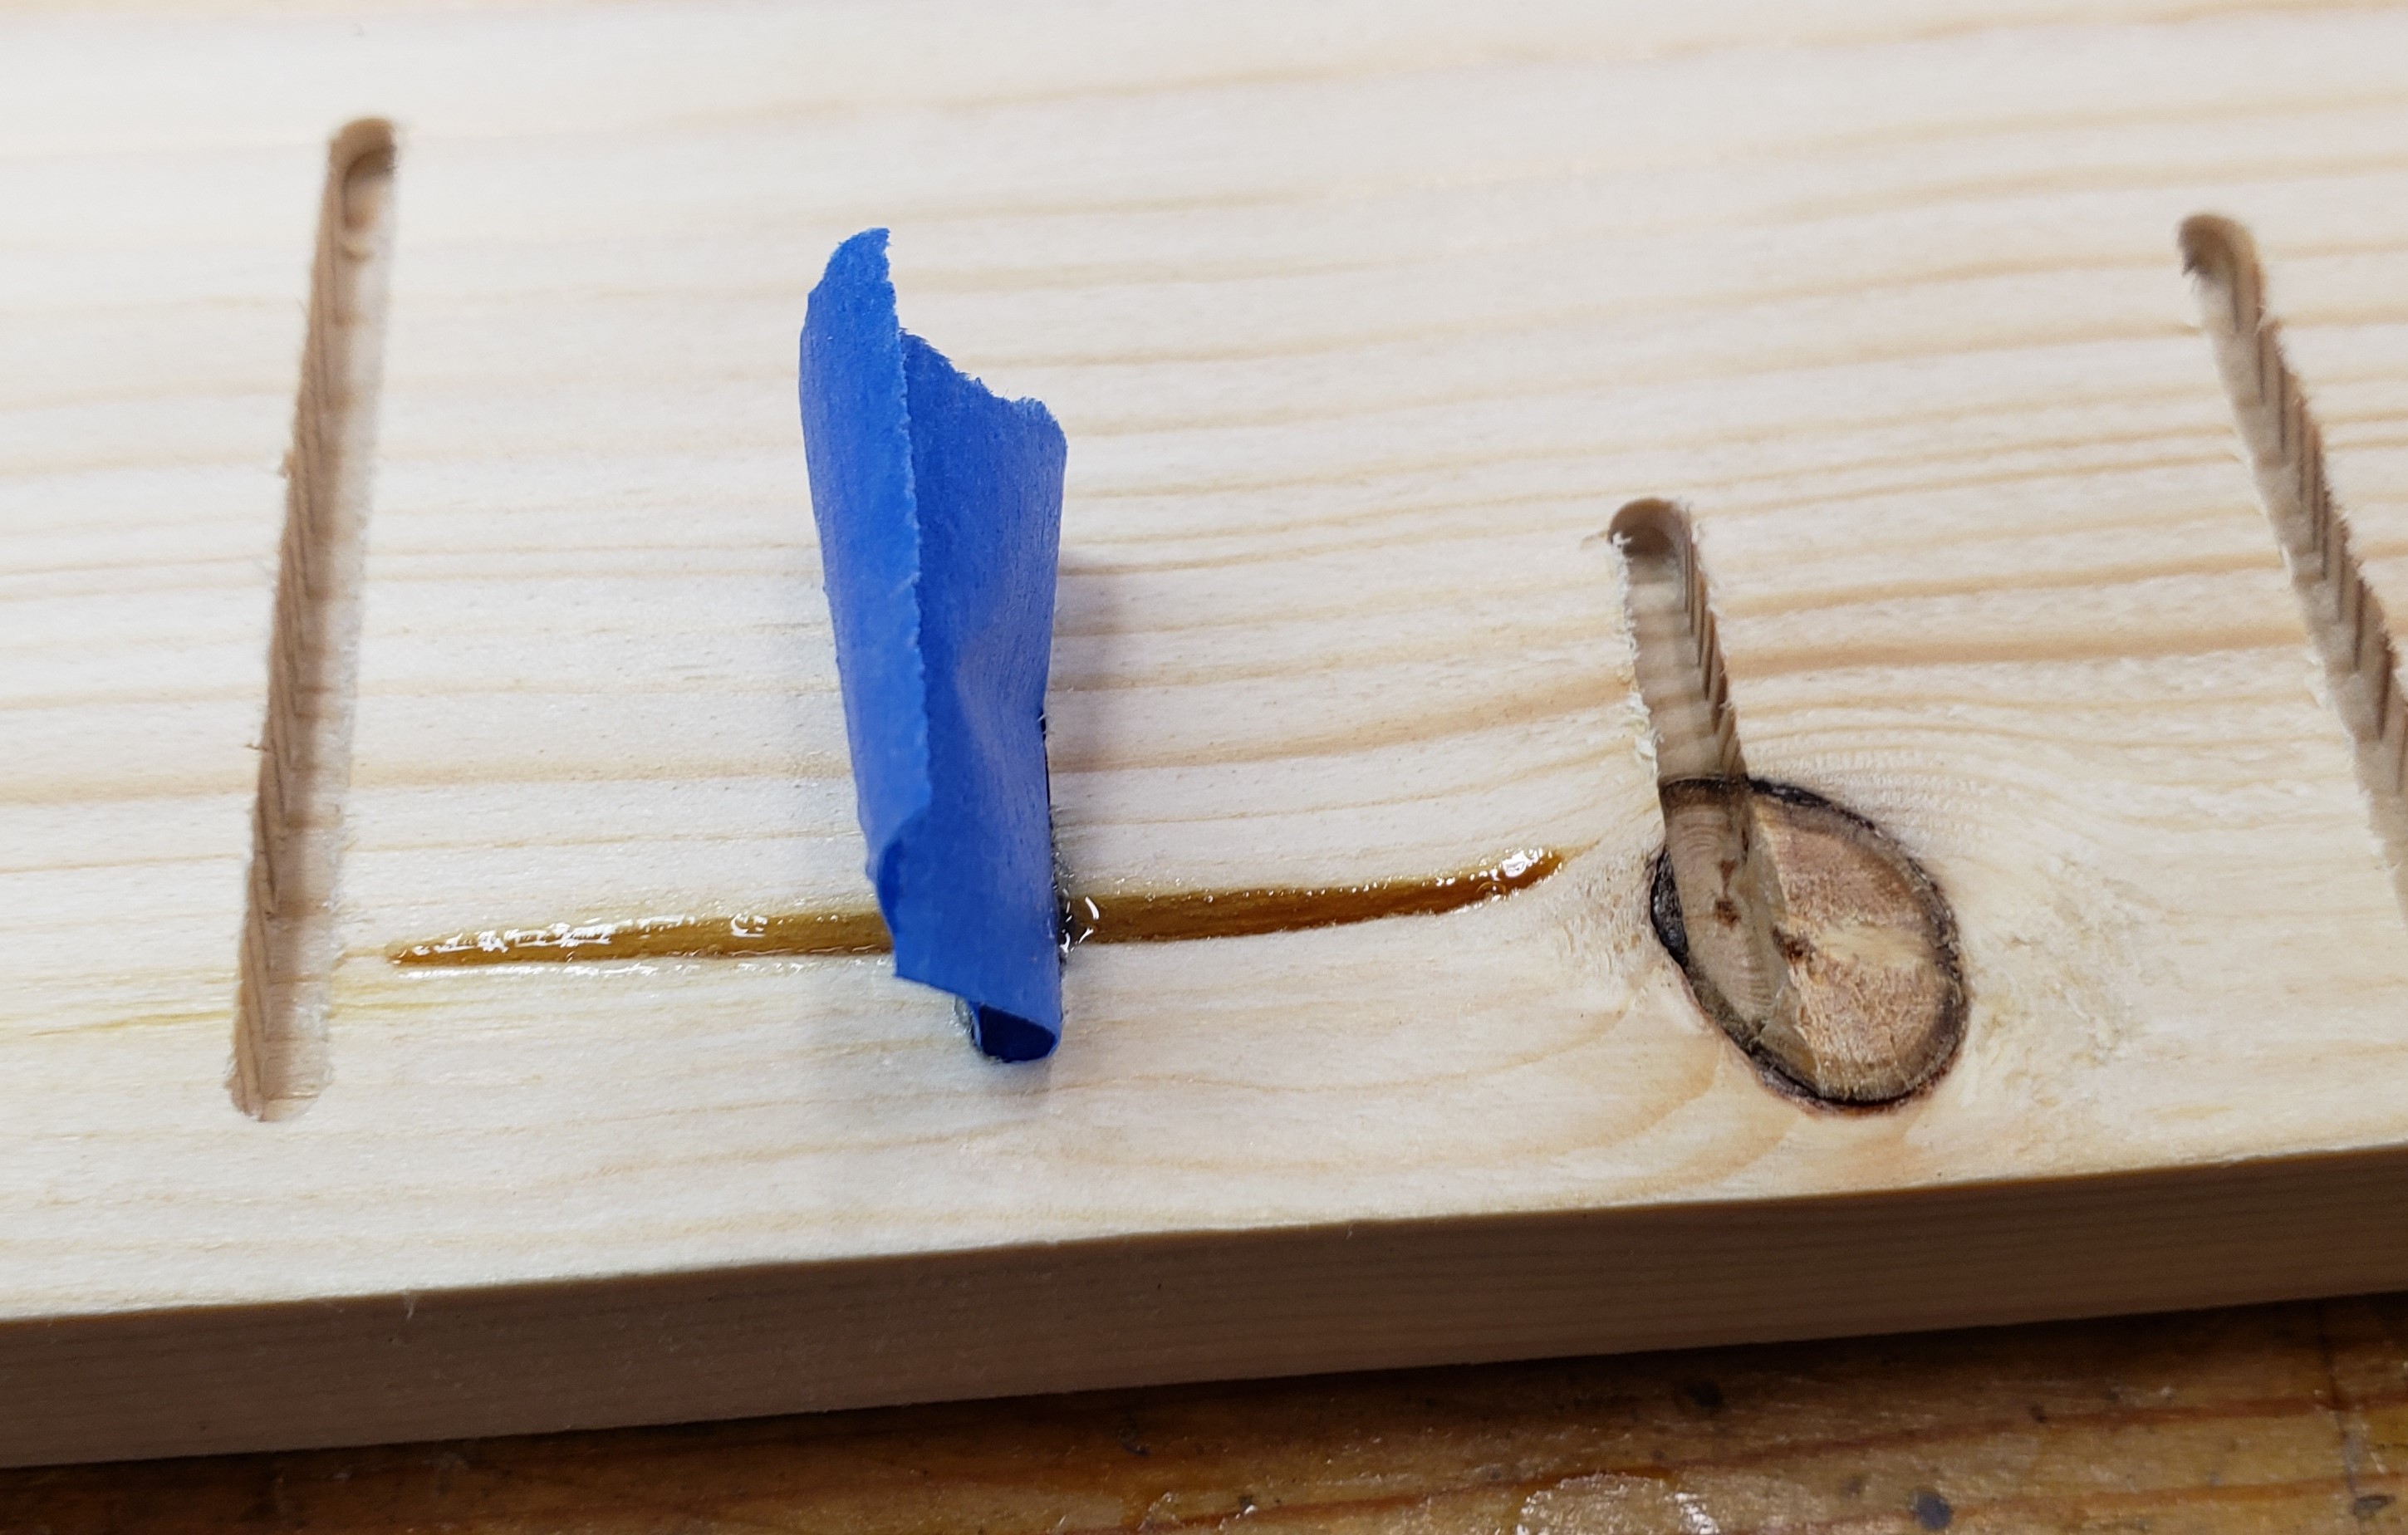
I printed letters to make the ruler clear to read. Each letter has an alignment line underneath so you can see the foot mark line when putting it down. I had a few knots and checks that were in the way so I used clear epoxy to fill the voids so that the spray paint wouldn’t get inside. I then routed everything and sprayed the entire surface.


Epoxy filling a gap to keep it from accepting black paint


I planed off the top surface to reveal a decent inlay. Everything got a few coats of finish, then hung up on the wall. The hardest part now, is getting him to stand next to it. He pulls himself up to standing constantly, but always has his own agenda. This picture was the best I could get in nearly 2 months of trying. Never work with kids and animals they say.