I’ve Gone Pro! (sort of)

Do you hear it?  That heavenly sound?  It is amazing!  It is the sound of awesome consumer technology and a wife that encourages me when I have neat ideas.  It is….. A GoPro!

wpid-20150131_083309.jpg

I have enjoyed blogging with only text and a camera.  My old DSLR has served me well and will continue to.  I think it still does a great job (above pic is with phone for laziness reasons), but sometimes pictures and words aren’t enough.

If a picture is worth 1000 words, what is a video worth? </cliche>

After researching a bit and getting an encouraging “let’s get one!” from my wonderful wife, I decided to pickup a Hero 3 White.  It is one of their most basic models, but it has a decent suite of features, good capabilities, and is compatible with pretty much all of the add-ons.  At 200 bucks, I am forgoing a nice pice of cast iron plane goodness for it, but unlike a woodworking tool, this is something we can both probably enjoy.

I am going to spend a little time learning basic video editing so I don’t end up with videos that have tons of dead time and look like a Blair Witch editor reject.  Can you imagine how bad that footage must be?  It might be a few weeks before any video shows up, but expect cool things in the future.  Actually on second thought, the Blair Witch thing might not be so bad.  Imagine a video of me staring into the camera crying “Why do I keep getting tear out in this maple?!”  Horrifying!

We Bee Crazy

My wife has been nudging me to try beekeeping for a while now.  She is worried about colony collapse and really enjoys honey in her tea.  At first I was very hesitant.  I didn’t want some buzzing swarm of doom in my backyard turning my lawn mowing routine into a battle to the death.  It turns out all my fears were way over blown.  A co-worker of mine had them for many years and filled me in on the facts and the day to day life of a beekeeper.  Let me share a few common issues and questions that are asked.

  • Are bees low maintenance?  Yes, they don’t really need you.  You can ignore them for a month or more.  Visiting every week or two is good for monitoring their health.
  • Don’t they sting?  Yes, when threatened or under attack.  If you open up their hive they are going to be unhappy.  Smoke calms them down, and a veil keeps them out of your face.  Away from the hive they will only sting if you start to swat at them.  They are very docile!  Stings are rare.
  • Are they killer bees?  No, they are typically european bees.  The africanized bees are out in the wild, and will not mix with a normal healthy hive.
  • Is taking honey bad for them?  They typically produce a lot more than they need.  They will continue to stockpile honey till their container is full.  You have to leave them a certain amount for their own wellbeing, beyond that it can easily and safely be kept for human use.
  • Seriously, keeping bugs?  They are of the Hymenoptera not Hemiptera order, so no not bugs.  Also they are adorable!  True fact.
  • Do you fedex bees?  No, USPS and it is totally legal!  You can order a package of bees.  It is 3lb of bees with a queen in a screen cage with some food.  I will be picking up a small starter hive from a place an hour north of here
  • Honey is bee vomit!  Ummm yes.  They ingest, into their honey stomach, and regurgitate it multiple times to partially digest it and add enzymes to prevent the sugar from fermenting.  So it is bee vomit to the tenth power.  Sweet golden delicious bee vomit!

In an effort to create a welcoming home to our soon to bee guests; I got a ton of flowering annuals!  It was kind of a coincidence.  I was at lowes, and they had tons of marigolds for about 15 cents a piece.

DSC_0408


They are beeautiful.  I should start a count for every bee pun I use in this blog.  I am up to three already.  Instead of posting every time I inspect the hive I will only bee (4) posting major milestones and notable events.  Everything else will go quietly into a new page of my website.  A permanent bee journal page will bee (5) up shortly.

Laundry Room Update

After moving everything back into the new laundry room I felt I had neglected a few small things.  The original light was a single bare bulb hanging from a fixture.  It worked, but didn’t provide any amazing lighting.  In comes the LEDs!  I picked up a big round LED light with diffuser cover and installed it.  Here is a before and after.

Afterwards the lighting was a lot brighter.  The top edges of the room didn’t get quite as much illumination, but walking in or working on laundry is much improved.  I had to upgrade the motion sensor switch to a mechanical relay version.  It was totally worth it the new one has a much better sensor than the old one, and you can set the leave-on time delay.

Lastly I think some zazz and sass were required.  Peeking on etsy (dangerous sight) I found this…

DSC_0410

Ah yes, NOW the laundry room is complete.  It is a 40″ wide wall sticker and fits nicely over the washer/dryer.  Also it fits nicely with our personality.

Ultrasonic Tool Cleanup

I have been doing a lot of old tool cleanup lately.  Maybe half of it ends up on my blog because I doubt anyone wants to see yet another number 4 cleanup.  My technique hasn’t really changed since I first posted about it.  Maybe there is a better way however.  Maybe the power of ultrasonics can speed up the cleaning of old tools a thousand fold!  Or not as we shall see.

My subject is a Number 9 1/2 block plane, a pretty common model.  I picked it up from an antique store for a reasonable price.  All the parts were present, but they were very full of dirt and rust.  Specifically the adjustable shoe was completely stuck.

Now previously I would just soak it overnight in the ole Evapo Rust.  This time I put it in an ultrasonic cleaner with Evapo Rust.  The results were…. CRAP!  After nearly an hour of going in an out of the cleaner I had what appeared to be a wet plane with ever so slightly less junk.  A bit of google searching seems to indicate that rust removal is a big thing with ultrasonics.  My cleaner is an old all stainless unit I got from a surplus place years ago.  Time for a shaming!

wpid-20150111_183914.jpg

That should teach it a lesson.  Oh well this block plane and all its parts completely filled the basket.  I would never be able to clean anything bigger.  So much for time saving technology.  A new large unit would probably due the trick, but those are expensive.  I should just be patient and let em soak overnight.

There we are, no rushing this process I guess.   I’ll leave the flattening and sharpening for a later date.  While I was working on my big secret woodworking project I might as well soak something else.  I got an mixup of heirloom twist bits and brace accessories over christmas.  They look rough now, but a trip through the Evapo Rust cures all!

After the rust bath a soaking in WD-40 and a quick scrub with a scotch brite pad does a good job of getting into the twist areas.  After the block plane, the twist bits and another small project the tub of rust remover was starting to look like the black lagoon!

wpid-20150111_183941.jpgThe liquid is completely opaque.  I hope that in a few days the sediment will fall out to the bottom and leave a clearer liquid at the top.  If not, I will pour it through a coffee filter to keep the junk from contaminating my main supply of Evapo Rust.

Hand Grinder

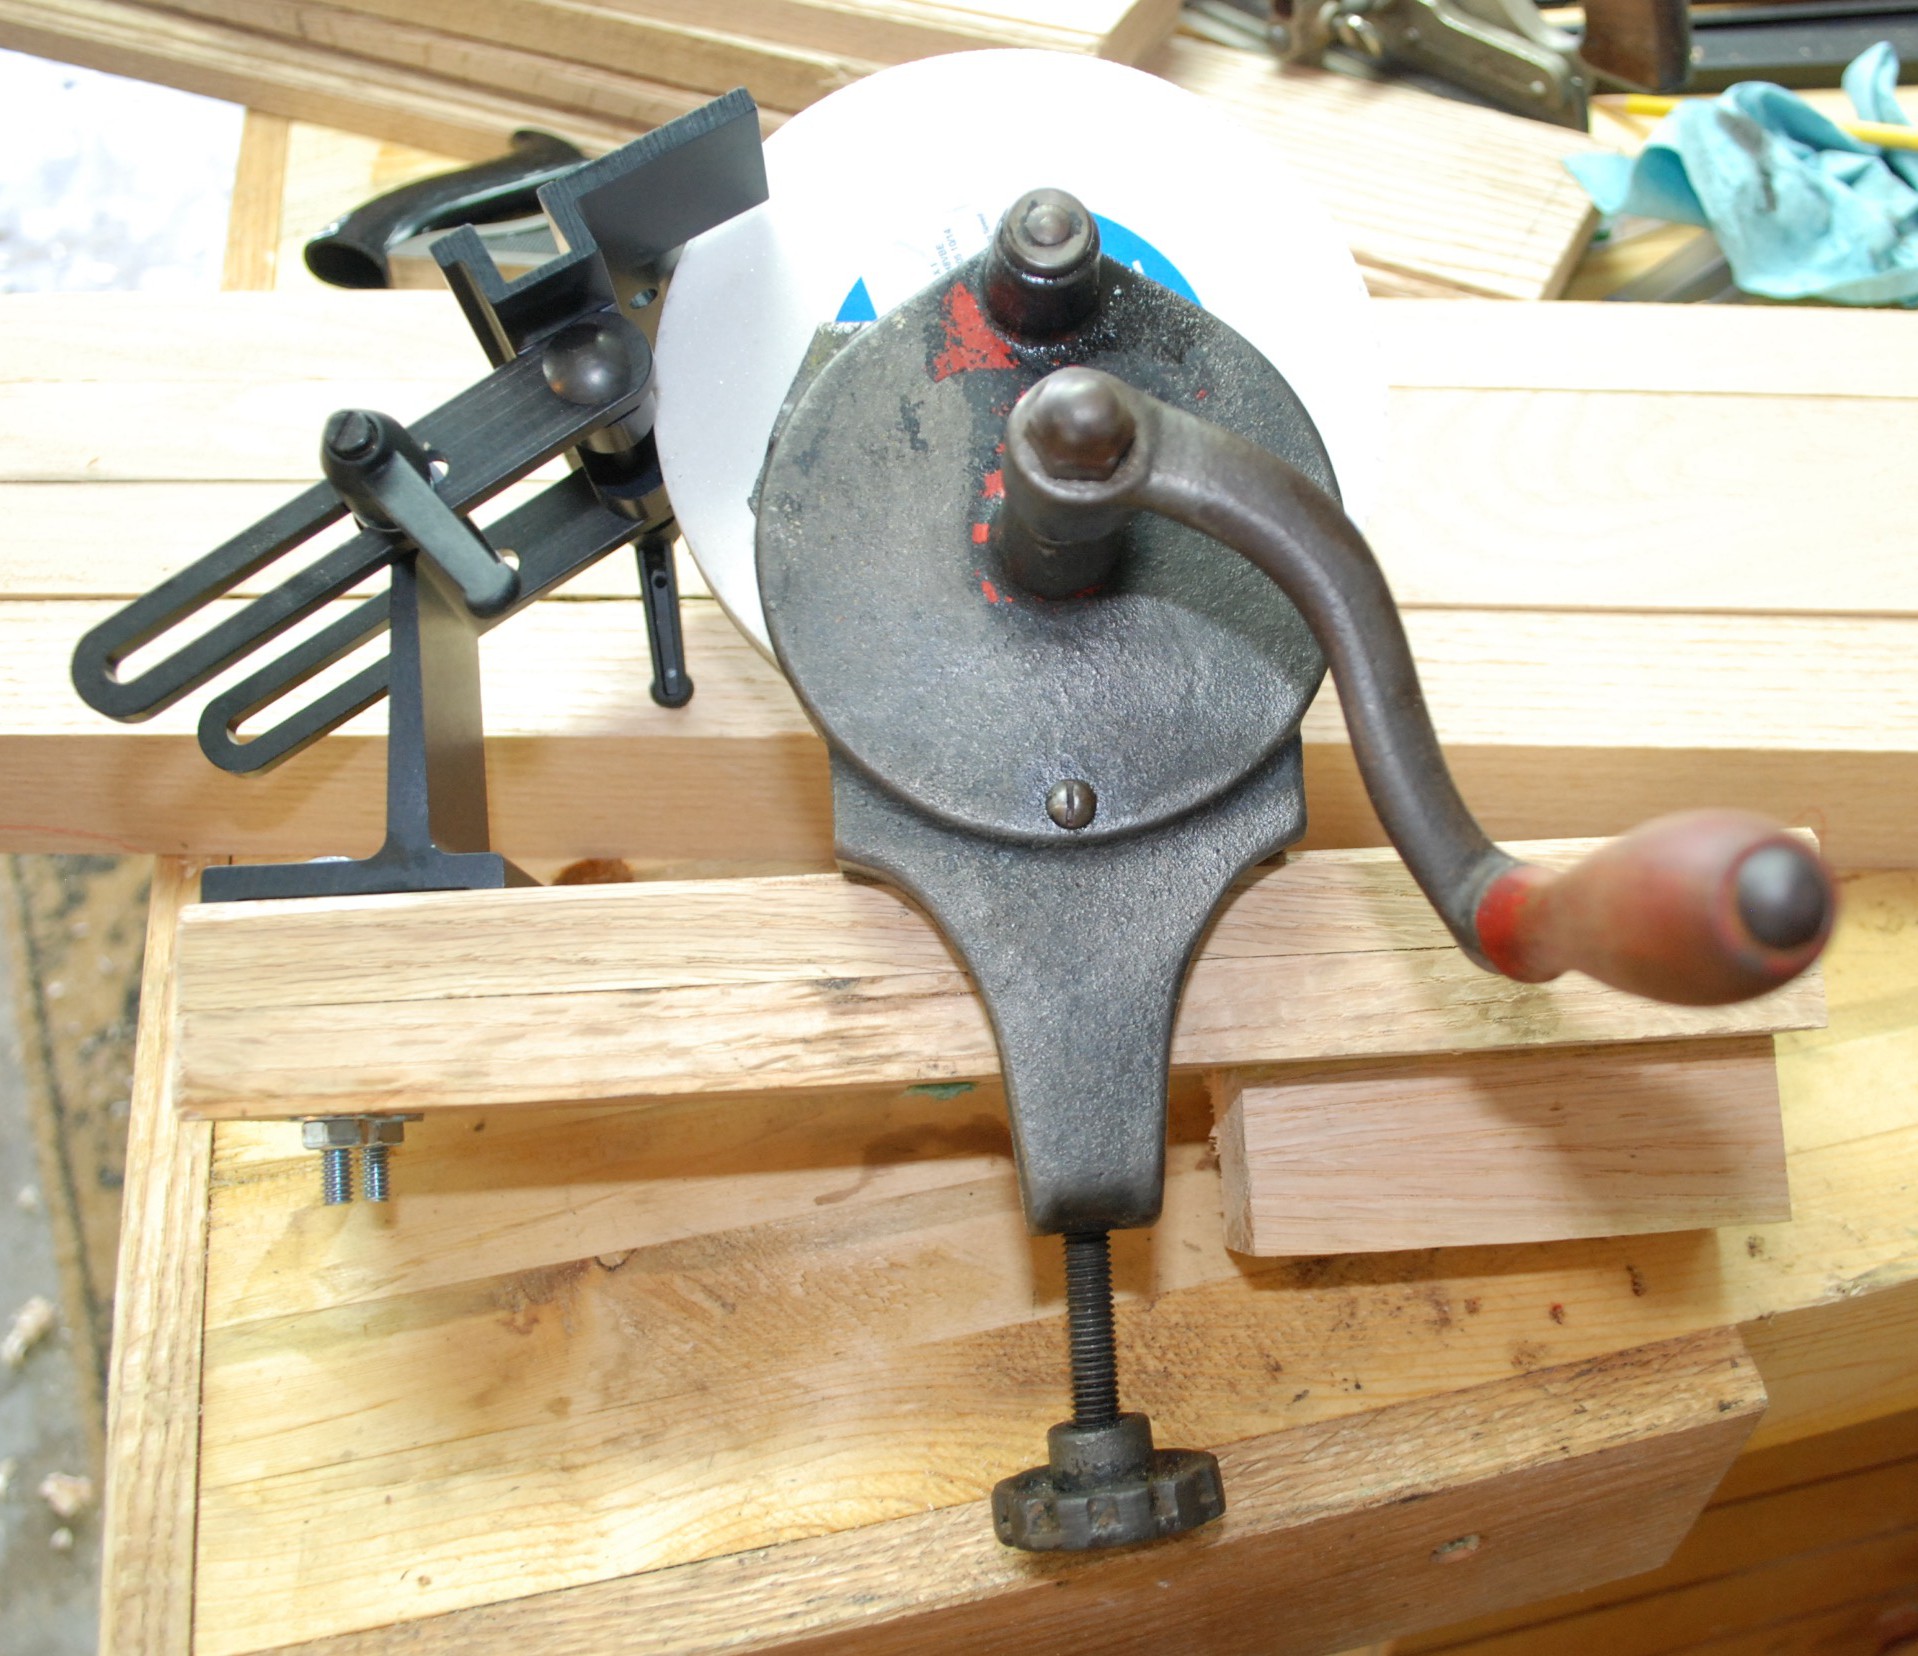
As part of a big haul of heirloom (my great grandfather) tools I got a hand grinder.  It will hold a 6 inch wheel, clamps to a surface, and gets powered by tacos and coffee.  Gorgeous!

DSC_0398 Resized

It was pretty dirty when I started in on it.  A little brushing with a brass brush got rust and dirt all over my newly cleaned work top.  So much for a pristine work surface.

DSC_0399 Resized

I didn’t really bother with any rust conversions.  It wasn’t very rusty, just mostly dirty, and I was worried about getting wet stuff into a nook and not being able to get it back out again.

A flat piece of wood with a nice cleat attached served as a good base to clamp to.  I started with a single layer of oak, but later doubled up because it warped too much under heavy grinding.

DSC_0403 Resized
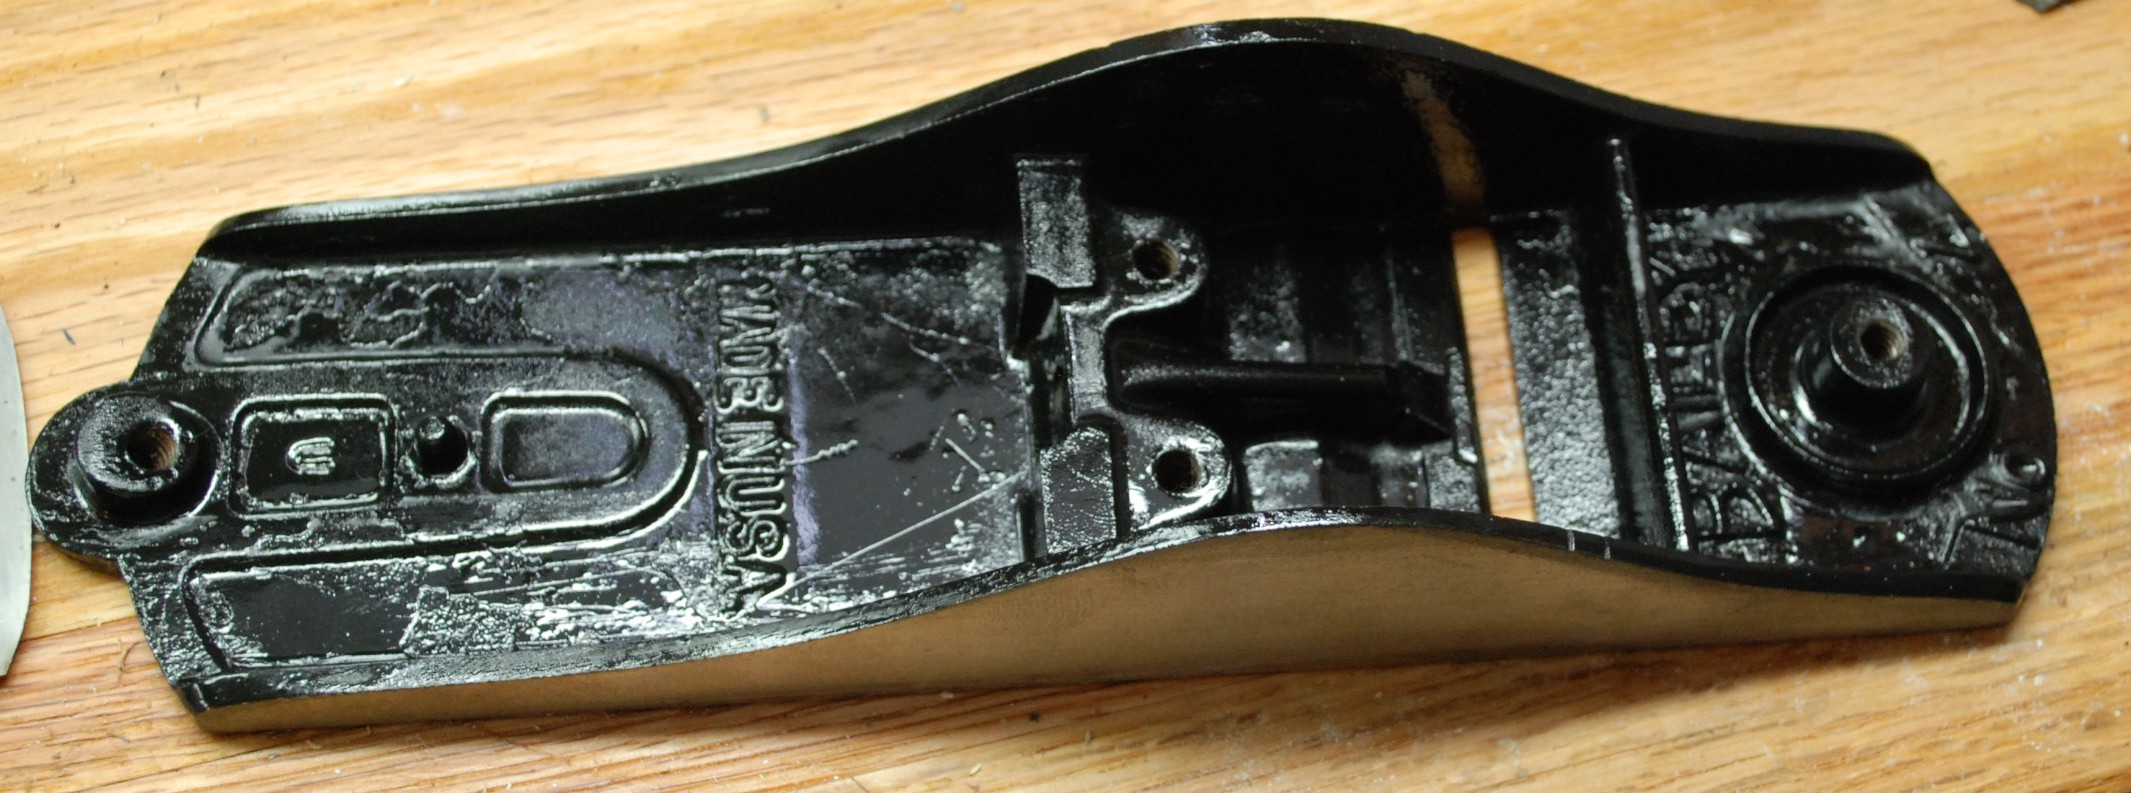
Time to accessorize!  I picked up a grinding set from lee valley.  The veritas set came with a soft 150 grit cool grinding wheel, Adjustable tool rest, blade holding jig, and angle setting guide.  I have to say it was pricey but feels really well put together.  Link to the product.

DSC_0023 Resized

I had to cut off the loop that would hold the original tool rest.  It was a simple right angle bit of metal with a screw to hold it in place.  With this upgrade I don’t think it will be missed.  To test it I pulled out an old Ohio Tools chisel.  It was part of a small lot purchase from ebay.  I really wanted the mortise chisel but wasn’t sure what to do with this guy.

DSC_0024 Resized

Still, no reason to get rid of it.  Ohio Tools made good stuff, and it was a socket chisel.  Instead of making another bench chisel I could use a skew chisel.  I don’t own any, and this guy requires a lot of grinding no matter what.  Lets get it clamped up and going.  The blade holder jig has pins that help hold the blade either square or at a 30 degree angle.  Handy for grinding a skew!

I was able to keep a finger on the back of the blade and control pressure while feeling for heat.  The slow speed and a close finger meant that heat damage was not an issue.  The whole process took a while.  150 grit leaves a great surface that will only need a bit of work at the stone, but moves slowly when trying to make a radical change.  I might use my power grinder to rough in something like this next time.

DSC_0029 Resized

A somewhat shiny new skew chisel for me all by hand, what a great feeling.  It is so satisfying to take old misfit tools and give them a good home.  Well, more of a work home.  No rest for the wicked!

As I mentioned earlier the single board was not stiff enough under heavy grinding.  The gearing ratio means it takes a good bit of force on the handle to keep the wheel spinning quickly.  I glued up another layer and put everything back on.  A quick test showed that this was what the doctor ordered.  Very stiff and very ready for its next job.  The whole thing sits on a shelf and gets clamped into my front vice when needed.

DSC_0034 Resized

Scrub Plane Conversion

I have heard a few including Paul Sellers endorsing the use of a dependable number 4 as a scrub plane.  The suggestion is to grind a good camber on the blade, open the throat a bit, and back off on the chip breaker.  I don’t have a scrub plane yet, so it is time to press an old plane into new service.  There is a big woodworking project coming my way, and a scrub will come in handy.

My subject is an old Stanley No. 4.  I picked it up from ebay and did a rough job restoring it back in the day.  It was my first plane ever, poor thing.  In addition to a scub conversion I wanted to try repainting them.  The black coating on hand planes is called japanning.  The process is a little lost, but some have come up with similar modern substitutes.  I might get into that at some point, till then, I am going with a very modern alternative.  One of my work friends has had some pretty good results using engine enamel.  This is the tack I will take.

DSC_0397 Resized

The plane got cleaned and scrubbed as much as possible.  A lot of the original japanning still remains, so this might not be the best candidate.  With the dirt and loose pieces off I taped the sides and plugged all the holes with cut up q-tips.

DSC_0405 Resized

The results were ok.  I only used one coat and didn’t bother with the primer.  Next time I will scrub more of the paint off and do multiple coats of enamel.  A lot of traditionalists will probably be unhappy with the paint, but rust is a real issue around here.  Time will tell if the coating holds or not.  Till then, lets move on to the scrub portion of this show.

DSC_0404 Resized

I used a 3″ radius to set a pencil line across the back of the blade.  Free handing on the power grinder got the shape close.  A camber roller on my veritas sharpening jig helped hone the rough shape into a nice edge.  The frog mating surfaces got their paint sanded back off, and the throat was filed to allow a bit more clearance.

Assembling the whole thing with the chip breaker moved way back I find a bit of a problem.  The depth setter doesn’t fit well with the chip breaker set so far back.  I could try to grind the chip breaker’s edges a bit to get it all to fit better but I will hold off.  That would be a point of no return.  Tapping with a brass hammer will have to do.  Let’s try it out!

DSC_0407 Resized The planing results were pretty good.  Setting the depth is a bit tricky, but it appears to work as advertised.  Working diagonal to the grain I get thick short curled shavings.  You could thickness a board faster than with a standard jack and trim an edge down in short order.  I approve.

Vanilla Extract Starter

I gave away some Vanilla Extract for Christmas, and it was pretty popular.  I ran out of my 4 month batch pretty quickly.  I almost broke open the second pint slated for 6 months, but was able to hold off.  Next Christmas there will be enough for all!

The first batch was small and before my blog, so lets get bigger!  The golden ratio is 1 ounce of vanilla beans to 1 cup of vodka.  B grade beans offer a more robust flavor, and a good clean multiple distillation vodka shouldn’t impart anything extra.  I learned the basic technique from Vanilla Review.  You can do it too, in just a few easy steps!

1.  Obtain vanilla beans, jars, and vodka.

DSC_0003

2.  Cut vanilla into small segments.  (finger for scale, 4 ounces pictured)

DSC_0004 Resized

3.  Place bean fragments into jars.

DSC_0005 Resized

4.  Fill with vodka, and seal.  A date label is useful.

DSC_0006 Resized 5.  WAIT!!!  Unfortunately, this is the hard part.  My 4 month batch turned out pretty well, but I really want these to go the full 6 months.  Occasional shaking is required.  This batch was with 8 ounces of beans going into two quart jars filled to the top with vodka.  Check back in 6 months for the extract reveal.