I shoot all the photos for the blog on an older nikon DSLR. The flash I have works great, but is not the typical form factor. It makes adding a reflector really difficult. Someone sells a reflector online, but it is more than I am willing to pay.
Although this post is about a photography accessory I felt a video would best explain the whole situation. In comes Mr. GoPro. Sadly my D80 does not support video capture. Maybe someday I will upgrade.
Now that the concept is out there a demonstration is in order. I find that doing a bounce of the ceiling takes care of 95% of my shots. Sometimes there is a lot of contrast, or for some reason a bit of fill lighting is required. That is where the reflector comes in. As you angle it forward, more of the light is directed forward instead of up.
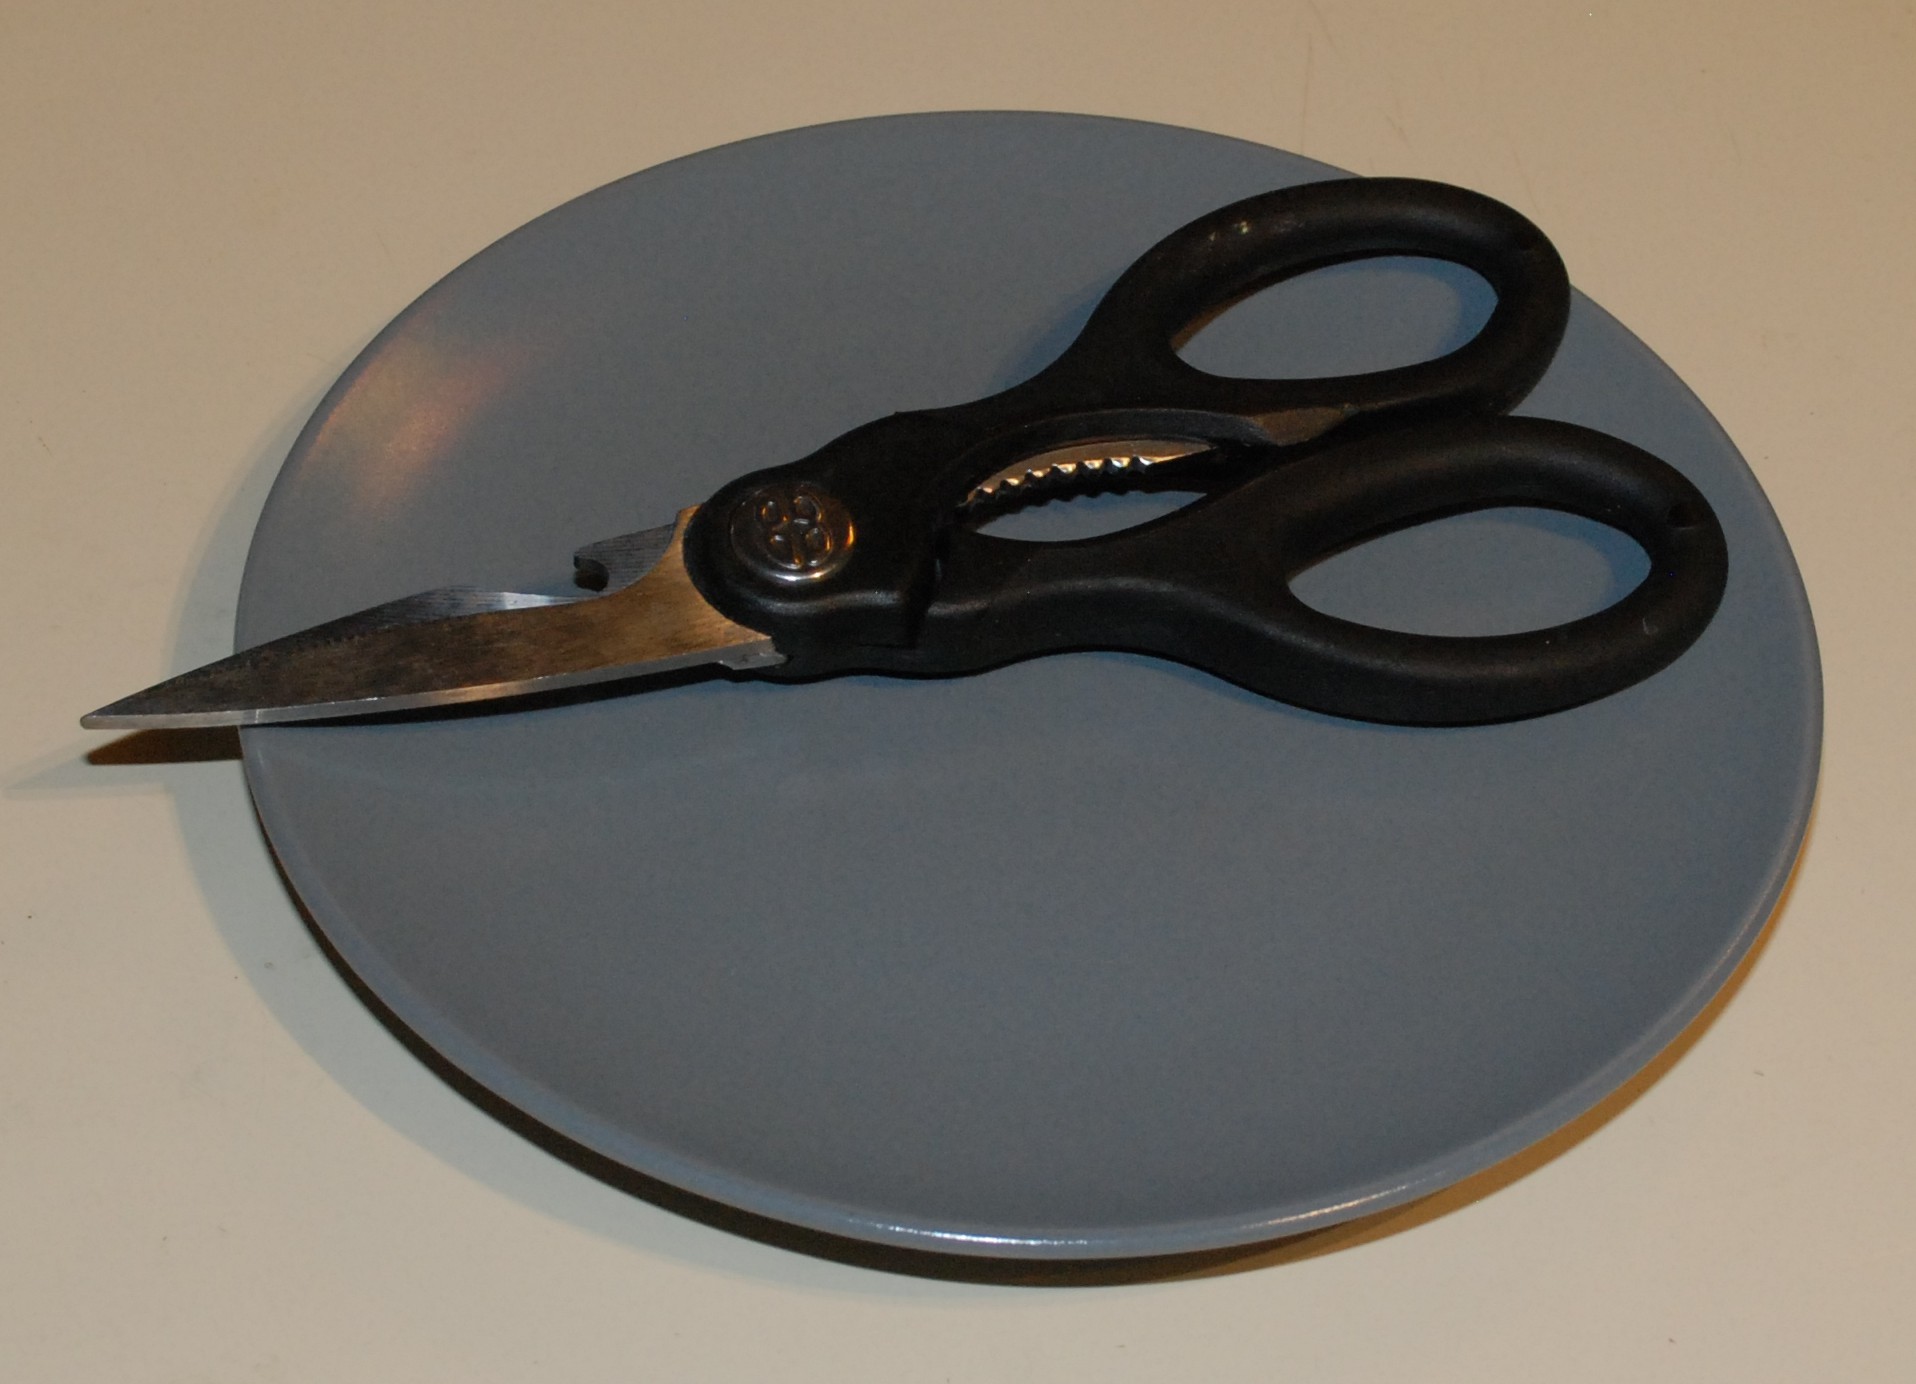
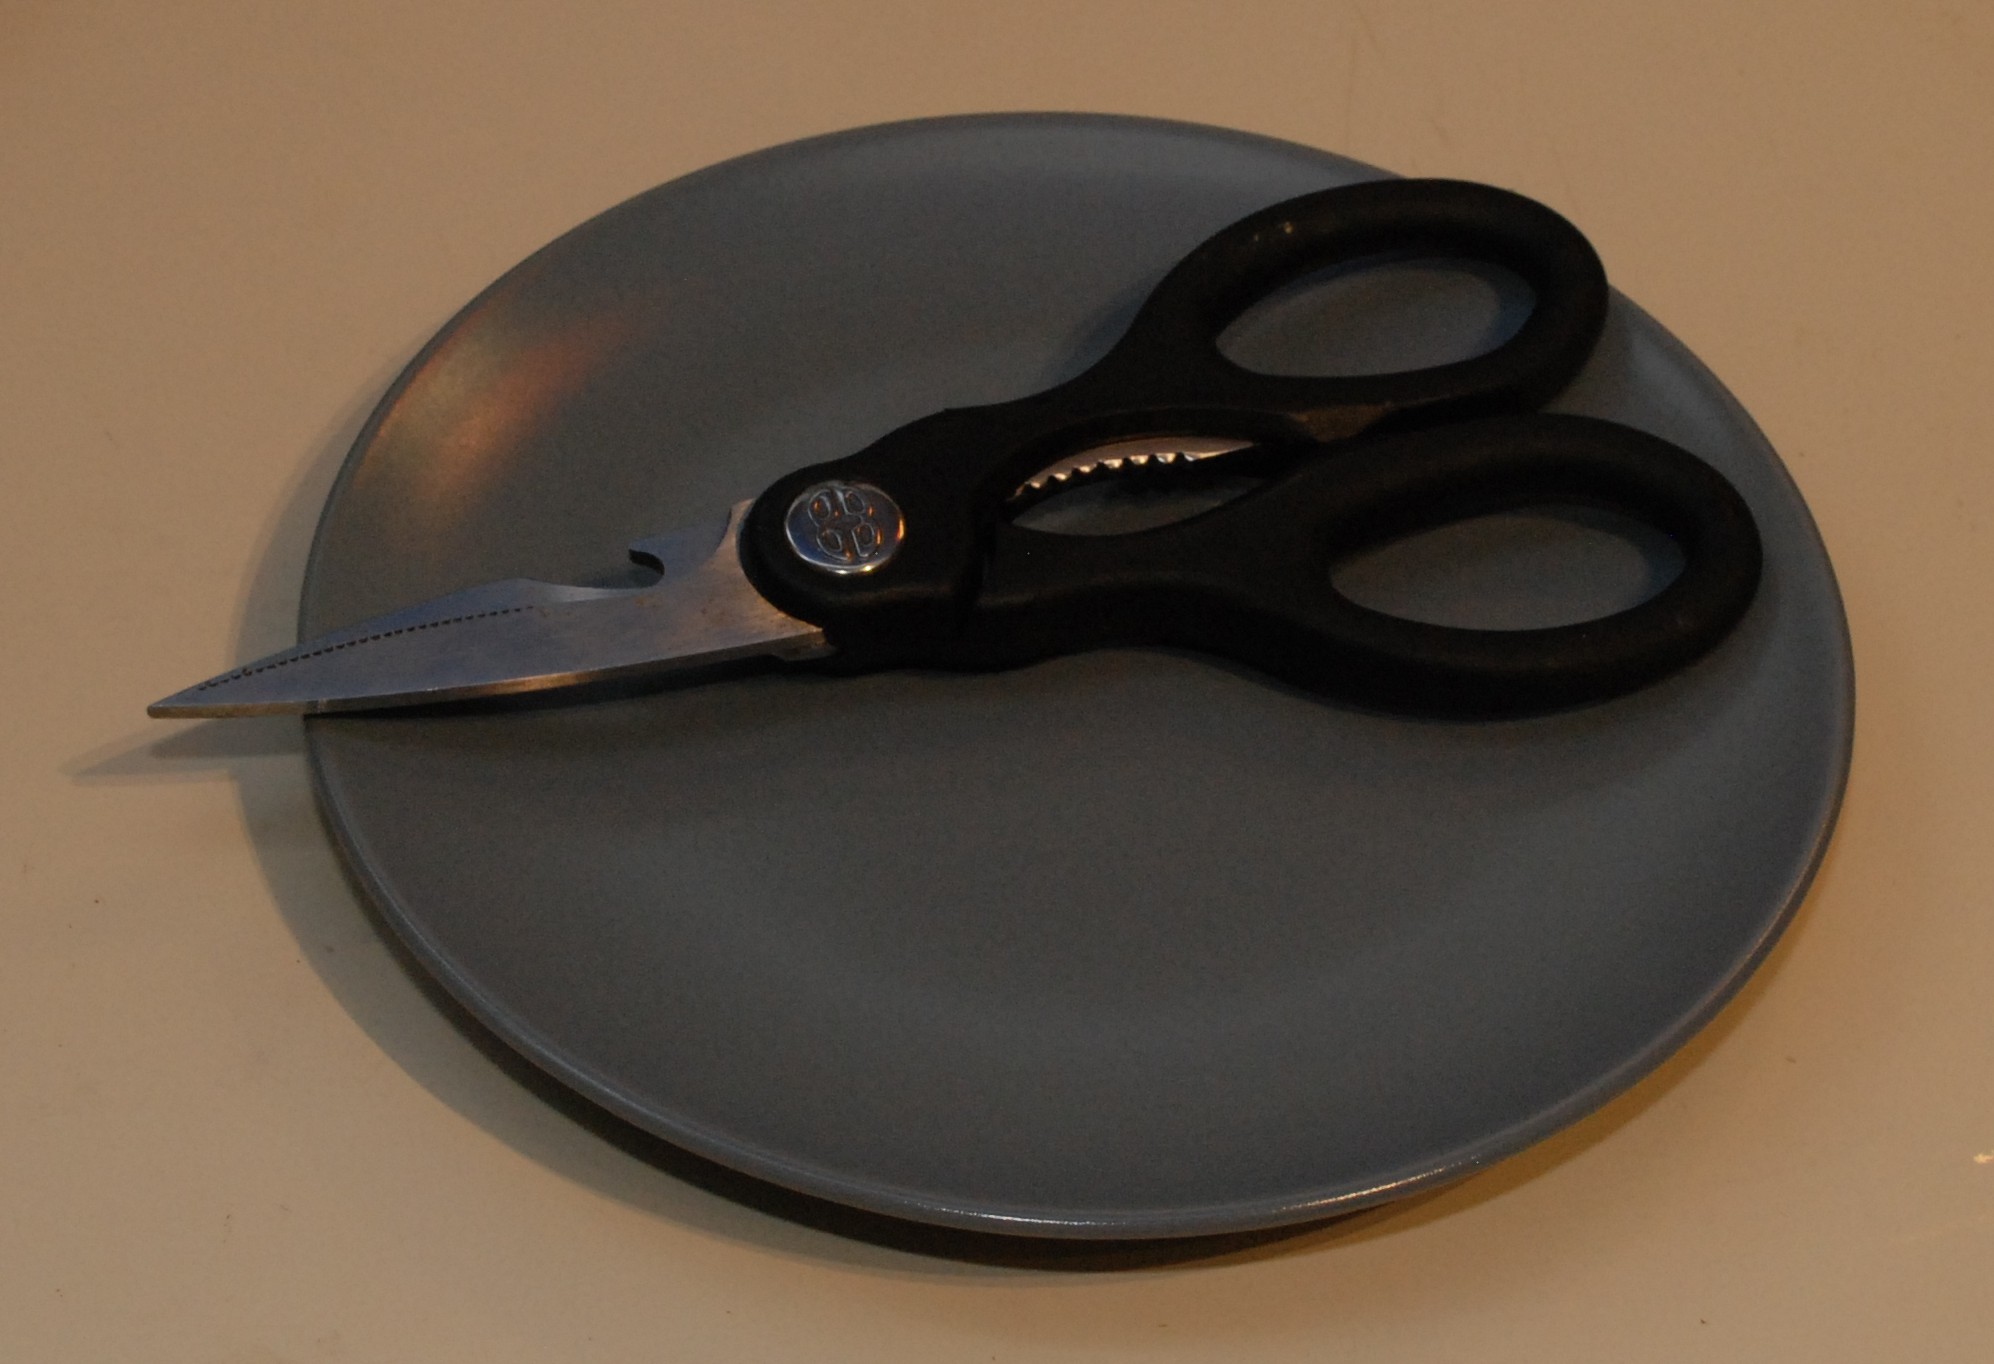
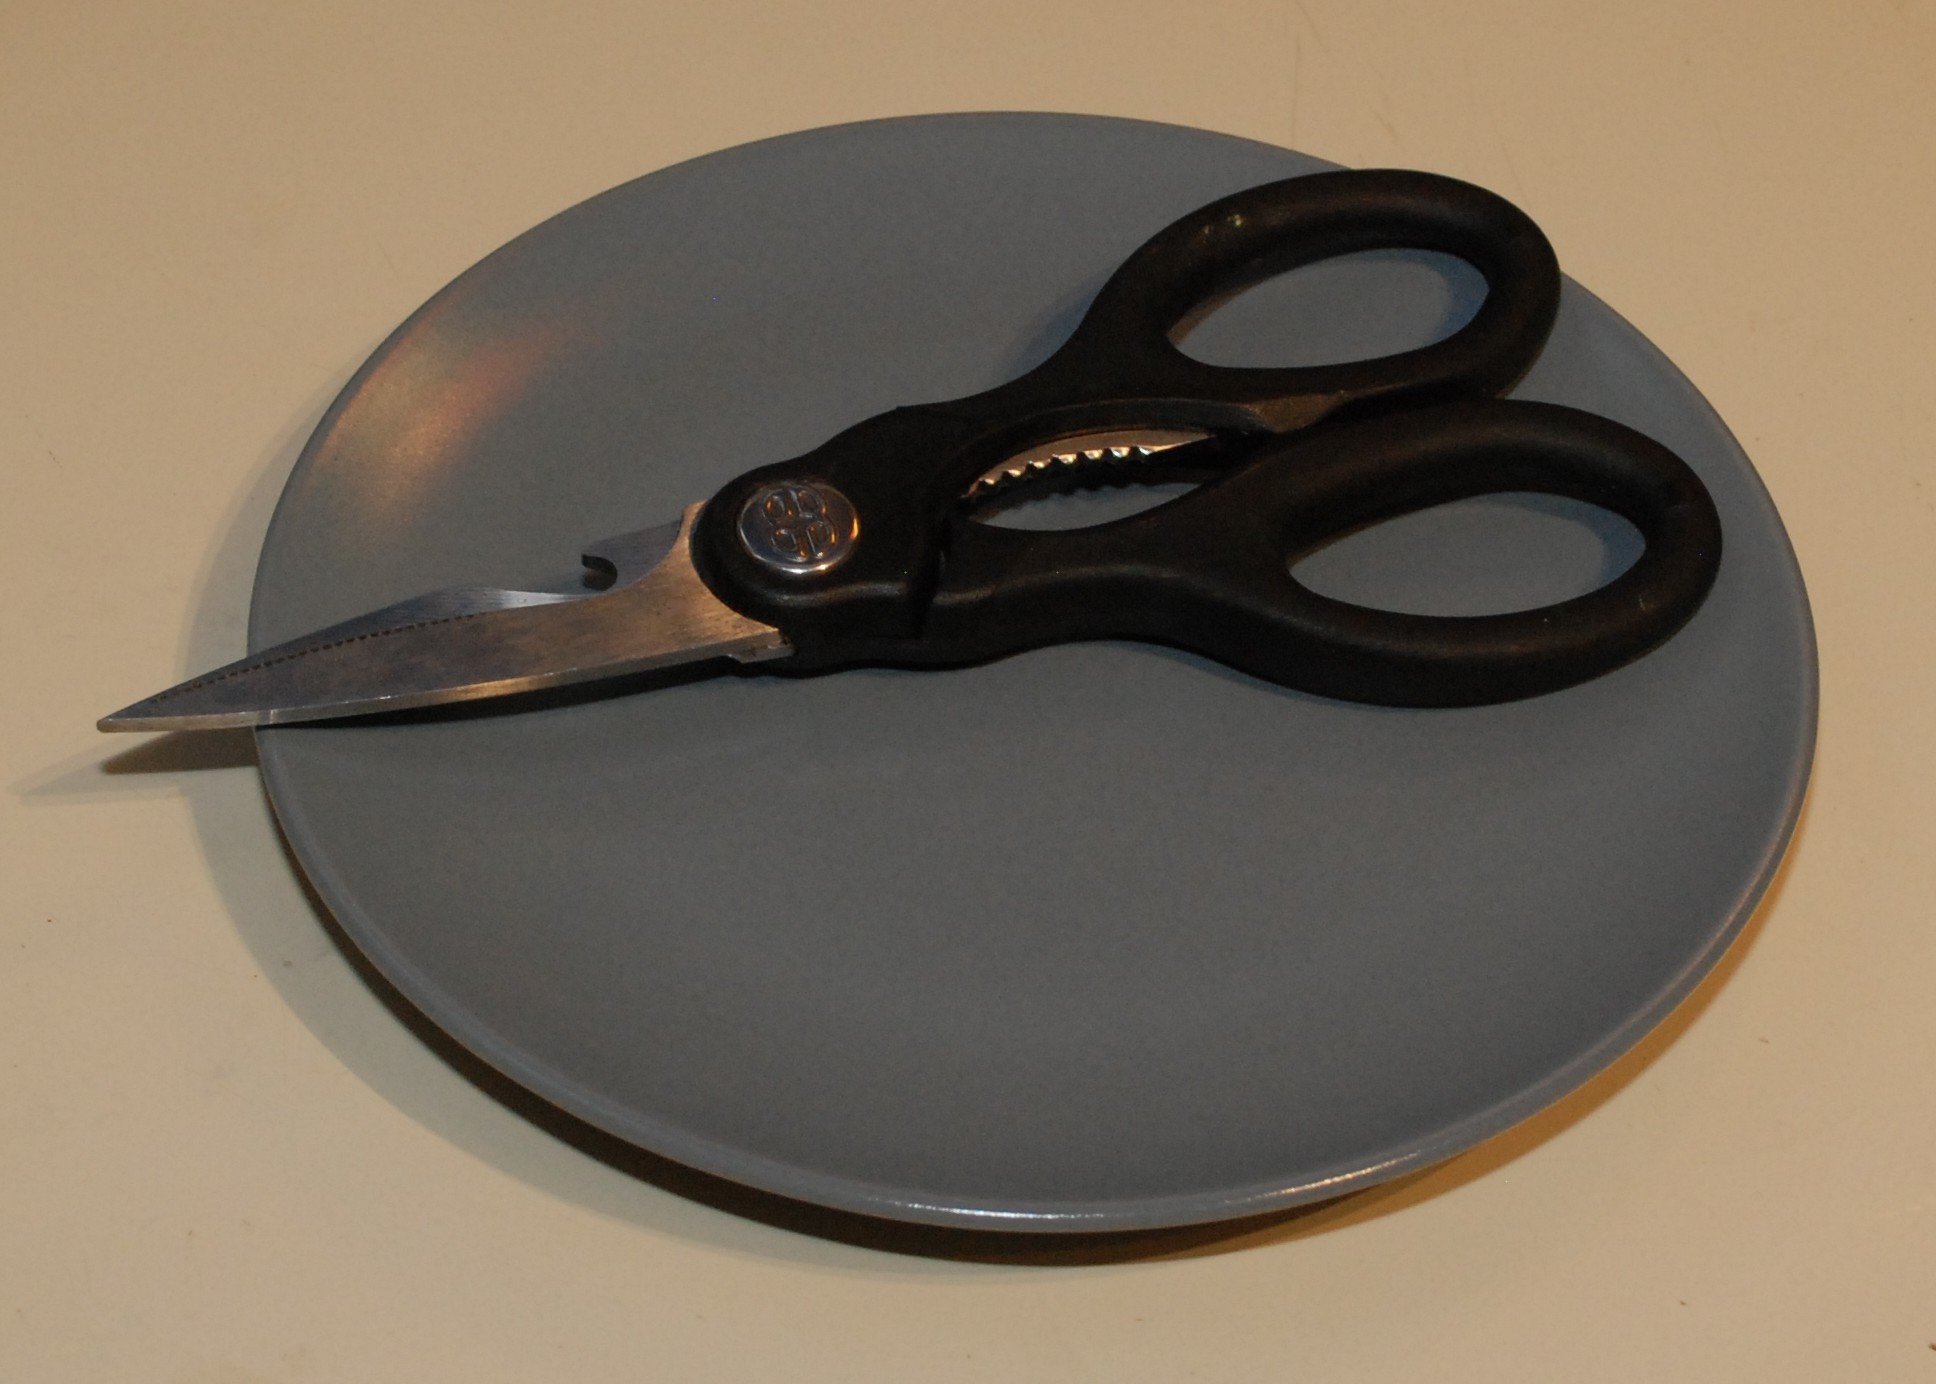
For whatever reason my kitchen has the worst results with bounce flashes. Below are 3 shots done with the flash facing forward, up for the bounce, and up with the reflector. There isn’t a huge difference in the forward and reflector shot. The contrast isn’t so extreme, and the shadows are nice. I used a bit of white paper on the reflector. A grey sheet, or more diffuse surface maybe in order. It will probably take a lot of experimenting before I am happy. Still, as a mechanism the reflector works great!
One of the steps of saw sharpening is getting all the tops of the teeth even. If one tooth is taller than the others, it will catch. Shorter teeth will not do anything cutting at all. This job is accomplished by running a file across the tops of the teeth until you have hit them all. Not too hard to do by hand, but a jig helps. Many were sold back in the day, but they are pricey now on ebay. No matter, I will build one. Here is my file and wood of choice.
I cut a section off, and carefully cut a wedge shape about 3/8″ into the maple. The waste was zipped out with a narrow chisel. Now the file will fit inside nicely leaving room for a wedge to firmly hold it in place.
Cut edges with saw
Remove waste with narrow chisel
File fits nicely
I had a thin piece of walnut that would work perfectly. The only trick is that tapering such a small piece will be difficult. I found that my scrub plane worked really well across the grain. I held it just a little proud of the vice and slowly carved away till I had the desired shape.
To use, simple wedge the file in gently with the walnut, and then run along the top of the saw teeth.
A perfect scrap creation for an everyday woodworking problem. Now to buckle down and actually do all that sharpening. But first
Saw Nut Driver
Most saws use split nuts that standard screwdrivers make a mess of. The slot is very narrow. I have seen people convert old spade bits into split nut drivers. That sounds like a good plan, but requires oodles of grinding and the sacrifice of a bit. Instead, I took a recently reclaimed piece of saw blade and made a driver bit. The blade is thin and hard, but too flexible to make a long driver. Short and stubby should be just fine for this task.
I used a hack saw to cut the part out. It took two blades to finish. I would recommend using some kind of cutoff wheel for anyone looking to make something out of saw blades. At any rate, the bit works like a charm. Some of these nuts were damaged and difficult to turn even with a good flat ground screwdriver. The homemade bit works great.
Now it needs a nice handle. I did a quick run on the lathe and came up with this handle. The tenon had a slit sawn down the length to help seat the metal bit. The brass made everything so tight that I couldn’t pound the bit in as far as I had wanted. Oh well it is very suck now. Not quite centered either, but nothing I can do about it.
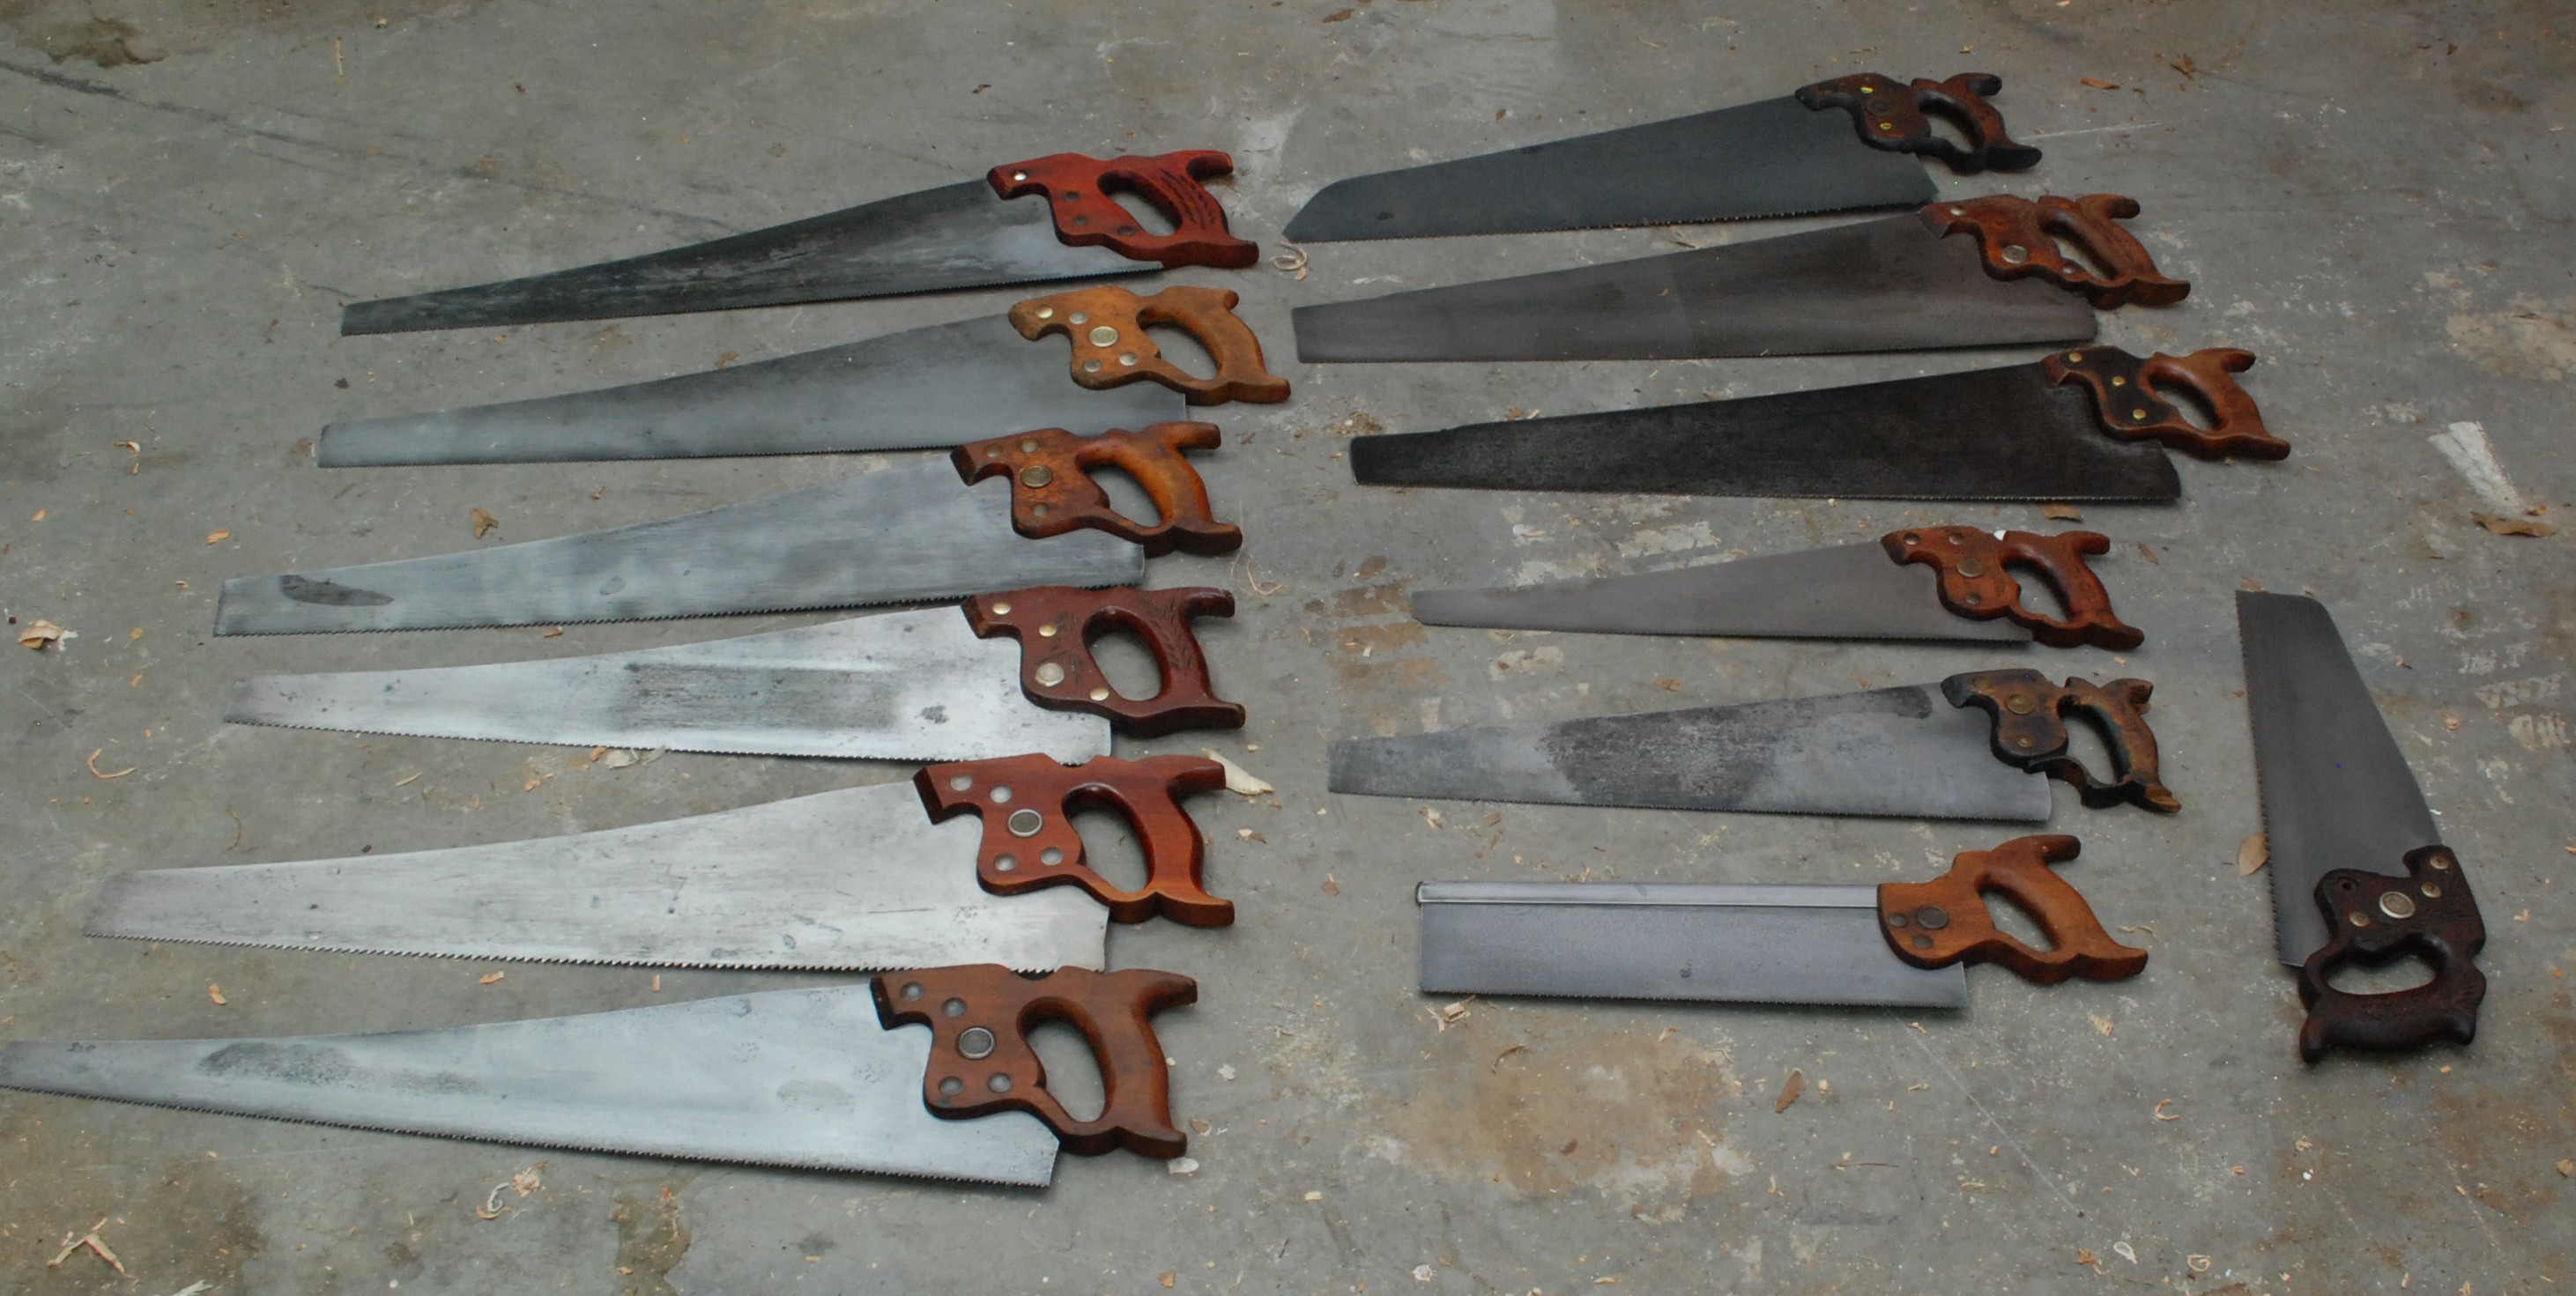
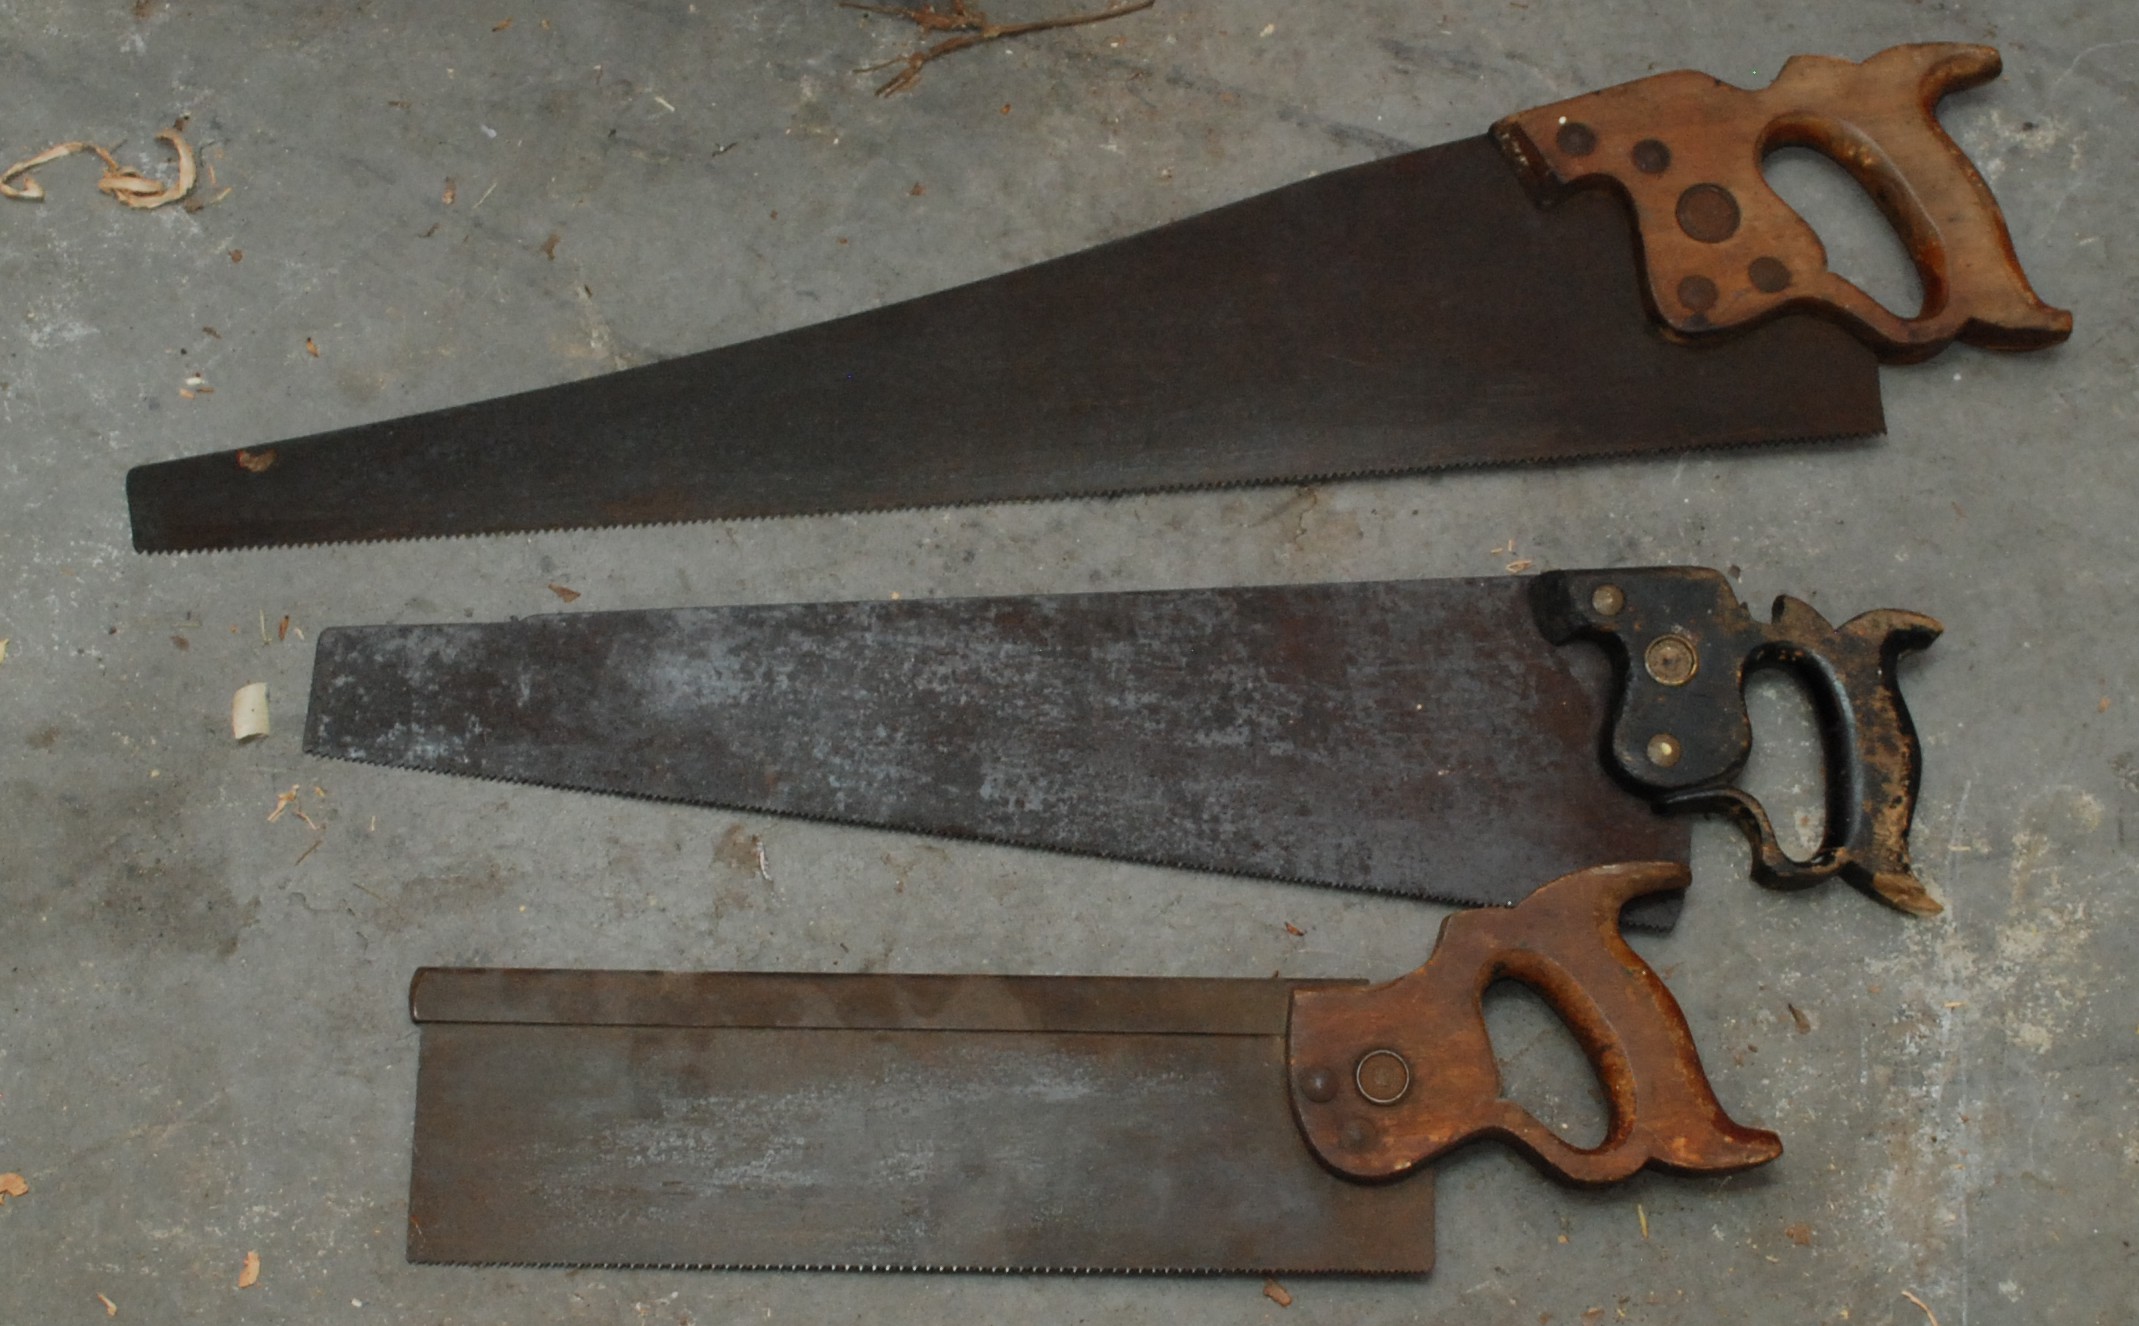
I finished my last round of saw renovations, and have ended up with a serious collection of panel saws. Some were dropped some where chopped, but most made it through in decent condition.
In all I did a major restoration on 3 sets of saws for a total of 9. Some of the ones pictured above were purchased in pretty good shape, and didn’t need any serious restoration work. Sanding all those saws was messy work and left my fingers stained black. Luckily I put down a sheet of particle board to protect my bench. I guess gloves are in order next time. After 9 saws, the rust remover bath looks like used motor oil.
I like to think that after all the neglect these saws are happy to be back on the job and free of decades of rust. Look, they have even taken up synchronized swimming!
The last set of saws came from a really cheap lot purchase. Any buy from ebay can be a crap shoot. It is hard to tell quality from the pictures and sellers rarely take a picture down the length of the saw blade to show bends. Still, for 15 bucks for the three, I am willing to take my chances.
Before
After
Unfortunately the top most saw, in the left hand picture, was beyond saving. I couldn’t get past the heavy pitting and bends in the blade. I disassembled it and will keep the parts for potential future repairs of other saws. If I could find another medium sized backsaw or two and a good miter box/saw my collection would be complete… yeah right!
The Summer Saw Stravaganza continues. I took another set of three sad looking saws and gave them a run through the bath.
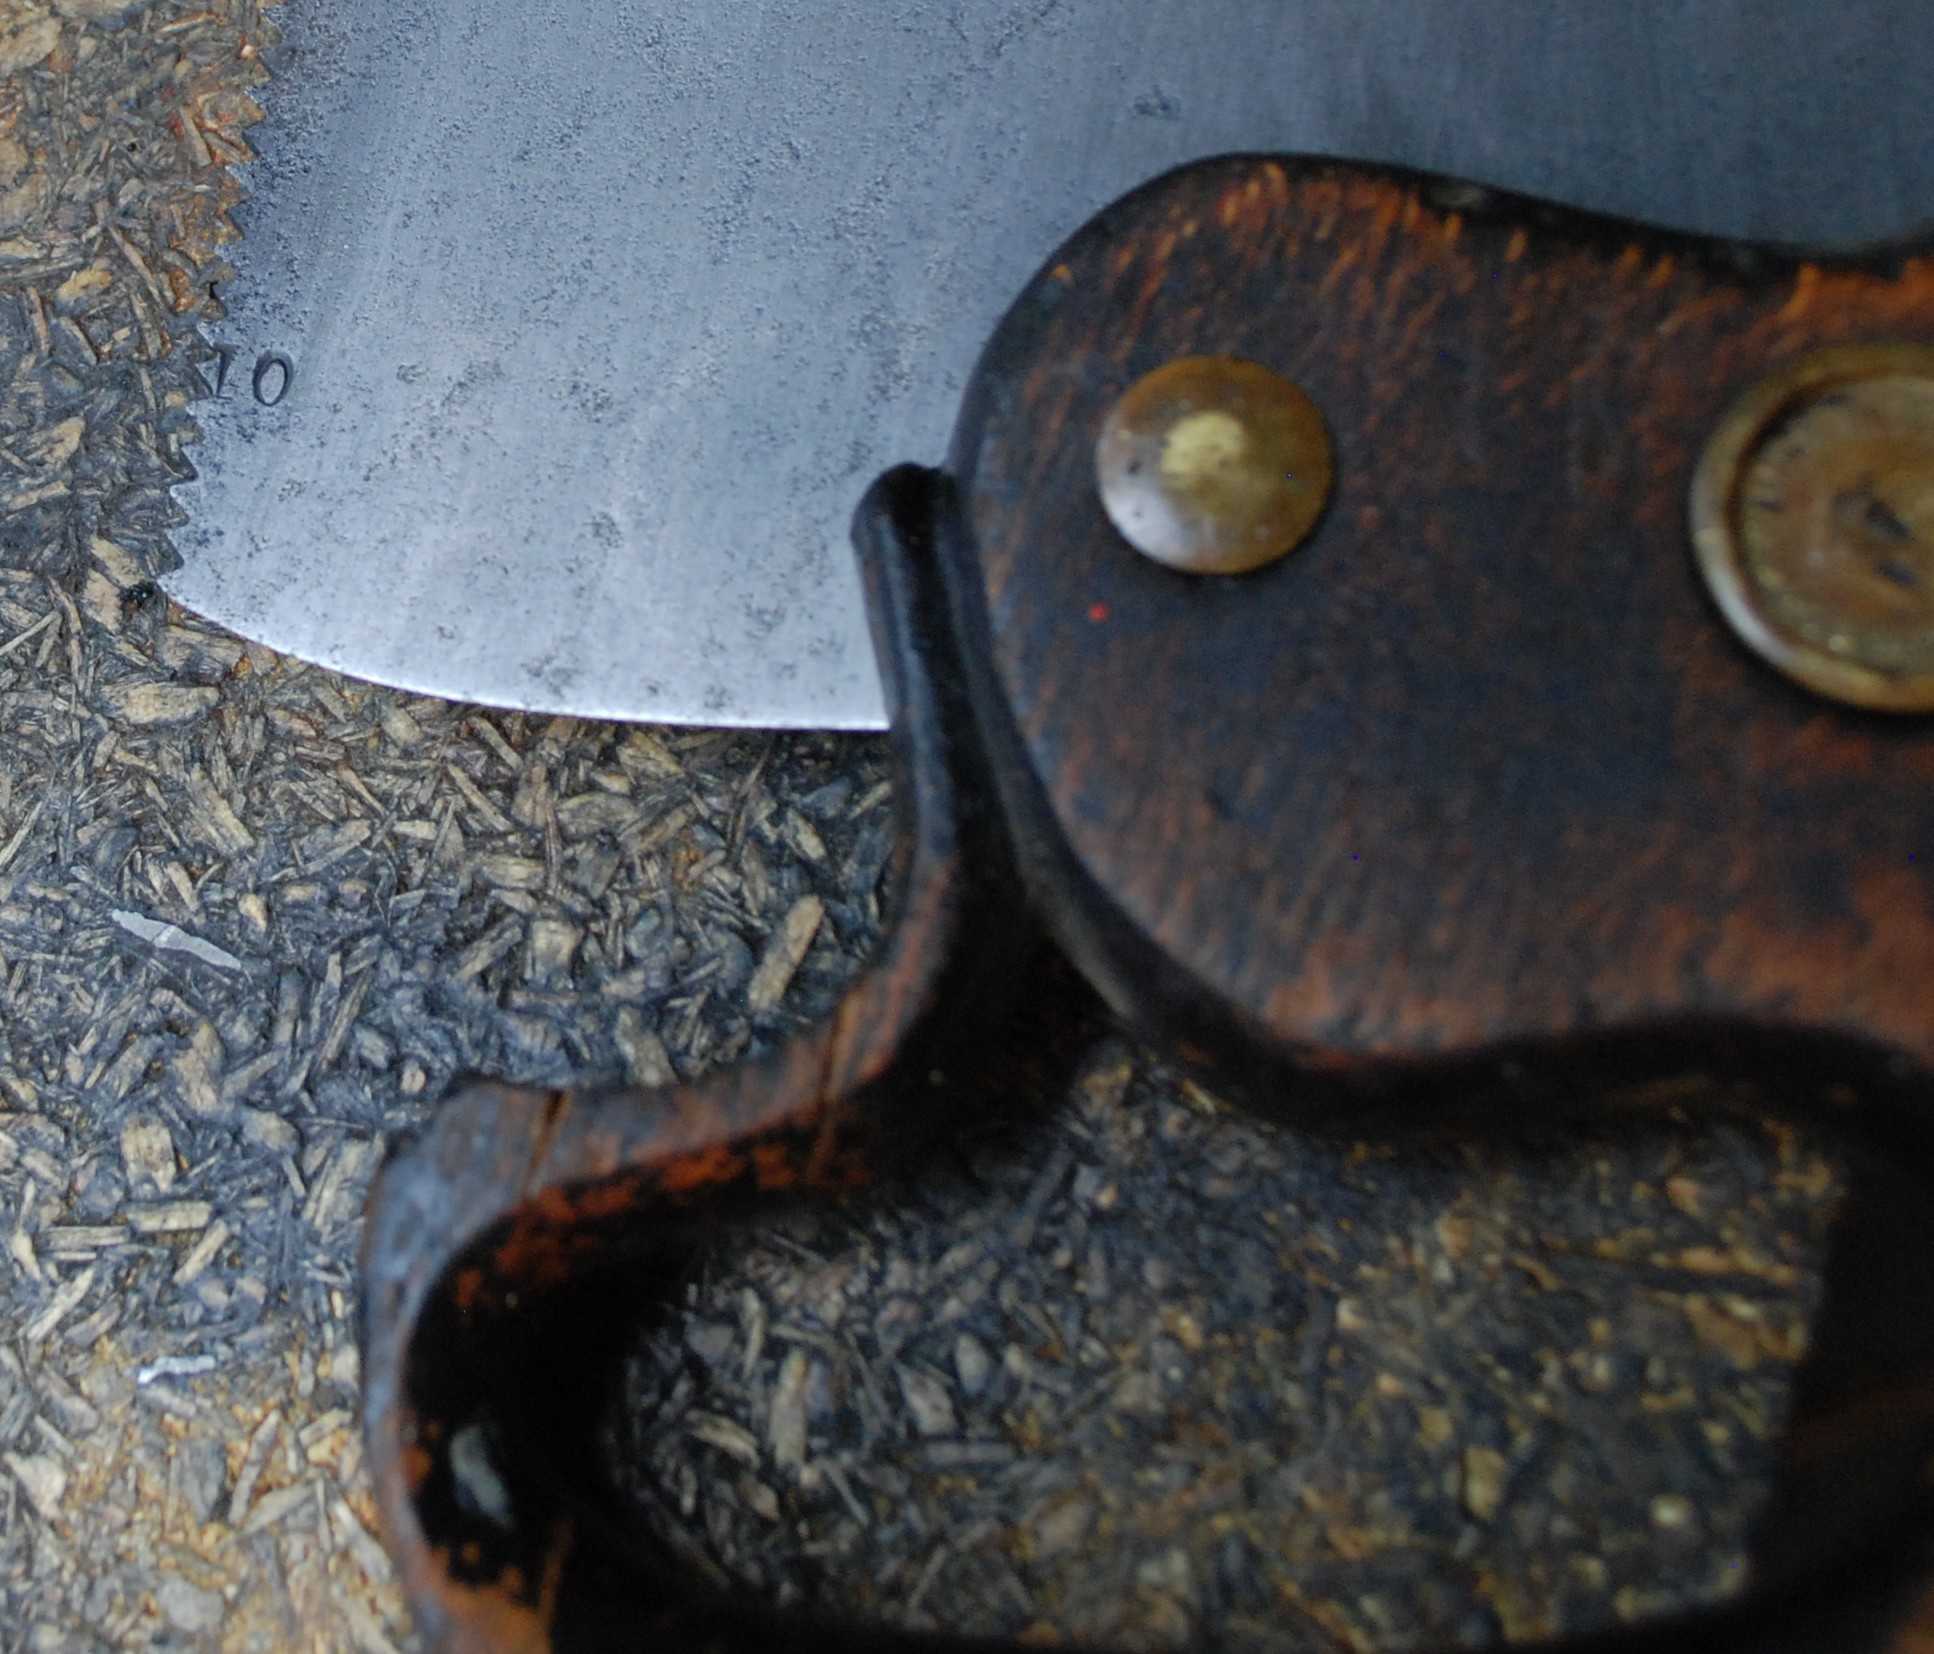
The saw in the middle is a real mixed bag. It is very old and has a nicely carved handle. On the other hand it is badly rusted and pitted in places. Looking at a close up of the blade you can see two neat features. First, that carved dip of the handle as it comes around your little finger to meet the plate again. That is called a lamb’s tongue. Totally for decoration. It needed some gluing back together.
The other is that number 10 near the teeth of the blade (left side of picture). You can barely see the 1. They would typically stamp the number of teeth per inch there on the blade. The trick is it was usually 3/8″ or further from the teeth. This saw has seen a lot of use and resharpening.
Like last time the saw plate got a bath in Evapo-Rust, the handles got sanded and a coating of boiled linseed oil. The middle saw needed a little banging on my anvil to straighten out, but it looks quite true now. The transformation was quite stunning.
The only thing that has me worried about these saws is the heavy pitting on some. A saw should be tapered, wider at the bottom than top, and will have the teeth flare out (called set). This means that only the business end should really be touching the wood. That having been said, the plate is going to do a lot of sliding in the cut, and a smooth plate will slide better than a pitted one. I really hope they work out, these saws are gorgeous, even with all the pits and stains.
We placed a new super on the hive back about a month ago. The second super had been growing rapidly and was beginning to look full. Two weeks later they had packed another 10 pounds in the first super but had done nothing with the second. Check out the weight plot from then.
The naming might be a little confusing. I started numbering the boxes at the beginning. 1 is brood, 2 is the first super, 3 is the second super we put on. I wanted to keep them all numbered so in case I got a second hive I could track the history of each box.
See, the second super got ignored while the first one went gang busters. That was until it was full. Frames 2-9 are packed and capped. 1 and 10 are full on the side facing in, but untouched on the outside face. They had filled everything with drawn comb, and came to a complete stop. After a week or two of screwing around we decided checkerboard a little. I took frames 1 and 10 from the first super and placed them rotated in the second one.
A later check showed a little more activity upstairs. The state inspector said that sometimes spraying simple syrup on new frames will help them with acceptance. I tried that on frames 2-6 of the top super. A week later the results were in. Though they hadn’t started storing honey they were finally drawing out a ton of comb. The unsprayed frames didn’t have much going on. I don’t know what the issue was. The materials for both supers were bought at the same time. They took to the first in no time flat while the second one was chopped liver!
In conclusion, spray all the frames with a 1:1 syrup mixture before introducing them to the hive.
I purchased an Anova cooker a few weeks back, on their father’s day sale, and have been sous videing up a storm. Is that how the verb form works, sous videing? At any rate the unit is quite impressive. It can heat up a large quantity of water quickly, and keeps it at a very stable temperature.
Initially it was a few degrees low compared to two different meat thermometers I had. Luckily there is a straight forward way to alter the calibration. See the instructions for details.
One interesting thing is that unlike big professional models, this one is placed in a container of your own choosing. I have used two different crock pots, and a large polycarbonate container to cook in. That makes it really flexible for doing either two pork chops, or a pile of food. I clocked the unit while it was heating up these various amounts of water and came up with a few pre-heating times. Times will vary depending on container and starting temp of the water. Around here it is nearly 80º.
3 quarts: 145ºF in 13min, 167ºF in 20min
5 quarts: 145ºF in 25min
8 quarts: 140ºF in 30min
8 quarts is a pretty good amount of water to heat up that quickly. I was surprised. In my first run with the full sized polycarbonate bin I filled it to the max. A good sale at my local market resulted in a pile of chicken and pork chops. I pre-seared the pork chops and some chicken before they went into the bath. The rest of the chicken got various marinades. I was able to fit 10 pounds of chicken (before trimming) and 8 big pork chops in the large container.
In all I have cooked chicken breasts, pork chops, pork tenderloin, buffalo burgers, scrambled eggs, and steaks in the sous vide. Everything, eggs somewhat excluded, has turned out to be some of the best I have ever made. I would highly recommend this method to anyone interested in taking the plunge.
This unit is great with the slight exception of their interface. Setting a temperature is easy enough, but calling the timer setting process convoluted is being generous. The unit has bluetooth and the app is ok, but thats about it. Setting times and temp requires a lot of scrolling. It is a minor annoyance, but I feel like it could have been much better. Still, for the sale price I love this thing!
I have been collecting old panel saws for a while. Some are in decent shape and only need a sharpen, some have bad rust and hard bends in the saw plate. In this endeavor, no saw will go untreated. I tried to straighten when possible, but a shortening happens. Check out these work horses of american history.
They have seen better days, and the one in the middle has some serious bend to it. Still, all indications are that the age of these saws is pre-WW2. That was a golden era of saws where you probably can’t go wrong with anything you find. I started by removing the handles and ran into my first serious snag.
Someone had lost all the split nuts and decided to replace them with wood screws. Based on the screws it was probably a number of decades ago. They were screwed or pounded in, then had the tips bent over. After a lot of messing around with pliers and cutters I eventually grabbed a hack saw and sawed the screw off between the plate and handle.
Next the saw plates went into a shallow tub with Evapo-Rust. I found that one of those under-bed storage containers was perfect. Once again this stuff is amazing. It works pretty well over night, but there appear to be no ill effects from leaving it longer.
After their bath they look almost black. I tried a few different techniques and found spraying down the blade with WD-40, then scrubbing with a sanding sponge did the best. A 220 grit 3M sandblaster sanding sponge did a fantastic job. It holds together really well under wet conditions, even with the saw teeth raking it, it doesn’t get loaded, and it cut through the grime quickly. Each side took less than a minute to clean. I have never used sanding sponges, but I can see why they are popular. This poor plate had to get cut down a bit, but I saved the cutoff for use as scratch stock and tools.
The handles were mostly in decent shape. Lots of scratches, and small breaks from getting dropped. The finish was stripped off with a corse sanding sponge. Again these sanding sponges surprise me. They do a really great job of adapting to all the handle contours. Once smoothed and cleaned up I rubbed a coat of boiled linseed oil on each one and let it dry. Everything went back together quickly. The tall saw had to get a new set of hardware. Luckily my local Ace had brass plated binding post hardware. Not exactly authentic, but it is a huge improvement over the wood screws the last guy used.
Sharpening is the next step. I have everything I need, but my table is covered in saw rebuilding stuff. I will keep the refurb train going until they are all done, then convert over to sharpening. In the mean time I need to come up with a good measure for saw sharpness. Maybe some time trials are in order.
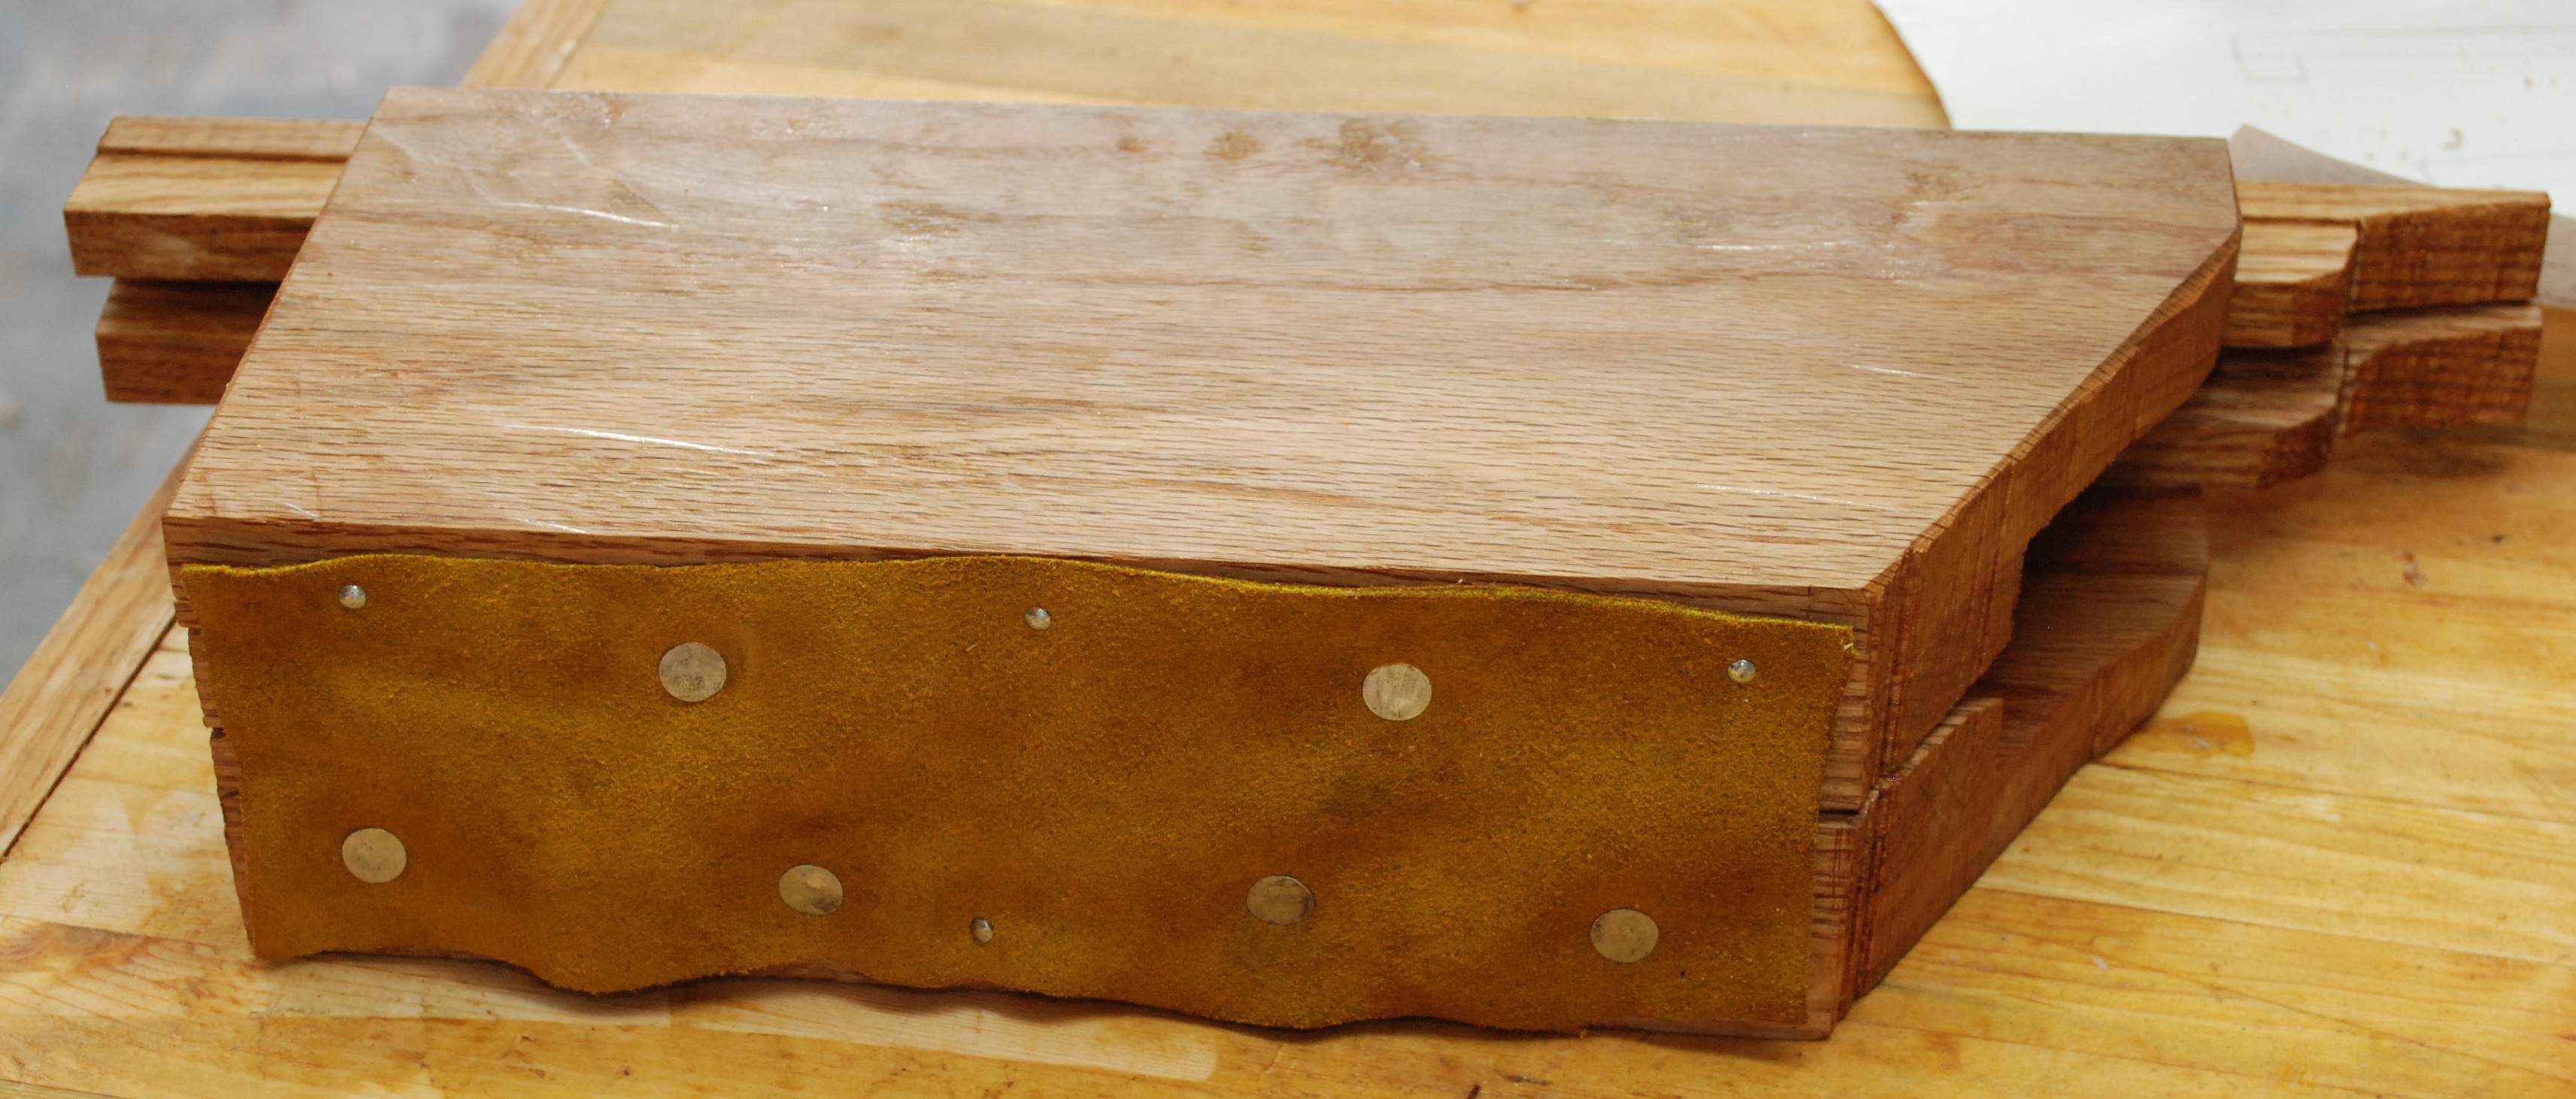
My Summer Saw Stravaganza! began with a lovely saw bench pair, and will continue with this saw vice. It is used to clamp a saw very near its teeth during sharpening. The design is similar to a number of others out there, but with dimensions that matched the scraps I had around.
The long pieces will contact the saw. I wanted them proud of the side plates to allow for more clearance for sharpening files, and depth for big saws. To align them during clamping I used my rabbet plane to make a shallow alignment recess.
Grooves to help with alignment
Clamp and glue up
Once both halves were glued up I took a rough plane and did some shaping. The bottom cleat was relieved at the top so I could get a taller saw in, and to make sure it pivots at the bottom. The top got a lot of rounding and relief to help the files have clearance. Lastly, the inside of the top jaws was sloped to make sure that the clamp engages at the very top, right below where the teeth will be.
I love hand tools for doing stuff like this. This is a rough jig and doesn’t require everything to look perfect. I can grab a plane and shave a little here and a little there. To help support saw teeth close to the handle I had to cut a number of notches out of the one side. It was mostly setup for by biggest rip saw, but should help accommodate all my saws.
The saw vise is clamped by my front vise
Close up
I am happy with the results. This could operate as is, but I have seen people nail a strip of leather across the bottom to help act as a hinge. I used really light leather, so it doesn’t help much, but it should improve alignment while clamping. Before the leather went on I hit it with a coating of boiled linseed oil. Up next I will take some of my saws and attempt to refurbish them.
My madness for cooking gadgets knows no bounds. I saw a sous vide cooker on sale for fathers day and couldn’t help myself. A coworker friend of mine has had one for a while and made some awesome meals in it. His enthusiasm for this method of cooking was infectious and I had to do it. If you are not familiar with the method, basically you bag food, ideally in a vacuum sealer, and place it in a water bath of the desired cook temperature. You basically can’t overcook things!
I got an Anova cooker, and I will talk about it more at some later date. For now I had to rush head first into this new world and try out steak. Cooking steaks is one of the things sous vide is famous for. I lined up some test subjects (coworkers) picked up a pile of steaks from the local meat market, and got to cooking. Take a look at these gorgeous steaks.
While sous vide cooks the meat and pasteurizes it to a food safe level, it doesn’t look that great. Kind of wet, grey, and unappetizing.
That is where a good searing comes in. You want to cook in sous vide and then brown with high heat. I got 4 steaks, and seared each with a different method. On the grill, on the grill with steak seasoning, cast iron, and with a blow torch.
Blow Torch: I used my mapp gas plumber’s torch to sear the outside. This was the softest because of how little time the steak saw the heat
Grill: Great steak. Probably the most cooking on the outside. The outside had some good chewiness while the inside was still good and tender.
Grill w/ Season: Same as above but with montreal steak seasoning sprinkled on before the sous vide. Best flavor of all!
Cast Iron: I put a big cast iron skillet on the grill, and seared there. Kind of in between the grill and torch.
All the steaks were good. The torch was definitely the softest if that is what you are looking for. Seasoning goes super well with the sous vide process, so that one is a winner. Really there are no losers here. I think we will try the cast iron next time with seasoning on it.
As a curiosity and because I have always adored time lapse, I did a time lapse shot of the steaks in the sous vide cooker. They were in for about 1hr 45minutes. It took me about 5 minutes to get the GoPro setup, but in that time they had already started greying quite a bit. Amazing how fast that happens!
Bonus steak and eggs
The next morning I warmed up some left over steak, and did scrambled eggs in the sous vide. I set the cooker in my mini crock pot and tossed in the eggs when it hit the right temperature. 20 minutes later it was finished!
I broke it up with a fork and sprinkled on my steak. It was a good breakfast, but the texture was a little odd. I don’t mind my eggs being a little loose, but these were really consistently so. I almost feel like eggs need searing for the same reason steaks do. It adds flavor and provides a good texture contrast. The experimenting continues.
In an effort to increase my use of hand tools I need a better way to saw big boards. Right now I can only cut smaller things on my work bench. If anything needs ripping, or a bigger board needs cross cutting it has to go to either the chop or table saw. With that, I present my saw bench set!
I can’t take credit for the design, it is a rough copy of Chris Schwarz’s. The one on the right is called a saw bench, and the left is a saw horse. Most saw horses are hip high, so I will call this guy a mini horse! I made the mini horse a lot shorter in length because I didn’t think I needed to be as big. Hopefully I am right! I started by chopping everything to rough length and gluing together two 2x4s for the top of the bench.
The top was then planed smooth, had a vee cut in the front for ripping clearance, and was notched vertically to allow for the legs to have room to inset. My first set of notches were pretty rough, but by the end of this build I had some very clean looking ones. I set all the joints for the legs and the spreaders that ran front to back then assembled. I waited until after the first glue up to make the spreaders that went left to right.
The bench was made over a number of evenings as I made mistakes and tried out different techniques. By the time I got to the mini horse I had a good plan on what to do, and was able to knock out all the joinery in just a few short hours. It turned out a lot better than the bench. I wish I had started with it, then moved onto the bench. You may notice that the top is shorter in the last picture. I realized the extra length isn’t helpful and cut it down.
Once everything was assembled I set about trying to level the legs. I had left the bottom of each leg square and figured I would saw them parallel to the ground once assembled. Each leg has a 10 degree flare with respect to the ground. Trying to saw each leg at 10 degrees once the thing was assembled was a bear. Next time I will not plan to do any sawing on something like this after it is built. Once I did manage to level and set the feet, I applied a coat of boiled linseed oil and called it finished.
I have had trouble explaining how useful these are to people. Words don’t really do it justice, and even pictures don’t tell the full story. I shot a video of me using the bench because of a few conversations I had when people asked what I was building.
As summer sets in here in Central Florida it gets harder to spend time out in the shop. Luckily for me I have a window shaker in my garage. I can keep it at a reasonable temperature in there with the AC on, but can’t run any big tools. Summers are a great time to work on lighter activities such as dovetails. I will use this summer to renovate a pile of saws and drills I have waiting. Some just need sharpening and some need serious rehab. I will call it my Summer Saw Stravaganza!