Whole House Water Filter

My house had a water softener system when we first moved in. It was leaking and I felt like the city water we get is pretty decent, so I had it cut out when some other plumbing work was getting done. Before moving in I replaced every supply valve, toilet, and faucet in the house. Since then, I have had all the sink aerators clog, two valves foul, and a toilet get so slow it takes forever to fill. That is in less than 3 years. I need some kind of filter. Should have left the water softener in place and repaired it. Oh well, now I know. I am going with a simple whole house water filter instead.

Here is what I was left with. 3/4″ and 1″ pipe, PVC and CPVC, lots of elbows and adapters. At the time I made a cover to go over it so I wouldn’t bang anything.

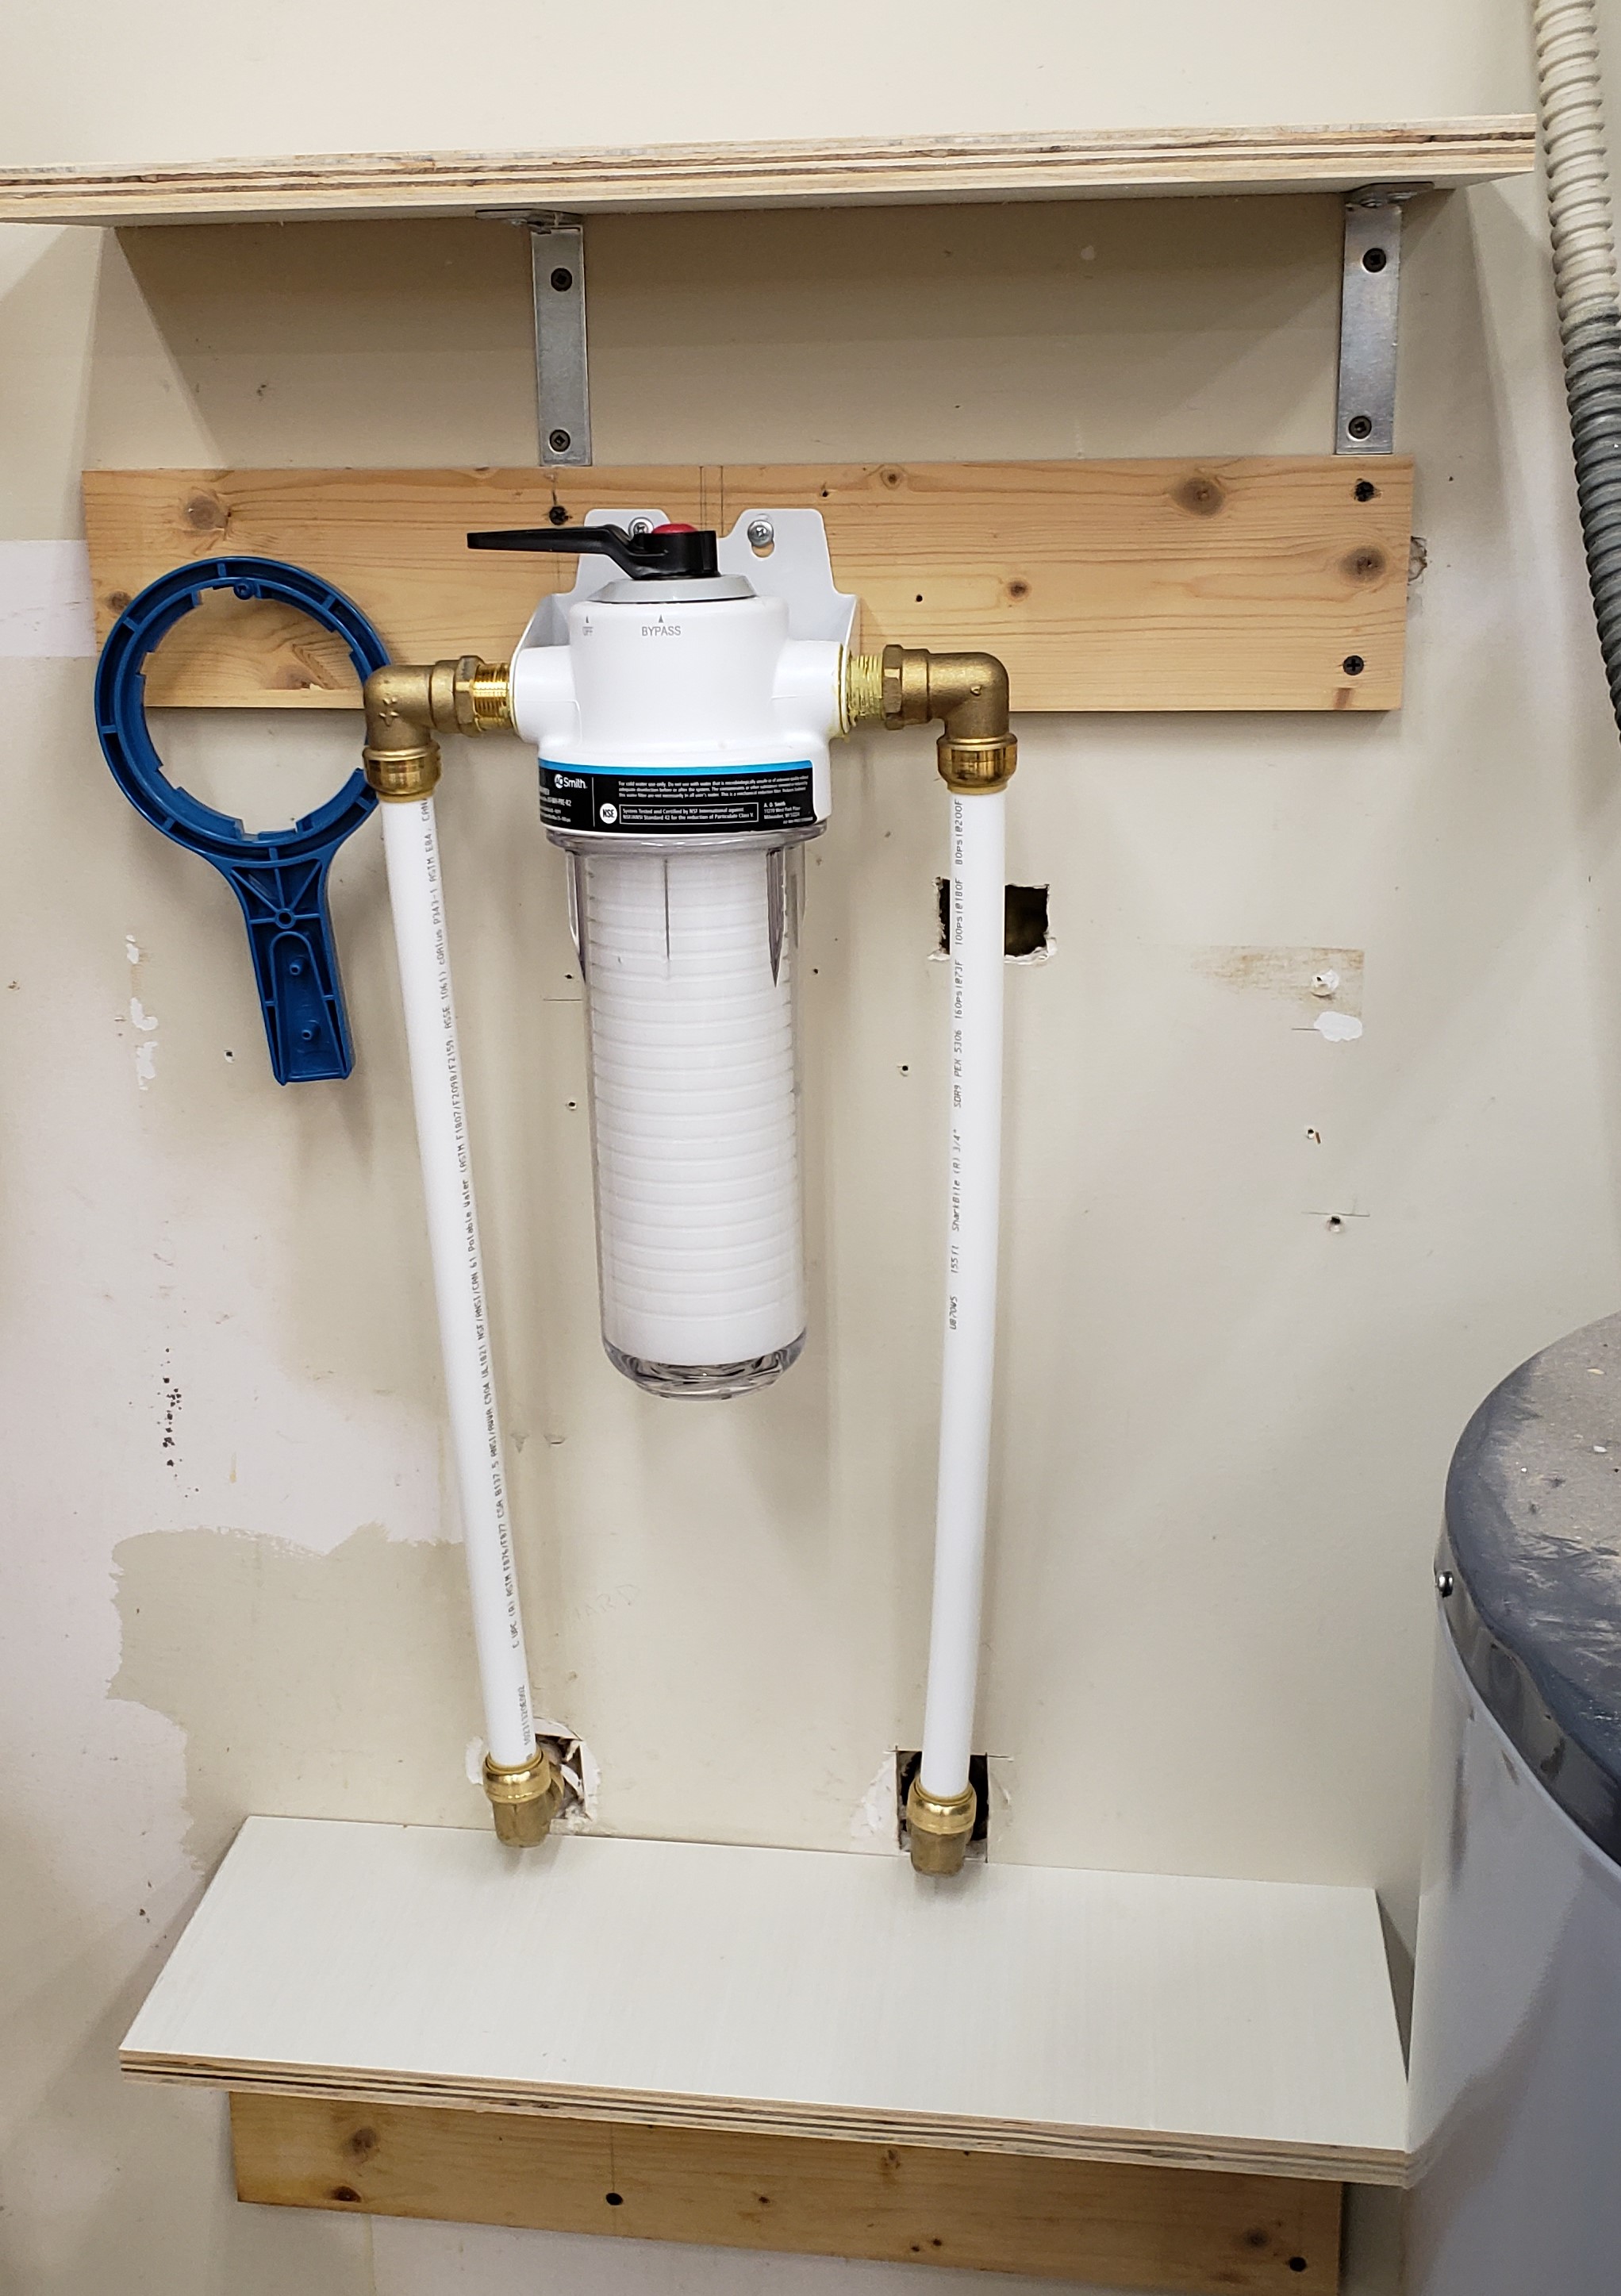
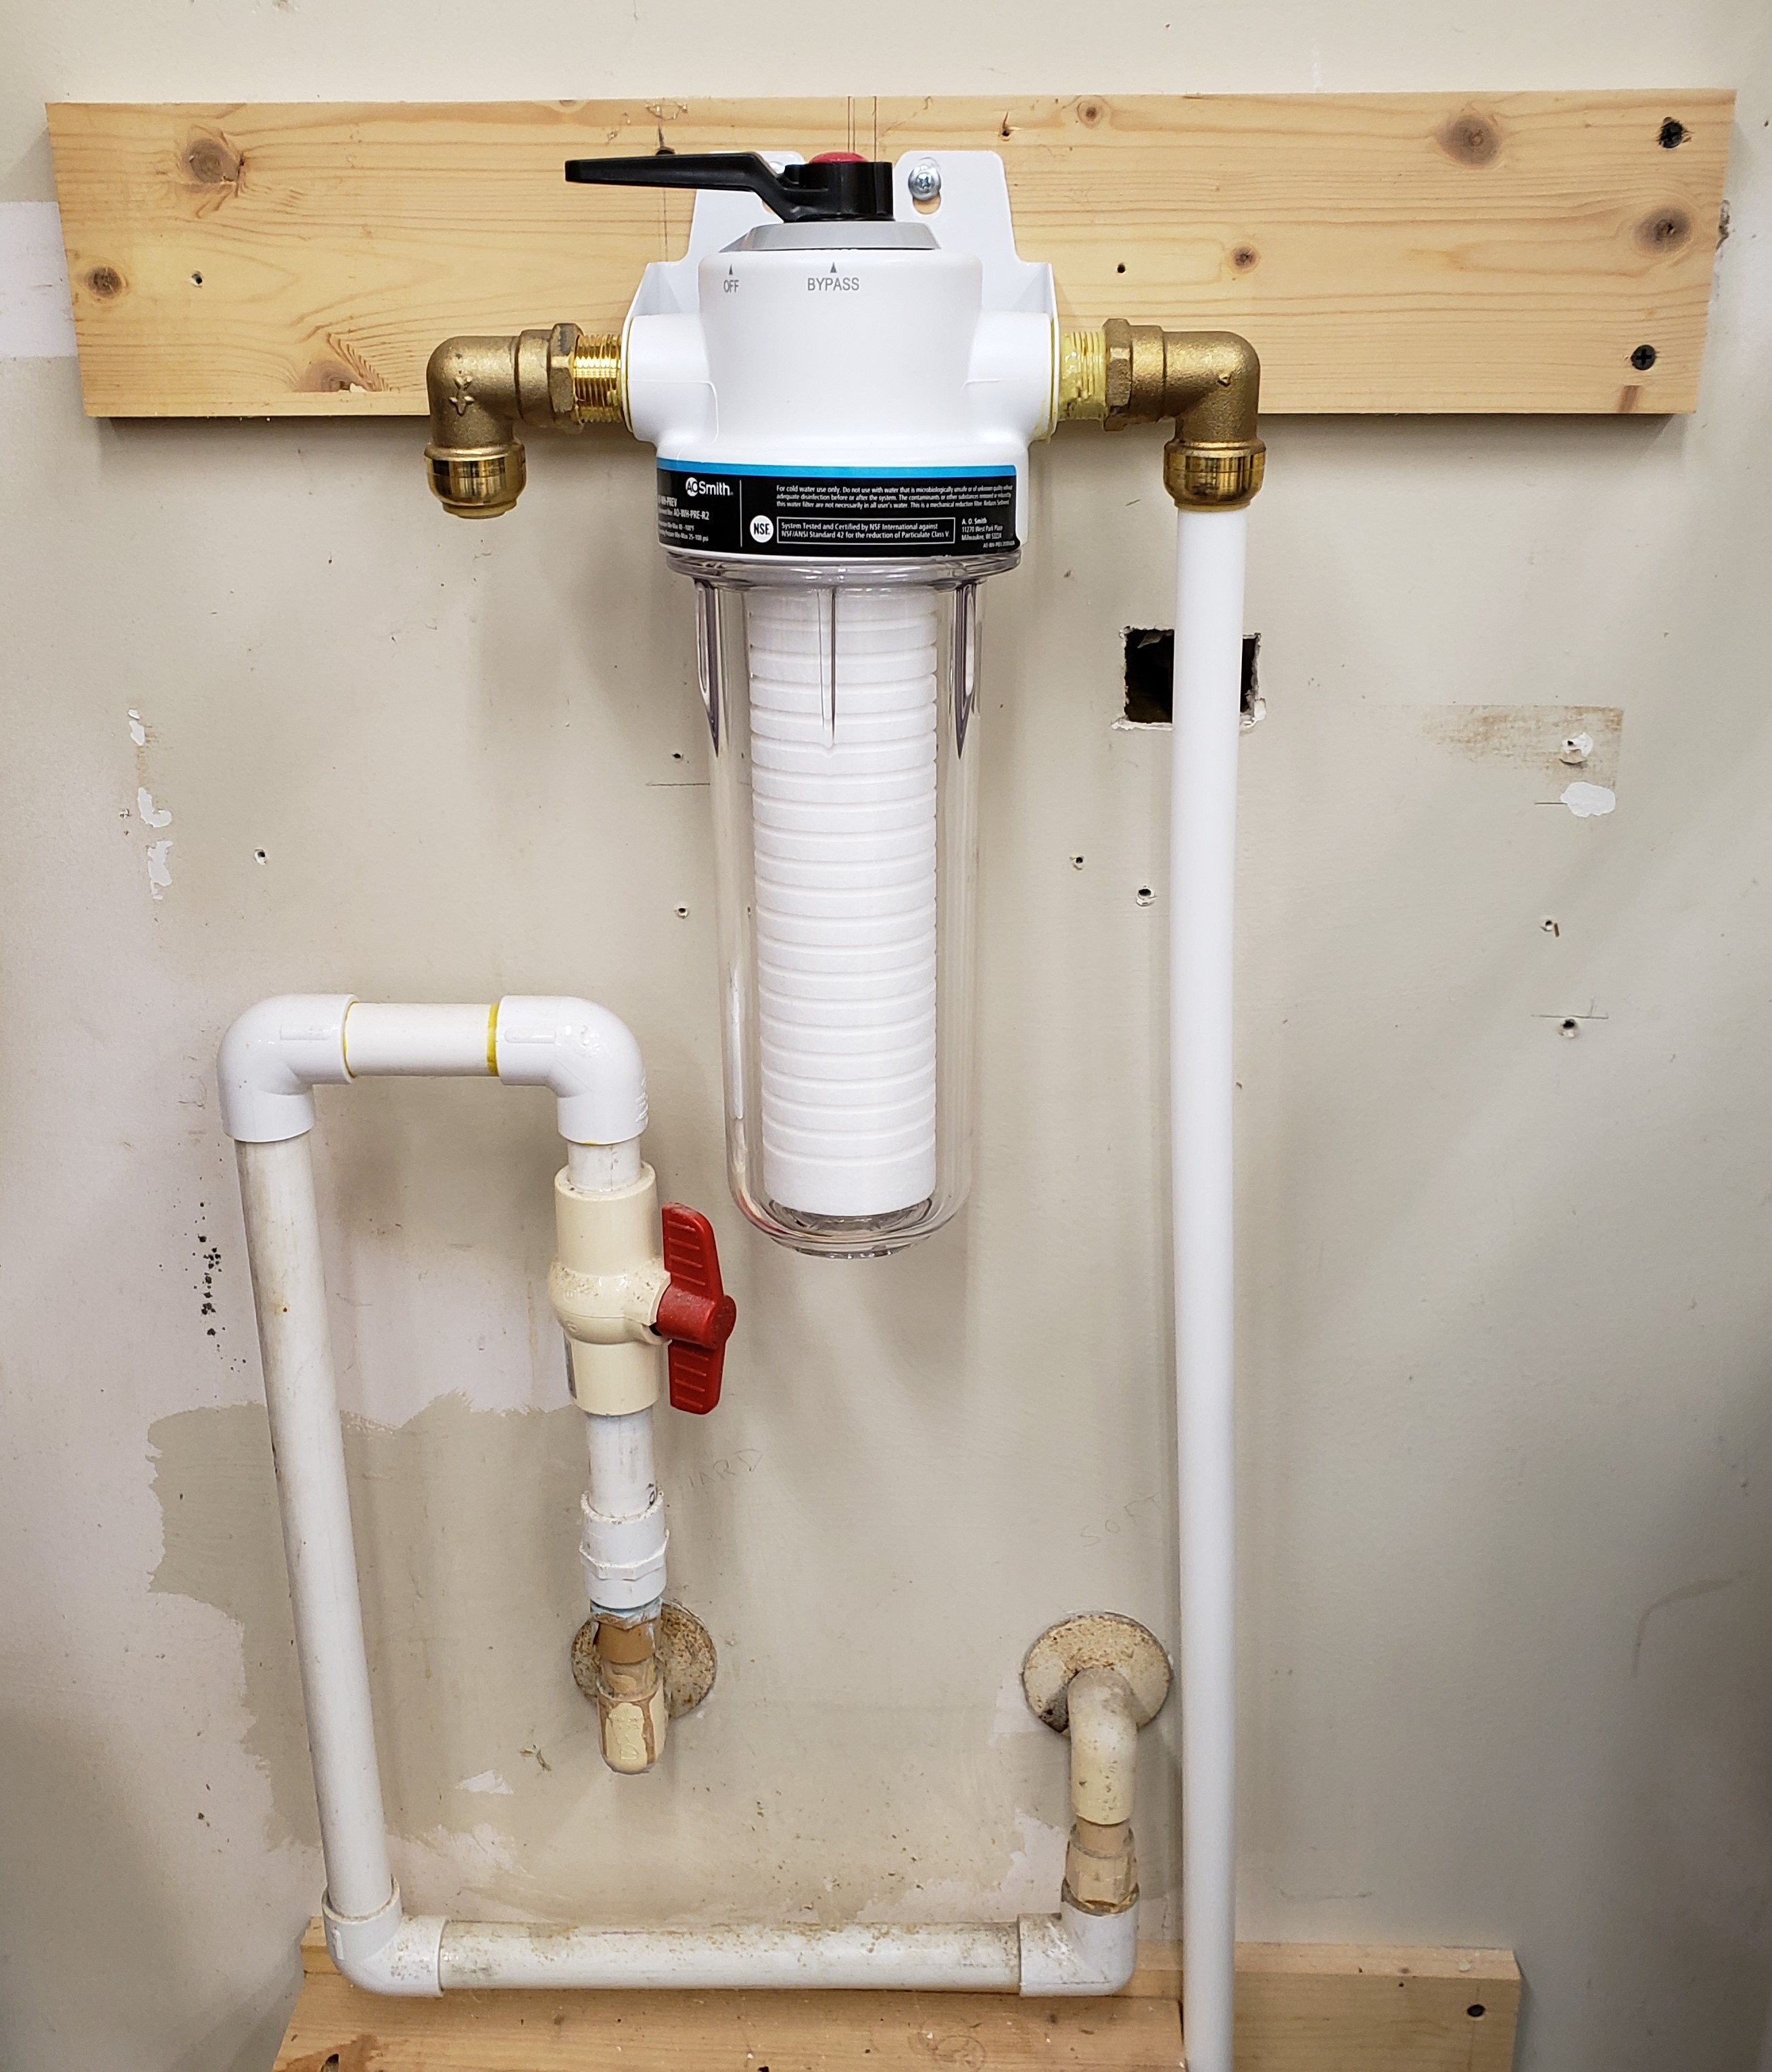
I started by moving the top plank of wood up to give me a good anchor point for the filter. I used pex tubing between the wall and filter to give me something a little flexible in case things didn’t perfectly line up. The shark bite fittings are expensive, but quick to assemble and make future repair easier.

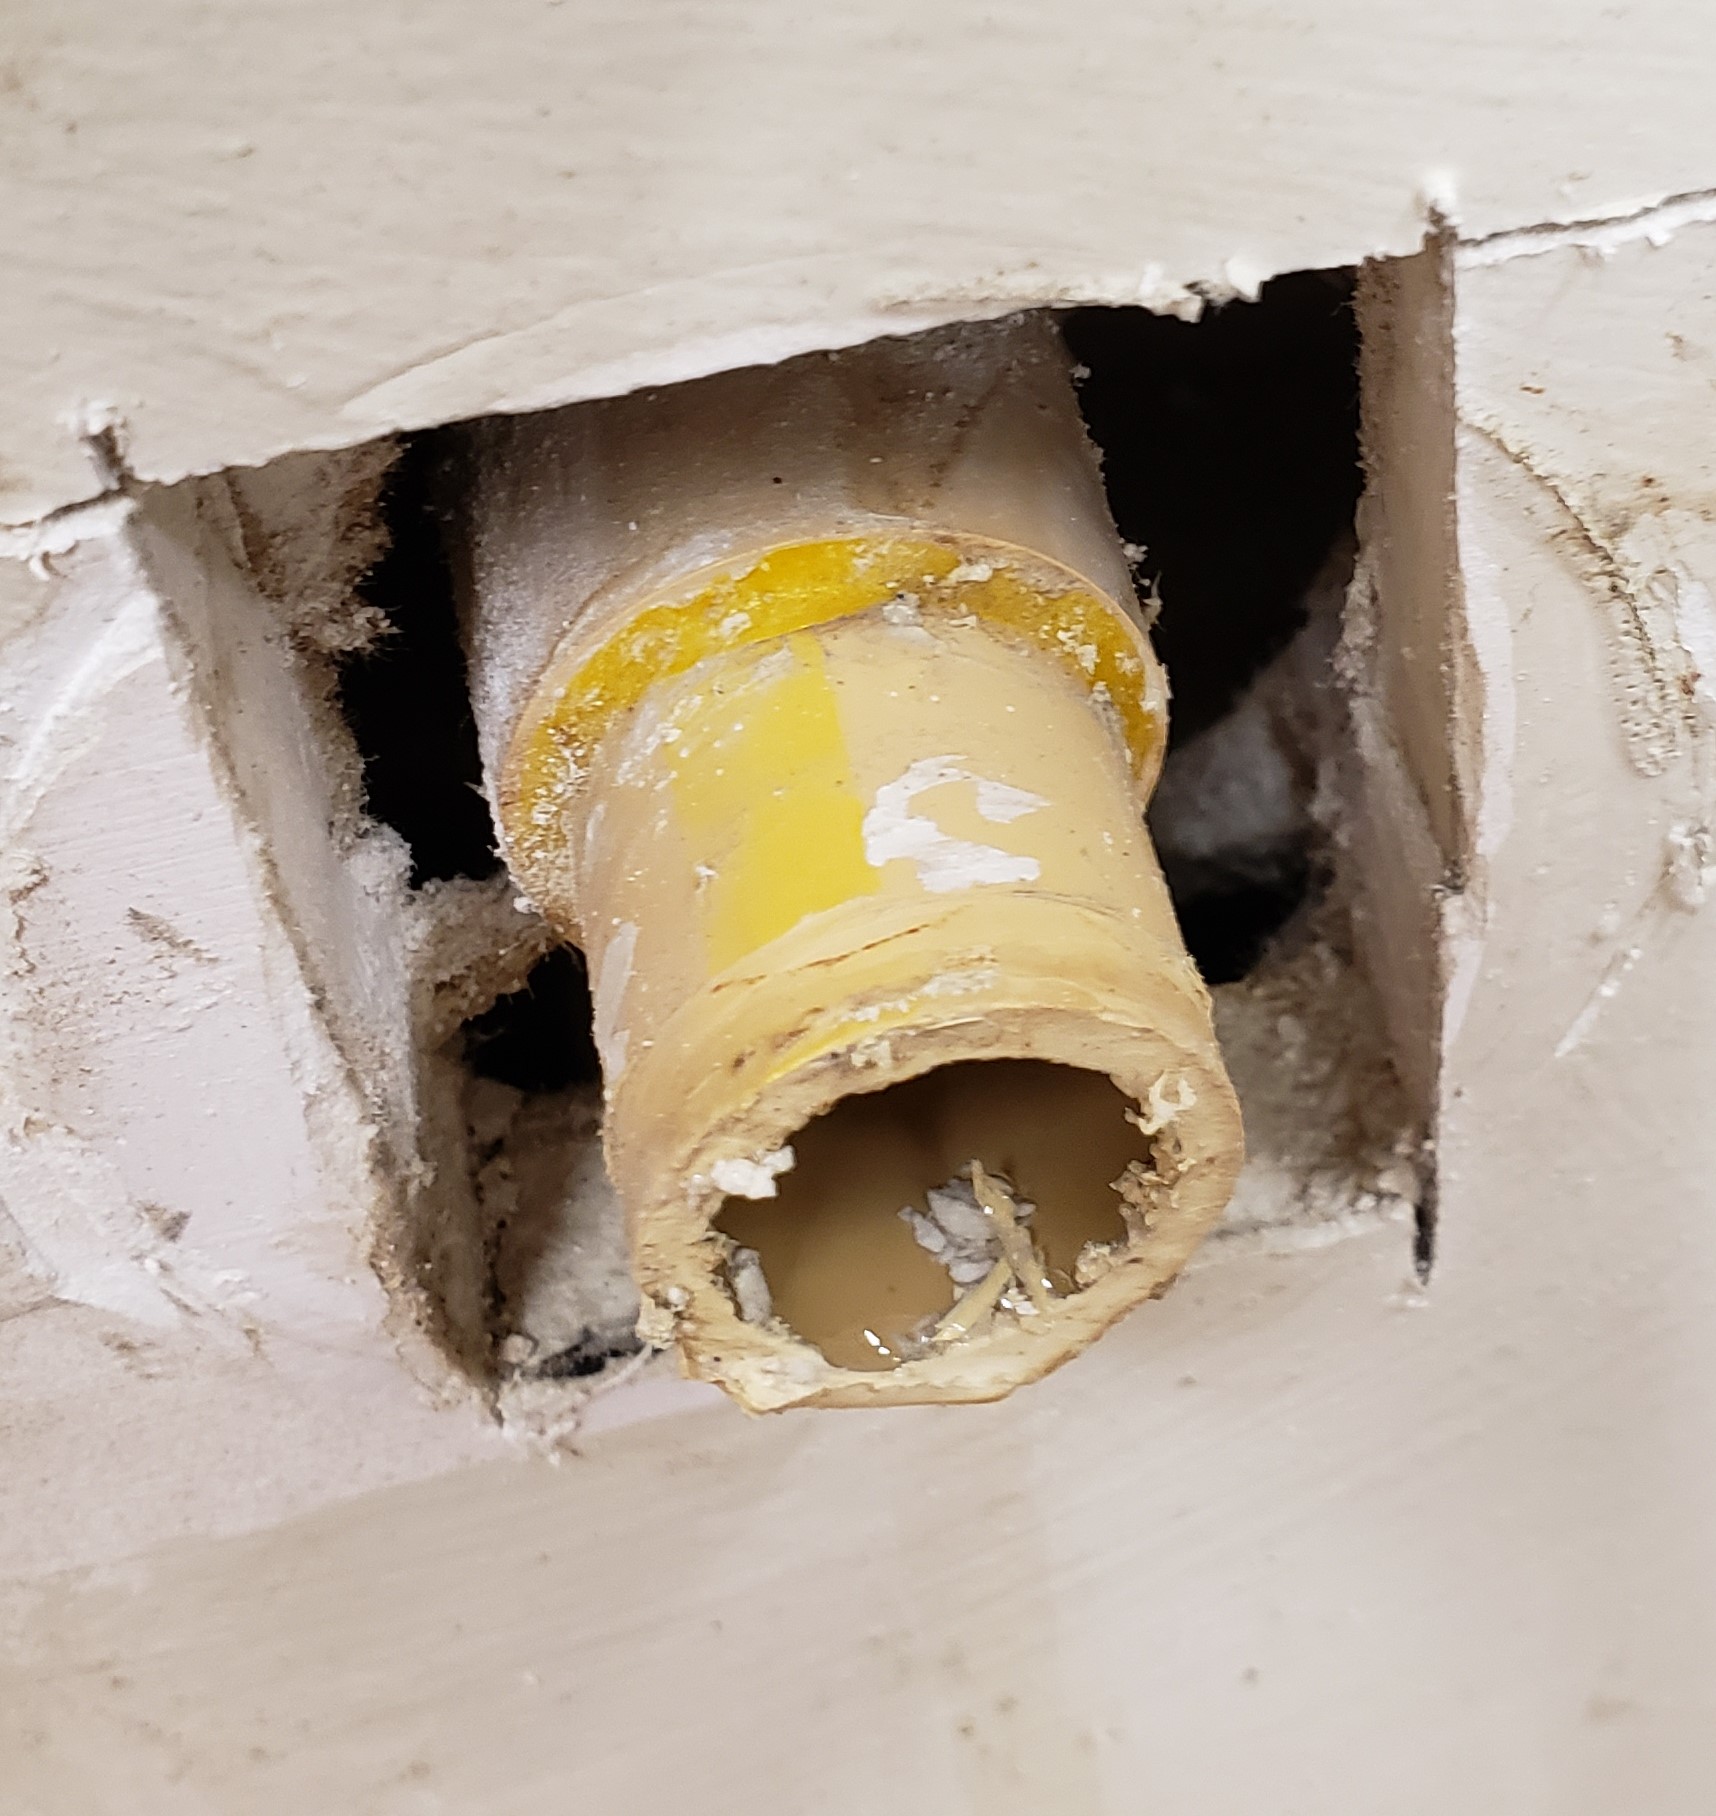
I installed the filter in location the weekend before and cut the plumbing when I had a full day to devote to it in case something went really wrong. I shut off the water and made the first incisions. I wasn’t left with much pipe coming out of the wall.

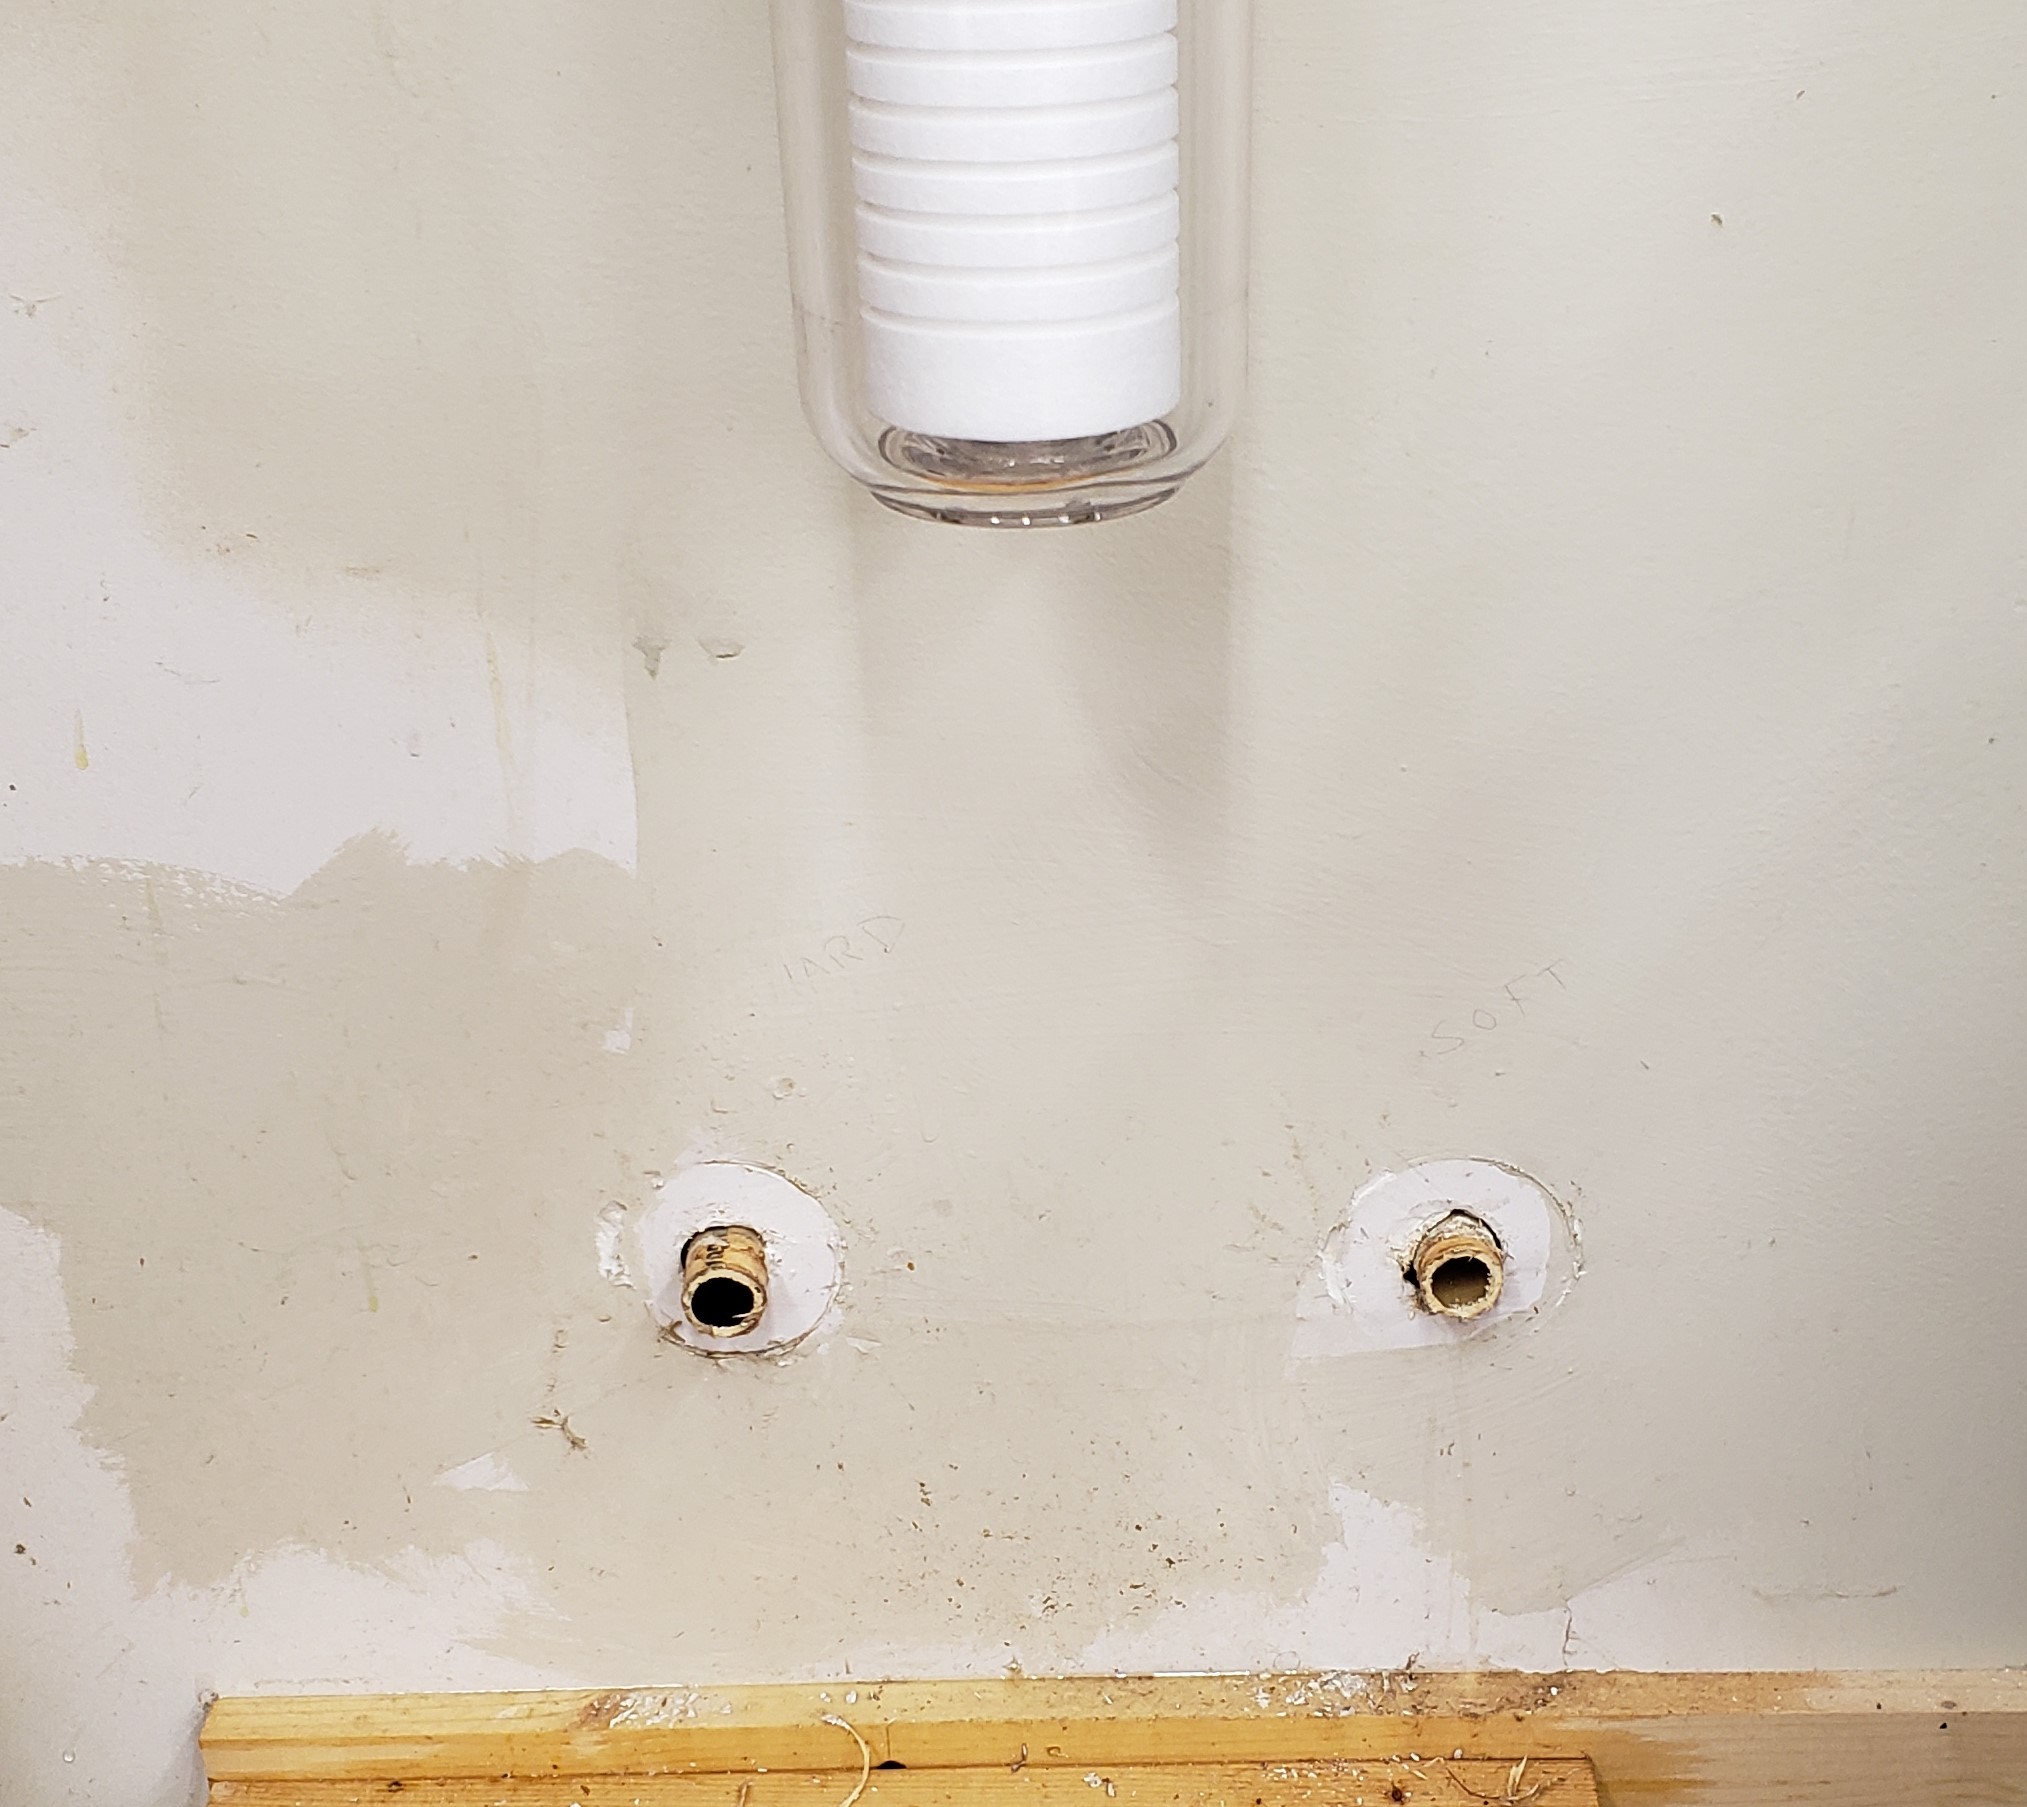
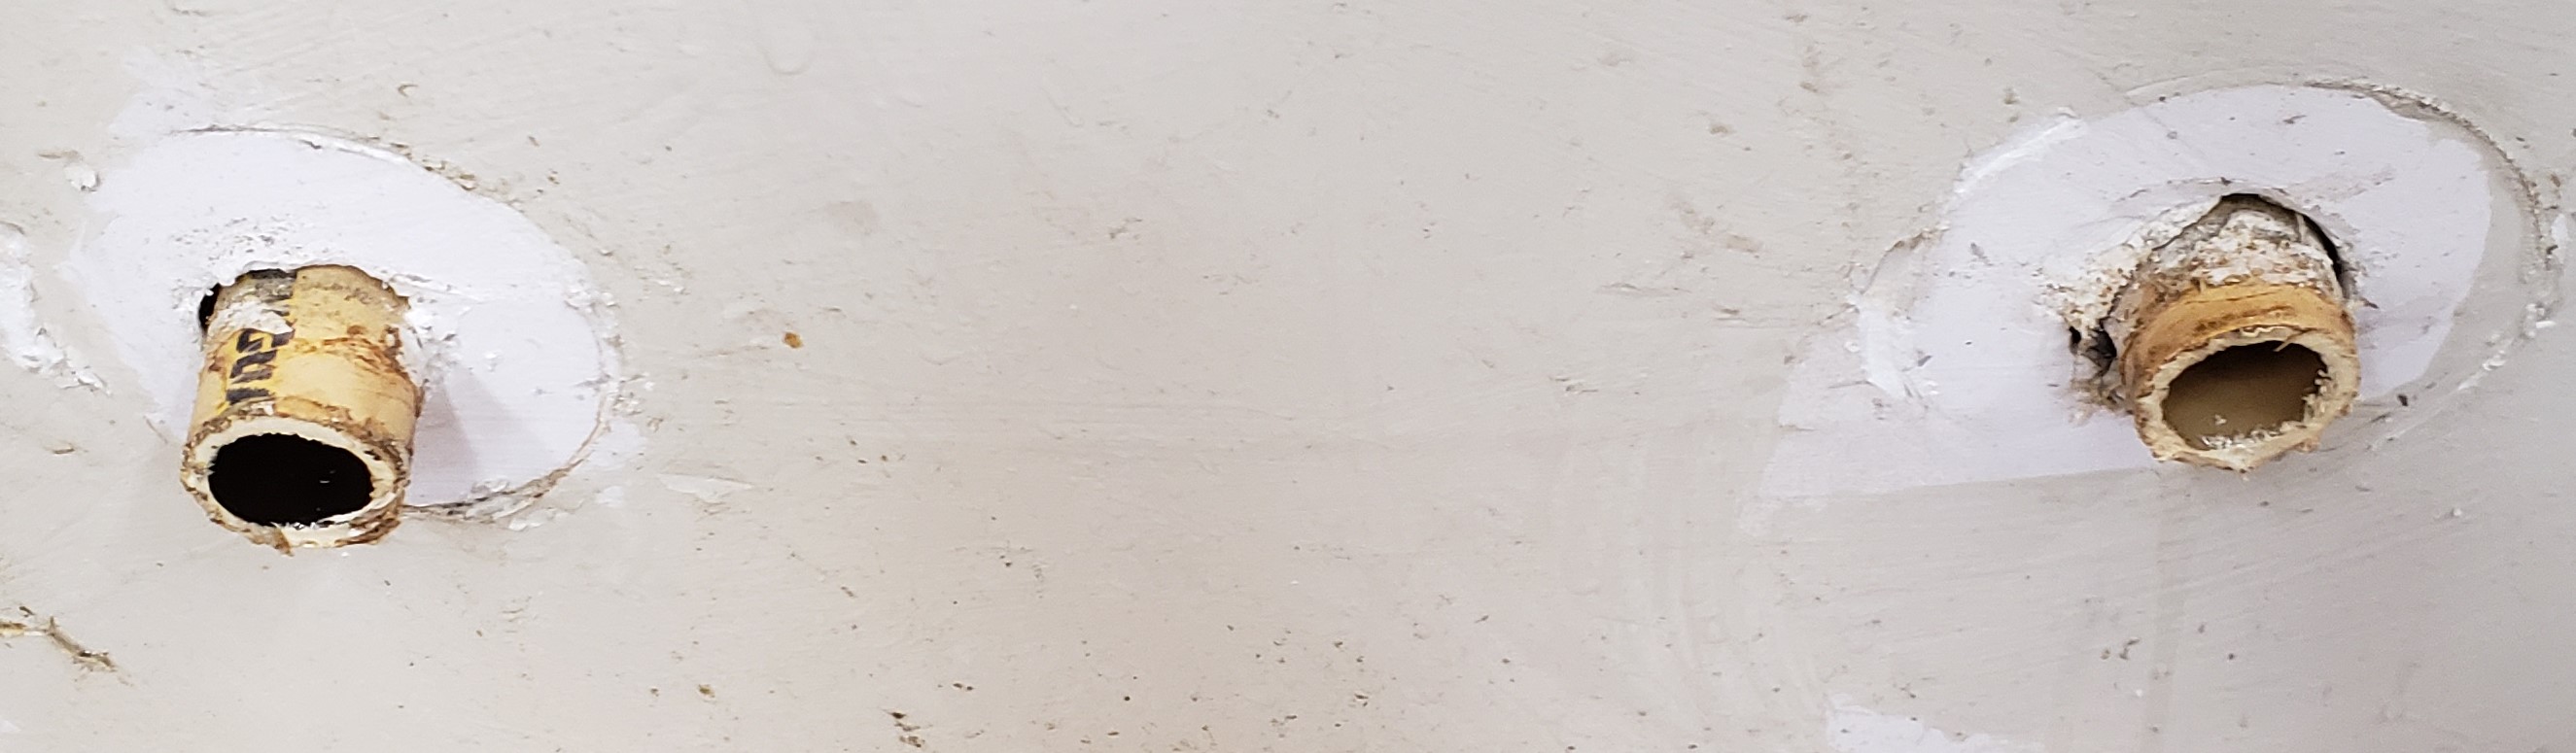
I used my oscillating multi-tool to cut the pipe as flush to the elbow as possible, and it came in handy again for opening up just a little drywall around the pipes. Turns out there is an elbow inside the wall on the right hand side. I have very little room to do anything here. Thankfully I measured and had enough sticking out to mate with my shark bite fitting. I don’t know that I can remove this fitting properly and will probably have to cut everything out of the wall if anything needs doing in the future. Then again, if this didn’t work I would be doing the cuts anyways.

The rest of the plumbing went quickly. I put everything in place, turned the water back on and checked for leaks. All good! I installed some shelves above and below the filter to keep my ladders from banging into anything important. They also give room for extra filter storage. I have a clear view of the filter whenever I walk in so I can see when it is getting full, and a mini white board to track the change date. Hopefully all my downstream plumbing is safe now.

Disk Sander Circle Jig

My Bandsaw Circle Jig actually started out as an idea for a disk sander jig I saw in one of my woodworking magazines. They used a sliding arm with a screw adjuster to fine tune the diameter of the circle. I thought this was neat and it slowly evolved into the arm I made for my bandsaw jig.

I already had an arm with T-slot track in it from the bandsaw project, so I figured that would get used in both jigs. You could cut on the bandsaw, then fine tune on the disk sander. The construction method I used before applies well here too. 3D print a runner to go in the miter slot, start with a base of 1/4″ MDF, then attach 3/4″ MDF on top to guide the sliding arm. I CA glued the runner in place with it all aligned, and then screwed it in from underneath.

I don’t have any features to keep the adjustment arm locked down because the disk sander’s movement should push the work piece into the table and keep it stable. Hopefully that theory continues to work out for me.


The new thing here is the adjuster. The wood magazine had something with a T-nut and bolt. It was fine, but I figured a printer could do better. The knobs were something I had designed earlier. Each holds a 1/4″-20 coupling nut. The adjustment screw is a bit of threaded rod with a coupling nut bonded to one side. The other was rounded via a drill and bench grinder. The knob will glue on to the nut and the rounded end will push up against a hard stop. Having it rounded should mean there is only point contact and will make for smoother more even adjustment.

The adjuster uses a bolt in the t-track of the adjustment arm to clamp itself down in the rough position. I added a block to the bottom of the jig and bonded a big fender washer down for the head of the adjustment screw to contact. It should be a very firm stop and won’t wear easily.

Putting it all together, and with a few coats of polyurethane to keep the MDF stable, I tested it with another sharpening wheel. My last one was a little small, so I made a new bigger thicker one. The only thing to note is that doing heavy sanding in one spot will load up the paper badly. Sliding down the table occasionally will help even out the wear.

Bandsaw Circle Jig

I have a router circle cutting jig from milescraft that works pretty well. It screws down a center and uses your router on an adjustable arm to make big circles. It does take a bit of setup though, and anything under about a foot in diameter is pretty awkward. There are loads of bandsaw jig ideas, so why not add mine to the pile? I think I have three things that are slightly unique in this design. Not revolutionary, but a bit different.

1. I started with a 3D printed miter slot runner. It is T shaped so once you slide it in the jig can’t come up off the table. Most folks make wood runners. Those are fine, but with printing it is a lot easier to dial in a T-slot so that the jig can’t lift. It comes with countersinks for #6 mounting screws.

2. The jig needs some kind of sliding arm to hold the piece being circle cut and set the circle radius. Dovetail slots and all sorts of things are employed. I took a T-track and glued it into a piece of 3/4″ MDF. Even 1/2″ screws would have been too long, so I just used epoxy. It holds well. A look from underneath shows that a bolt and knob let you lock down the circle radius arm in position.

3. To hold the work piece, most jigs use a small nail sticking up from the adjuster arm. You would drill a small hole in the part and pin it on the nail in the jig. Instead, I wanted a more flexible solution. I cut a 1-1/4″ hold in the end of my adjustment arm so I could put in 3D printed holders. One is 1/2″ in diameter so I can cut a MDF circle for my buffer. The other has a countersunk hole so I can screw a small #6 screw into the work piece. Optionally, there is enough space there to double sticky tape the puck down and use the center hole for alignment. I can print all sorts of posts or pins to suit my cutting needs.

To put that all together, a piece of 1/4″ MDF was CA glued to the runner (temporary) and pushed into the saw till it reached the middle of the jig. I glued a little stop in front so it would hit the bandsaw bed and stop in the same place every time. I then glued on 3/4″ MDF around the centered adjustment arm. That gave me enough material to screw on, from underneath, the glued runner. That all got pushed in again to the saw to cut through the new 3/4″ MDF.

I did some measuring, marked our the rough radius locations, and coated everything in a few coats of thinned polyurethane. It struggles a bit with anything under a few inches in radius, but a different blade would help. Up to 2 foot circles are possible. Above that and I will go to the router jig. To try it out, I made a sharpening wheel for my buffer out of 3/4″ MDF.

  1. Set the runner to the appropriate radius and lock the knob
  2. Install the square of material to be cut on the peg
  3. Push into the saw until you hit the stop
  4. Slowly rotate all the way through the circle
  5. Done!

Modular Buffer Stand

While I was building my Anvil Stand I was also building this buffer stand. I love my bench grinder stand to death, and want to have my other grinder setup as a buffer full time. I read about a chisel sharpening technique called unicorn sharpening, and it calls for a buffer. I tried it, and it worked well for me!

I made a basic box shape out of 2x8s (pricey these days) and attached them to a piece of 2×12 left over from the anvil stand as a base.

For the top I made a template out of hard board and labeled it with the orientation and hole info. Every tool base base that goes on top will have two T-Nuts embedded in them so 5/16″ bolts can come up from underneath to attach. That way you are always 2 bolts away from taking a tool off an installing a new one. I keep the template attached to the back of the stand so I can easily add new tools in the future.

Like the bench grinder stand I clad the cavity in plywood and filled it with sand. This shot is of it 2/3rd full, I had to go back to the store and get more sand because of all the filled projects I have been working on.

So I don’t have to go to the toolbox and remember which wrench is the right one every time, I made a palm wrench that fits the bolts. The bottom is rounded to make it easy to rotate in your hand for fast installing, and the outside hex shape lets you get good torque on it. A print like this can be surprisingly strong without any modifications and only 20% infill.

The buffer is all ready to go and looks great. It is weighty and stable while in use. I only have one tool attached now, but might get another grinder or buffer in the future. When I do, I’ll make another base and hang the unused tool off the side or back of the stand. Boiled linseed oil finished everything off.