Overcome Sign

Now that I have my wooden wall up, it is time to do some decoration. You might notice this broken pipe fragment from a previous engagement with our house. That is the pipe that broke off in the wall when I was trying to change out the supply valve. It was a deep low point in the renovation, but just a few days later I got the pluming and wall repaired and a new vanity installed.

I found a nice looking plaque at the hardware store, but wanted the scale to be a little different. I measured and copied the dimensions and 3d printed a template so I could replicate it at any length I wanted. I could also scale it up and down. The template goes on with double sticky tape, and a router template transfer bit copies the shape over.

With that made I routed the edges using a roman ogee bit and made a little mounting block to hold the pipe section on.

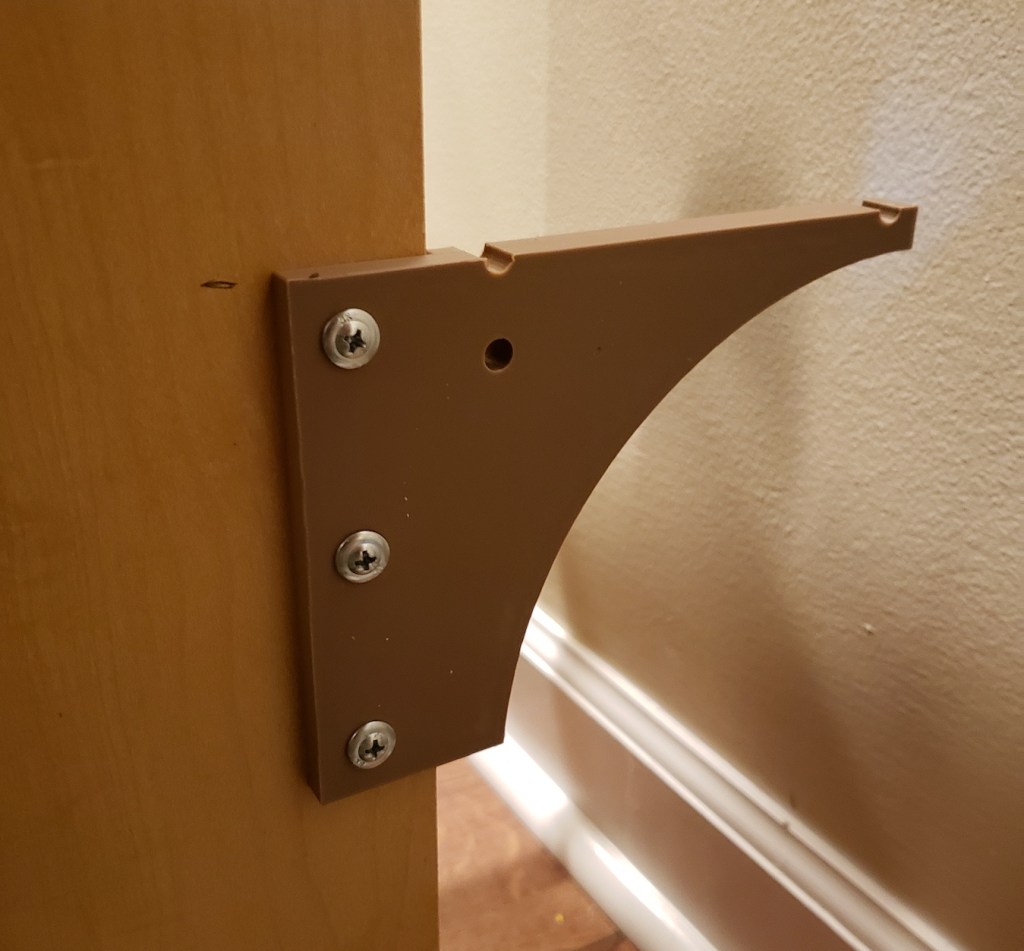
To hang this I was going to run a wire across the back, but the pipe valve’s weight would have the plaque leaning heavily from a center hang point. I needed some way to make two solid mounting points. I came up with this keyhole print. You drill a 1″ forstner hole about 1/4″ deep, and screw on the attachment. Now, a screw or nail head sticking out of the wall will register in the key hole. They make router bits for doing this, but my print is a lot easier to install. I mounted two in the back and hung up the plaque.

Last but not least this sign needs a word. I have always liked the unofficial motto of the Marine Corps. Improvise Adapt Overcome. This felt like an Overcome moment for me, so that is what I will use. I printed a two layer font white on black so that it looks like the IMPACT font with its usual white text and black outline. This is where a multicolor printer would come in a lot of handy. Instead I had to do it all with Z-height differences in color. Hopefully my next printer with come with some multi material options.

Now if I am ever in the shop working on a project that seems to have gone really belly up, I can look up and remember a worse situation I was able to overcome.

Garage Wooden Wall

The wall in our garage next to the house entrance has some issues. Multiple things had been attached and removed, and there was once a dart board. The result is a serious amount of holes. There are a lot of things I want to attach to this wall. They are often too small to use french cleats and I don’t want a million wall anchors. Why not use wood?

I picked up a pile of tongue and groove pine and covered the outward face in boiled linseed oil (BLO) to offer a little color and basic protection.

Everything got pulled away from the wall and I put in the first slat. I made really sure the first one was tight up against the wall and level. After that, things went pretty smoothly. I worked my way up the wall and got to some outlets that were disused. The house had a number of intercoms that were removed, phone jacks, and some switches I don’t need any more. I went through and measured everything’s position and saved it so I can reopen those boxes again if I want them in the future.

I put a corner mold on the outside edge and used a little scribe piece of pine to help smooth the transition between the door mold and the wood wall.

With everything up I could accessorize a bit. I bought wooden switch plates so the light switches and outlet would look nicer and blend in better.


3D Printed Enhancements

As I stated earlier, part of the reason for doing this is to support mounting options. I have a remote for my new AC system, an indoor/outdoor thermometer and a remote for the ceiling dust filter. The AC remote already had a mounting bracket, the others had to be designed and printed

While taking the garage door wall controls off the wall, the plastic started coming apart. The clips were breaking off and screw holes splitting. I printed a cradle that the housing would fit in and offer new mounting screw holes. The bodies were bonded into the cradle and allowed to cure overnight. The only place I had access to screw holes was under the main button. The base is thick enough to keep it from flapping under use.


I continued to add the signs and other accessories to my wall as I put the desk back and cleaned up. I was able to mount my shiny red metal first aid kit down low in easy reach. I also screwed a sealed CAT tourniquet to the wall. Hopefully that never comes in handy. Having the wall here has been nice. The space feels a lot warmer, and I have already added more items since taking this picture. I might pick continue this theme elsewhere in the shop, but not any time soon.

Under Desk Mess Wire Shelf

I will be honest, underneath my office desk is a hot mess. Wires everywhere and power strips piled up. I tried to push everything off to the sides, but it always migrates back to the center. I kick the stuff around and have switched off the power by accident before. Time to fix this pile.

I had an idea that trimming a set of wire shelves narrow would give me a good platform to hold up all the power strips and lots of spots to strap things down. This 4 foot shelf was only 10 dollars at lowes. It gives me a really great jumping off point. I started by taking off the longer rung section. This left me with a 6.5″ wide shelf.

From there I designed some brackets to go under my desk. They would strap down the shelf with zip ties, align with a shoulder to the desk’s back edge, and screw into the sides of the desk.

The shelf fit check went well and I pulled my desk out to install the brackets. That is where things went a little south. I had measured, but not realized just how far away from the wall I would have to pull my desk to accommodate the shelf. The gap behind the table top was big enough to allow a lot of stuff to get tipped over and fall behind.


I regrouped and cut off the next row from the wire shelving. That shortened it to a little over 4 inches which was a lot more manageable. I shortened up and reprinted the brackets. This let me retest the distance between the desktop and the wall. This size is going to work out.

With the bracket on I was able to slip the shelf into place and start wrangling wires. It took disconnecting everything and a lot of velcro, but I got it all organized and away from my feet. I don’t know how many places this kind of organization is useful. Certainly entertainment centers and computer stations, but beyond that I am not certain. I will have to keep this trick in my back pocket if I find myself with another big interconnected wire mess to straighten up. Brackets added to thingiverse by request. I only modeled one side, mirror in your slicer software to get the other side.

Garage Door Insulation and Repair

"No pleasure, no rapture, no exquisite sin greater... than central air."
-AZRAEL, in Kevin Smith's Dogma

I got a mini-spit air conditioner installed in the garage this past week! The indoor unit sits up high near the ceiling, and supply lines are run out to a small outdoor heat exchanger and power source. It uses no indoor floor space and all gets controlled from a single remote.

I wanted to maximize the chances of this thing keeping the garage at a reasonable temperature when I got out there, so I am going to insulate the garage doors like I did at the last house. First though, I had some repair work to do.


My large garage door is very large. It is 18 feet wide, which is bigger than your typical double wide door. The extra size means more weight and stress. I had a garage door tune up done and they pointed out some damage. Replacing this would be crazy expensive, so I am going to try to patch it up and get a few more years out of it. The smaller door gets used quite frequently, but this one only gets cycled only a few times a week.

The first issue is that the main lifting arm brace broke the top central rib. Some of the panel is split as well.

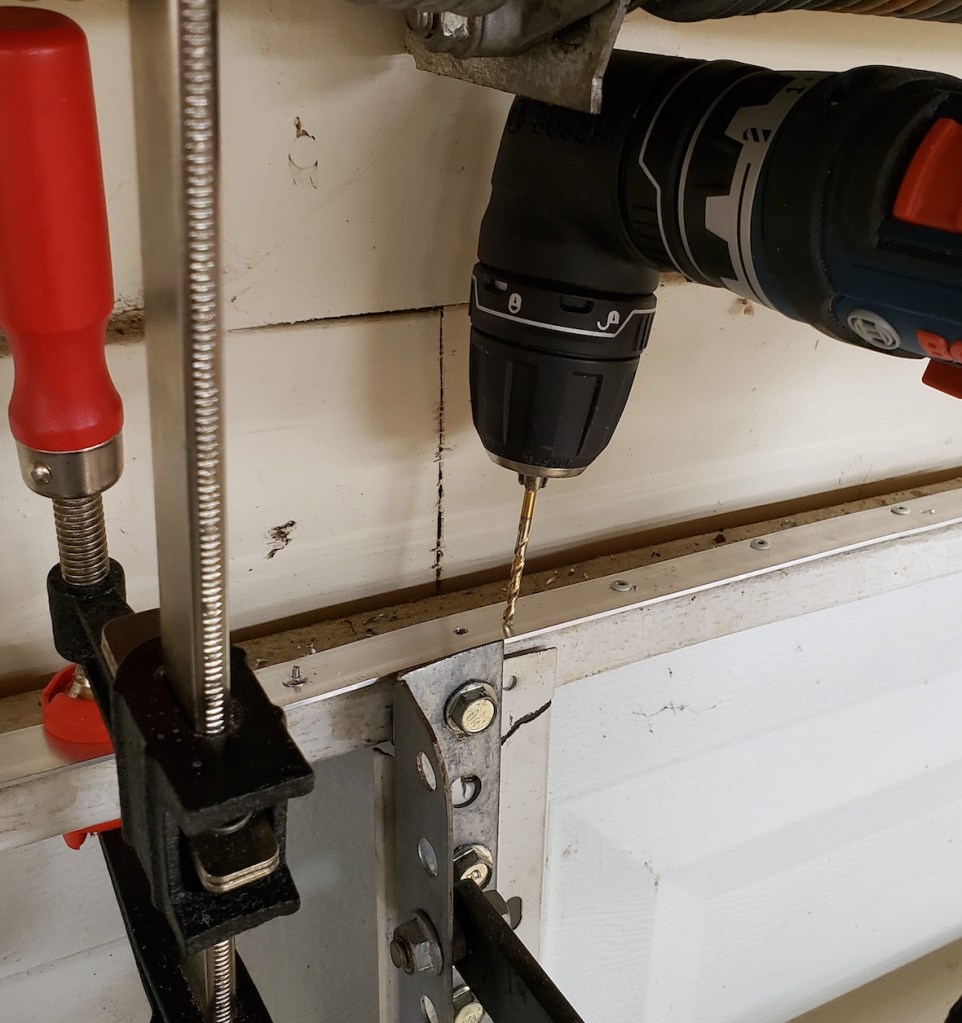
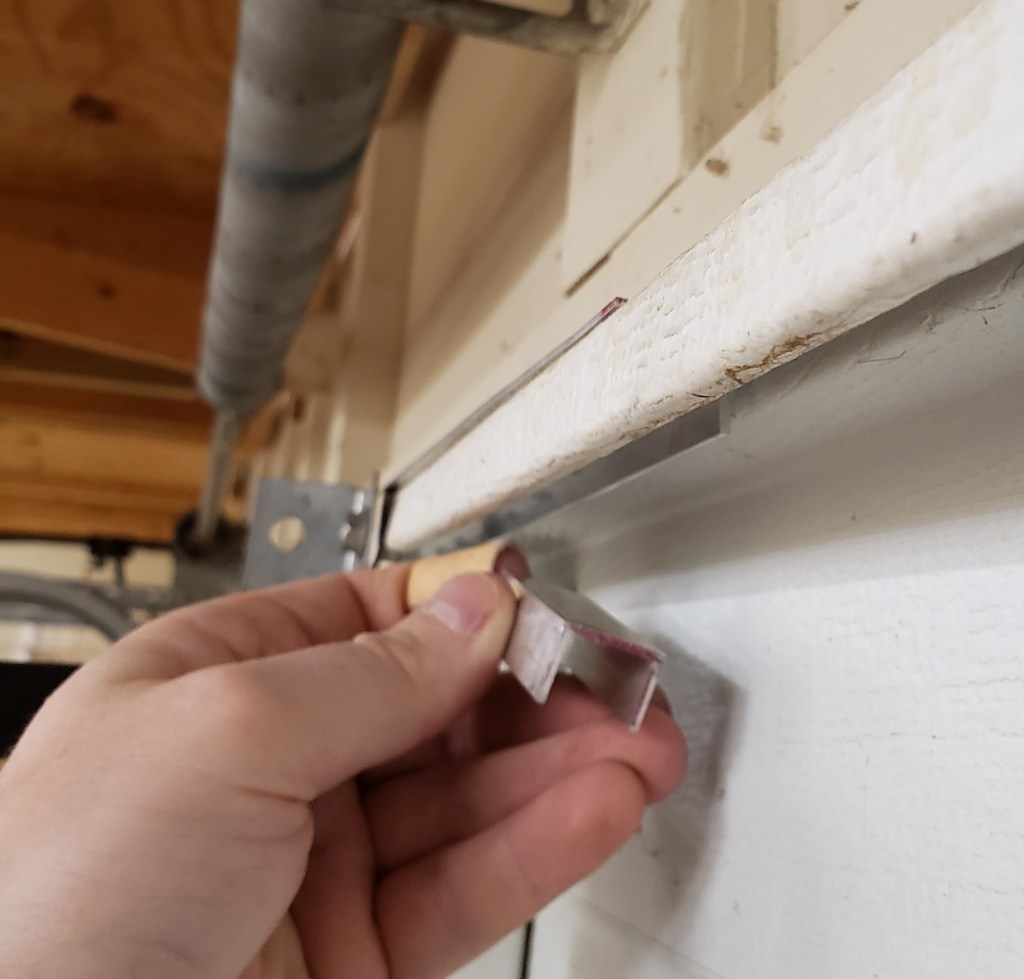
I supported a series of rivets by placing a strip of aluminum across the top and drilling through it into a C channel in the bottom groove. The space was so small and awkward that I had to use a right angle drill. Maybe I should have pulled the door up to work on it. That should stop that panel split from advancing any further.

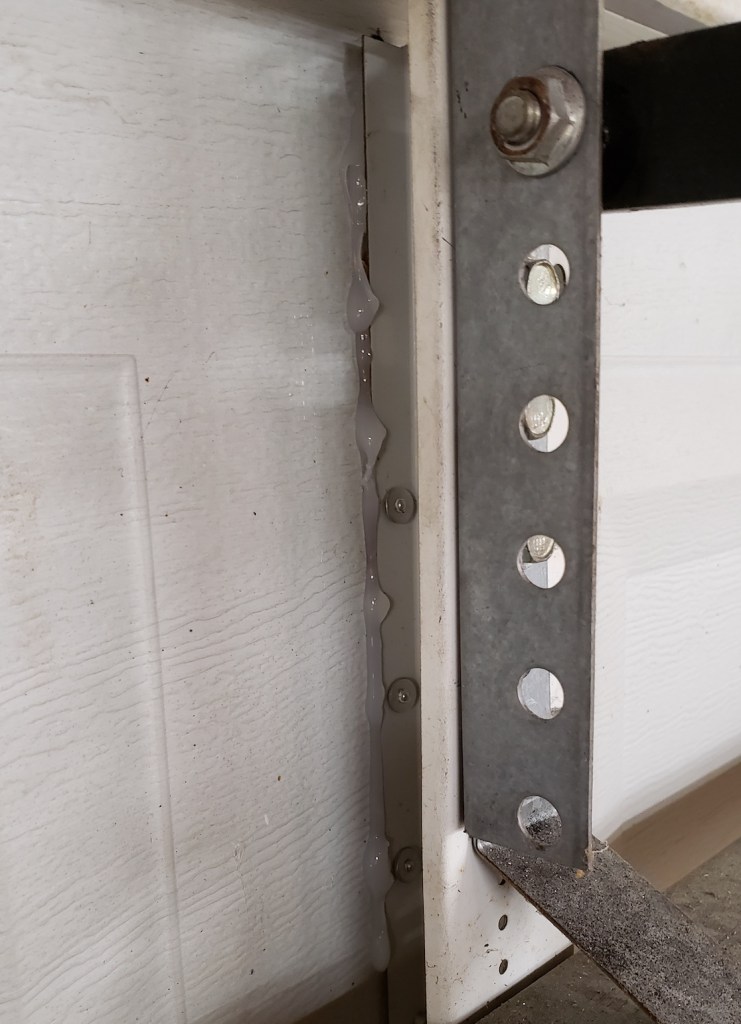
A number of the center ribs had de-bonded from the panels. They are just held on with some kind of adhesive. I guess decades of movement and thermal cycling got to them. I used a silicon adhesive between the two to try and stick them back together with a flexible bond. While that setup, I drilled and riveted through the outside panel into the inner rib.

My only worry is that this doesn’t hold well enough and the rivets end up ripping through the outer panel. If that happens I am probably going to have to get a new door. Time will tell.


With the door reinforced I could add some insulation (weight unfortunately). Being mindful of stress on the big door, I went with 1/2″ rigid foam. 6 panels are enough to do my small and large doors. They are silver foiled on one side and white with writing on the other. I had the text side facing inward at my last place. I wanted this to look a little nicer, so I painted all the text side with white paint.

In retrospect the paint might have actually lowered the R value vs the original foil surface. Oh well. One coat did a decent job, but you can still see the dark text. A second coat covered it up nicely.

With all the panels painted and dry I went about cutting them up on the table saw and slipping them into the panel cavities behind the ribs and hurricane bars. Liquid nails held everything in. That stuff doesn’t seem to cure well when the glob is too thick; I would use silicone next time. A few panels needed a re-glue, but overall it was a success. The paint looks very clean and helps reflect light inside. Now I just need to wait for the dead of summer to see how well the whole system works.