Phenolic Miter Saw Zero Clearance Insert

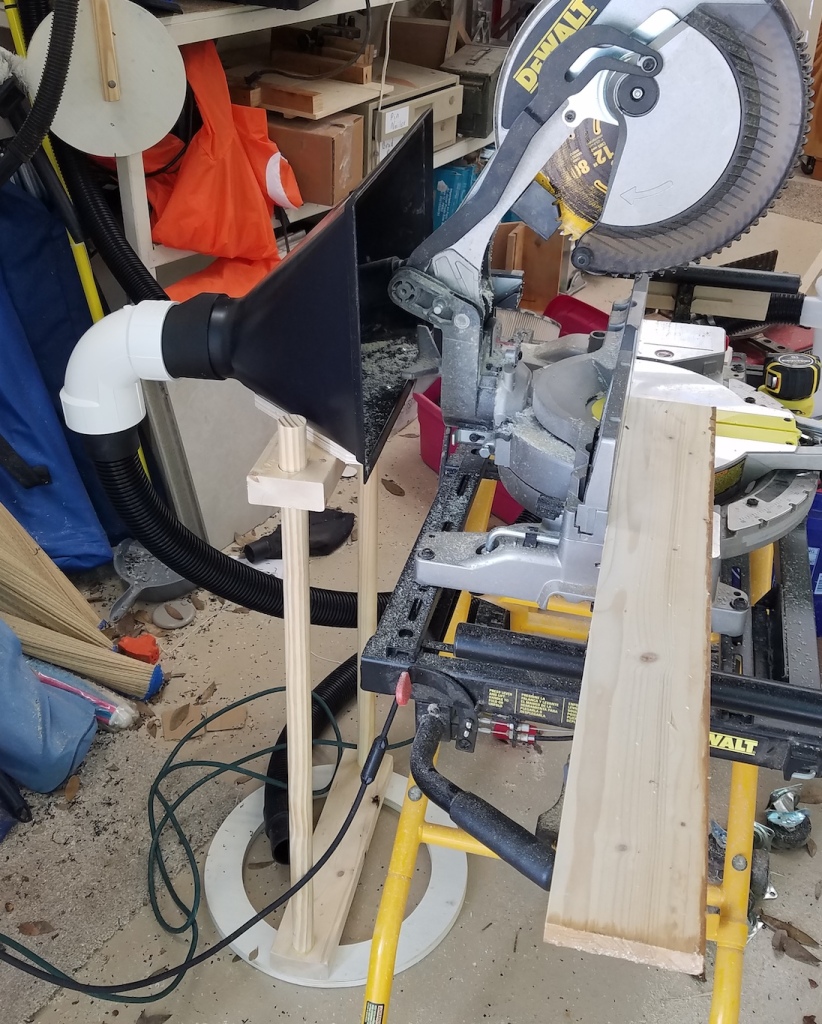
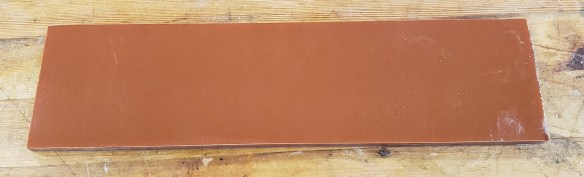
My 3D printed zero clearance inserts for the miter saw have not held up well. They don’t react well to heat and I only get a few dozen cuts out of them before cut tears start to appear. The plate has to be 1/4″ thick which makes it difficult to design for. I have used plywood in the past, but that is tough to make work right. I finally broke down and picked up some phenolic sheet. Phenolic is paper impregnated with a hard resin. The result is really stiff and slick.

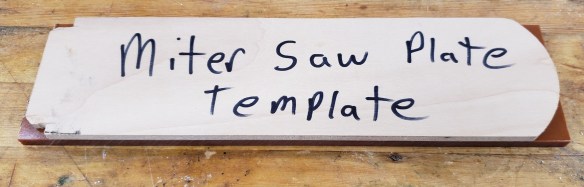
I started by copying the insert that came with the saw and expanding it a little so it fits tighter in the opening. I made a test piece and when everything turned out ok I wrote the instructions on the master. First cut a piece of phenolic to rough size, attach the master, and trim it down on the router.

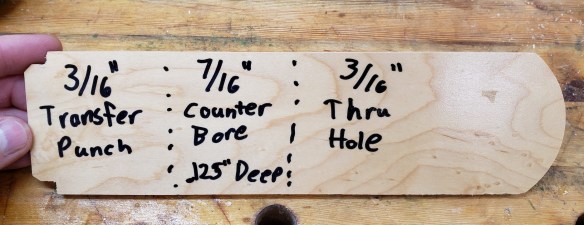
Once the shape is cut right I peel the master off and stick down the original saw plate. I use it to transfer the hole locations with a 3/16″ transfer punch. Transfer punches come in handy for just this sort of thing. Next I do a counterbore to give the screw head some place to live, then finally drill through the rest of the way.

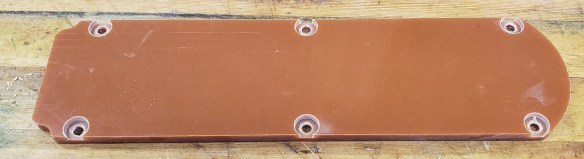
The new plate is screwed into place, then I just make the first cut and voila, the zero clearance insert is complete. My first one had seen dozens of cuts without any issues. Hard to say how long these will last, but as hard as the plastic seems, it should be quite a while.

Miter Saw Dust Collection

Miter saws are incredibly useful and one of the first power tools I bought that wasn’t a hand tool. As useful as they are, they produce a lot of bad dust. The high speed cutter makes a fine dust that gets kicked back and up out of the tool. The little catch bag that comes with them helps, but much of the dust still escapes and becomes airborne.

I tried attaching a vacuum to the dust port in the back, but that only catches about half the dust. The rest just blows right by. Instead a big funnel would guide all the high speed dust into a vacuum port. That was the thought at least. It works a little better than just using the saw’s dust port, but not much better.

I had some plywood rings left over from my dust collector upgrade and thought this one would make a nice base to start with. I attached a 2×4 with holes in it for dowels to elevate the dust catch.

The big gulp dust catcher attaches to a similar piece of 2×4 with some plywood in between to help spread out the load. The upper 2×4 had the holes reamed out so it would slide easily. A set of screws goes through the 2×4 into the dowels to keep everything at the right height. I didn’t know exactly what height would be ideal, so I made it adjustable.

To adapt from the big 4″ port to my mobile shop vac I printed some adapters with a 3″ PVC elbow. Once again, 3D printer to the rescue when it comes to adapting dust collection fittings.

I am still getting a lot of dust blown all over the place, even with this large catch. Using a large dust collector instead of my shop vac might help, but I feel like dust is deflected in too many directions by the time it gets to this big gulp. I have used this for a few weeks and haven’t come up with a good solution yet. It may require a better catch on the pivoting saw bracket. I will include any updates made.

Woodsaw 3D Printed Parts

Miter Saw Zero Clearance Insert

Sawing with a tight fitting insert is almost always the right way to go.  It supports the wood being cut and prevents the fibers from getting torn as the saw teeth punches through.  The plate that comes with the saw works, but has a wide gap.  I made a thin plywood insert, but they don’t last that long.  This is my attempt at a 3D printed one.  The original is on the right.  Notice how wide the saw blade gap is.  I took a picture of the original saw plate on one of those self healing cutting mats.  They have good ruled lines in both directions to make sure the image didn’t get distorted.

The first print out of the gate fit really well.

20170805_130315

I made the first cut with no wood in the way.  It chopped right through the plastic and cut a self fitting slot that is just exactly the size of the blade.  I might have been a little too cautious.  Slow cutting built heat and there was a bit of plastic fuzz at the top edges of the cut.  A little light work with a utility knife had those cleaned up.  Some subsequent cuts have shown the insert to properly back the cuts.

I still need to find a spool of Dewalt yellow filament.

UPDATE: Decided to upload it to thingiverse.

Table Saw Organizers

I am in a near constant state of looking for pencils and rulers/tape measures.  I should attach one of each to my body with a short retractable cable.  Until then I try to stage as many as possible at each work station.  At my table saw I made two different organizers to hold commonly used  items.  They both attach to the far side of my rip fence.

The white organizer holds my wooden ruler and a small stack of pencils.  The pencil well could have been a touch deeper, but otherwise it works well.  The yellow holder area keeps my grrripper push block.  It is at a really convenient hand position for quick use when sawing.

DSC_0927

DSC_0928