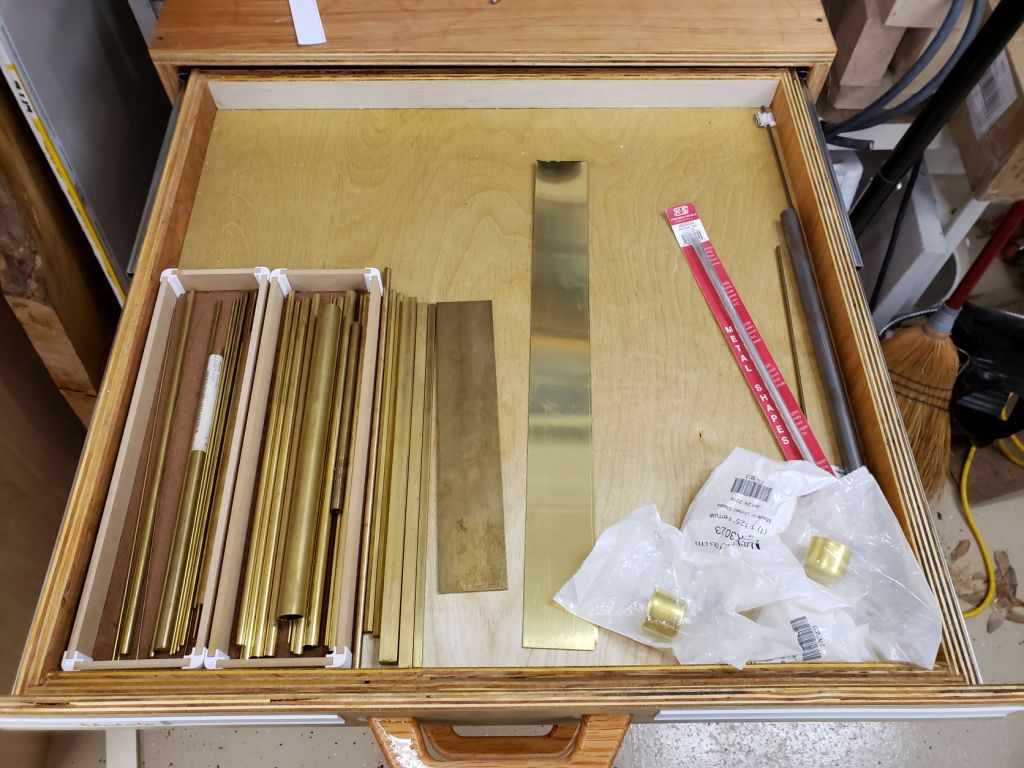
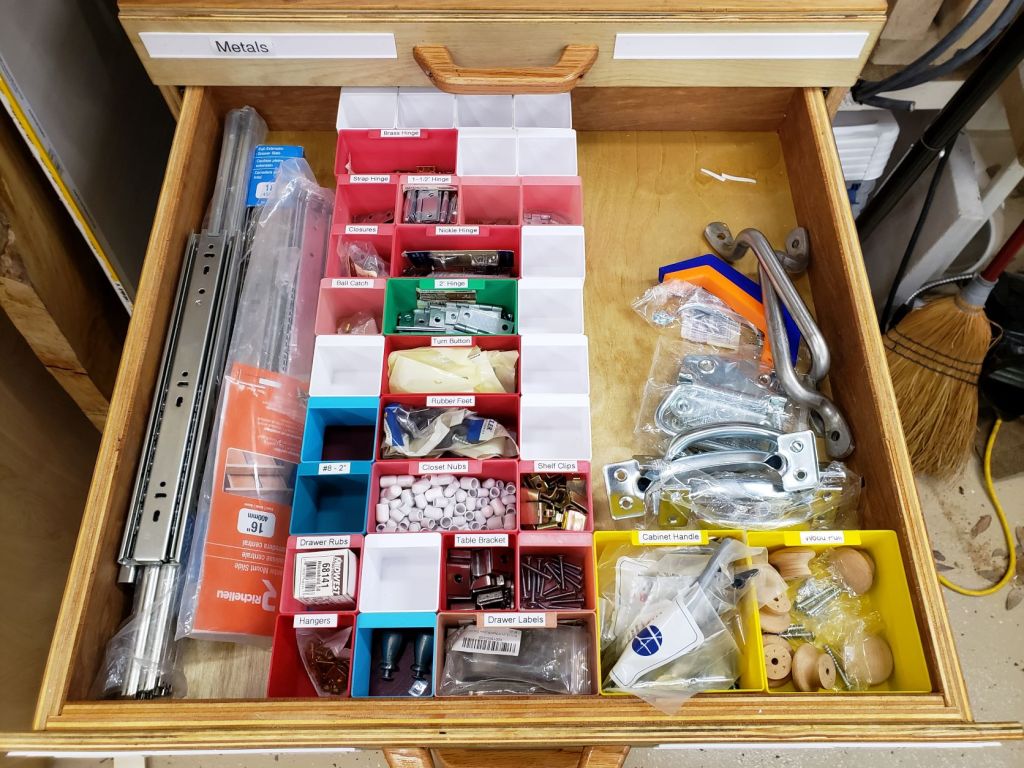
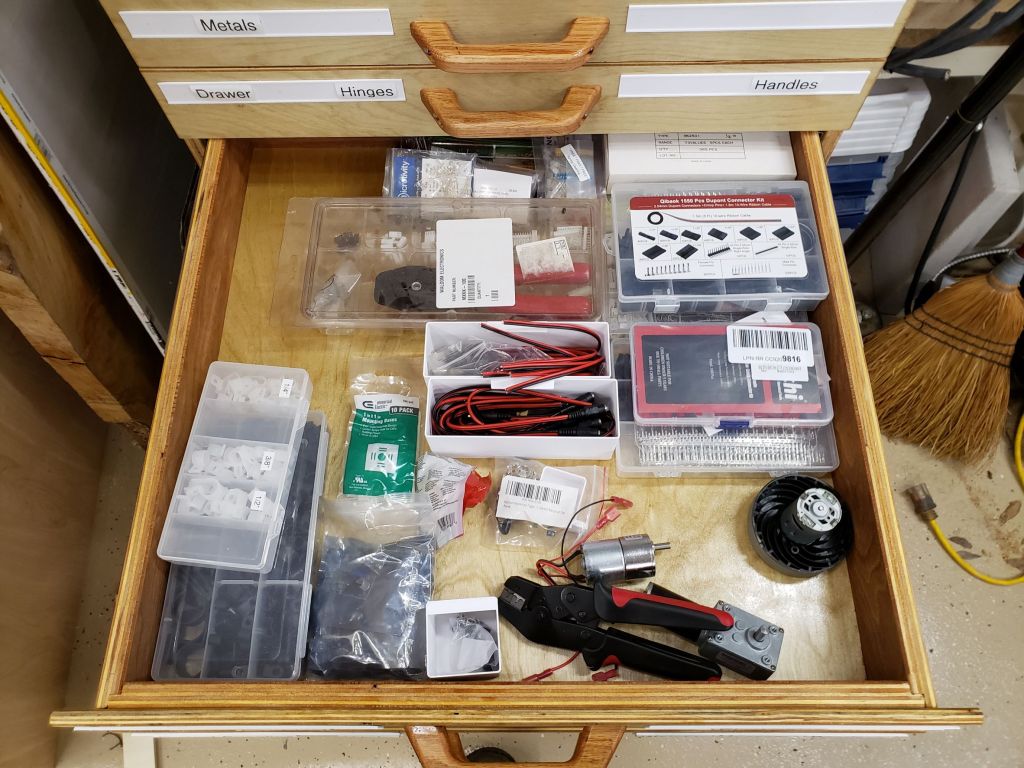
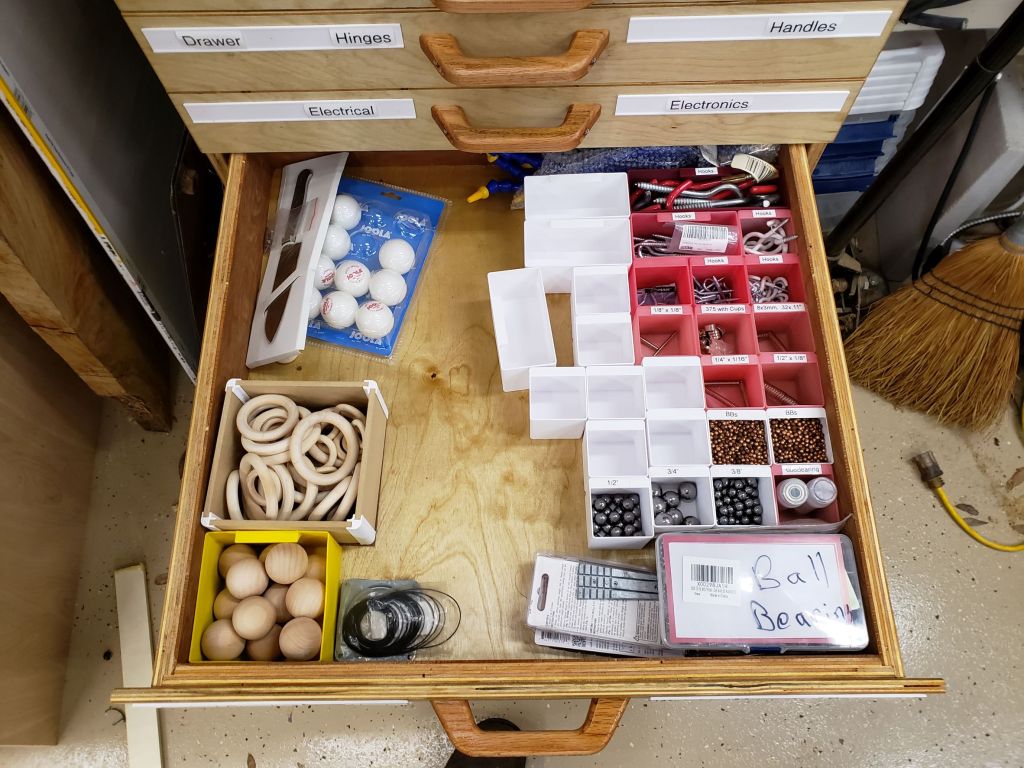
Materials Cabinet

In industry there is a line of drawer cabinets from a company called Vidmar. They can be short or tall, but are usually pretty wide and deep and super well built. Each drawer can hold hundreds of pounds, they have different divider systems, and full extension drawers. Also they tend to have fancy features that don’t let you pull out too many drawers. You could easily tip one over on yourself and cause serious injury.

In looking at my materials storage area, I have a lot of plastic bins that are organized, but maybe only half full. I have made hardware drawers in the past and love their organization and dense storage capacity. This new cabinet will be much larger and deeper and use full extension metal slides. I started with a lot of planning. I wanted to maximize the materials I used, my limited shop time, and the space available.

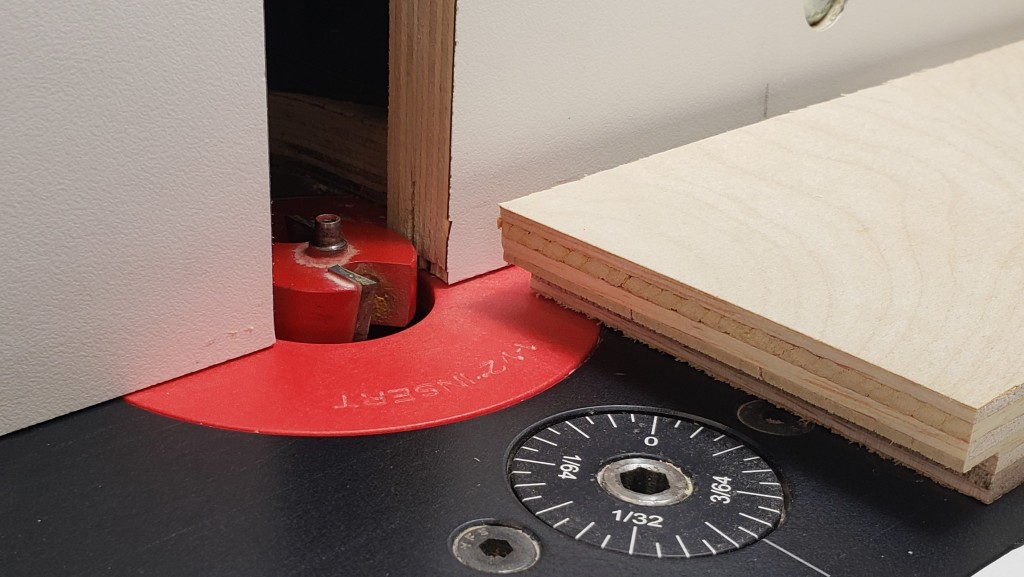
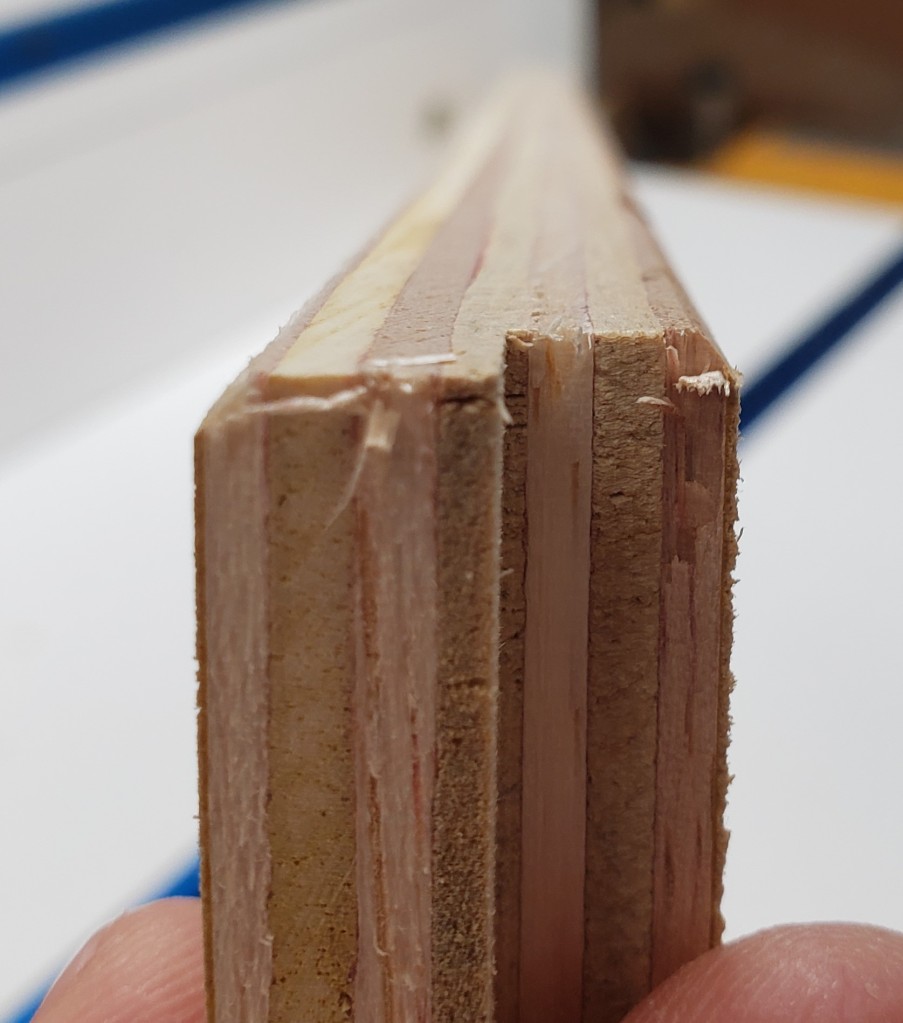
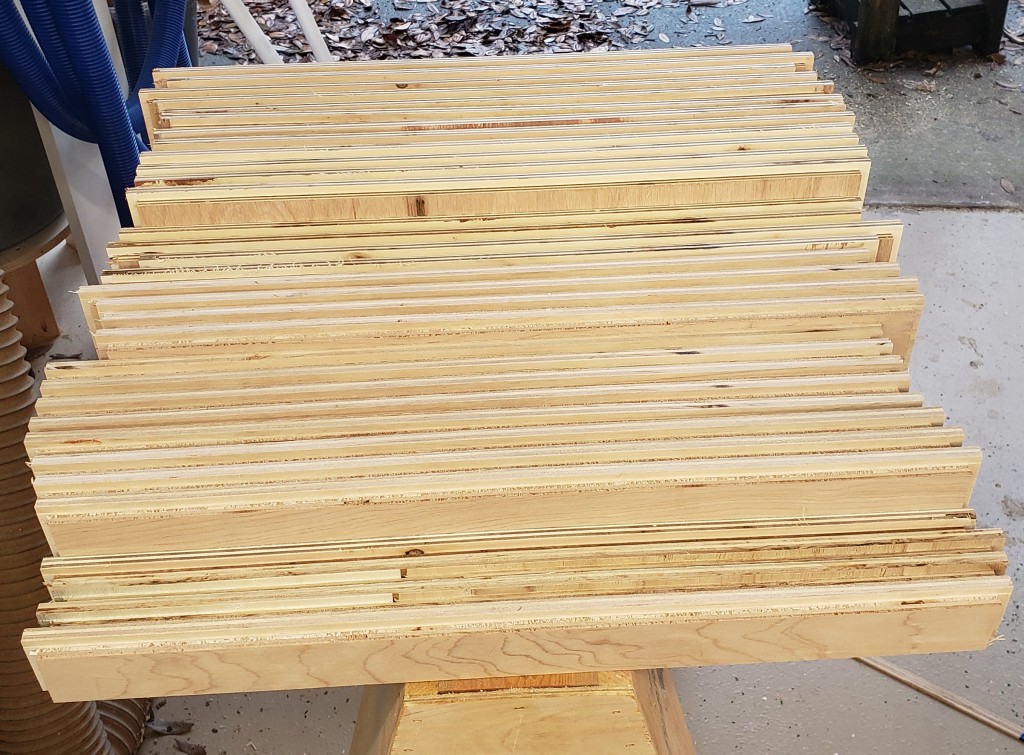
I had it all worked out on paper, and started with the drawers. I cut 24″ wide sheets of 3/4″ plywood and put a rabbet down two sides to make half lap drawers. All four sides of the drawers would all be the same length. This made batching easier. Routing bulk material was faster and cleaner than cutting out individual sides, then doing the routing. This was a big improvement over previous drawer efforts.
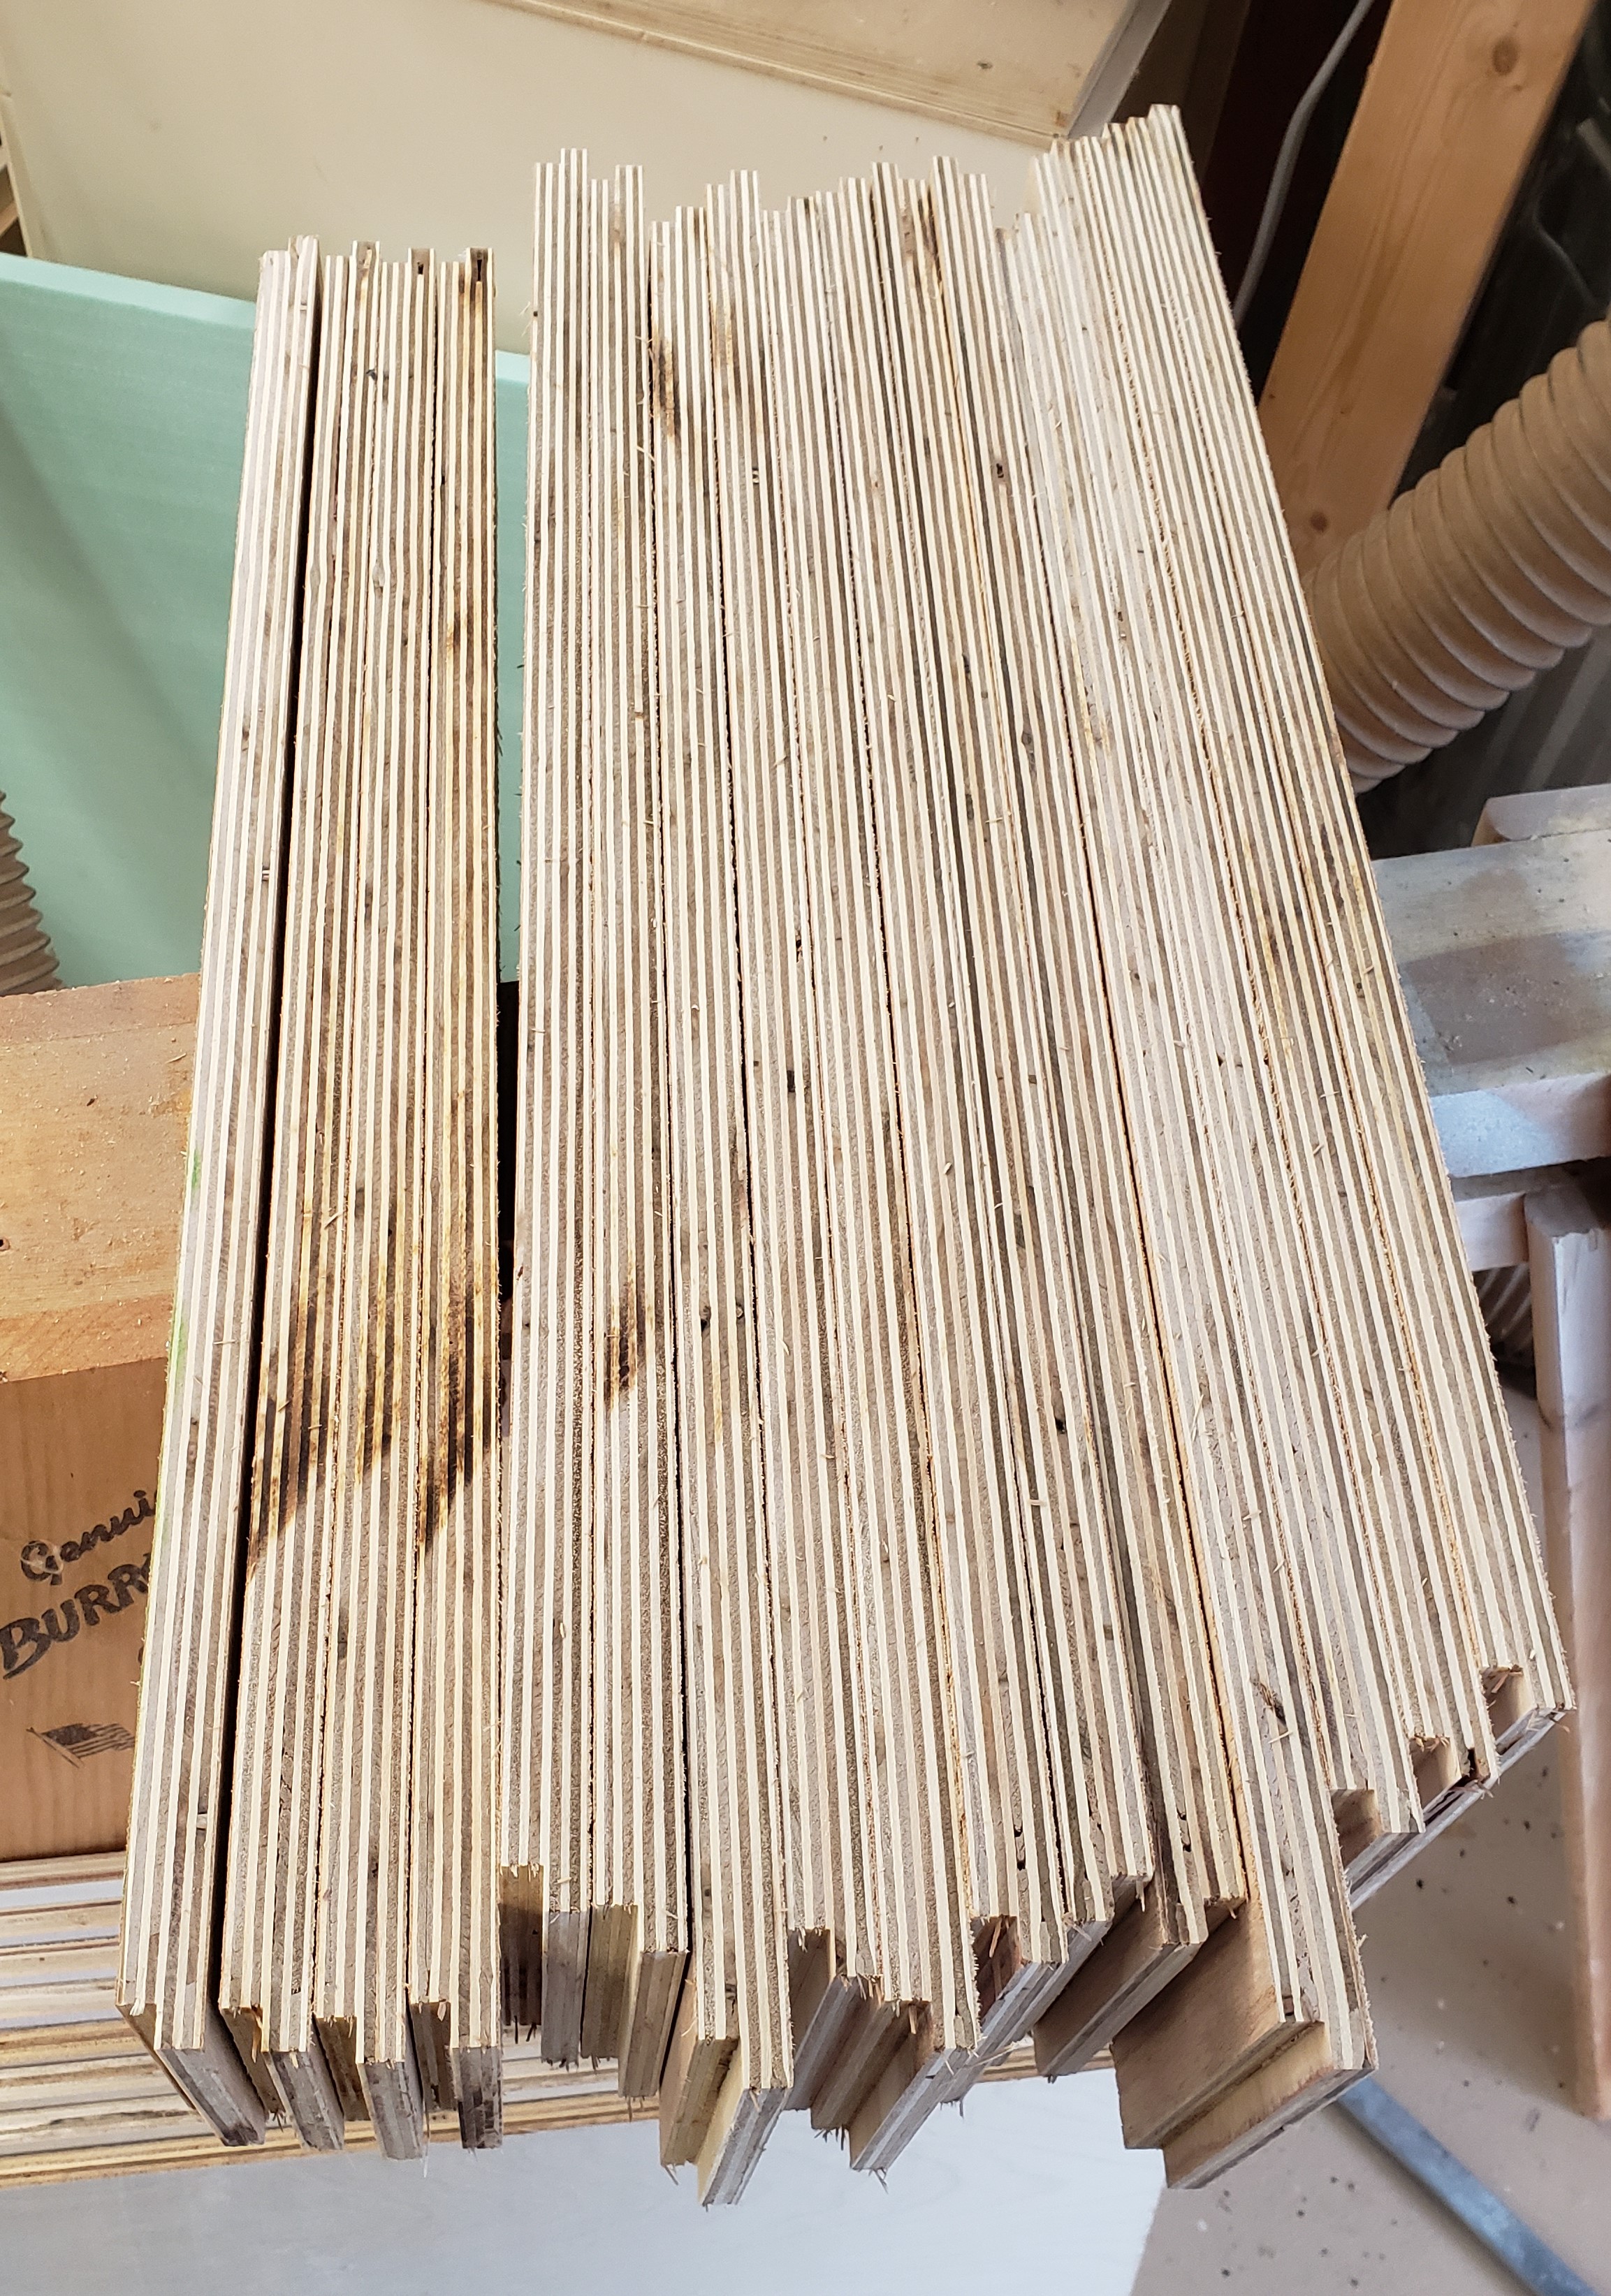
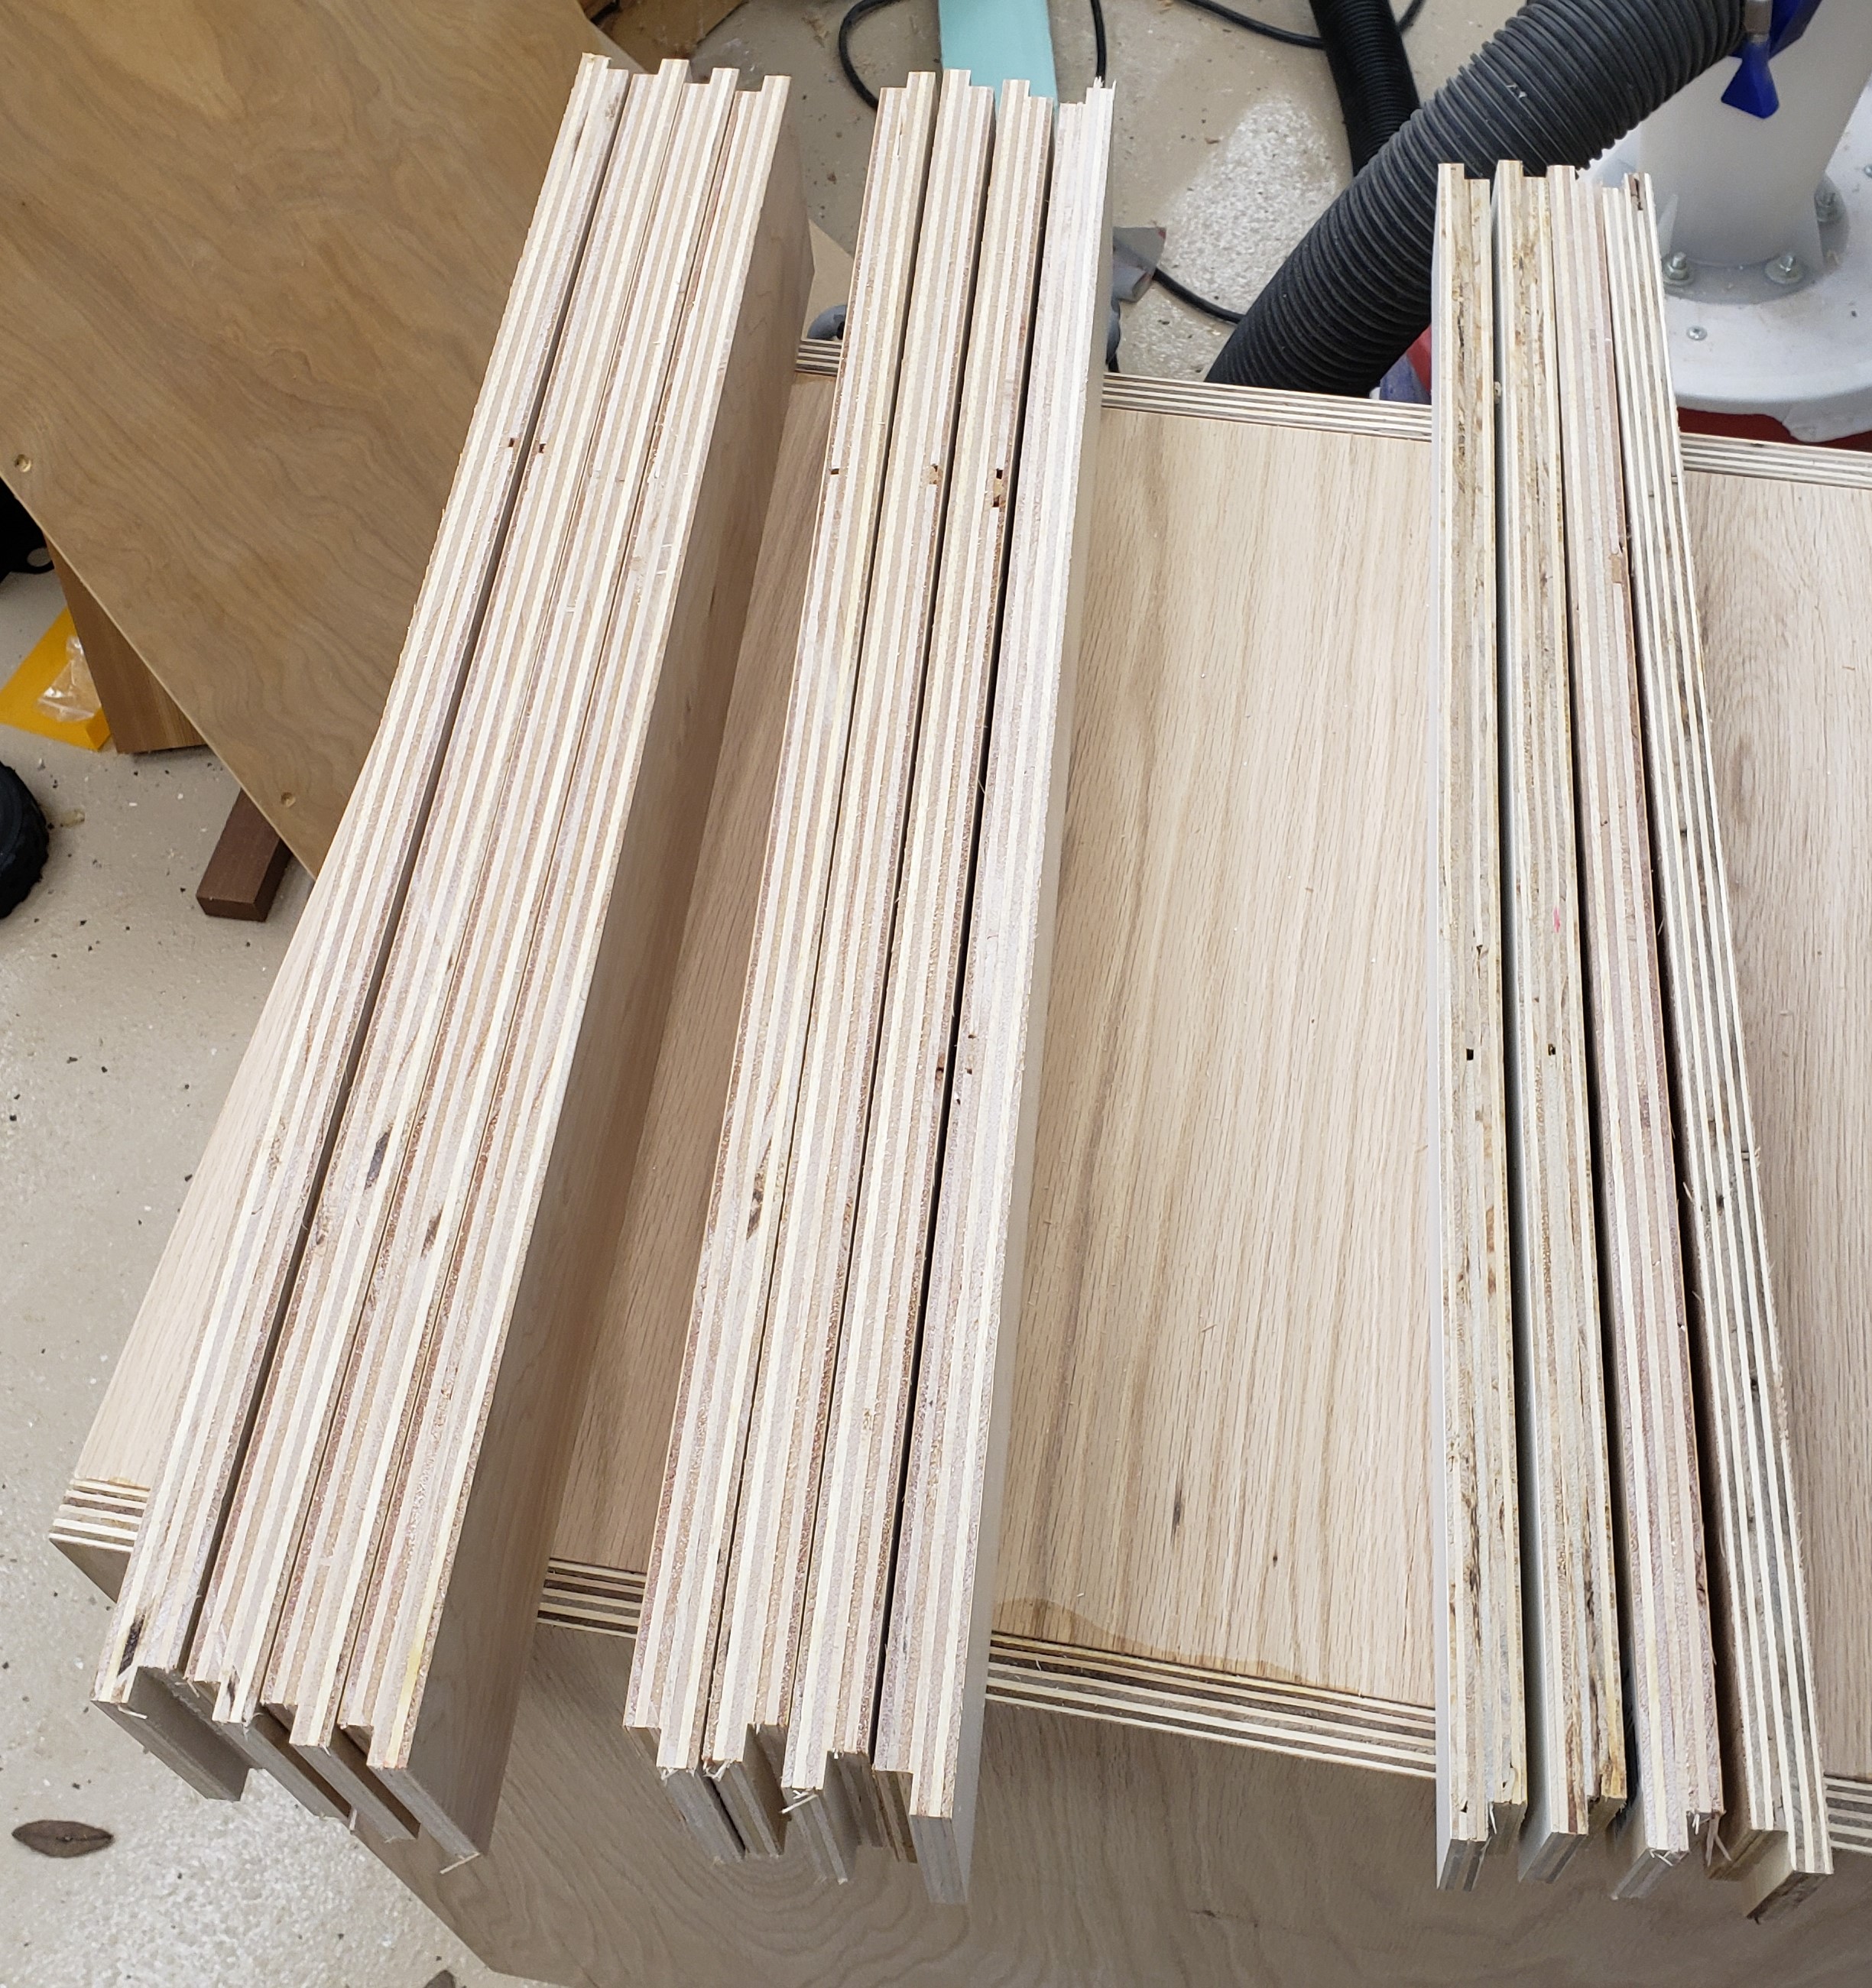
Rabbet for the half lap

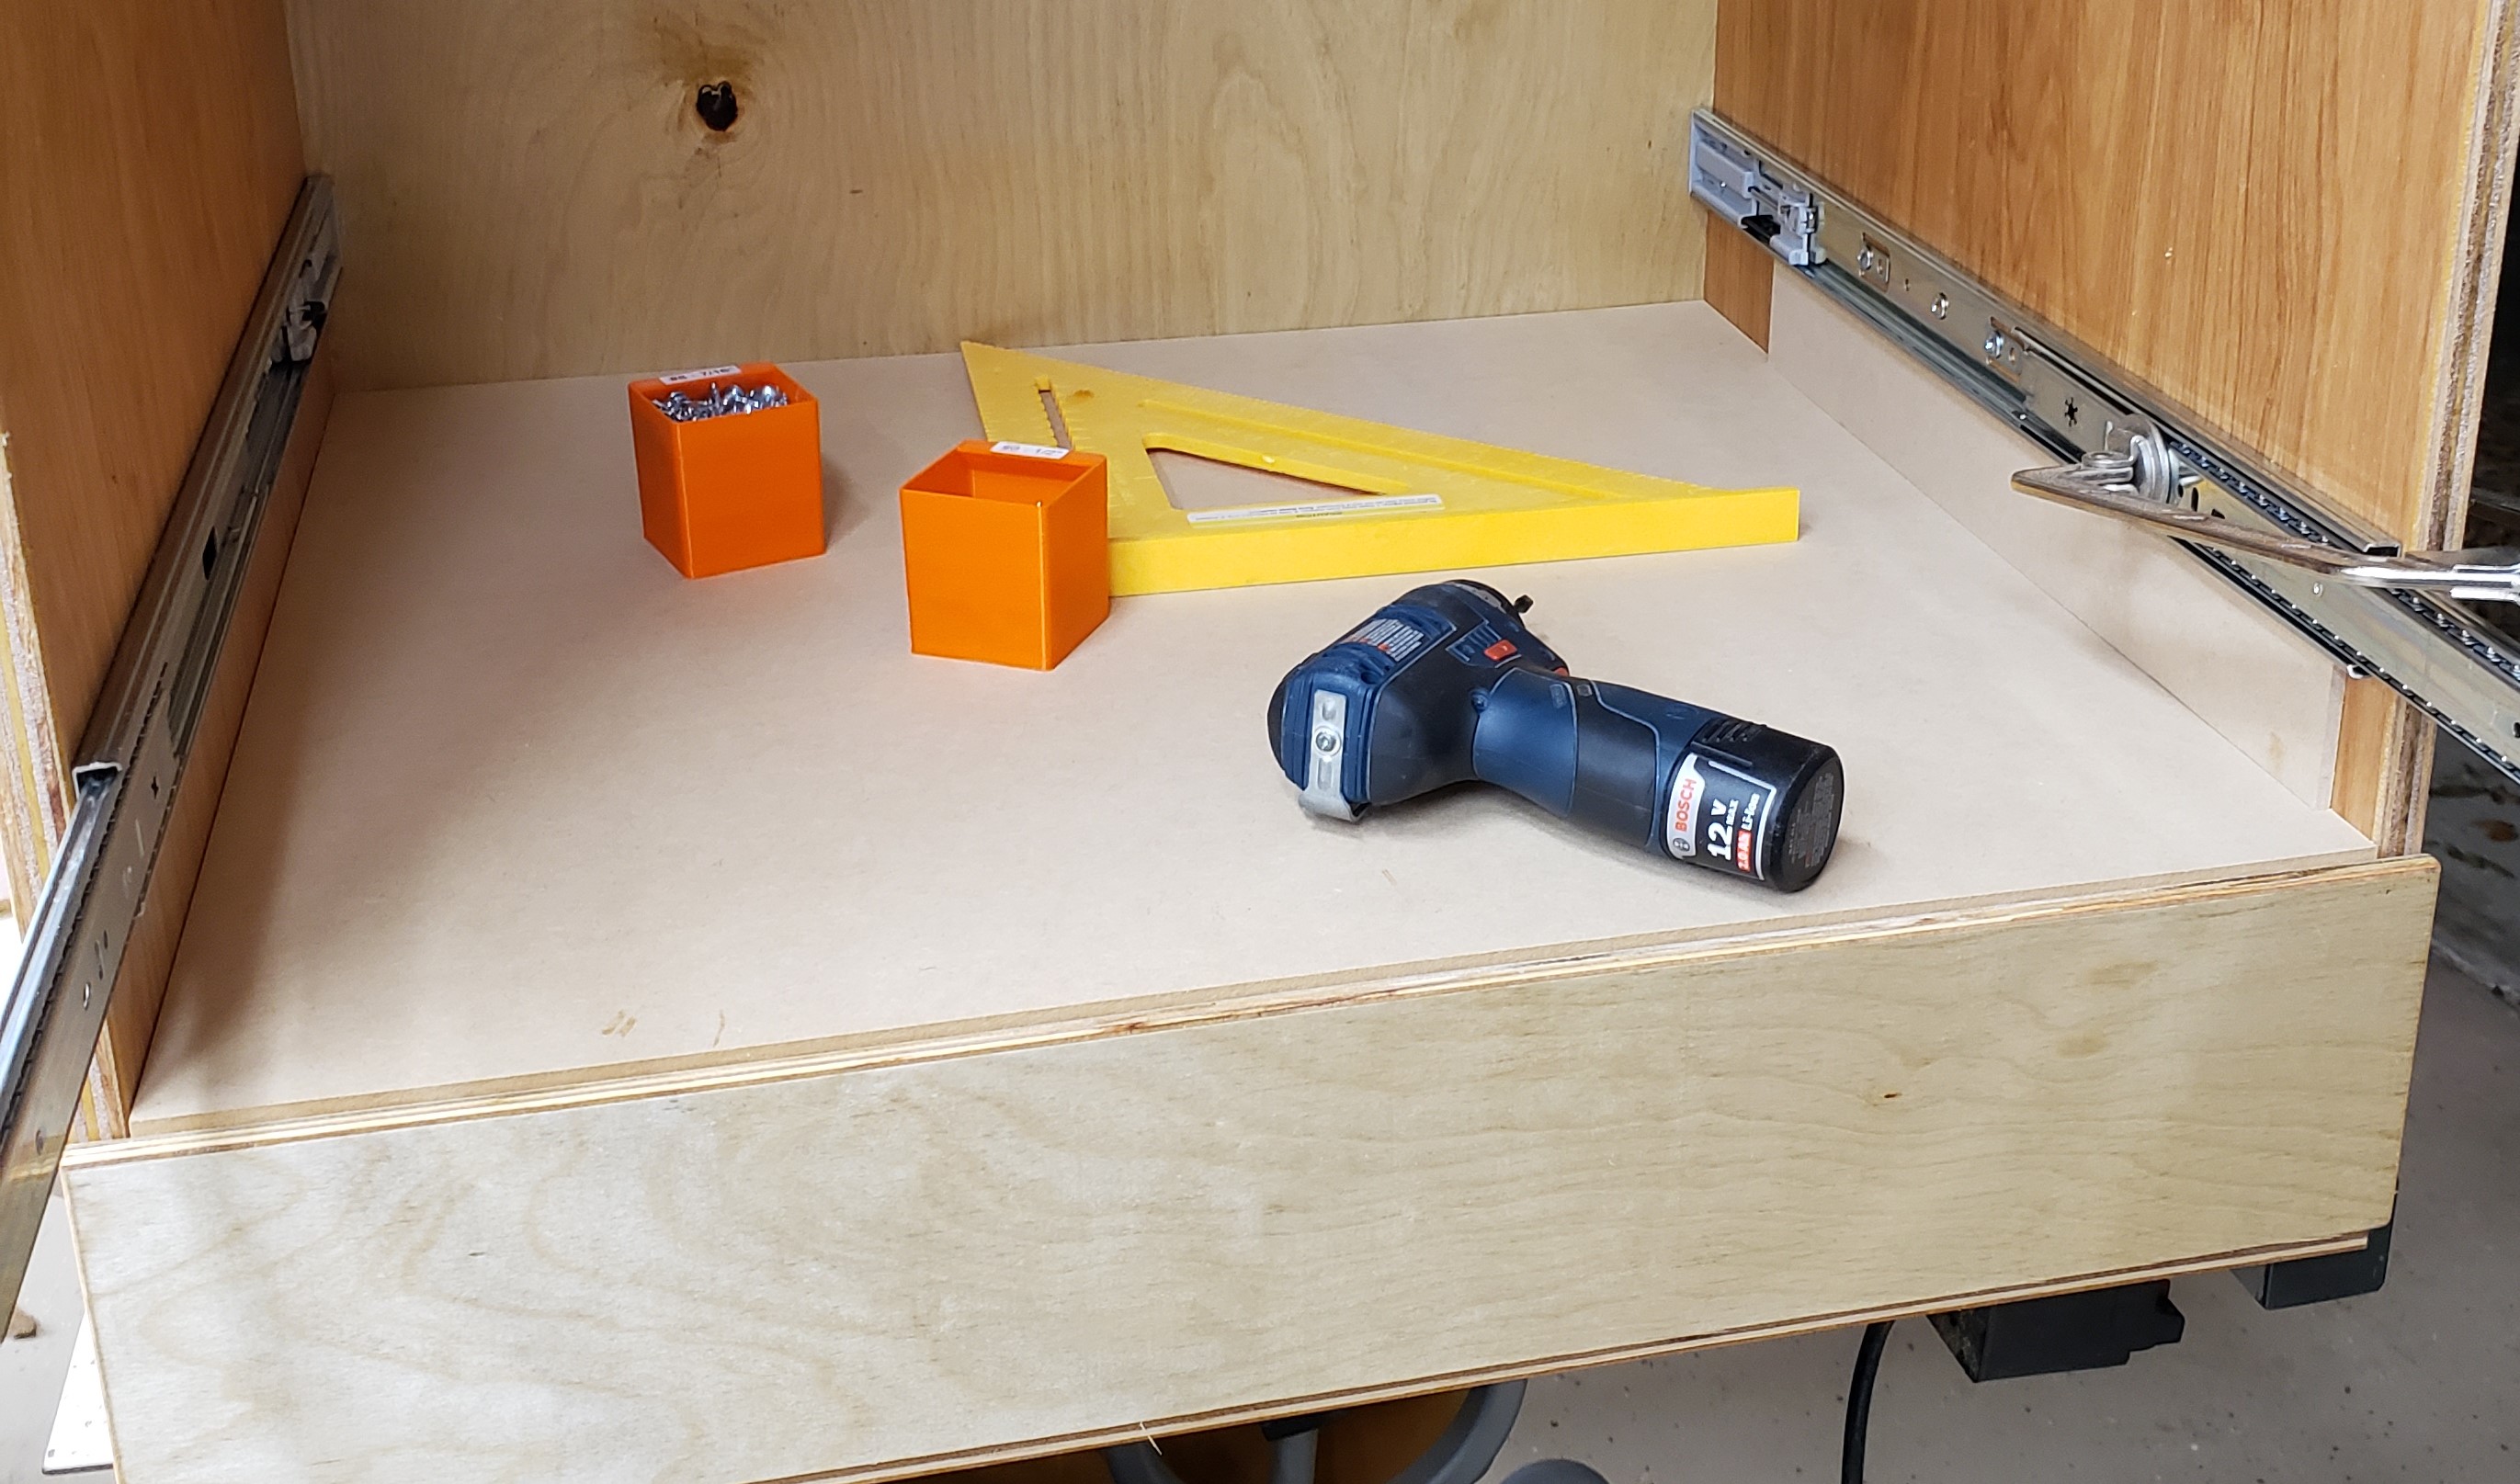
With all the sides cut, I put another rabbet along the bottom of each board for the drawer bottom. Each would get a 1/2″ piece of plywood in the recess. Probably overkill, but I want them to be able to handle a lot of weight. Eight 24×24″ drawer bottoms worked out nicely to 1 full sheet of 1/2″ ply. It was subtle, but I put a little radius on the top edges of all the drawer sides to make it easier on your hands when reaching in. They took a bit of sanding to smooth out.

Routing for drawer bottoms
Slight radius on drawer side top edges
All drawers ready to assemble

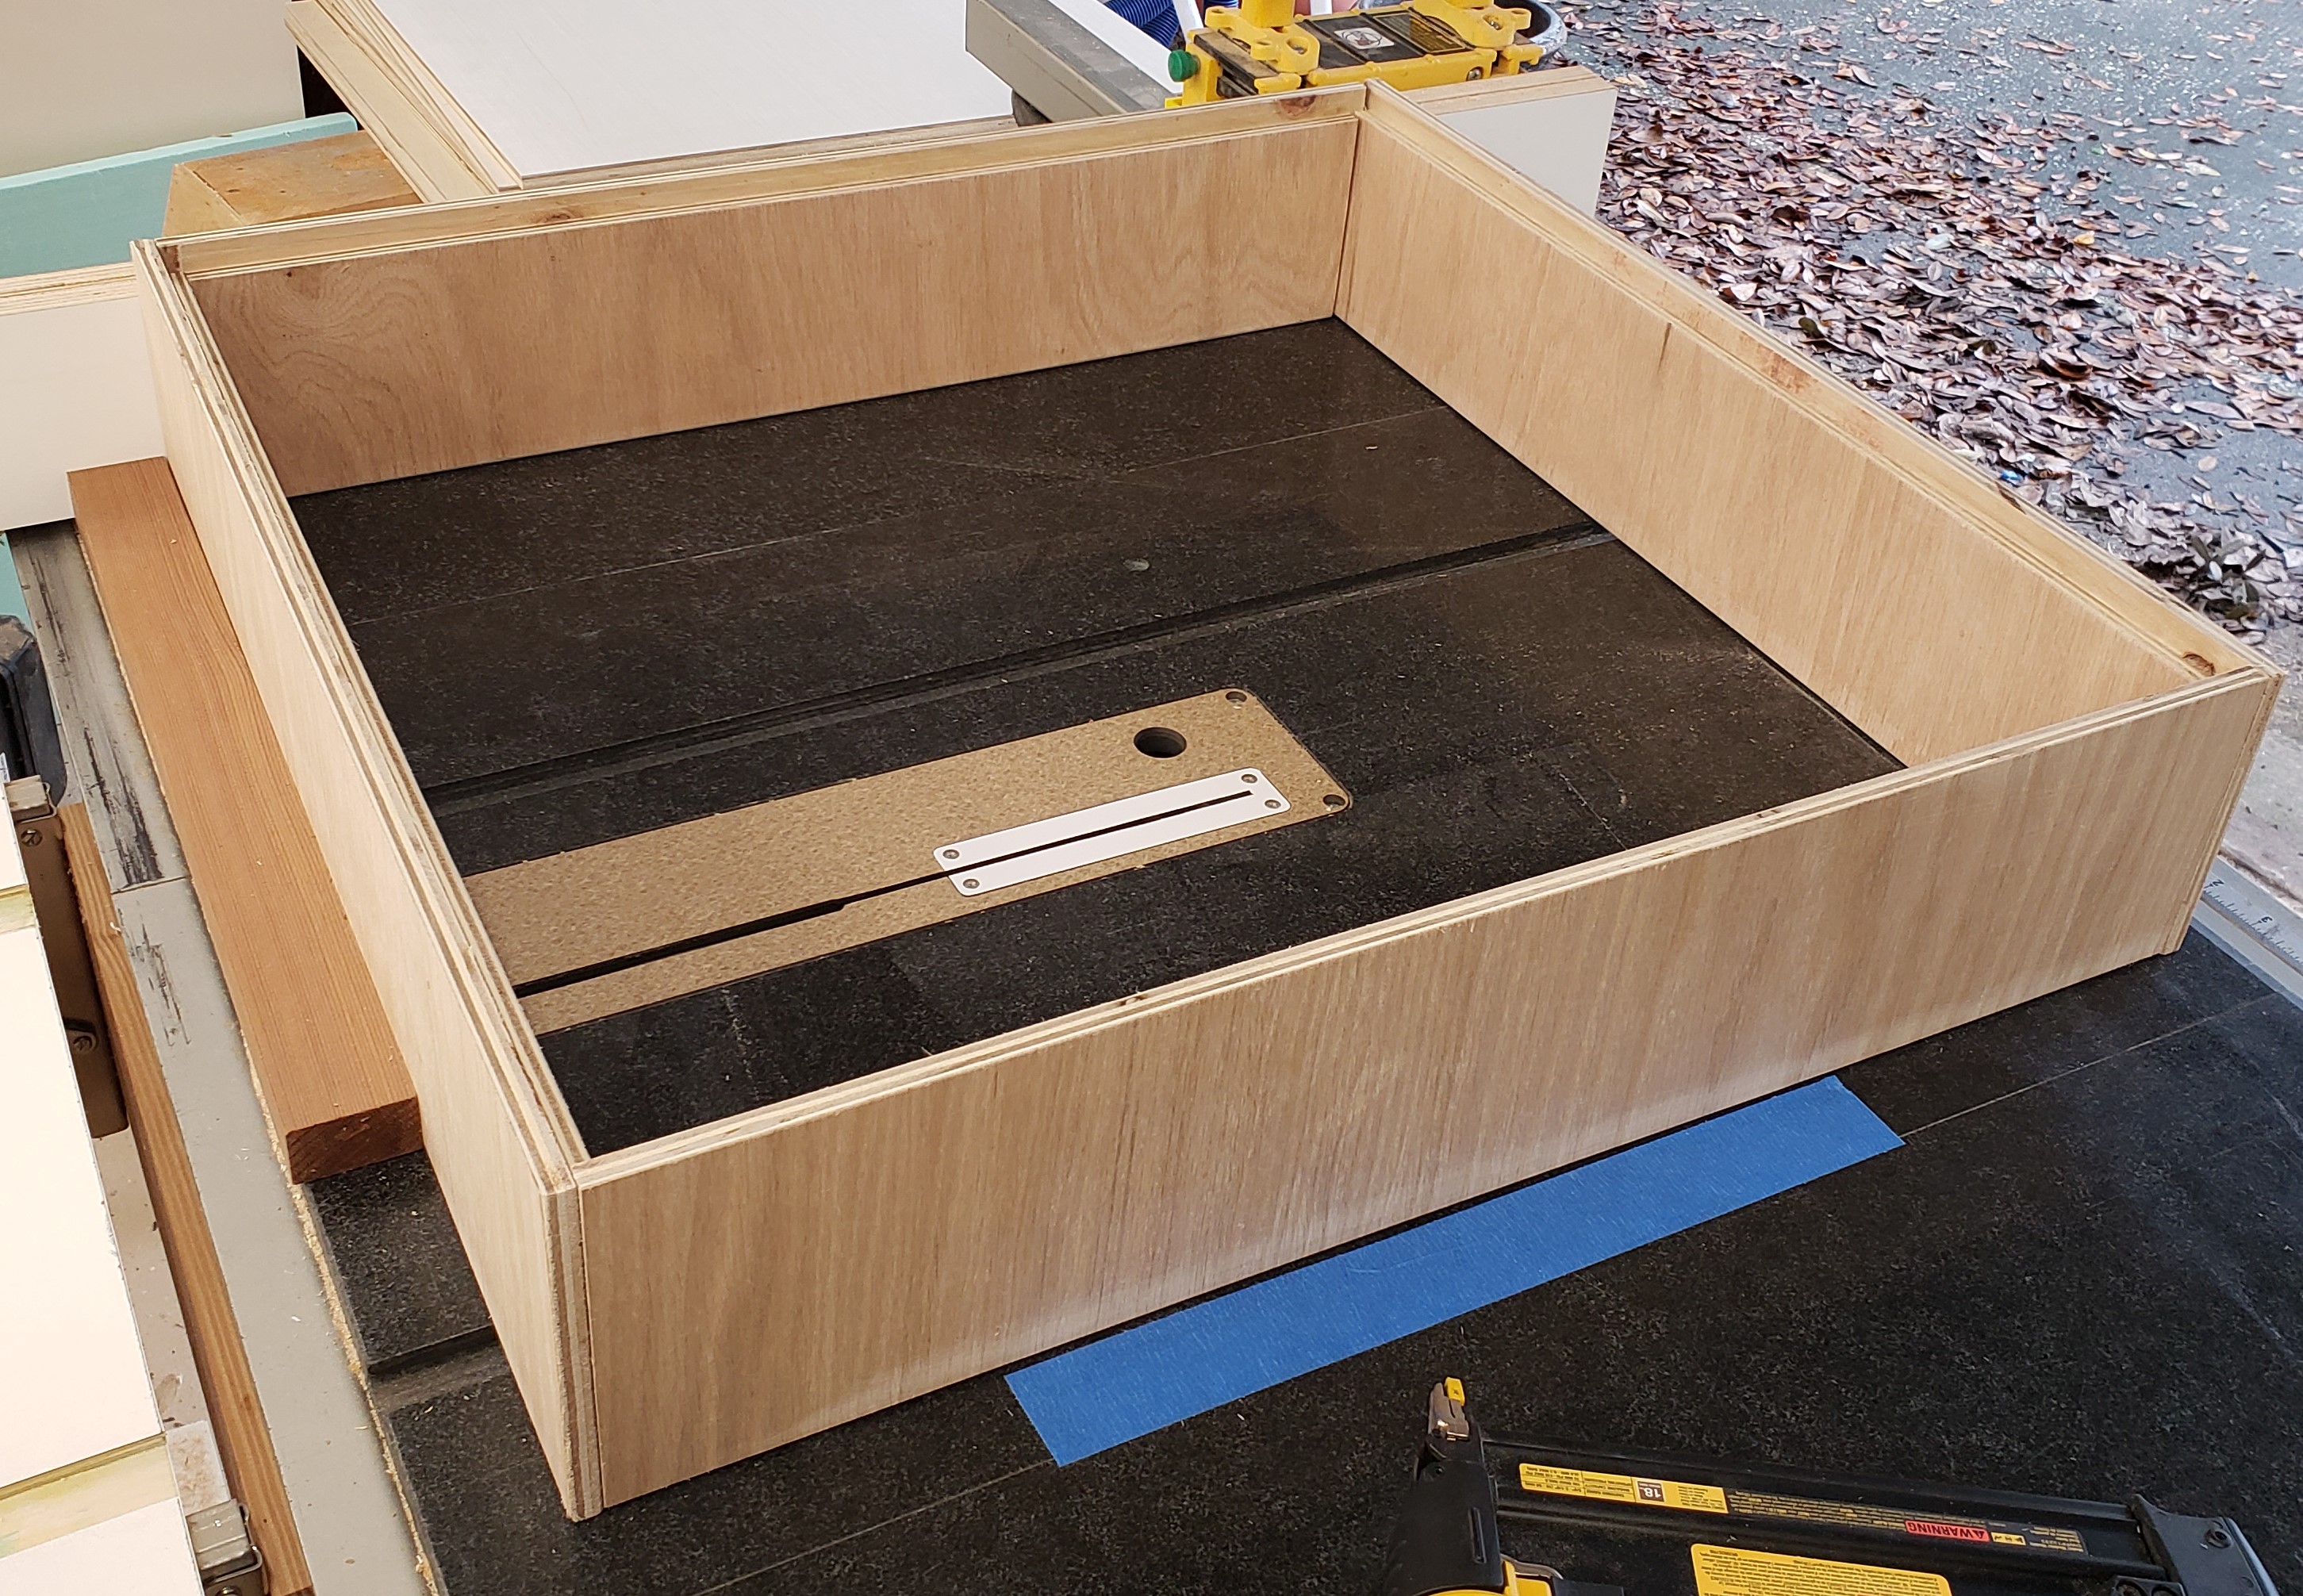
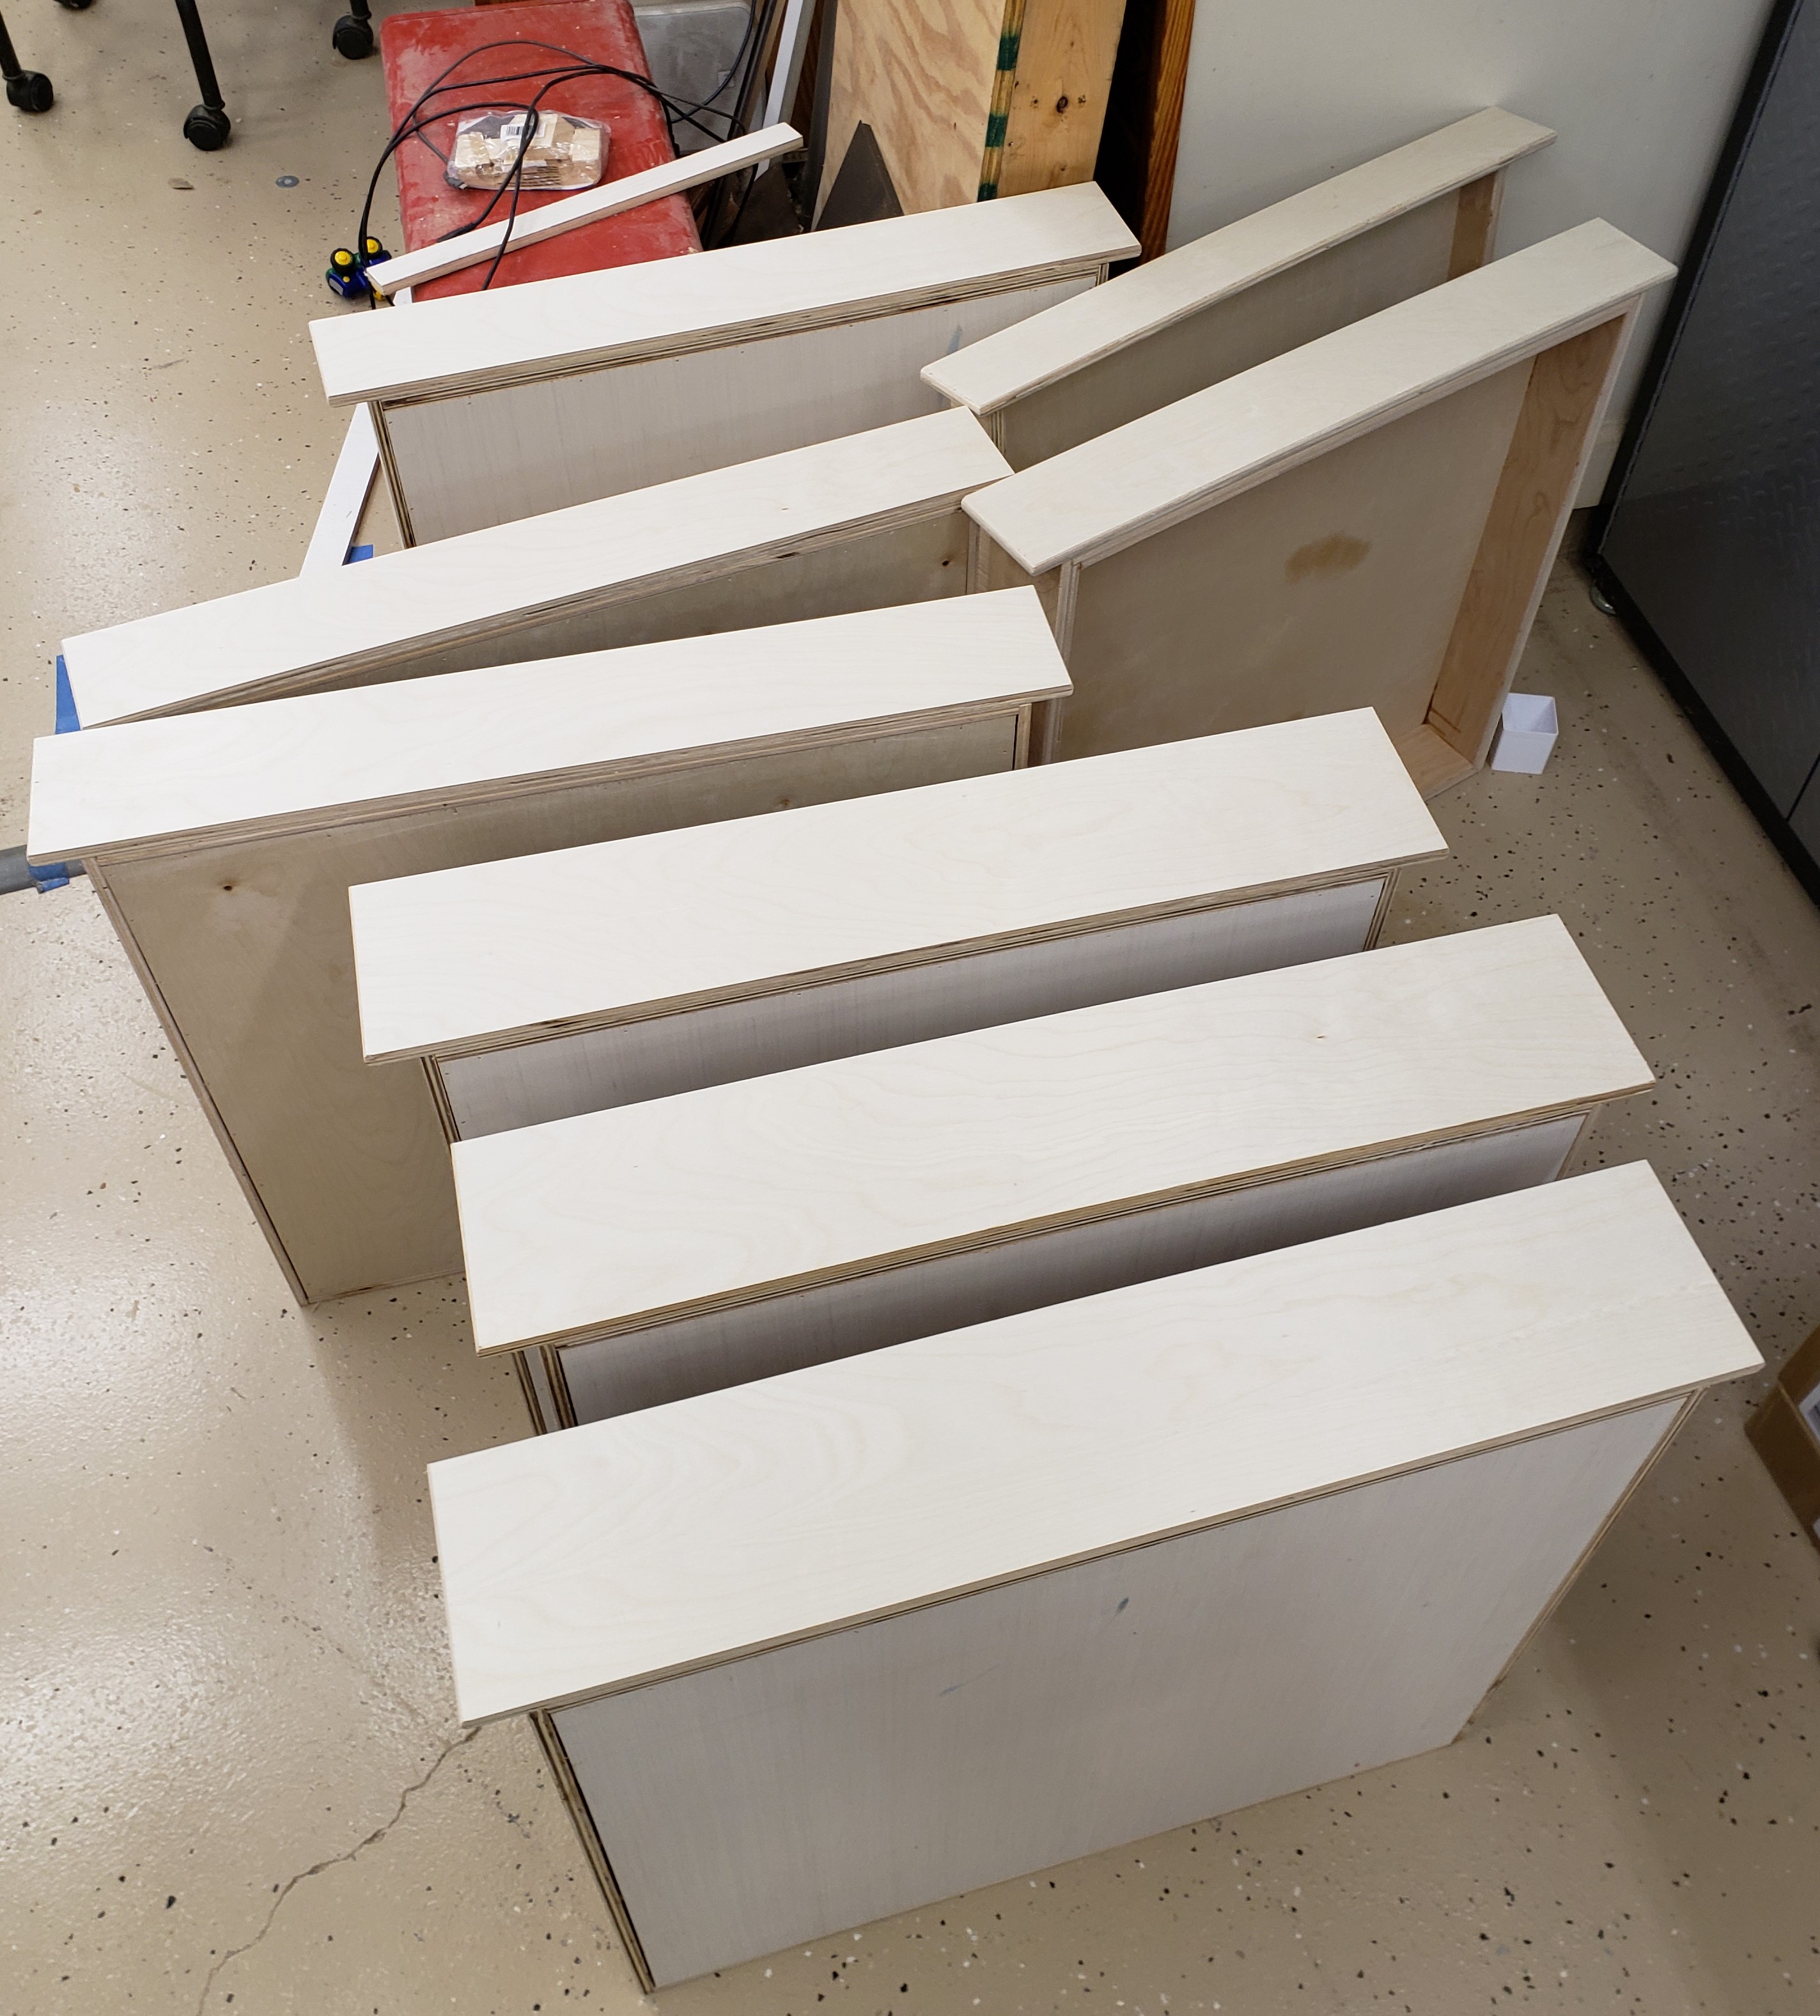
I had everything figured out really precisely, and cut all the drawers at the same time to reduce error. If they went together with any kind of bows or warp, it would throw my plans off. I attached a board to my table saw to act as a square, and used the top as a large flat assembly surface. Each side got glue and nails in two directions. Nailing and gluing a half lap like this is really fast, easy, and strong. The drawer bottoms got glue and nails in from the bottom, and into the side of the bottom plywood. They were fast to assemble, and should be bomb proof!
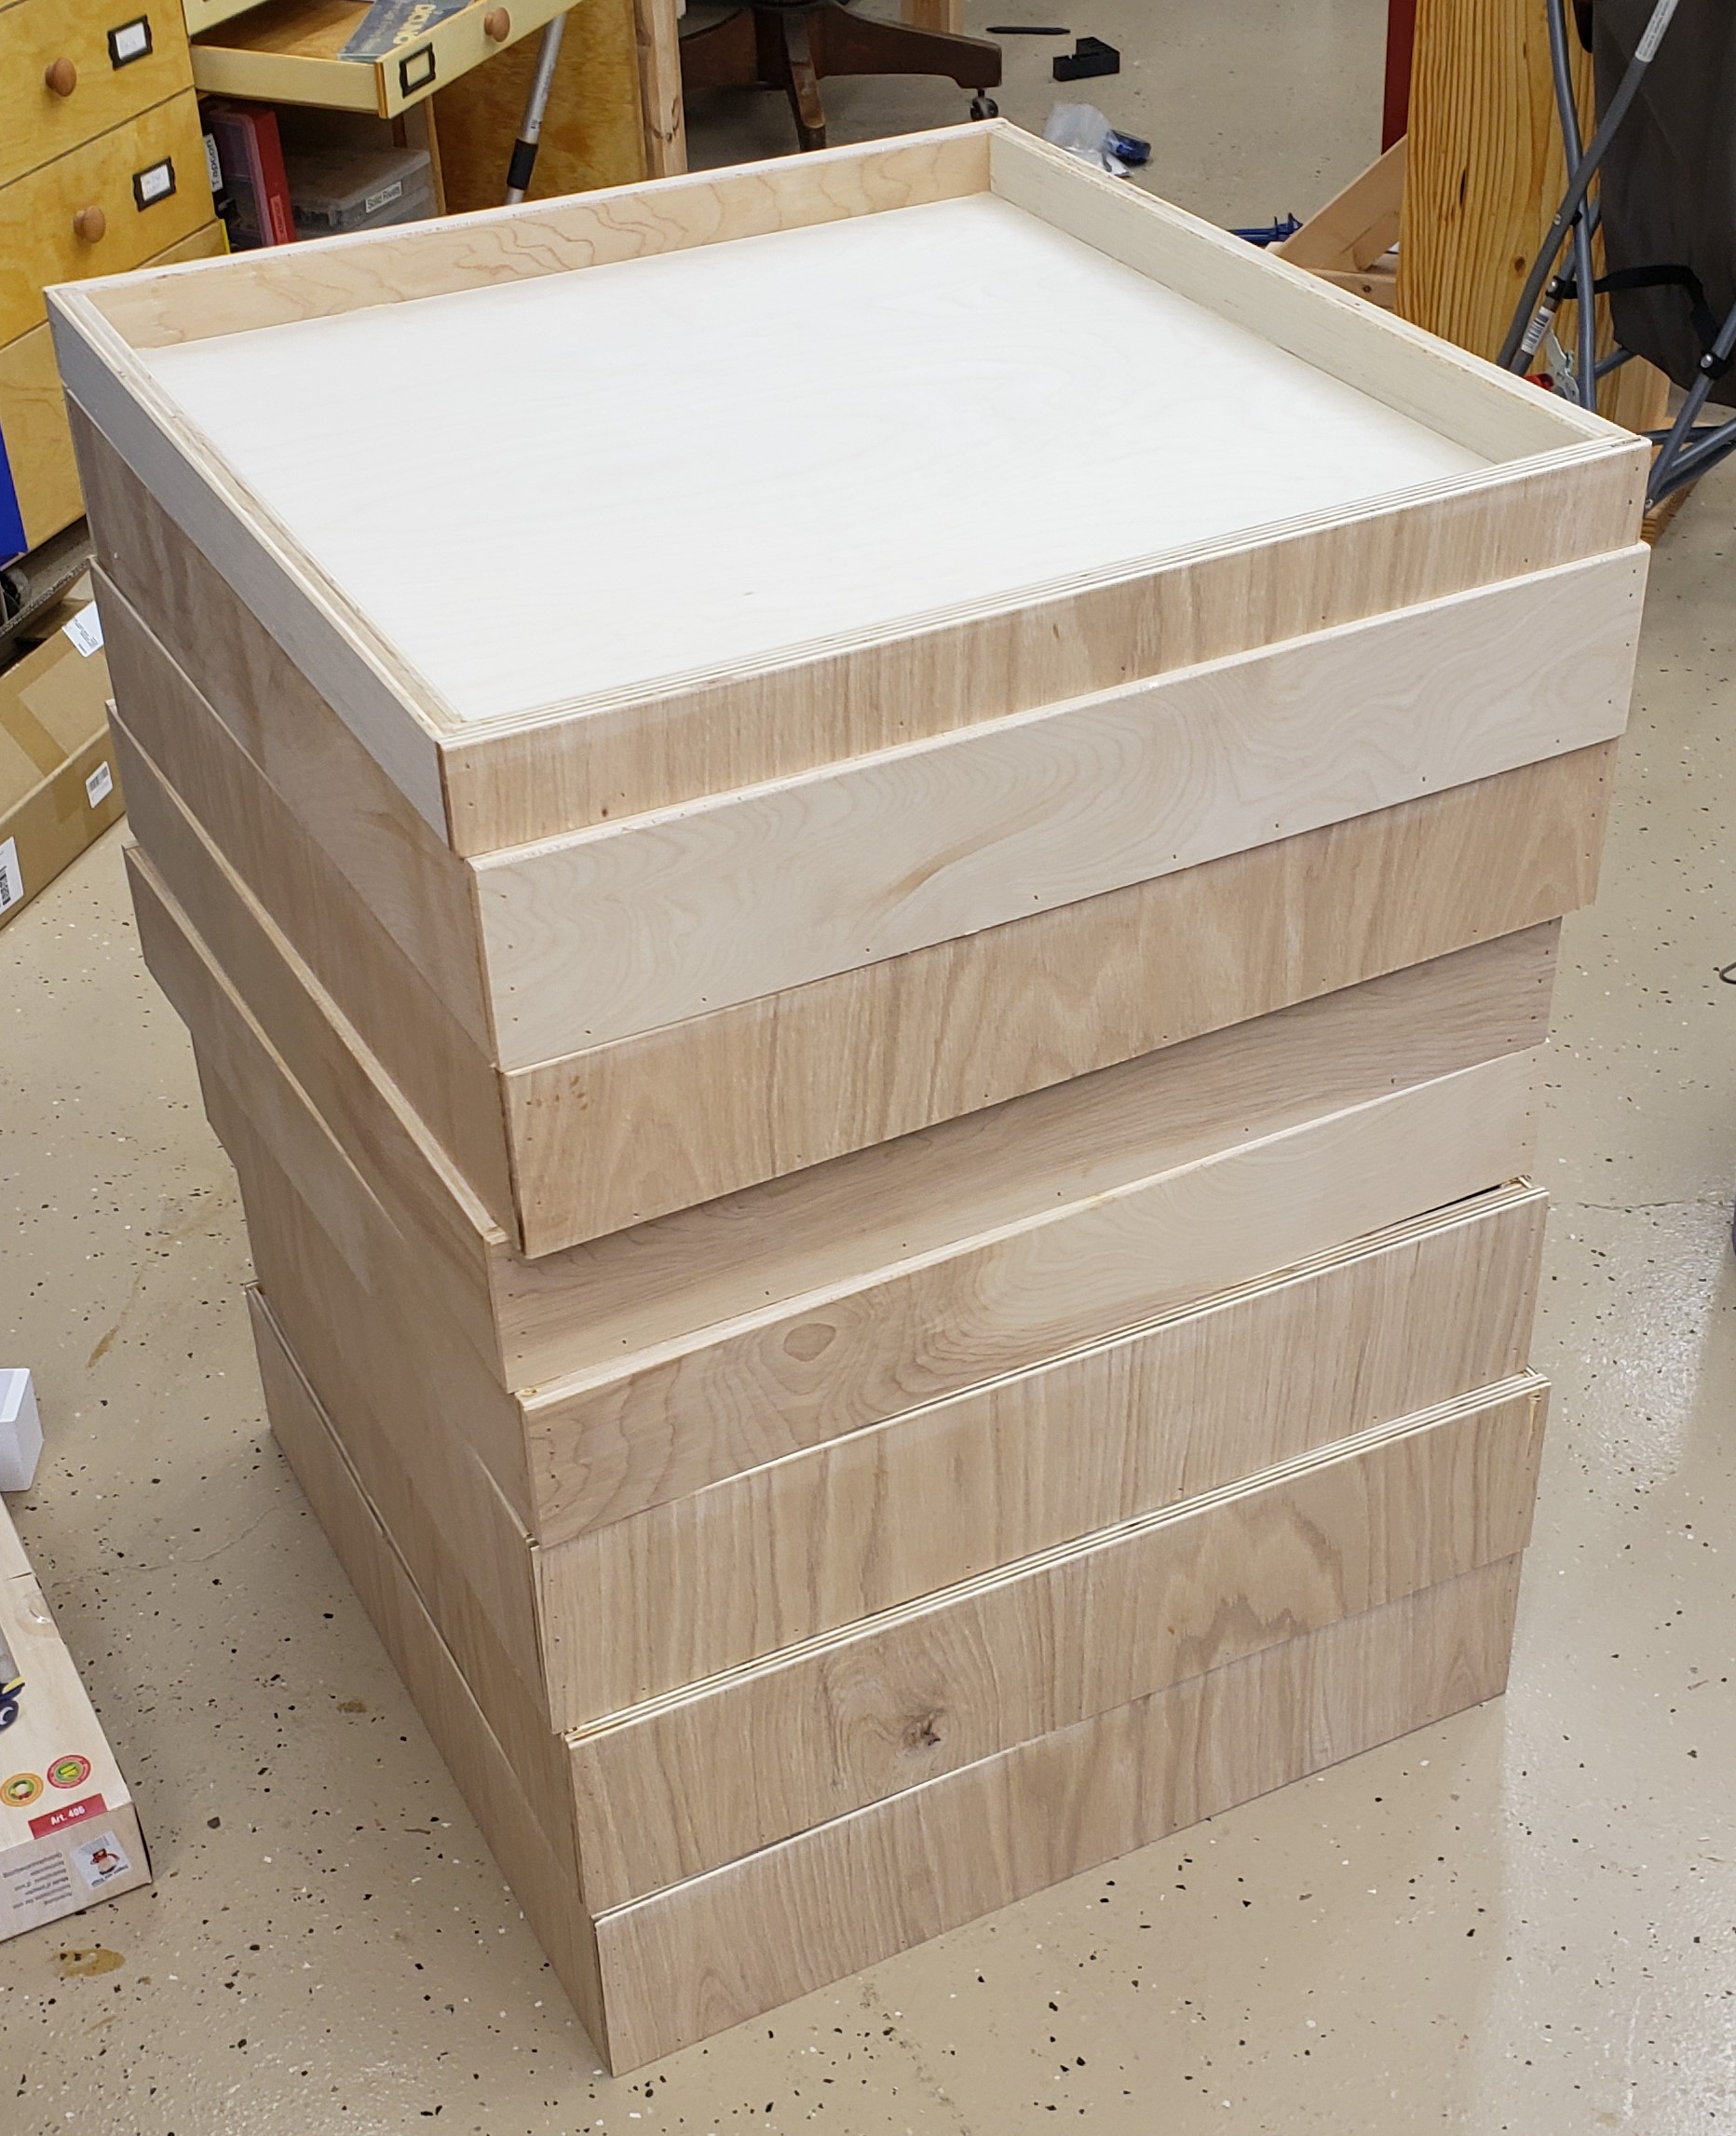
For the drawer fronts I cut a single strip of 1/2″ plywood and aligned each front with numbers so the grain flows naturally from bottom to top.

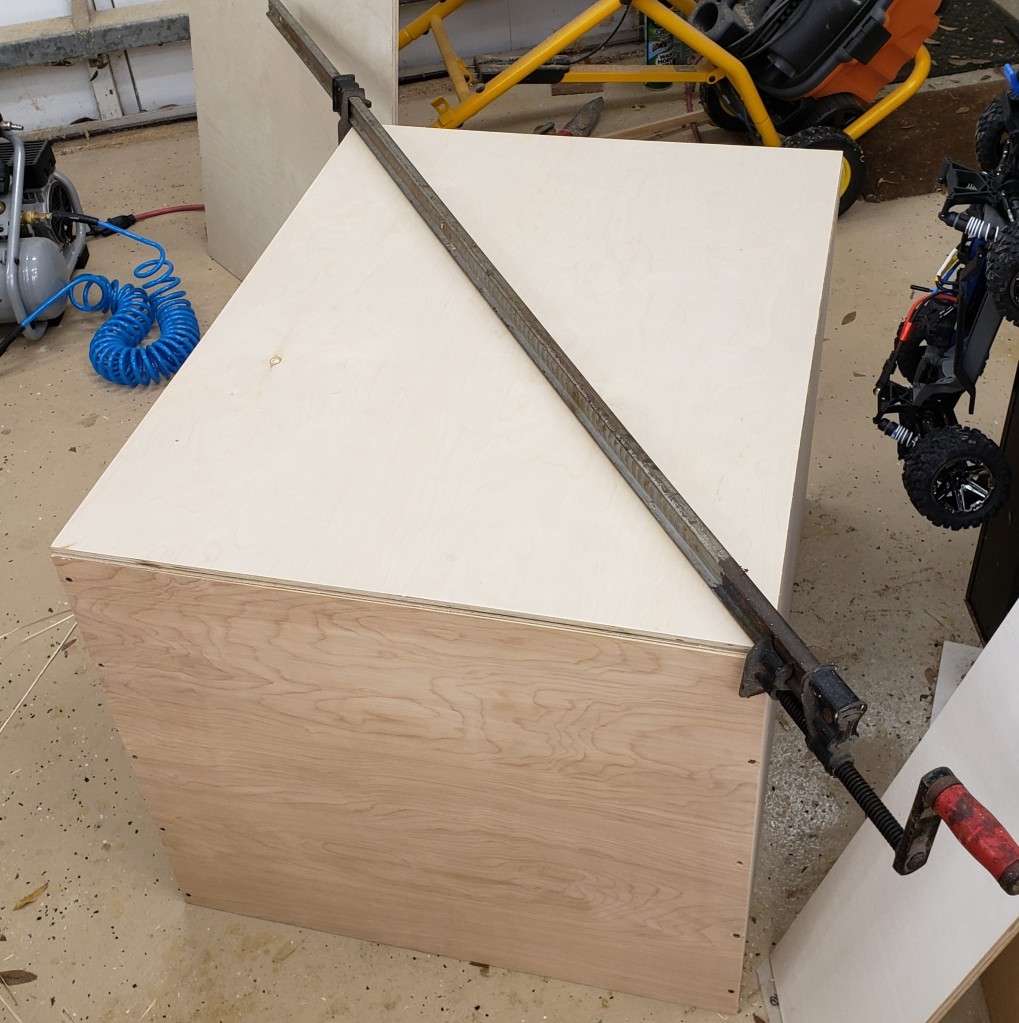
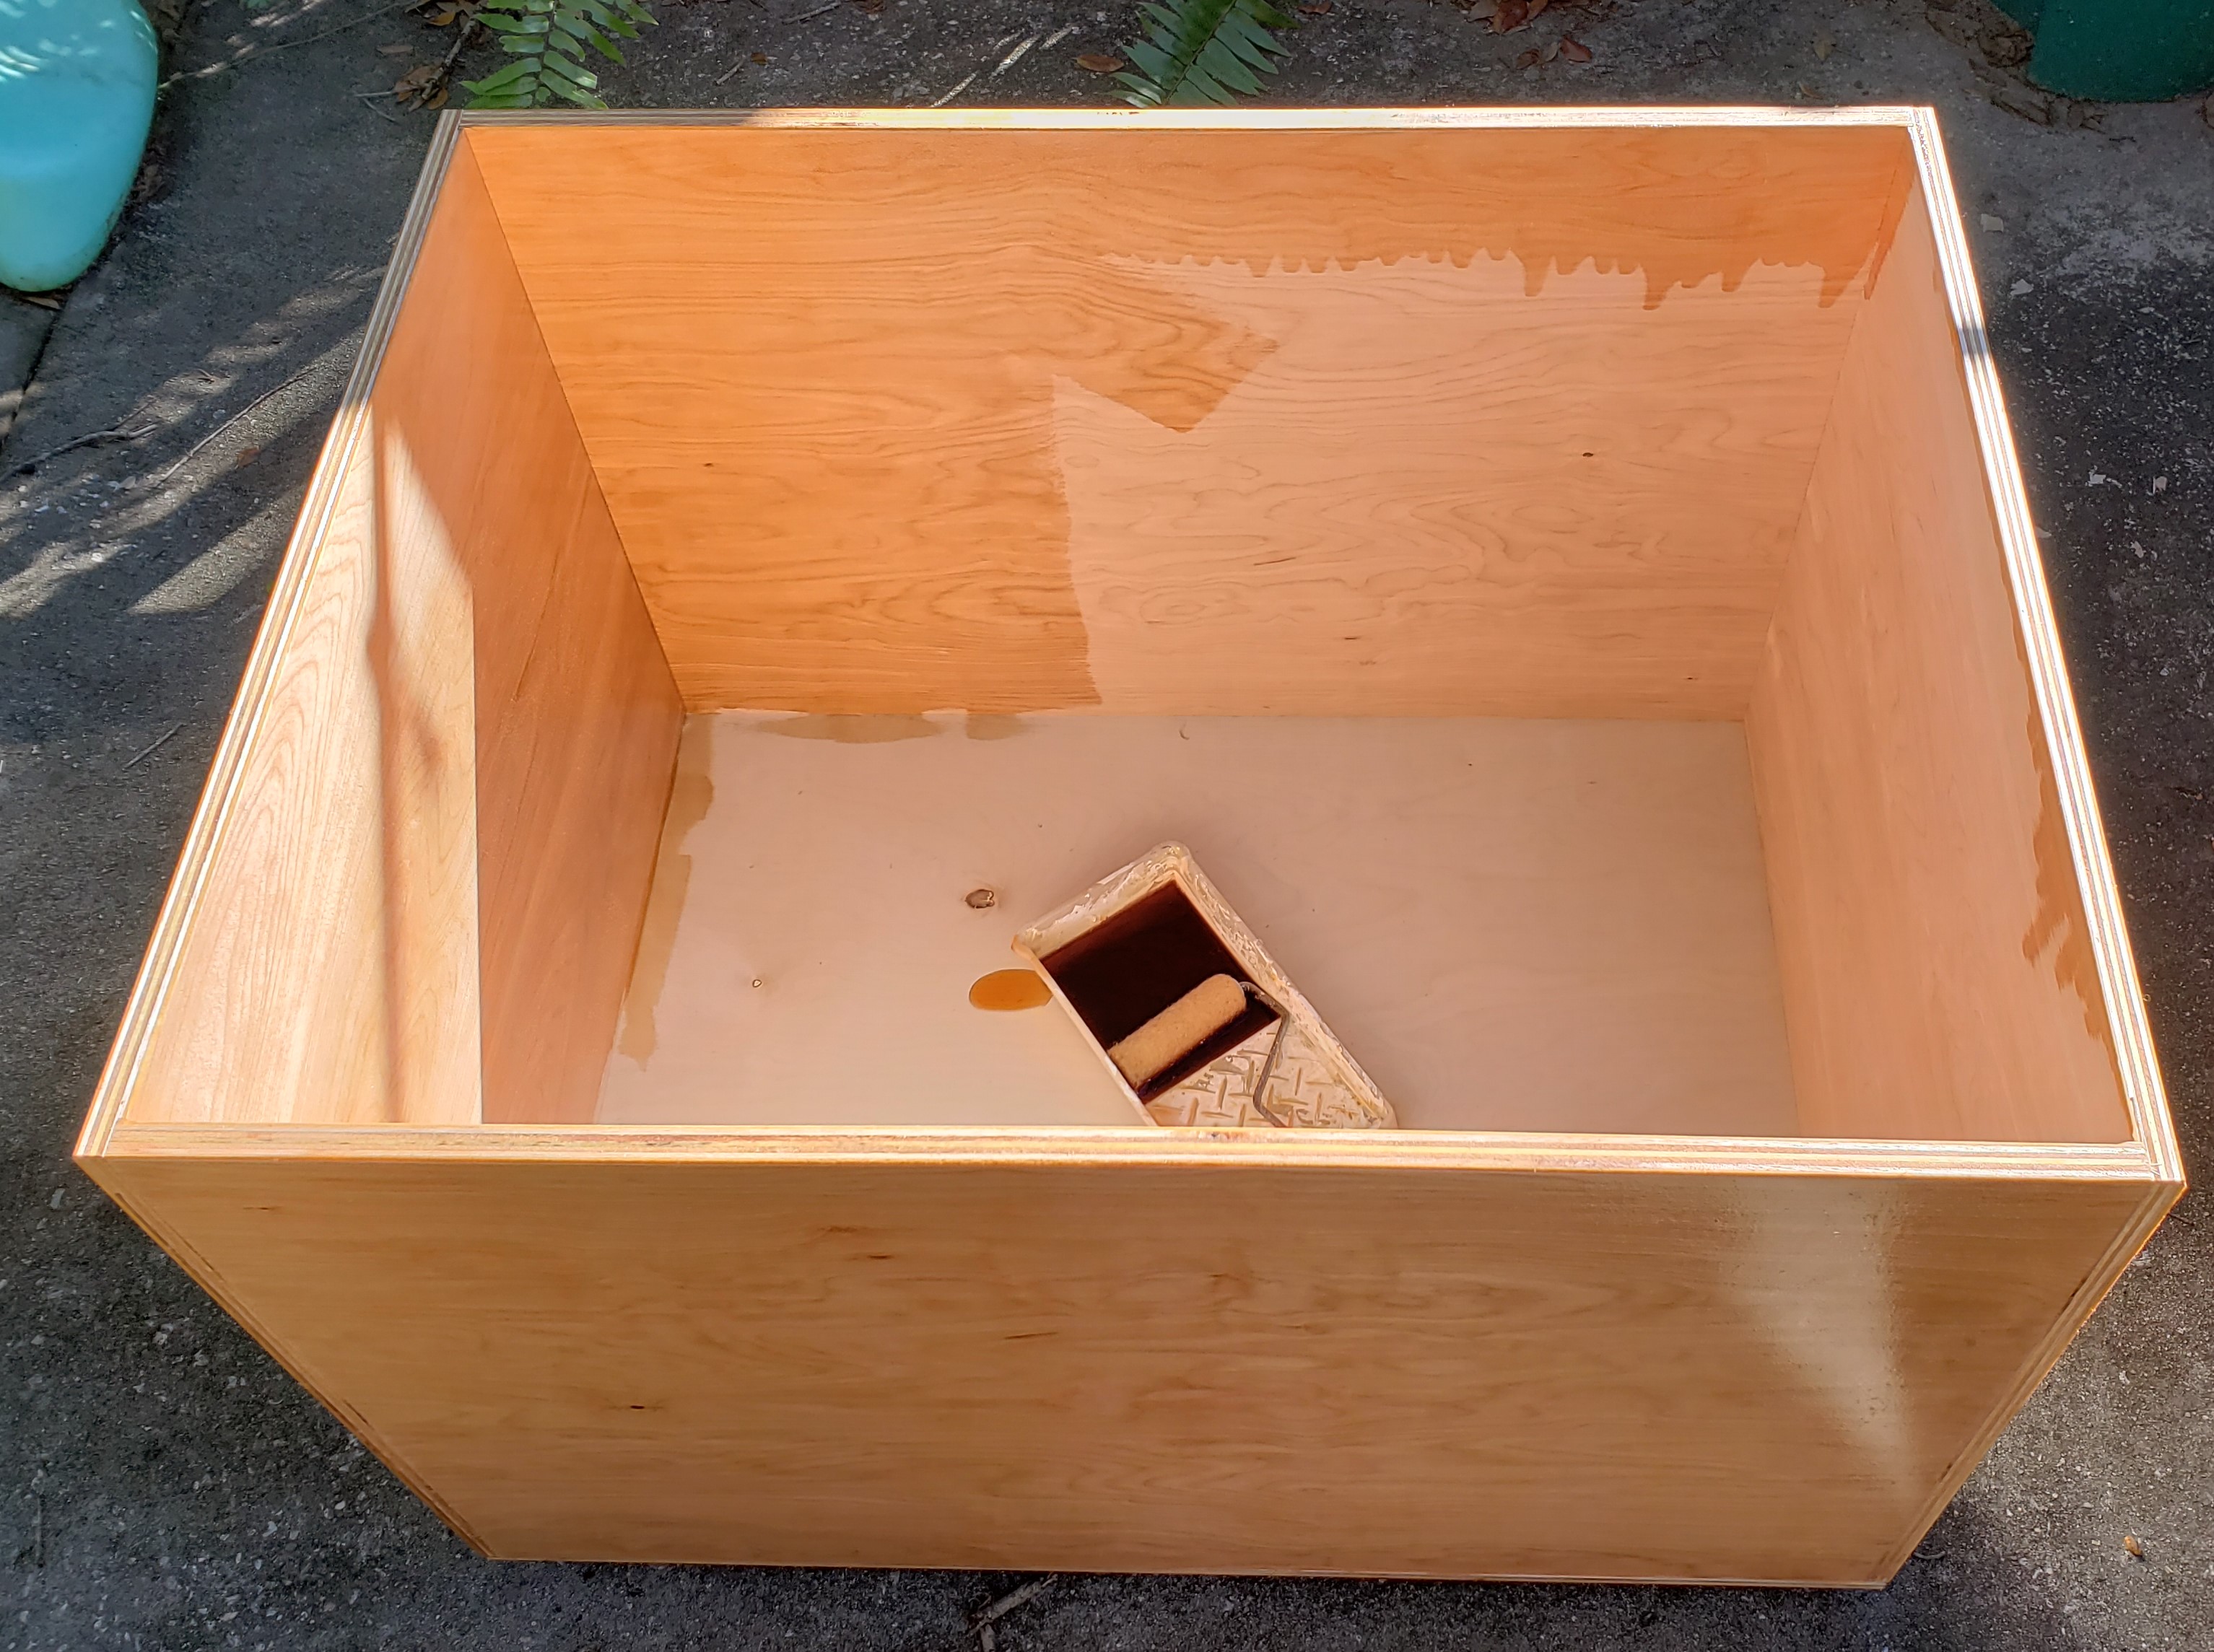
Next came the carcass of the cabinet. Nothing special here, just a box with an open front. I had to be very precise though, if the sides crept in, I couldn’t fit my drawers, and if it got too tall, It wouldn’t fit in the right spot in my garage. I had a little squareness issue, and had to break out my biggest clamp to fix it while installing the back.

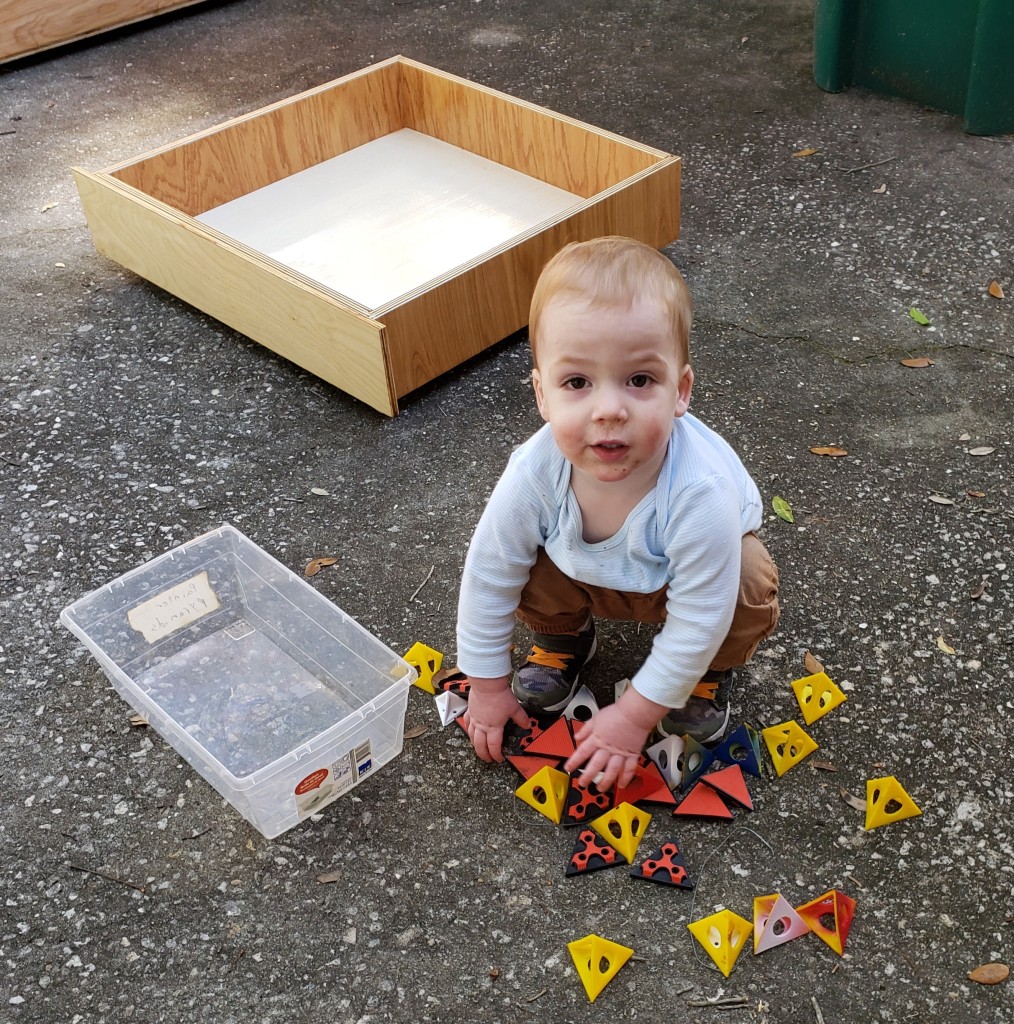
For finish I turned to my usual boiled linseed oil shop tool finish. There was so much to do I broke out a roller and tray to put it all on. I think I went through half a gallon to do the cabinet and drawers. My shop helper was sprinkling the painter pyramids all over the driveway for me to step on.
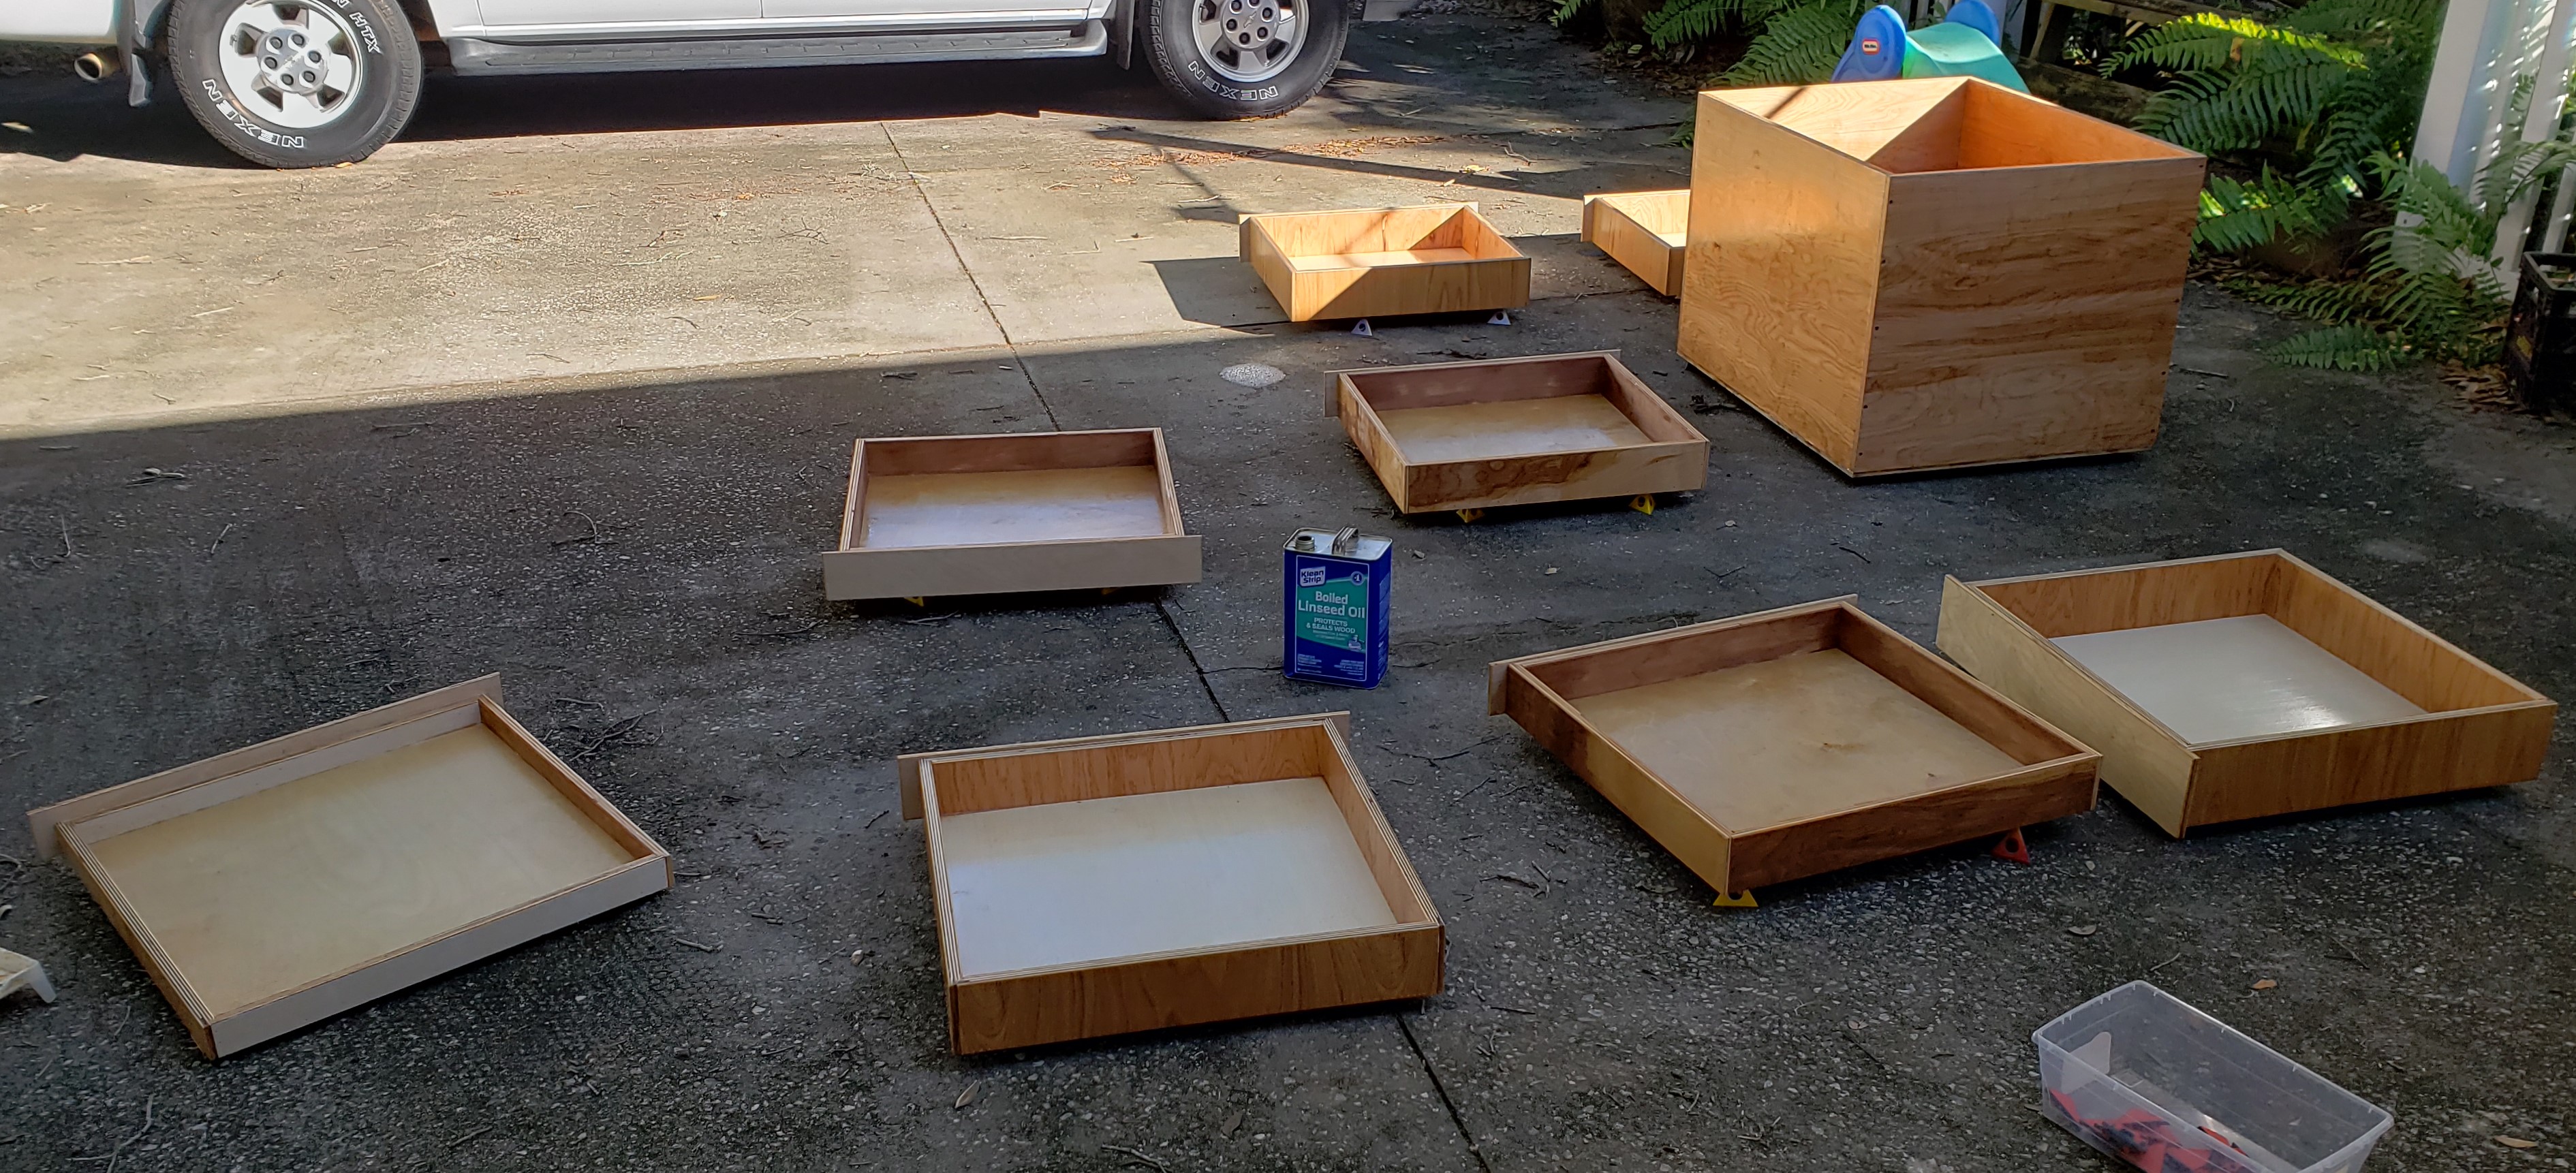
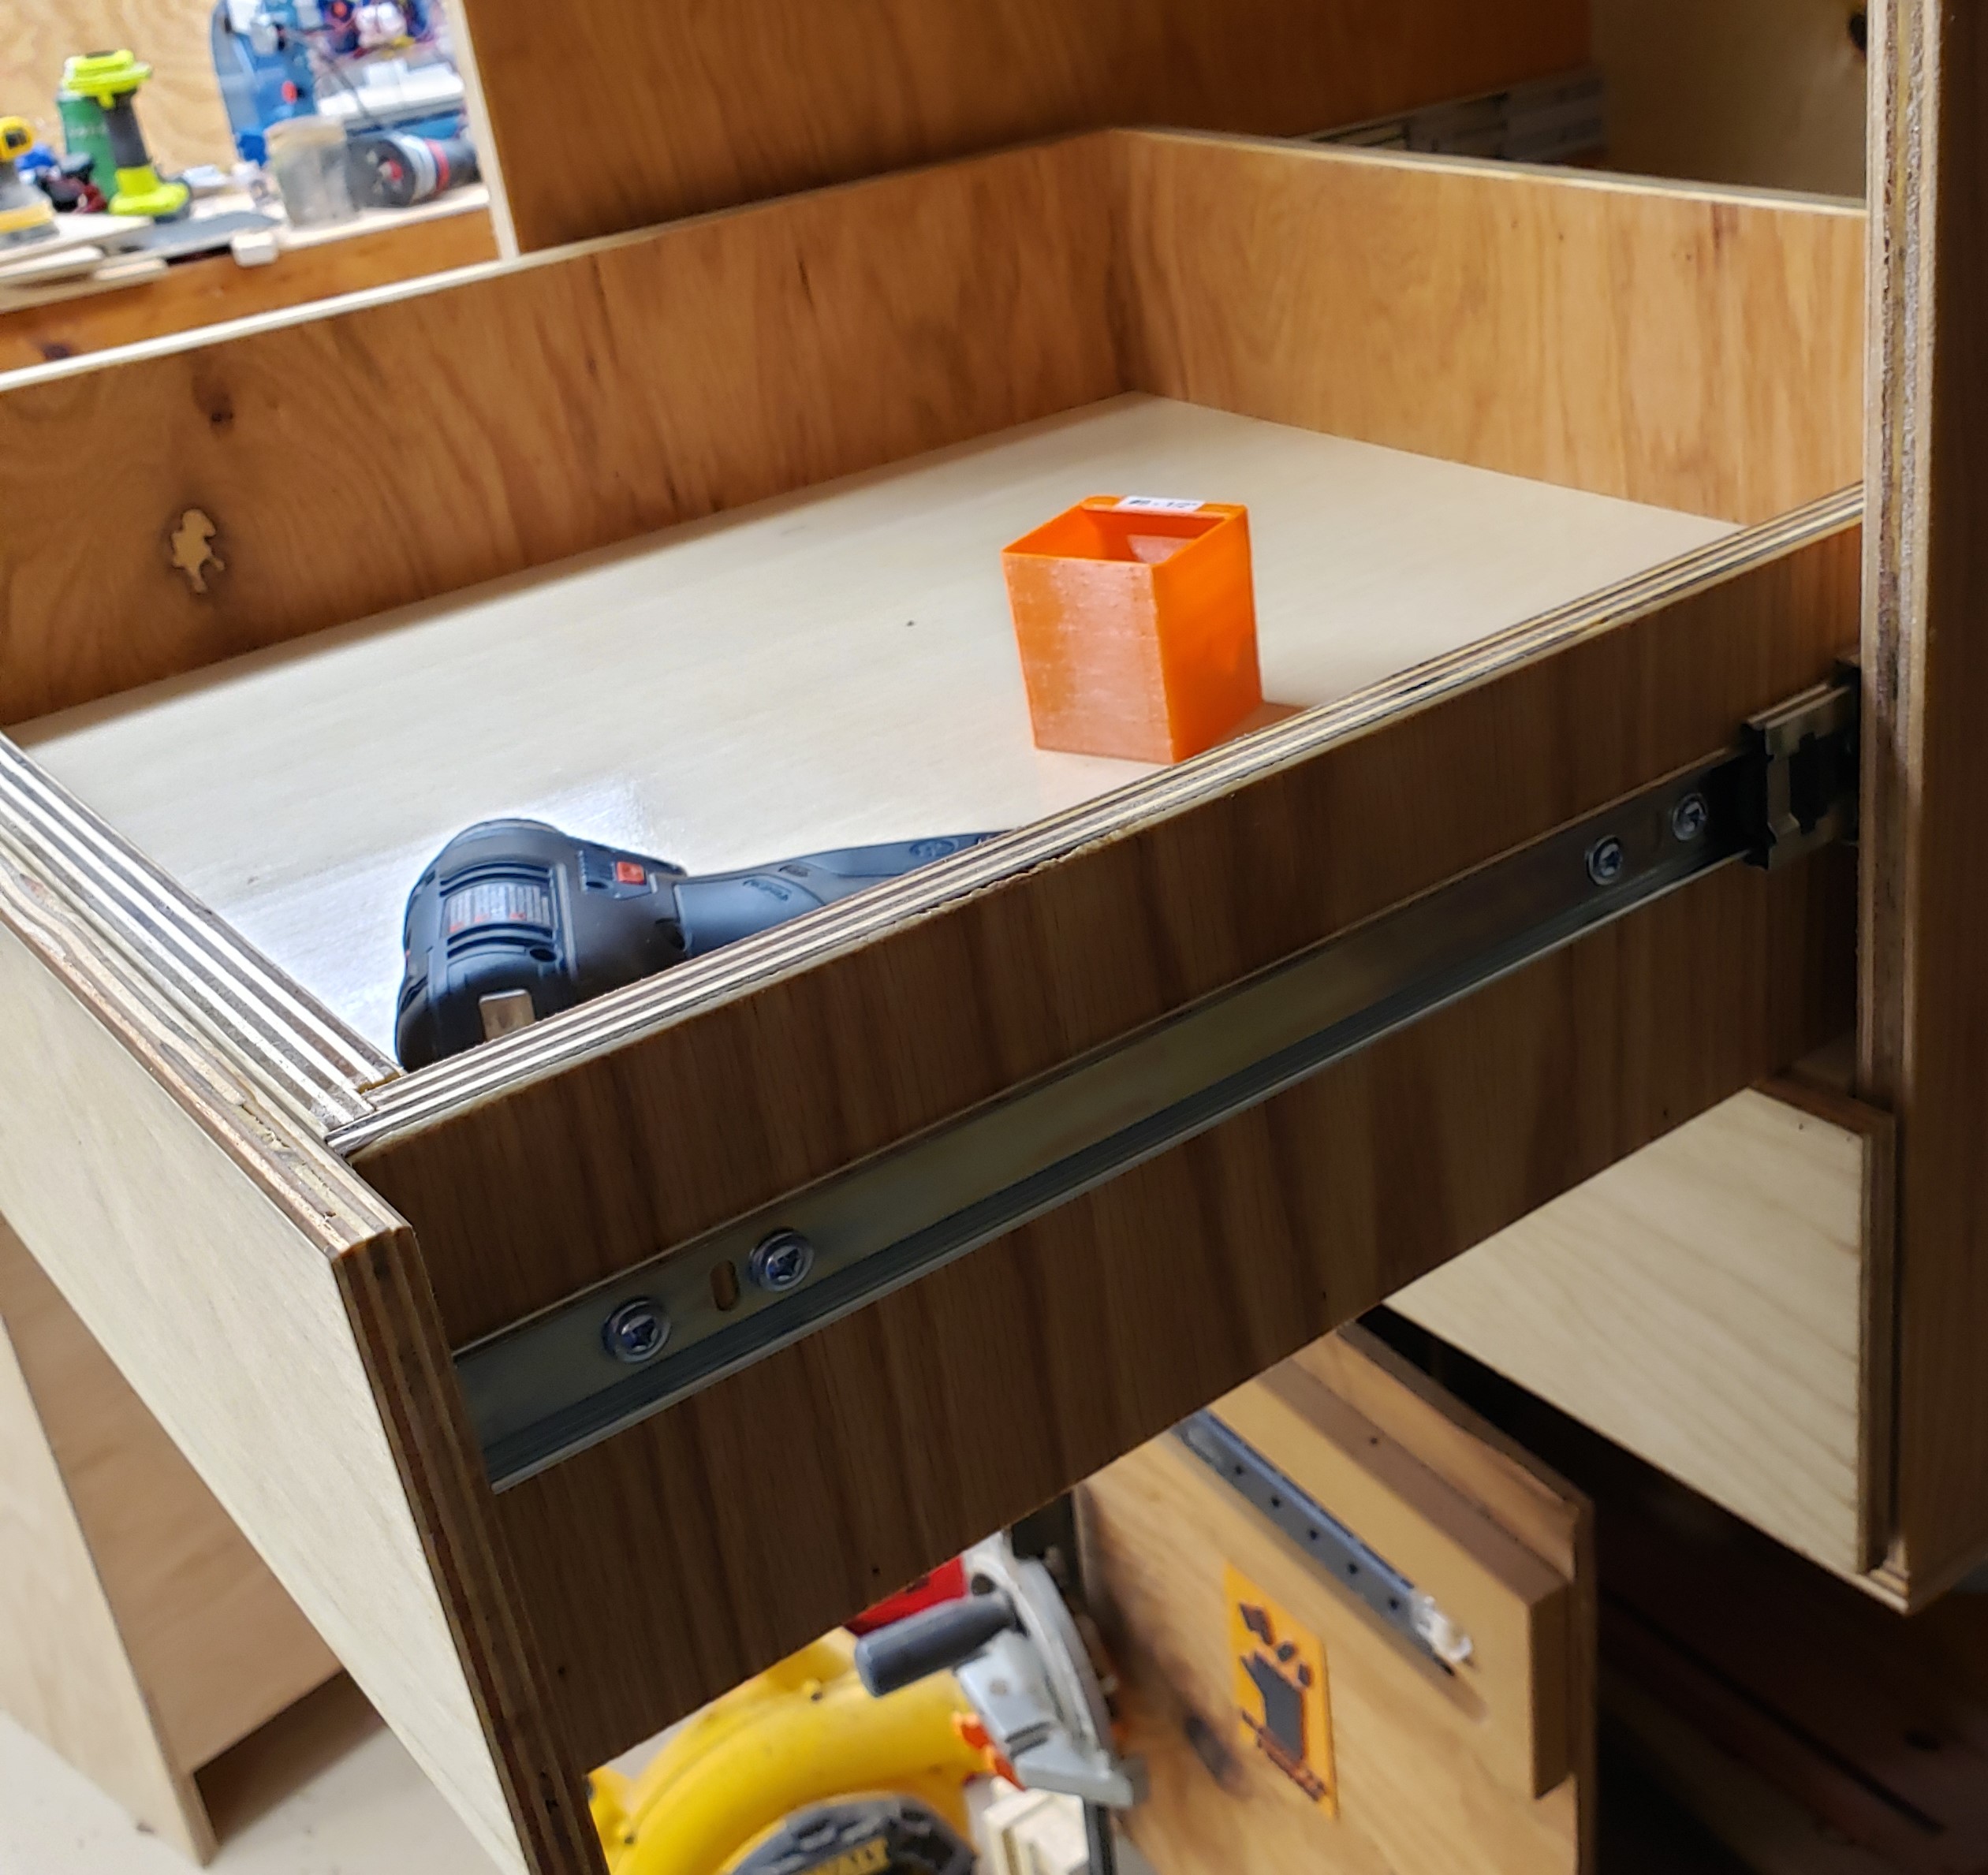
A few days later when it had all stopped smelling I started assembly. The bottom drawer was numbered, and went down with a small spacer between it and the floor. I installed the hinges, then slowly pulled out the drawer and attached the runners. With the first drawer done, I put a 1/2″ sheet of plywood down to provide proper spacing for the next drawer to sit on top of the first. The runners go on the cabinet at a set height, then the next drawer goes in for installation. That gets washed rinsed and repeated until all the drawers are in.
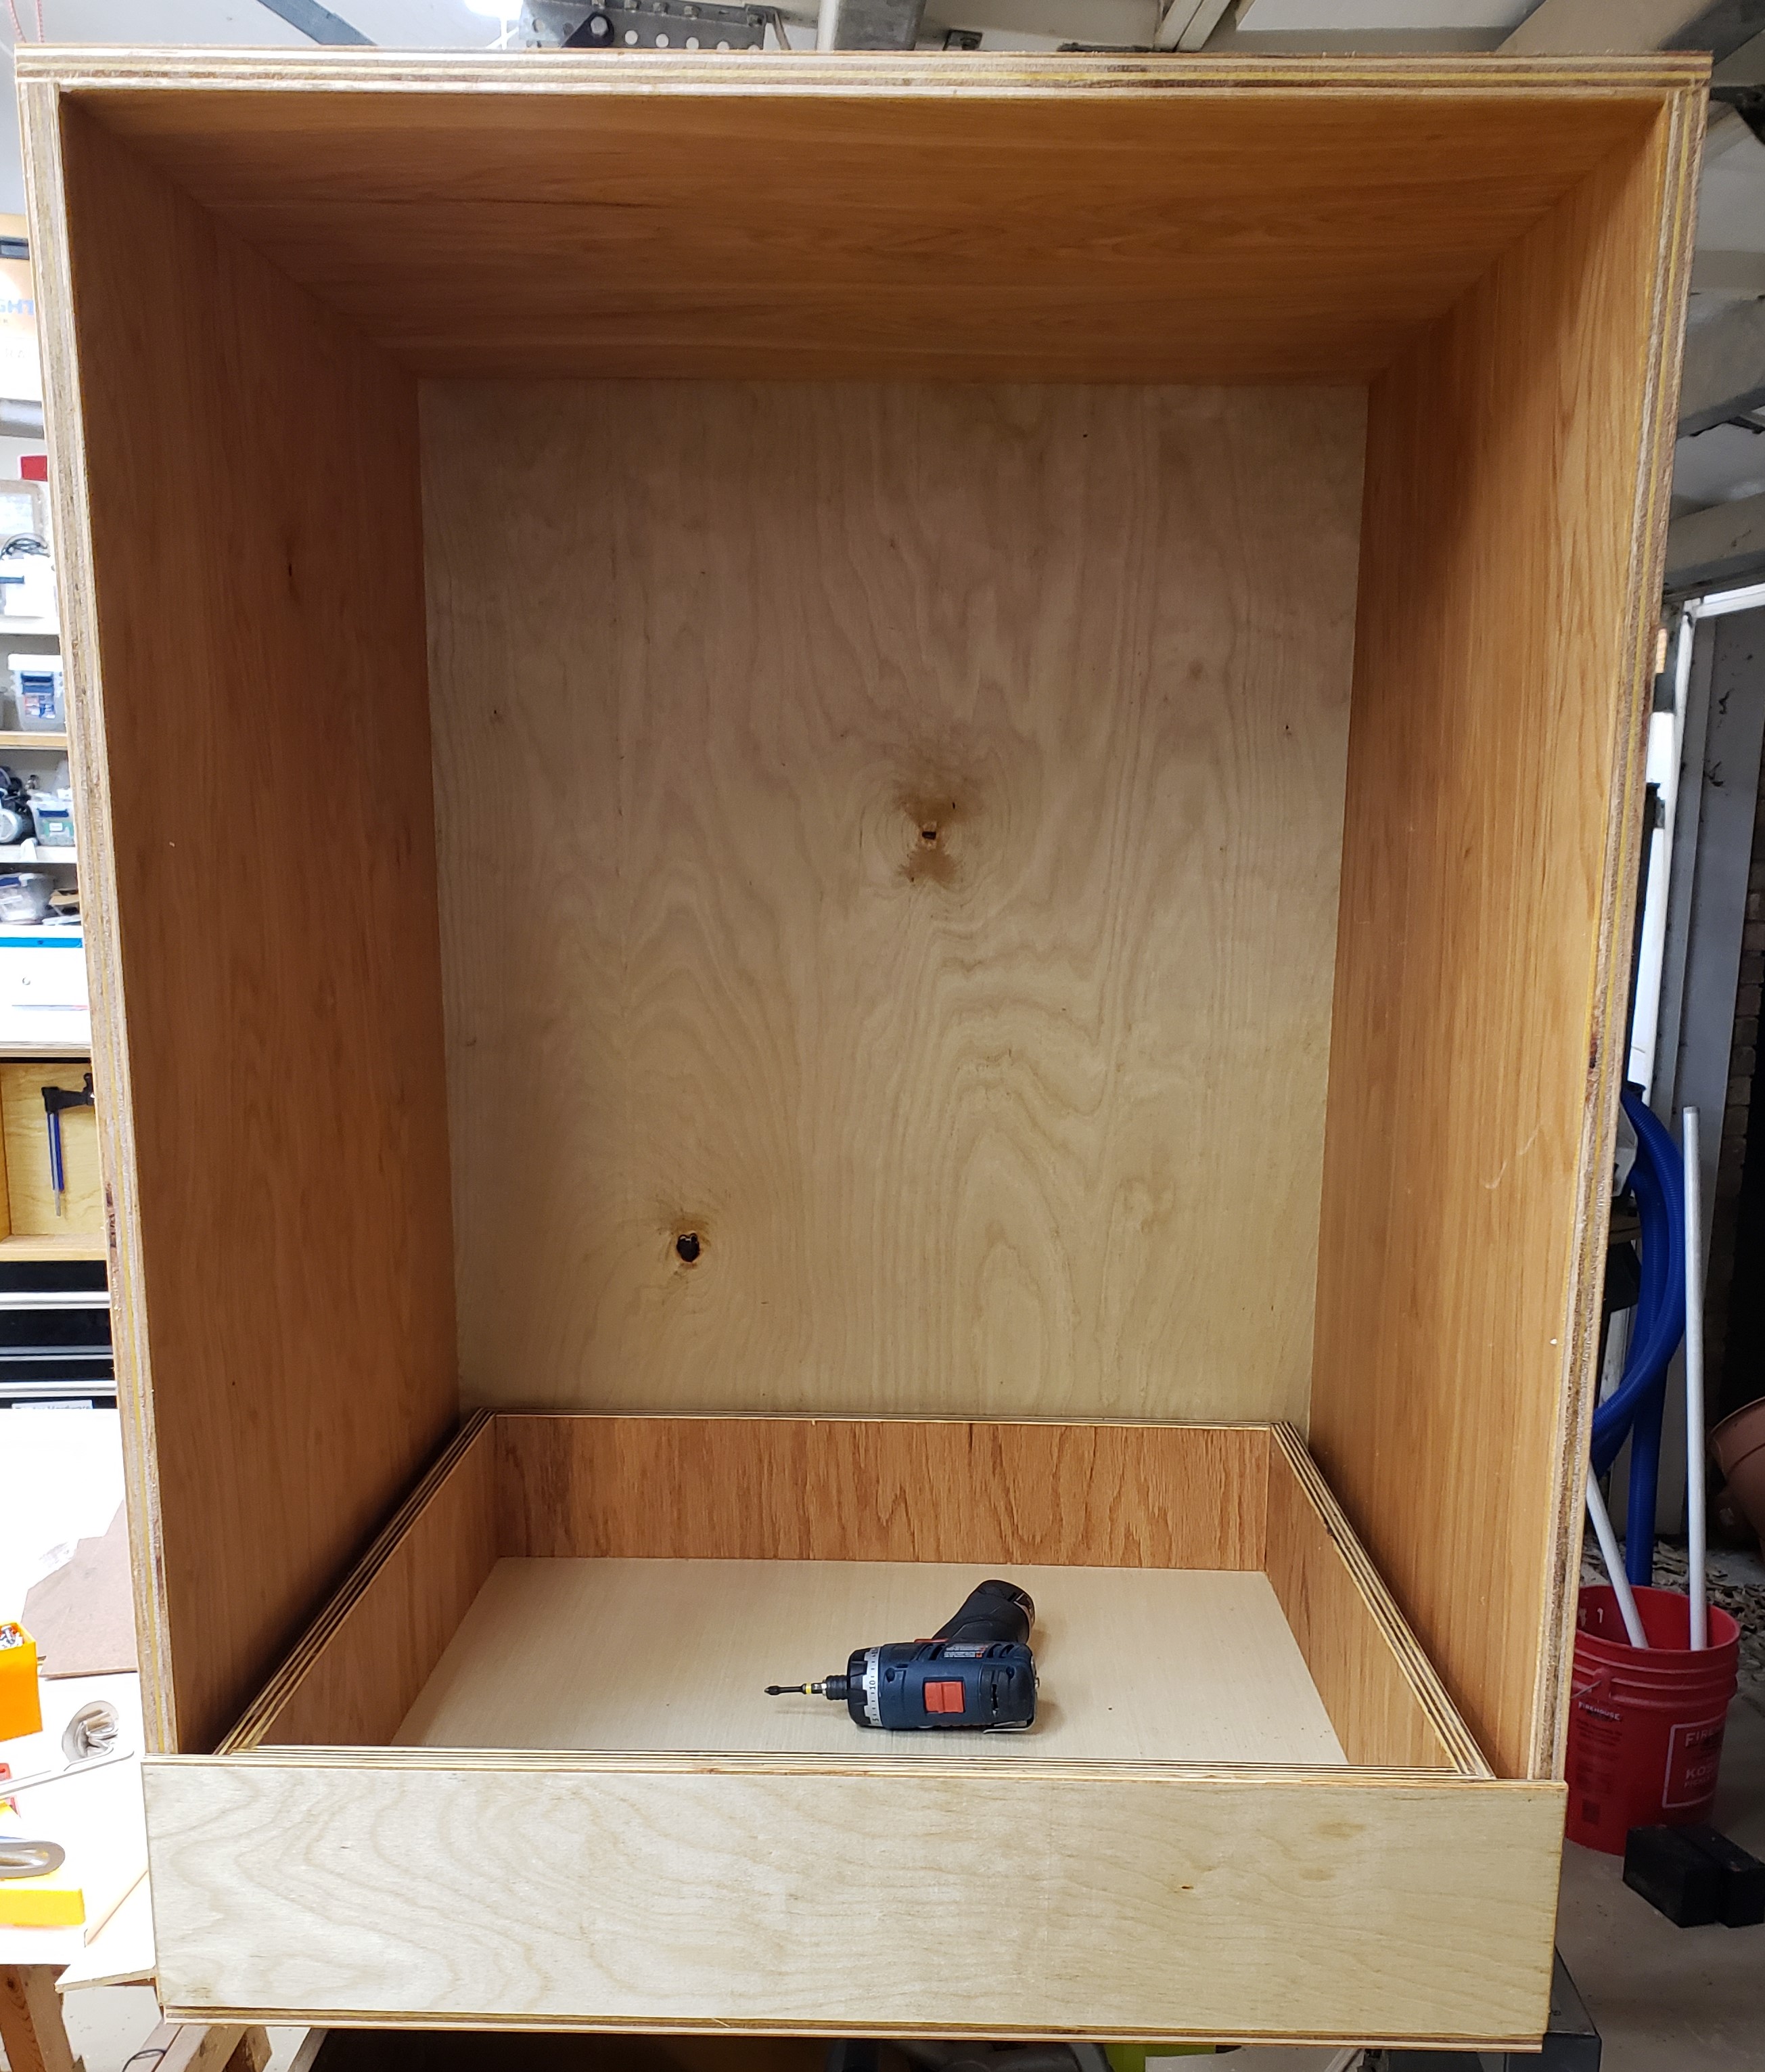
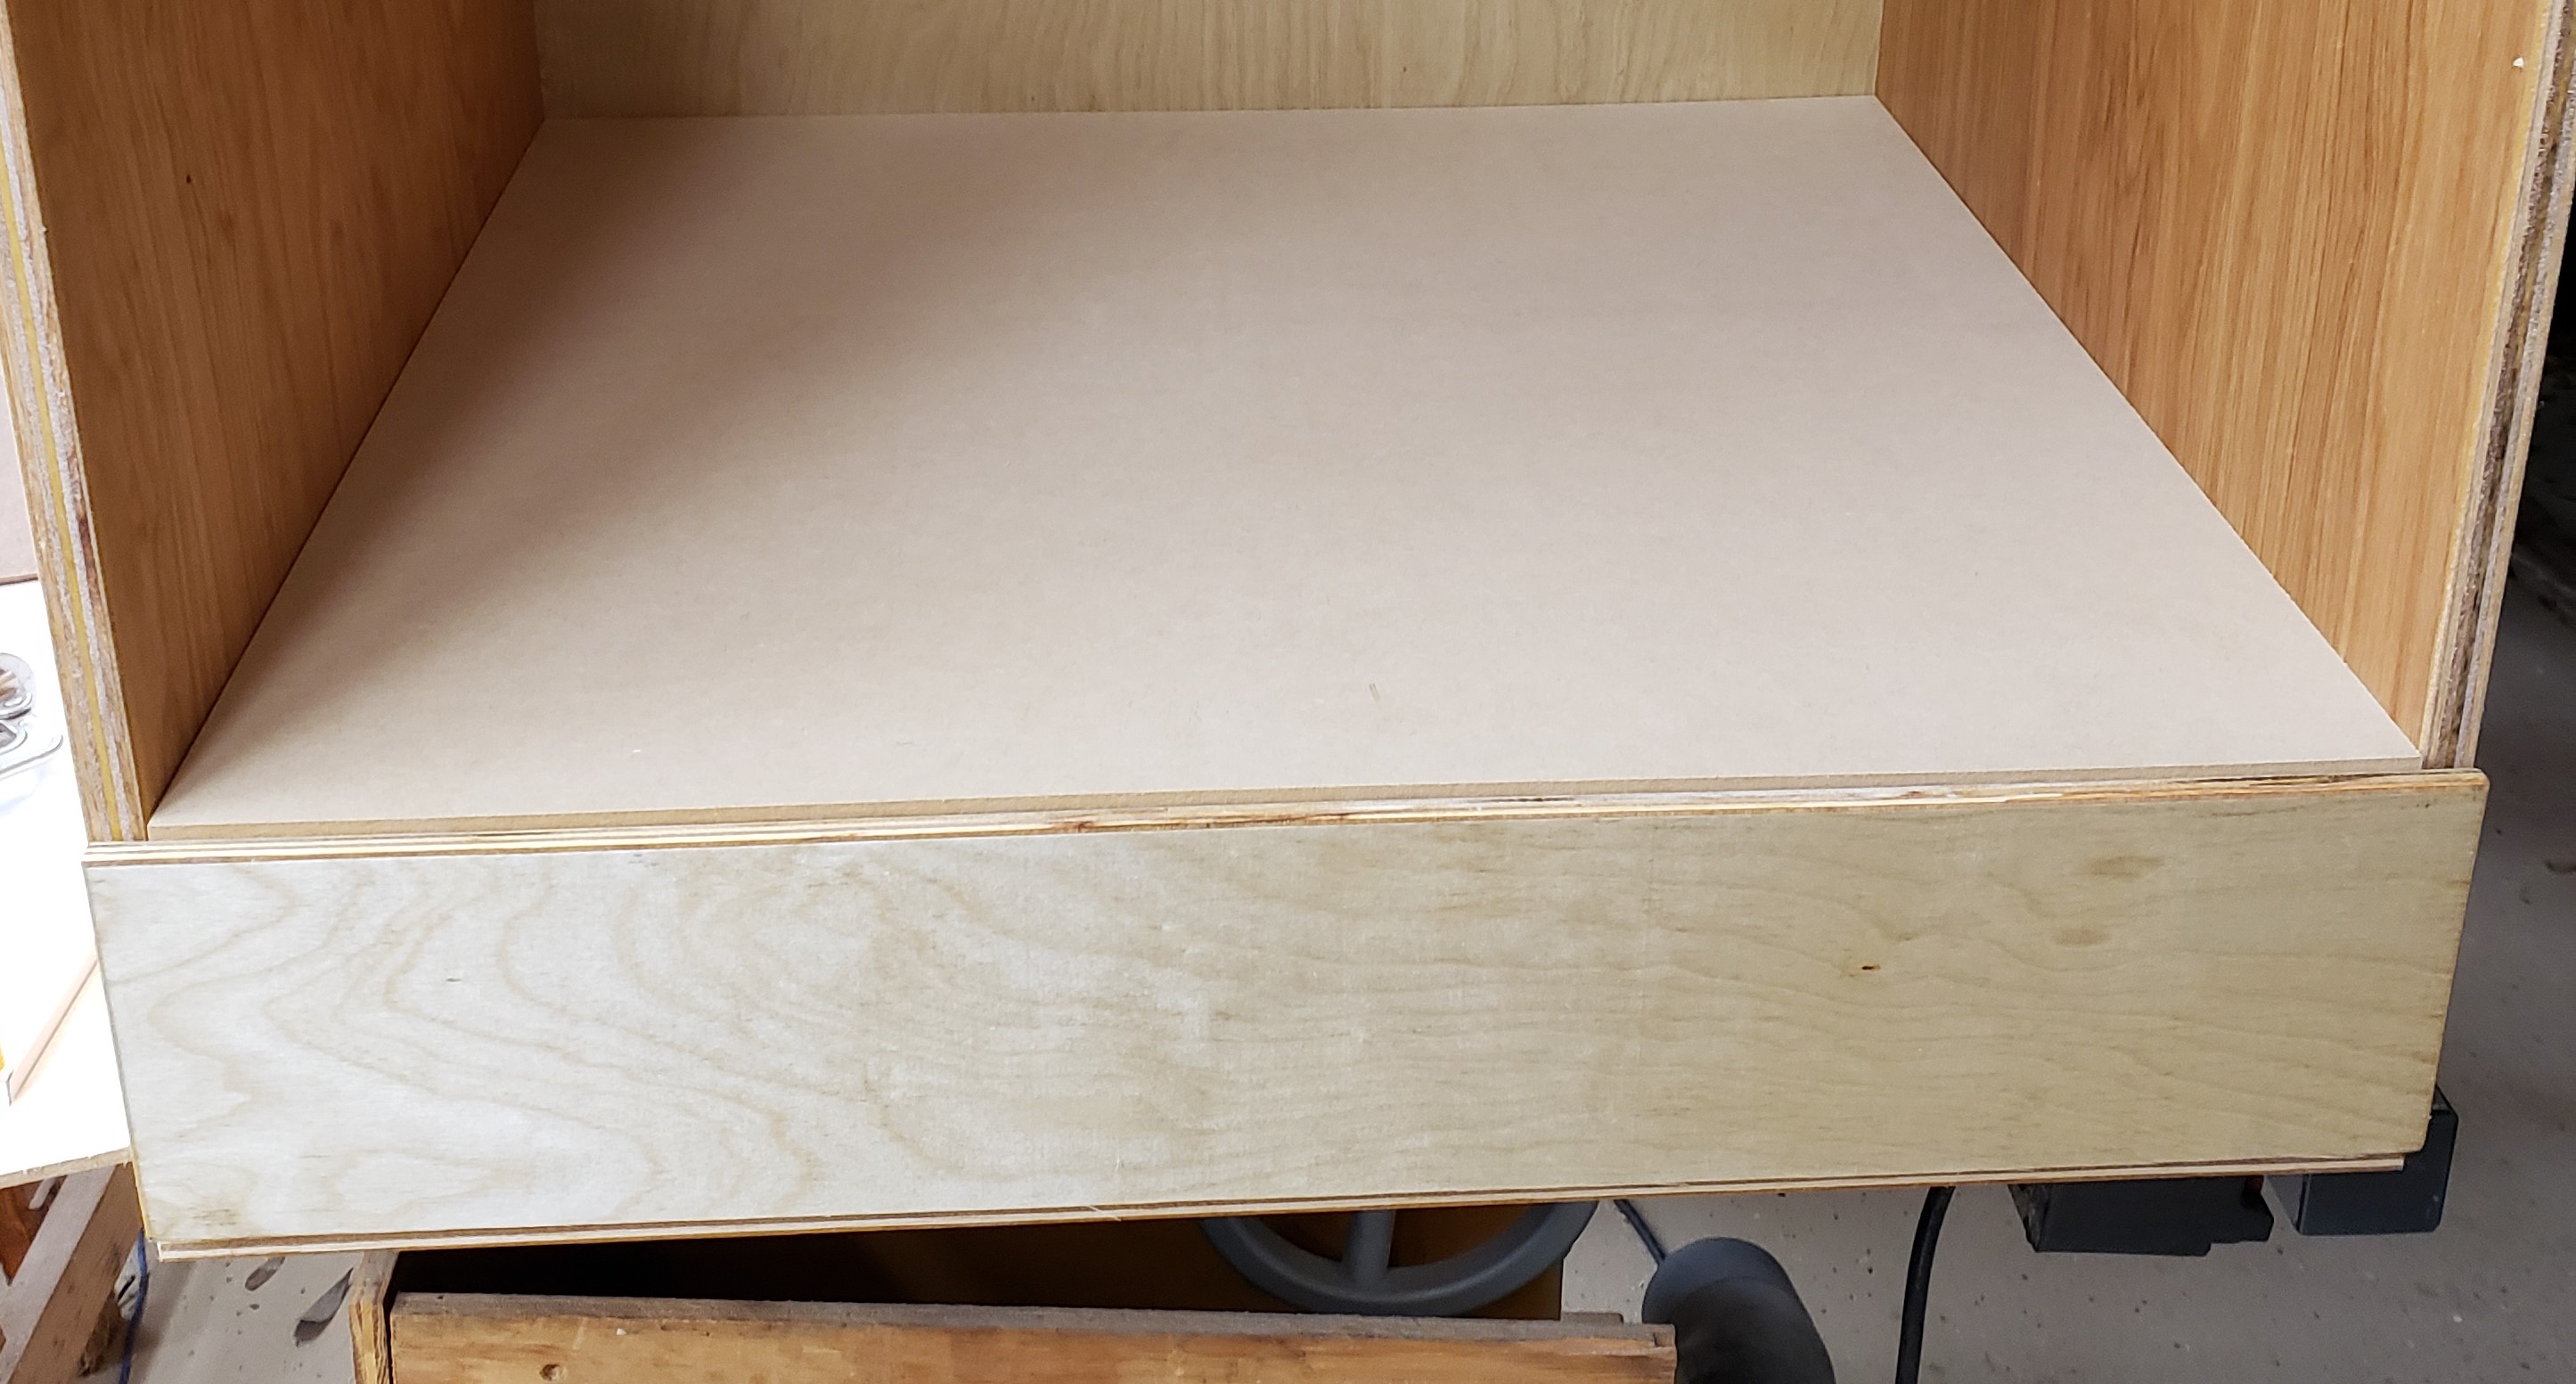
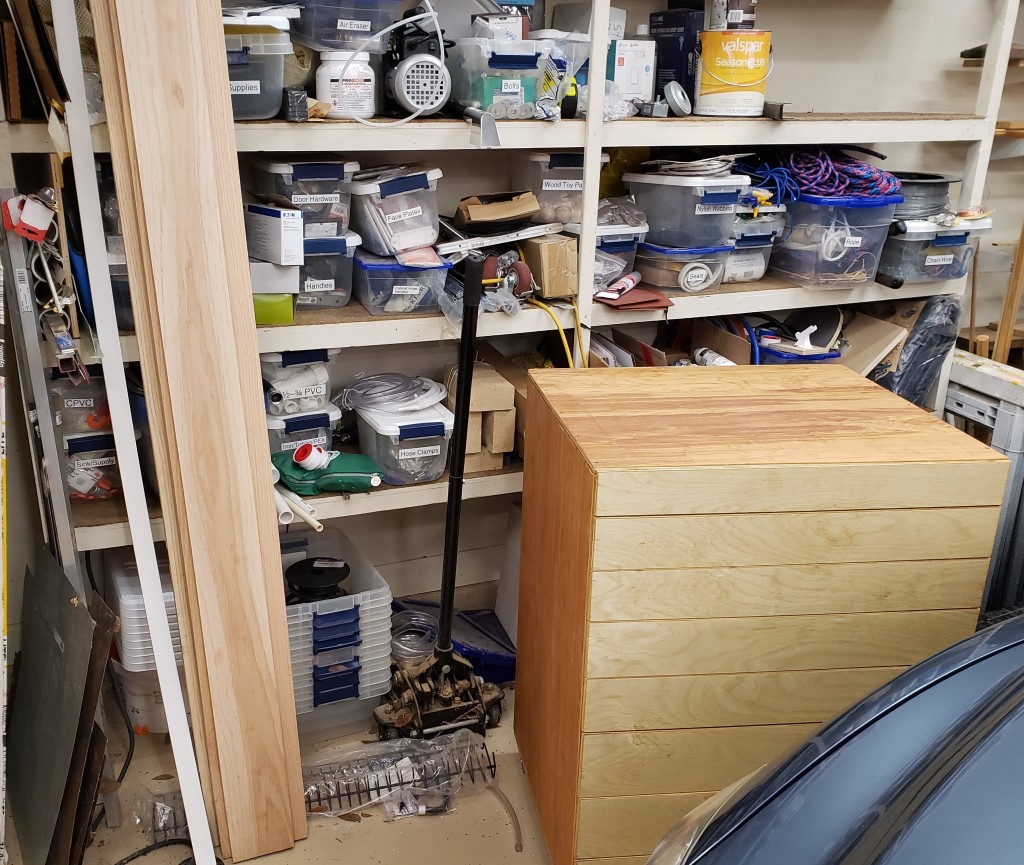
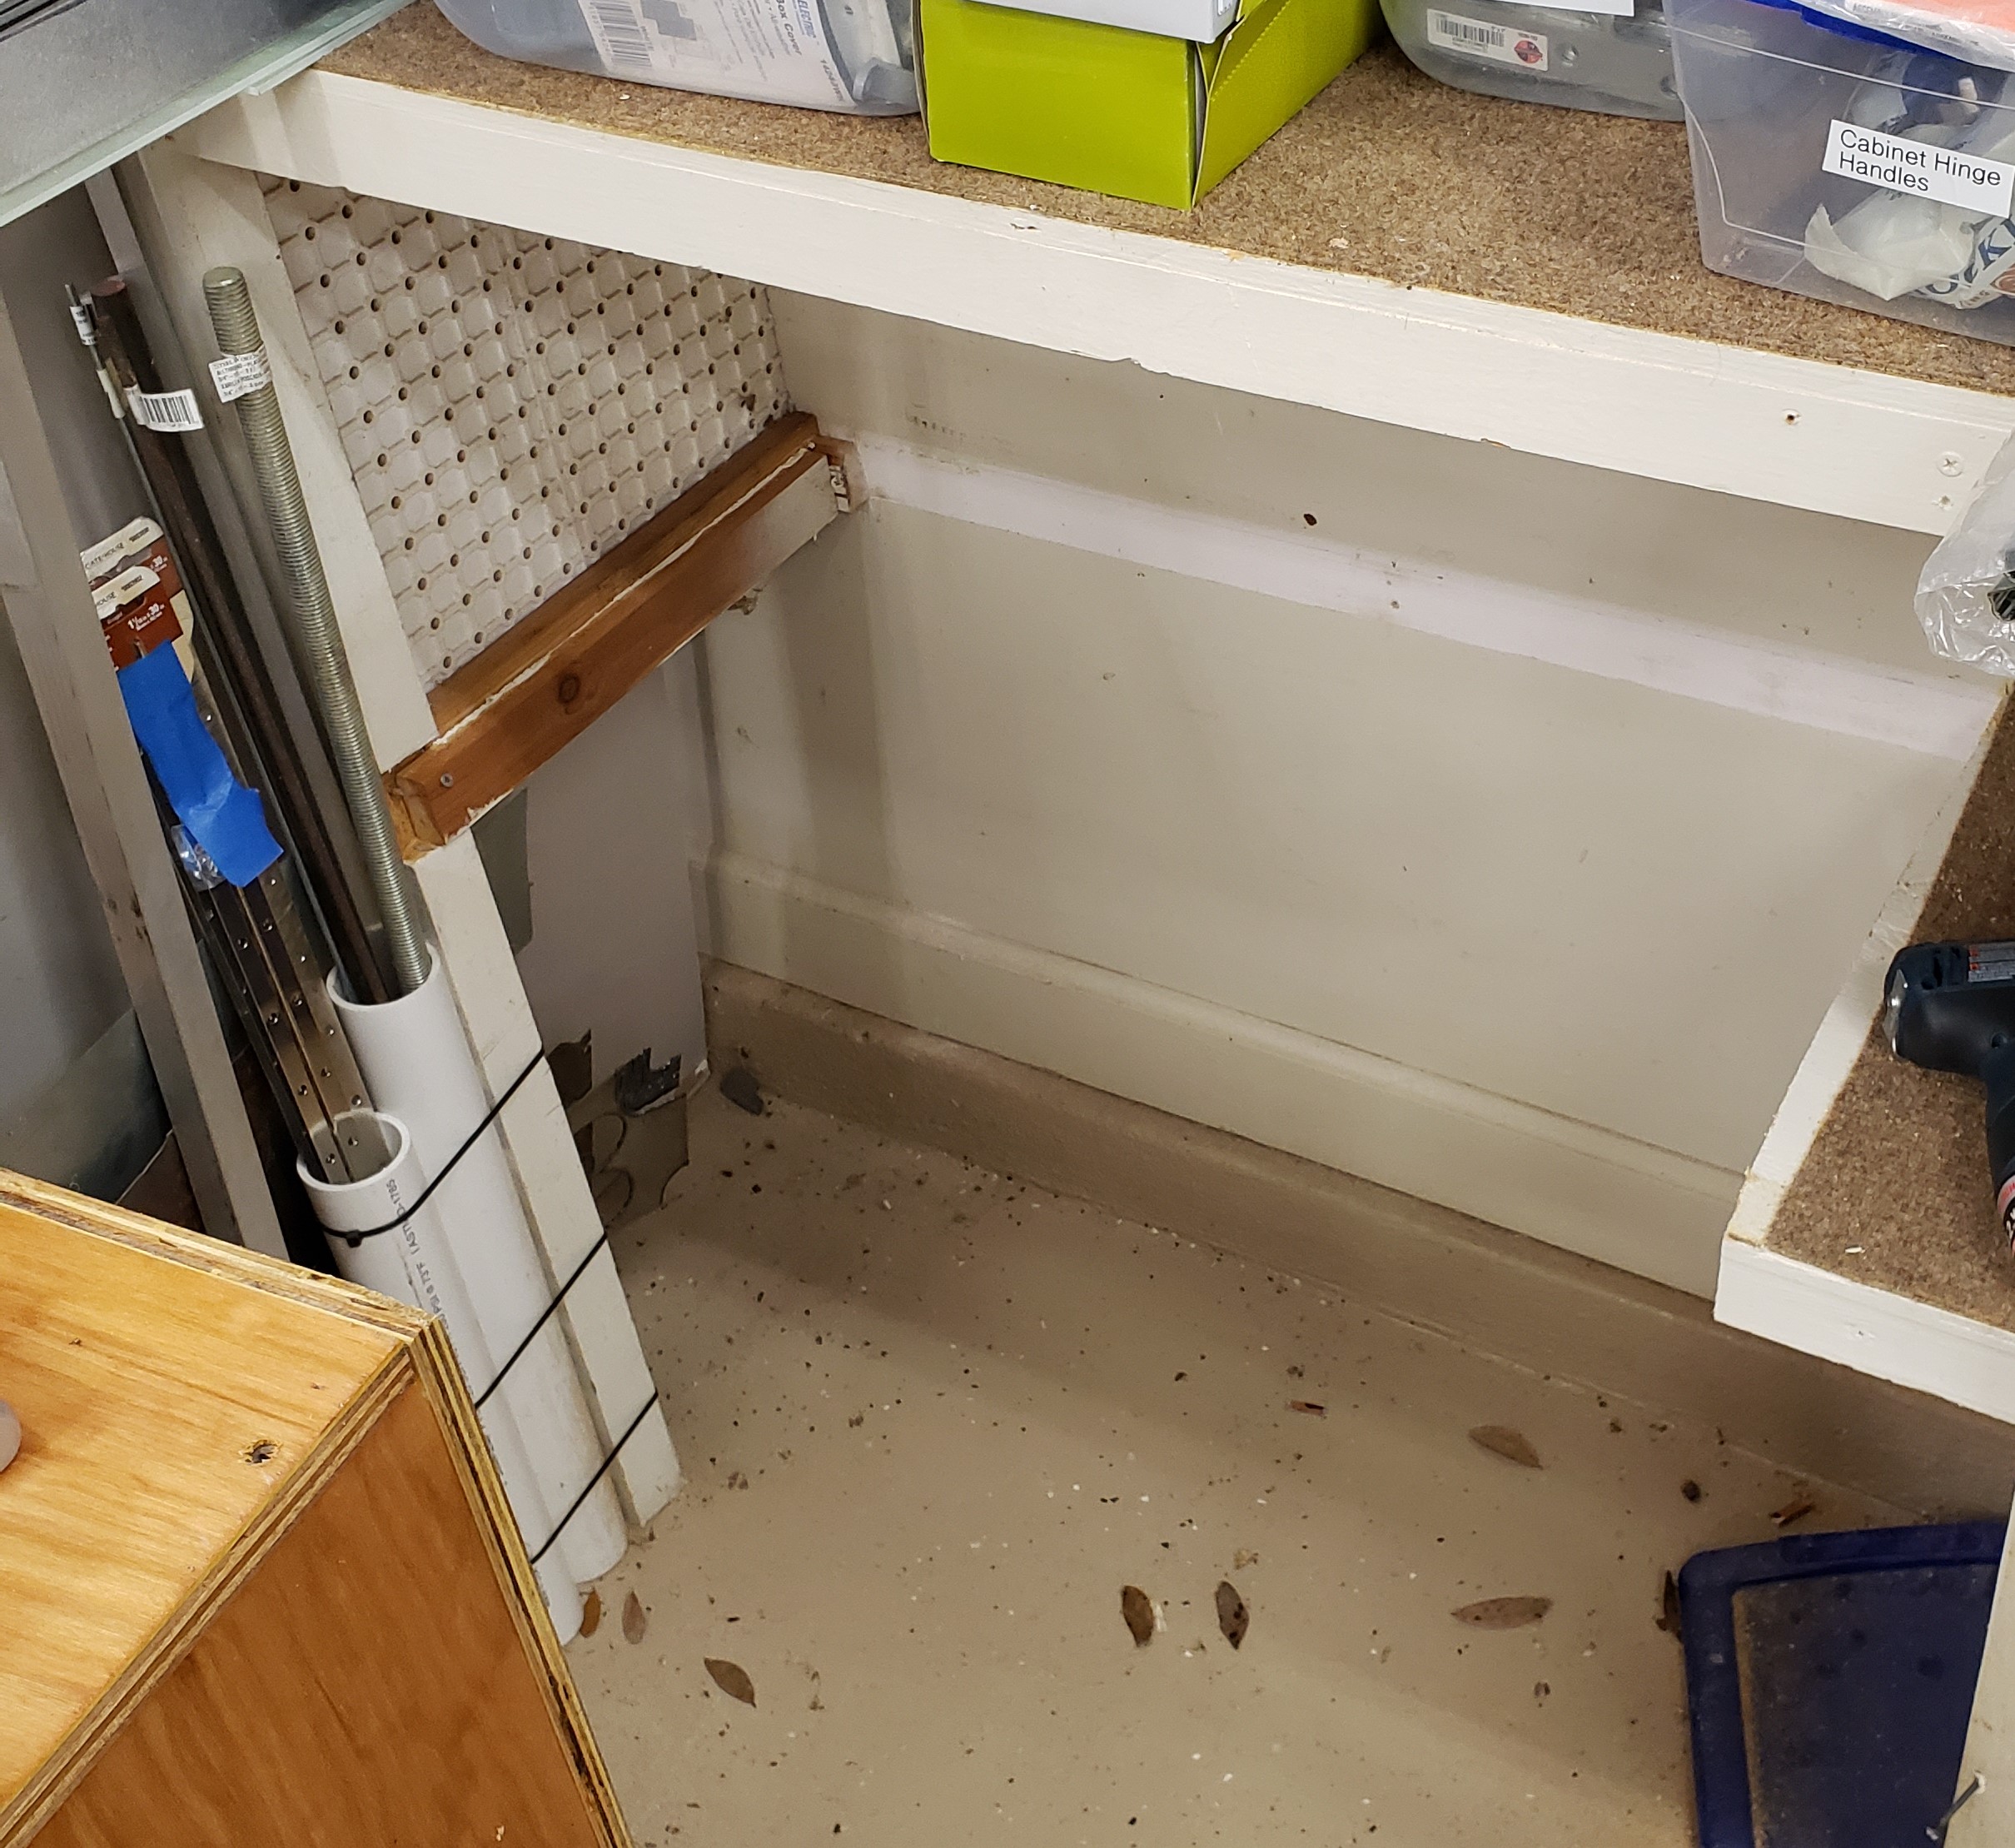
Next comes the home for this big fella. I put heavy casters on the bottom so I could roll it around to clean underneath or rearrange easily. It cost a little storage space, but who wants to bend down that far anyways? Here is the cabinet next to its final resting spot.

Yes it is a mess, that is why I need this cabinet. I cut out the bottom shelf and slid everything home. I had planned it perfectly. The drawers all fit, the drawer fronts align well, and the cabinet fits up to the next shelf with only a tiny bit to spare.
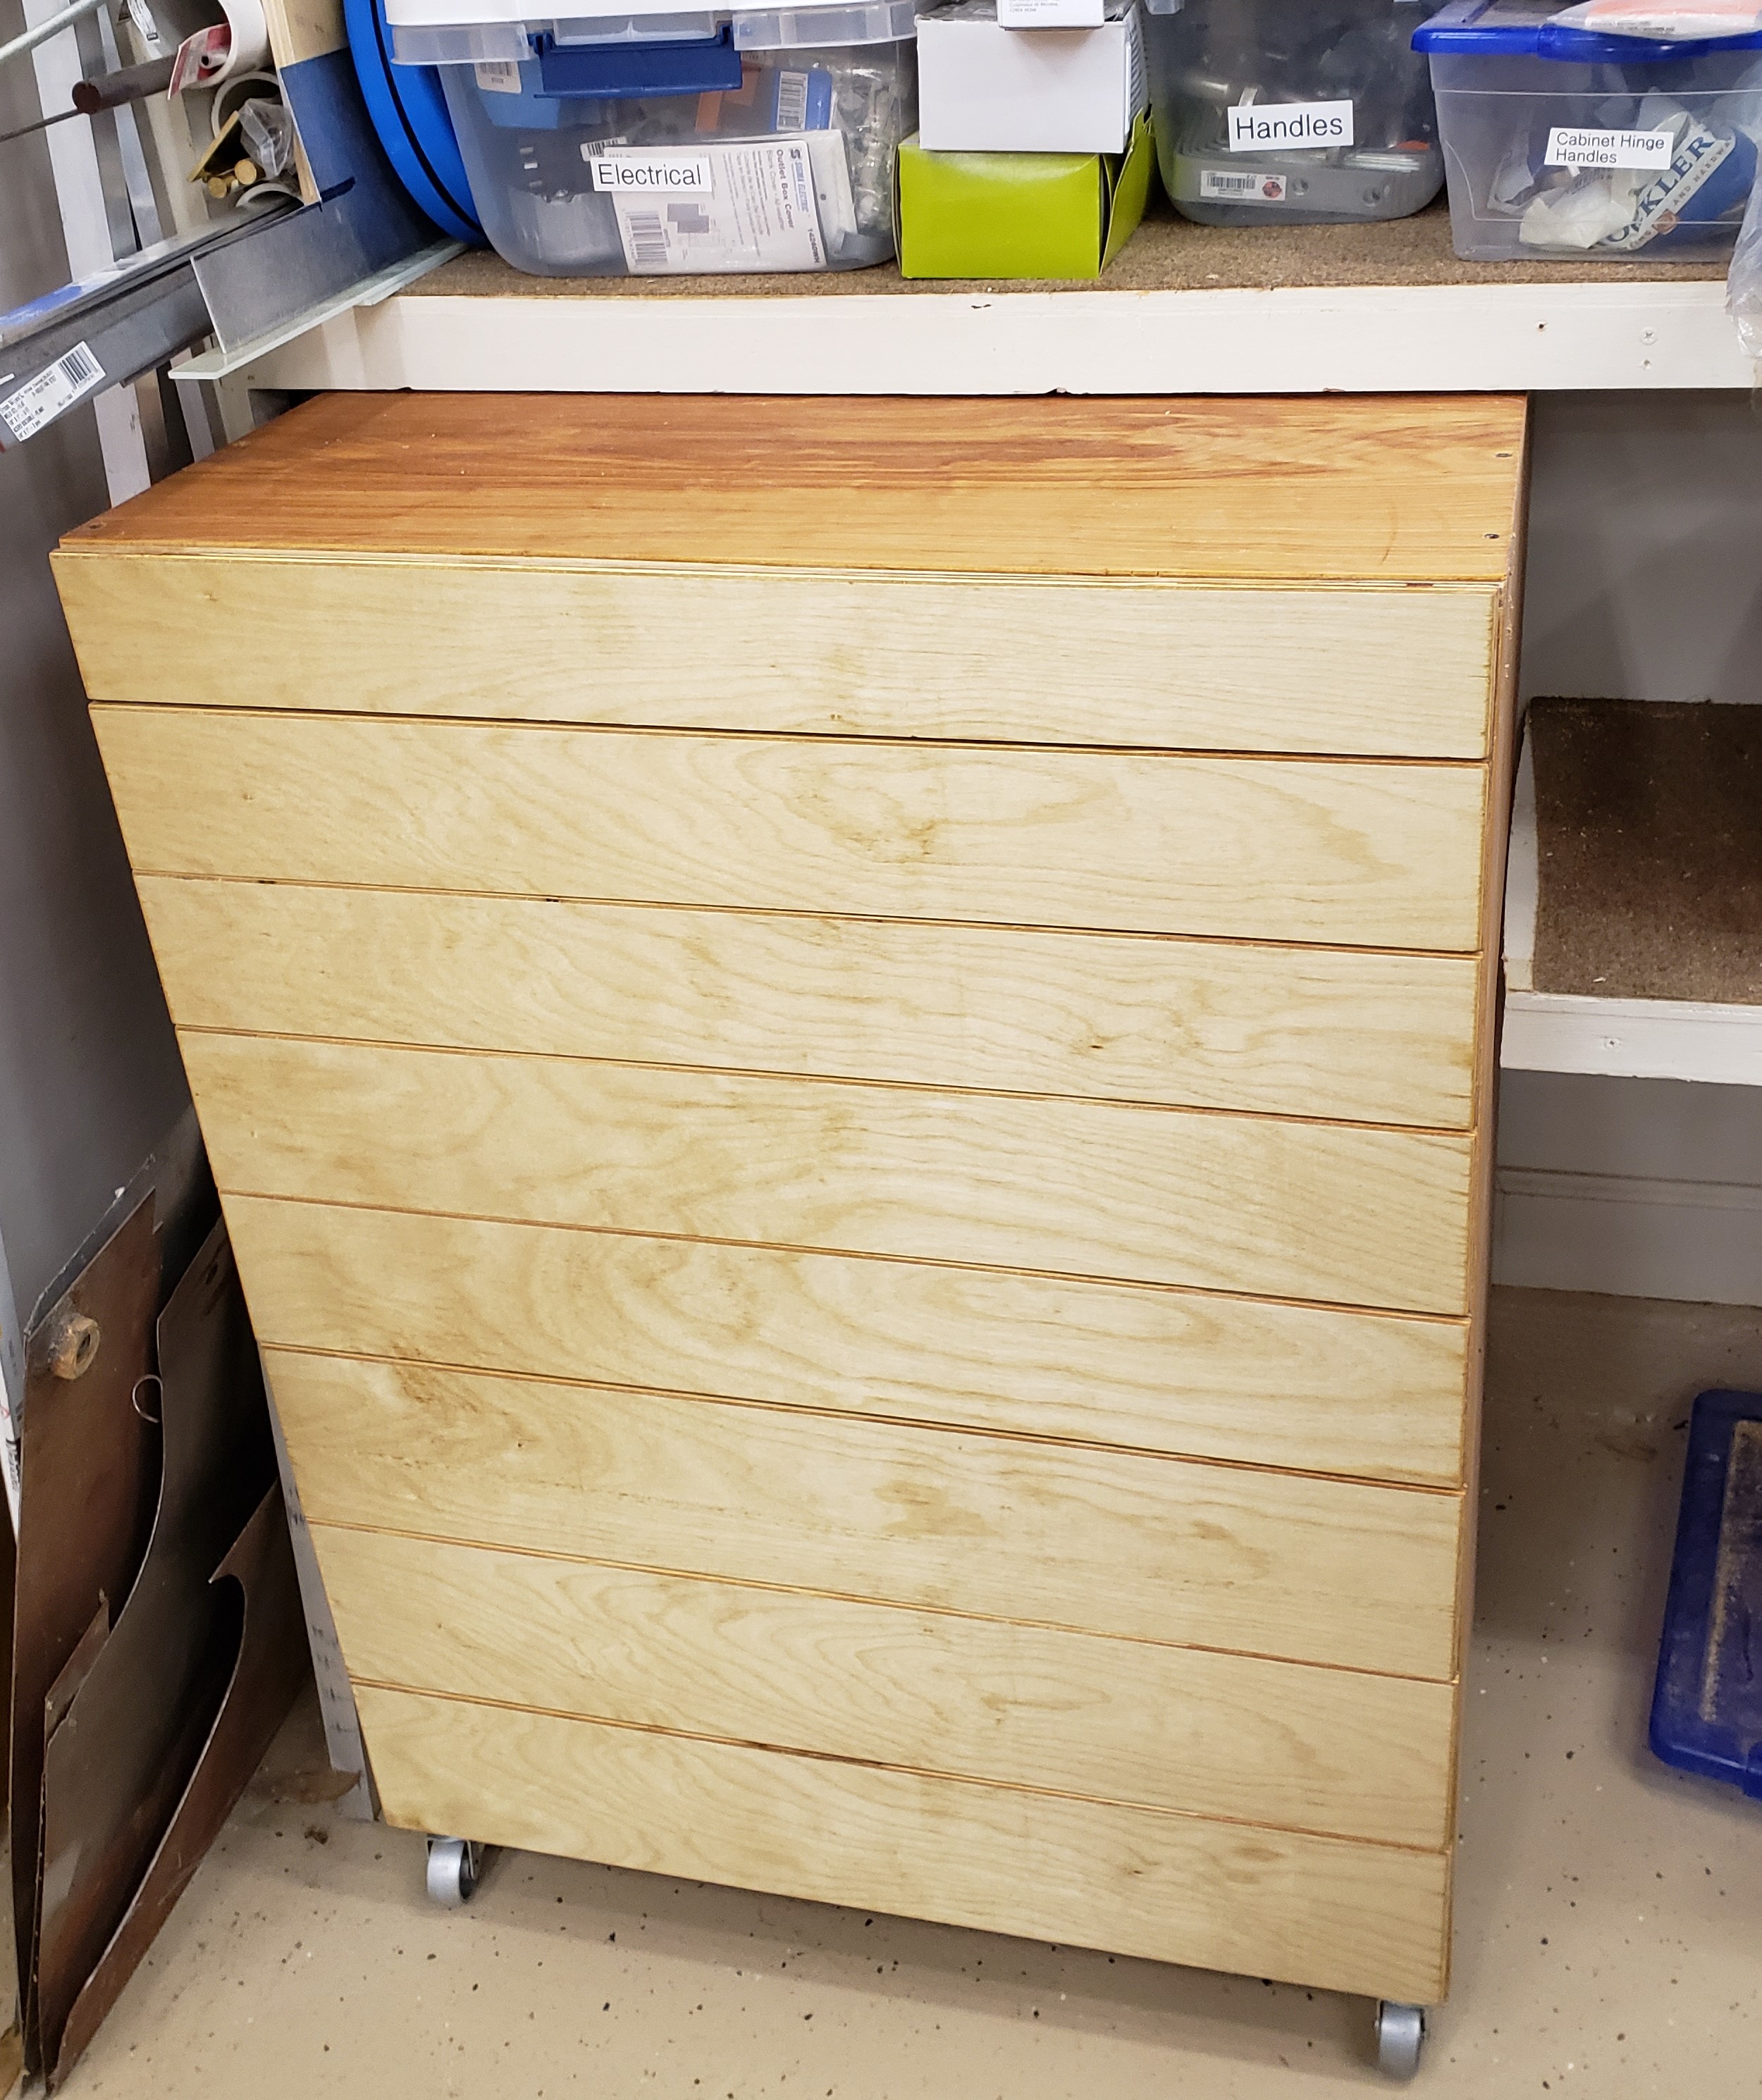
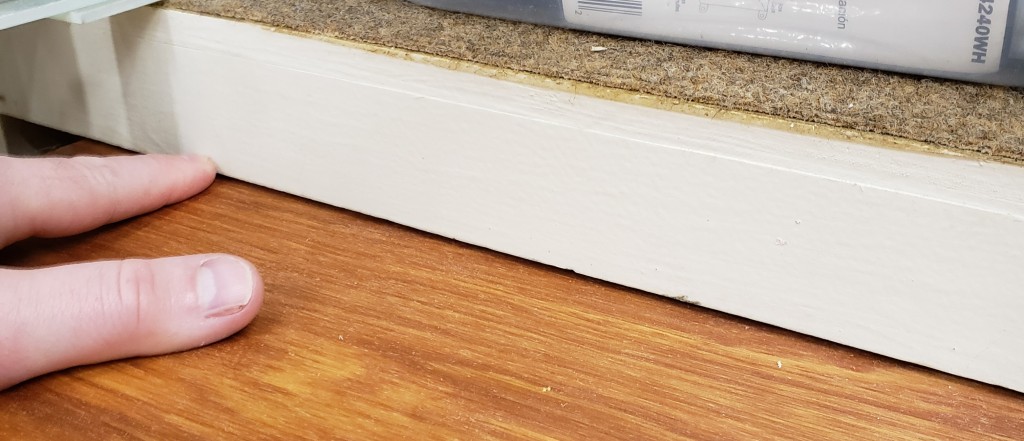
Gap between the top of the cabinet and the next shelf. Less than 1/8″

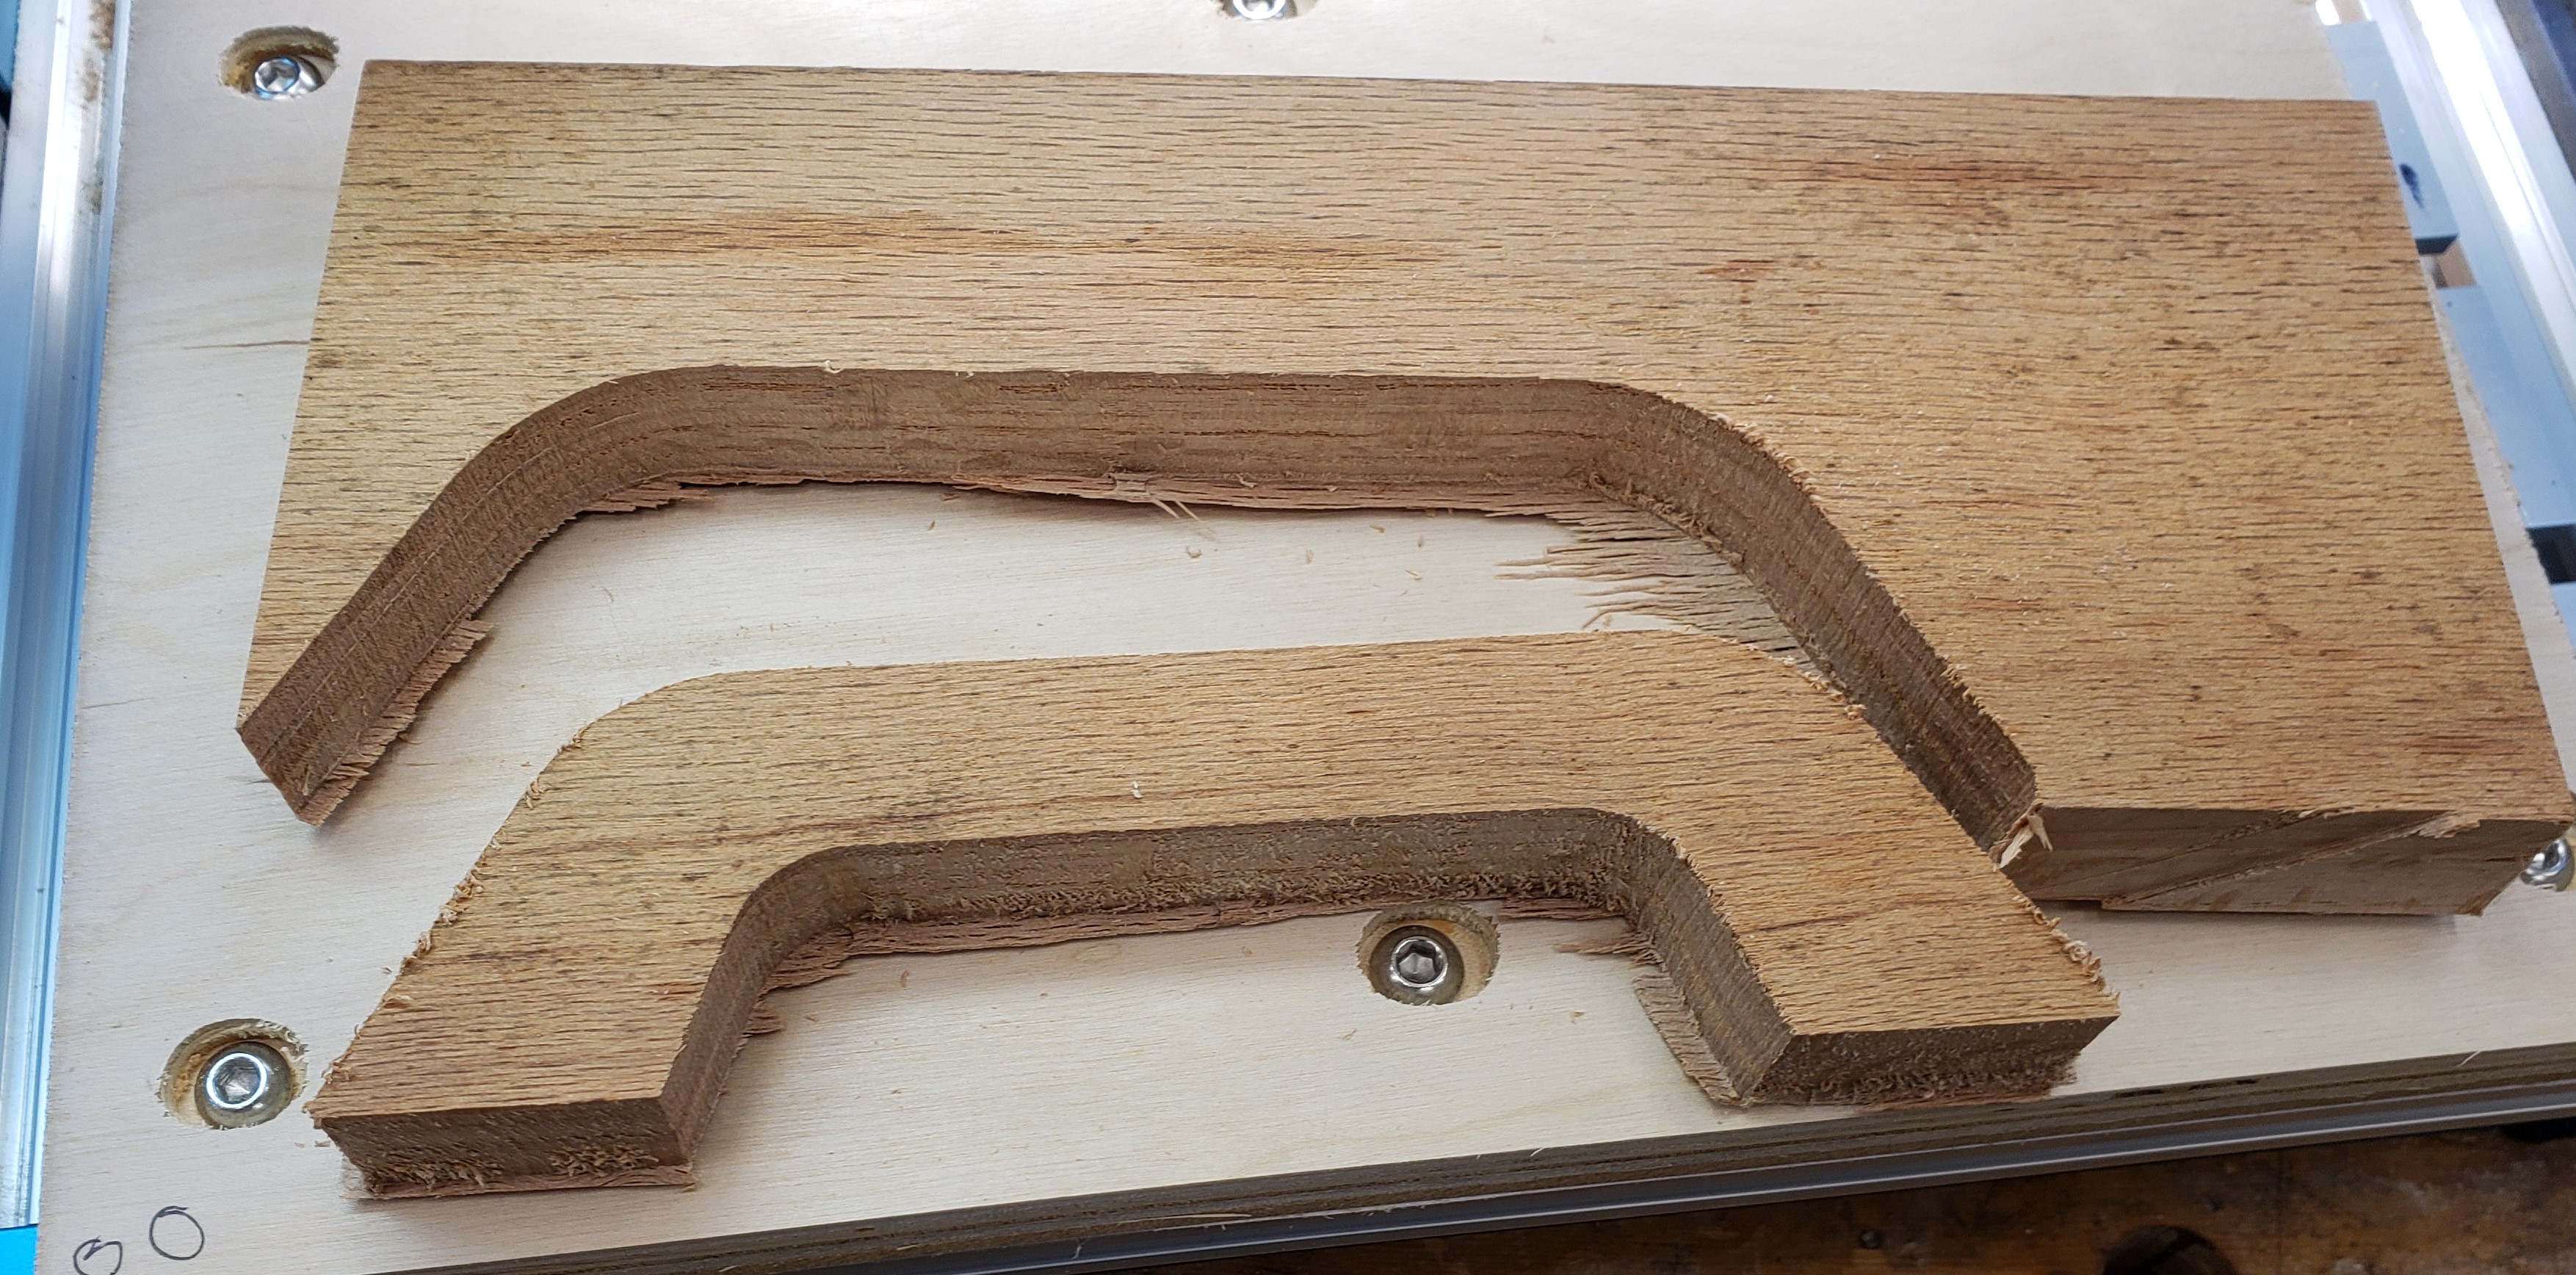
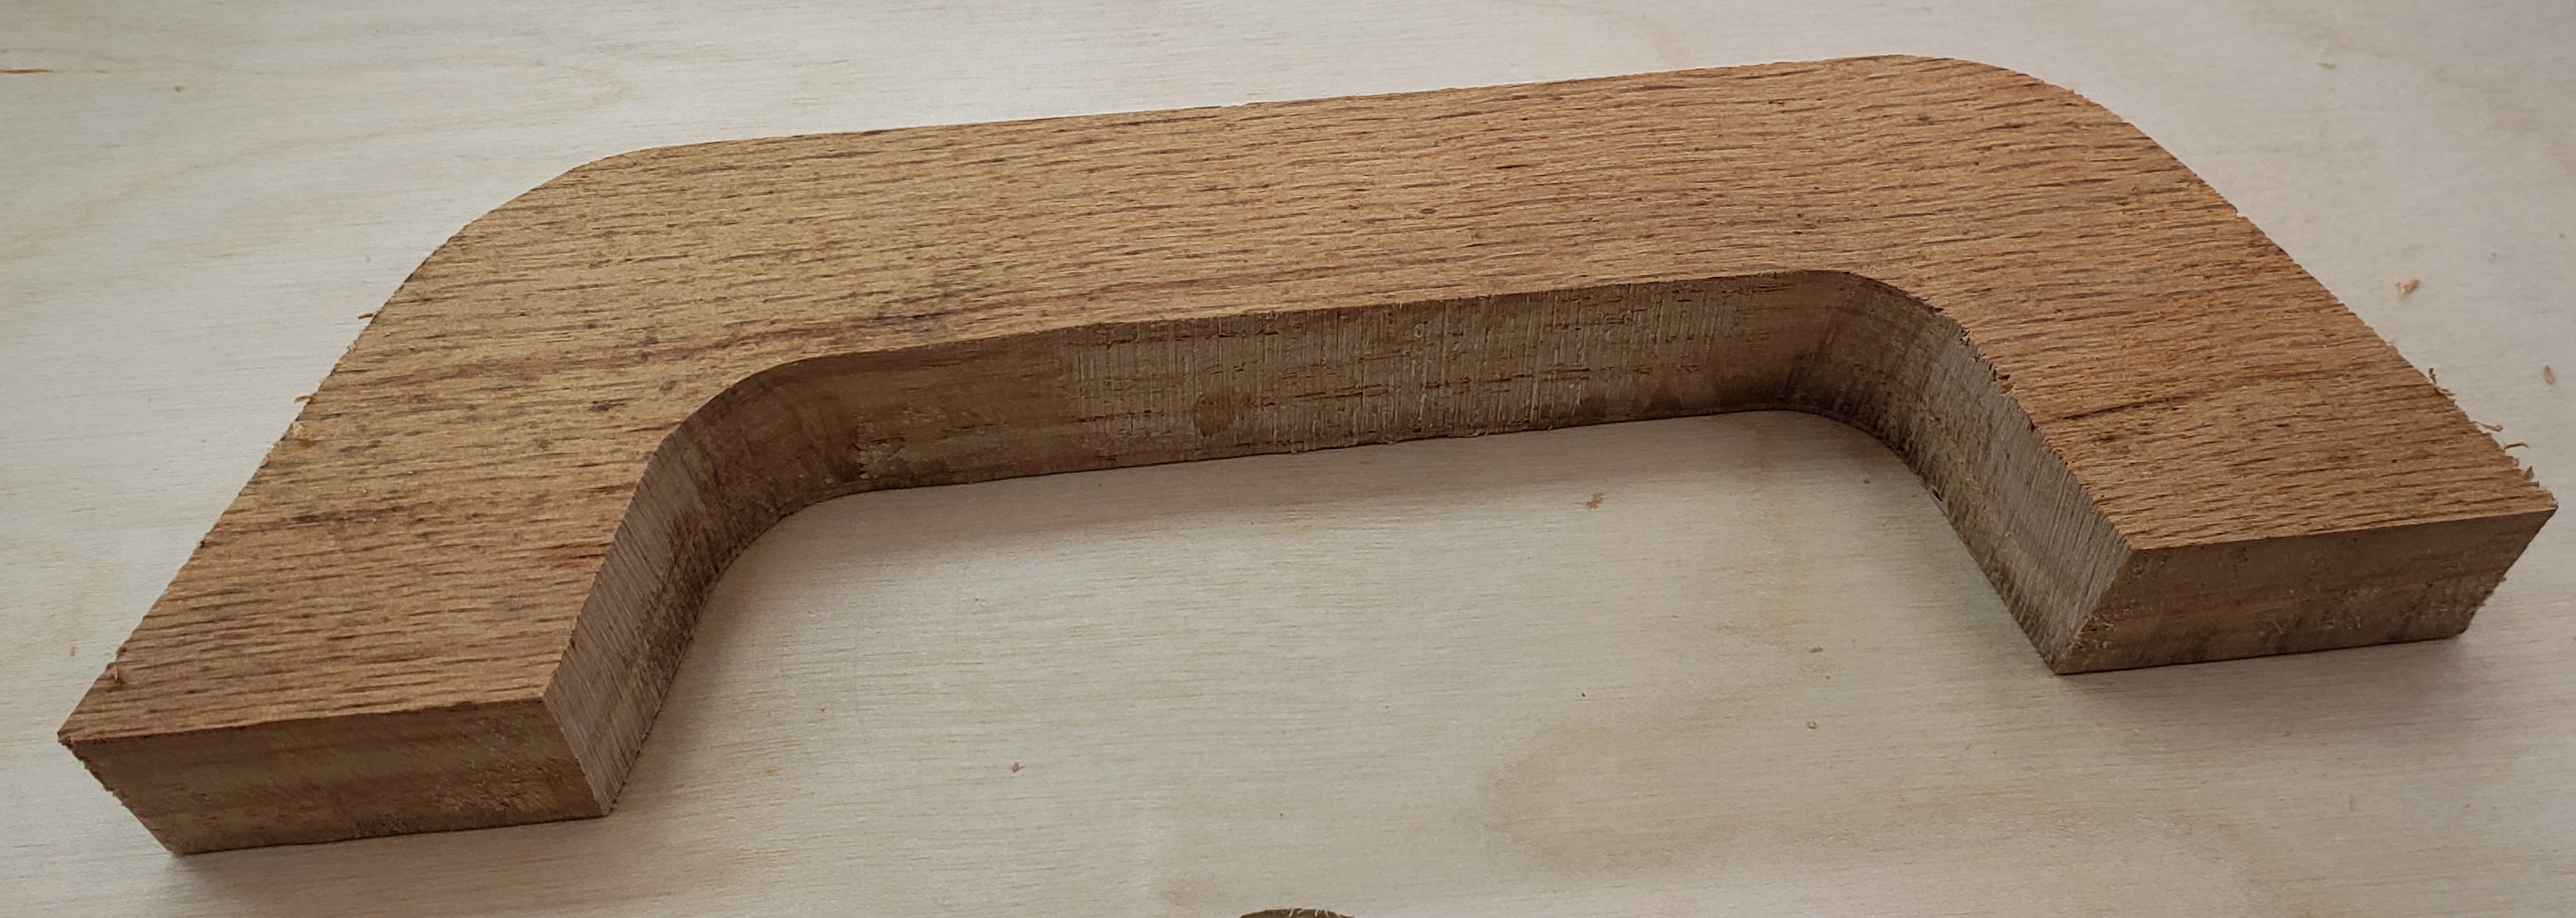
Drawers of this size need a good beefy handle. I employed my mill to cut a nice looking handle shape. It was a bit more of an ordeal than I thought it would be. The machine really bogged down in oak, and a number of them broke off the double sticky tape before finishing. After numerous failures I got the feeds set slow enough and incorporated a screw in the work holding.

To keep from drilling tons of holes in my waste board I made the first operation to drill a hole for my screw, then pause the program. That drill operation is quick, and doesn’t stress the double sticky tape. With the screw installed in the same space every time, I reused the hole in the waste board, and knew it would be out of the way of my cutting. The results were rough, but they worked.
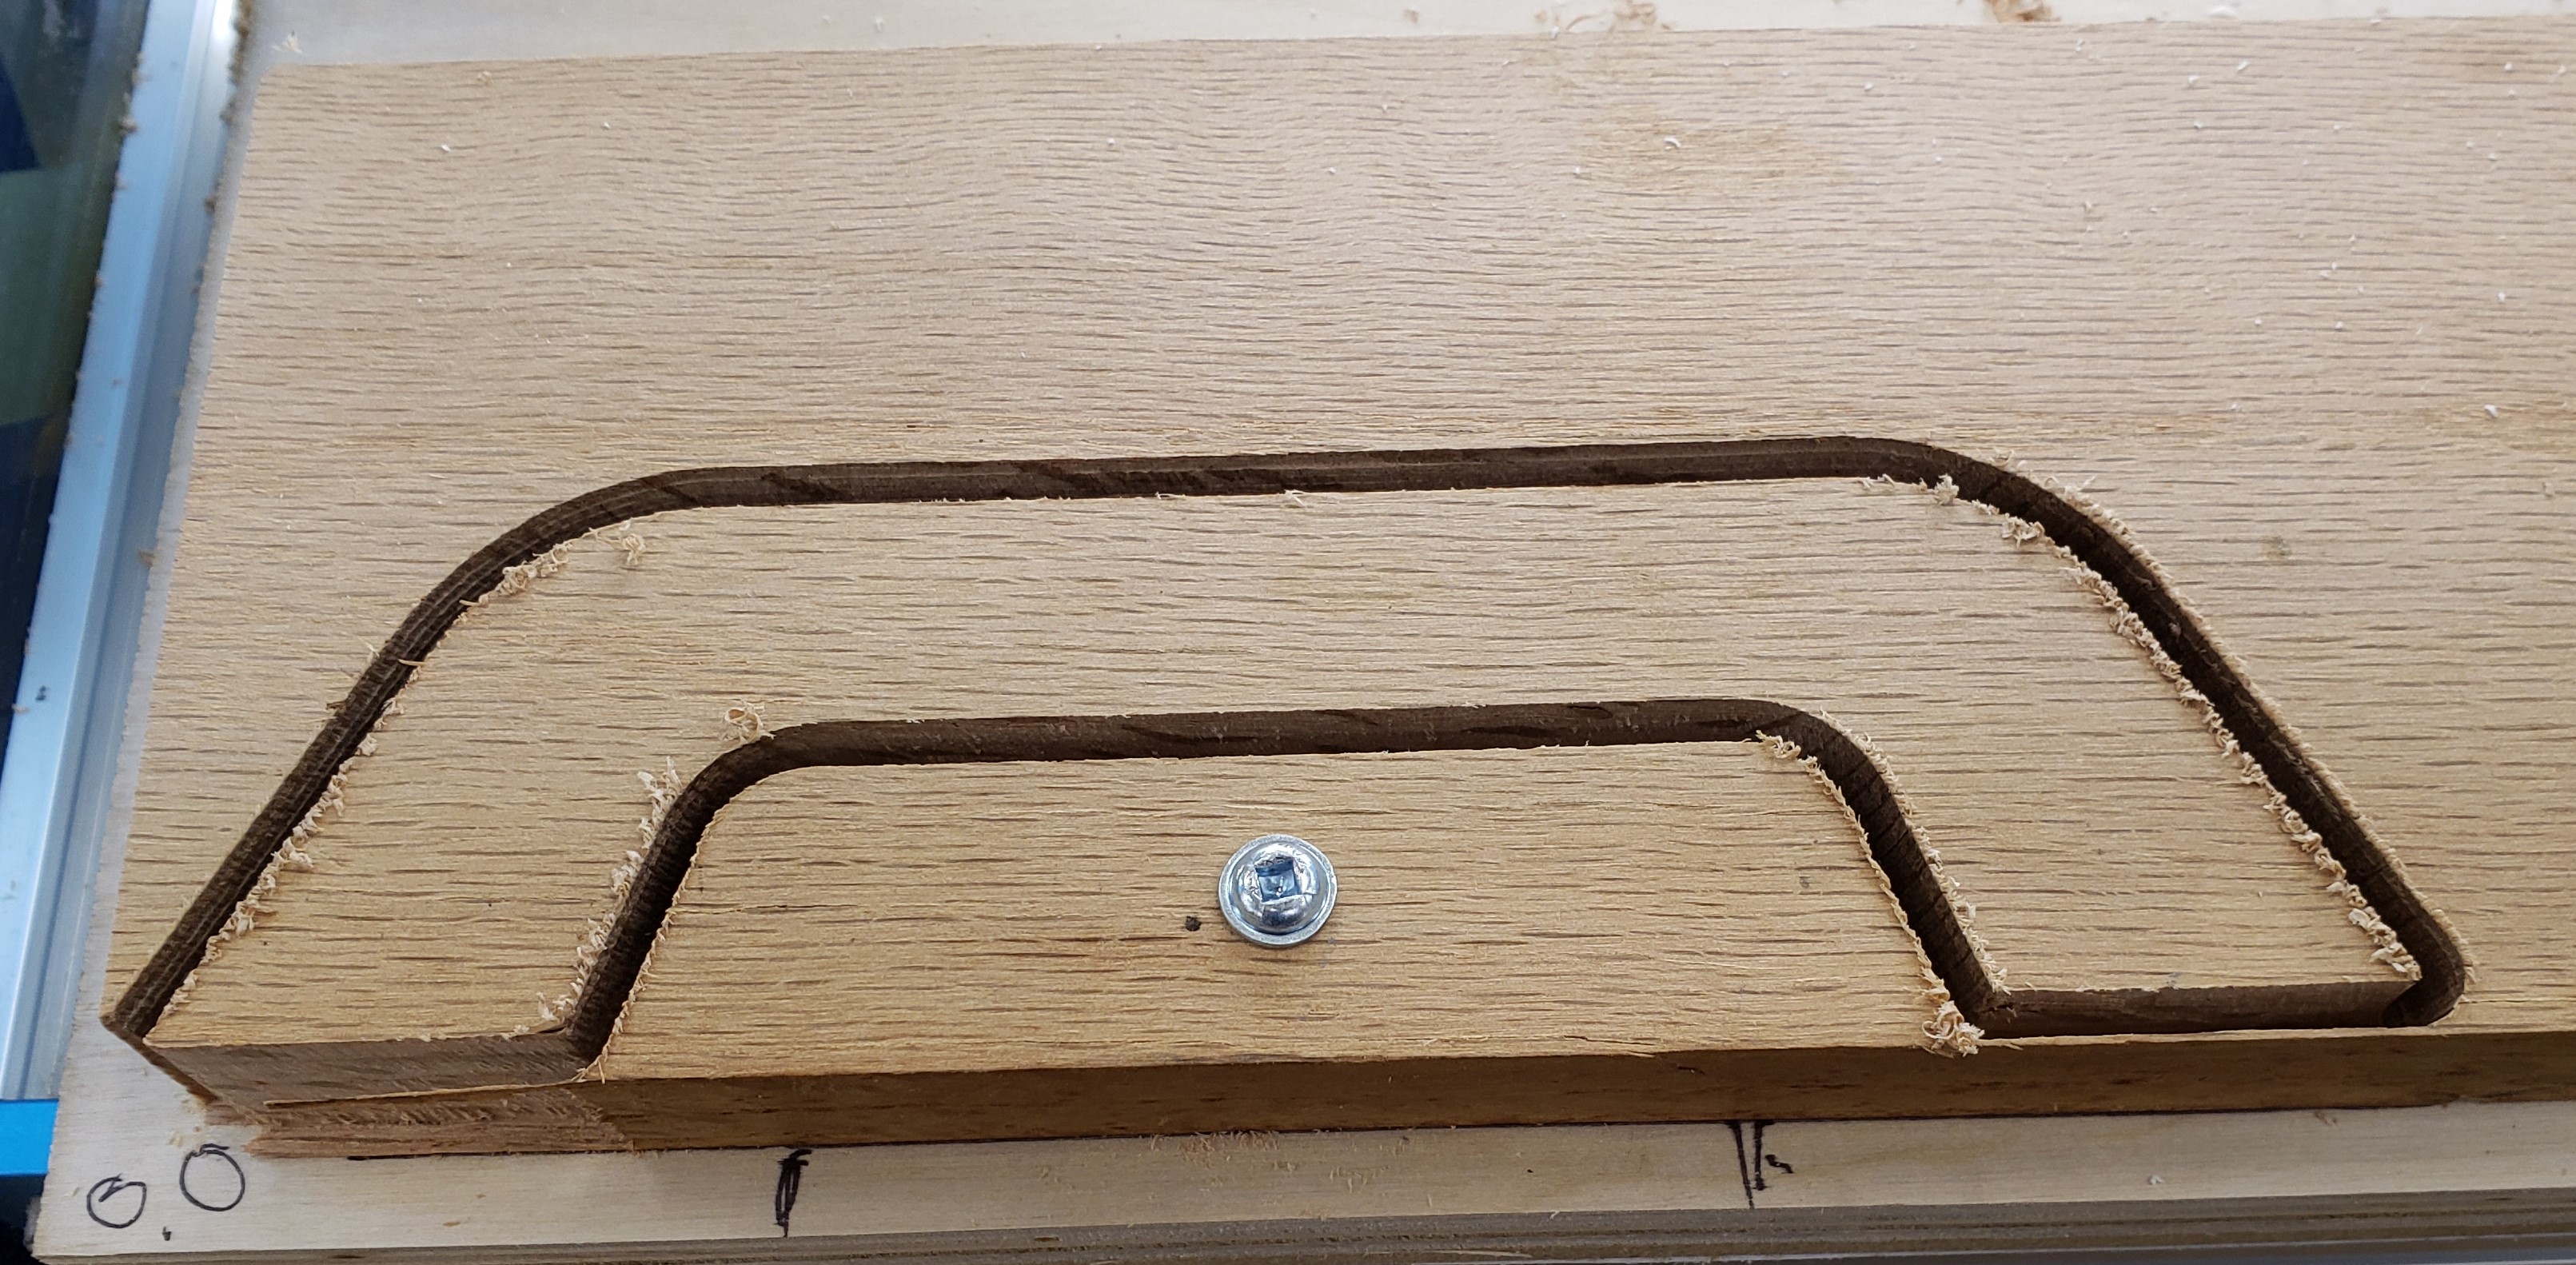
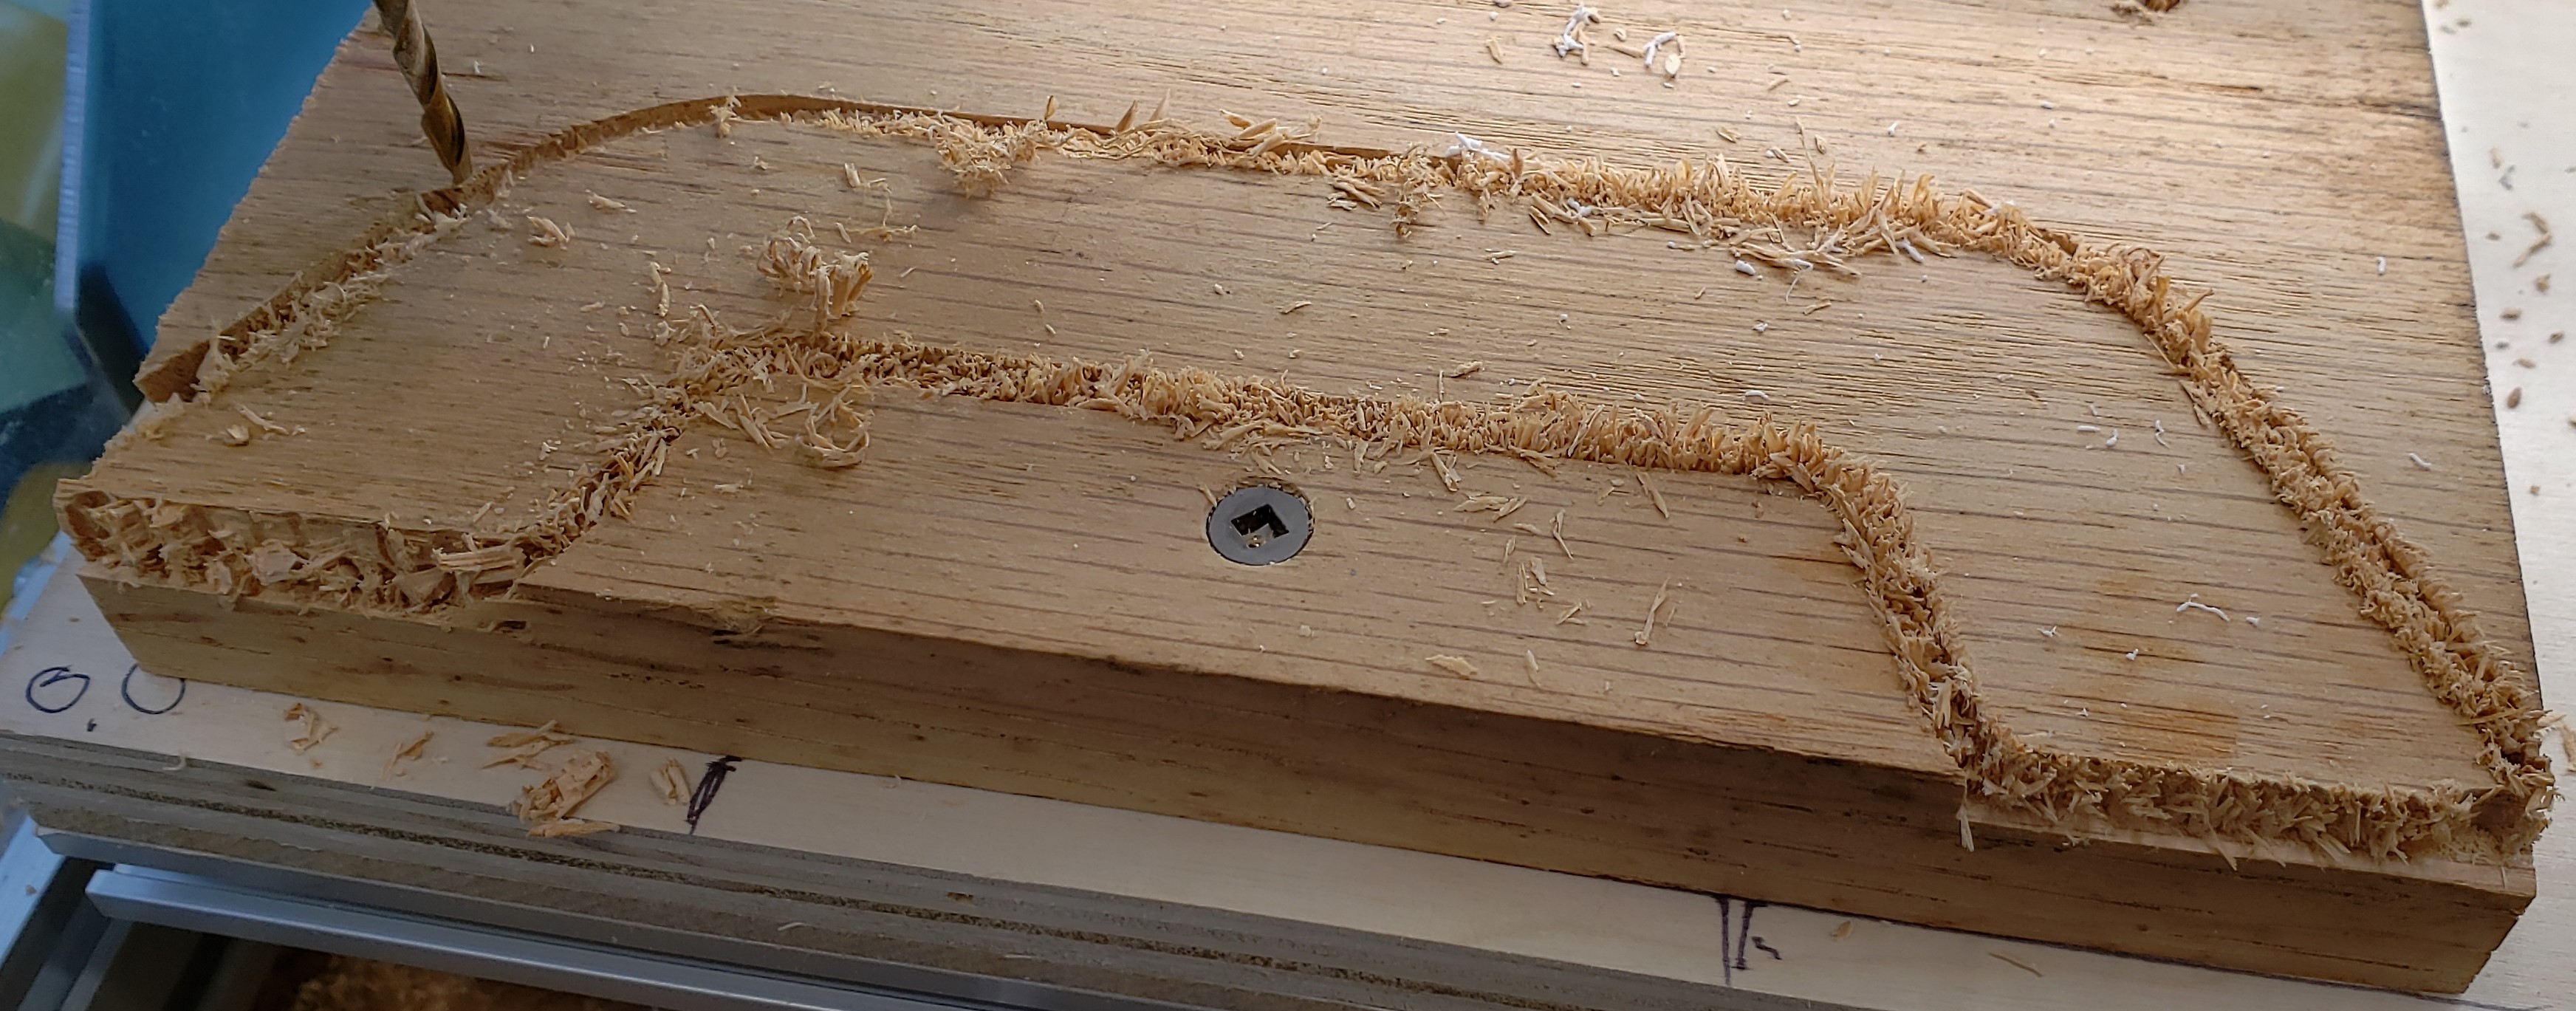
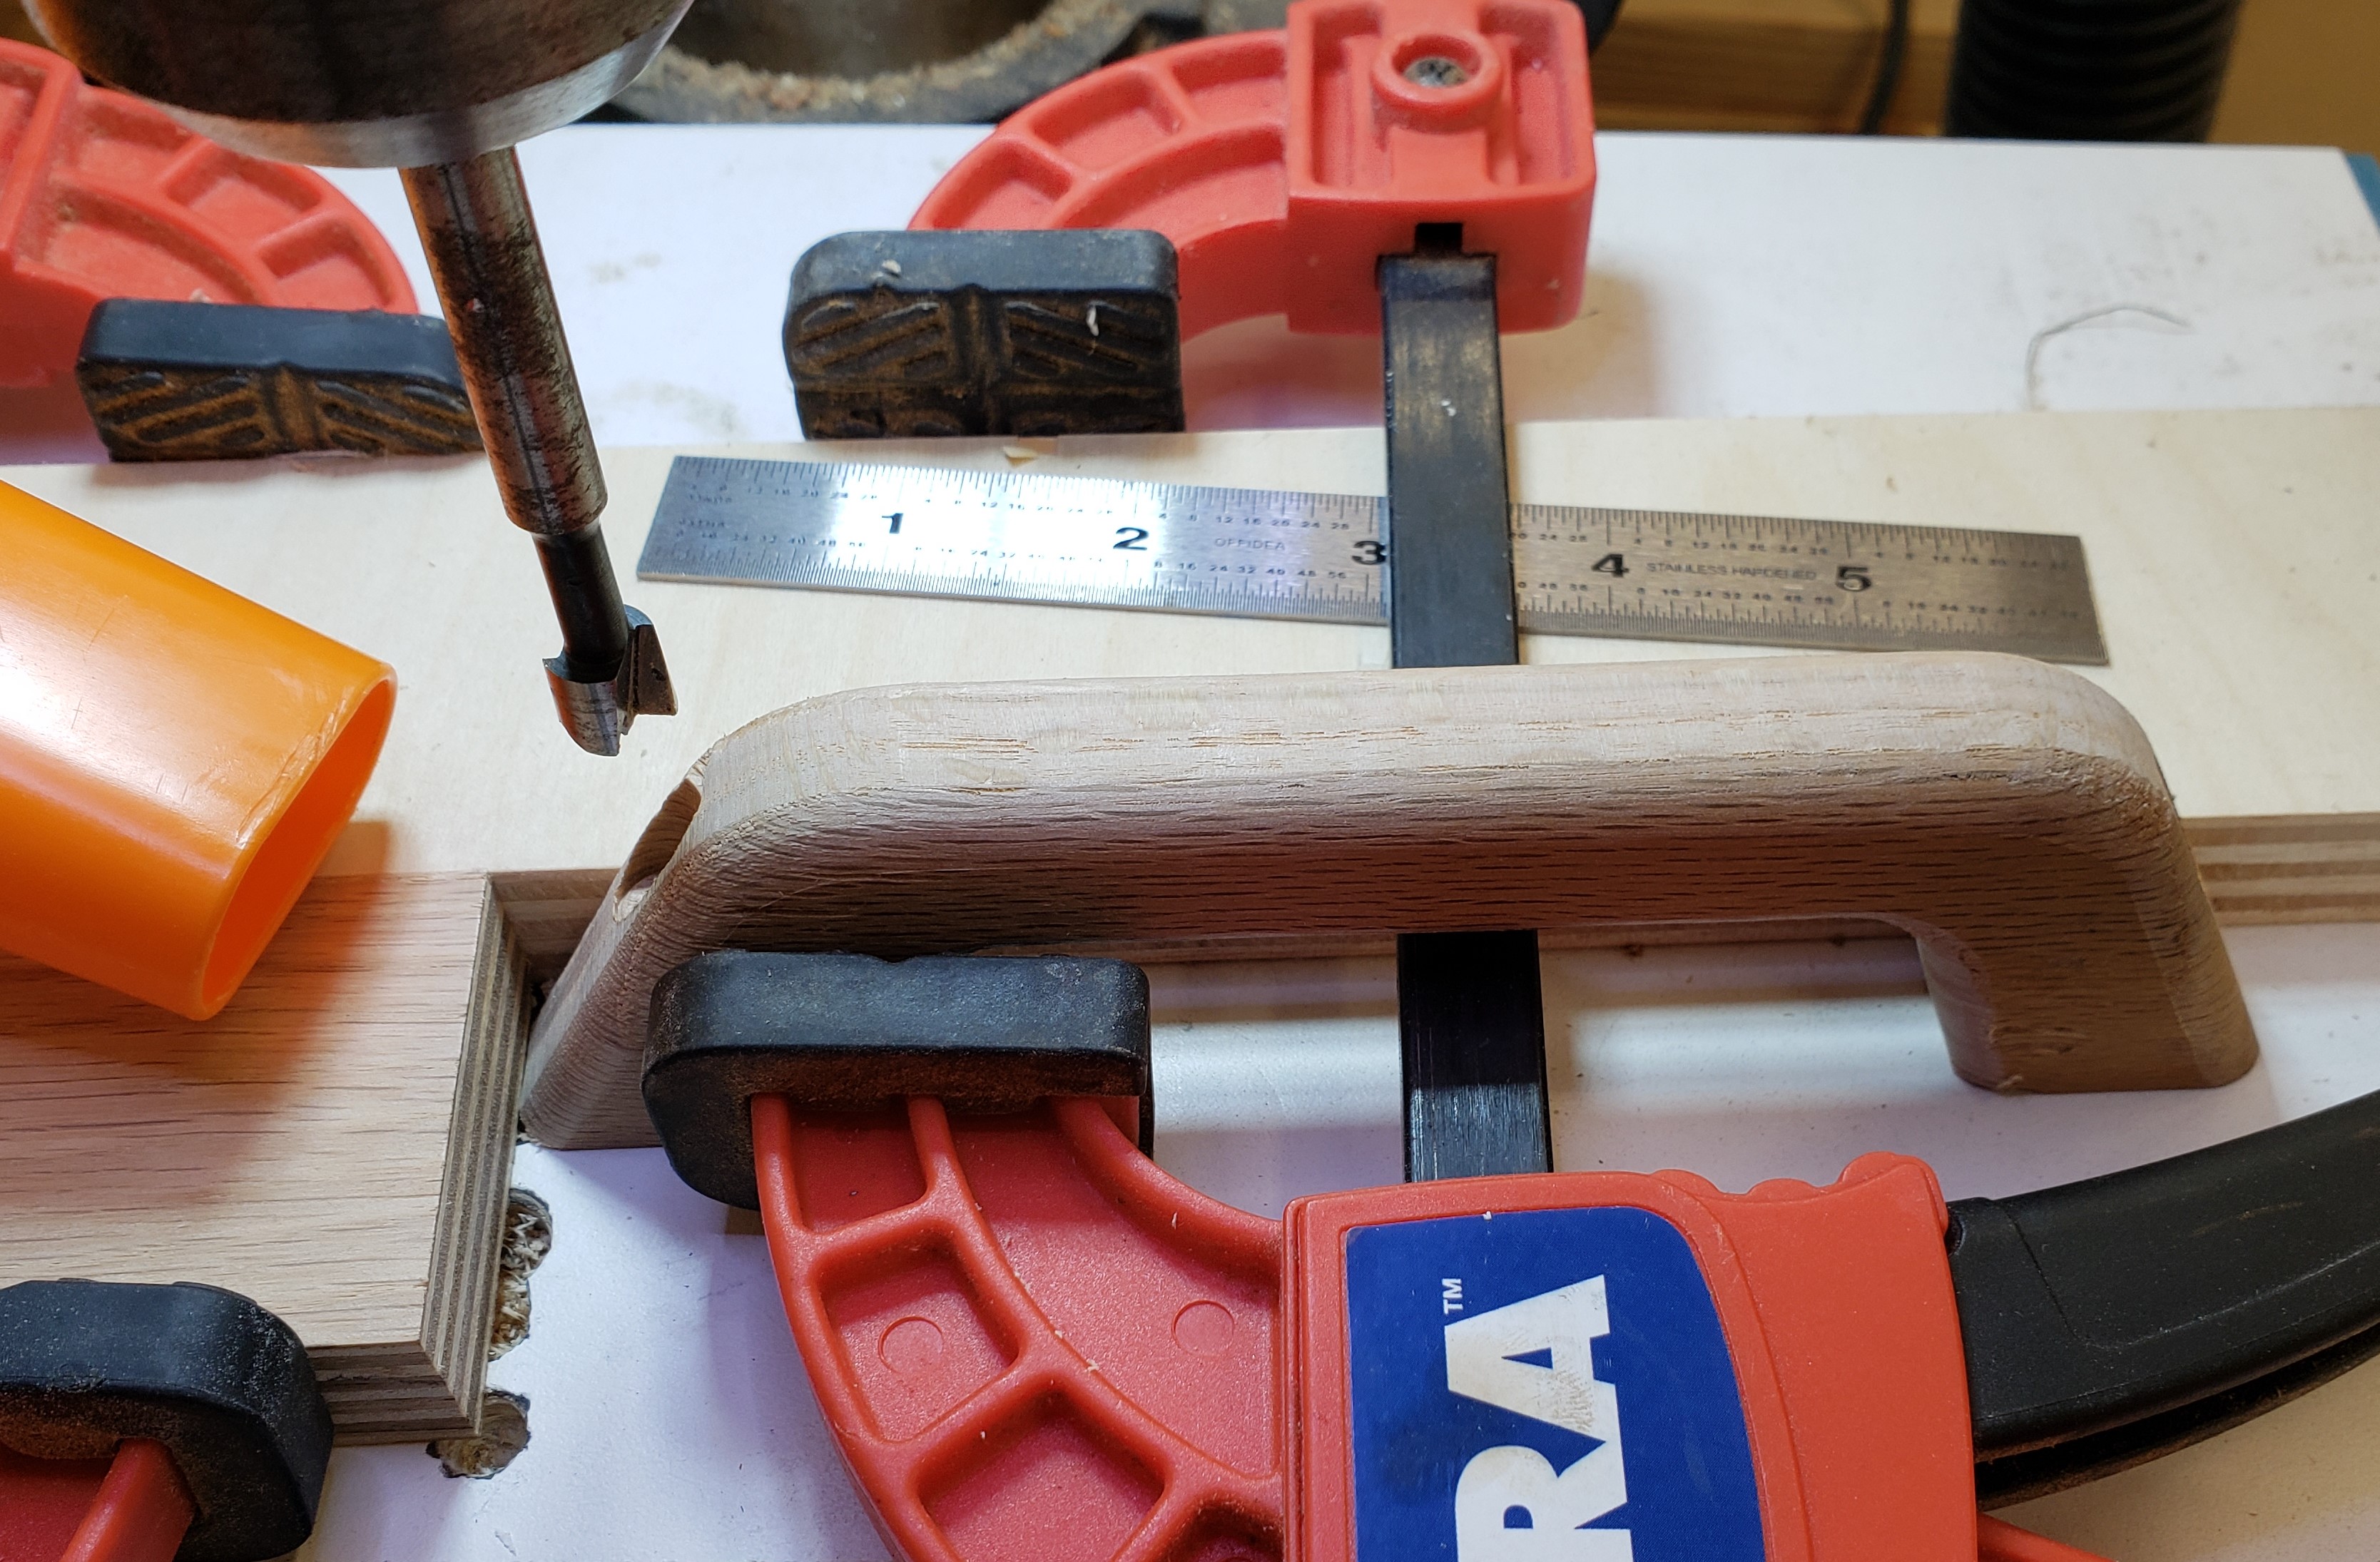
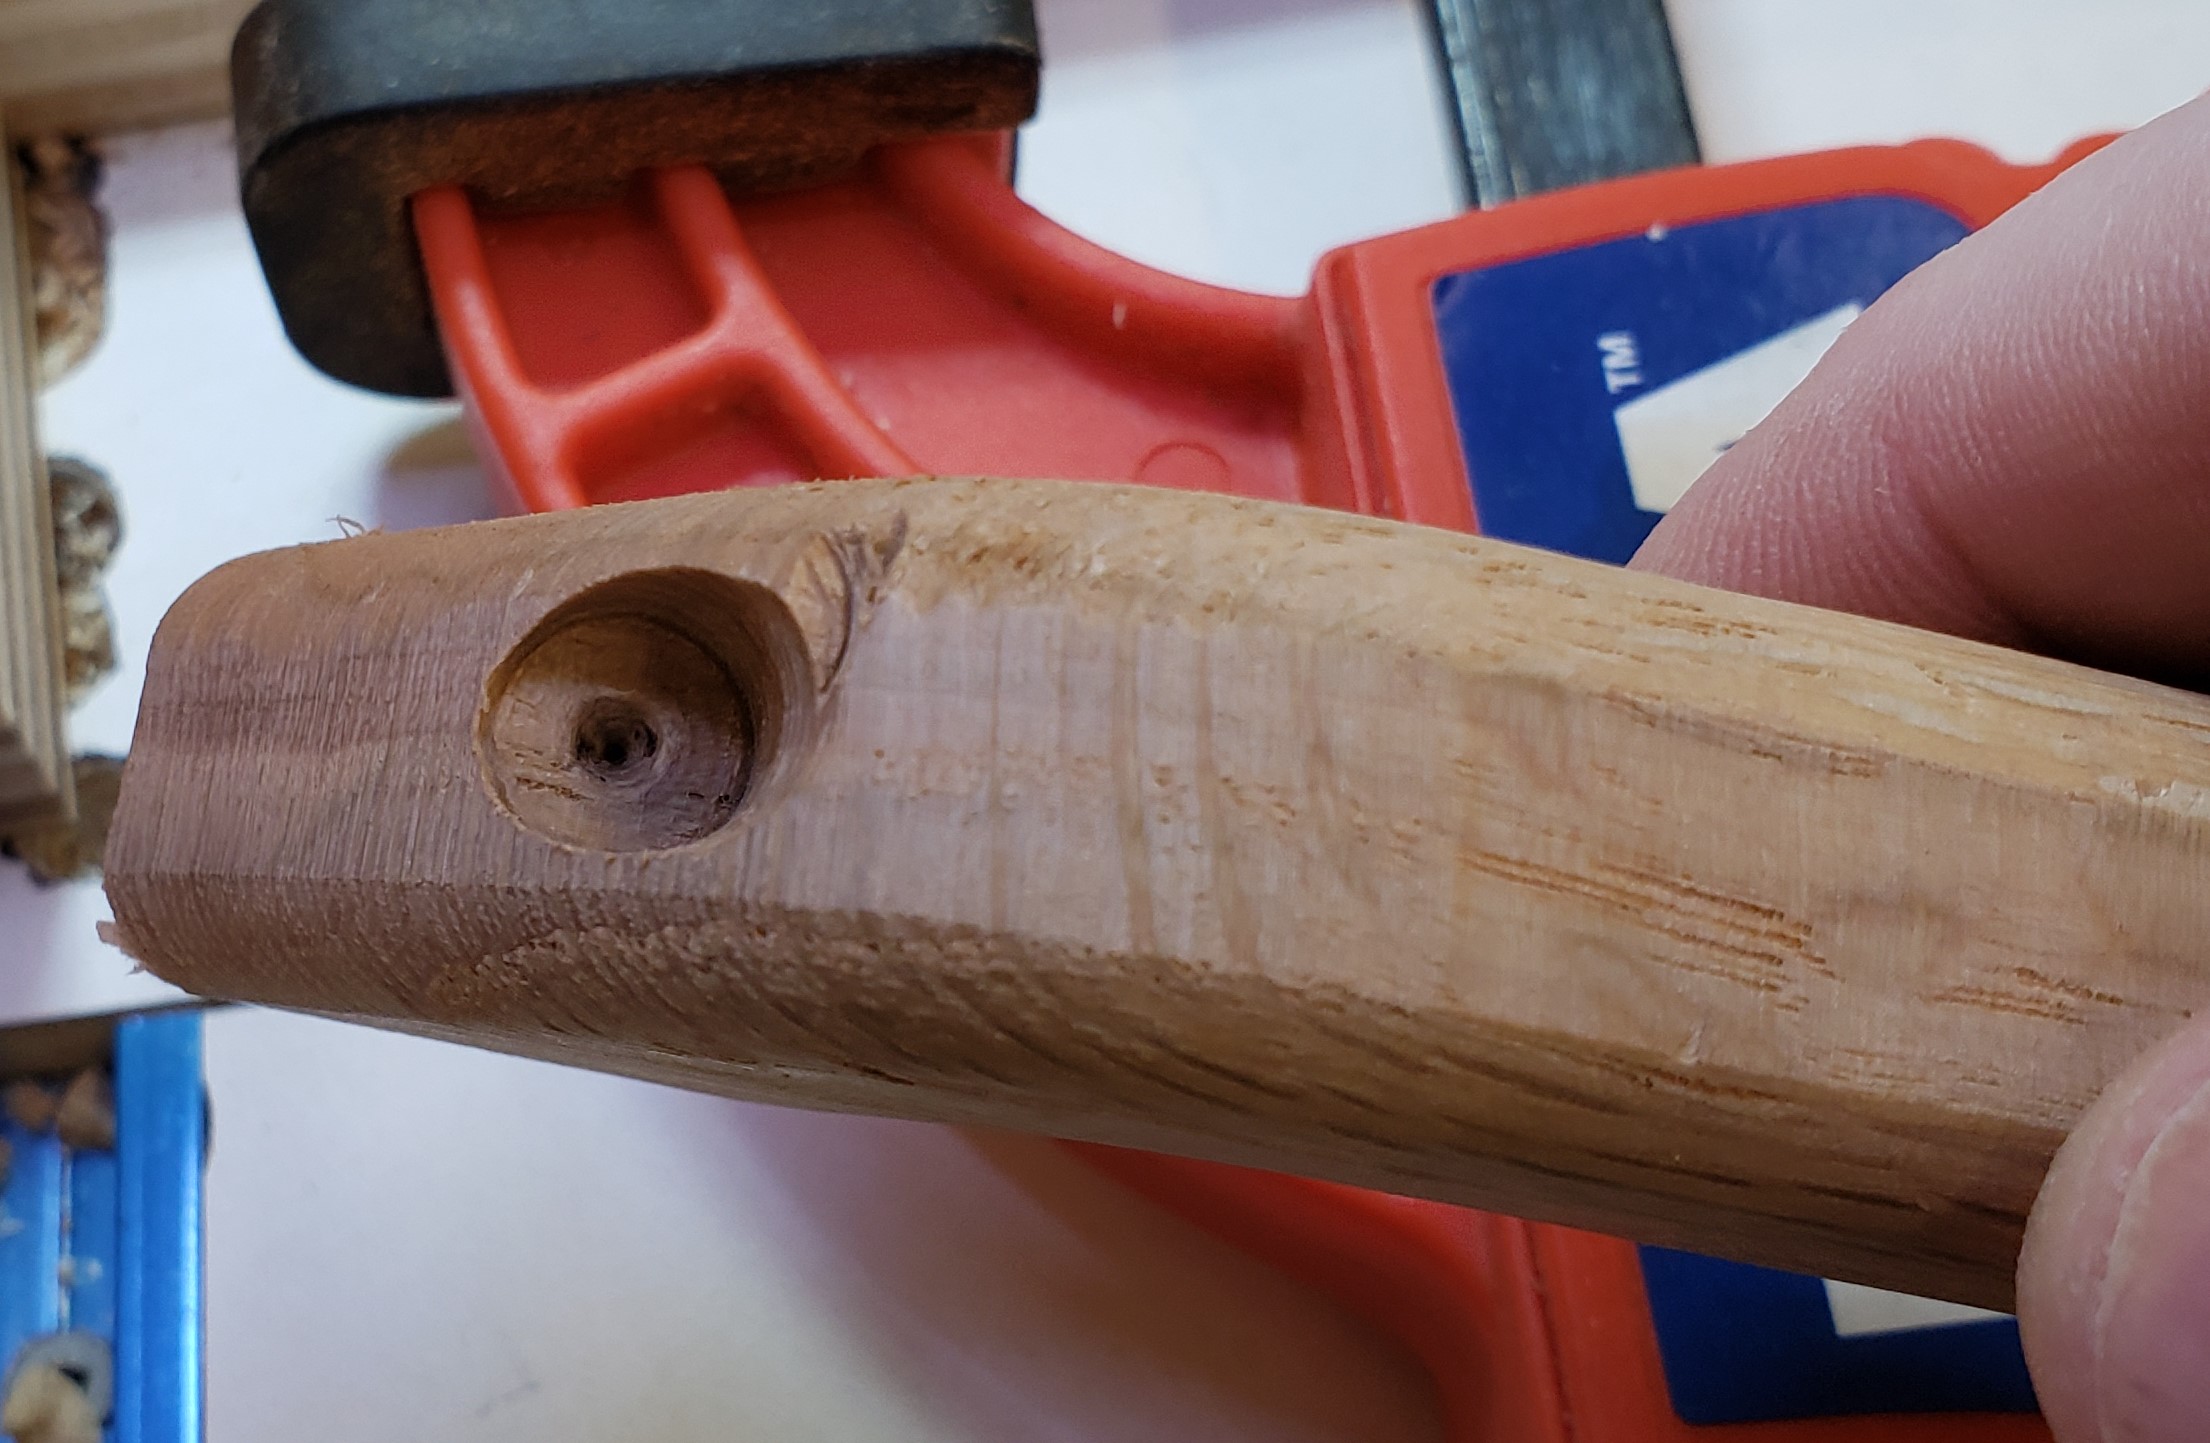
Next the handle blanks got sanded, a round over, and more sanding. I figured I would make their look a little more industrial, and set to counter bore the front for a screw. Lots of stop blocking and clamping was needed for that. This would be stronger than screwing through the back, and easier to install. I like the aesthetics of it too.
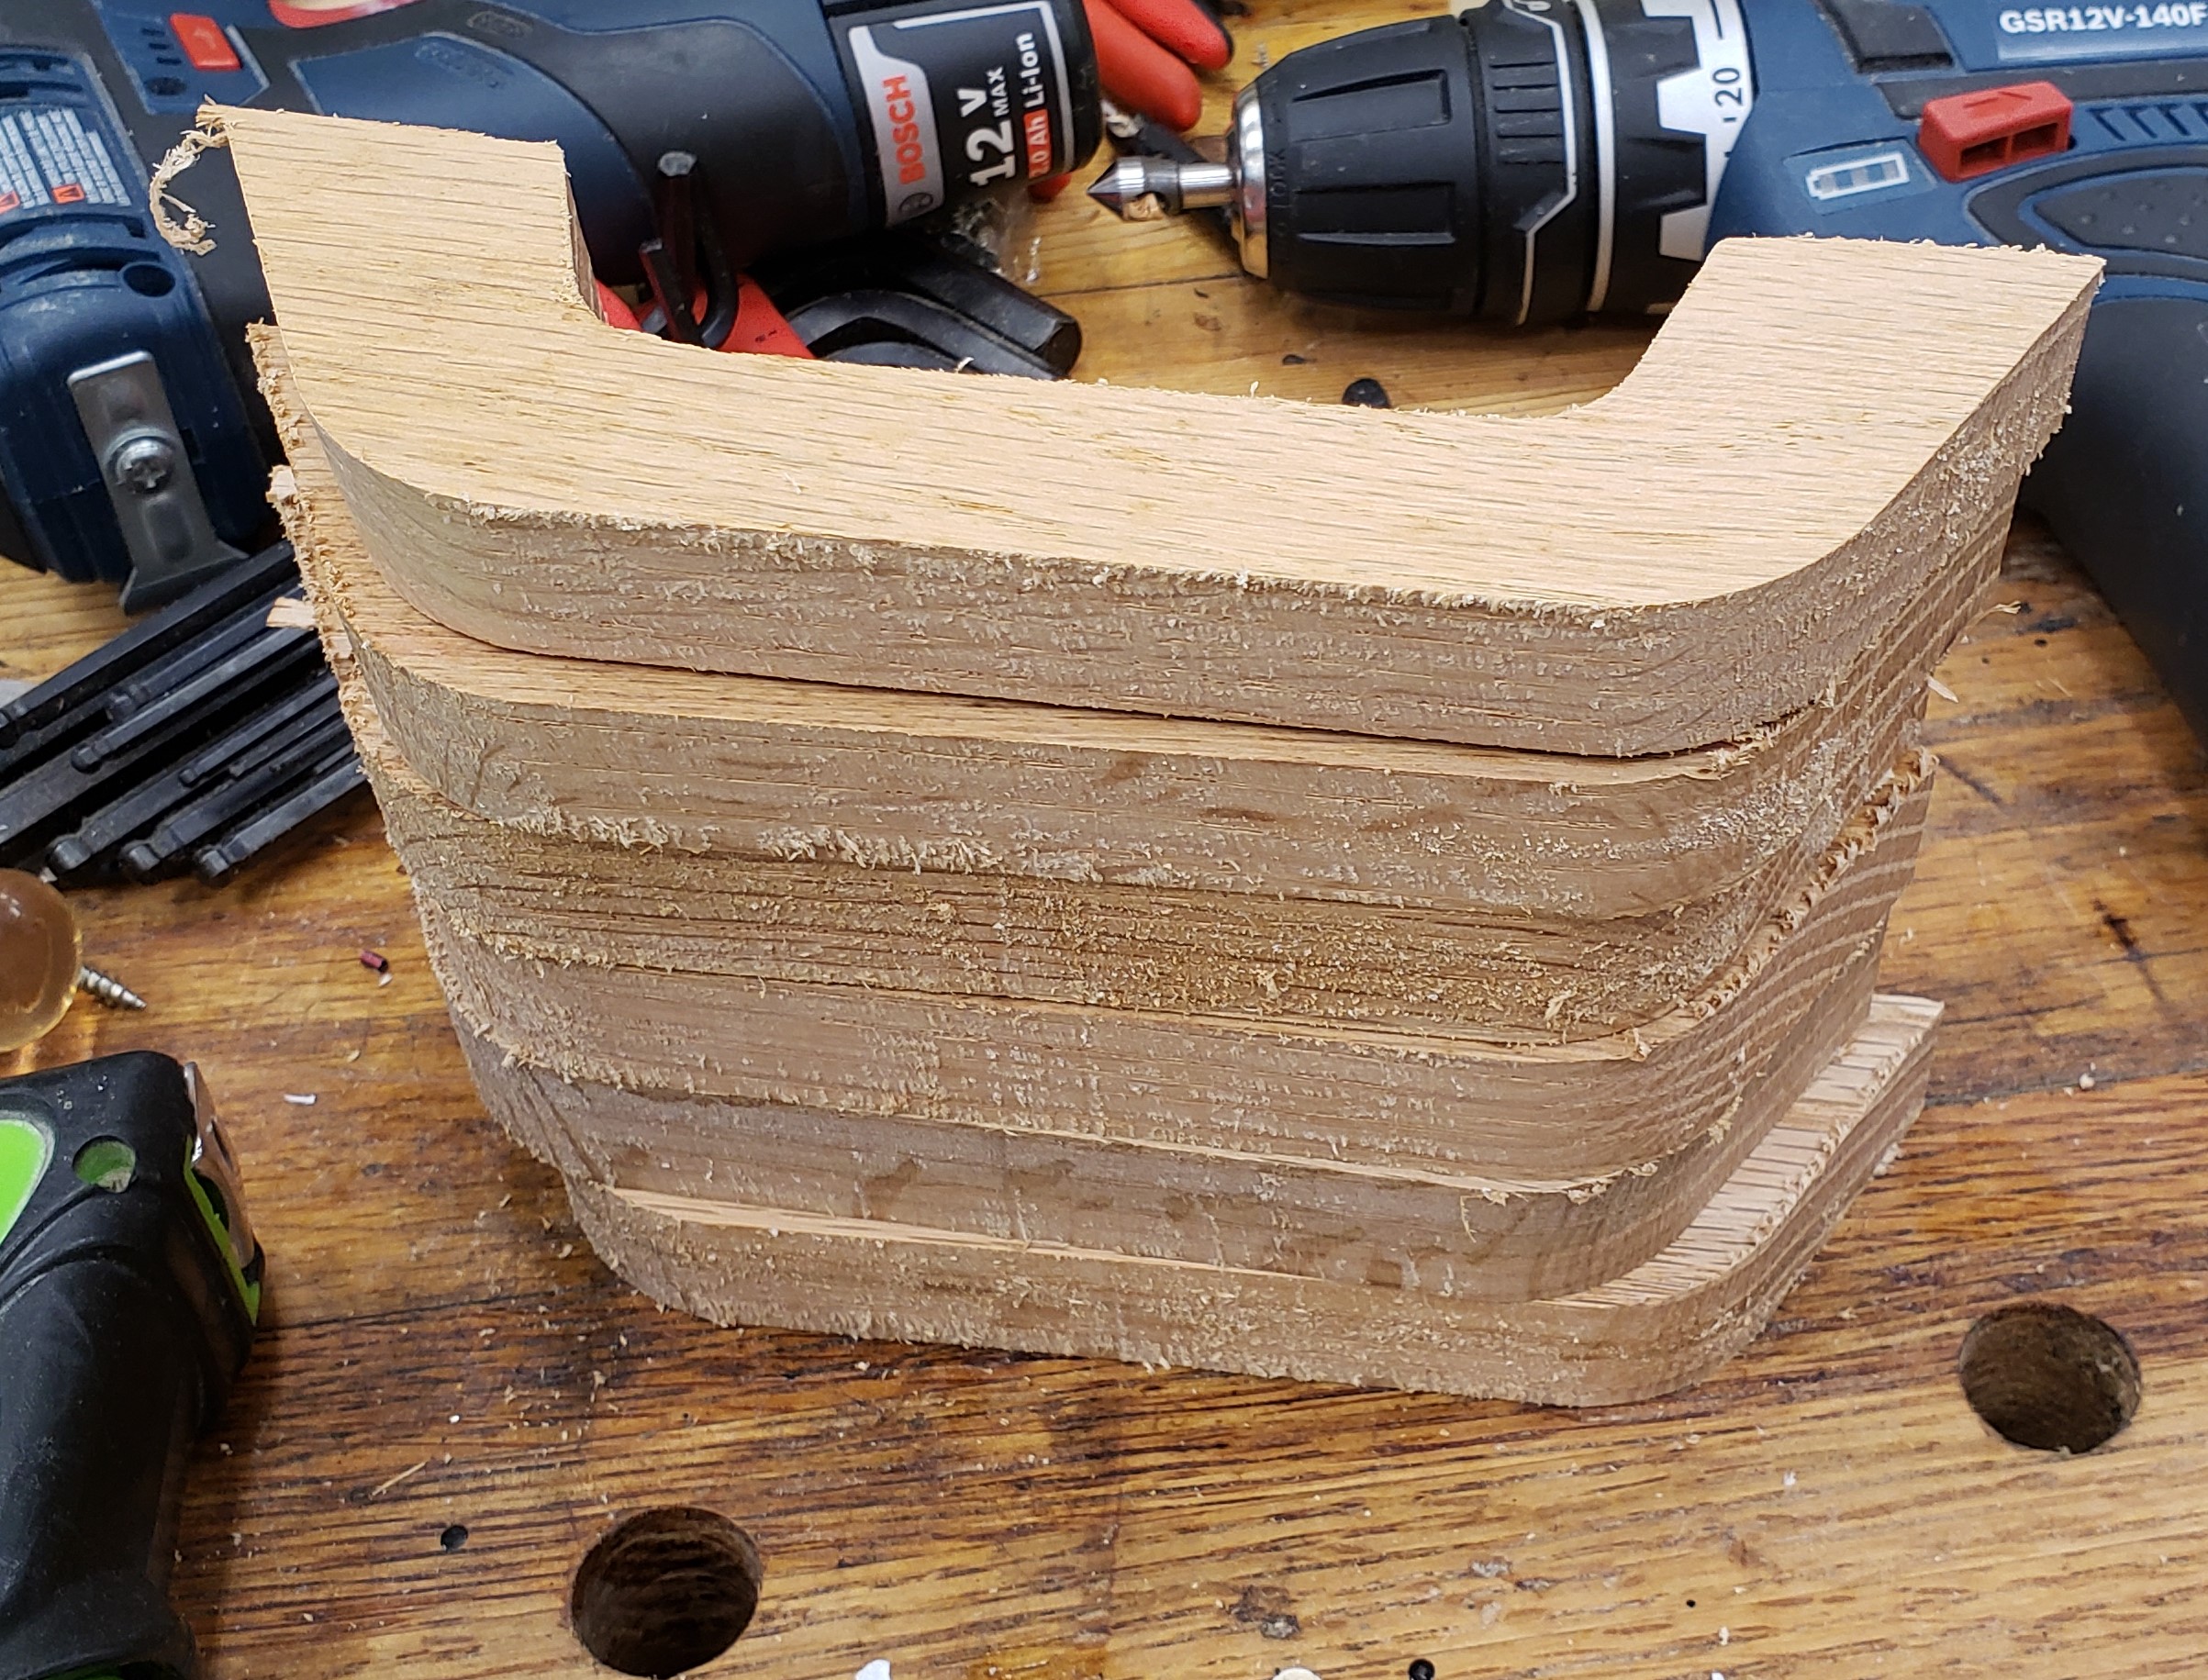
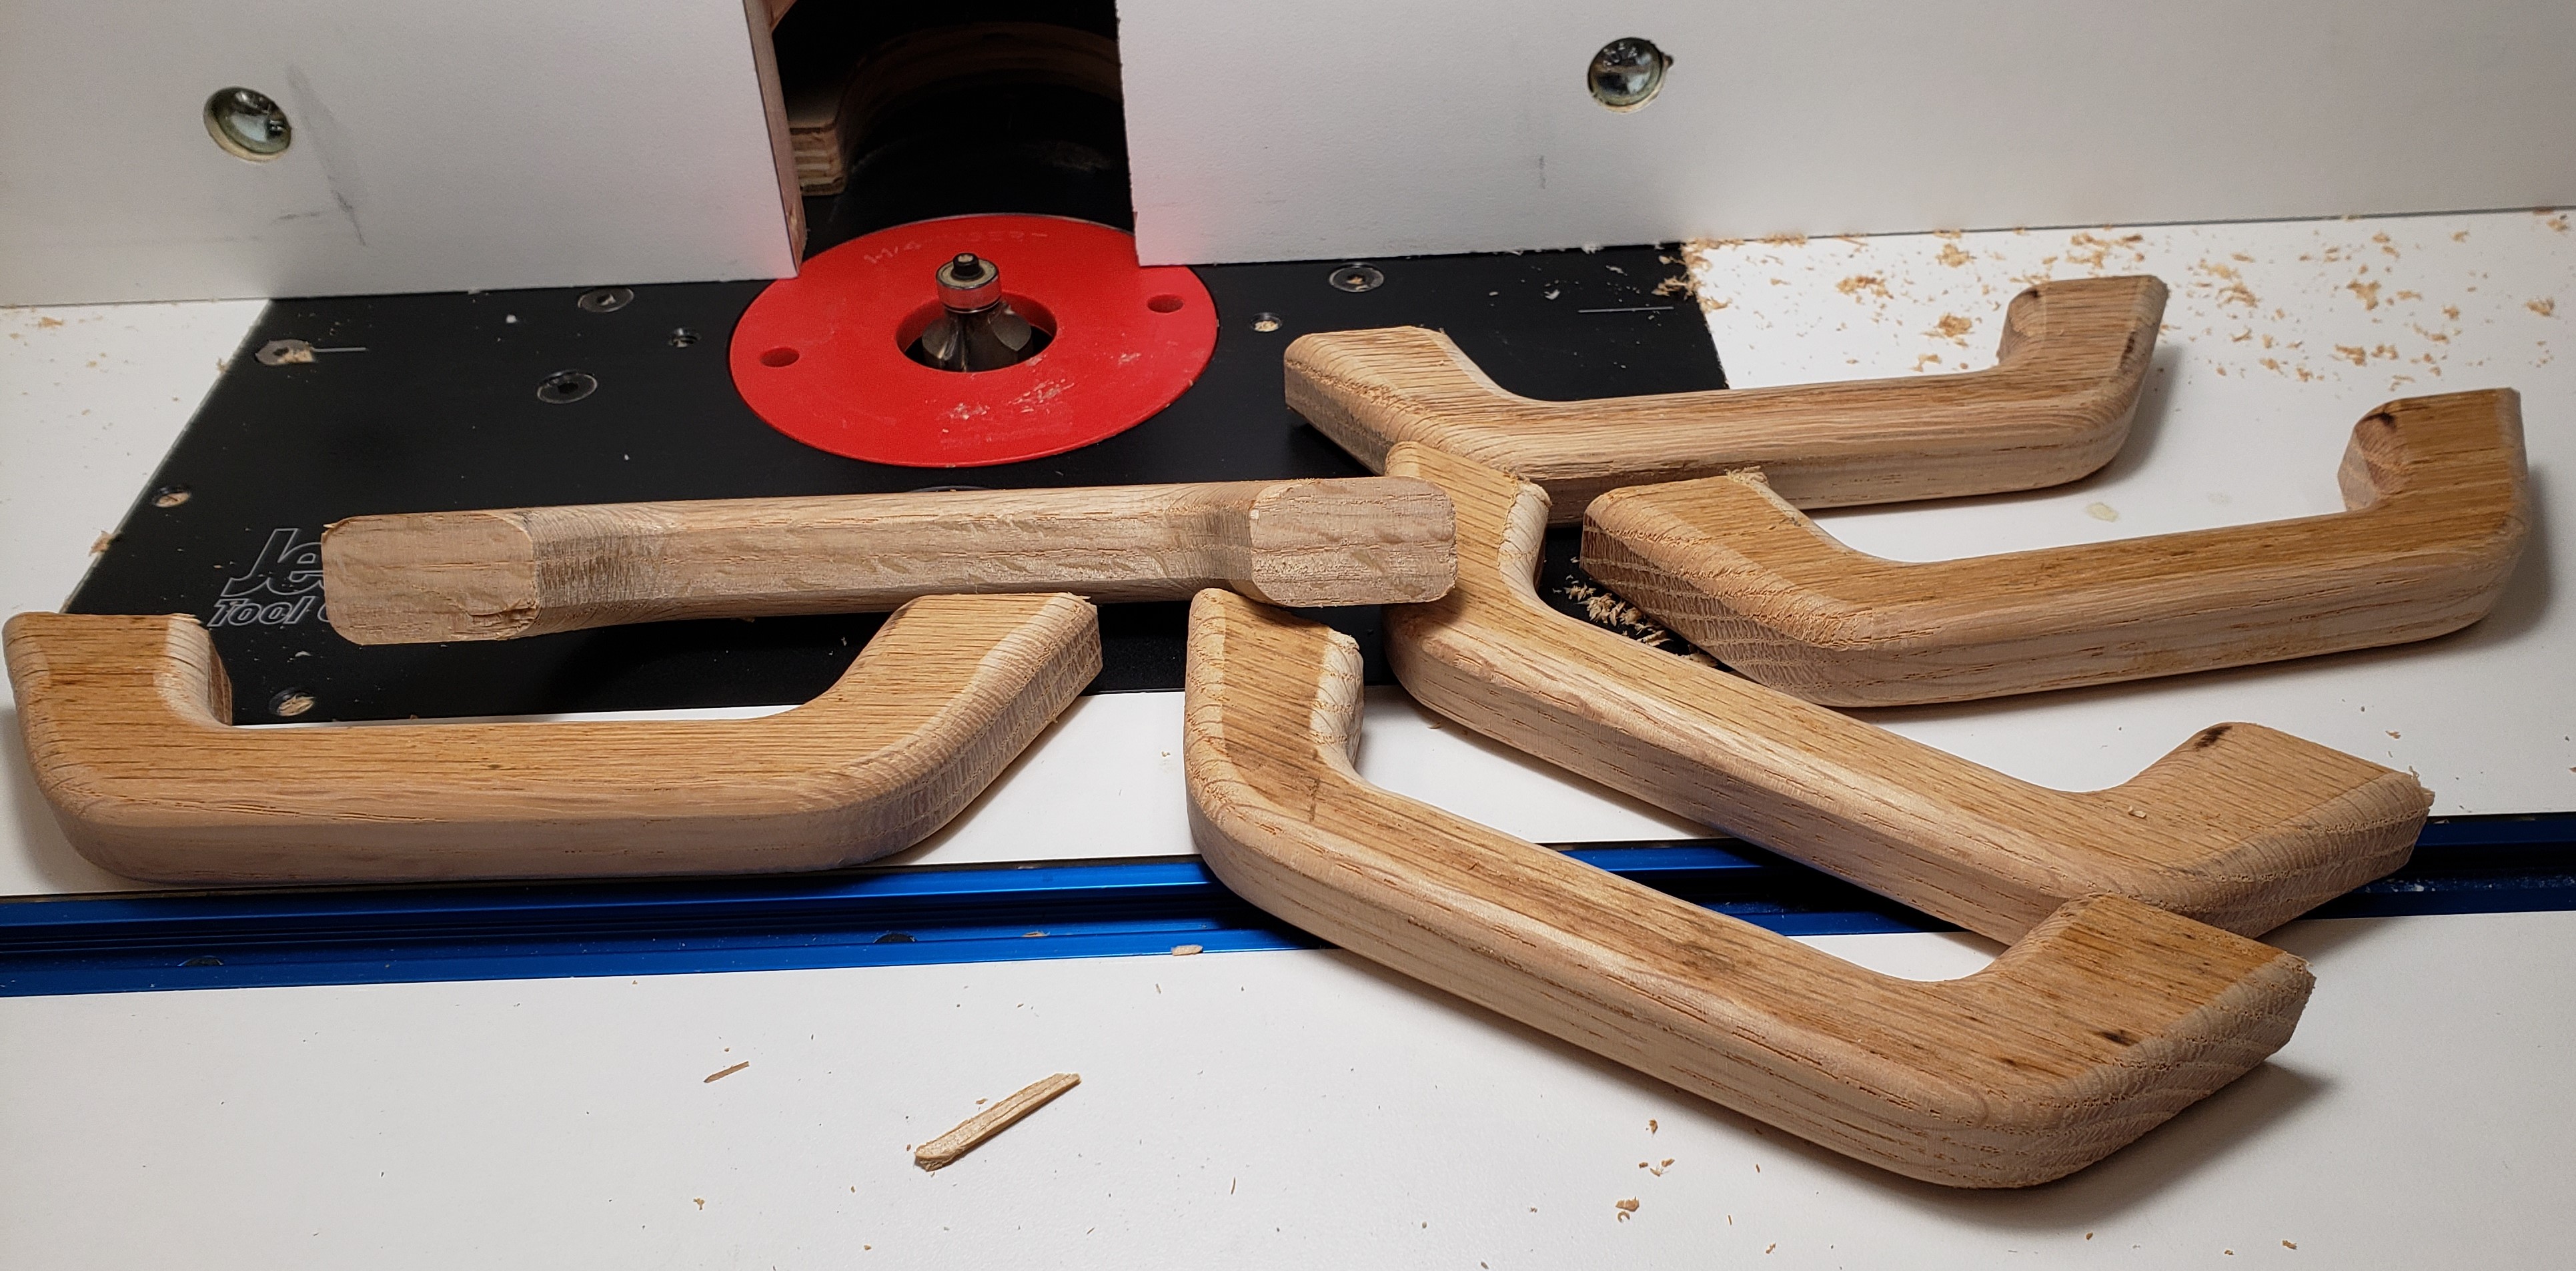
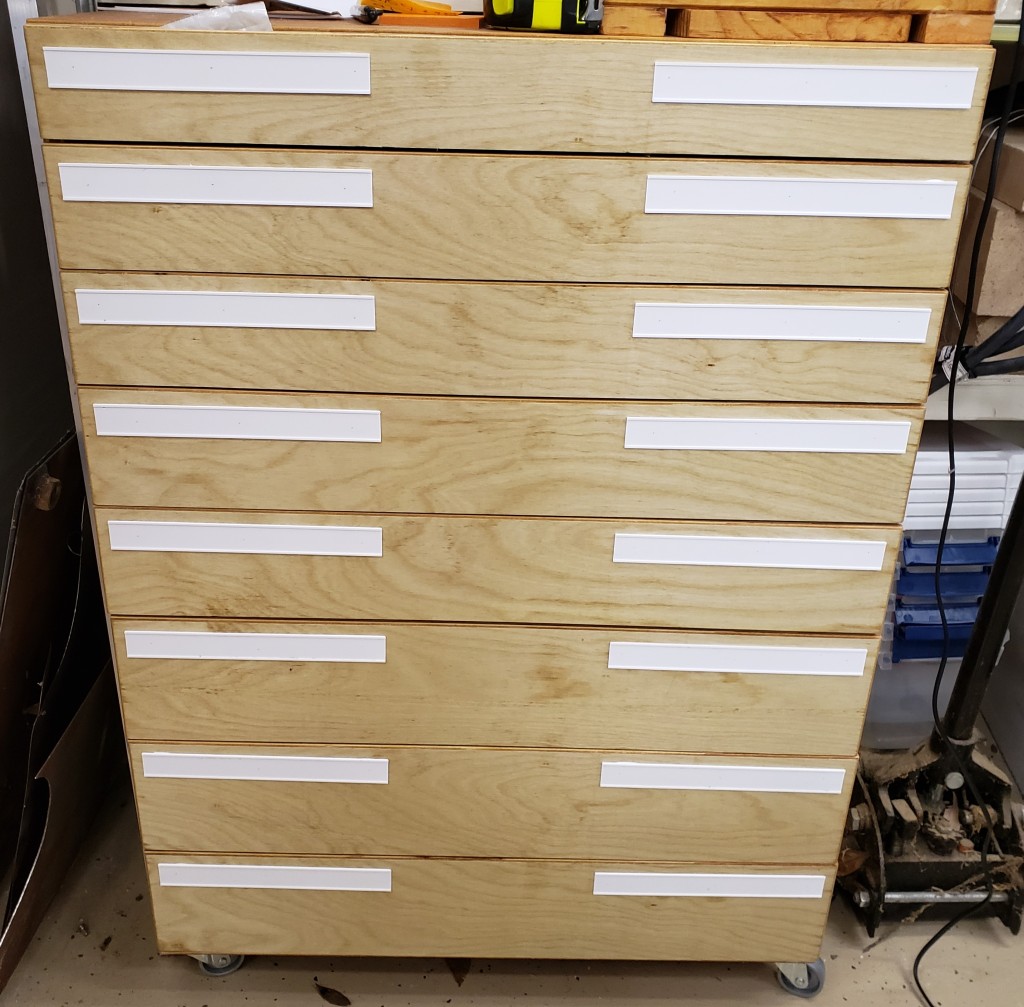
Things were coming together. I needed some labeling, so I printed slots that would accept 1″ label tape without the back removed. It meant I could rearrange tags quickly without peeling anything. A little calking on the back held the holders down. I used a few pin nails to tack them in place while the calking dried. No heads on the pins means they don’t interfere with the labels sliding in from the sides.

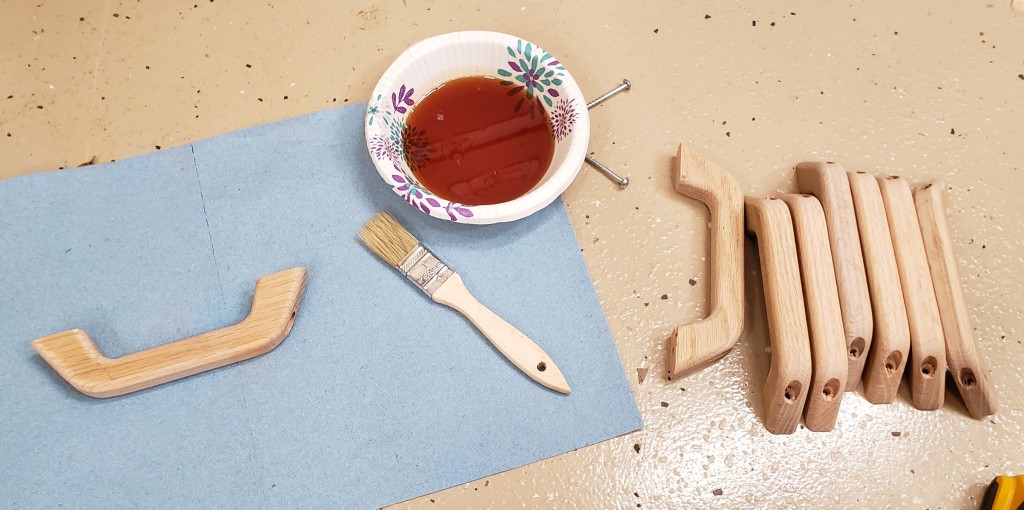
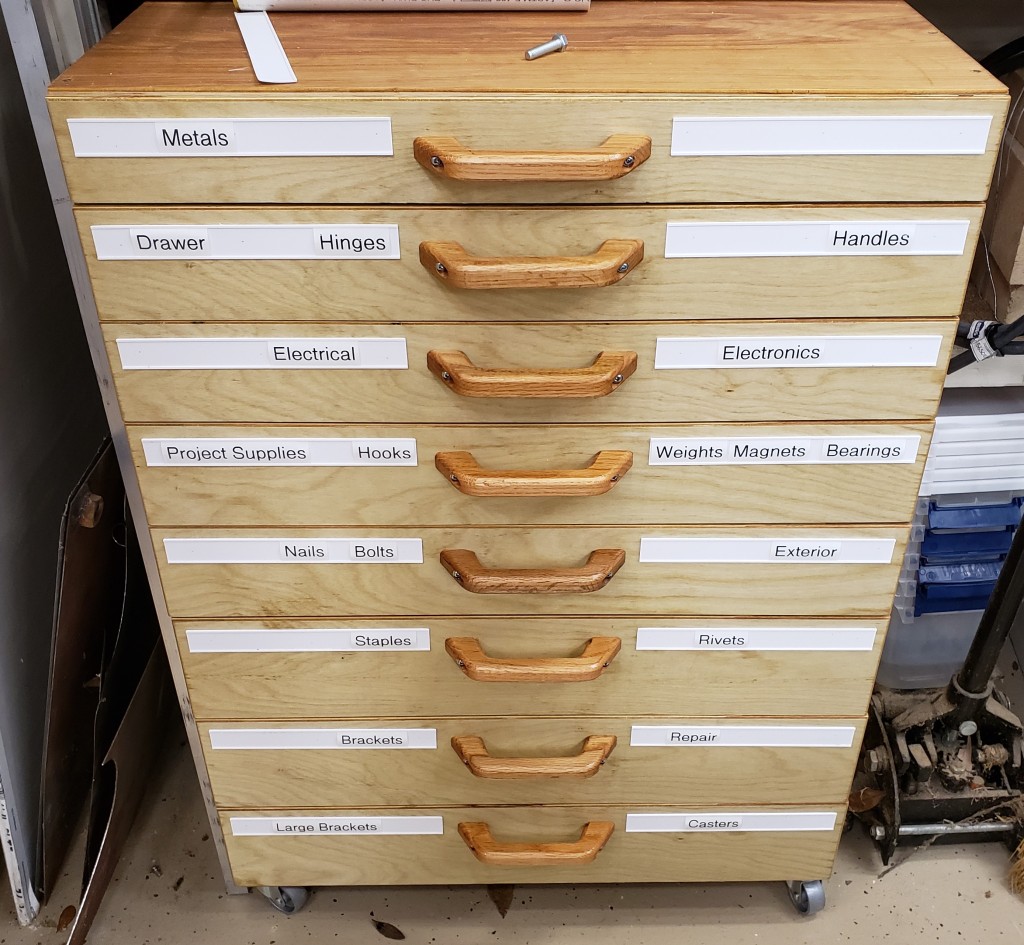
I painted on a little linseed oil on the handles and installed each one down the center. They are comfortable, easy to use, look gorgeous, and finish off a wonderful cabinet. I should make my own handles more often. I feel like my experience and planning payed off. Other than some issues with the handles this job went off without a hitch. I have done a lot of other stuff like it before though, so I shouldn’t be making as many mistakes at this point.

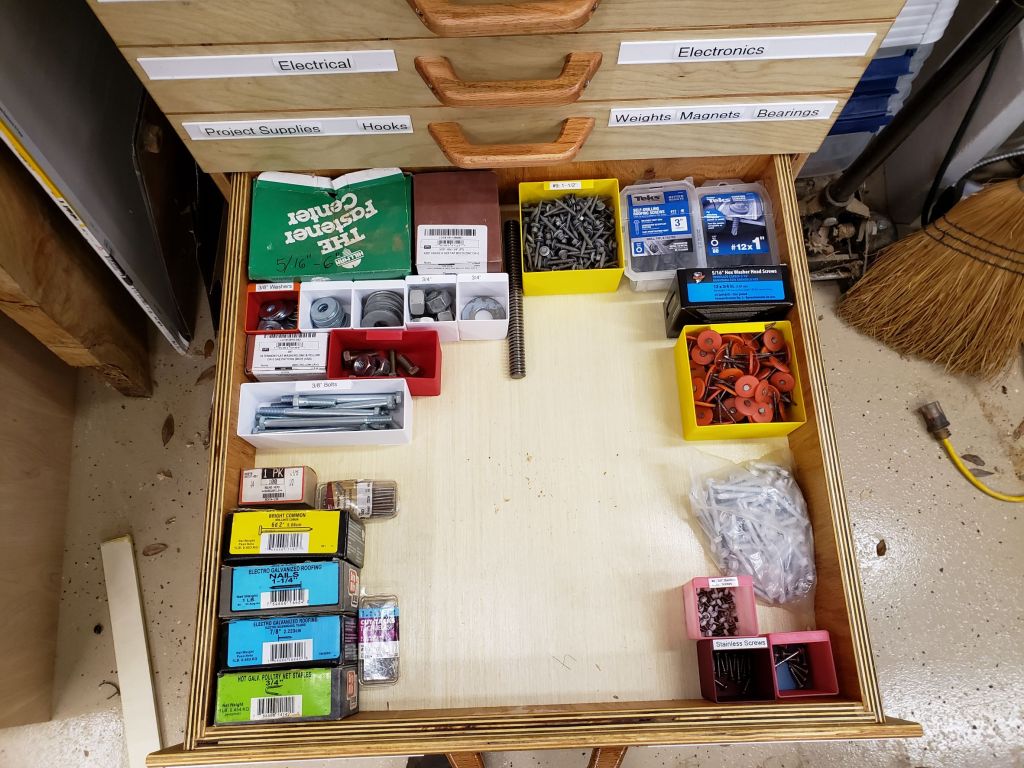
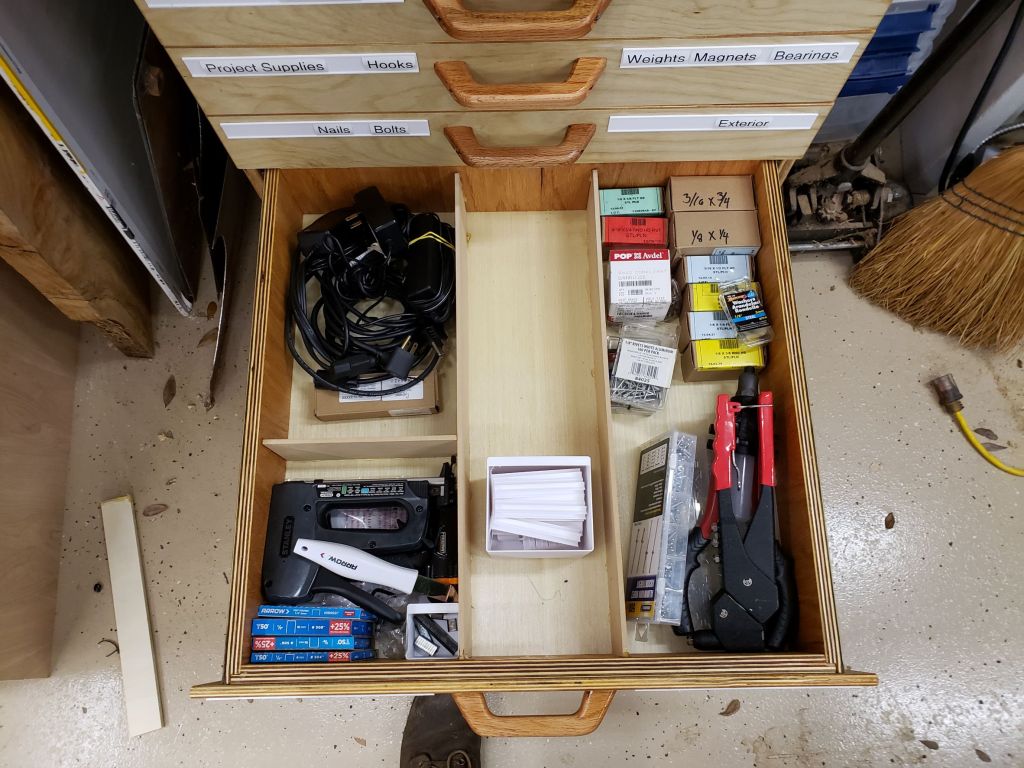
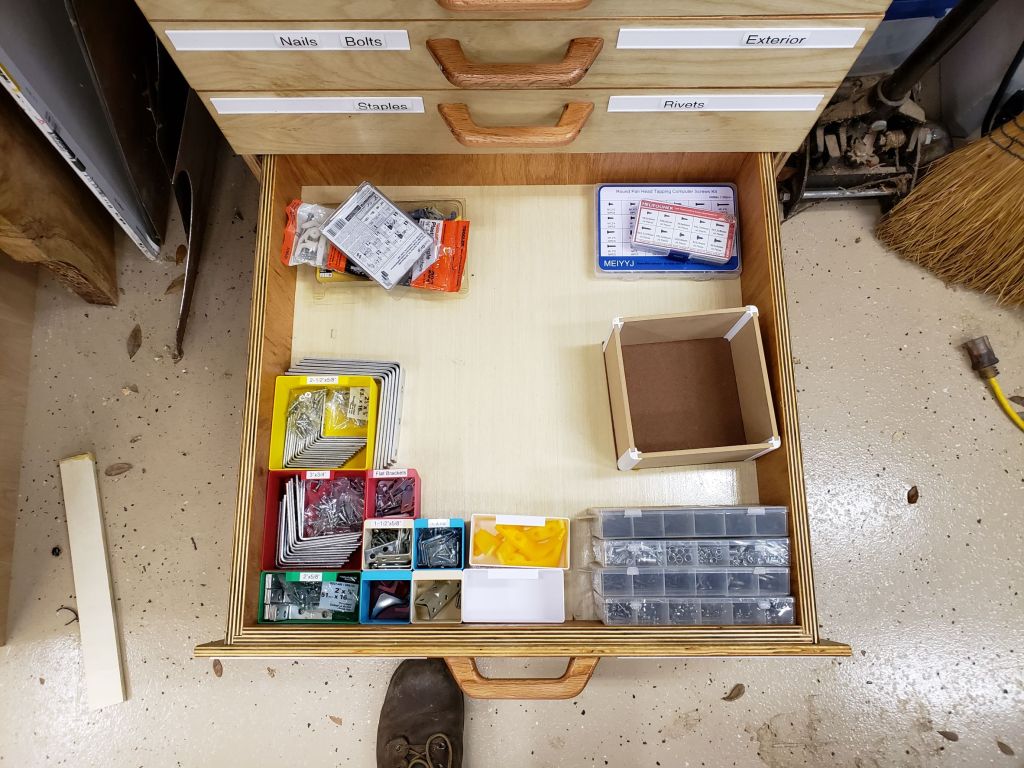
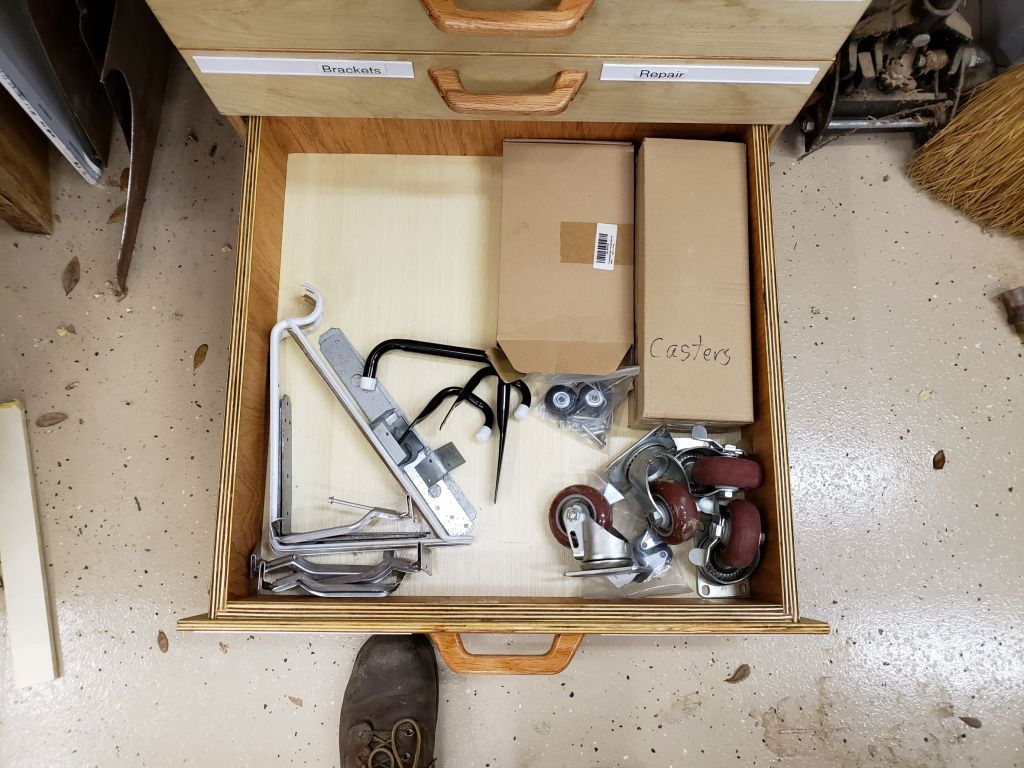
I spent days pulling things out of bins and drawers, organizing, cleaning up and throwing away junk. This isn’t the final configuration, but it is close. The shelves are a lot cleaner and I still have a lot of room left in this guy. It isn’t hoarding if you use labels!

The Quest For Bed Flatness

I take things too far sometimes. This is one of those cases. At work I frequently align things to microns and worry about nanometers. That followed me home a little. My new CNC mill is running, but has some odd issues. The bed isn’t very flat, and that means fine things like engraving can end up with issues.

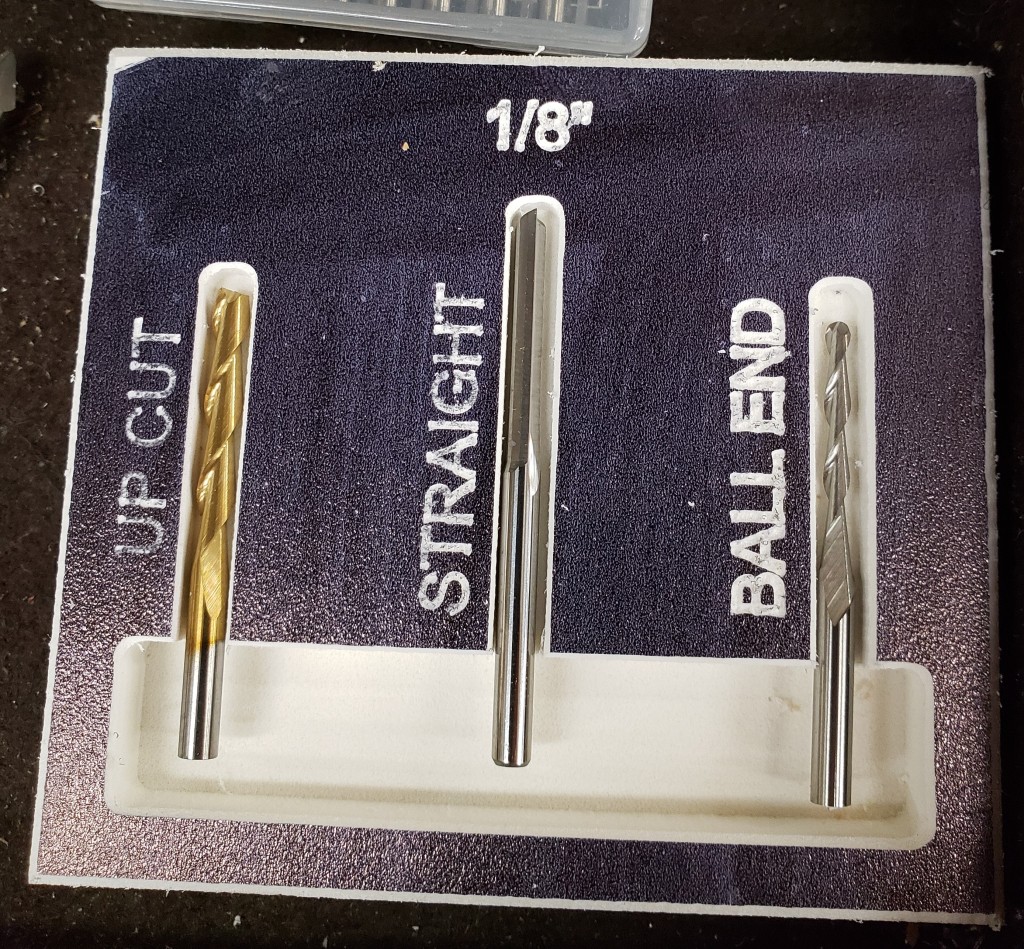
This is an early project I did. Storage for the mill. I engraved all the letters in one go, milled the pockets, did some chamfering and cut it all out. The “Up Cut” letters are barely there, while the “Ball End” is very bold. That isn’t by design. The bed is higher on the right and makes that part cut deeper.

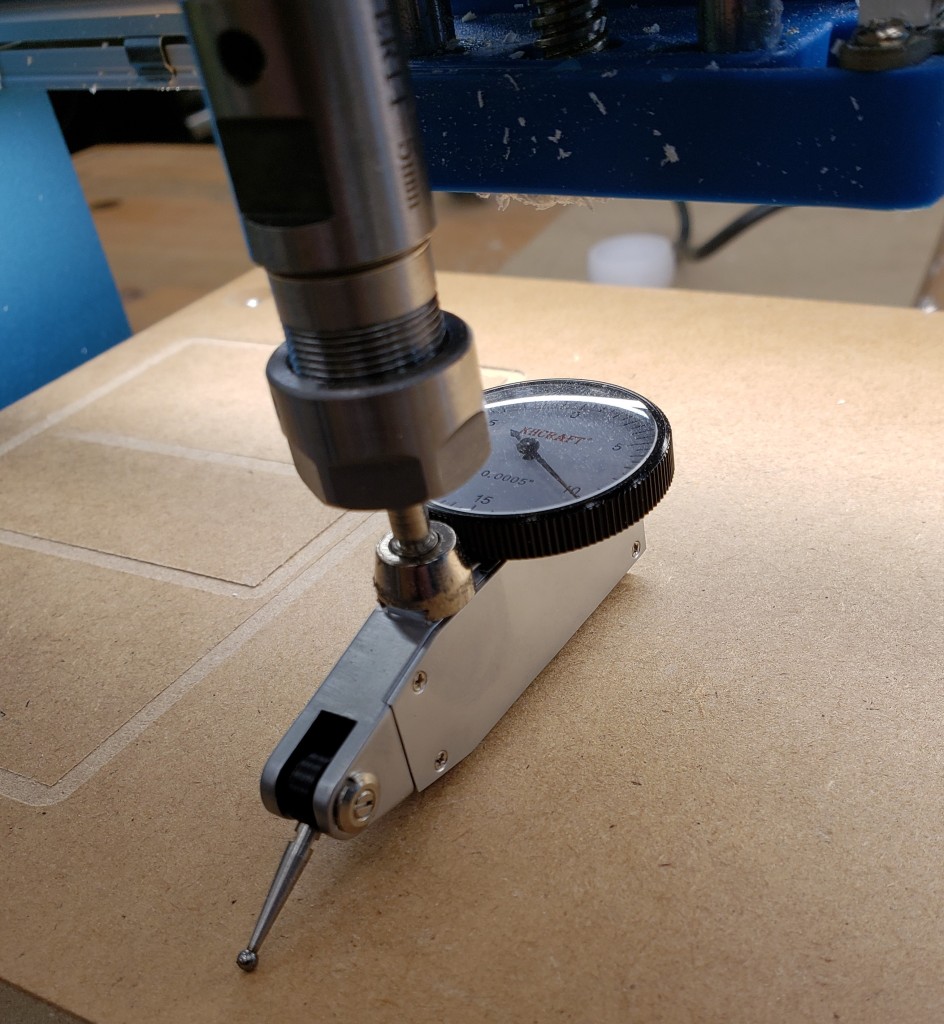
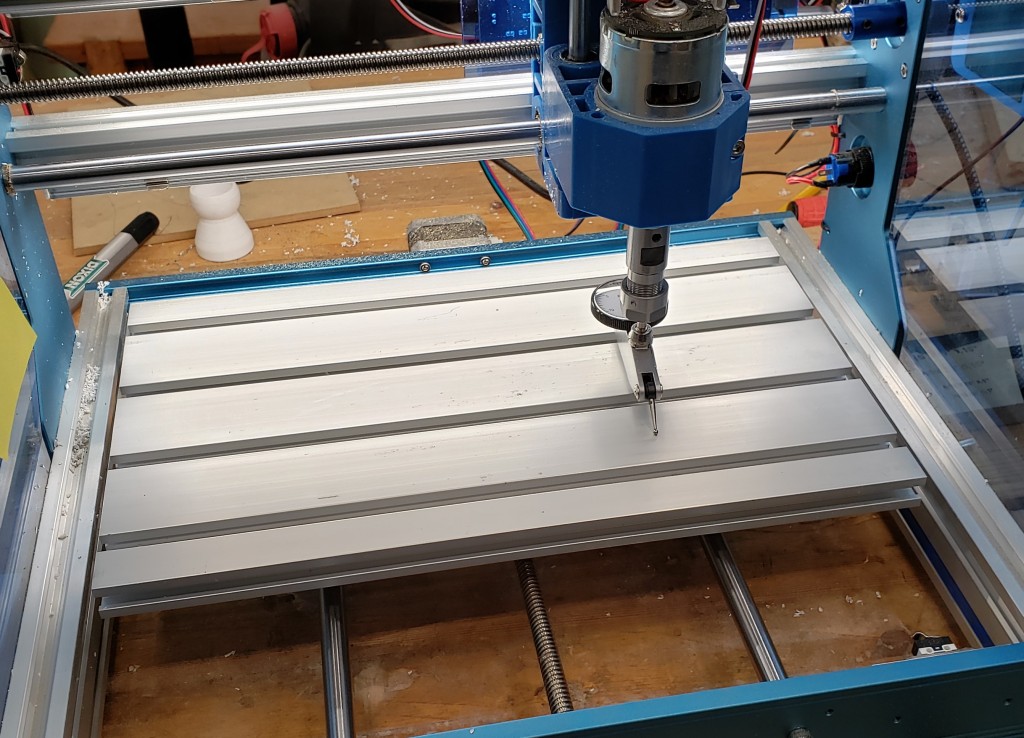
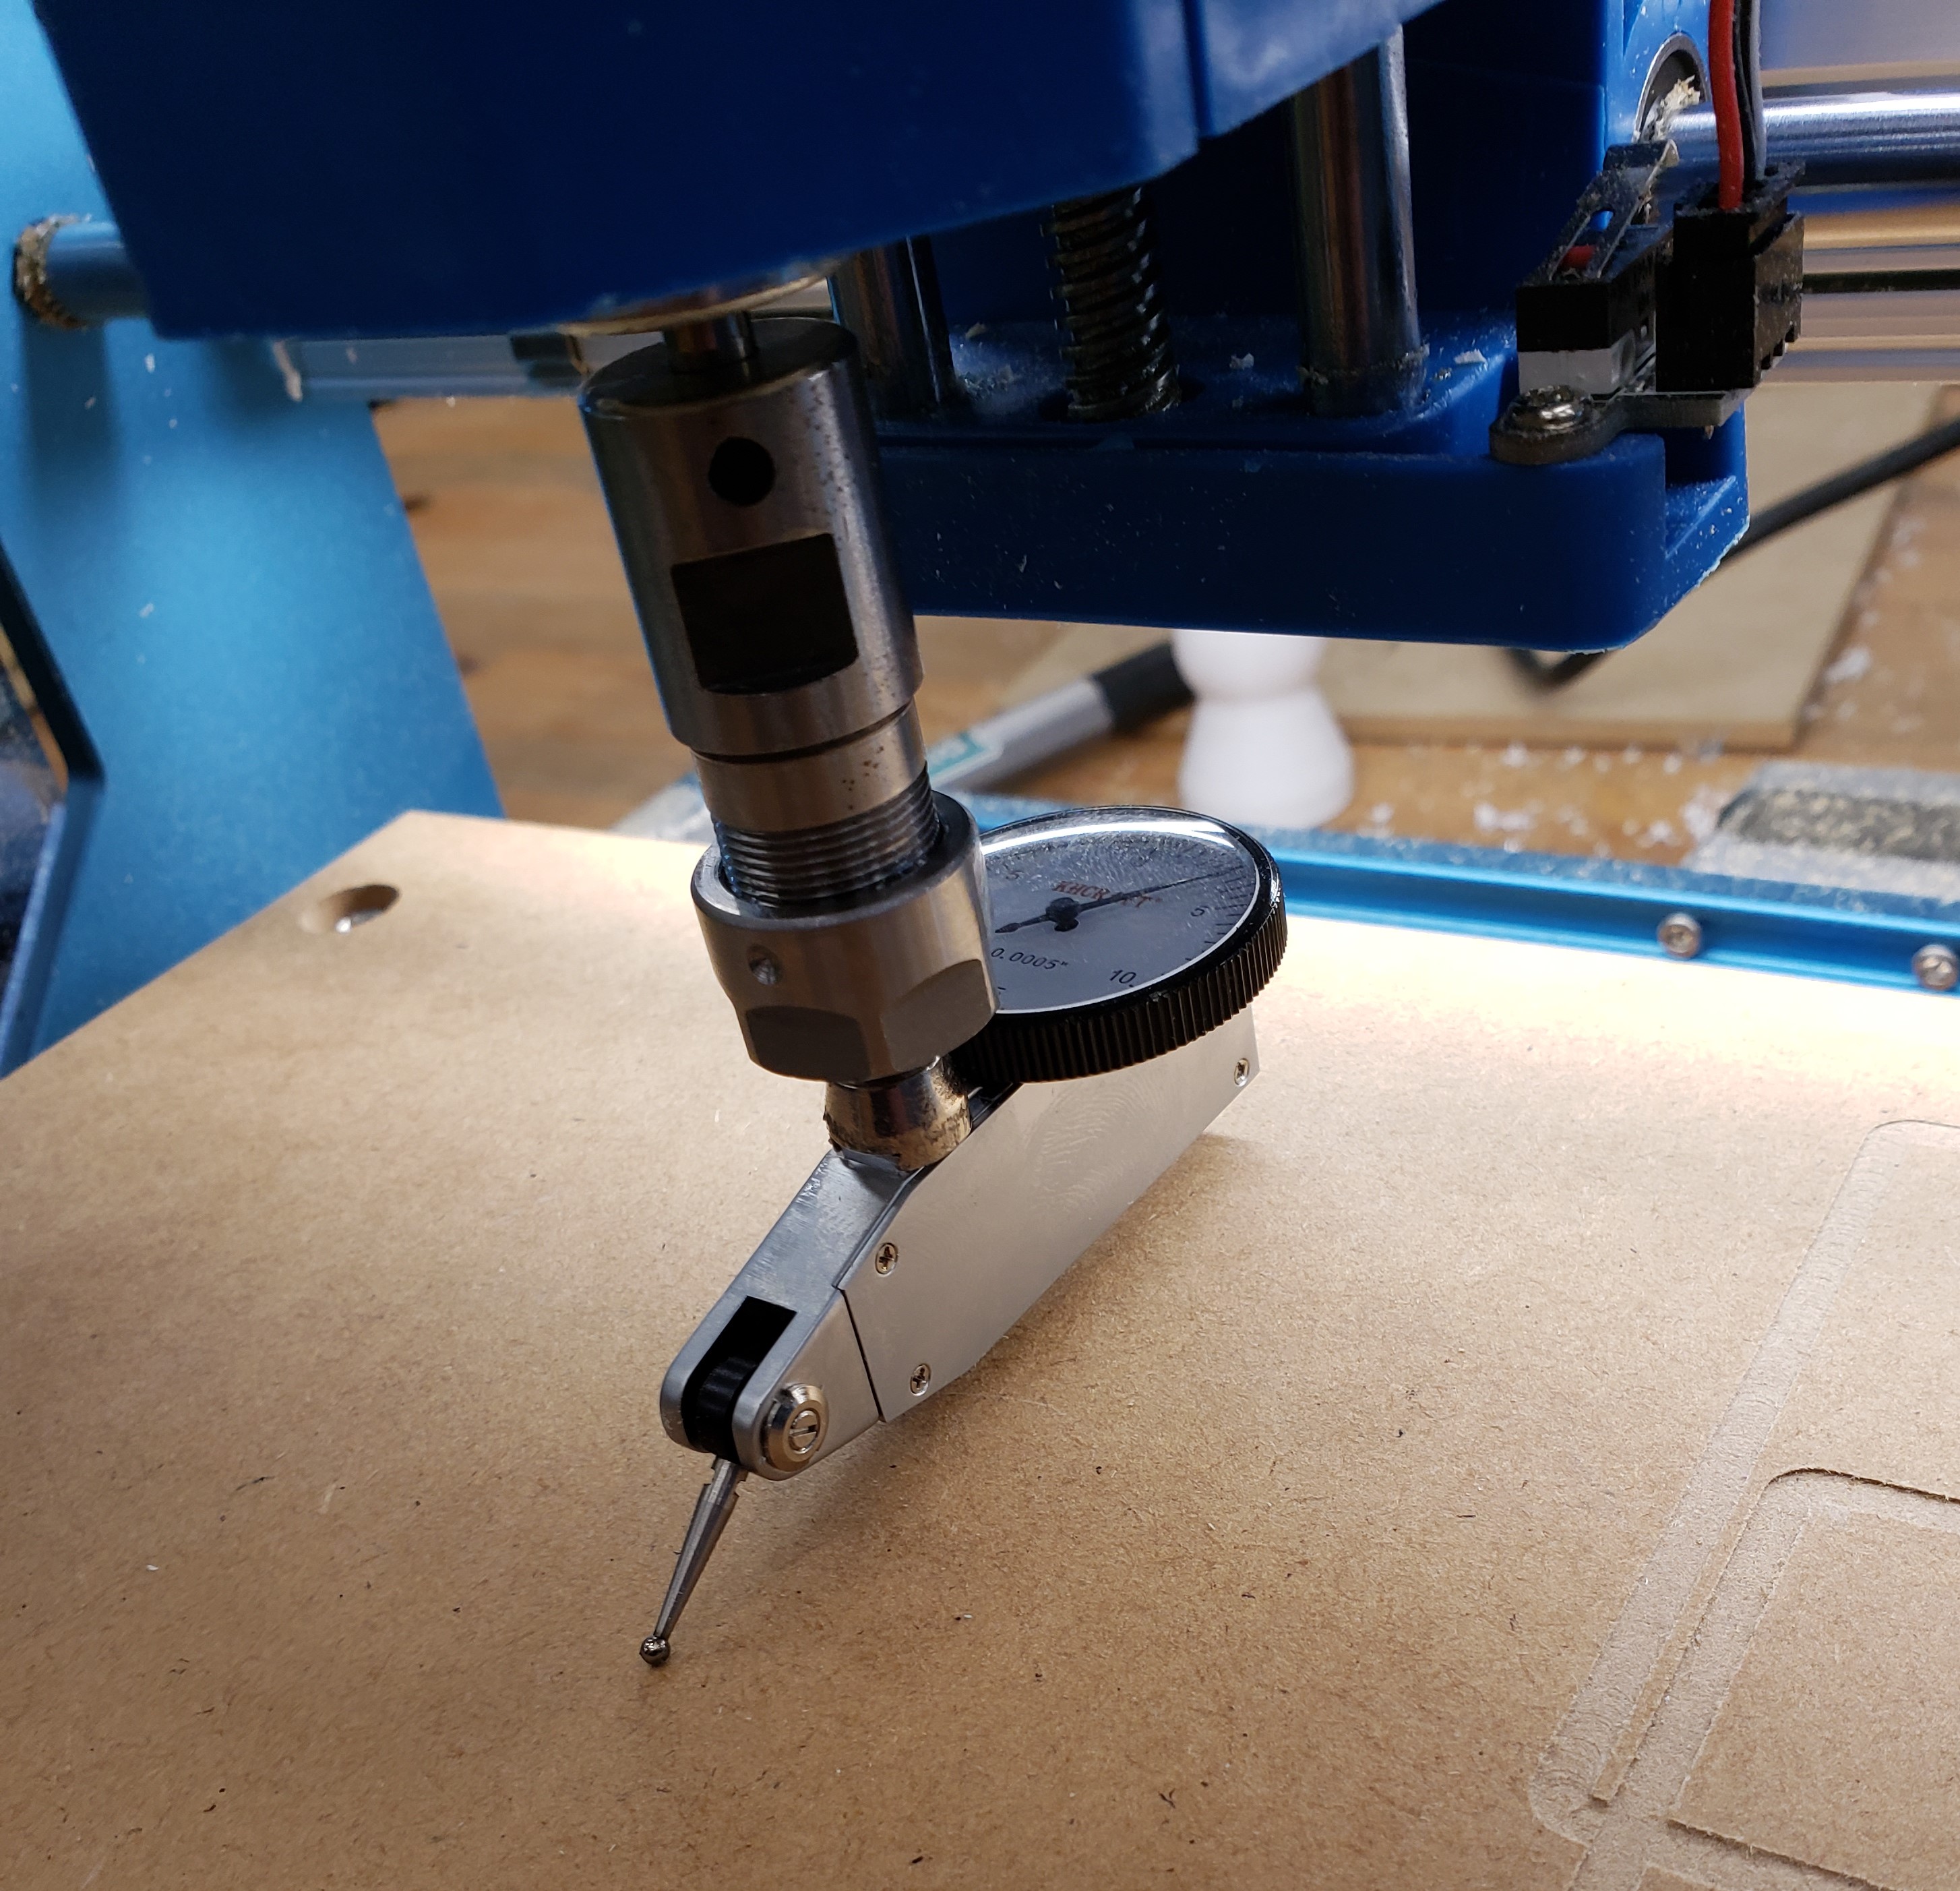
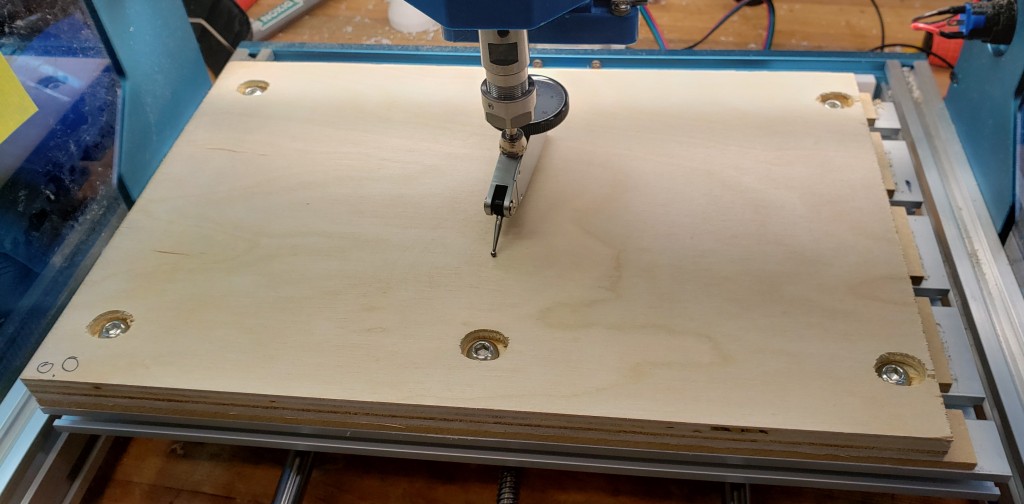
I bought a dial indicator just for this, and went to work measuring the issue. Holy cats was it bad. I didn’t have enough range to know for certain what I am dealing with. At least 0.04″ across the middle, but likely much more than that. Enough to sink or float an engraving tip right off the part.

I thought my spoil board was part of the issue, so I pulled it off and went about measuring the aluminum underneath. Actually there was a whole step in here where I printed shims and shimmed up the bearing blocks trying to flatten it out. I’ll leave that stuff out, the aluminum bed is nowhere near flat.

Ok, no problem. The aluminum bed is wavy, I’ll just fix that. I got a bed flattening bit and set it up to go really slowly over the bed and nibble away until I pulled out the high spots.

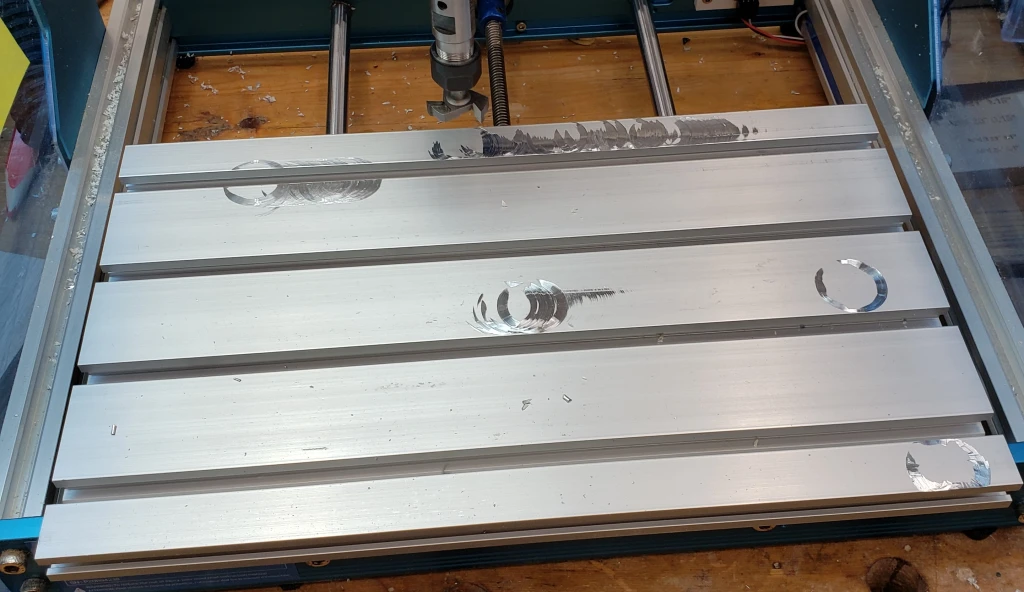
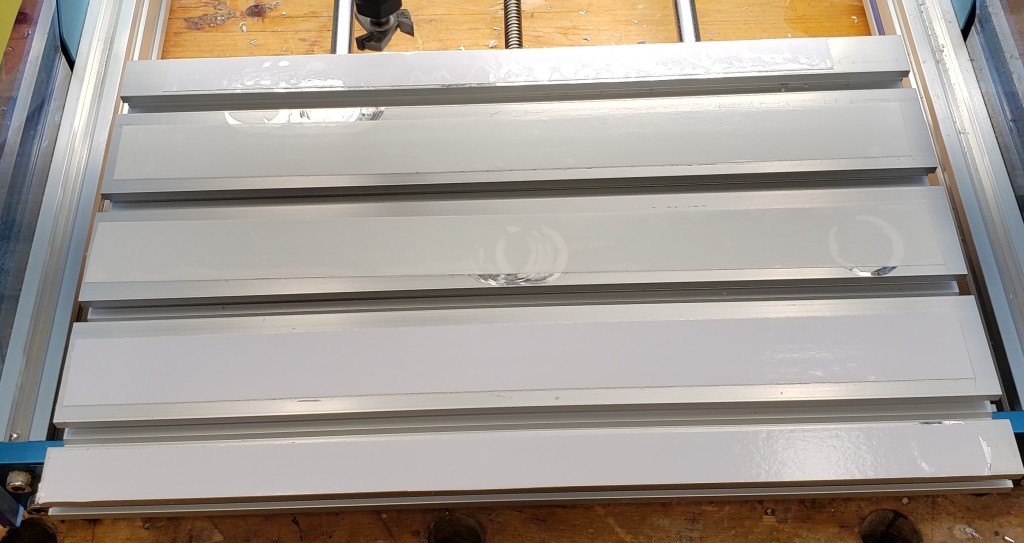
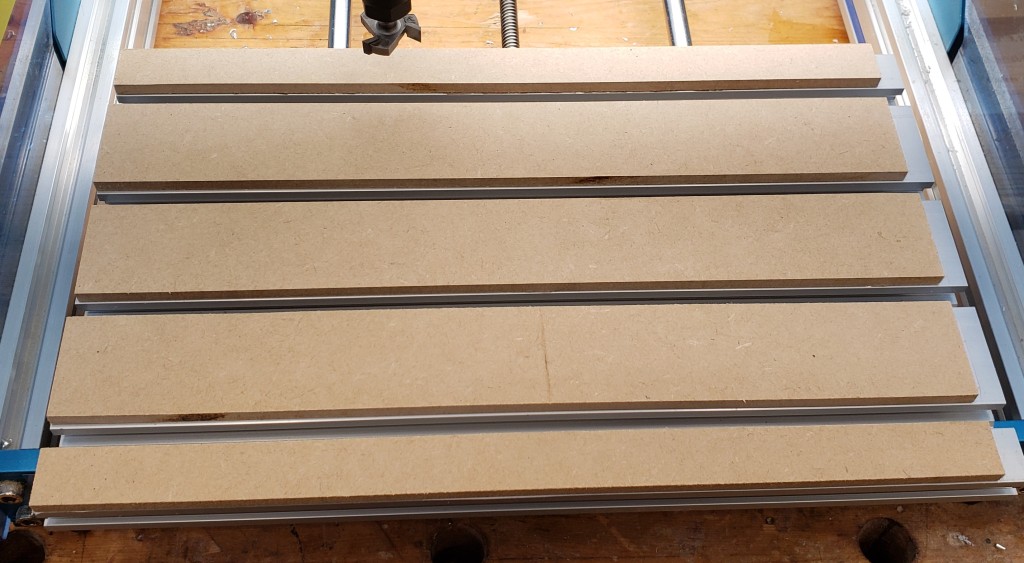
Not great. This little router isn’t stiff and can’t handle aluminum. It grabbed, hopped around like a mad hornet, and the spindle slipped up. After a few fouled attempts I gave up and tried a new tact. I have seen other hobby cnc routers use an aluminum bed with MDF inserts. I put down double sticky tape on all the extrusion parts, then stuck down 1/4″ MDF.

Double sticky tape
1/4″ MDF

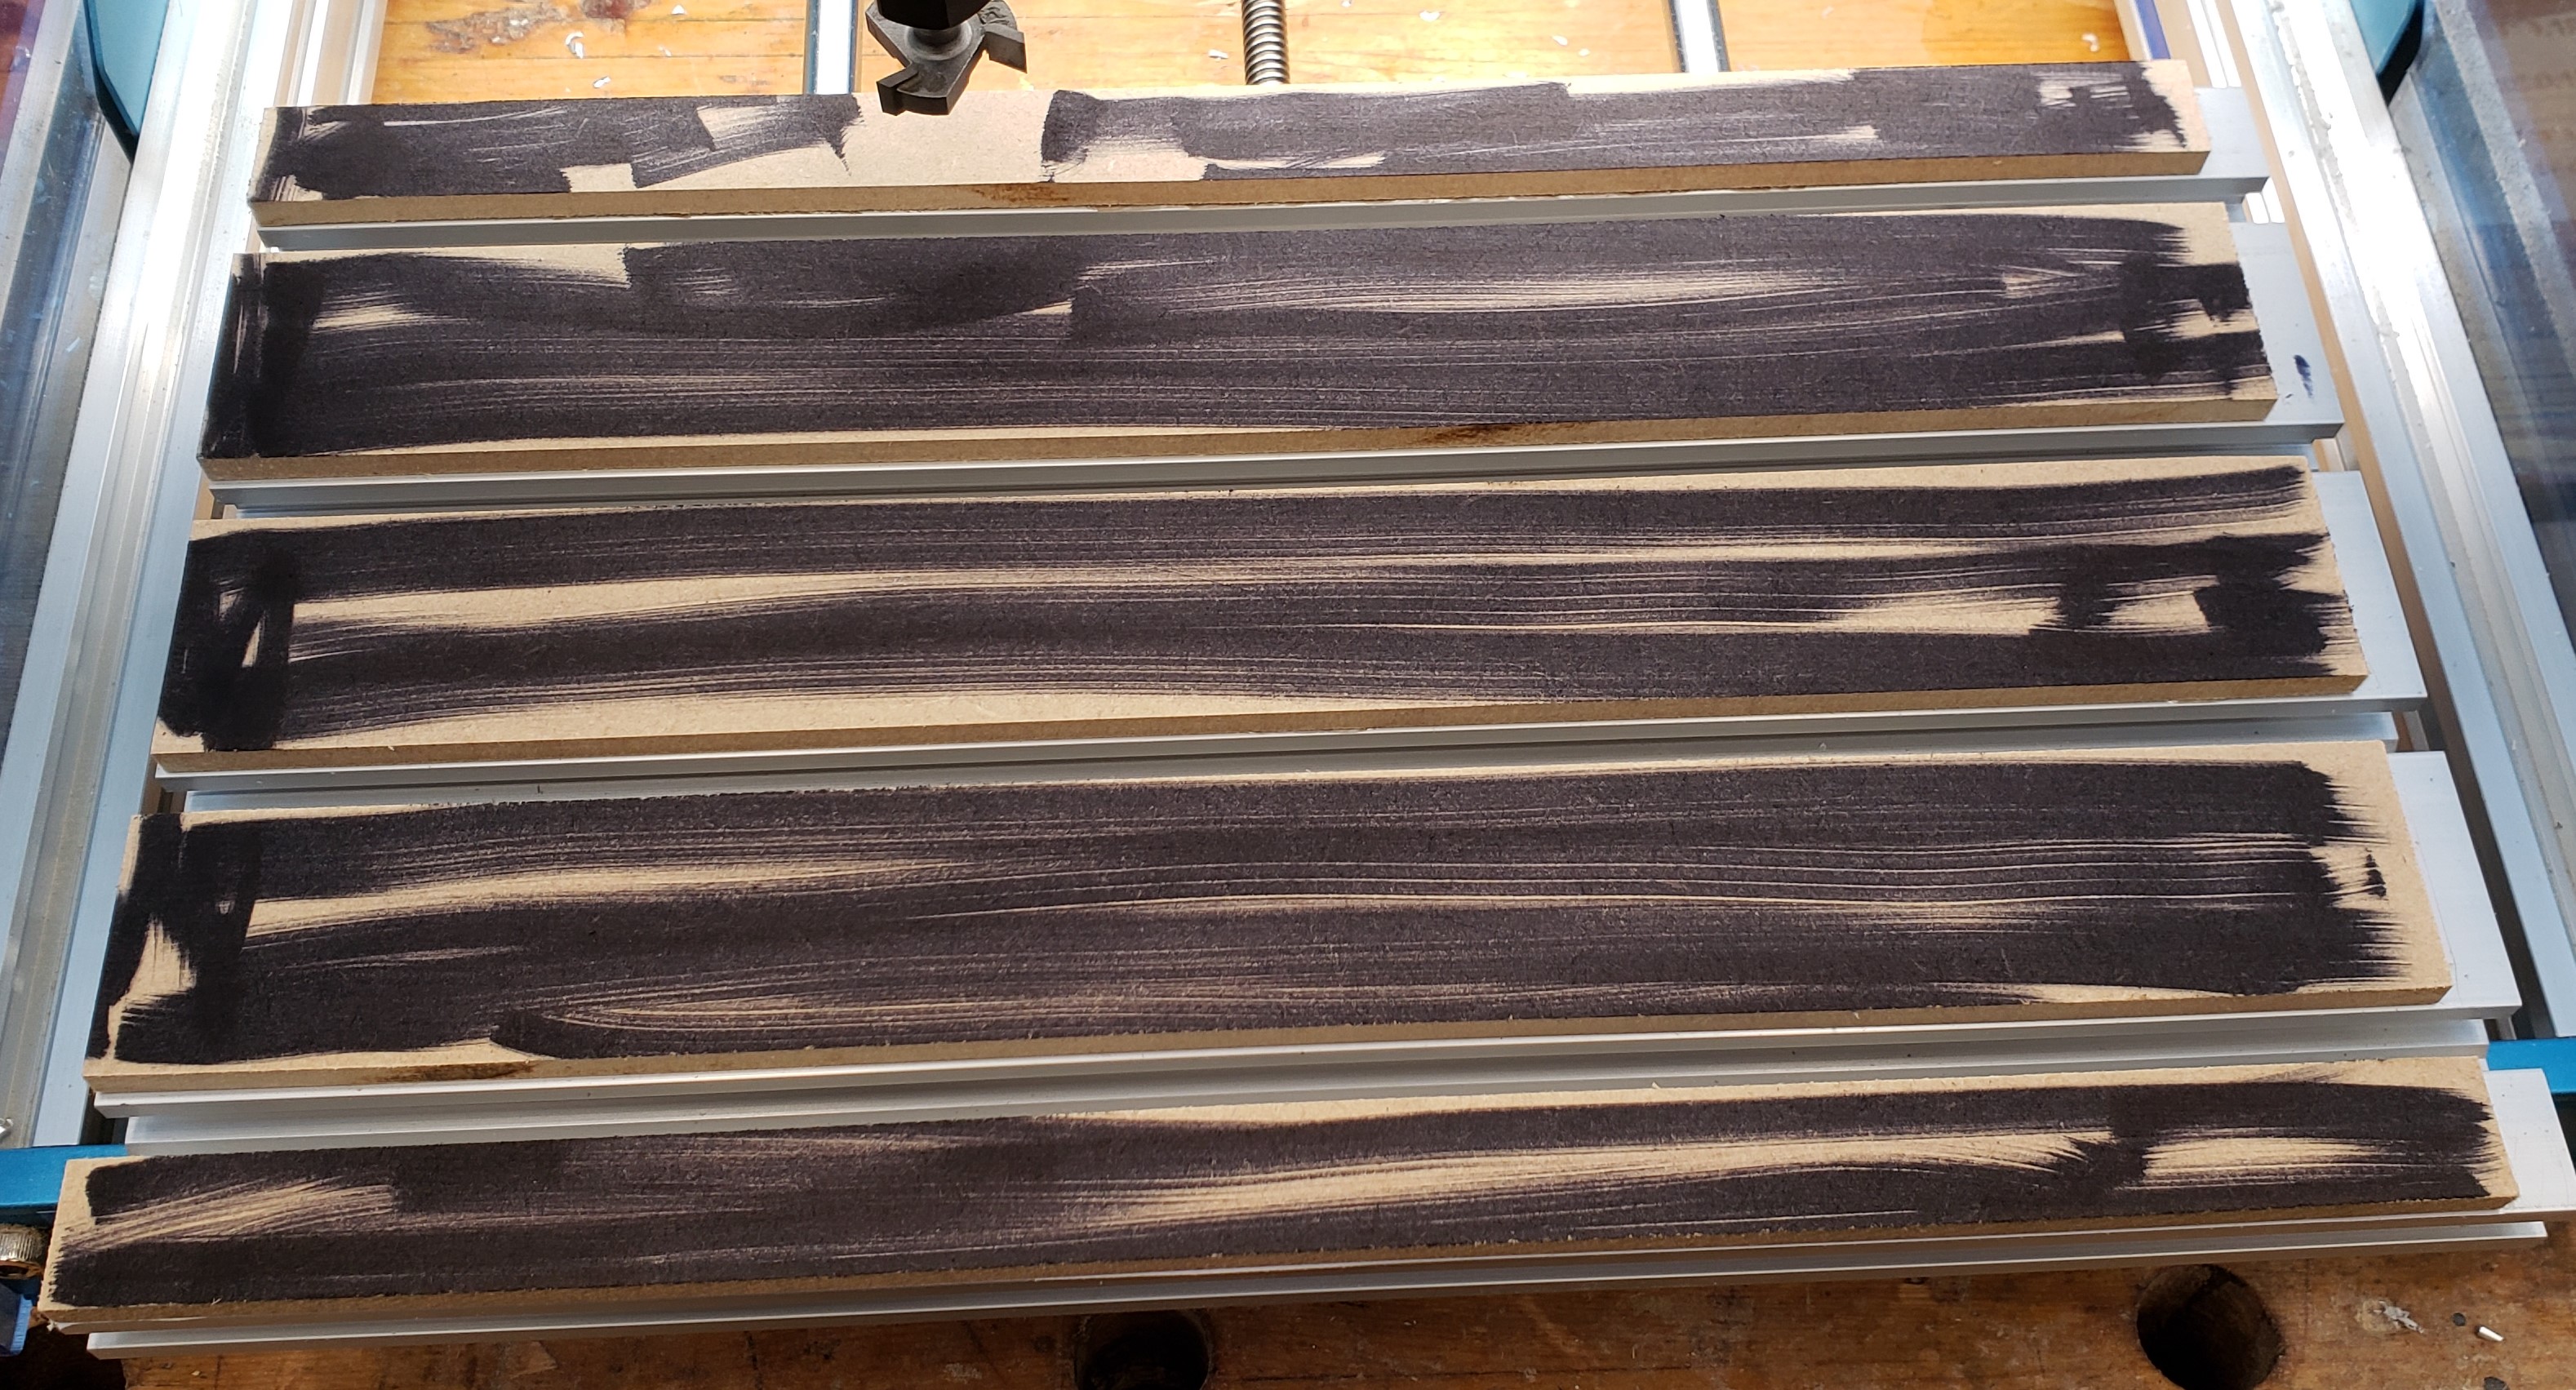
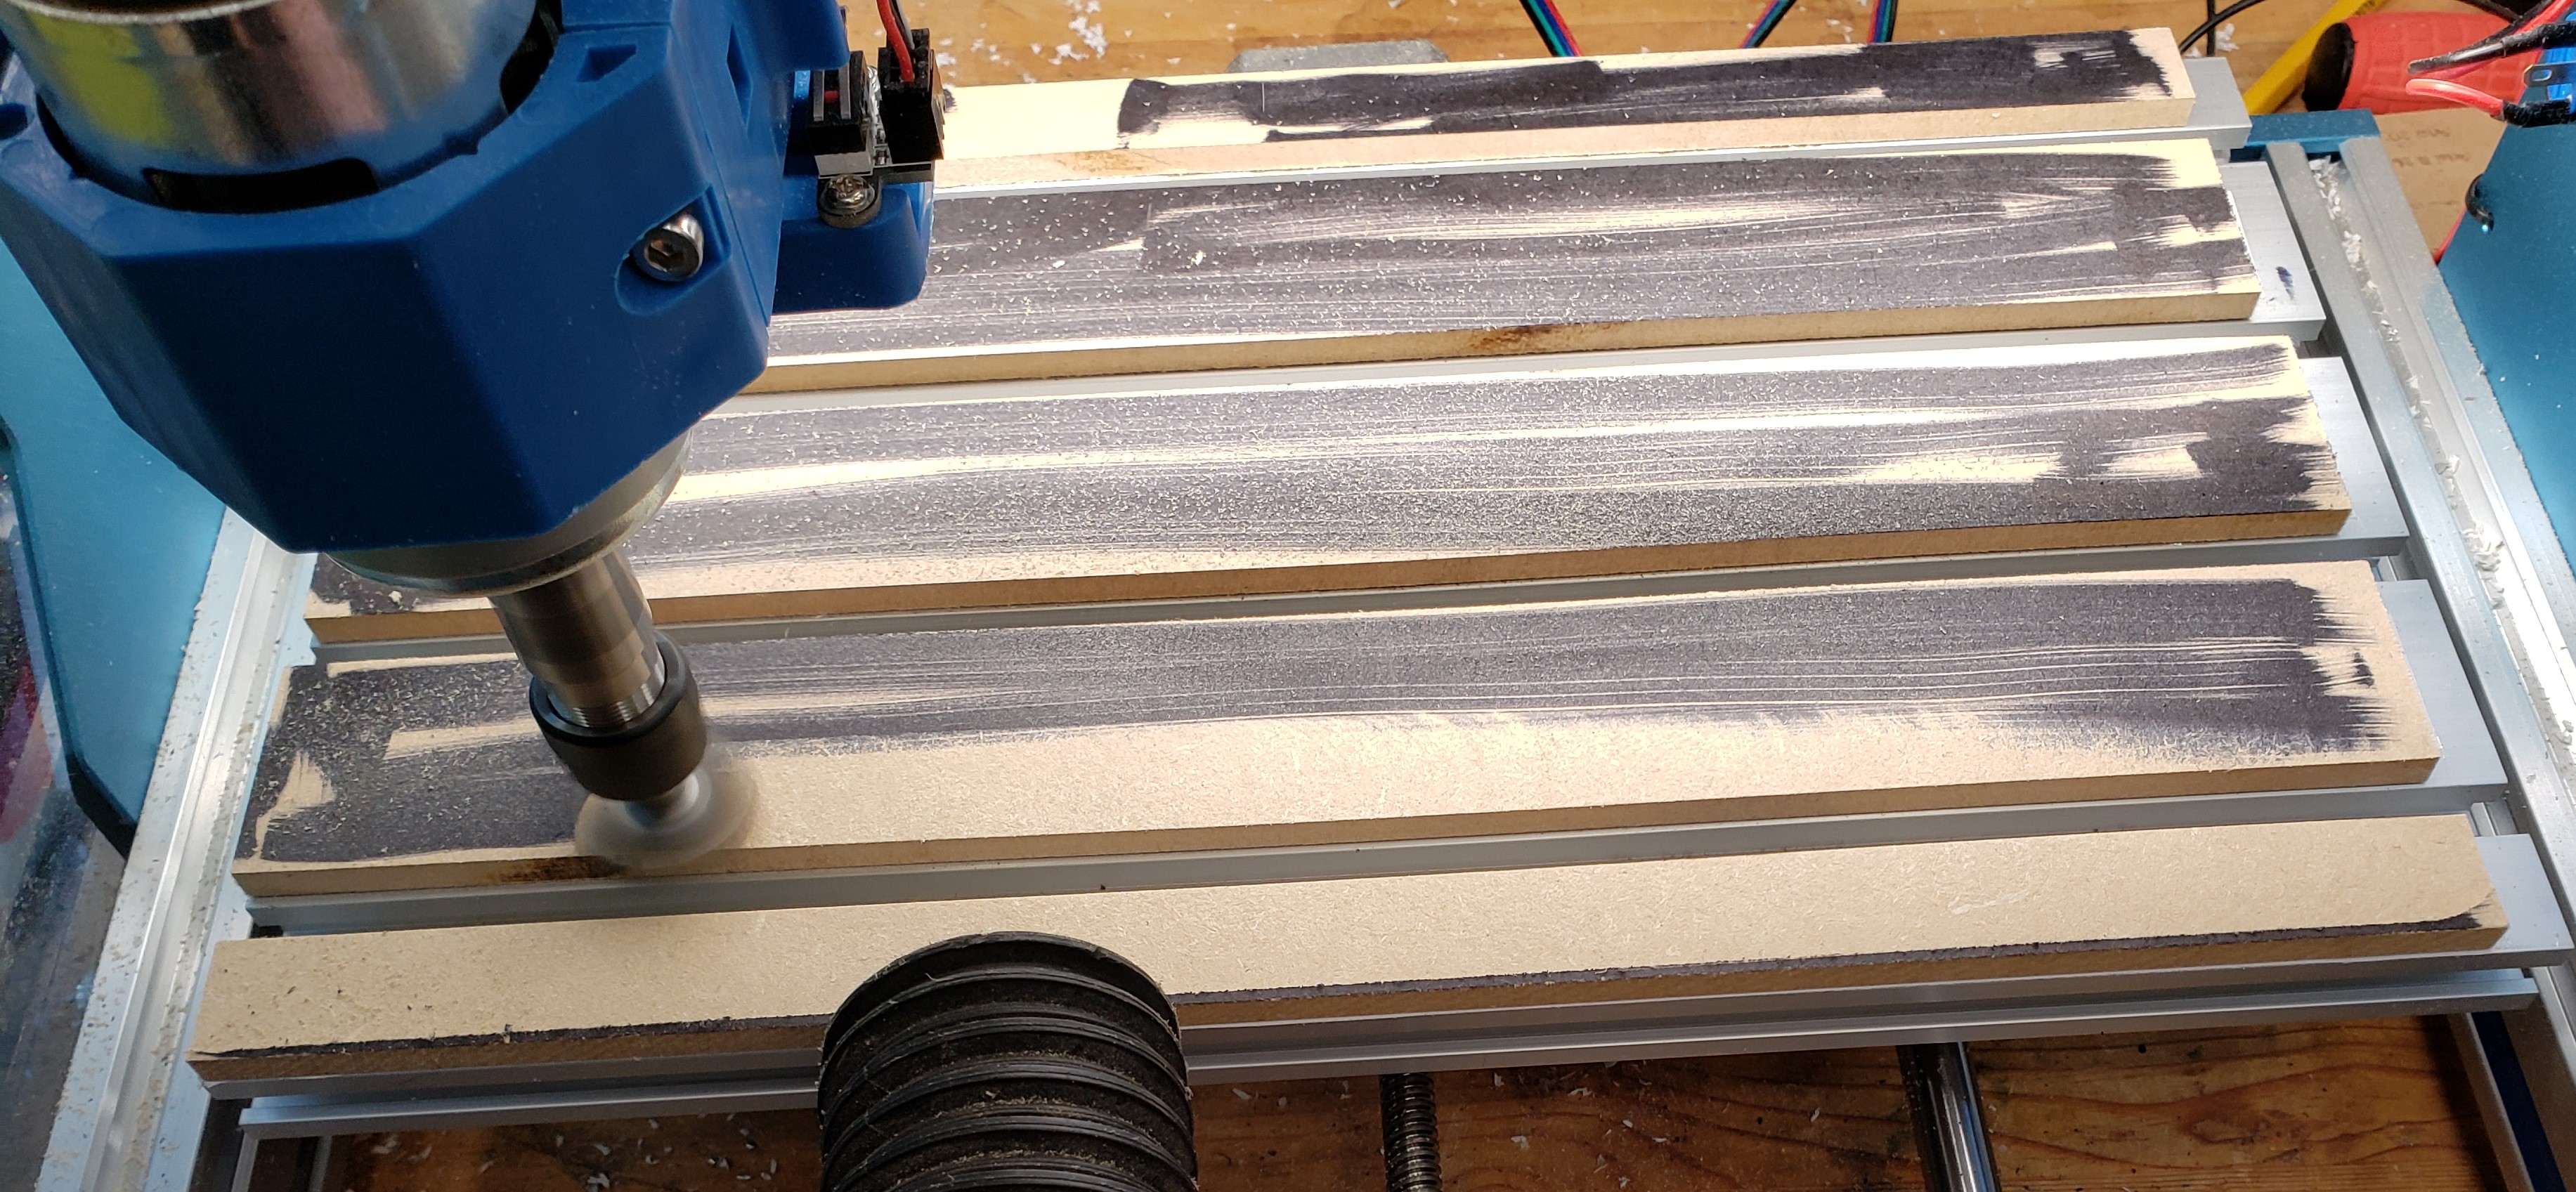
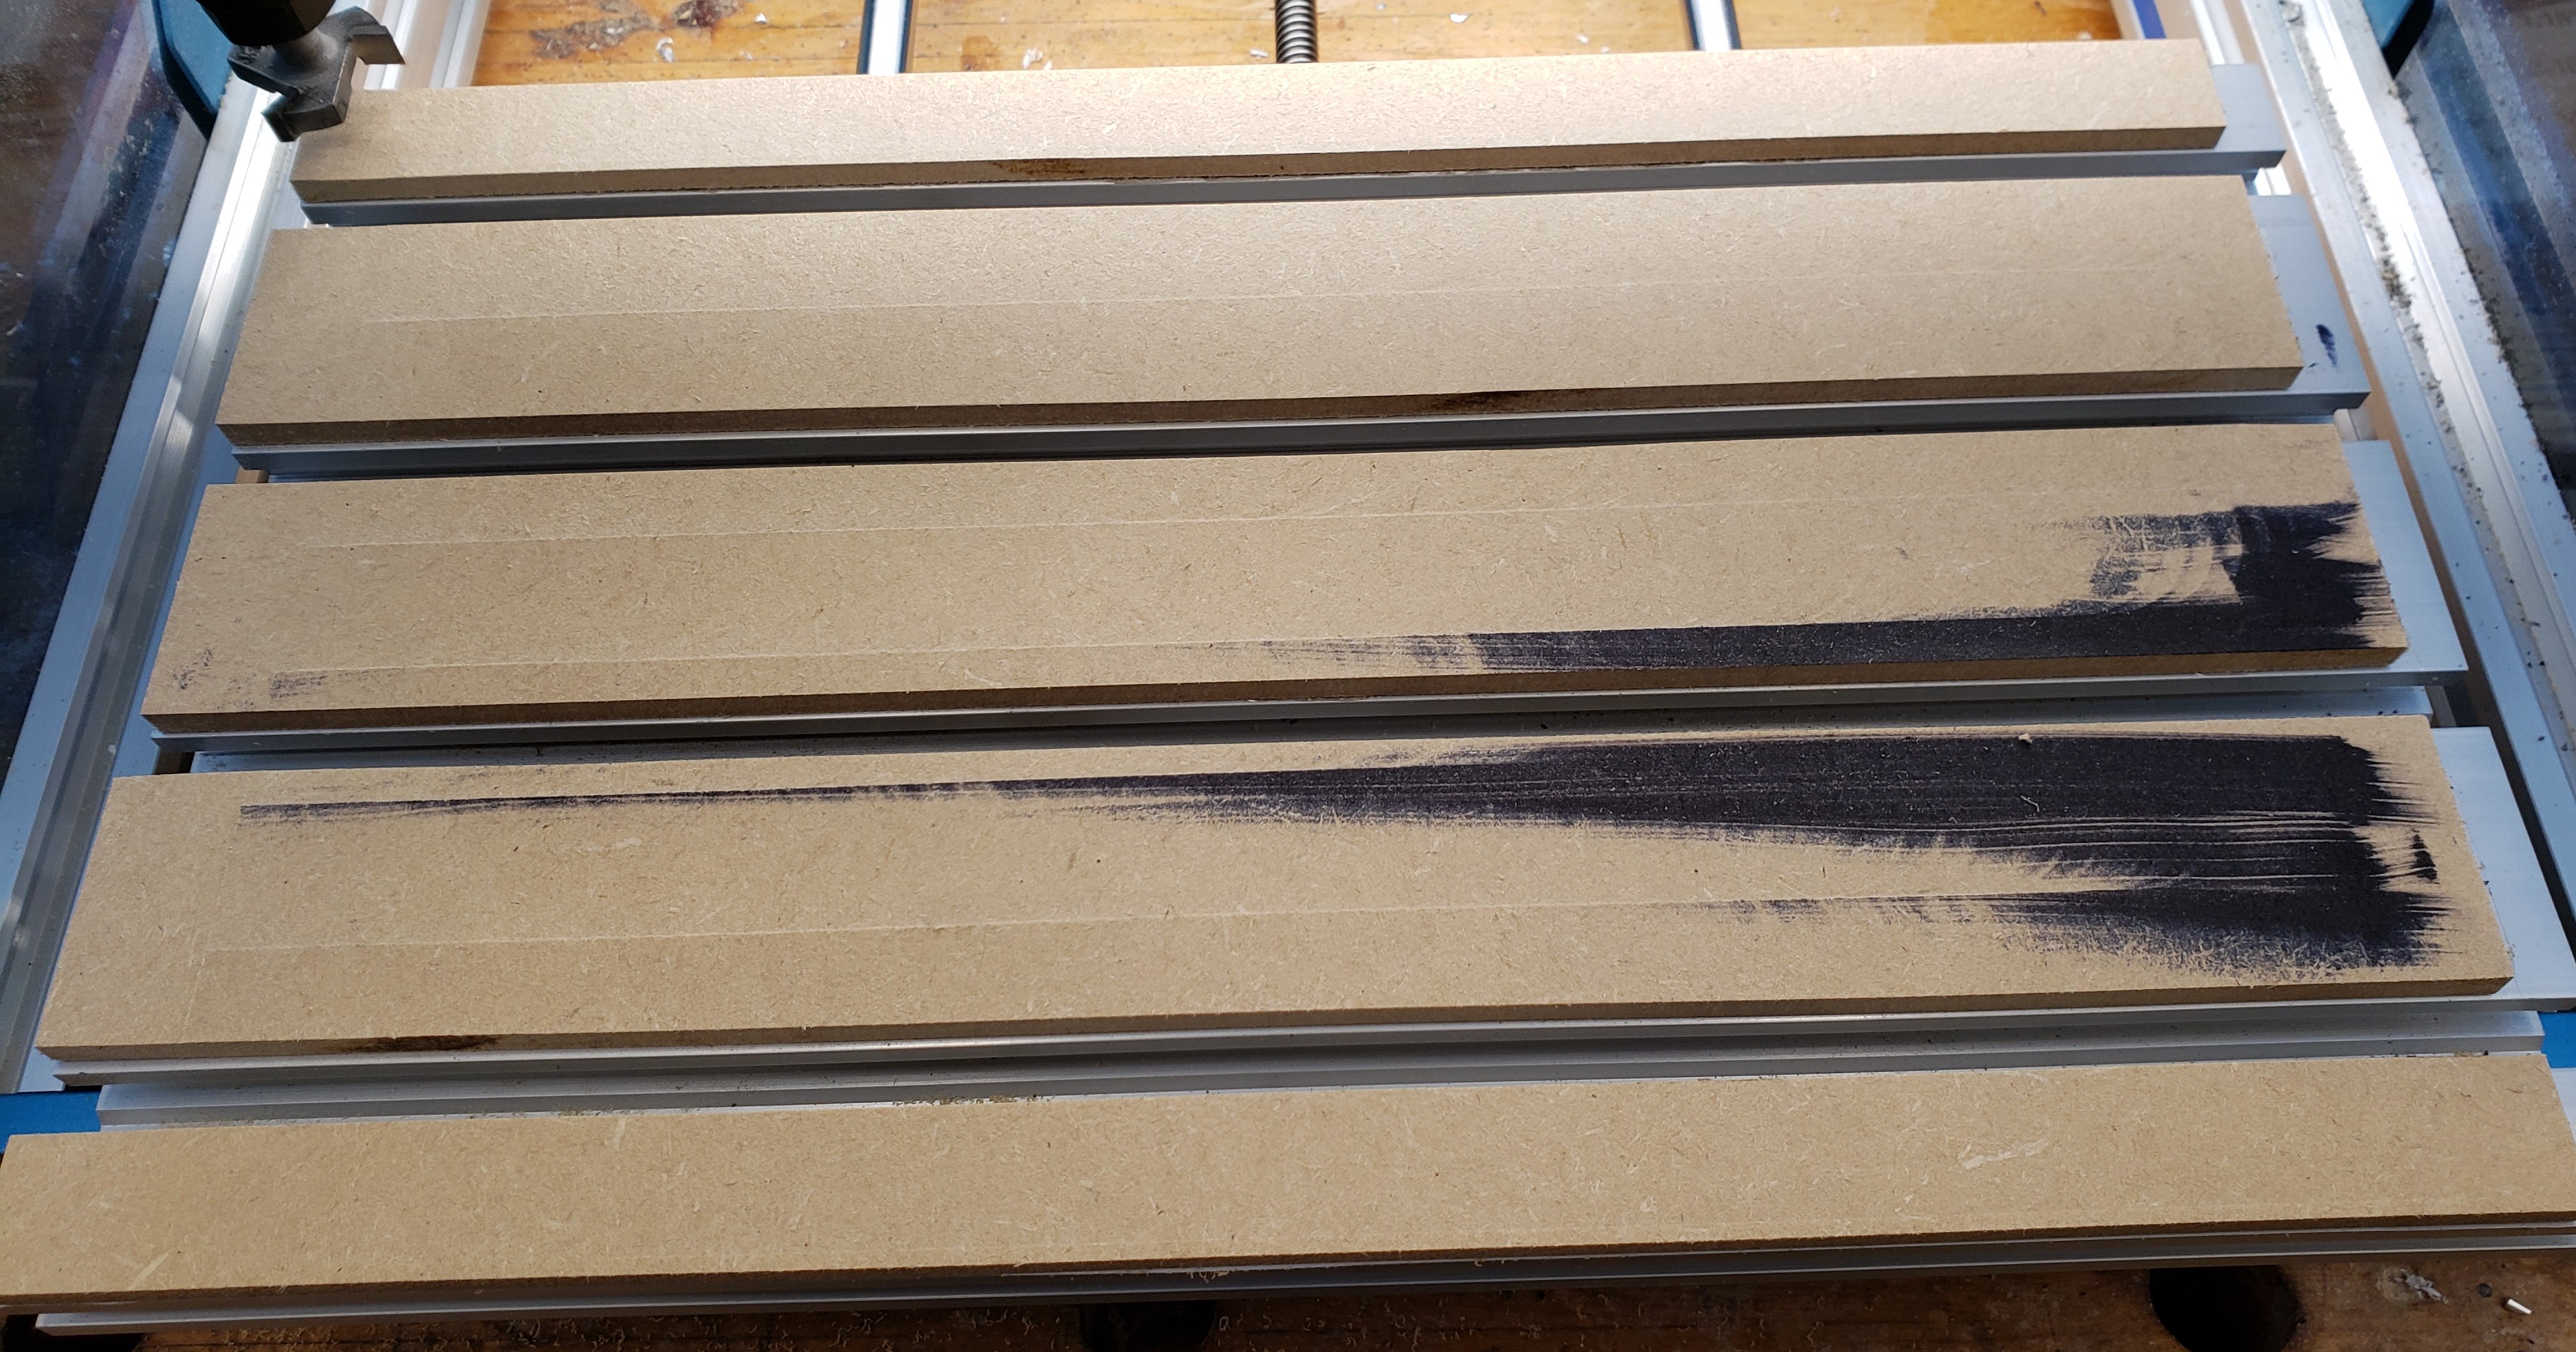
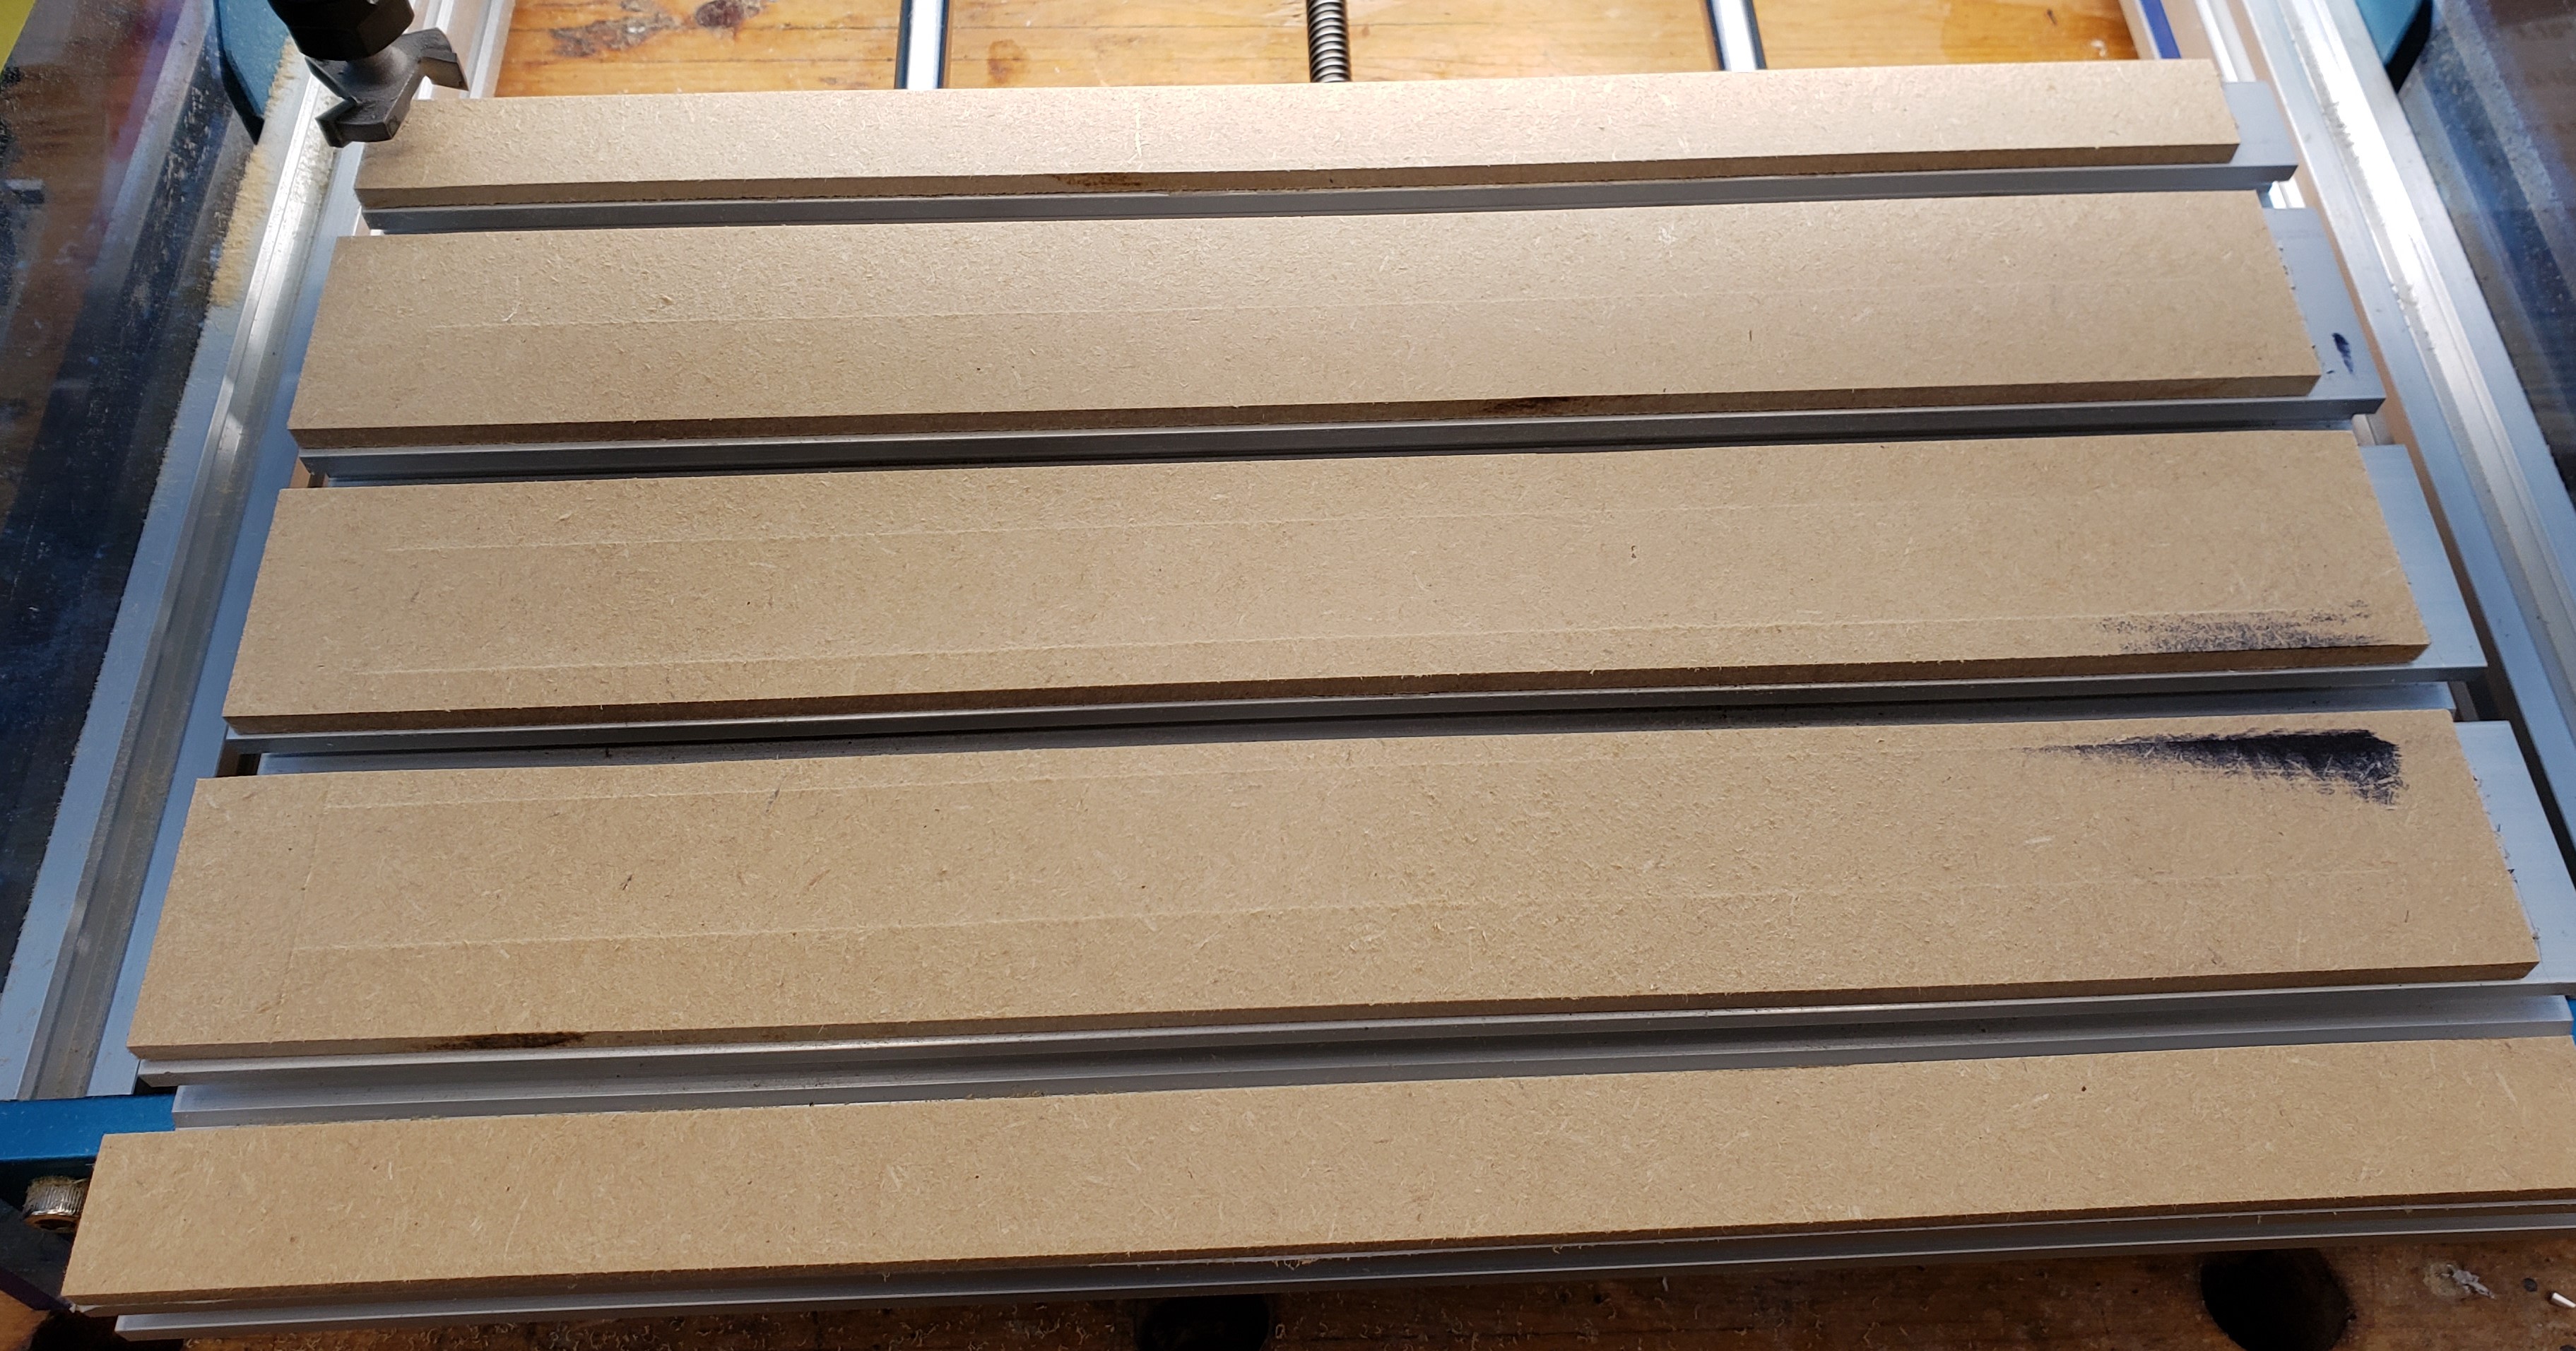
I rubbed down some thick sharpie to help me visualize where the bit touched, and where I still had a low spot. I did a 0.02″ first pass and it showed a low spot still in the lower right. Another round cleaned it all up. I had another issue though, there were ridges every time the router bit went past.

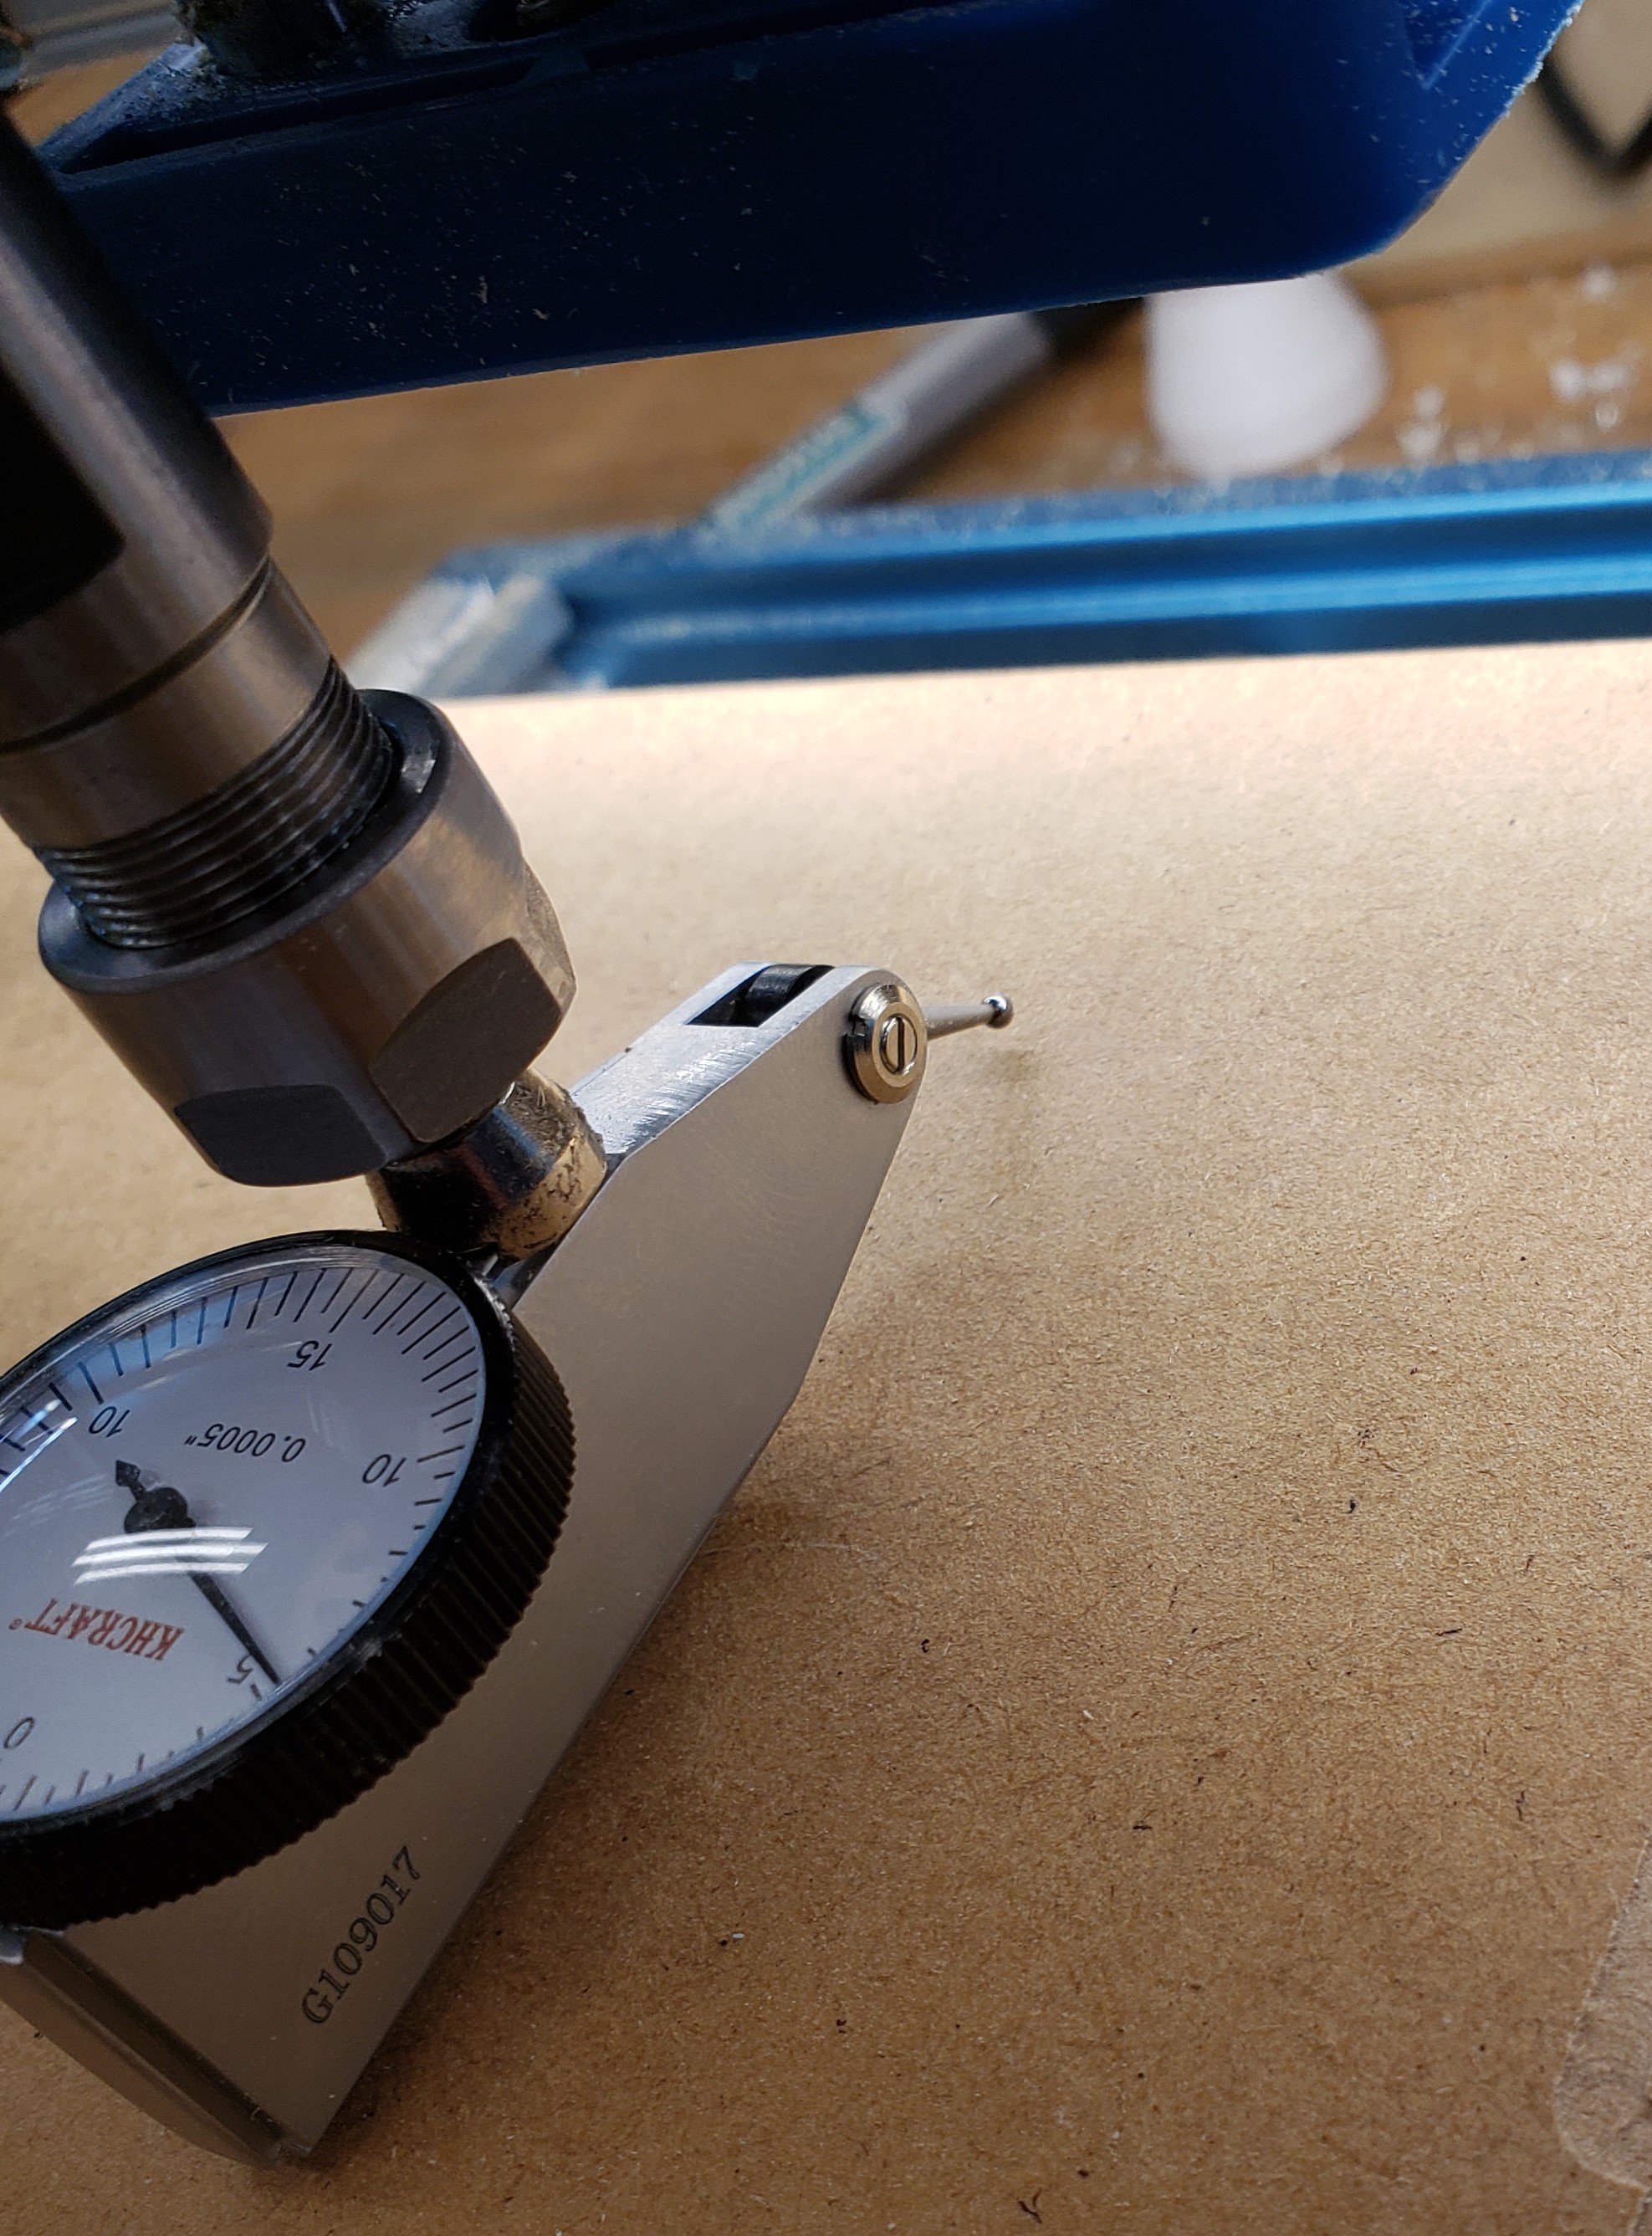
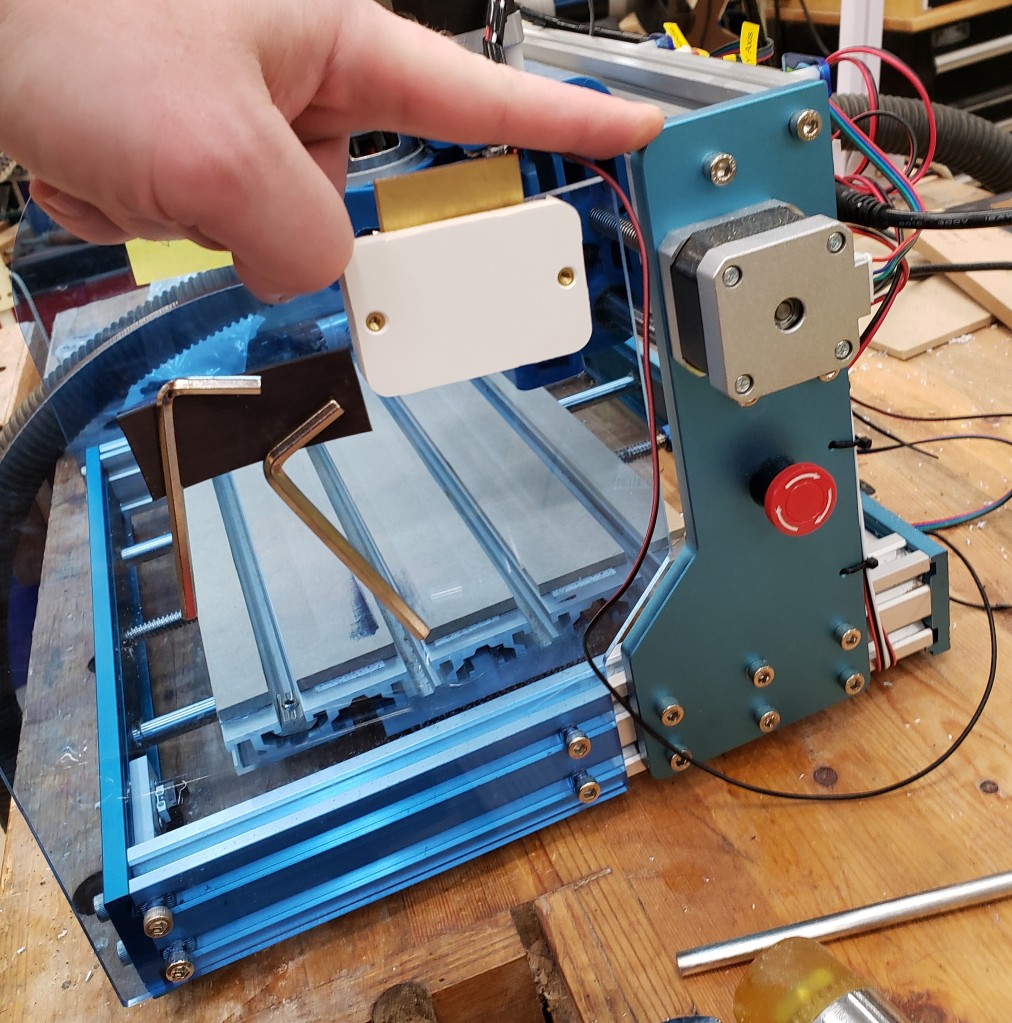
I put down the waste board again and installed my indicator to make some measurements. Much flatter now, but those ridges kept bothering me. Every pass left a ridge in the previous pass’ overlap. I spun the indicator around. It was touching in the front, but way up in the air when spun around to the back. That means my Z axis isn’t perpendicular to the bed. It is tilted forward.

To fix this issue I need to loosen all the bolts that hold the X and Z stage down, tilt it towards square, then re-tighten. It took a few tries, but I got it.

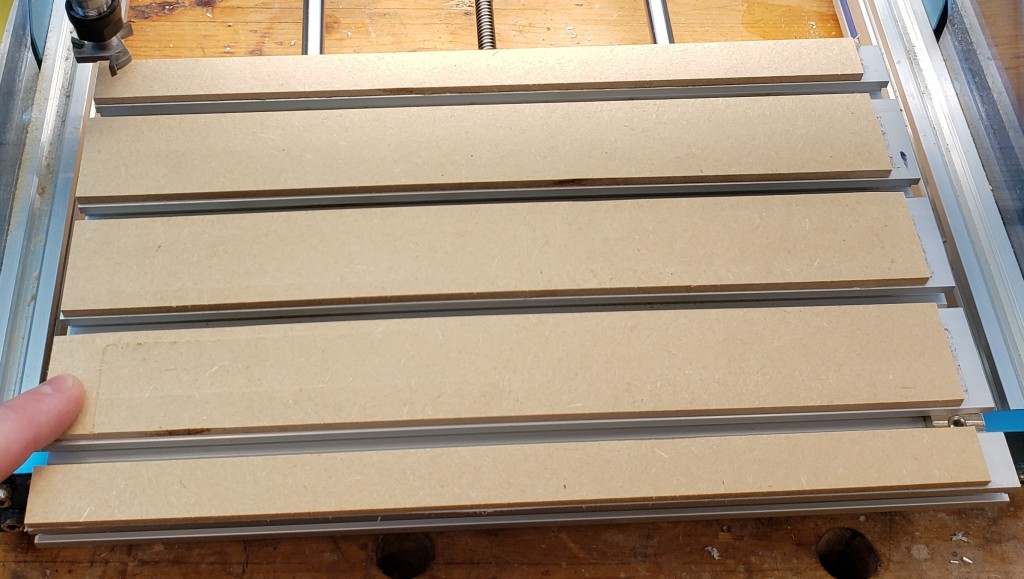
I redid the bed flattening and this time no more ridges. I got it squareish! A little bit of the mdf lifted on the left where my finger is, but otherwise my dial indicator read pretty flat across the board. I installed the wasteboard again and got a hump in the center. I think bolting it only on the corners is causing a hump in the middle.

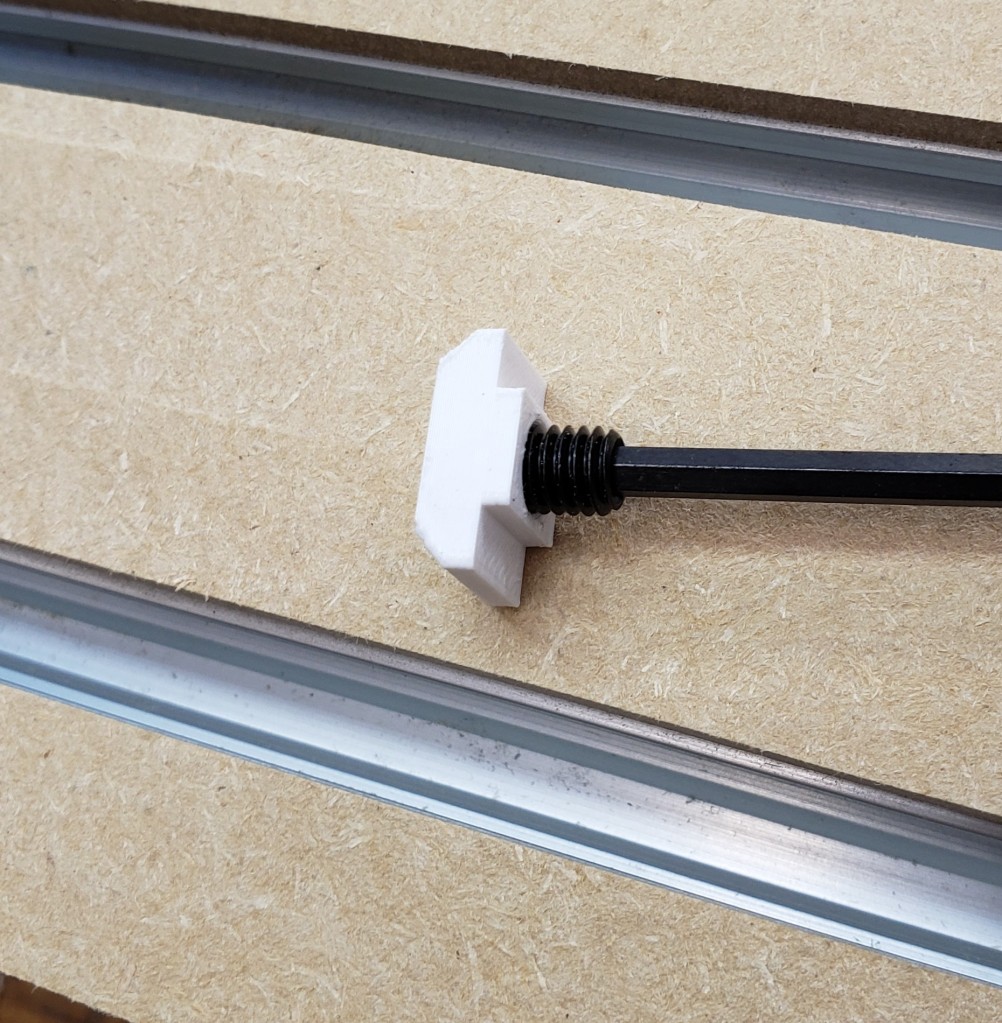
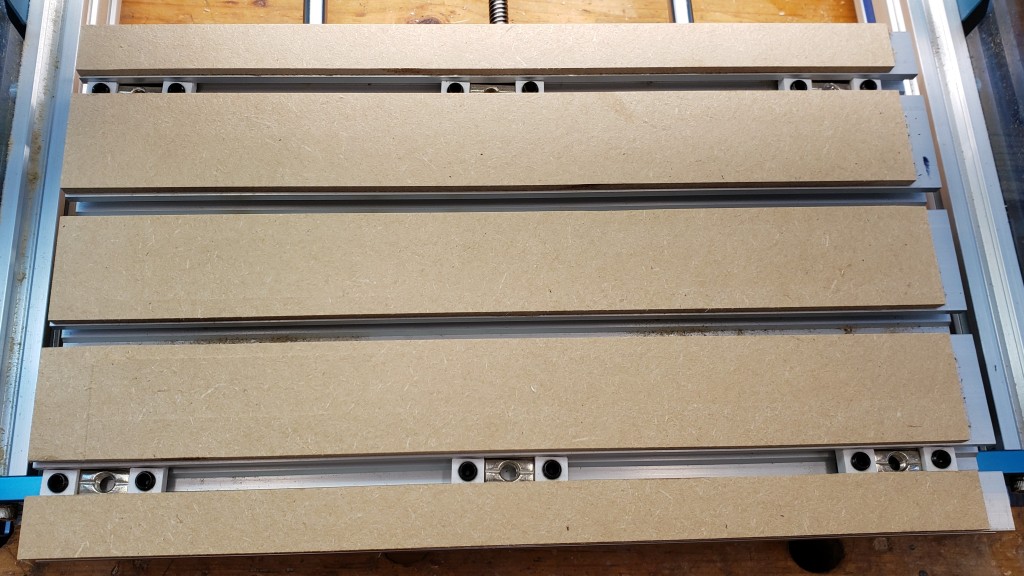
To remedy this I need 6 hold down screws. That is tough though. Getting that center t-nut in and aligned can be tricky. To capture them, I 3D printed small plastic t-nuts to accept M6 set screws. Those will act as holders to capture the main bed t-nuts. I measured the locations, and can mill all the needed countersinks from the home position.

3D printed t-nut
Bed with captured t-nuts

Finally, I wrote a program to cut the counter bores for my new bed, pulled out a fresh piece of 1/2″ plywood, and milled away. Once installed I broke out the indicator again and measured around 0.005″ of flatness error. Not bad considering there is plywood involved. Finally, I can rest. Actually, it is on to the next milling project!

It’s hip to be flat

Cedar Porch Side Table

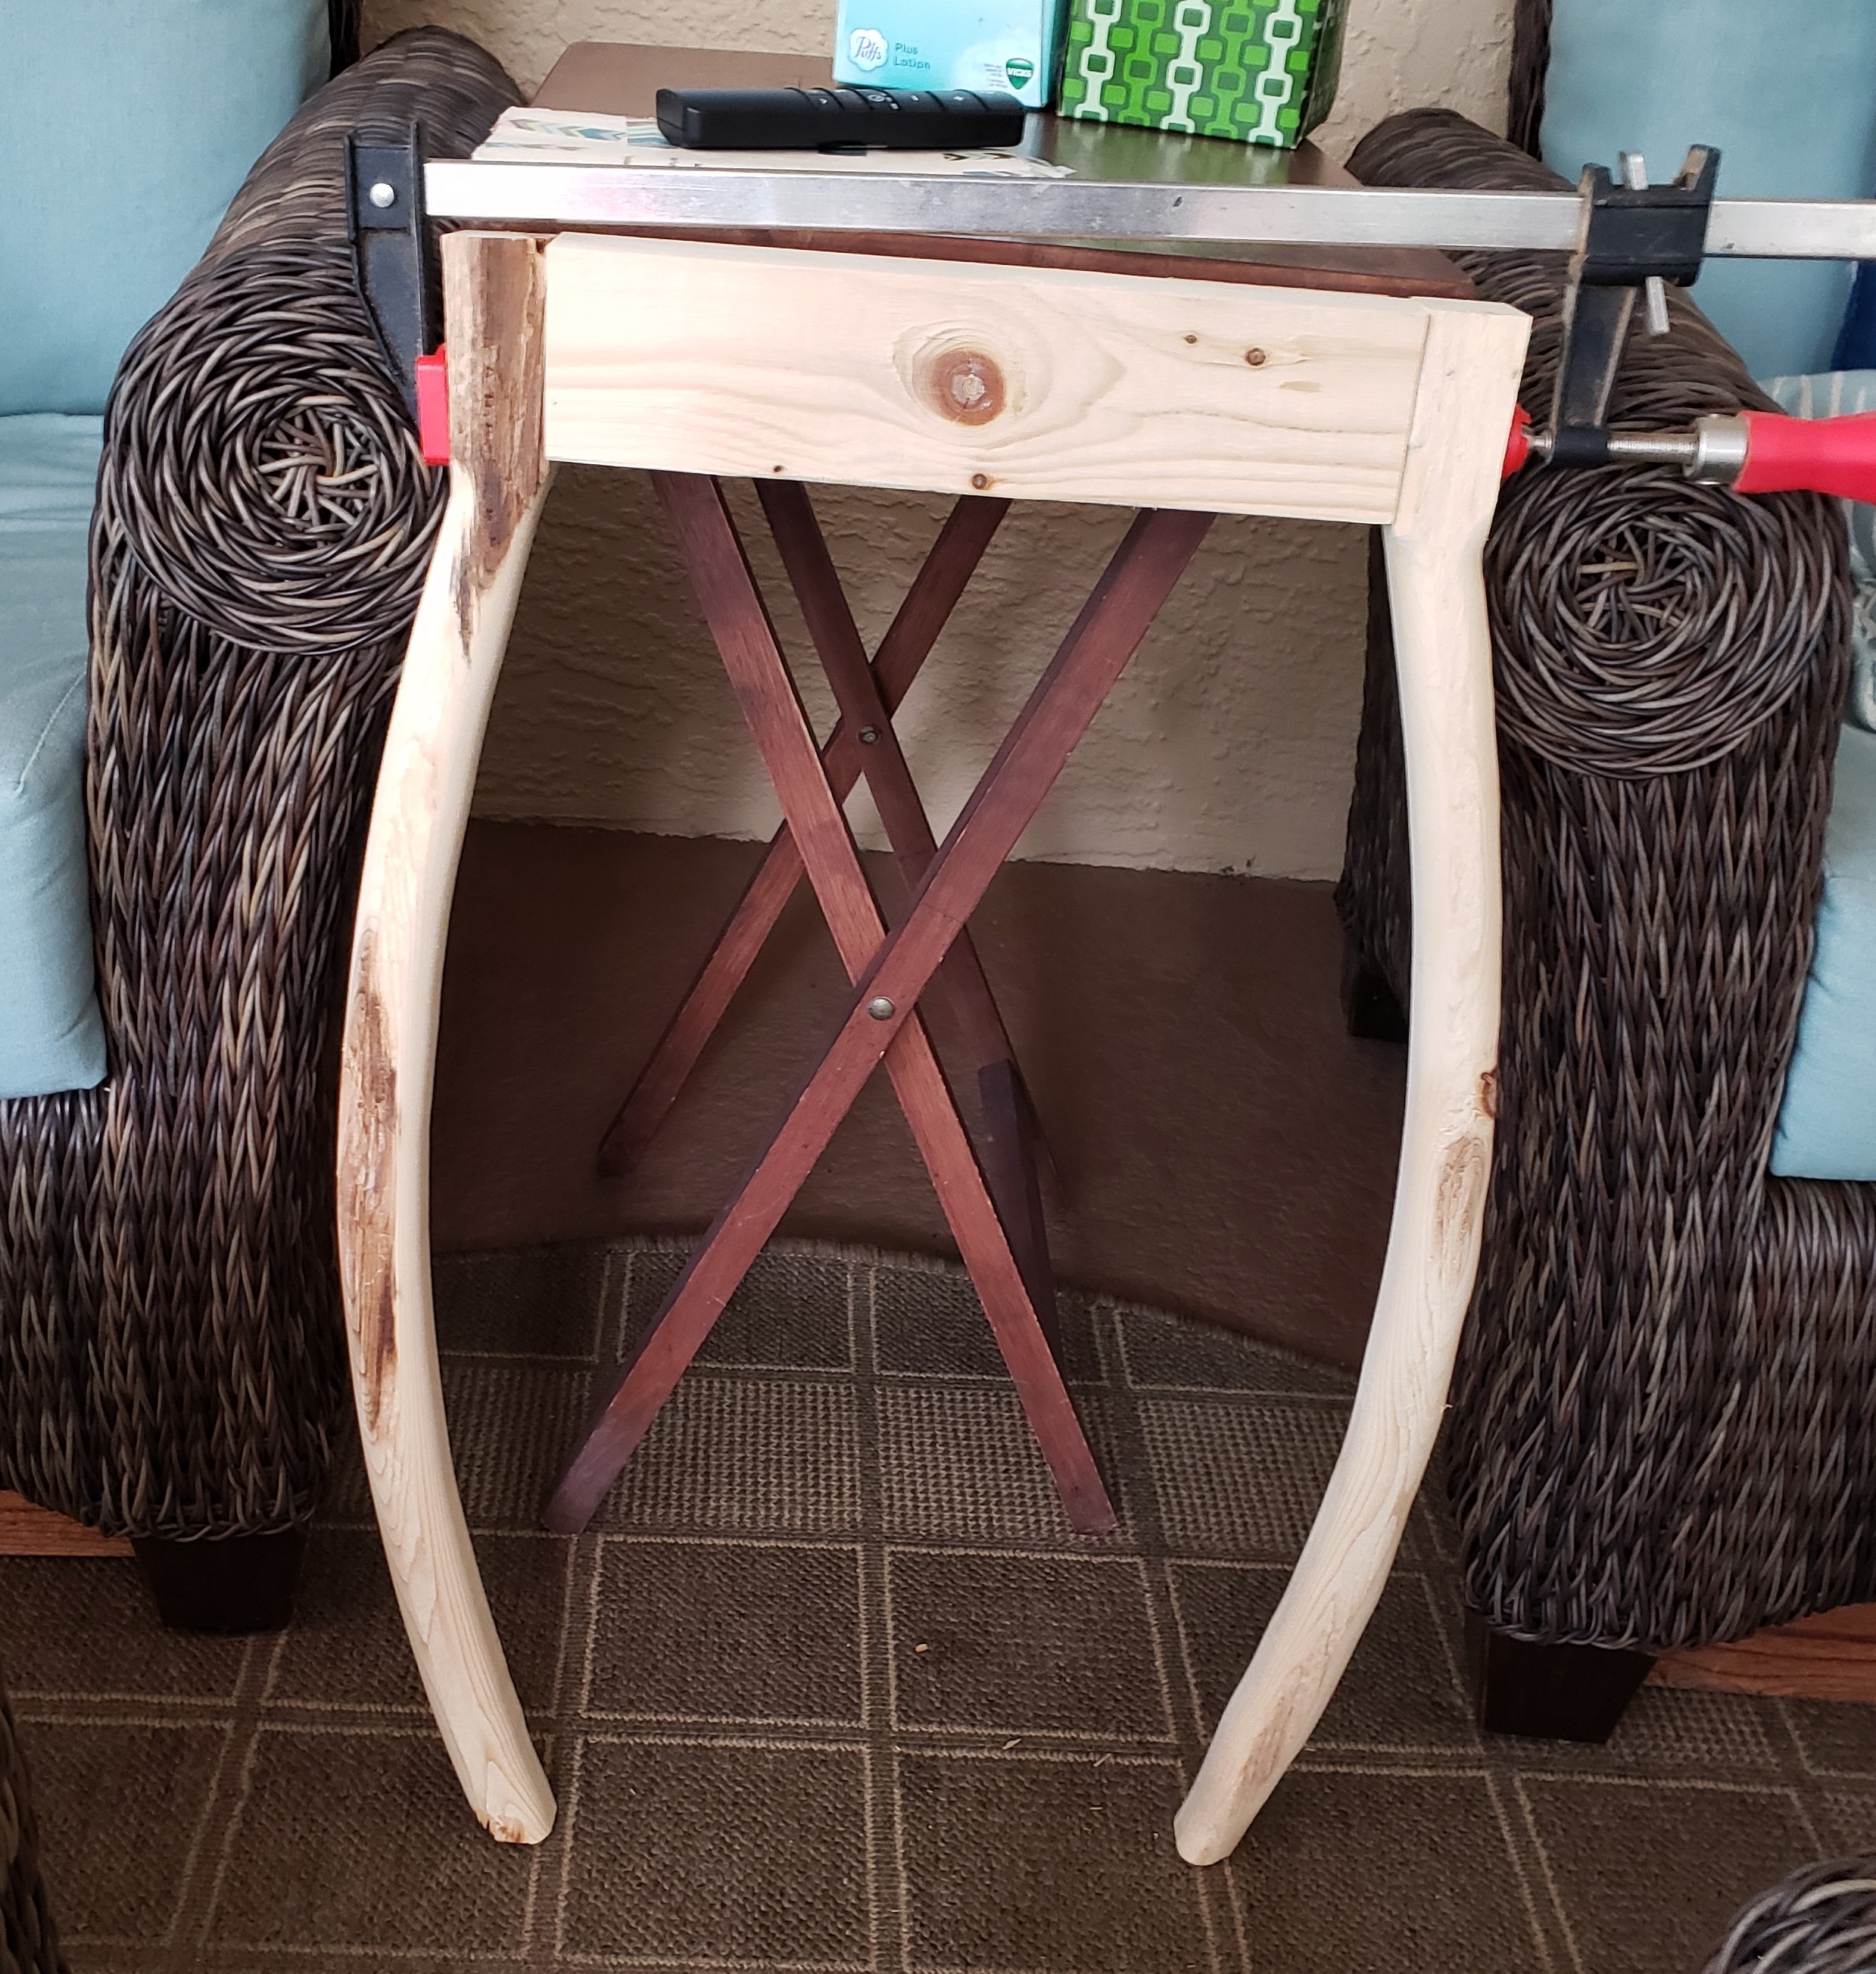
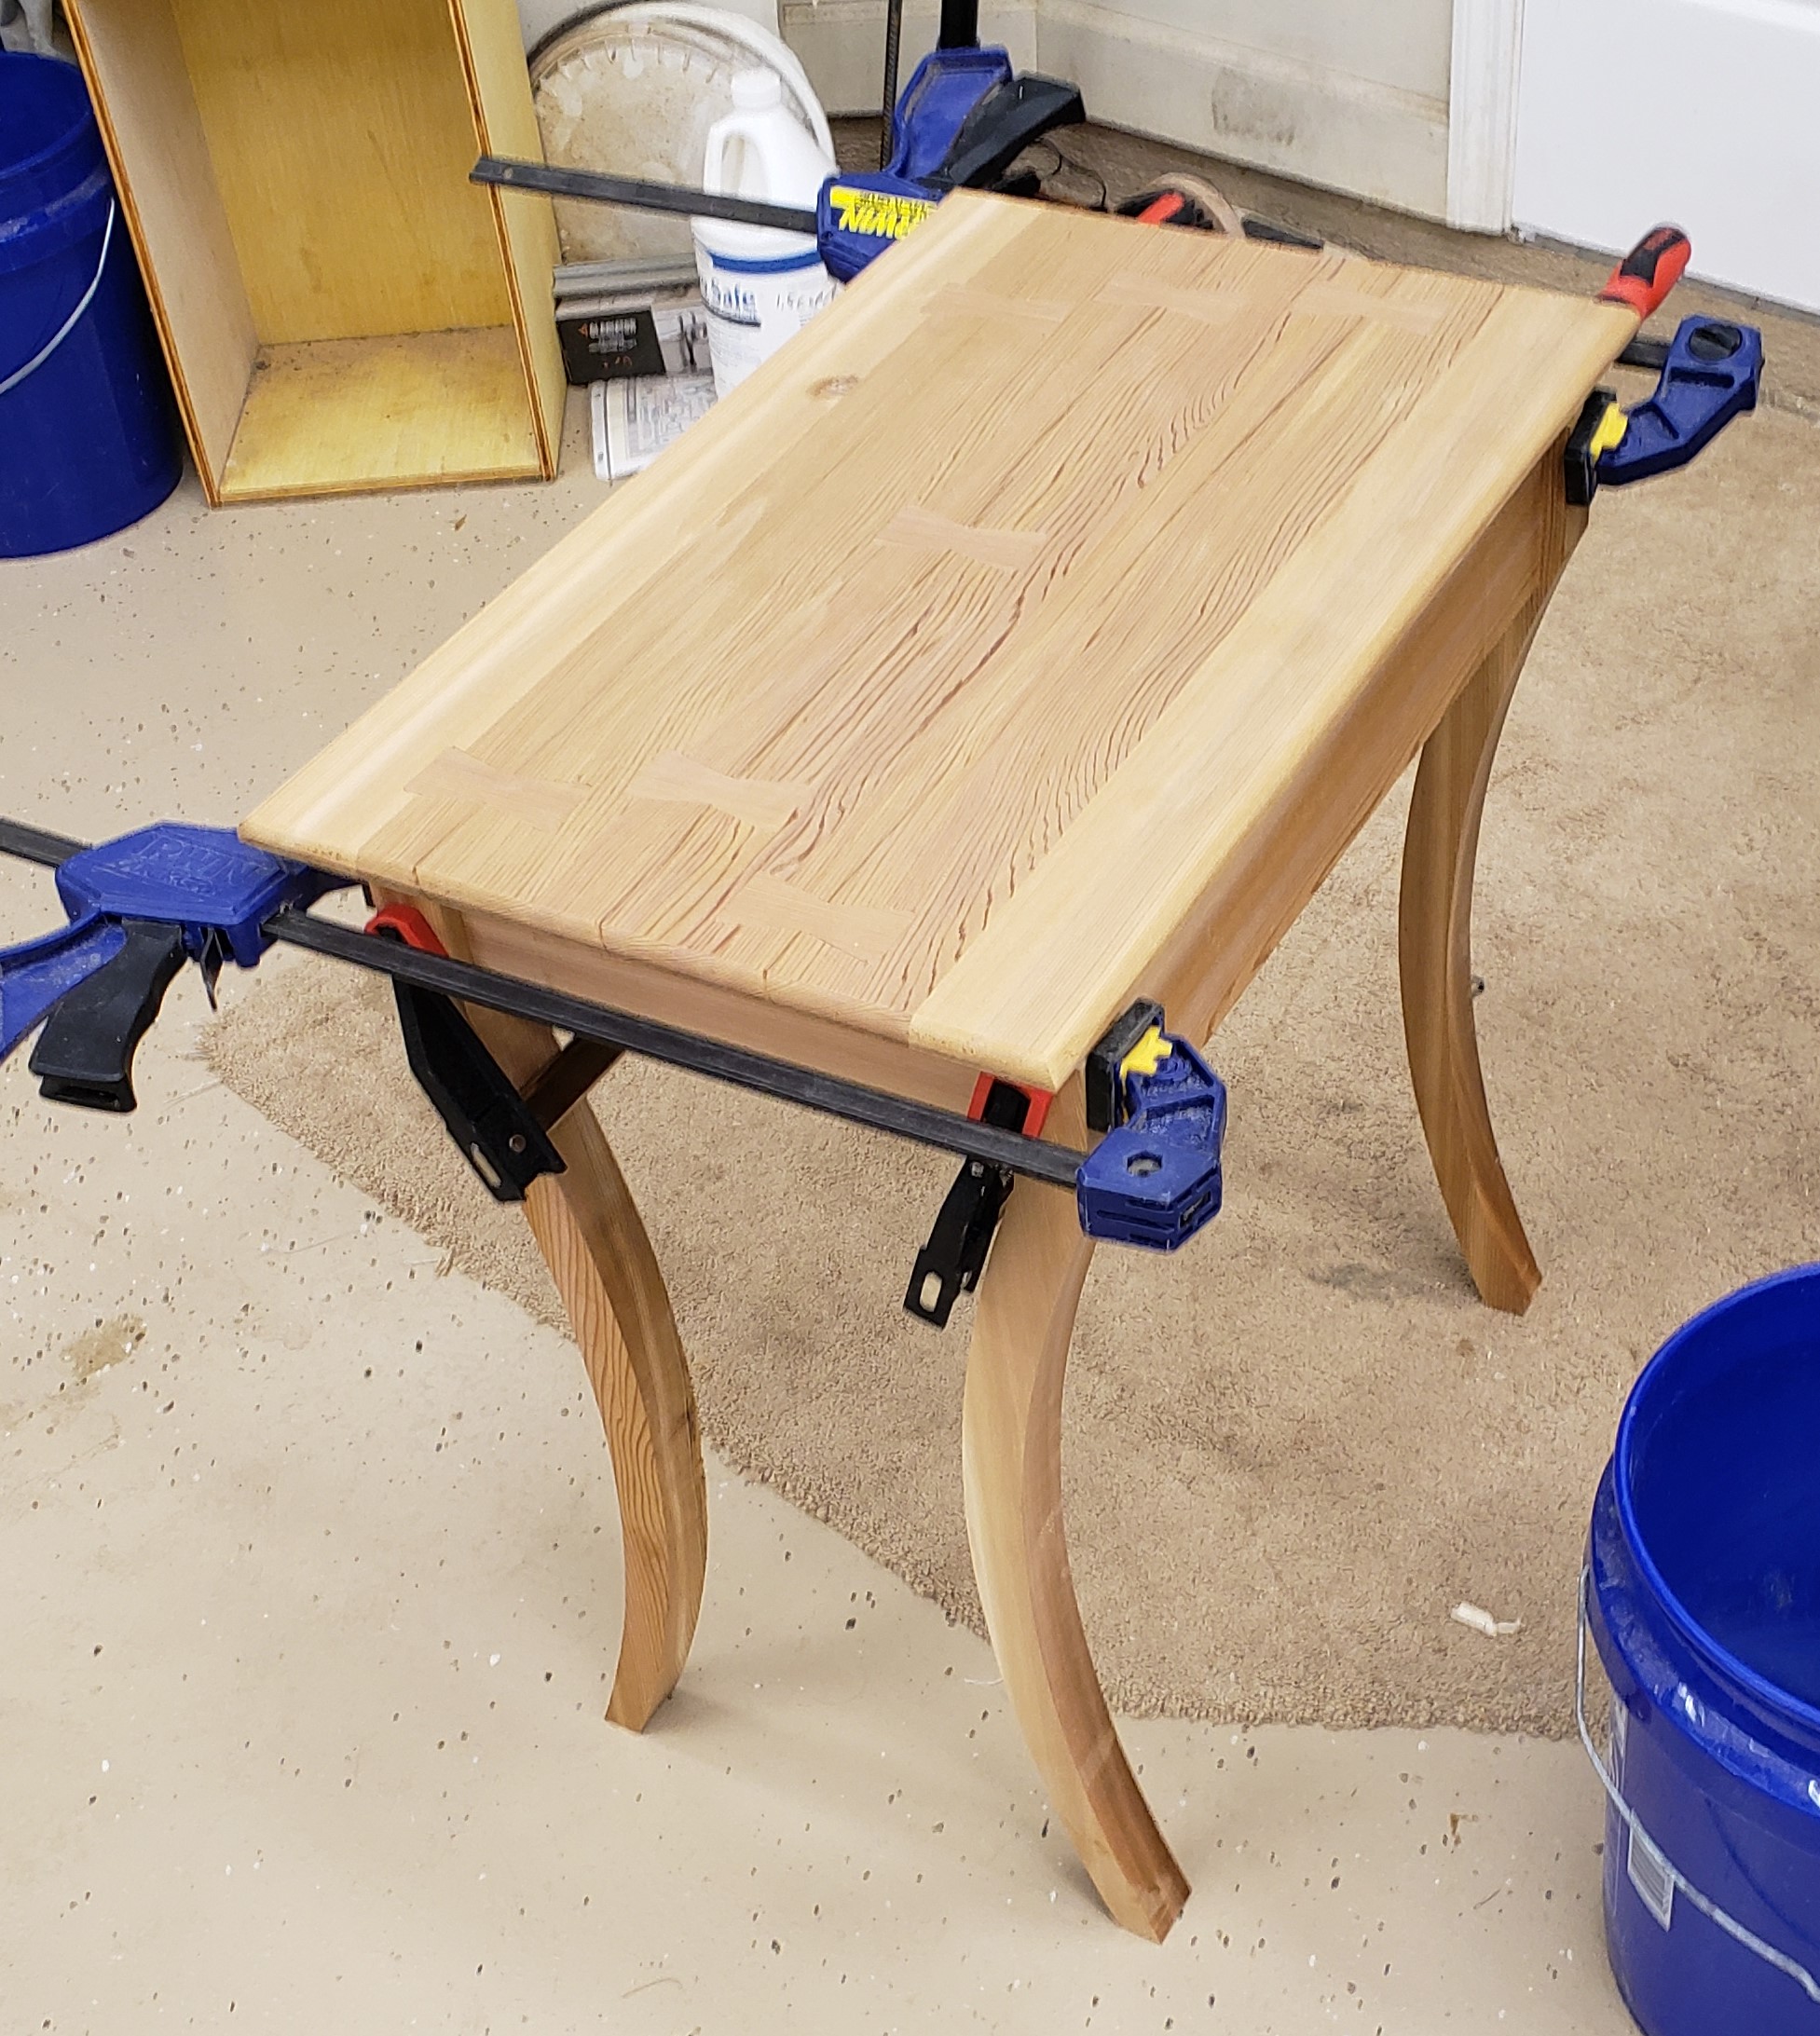
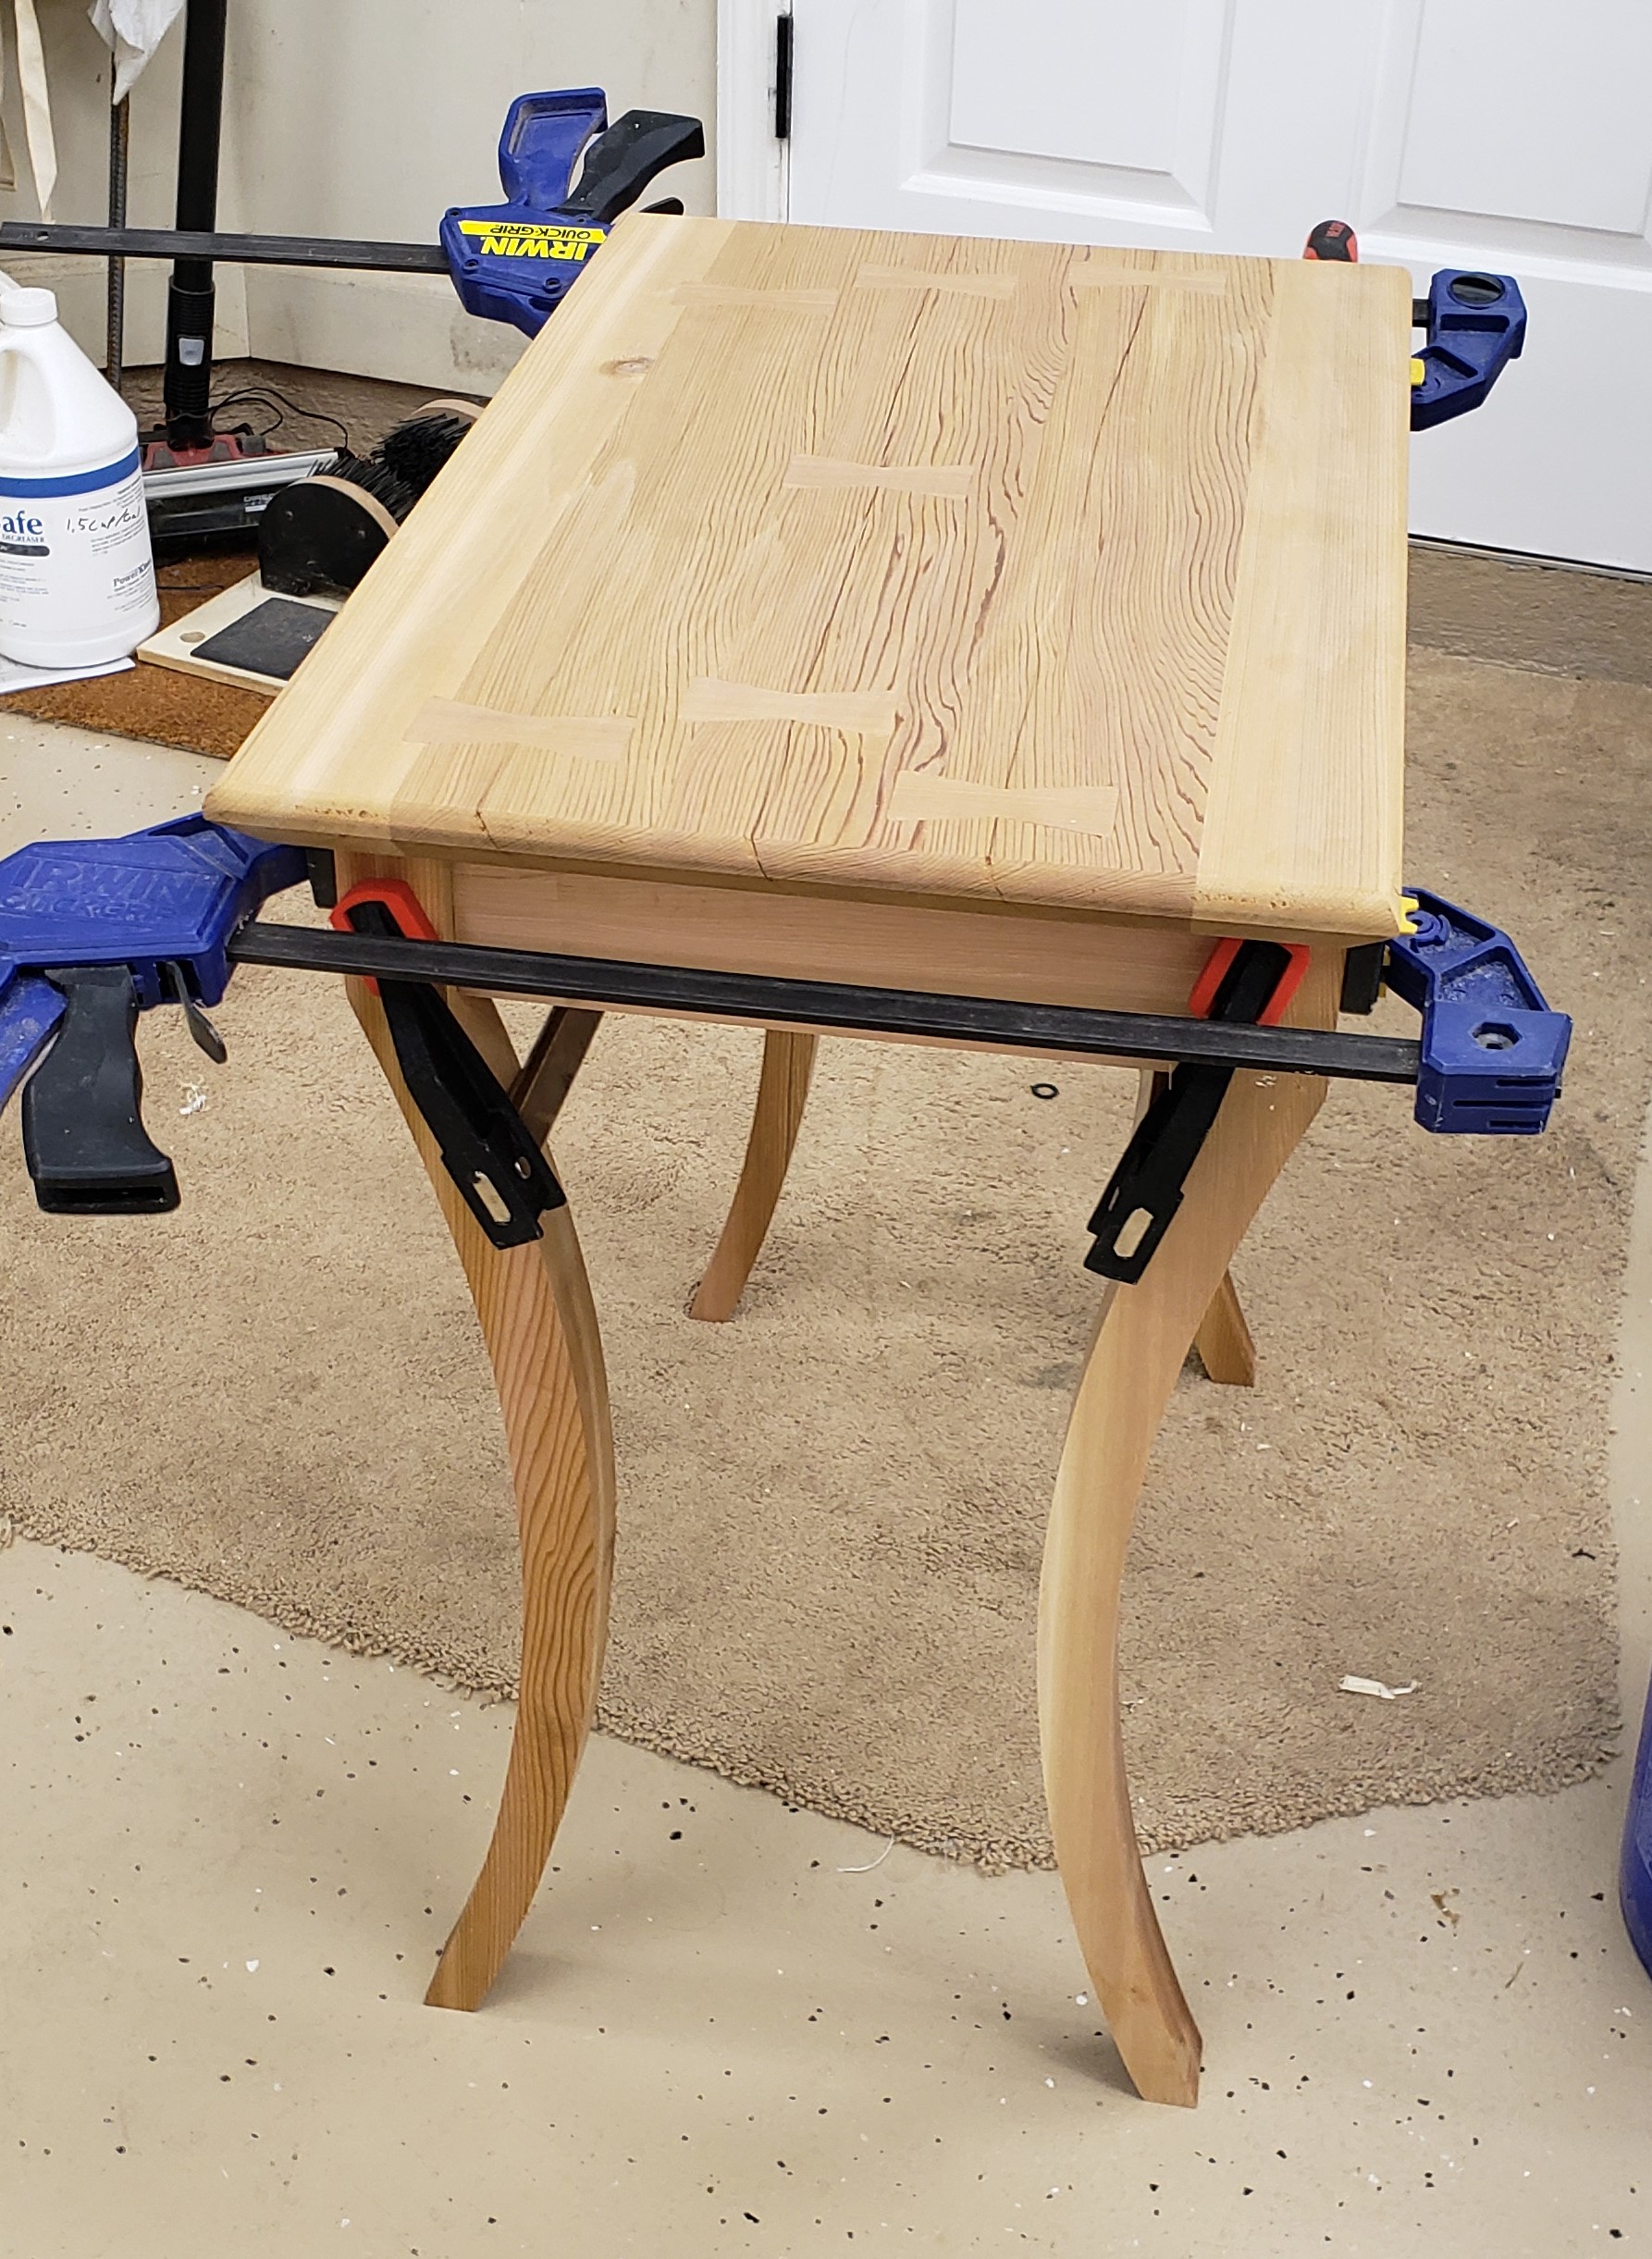
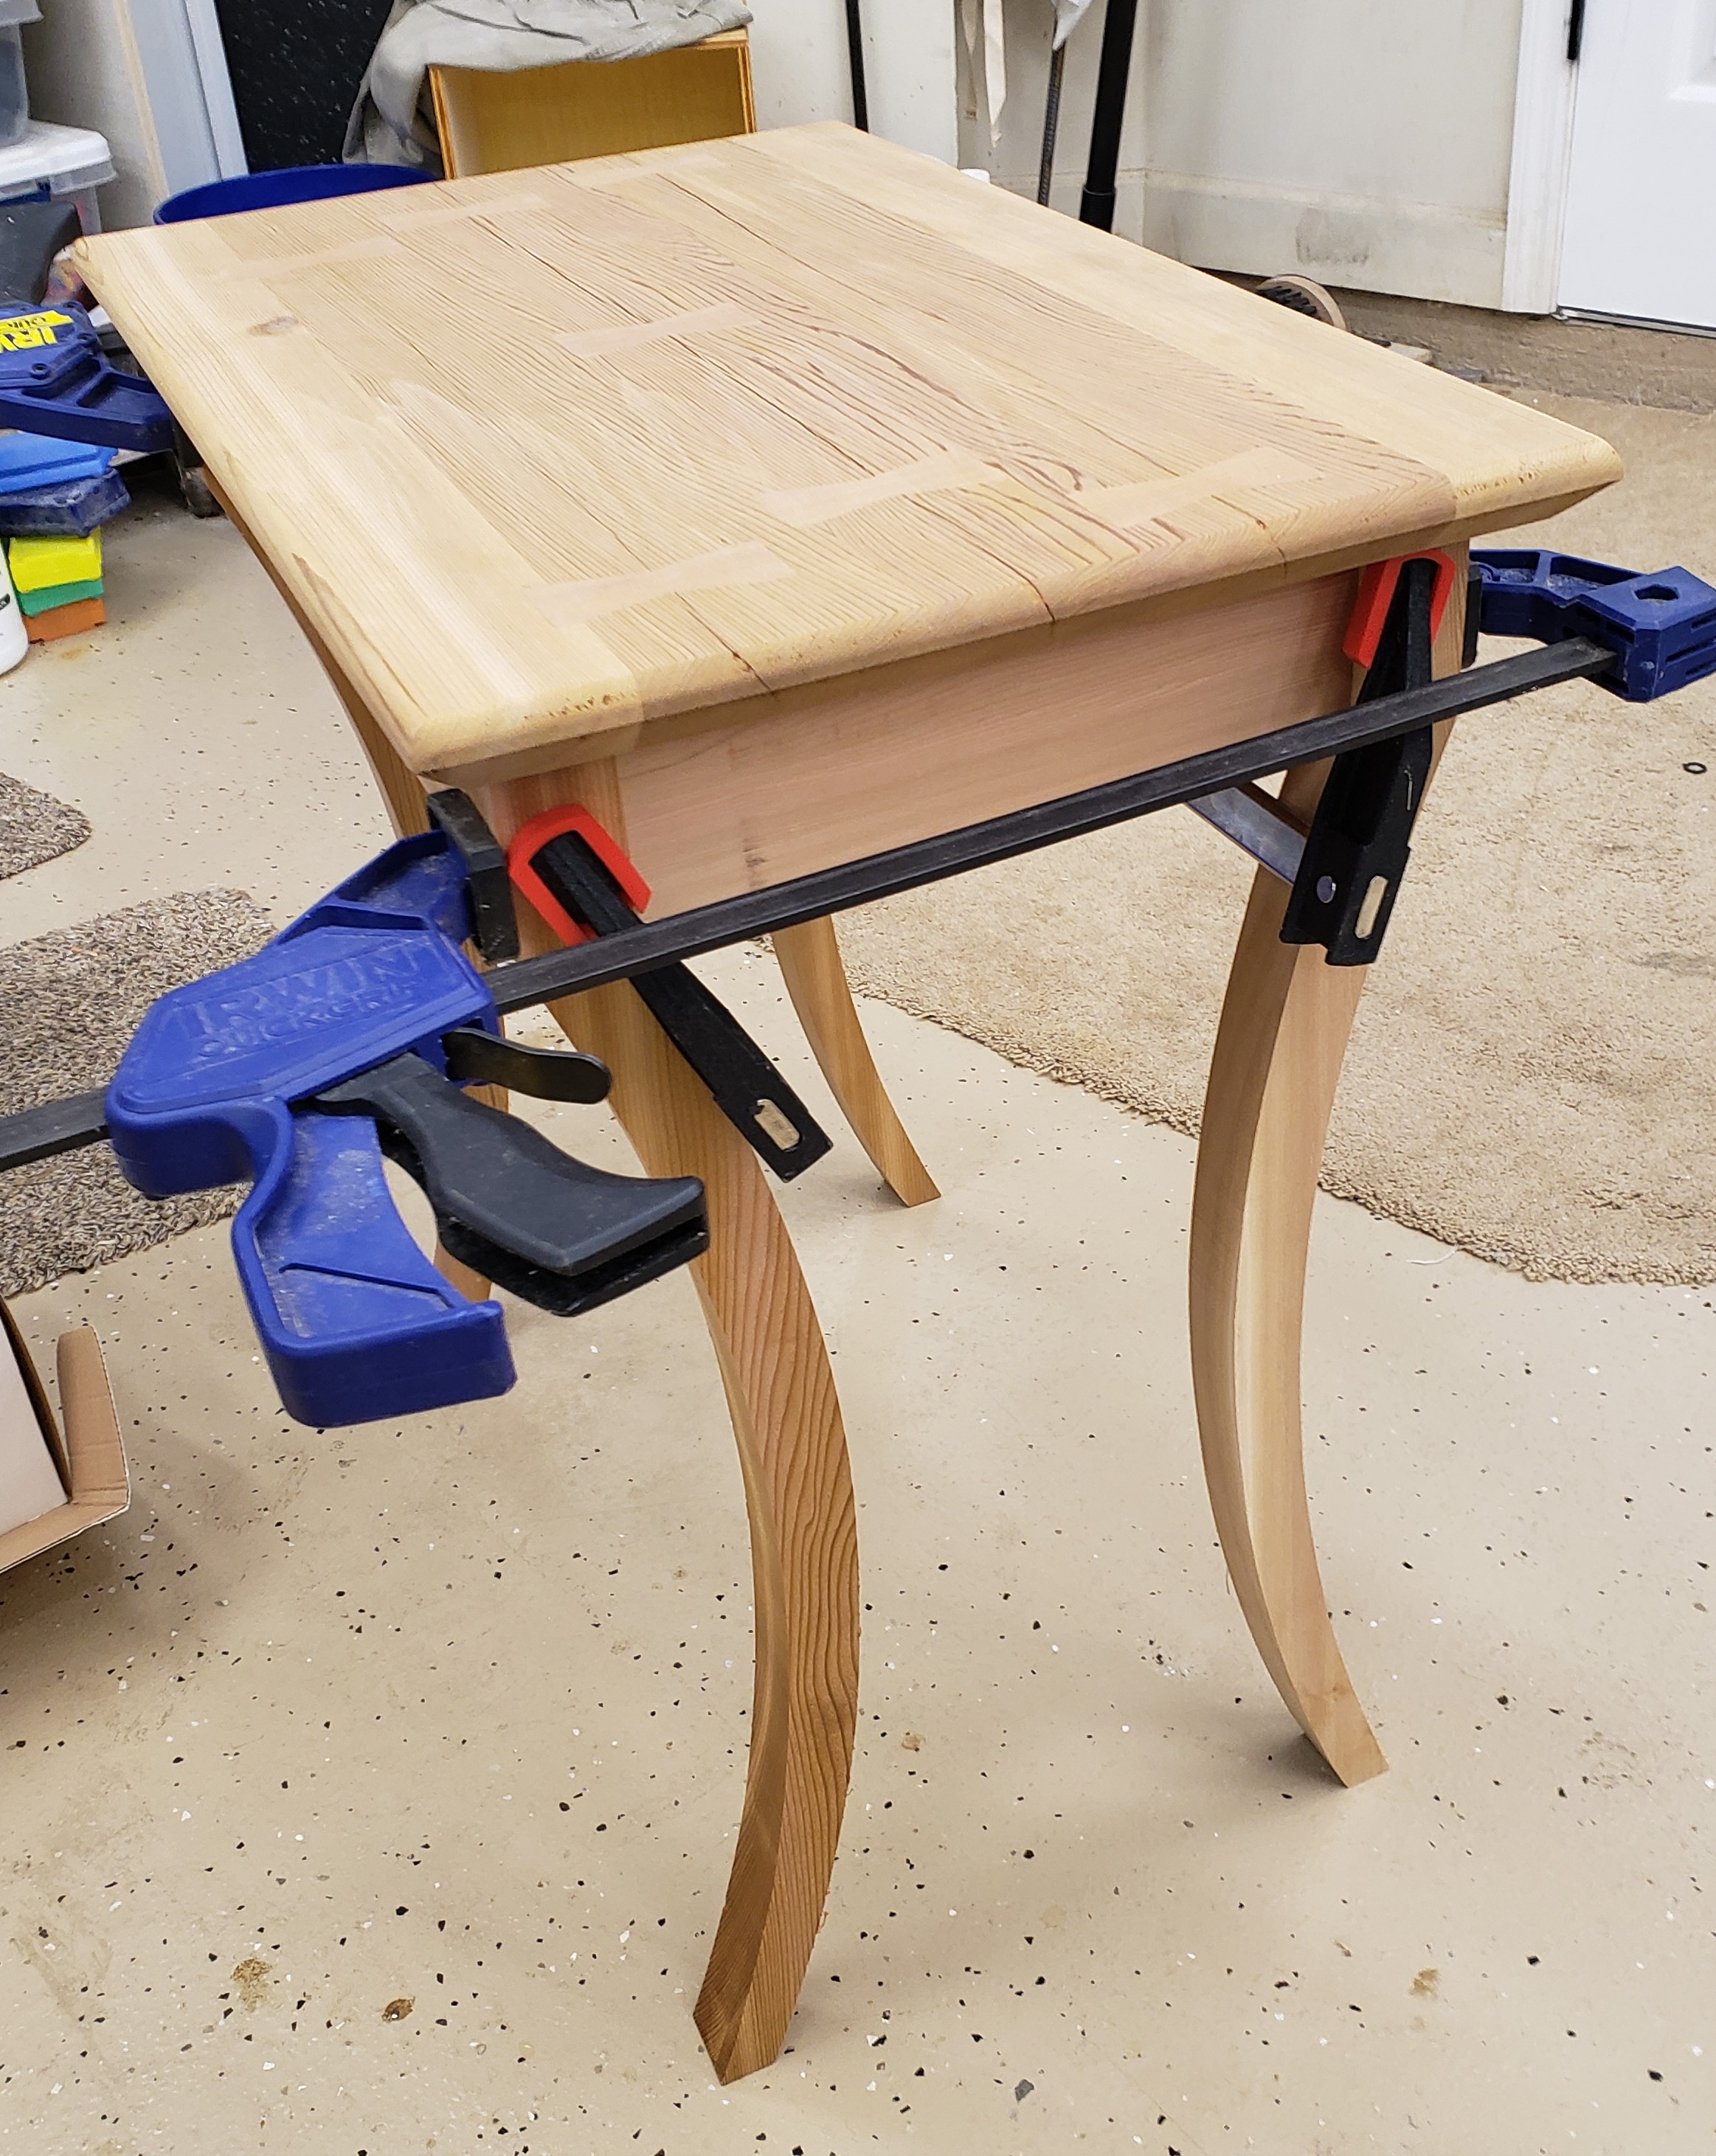
When we first moved in to our house we bought some fancy wicker chairs for the back porch. They are lovely, but we weren’t wild about their side table options. “I’ll just build something!” I said. 3 years later we were still using a junky wooden folding table the previous owners had left. To be fair, it was at the right height, but was rather small.

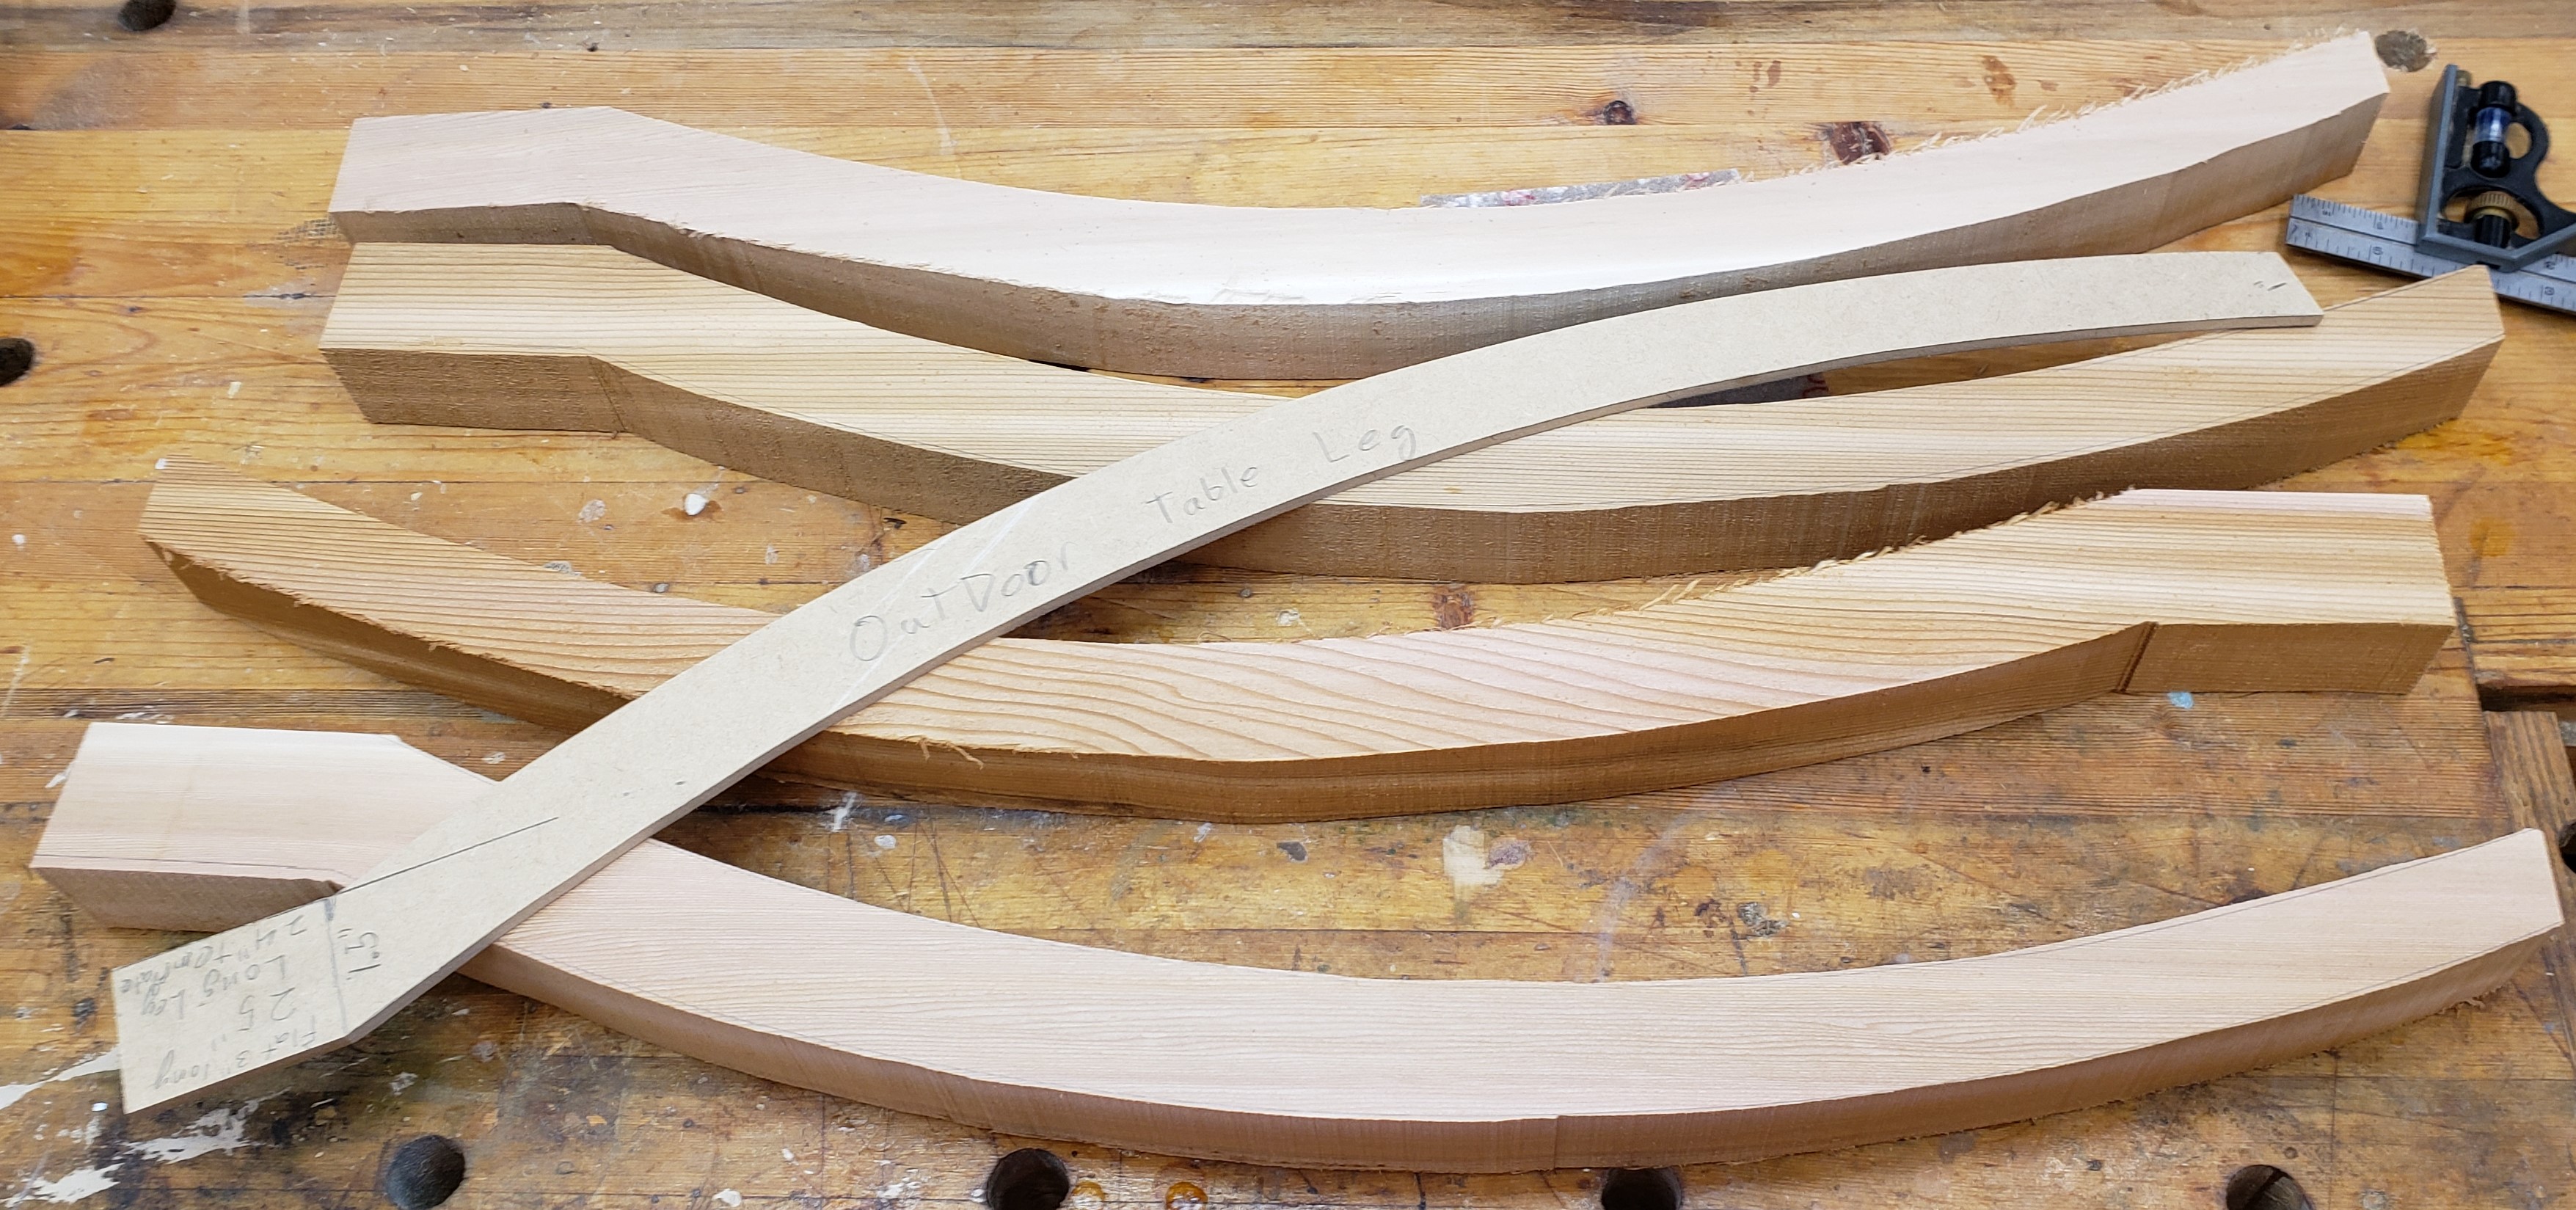
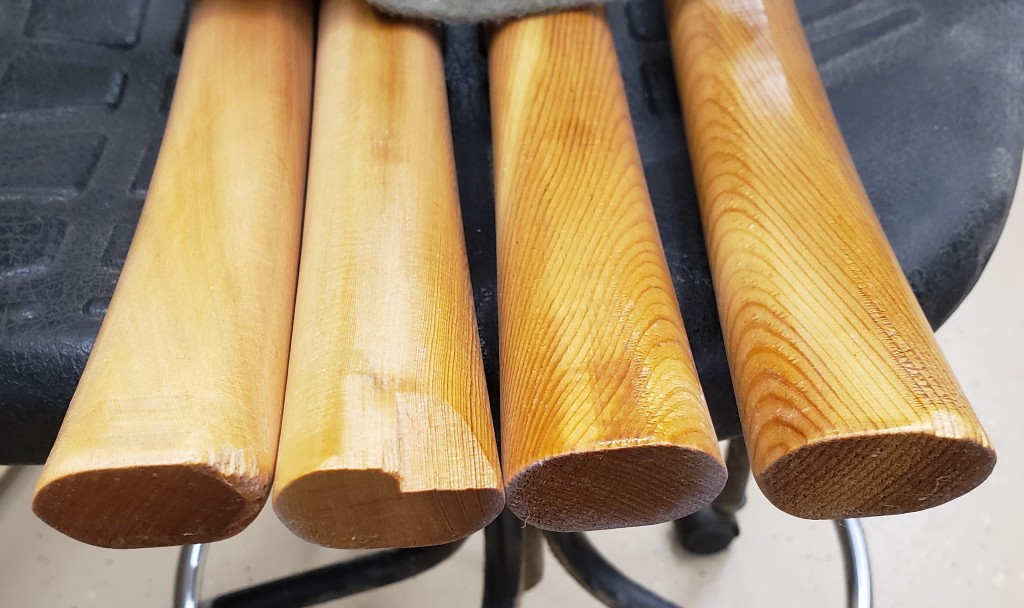
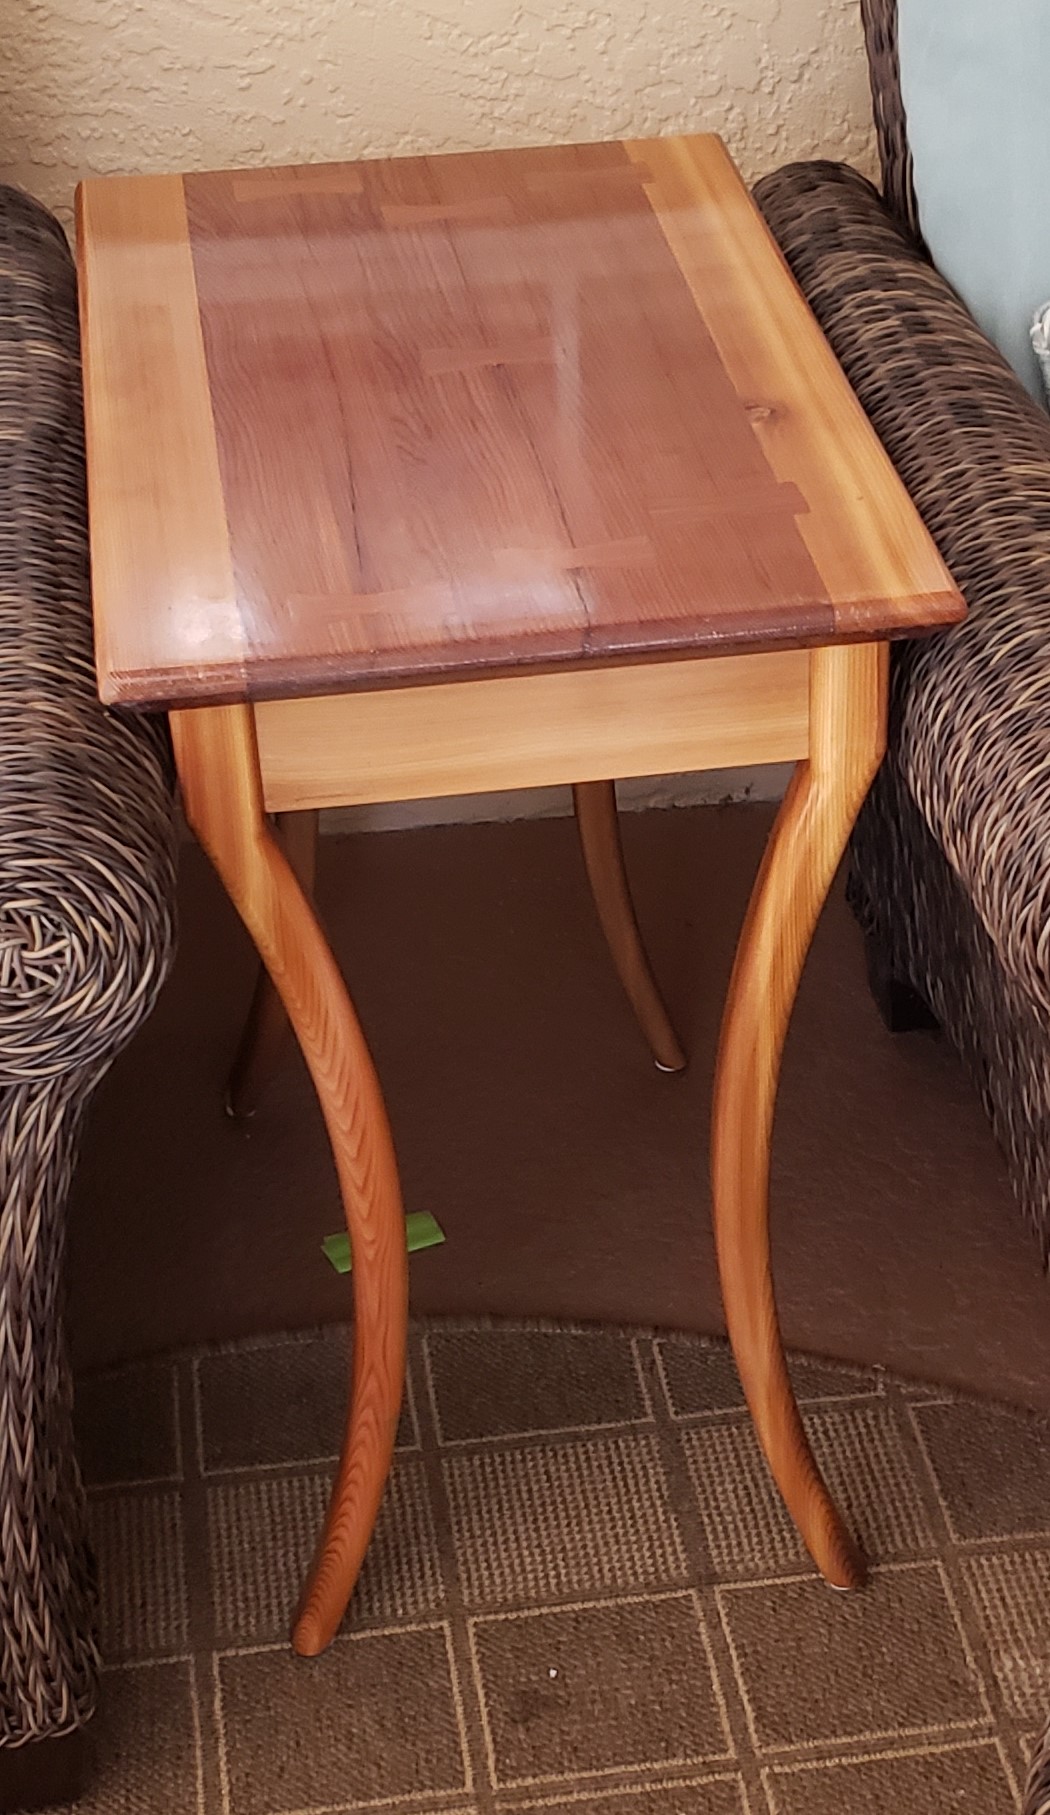
I kept having this idea of using cedar 2x4s to make the legs, and cutting a bow in the legs to make them match the chairs. I used some junky pine to cut two rough legs and mock up an inward and outward bow. The inward concave version kind of matches how the chairs are shaped and is how I will proceed.

I picked cedar because it is available to my local hardware store, is reasonably priced and is supposed to be good for outdoor applications. I did not realize how soft it is and probably won’t build anything else nice with it again. It dents and tears out really easily.


Table Top

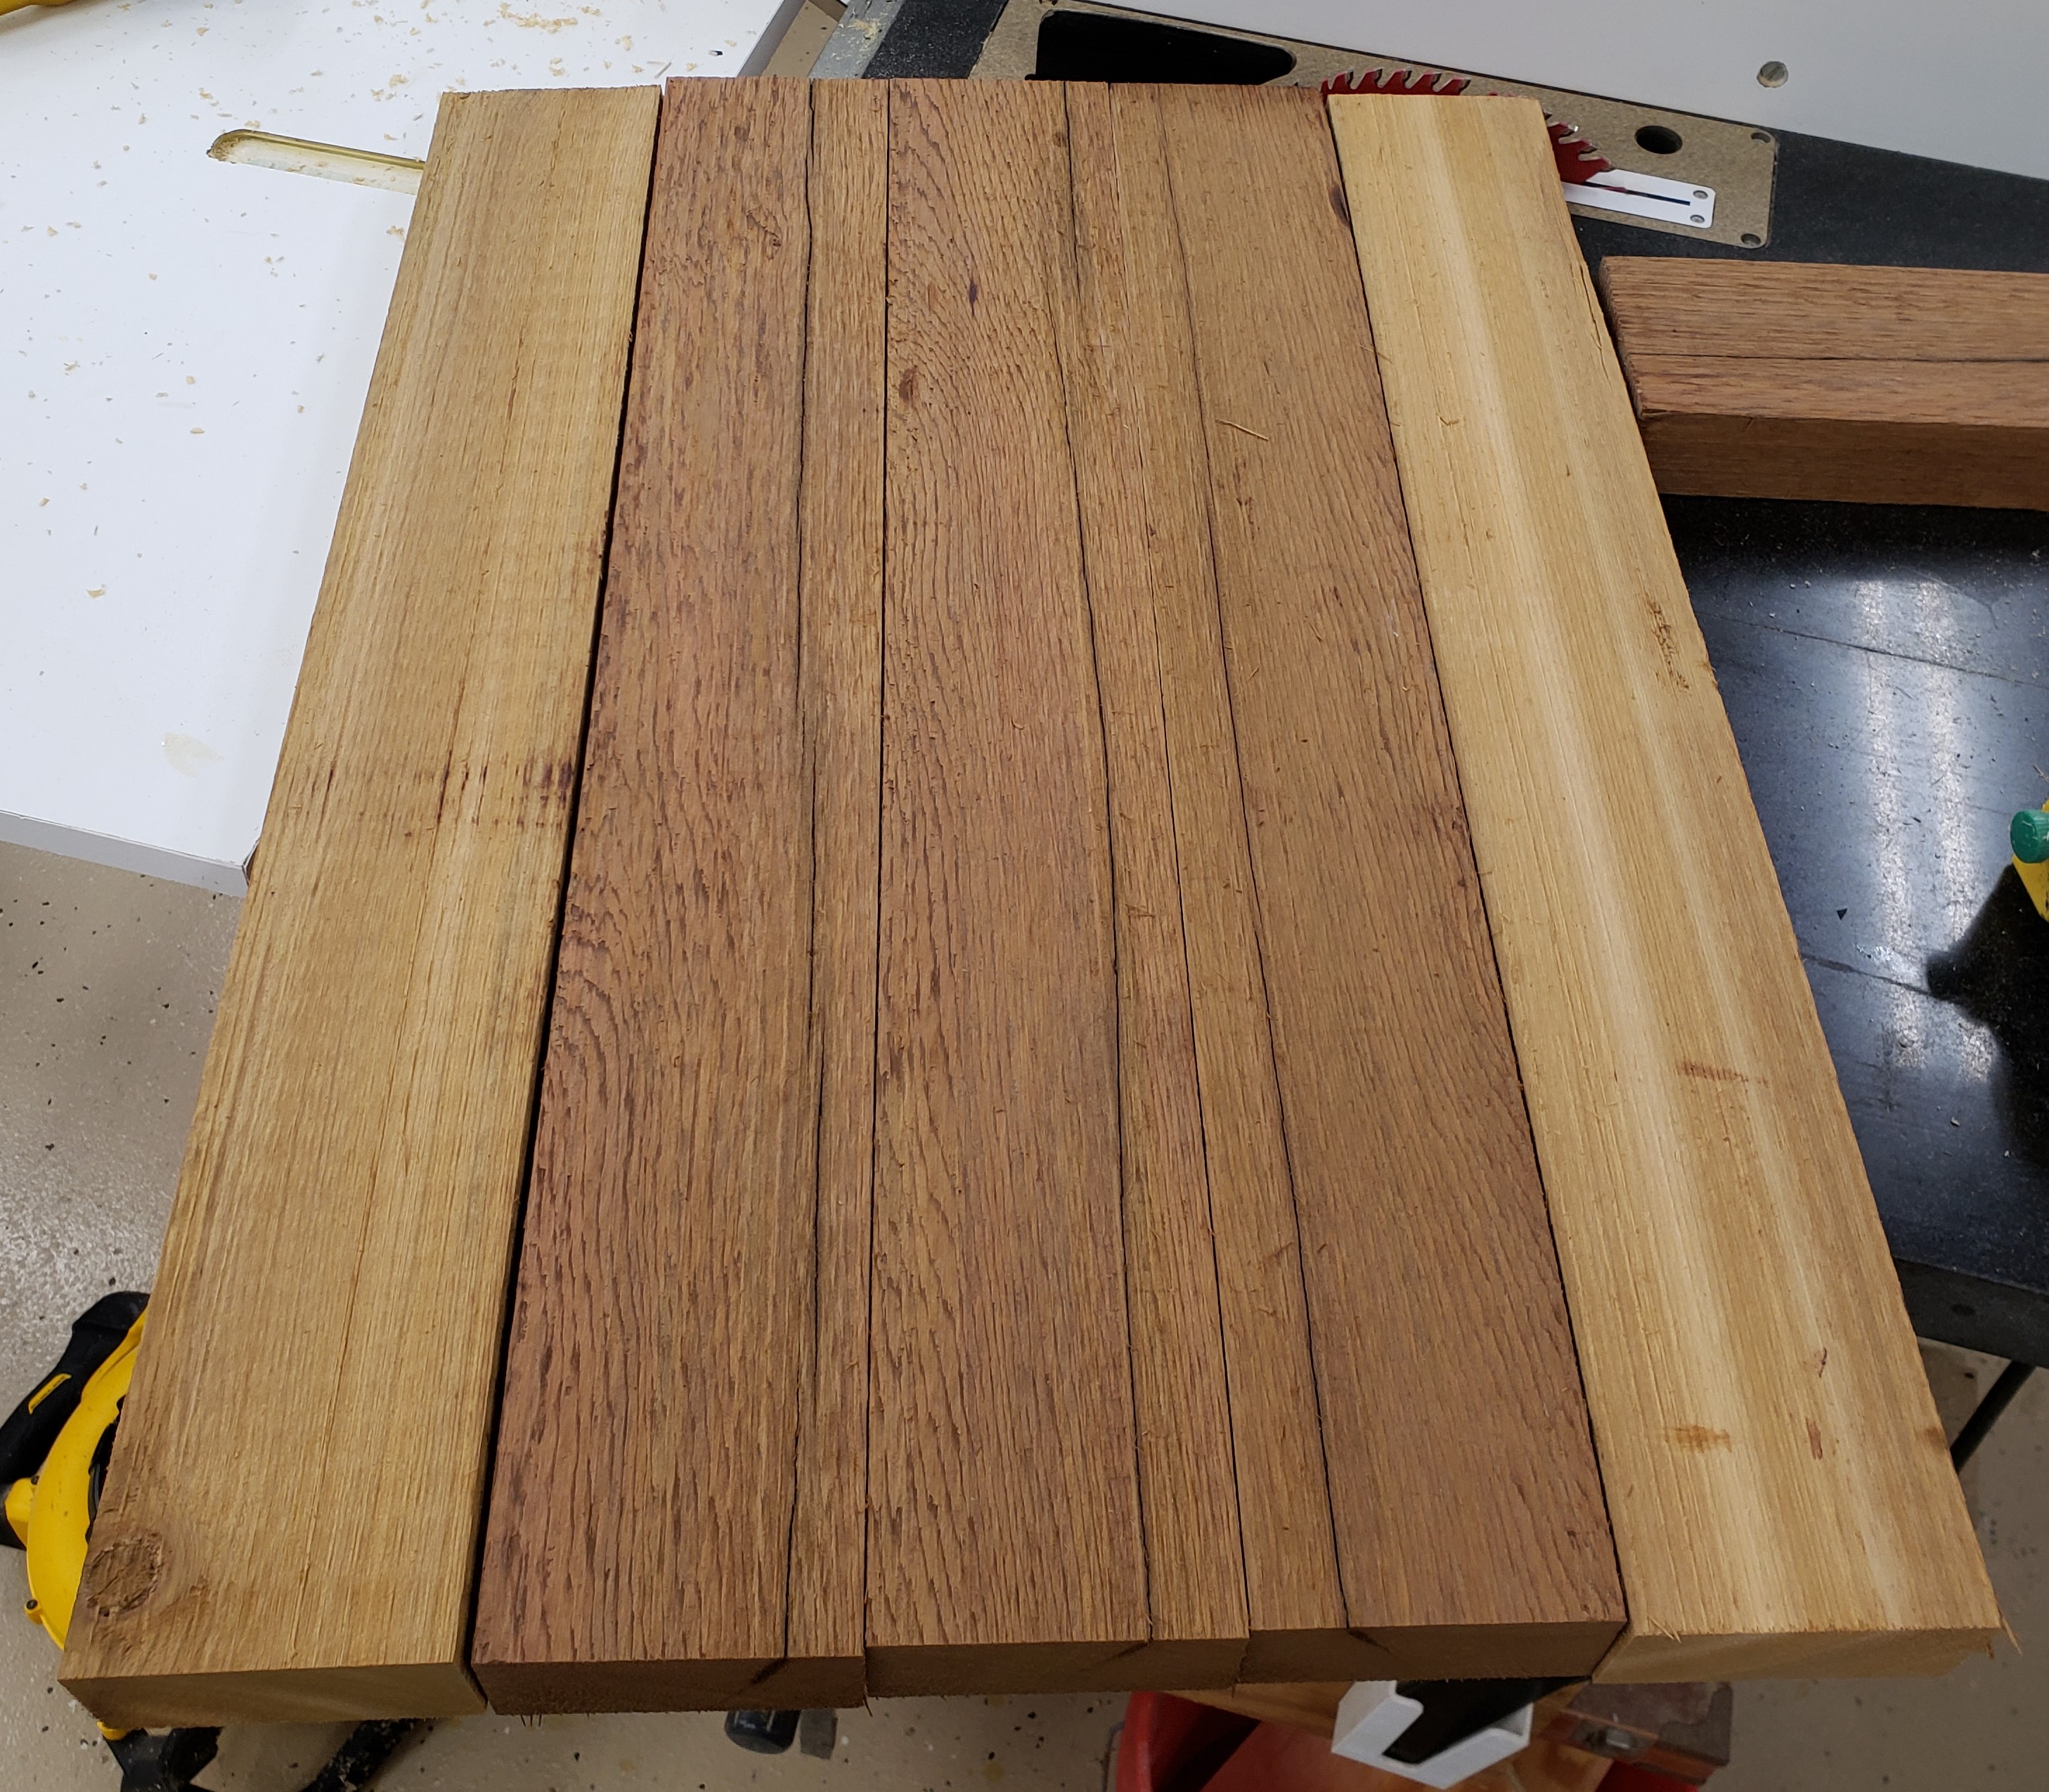
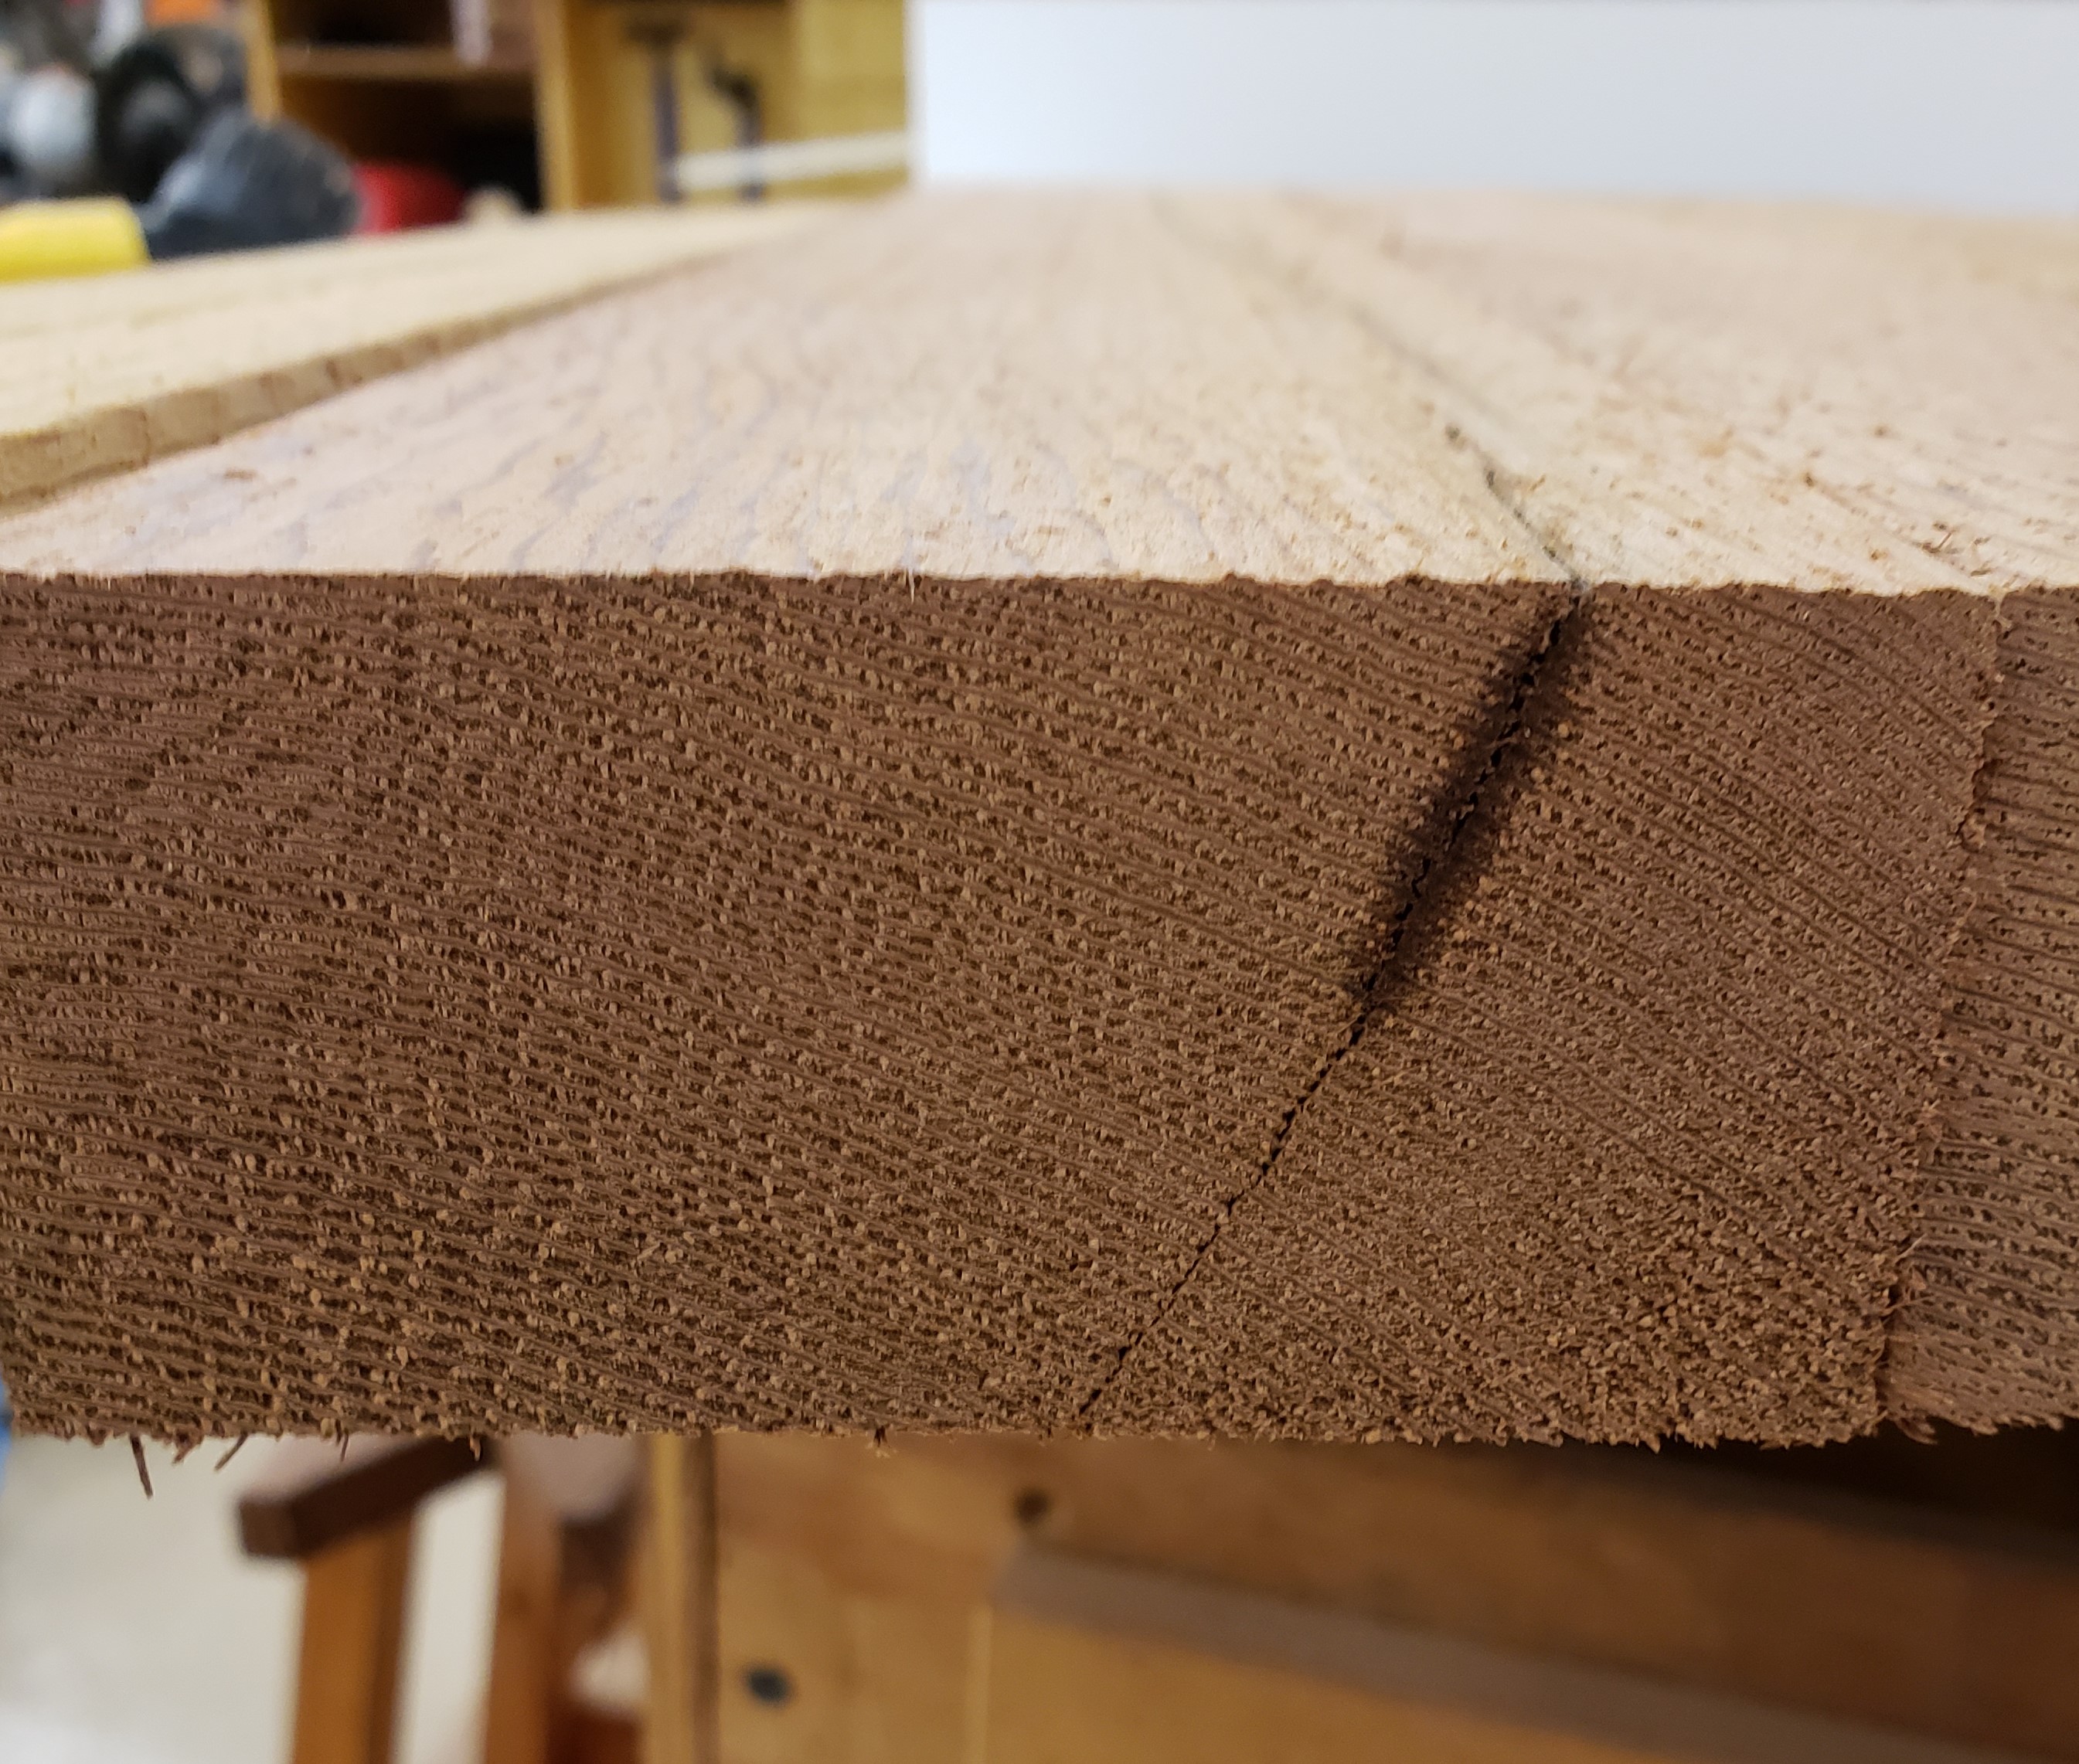
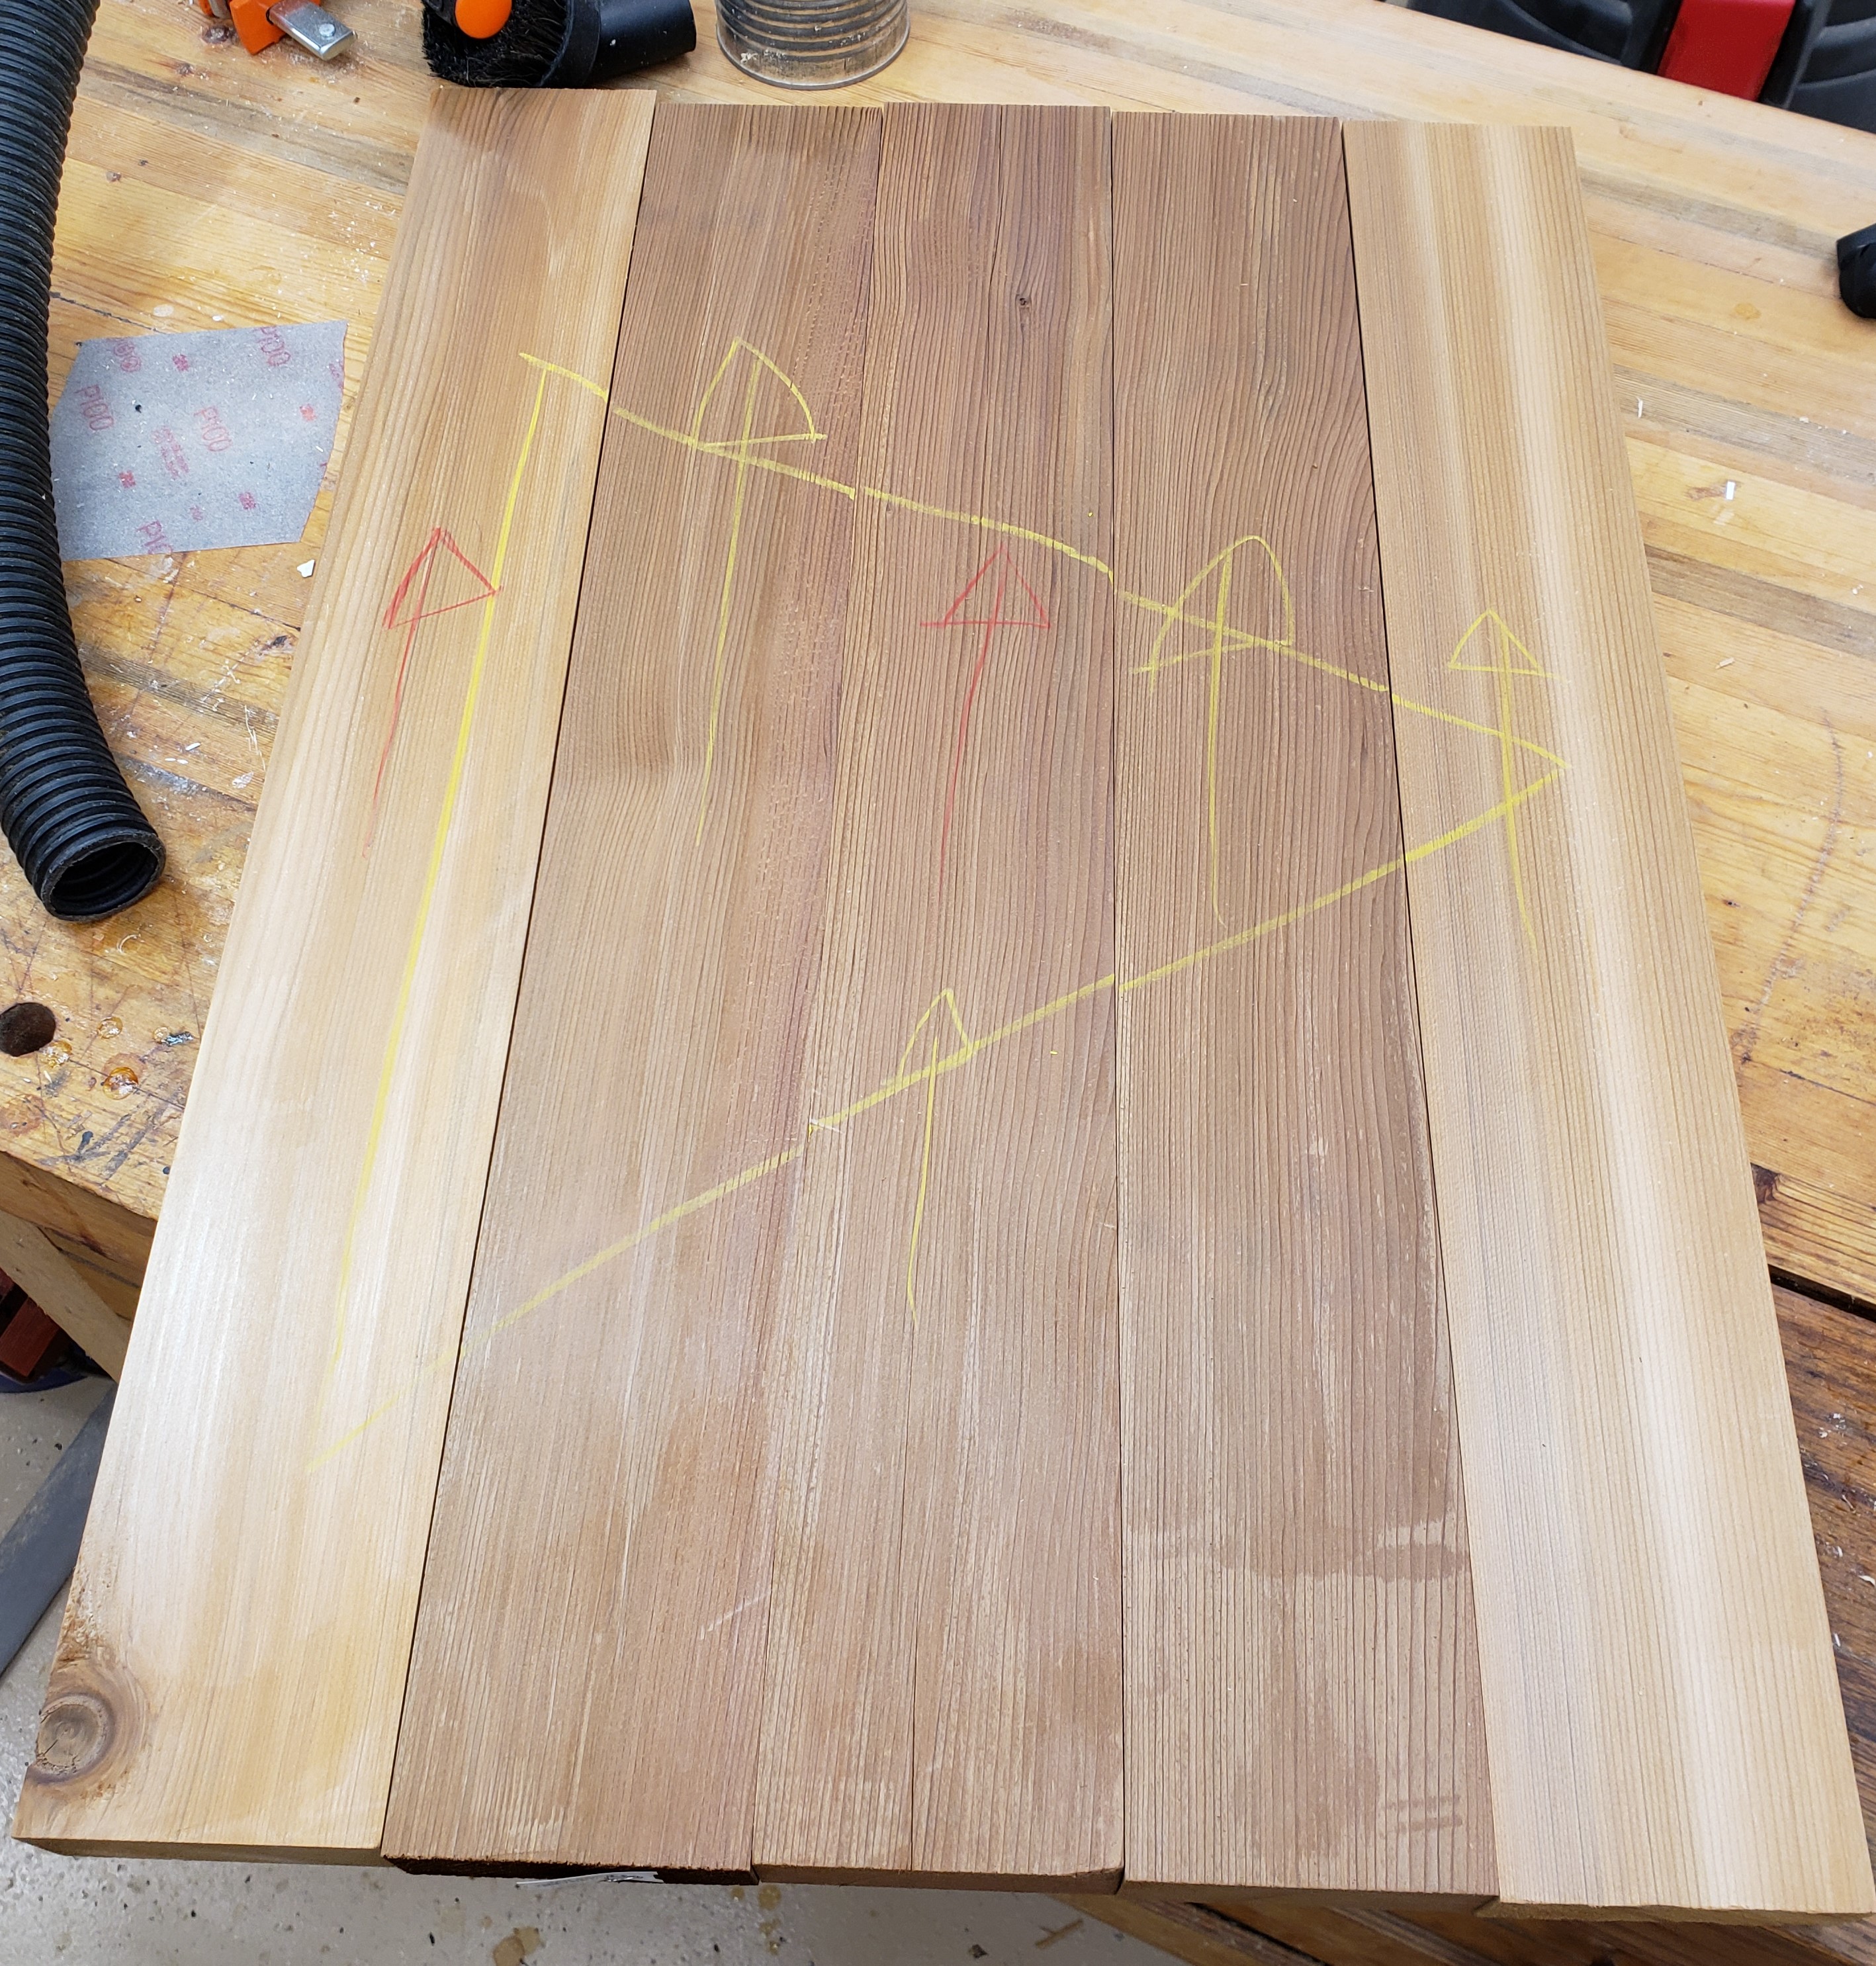
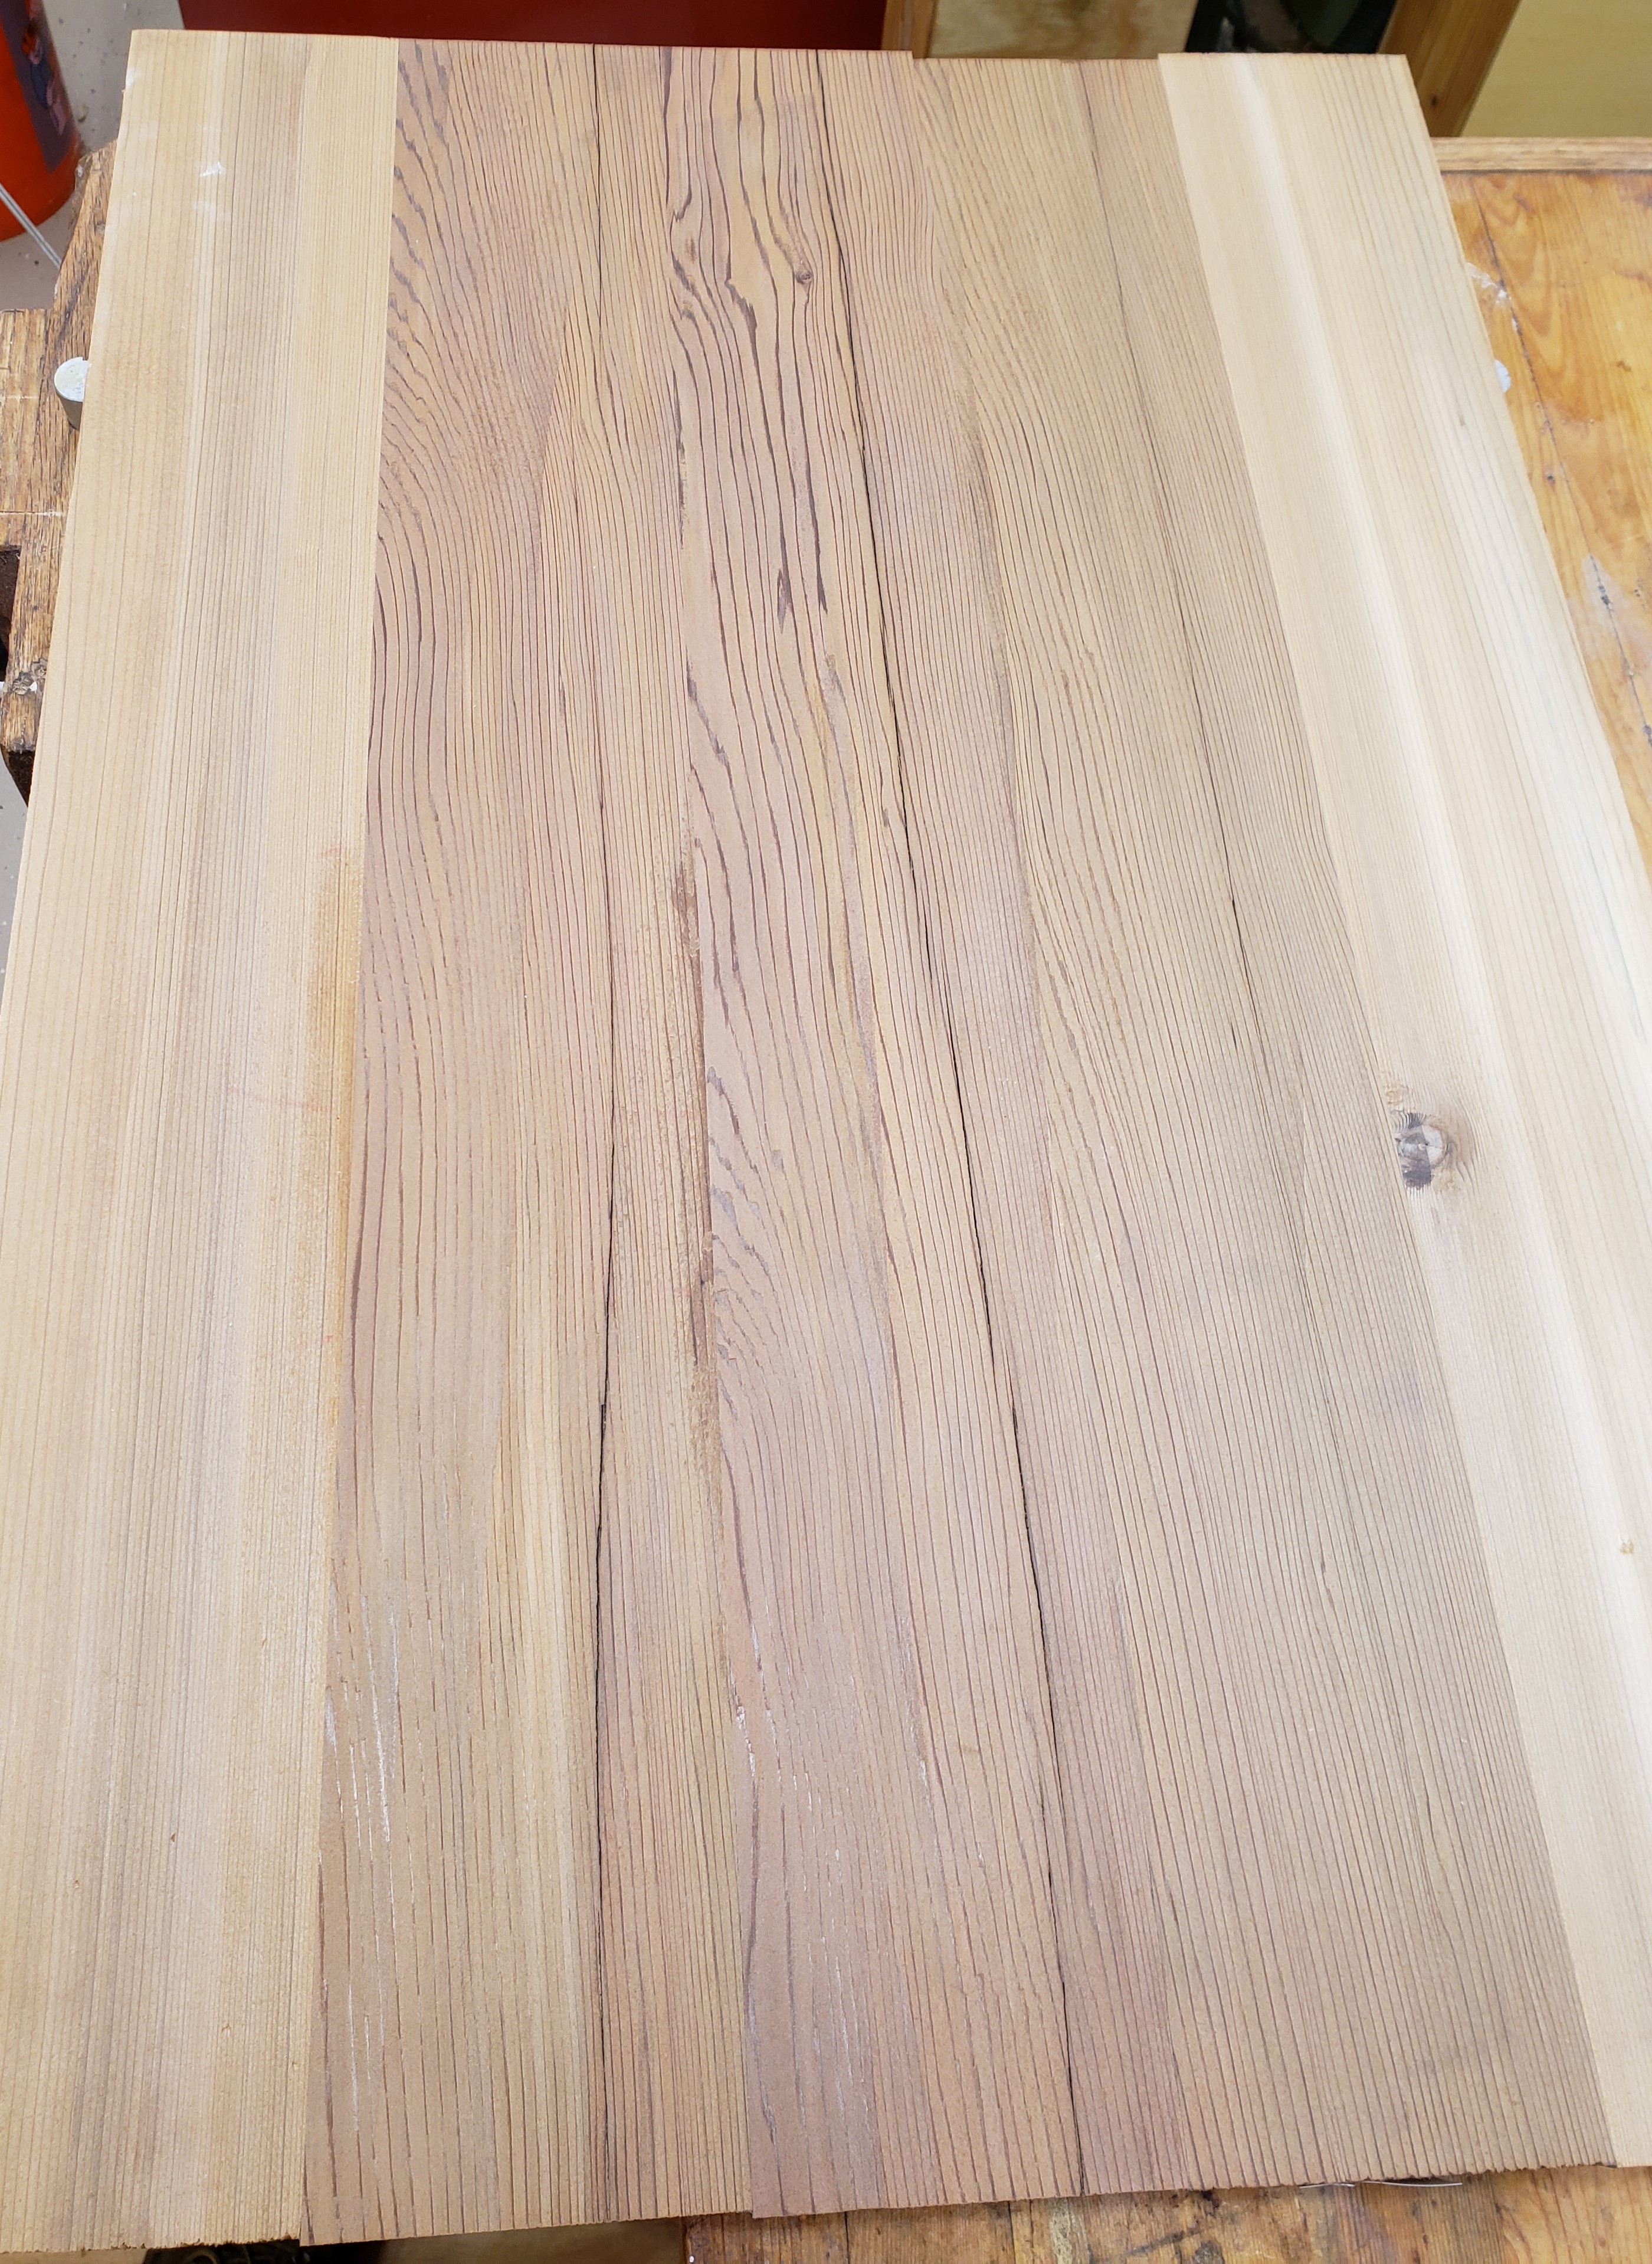
I knew the size I wanted the table top to be so I started there and will build the legs and aprons to follow. I mixed some darker and lighter wood to create a little contrast on the top. These were the straightest cleanest grained pieces I could find. They had a bit of a split that looked ok to start with, but got more apparent as I milled.

I hadn’t used my hand tools in a while but used this chance to flatten all the boards and check grain orientation. After glue up I picked up the top and figured out how bad those splits were. The whole top would flex around those splits like a taco. These will have to get fixed.

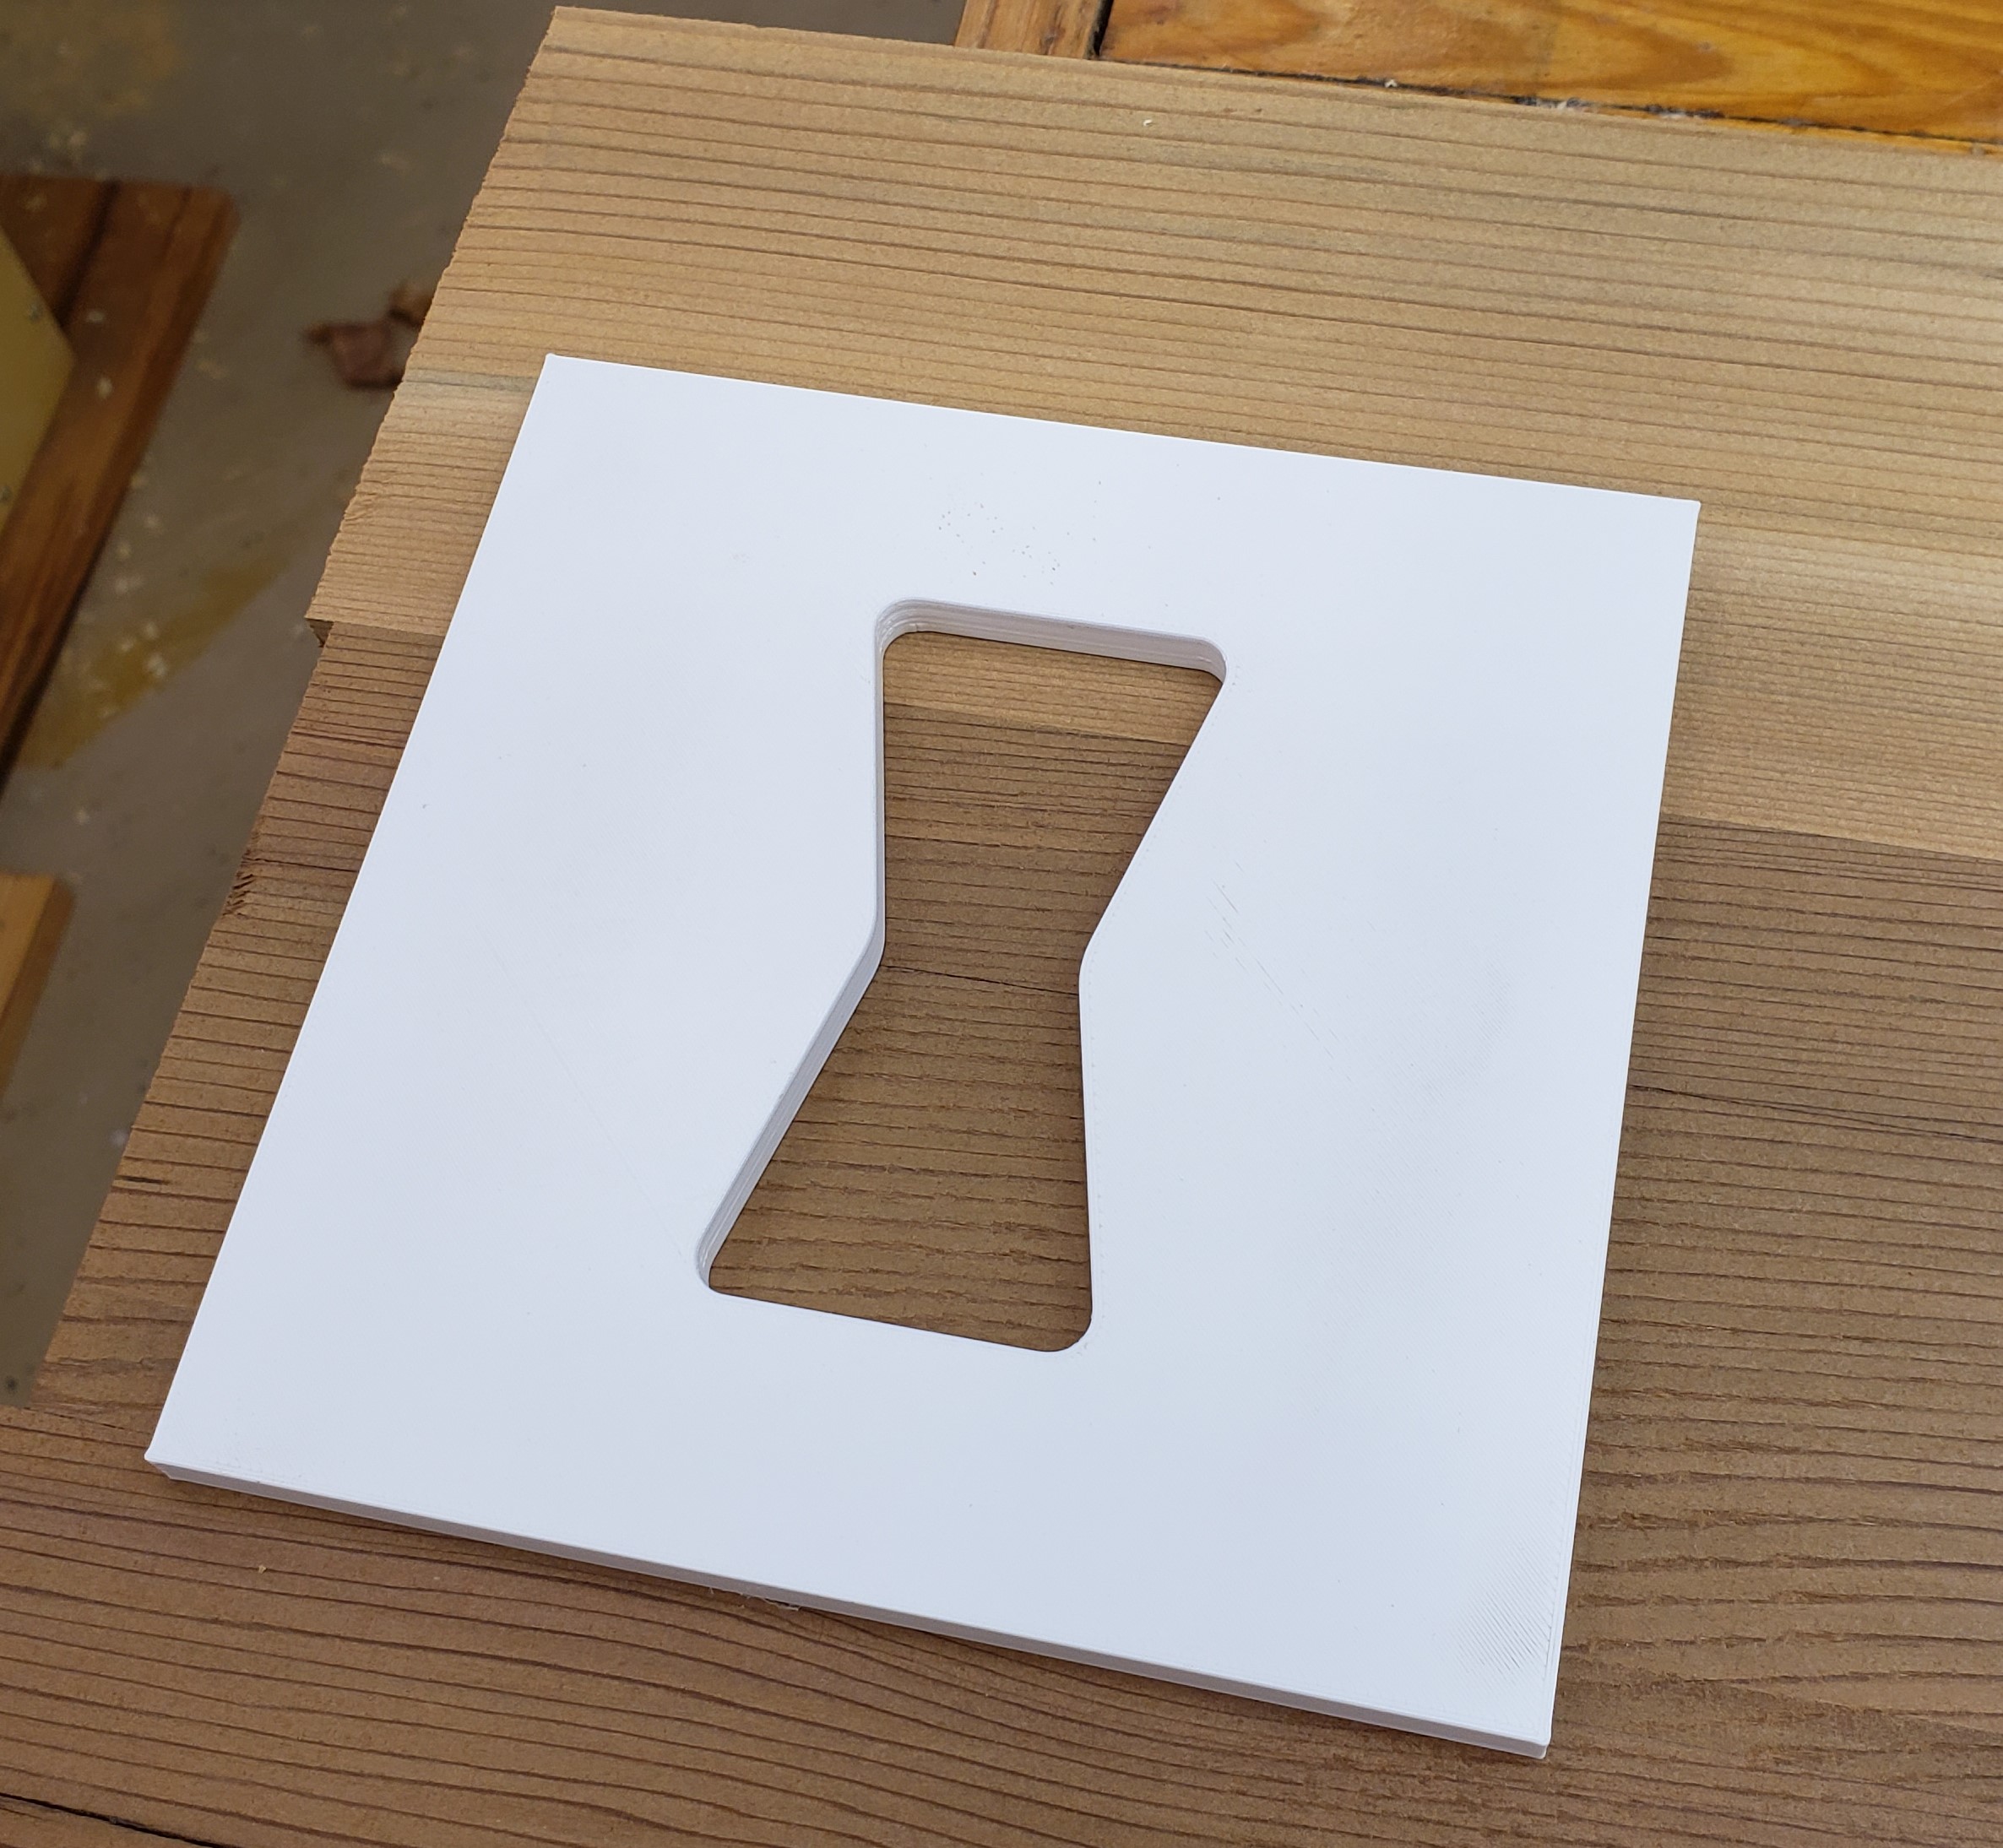
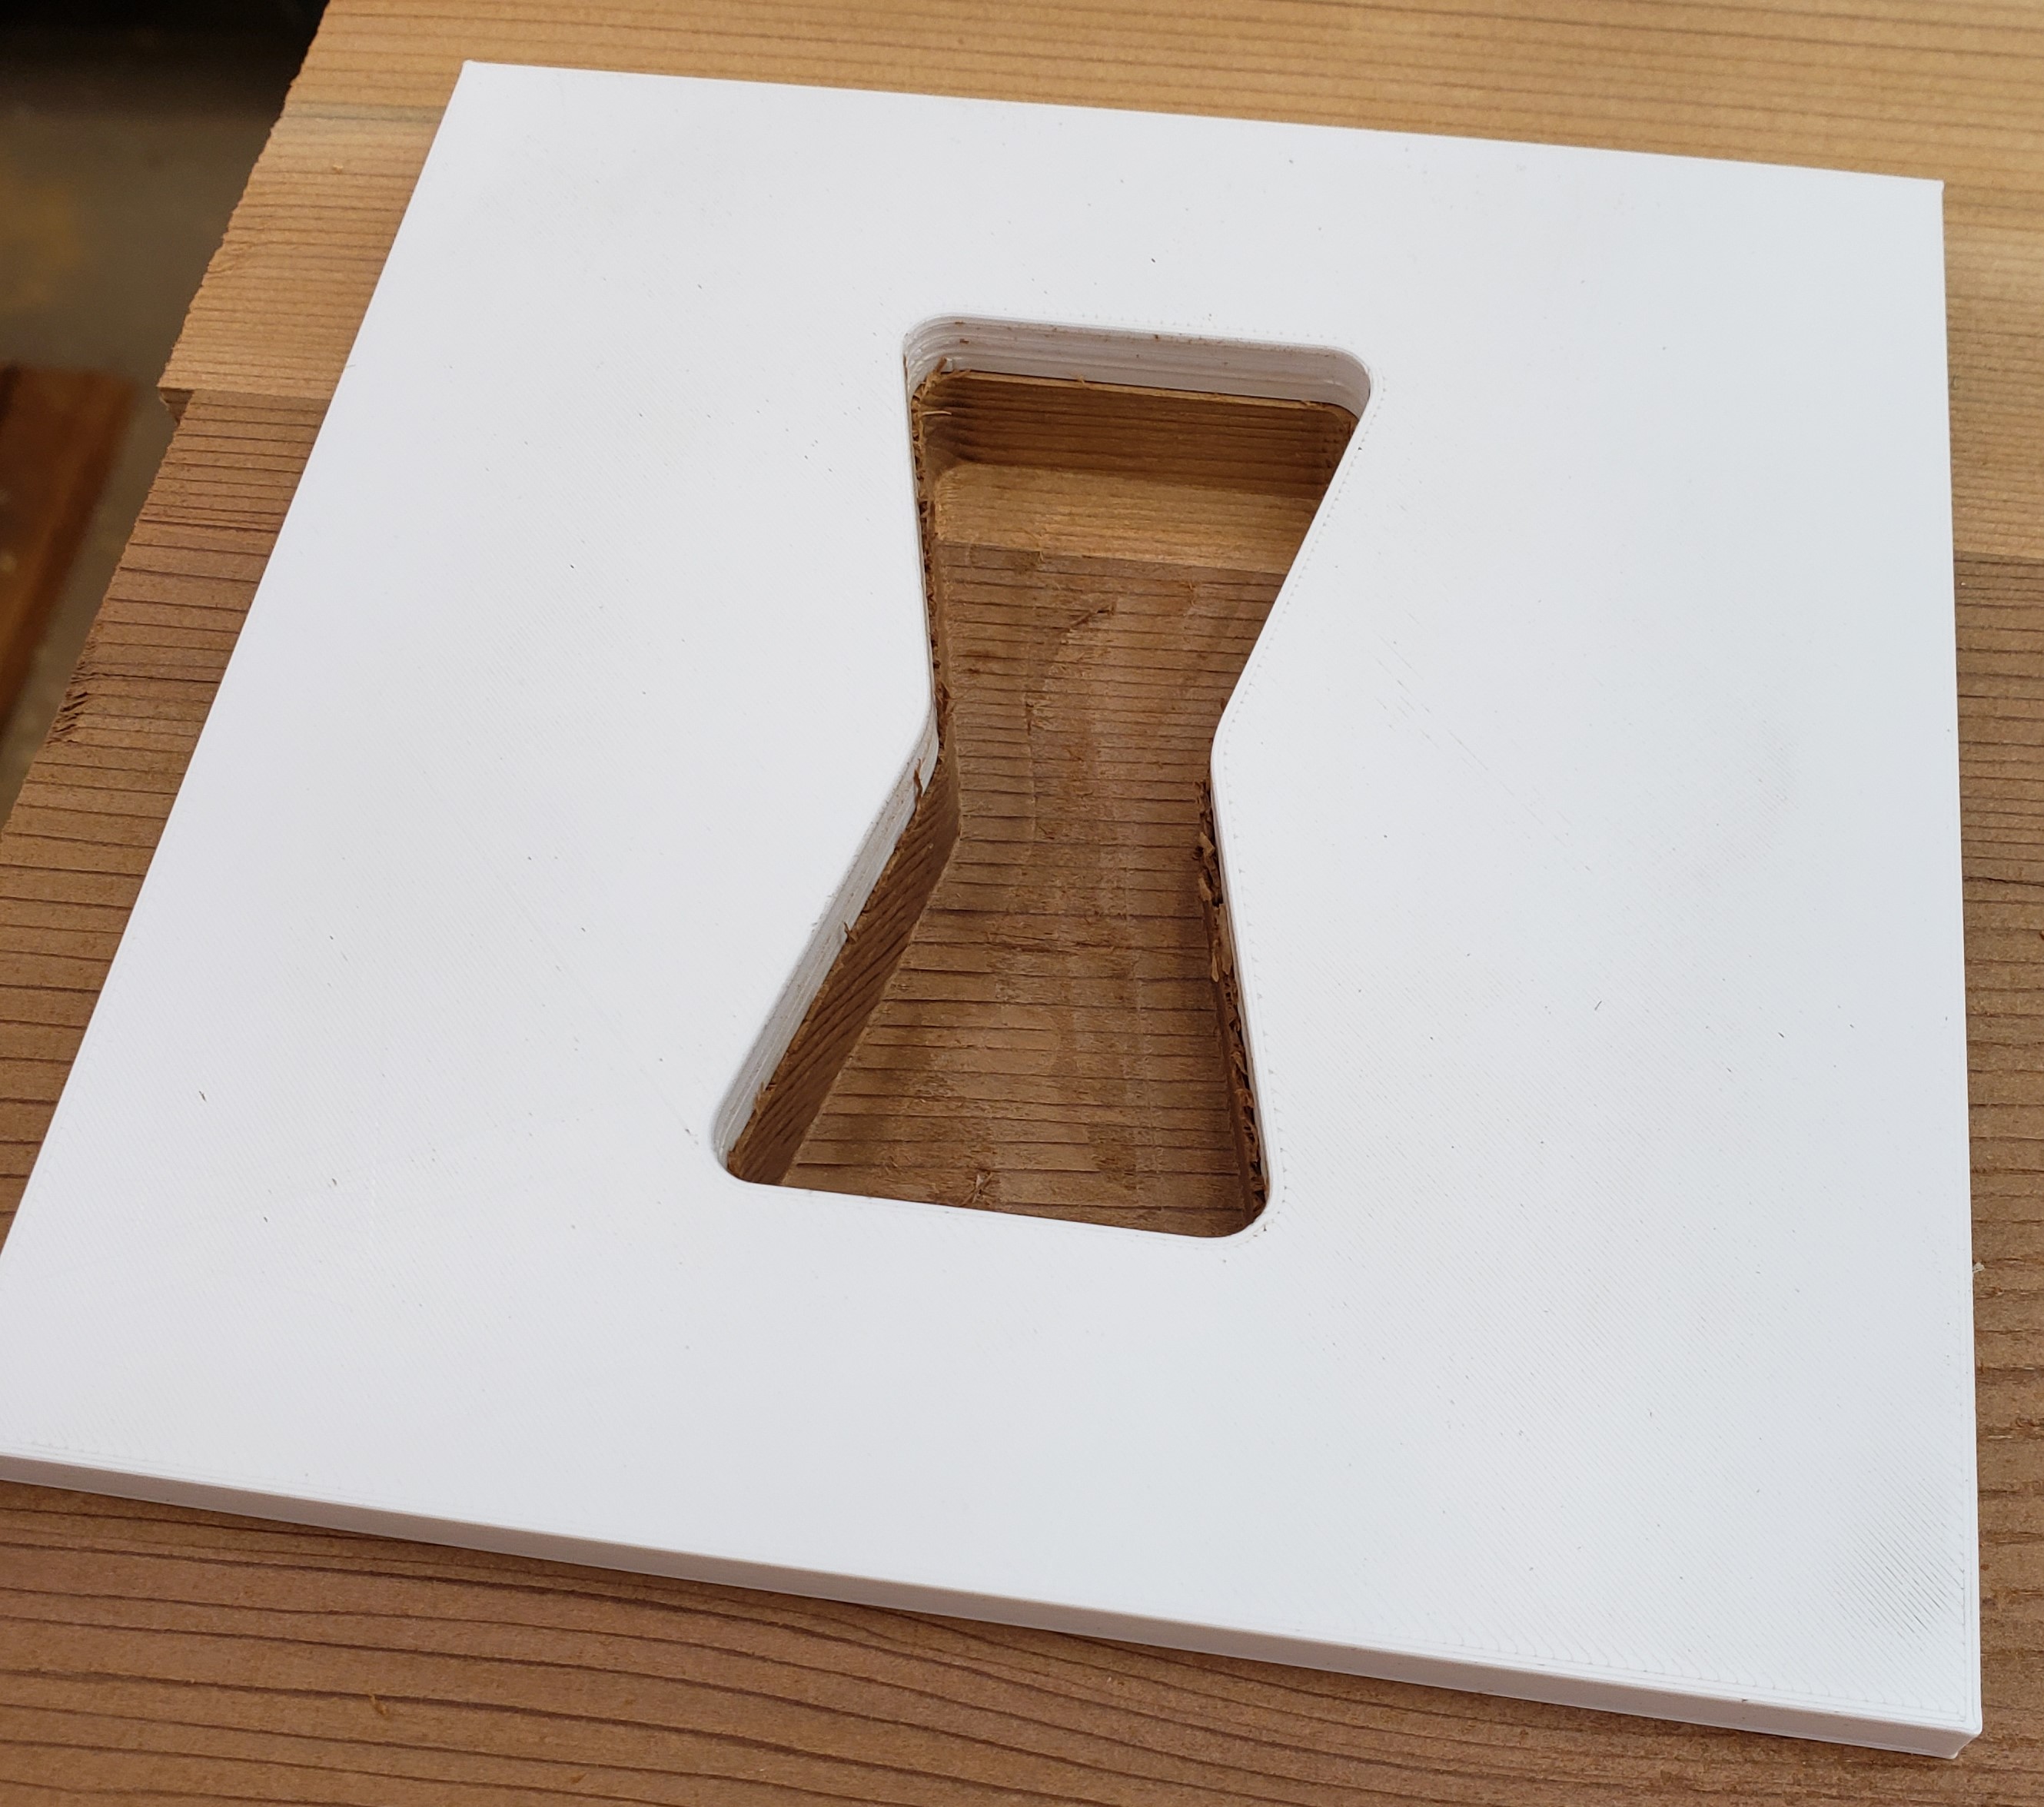
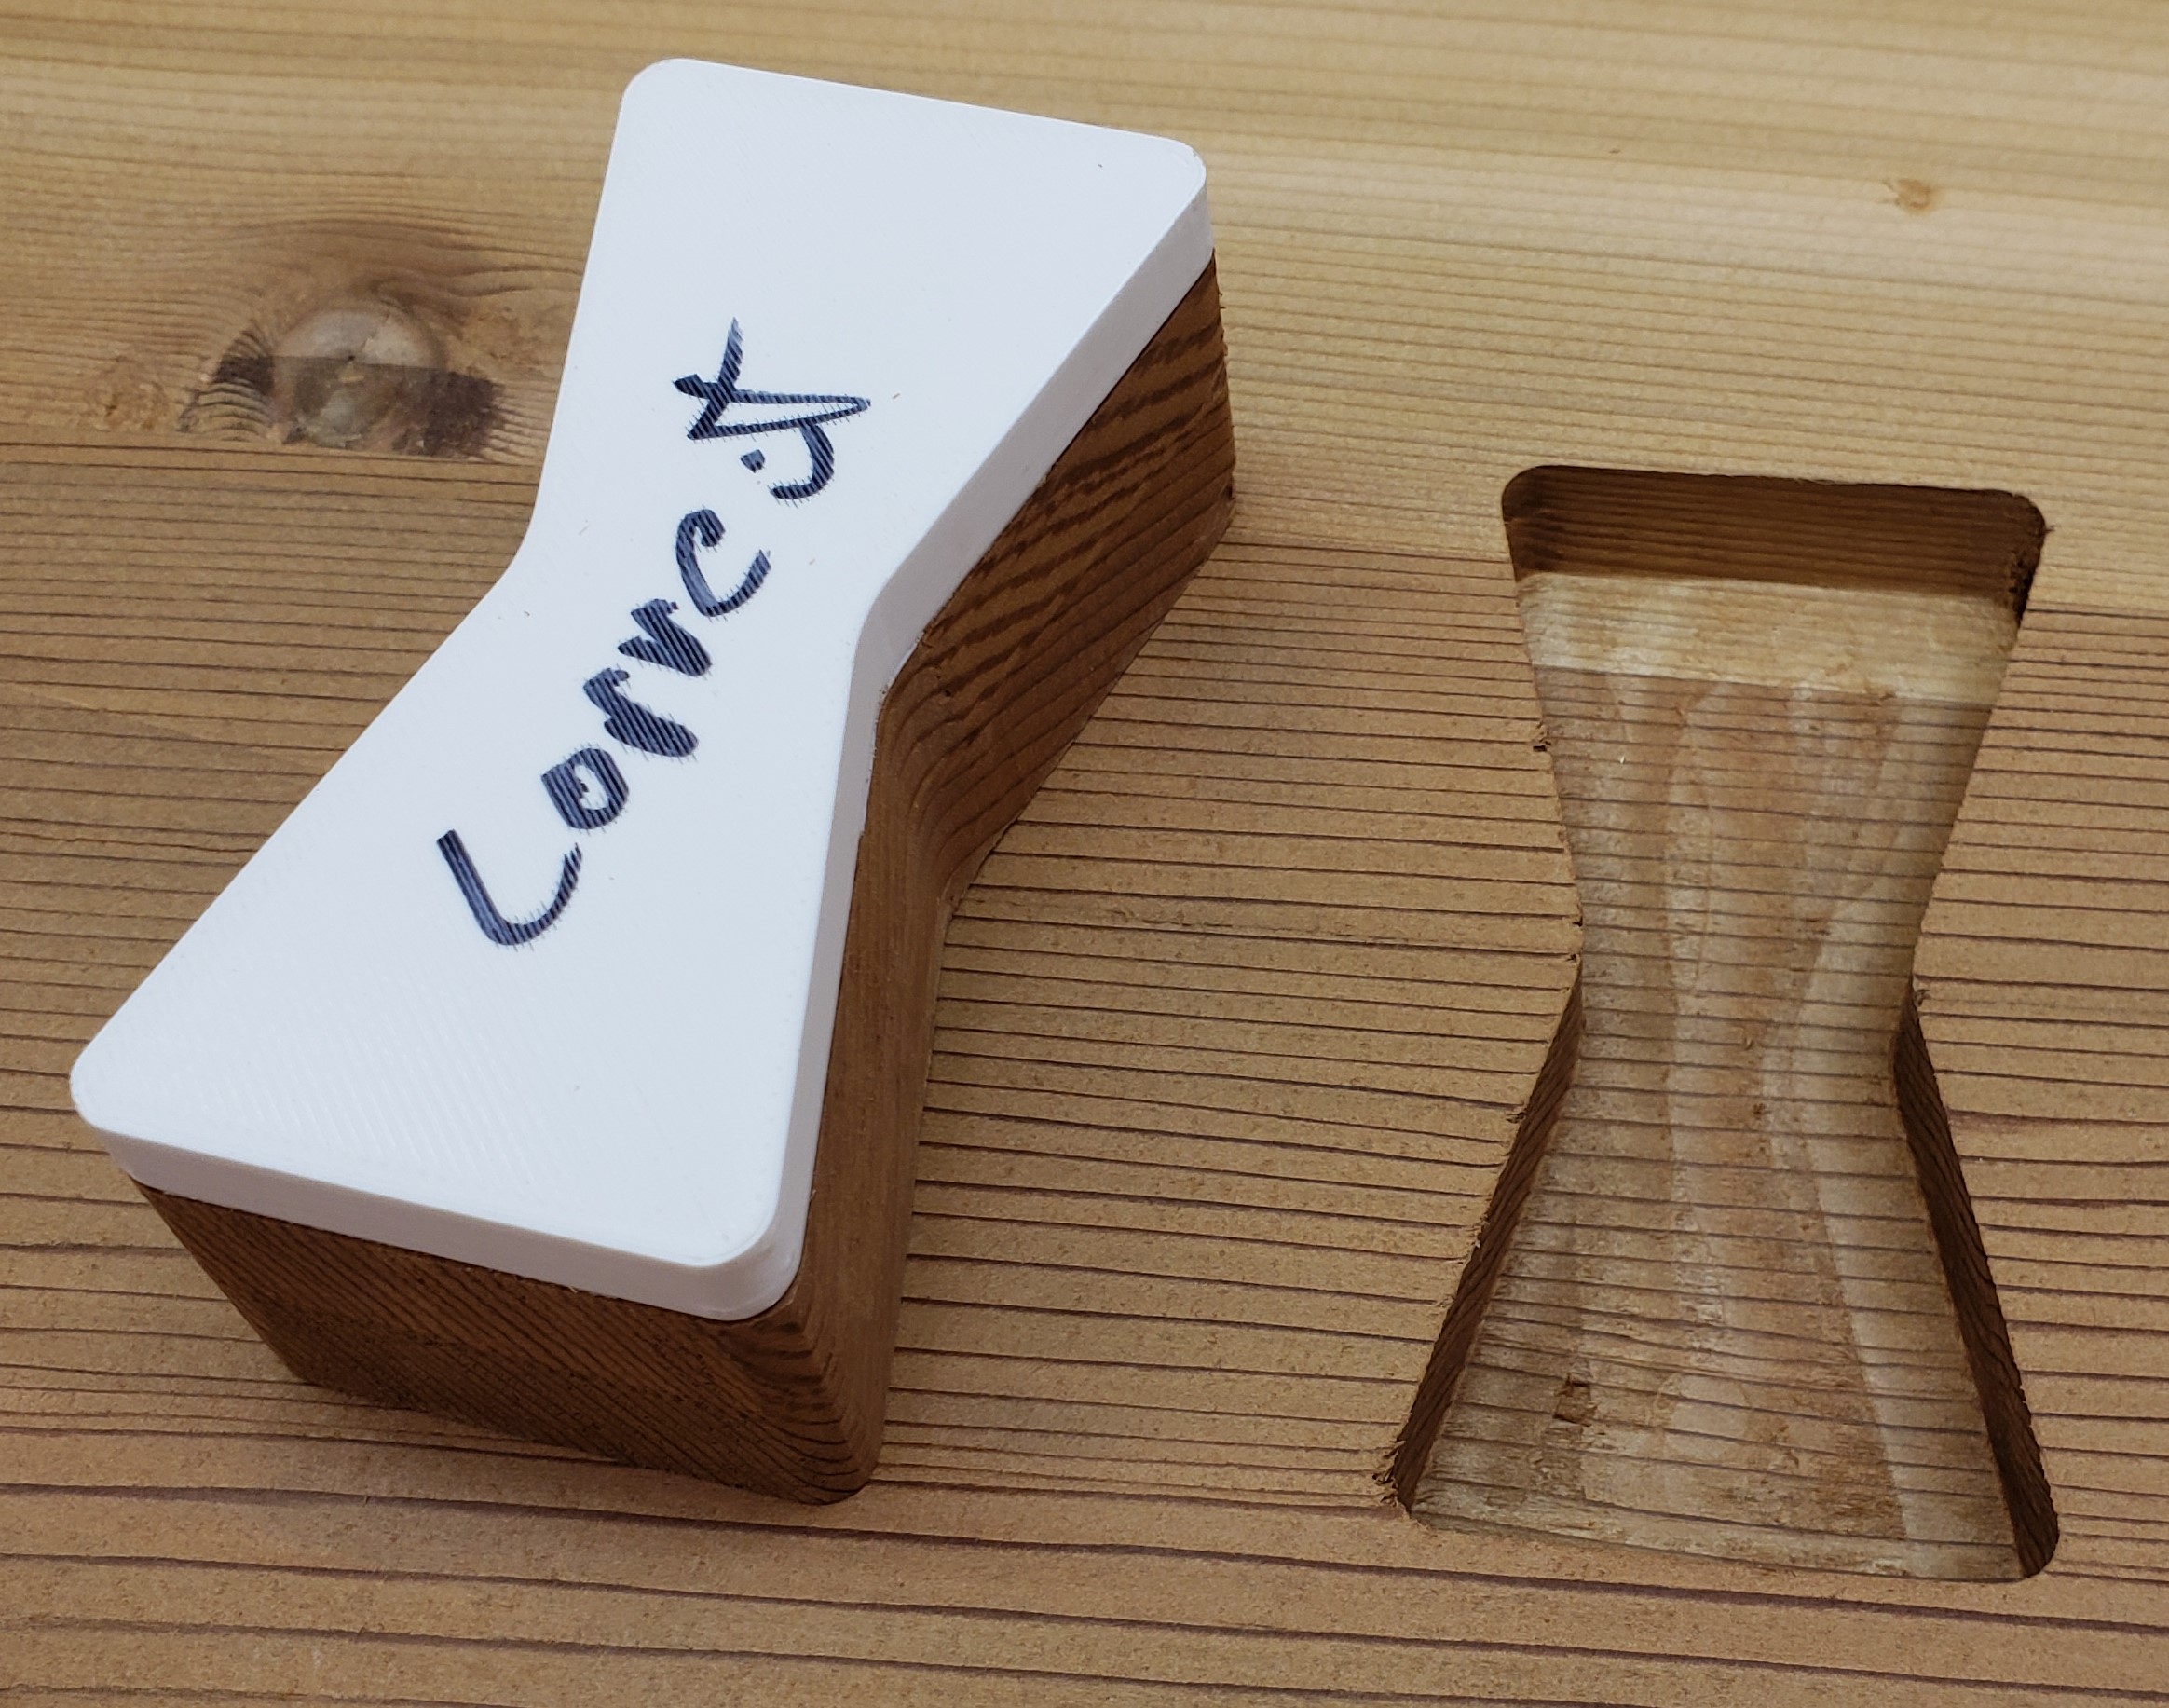
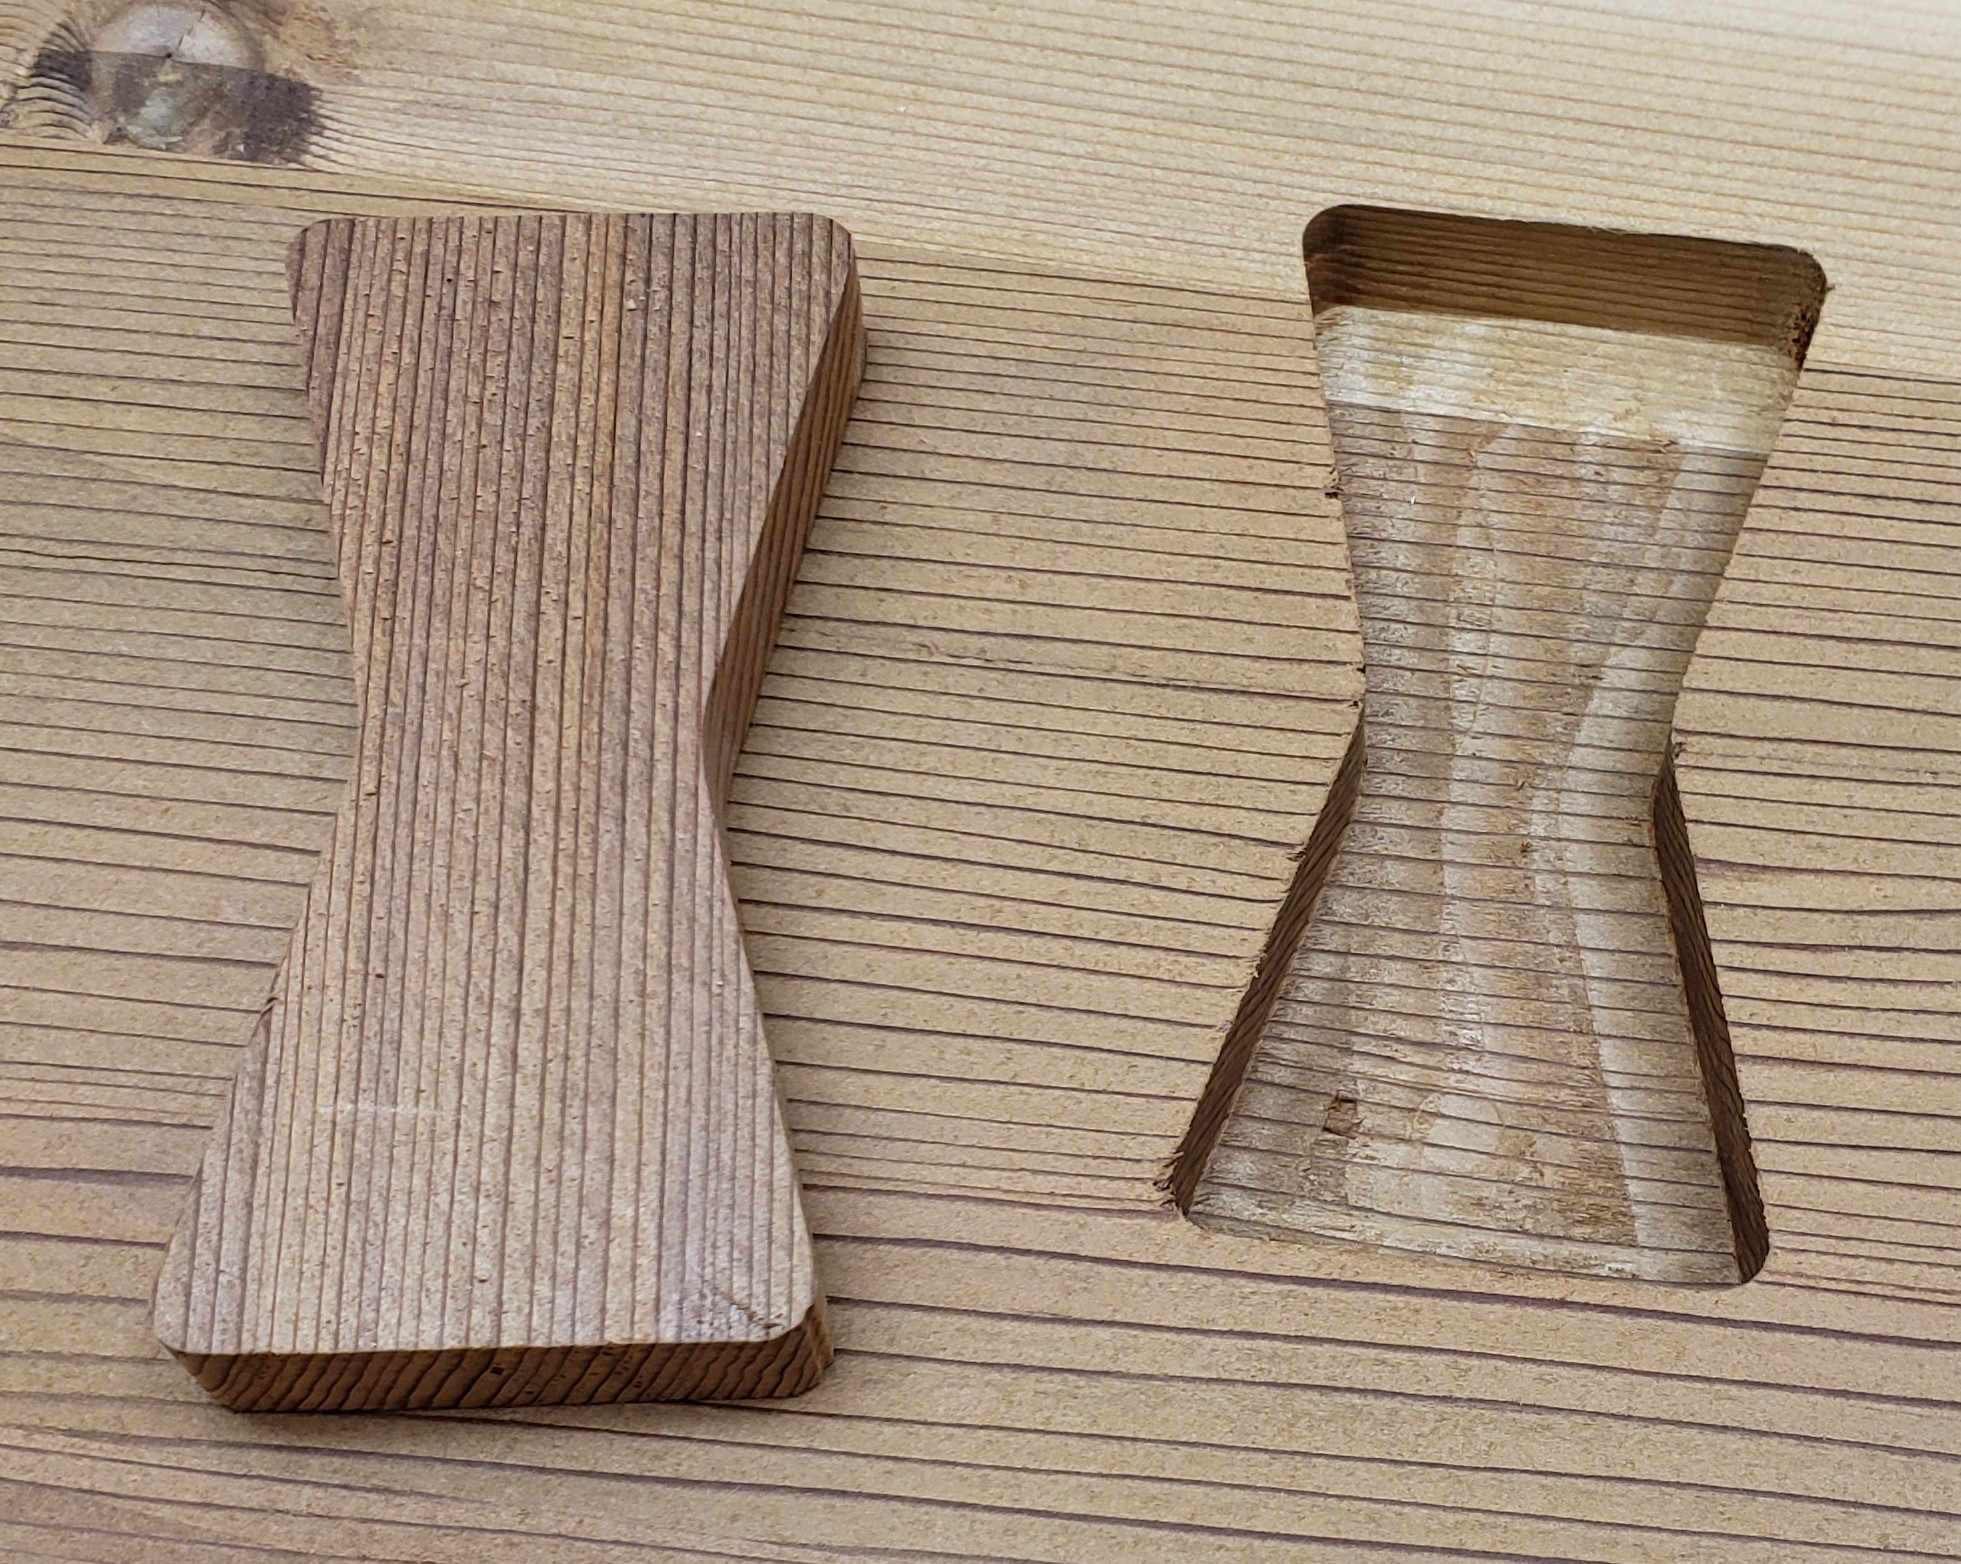
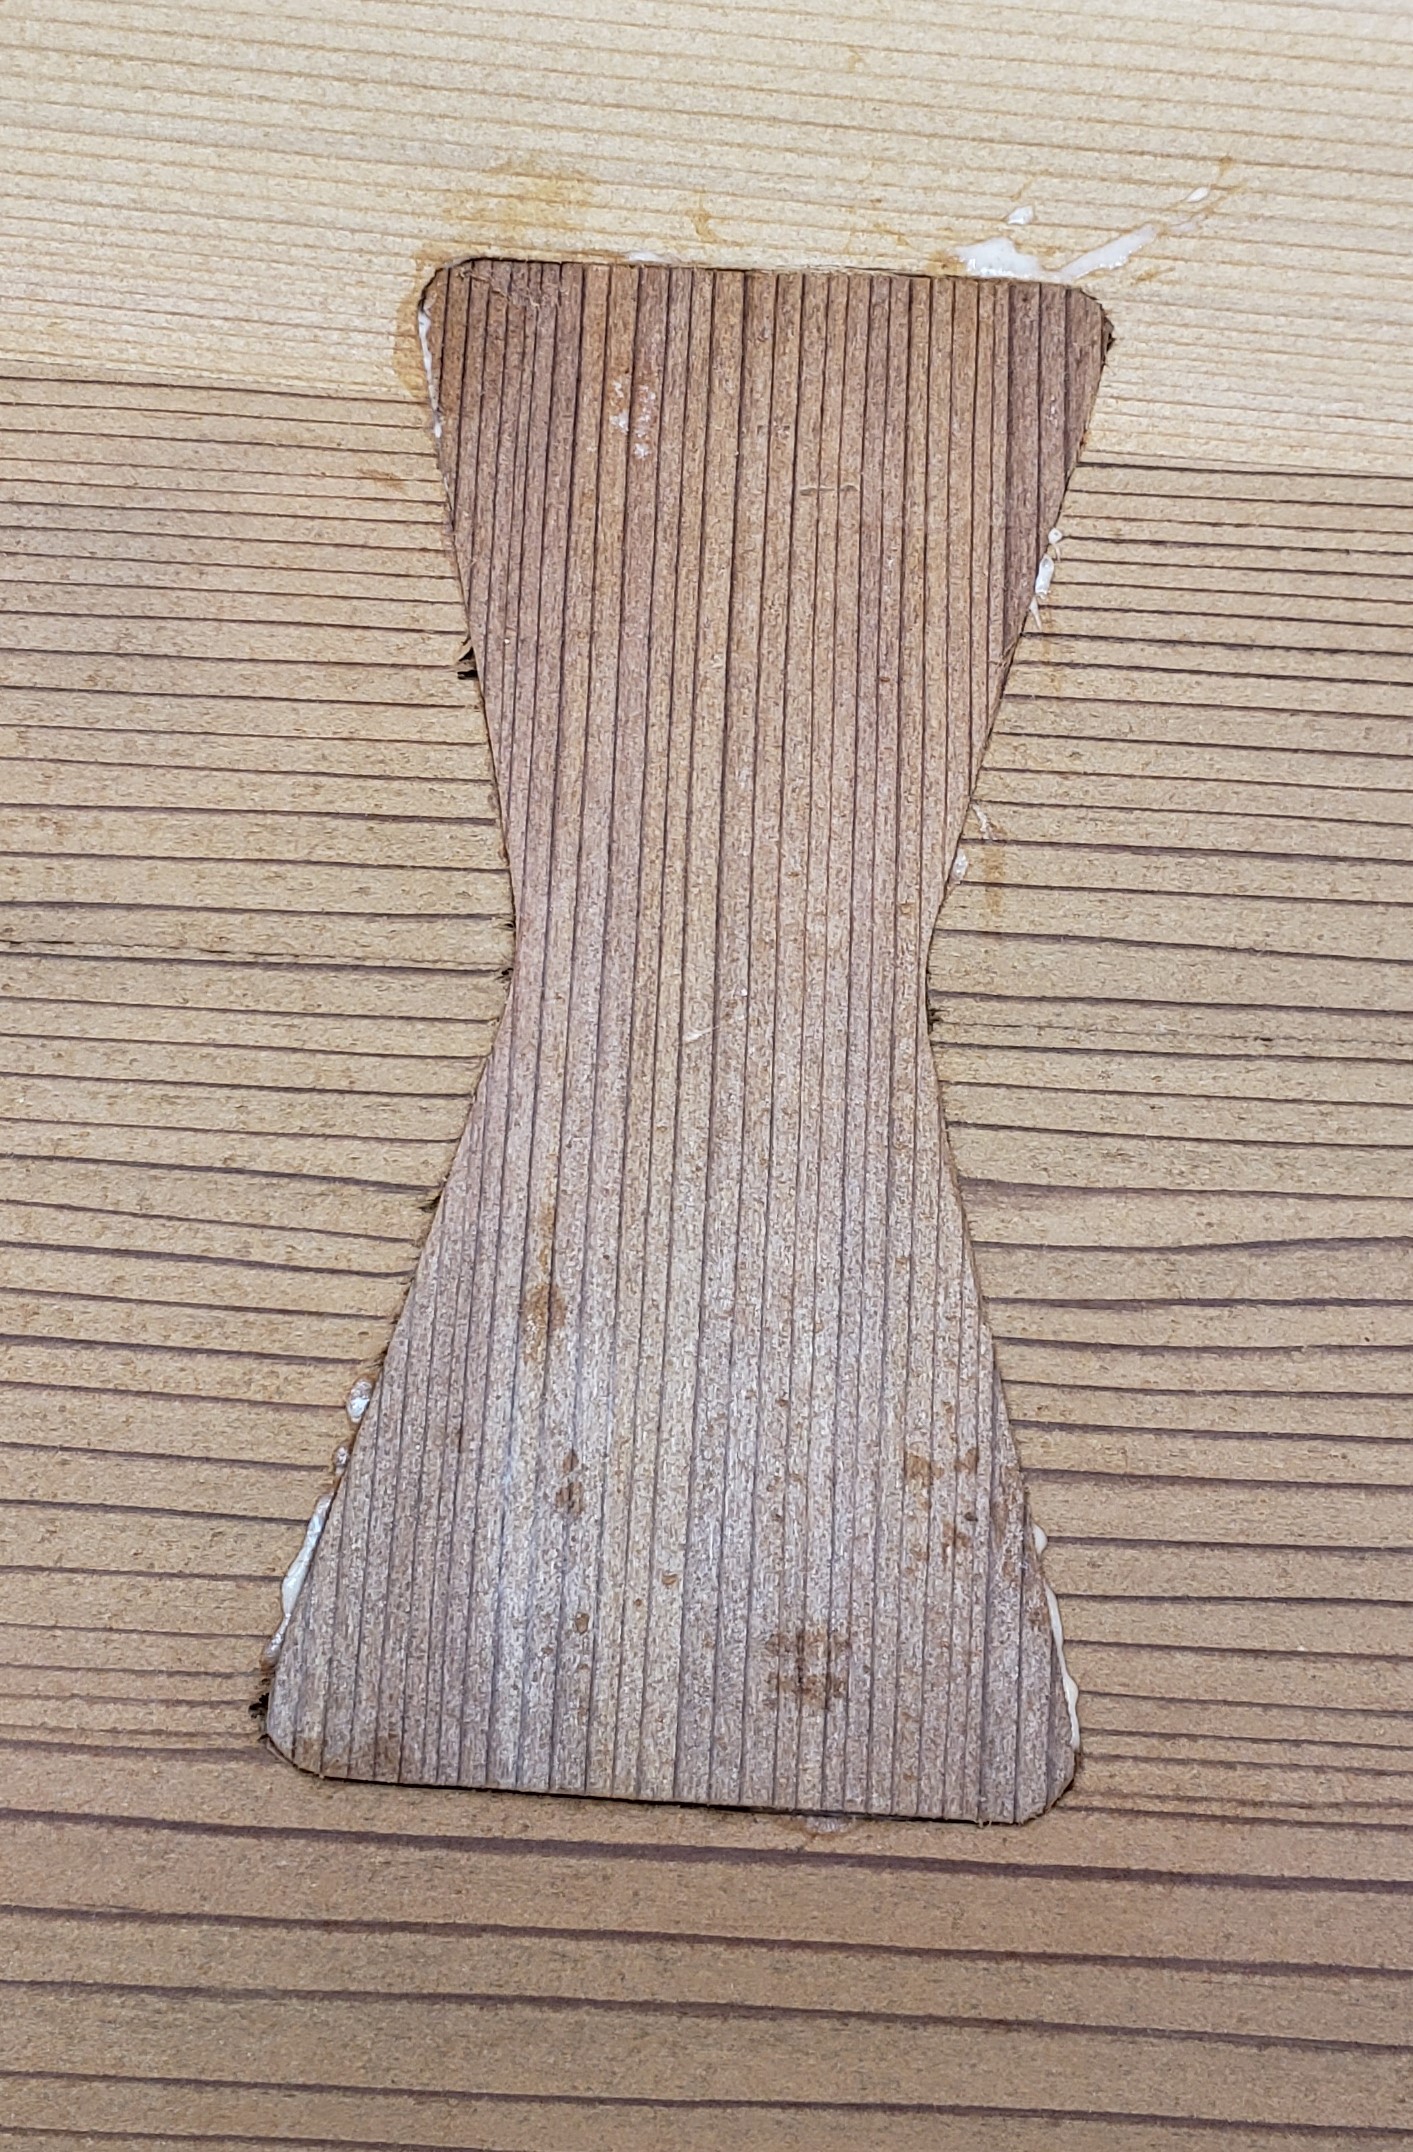
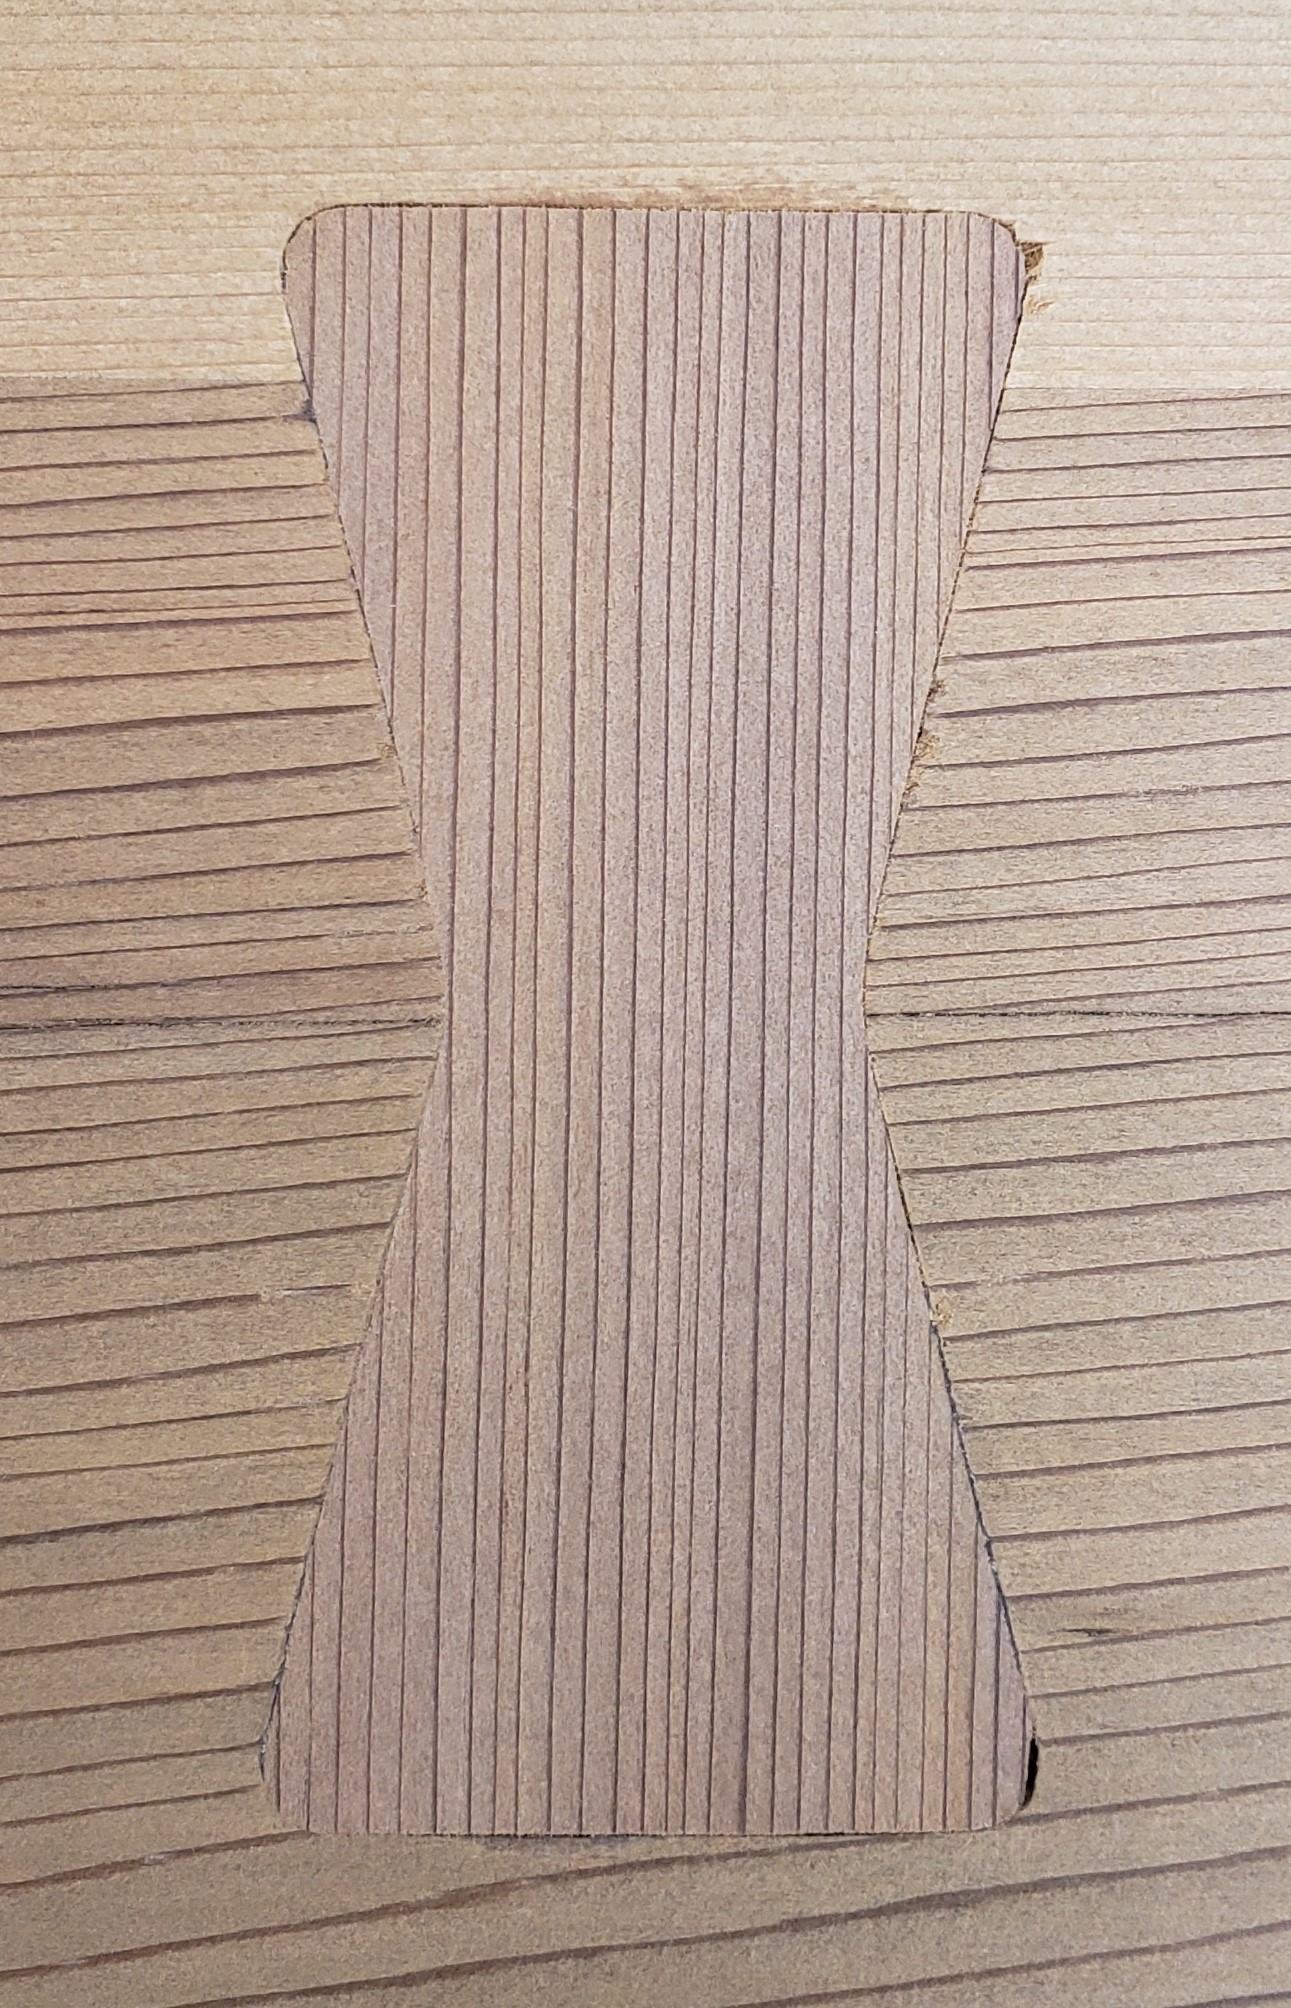
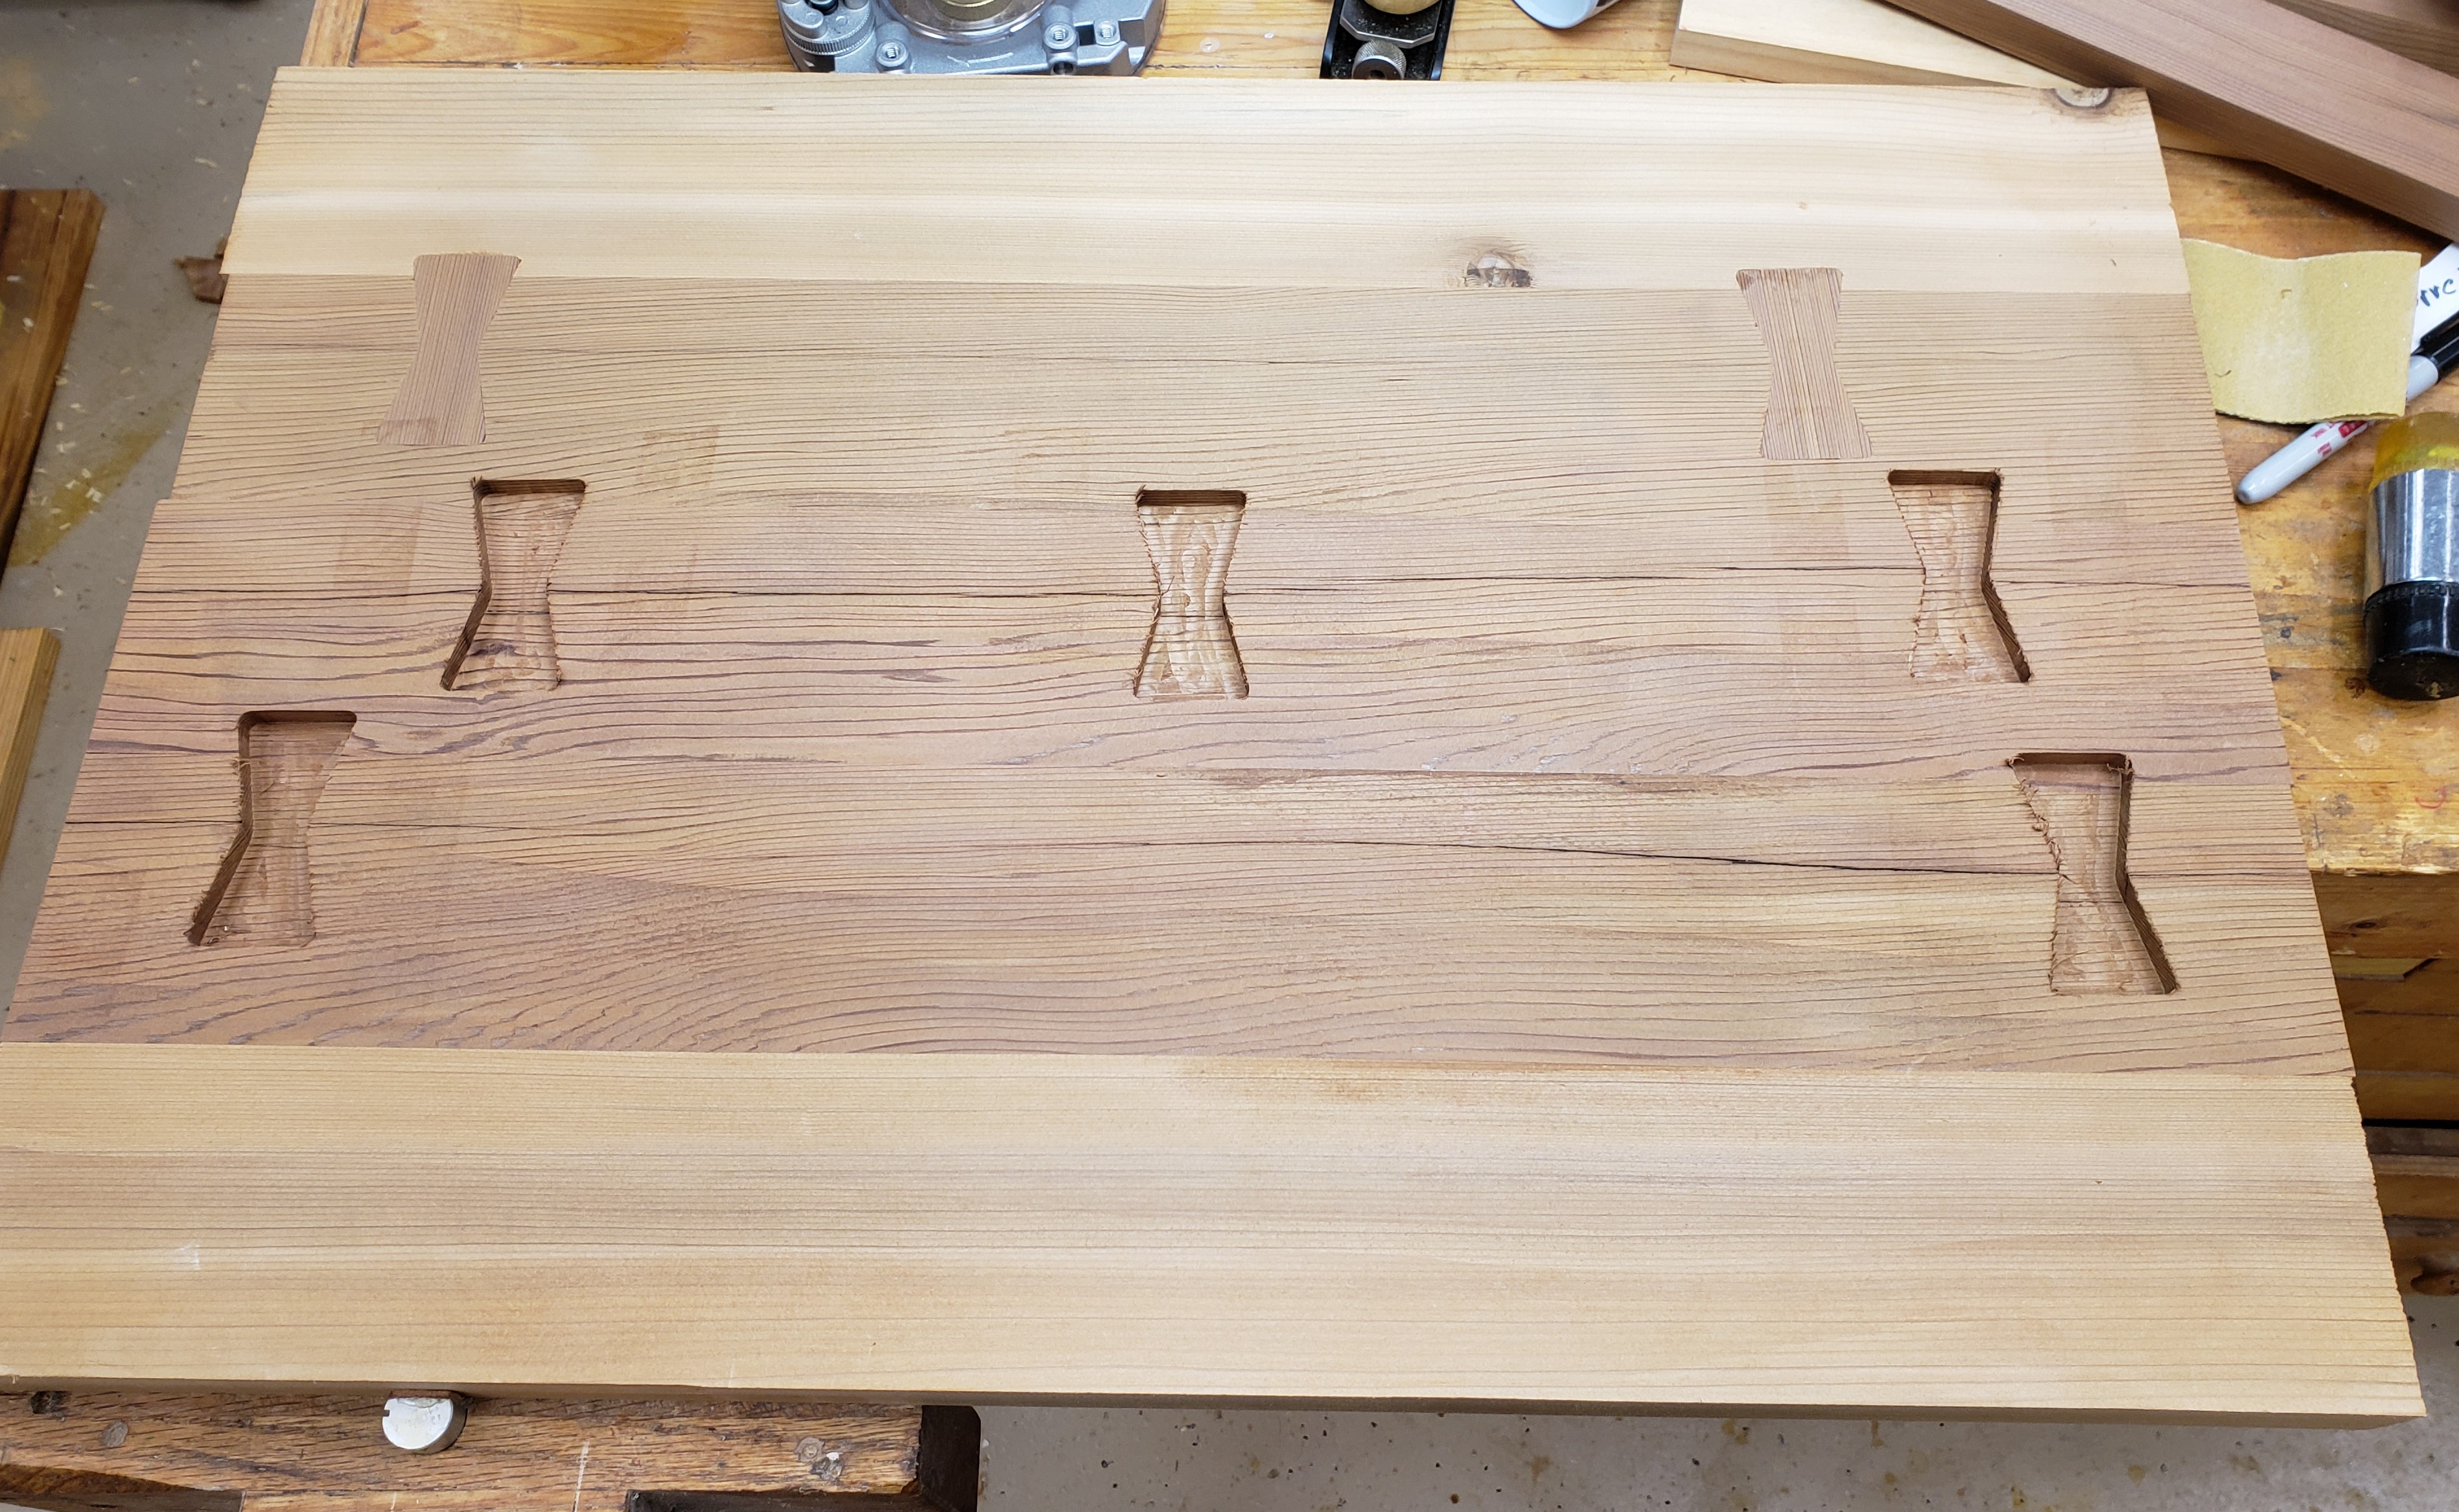
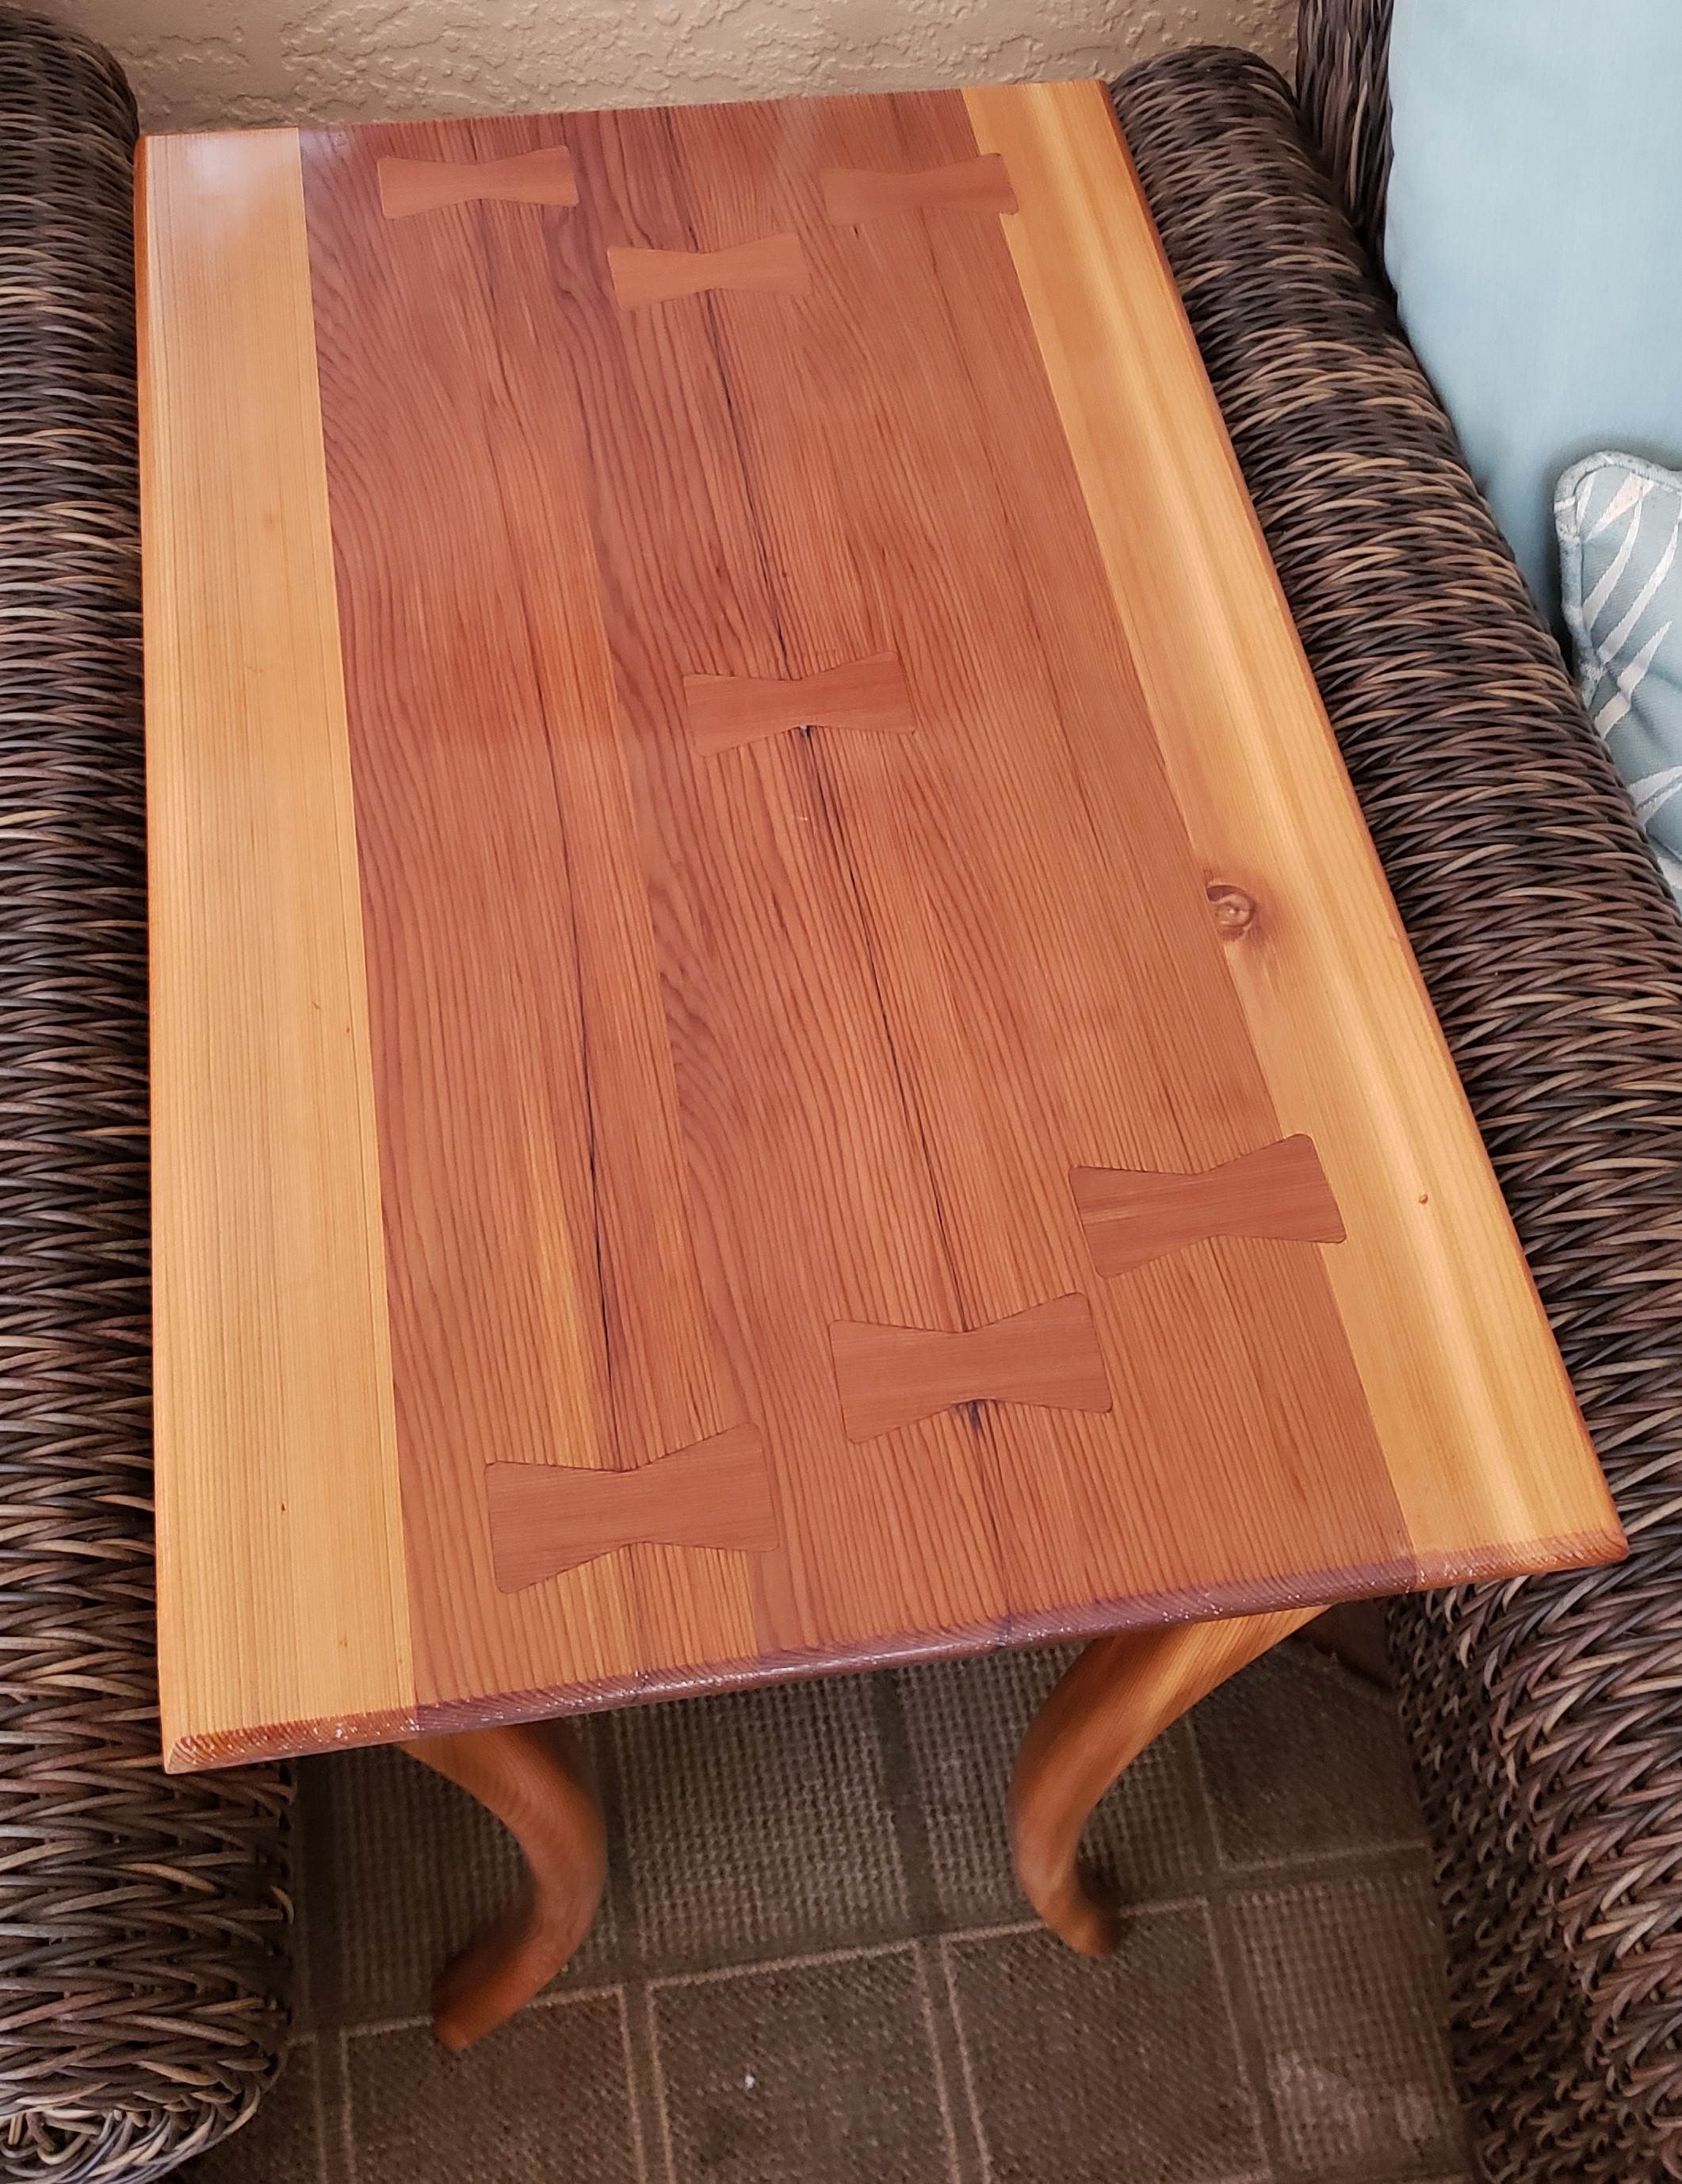
My quick little side table is becoming less quick. I have never done butterfly keys, but why not start now?! It took a few iterations but I made a key shape that my pattern bit would replicate and matched the corner radius a 1/4″ router bit would produce.

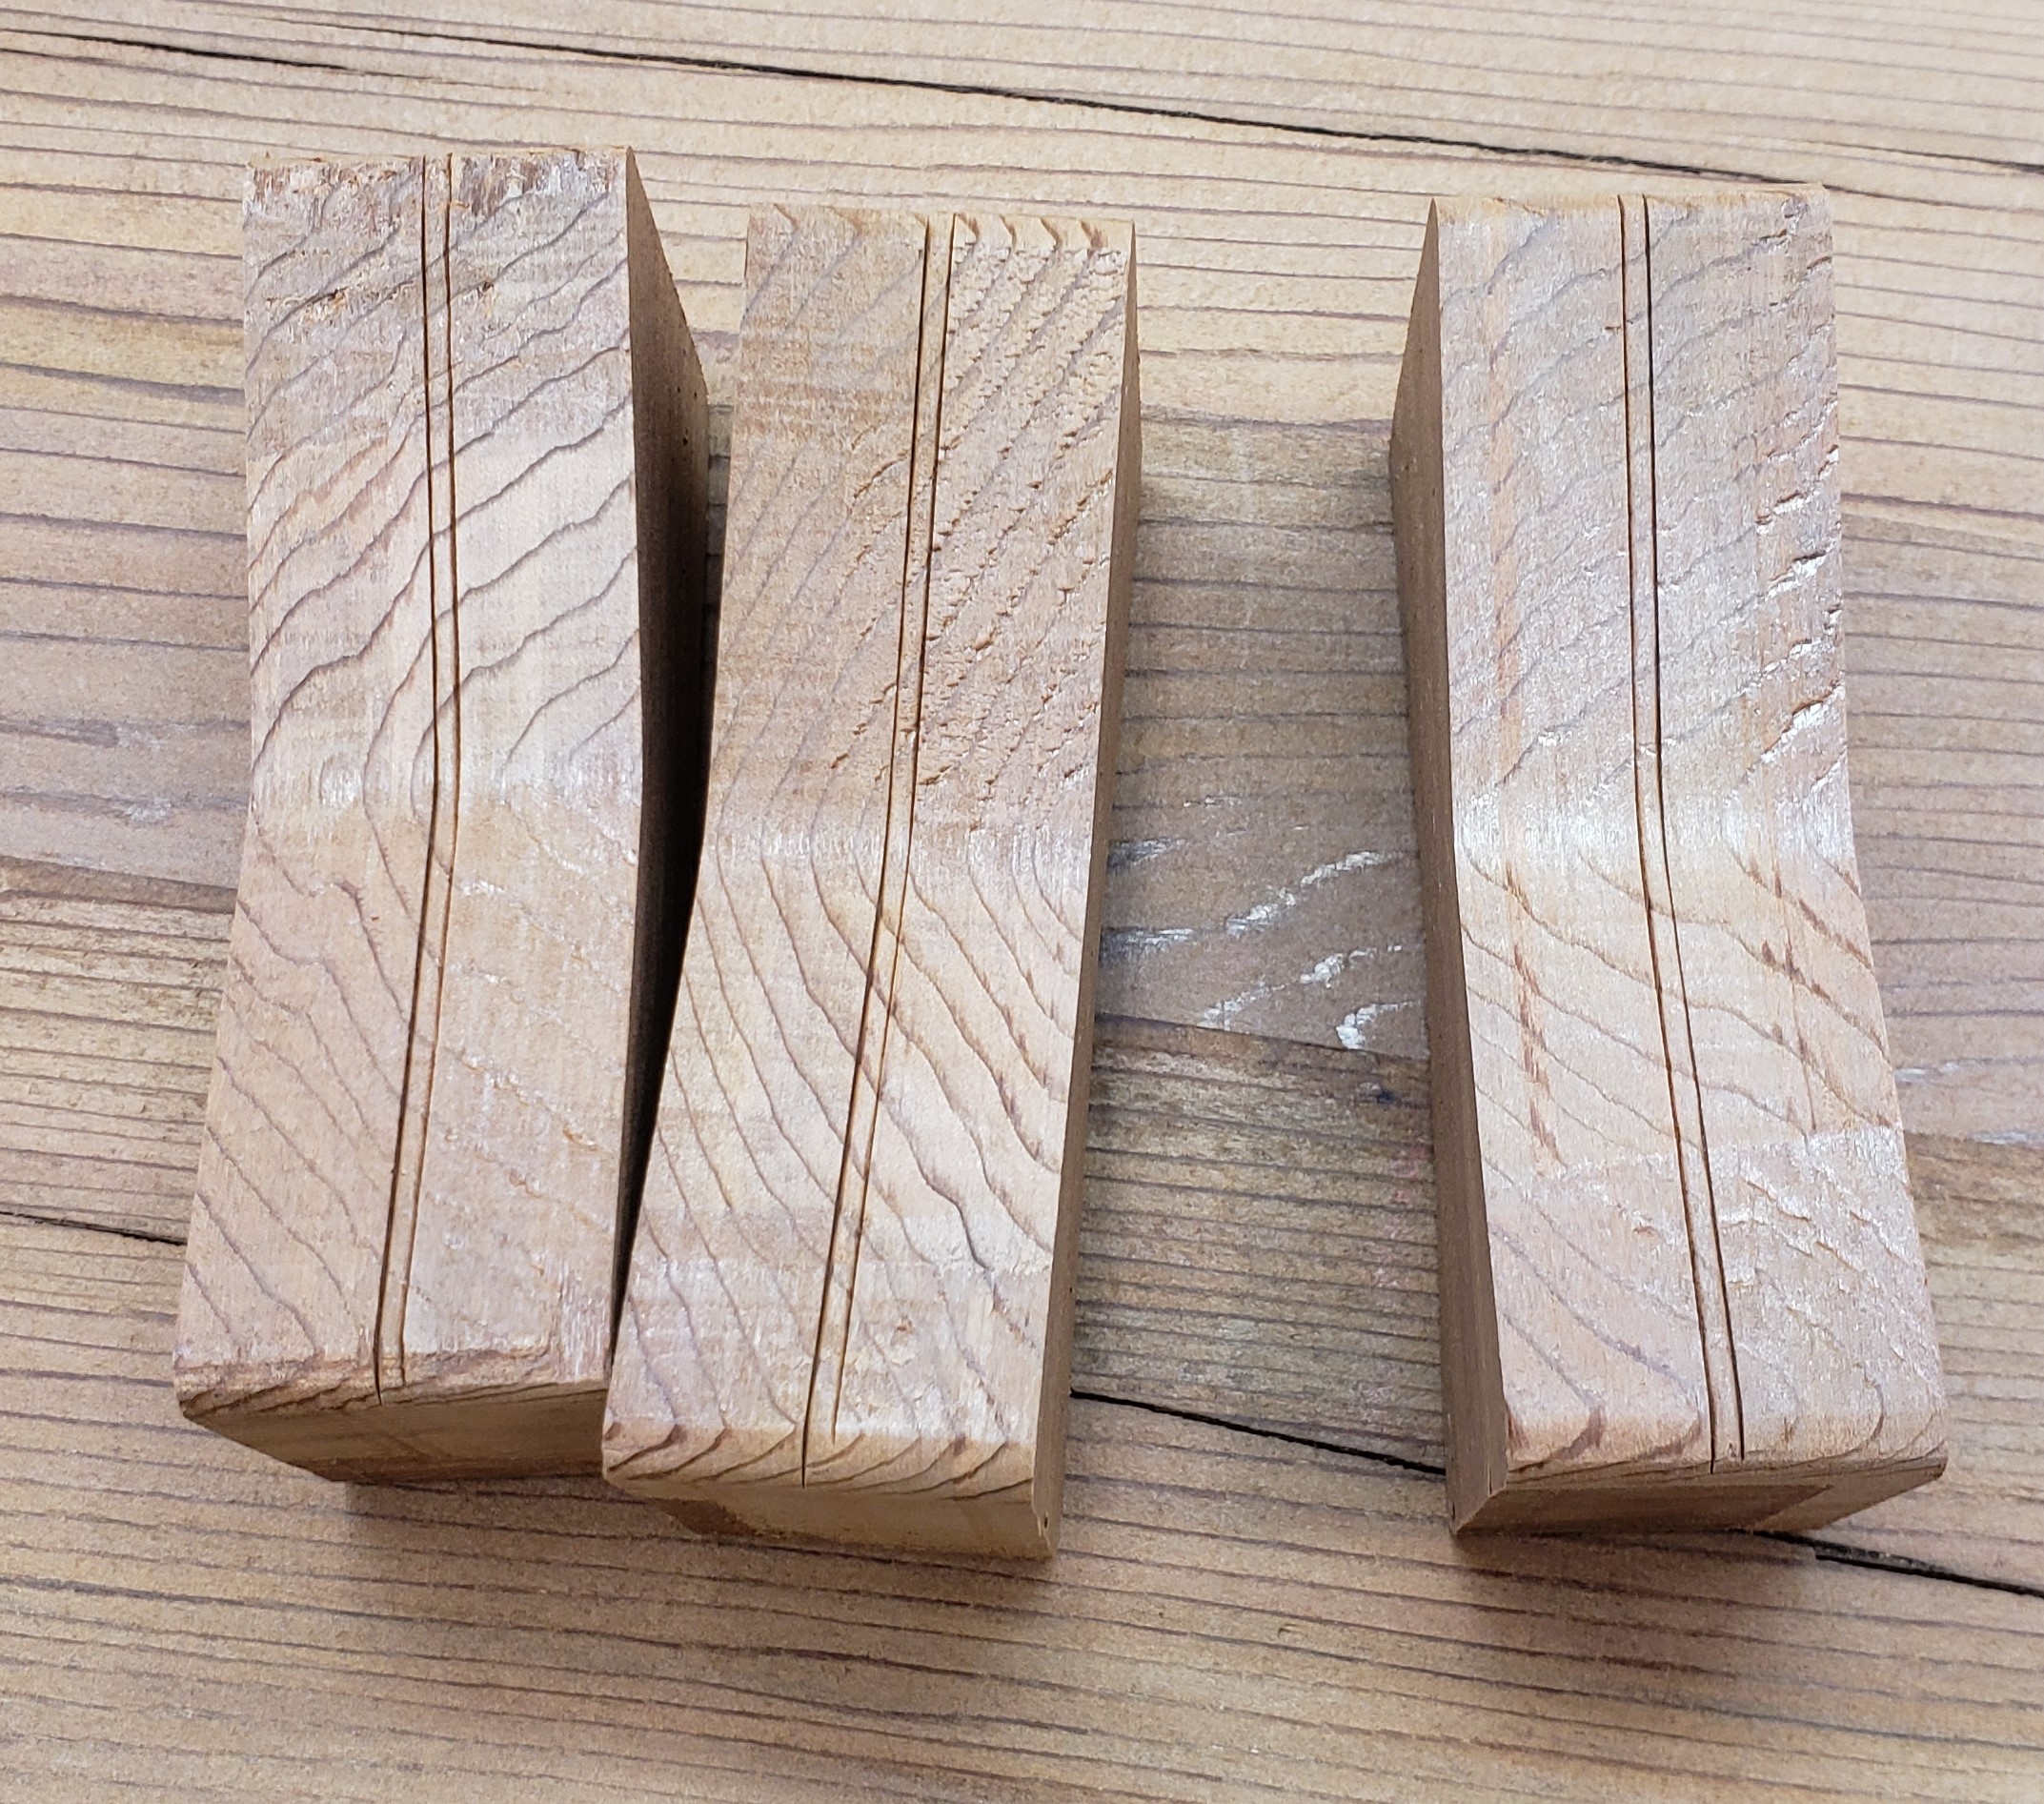
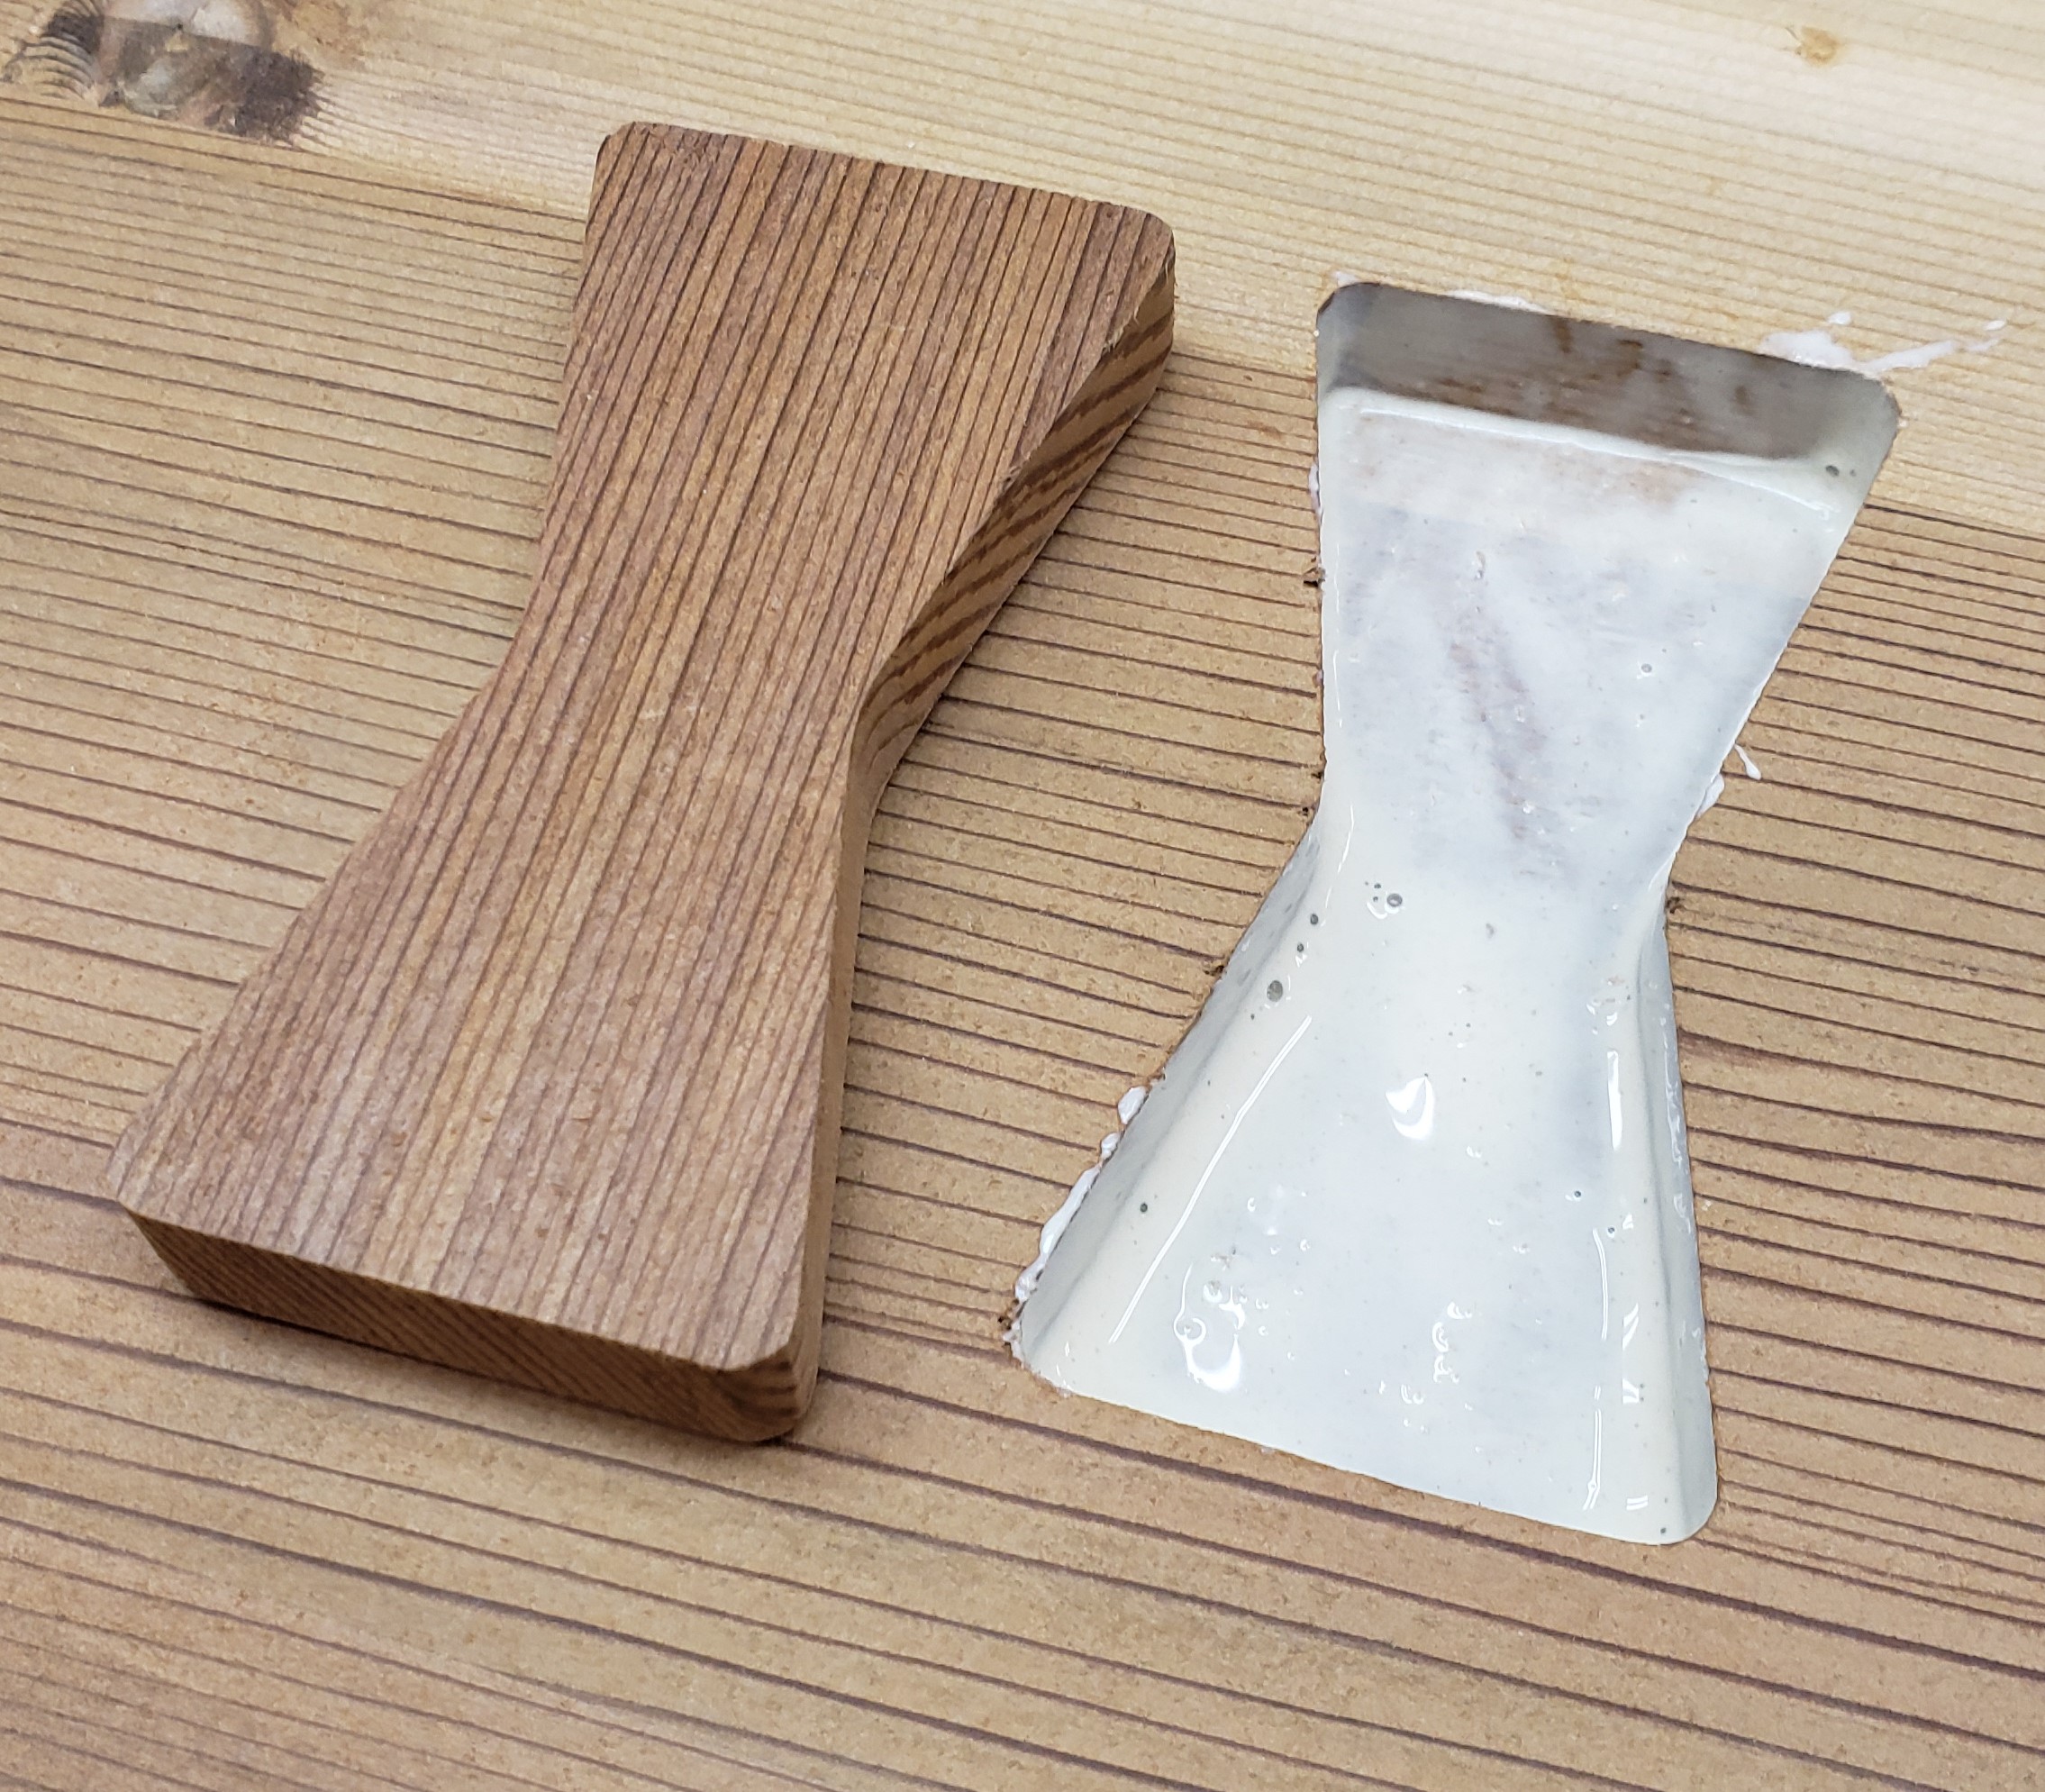
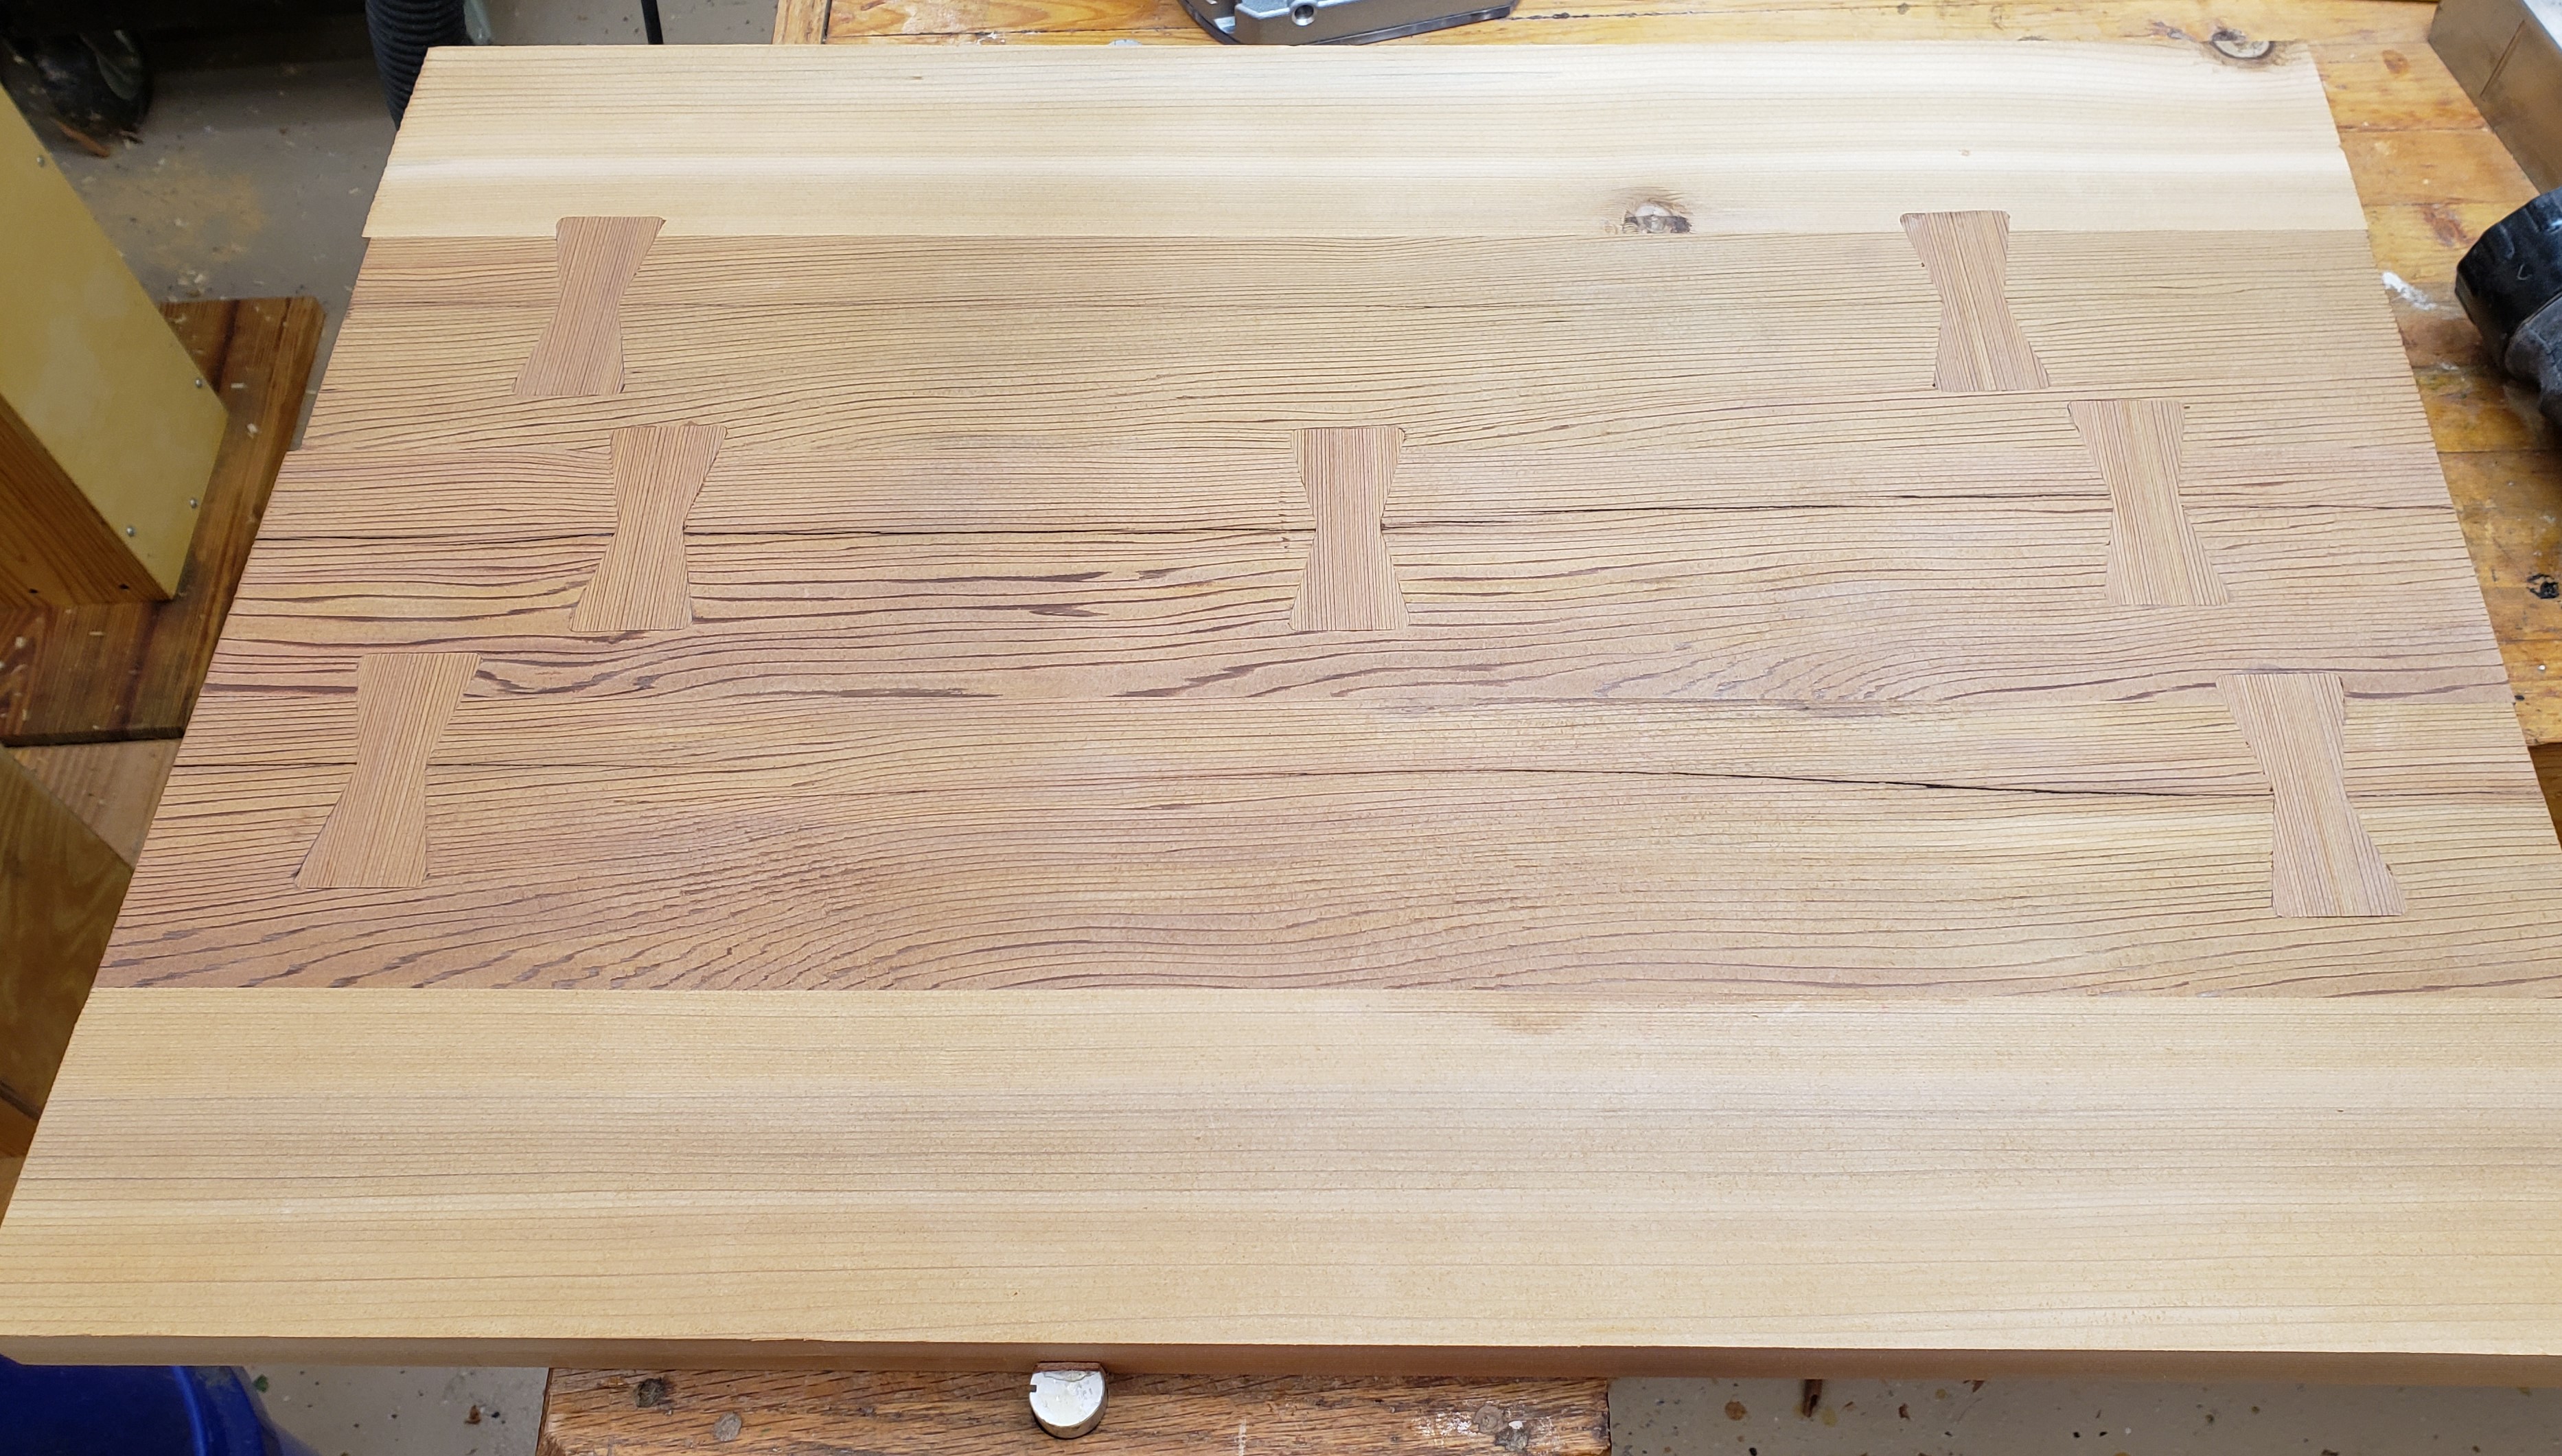
First you use double sticky tape to place the template. Plunge route the socket that will accept a key. Tape a template to the top of a key blank and pattern route the key. I made them tall enough to resaw and get two keys per pattern. I cleaned up the socket area, glued in the key and then planed the area flush.

The other side of the top looks much cleaner and was originally what I was going to show. After the keys turned out so well I showed it to my wife and she thought it looked better that way. Not sure if it qualifies as Wabi-Sabi or not, but it feels like it to me. With all the keys installed the table top feels really solid and doesn’t flex anymore. I trimmed up the edges and put a roundover and chamfer all the way around.


Legs

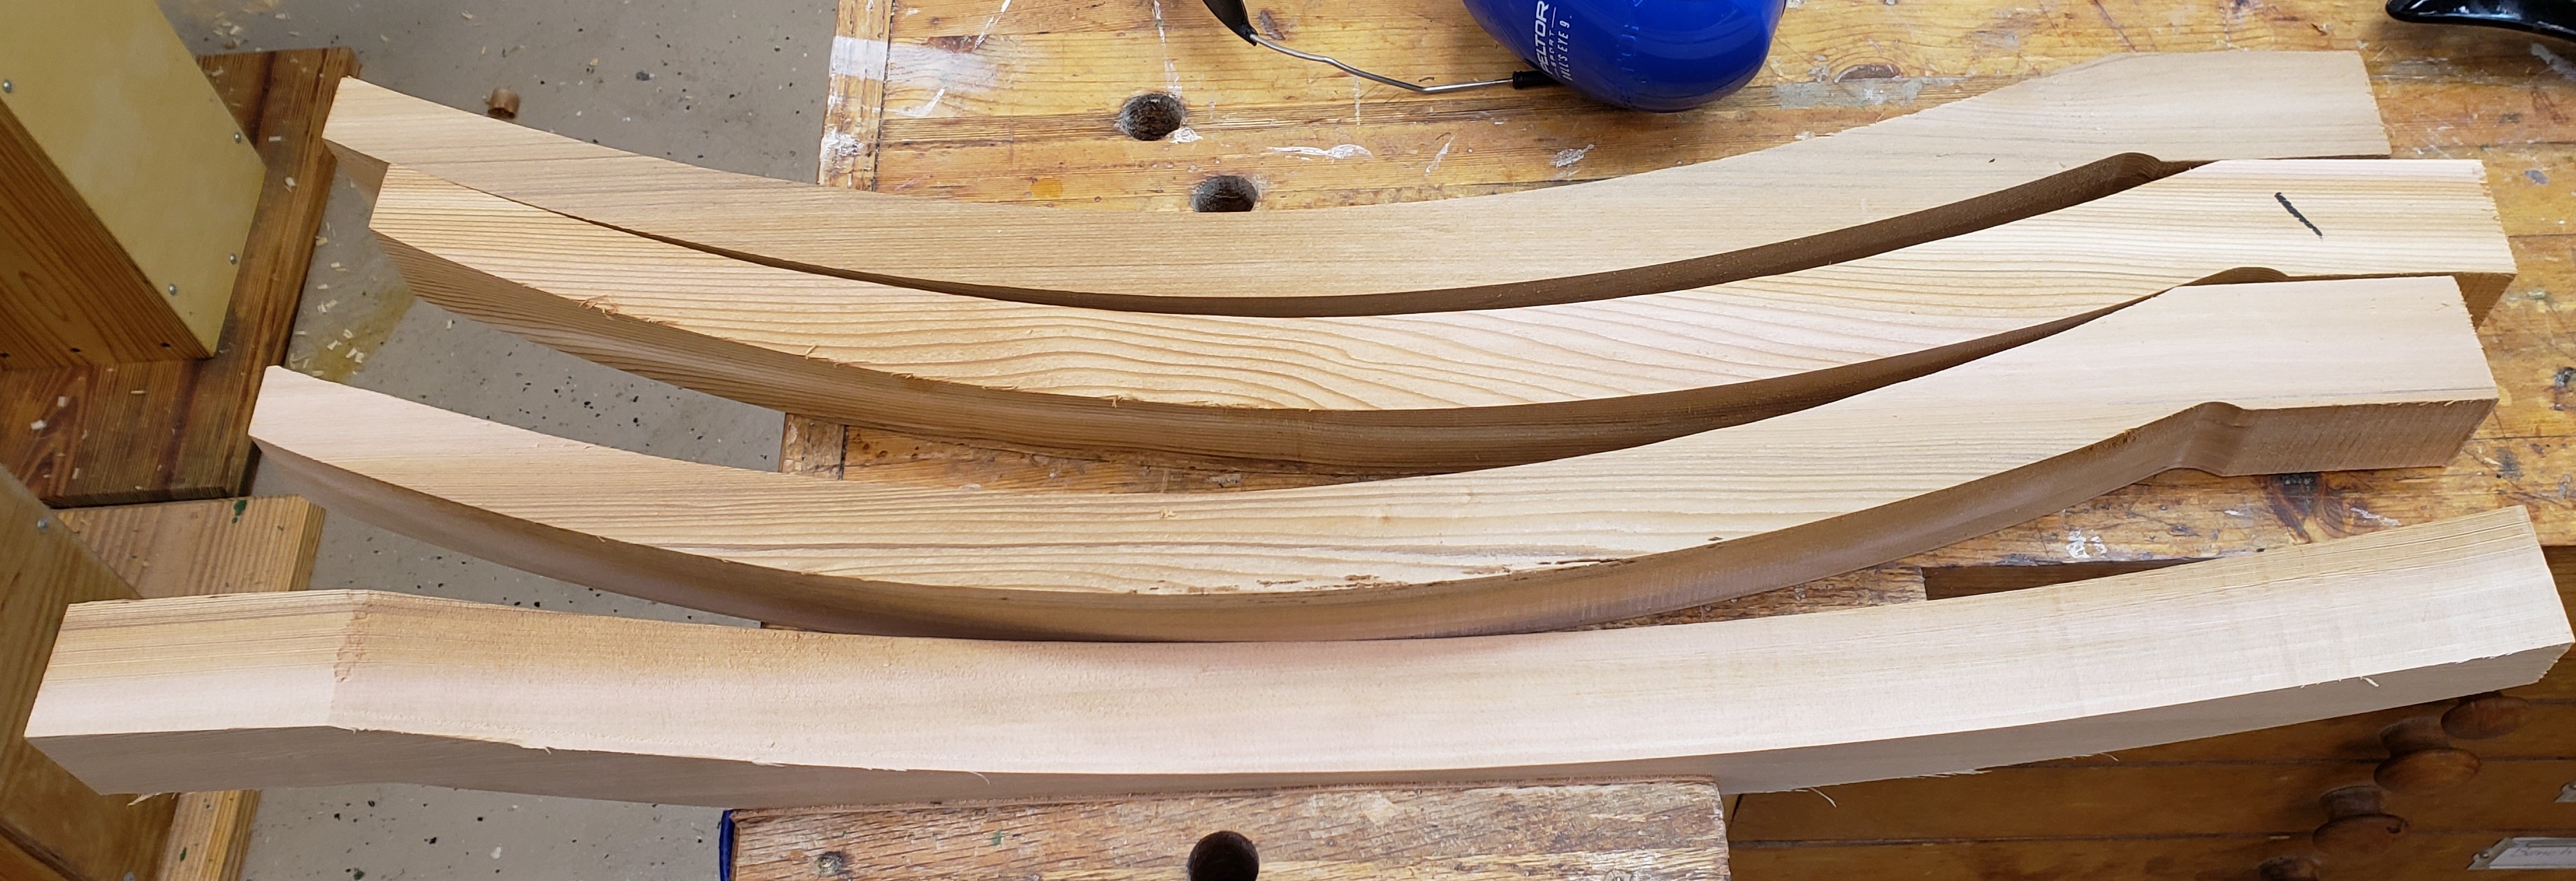
Moving on to the legs I repeated the steps used to create the initial 2×4 concept pieces only I used a pattern to speed things up. I started by roughing out each leg on the bandsaw getting as close to the line as I dared without going over. Price Is Right rules apply here.

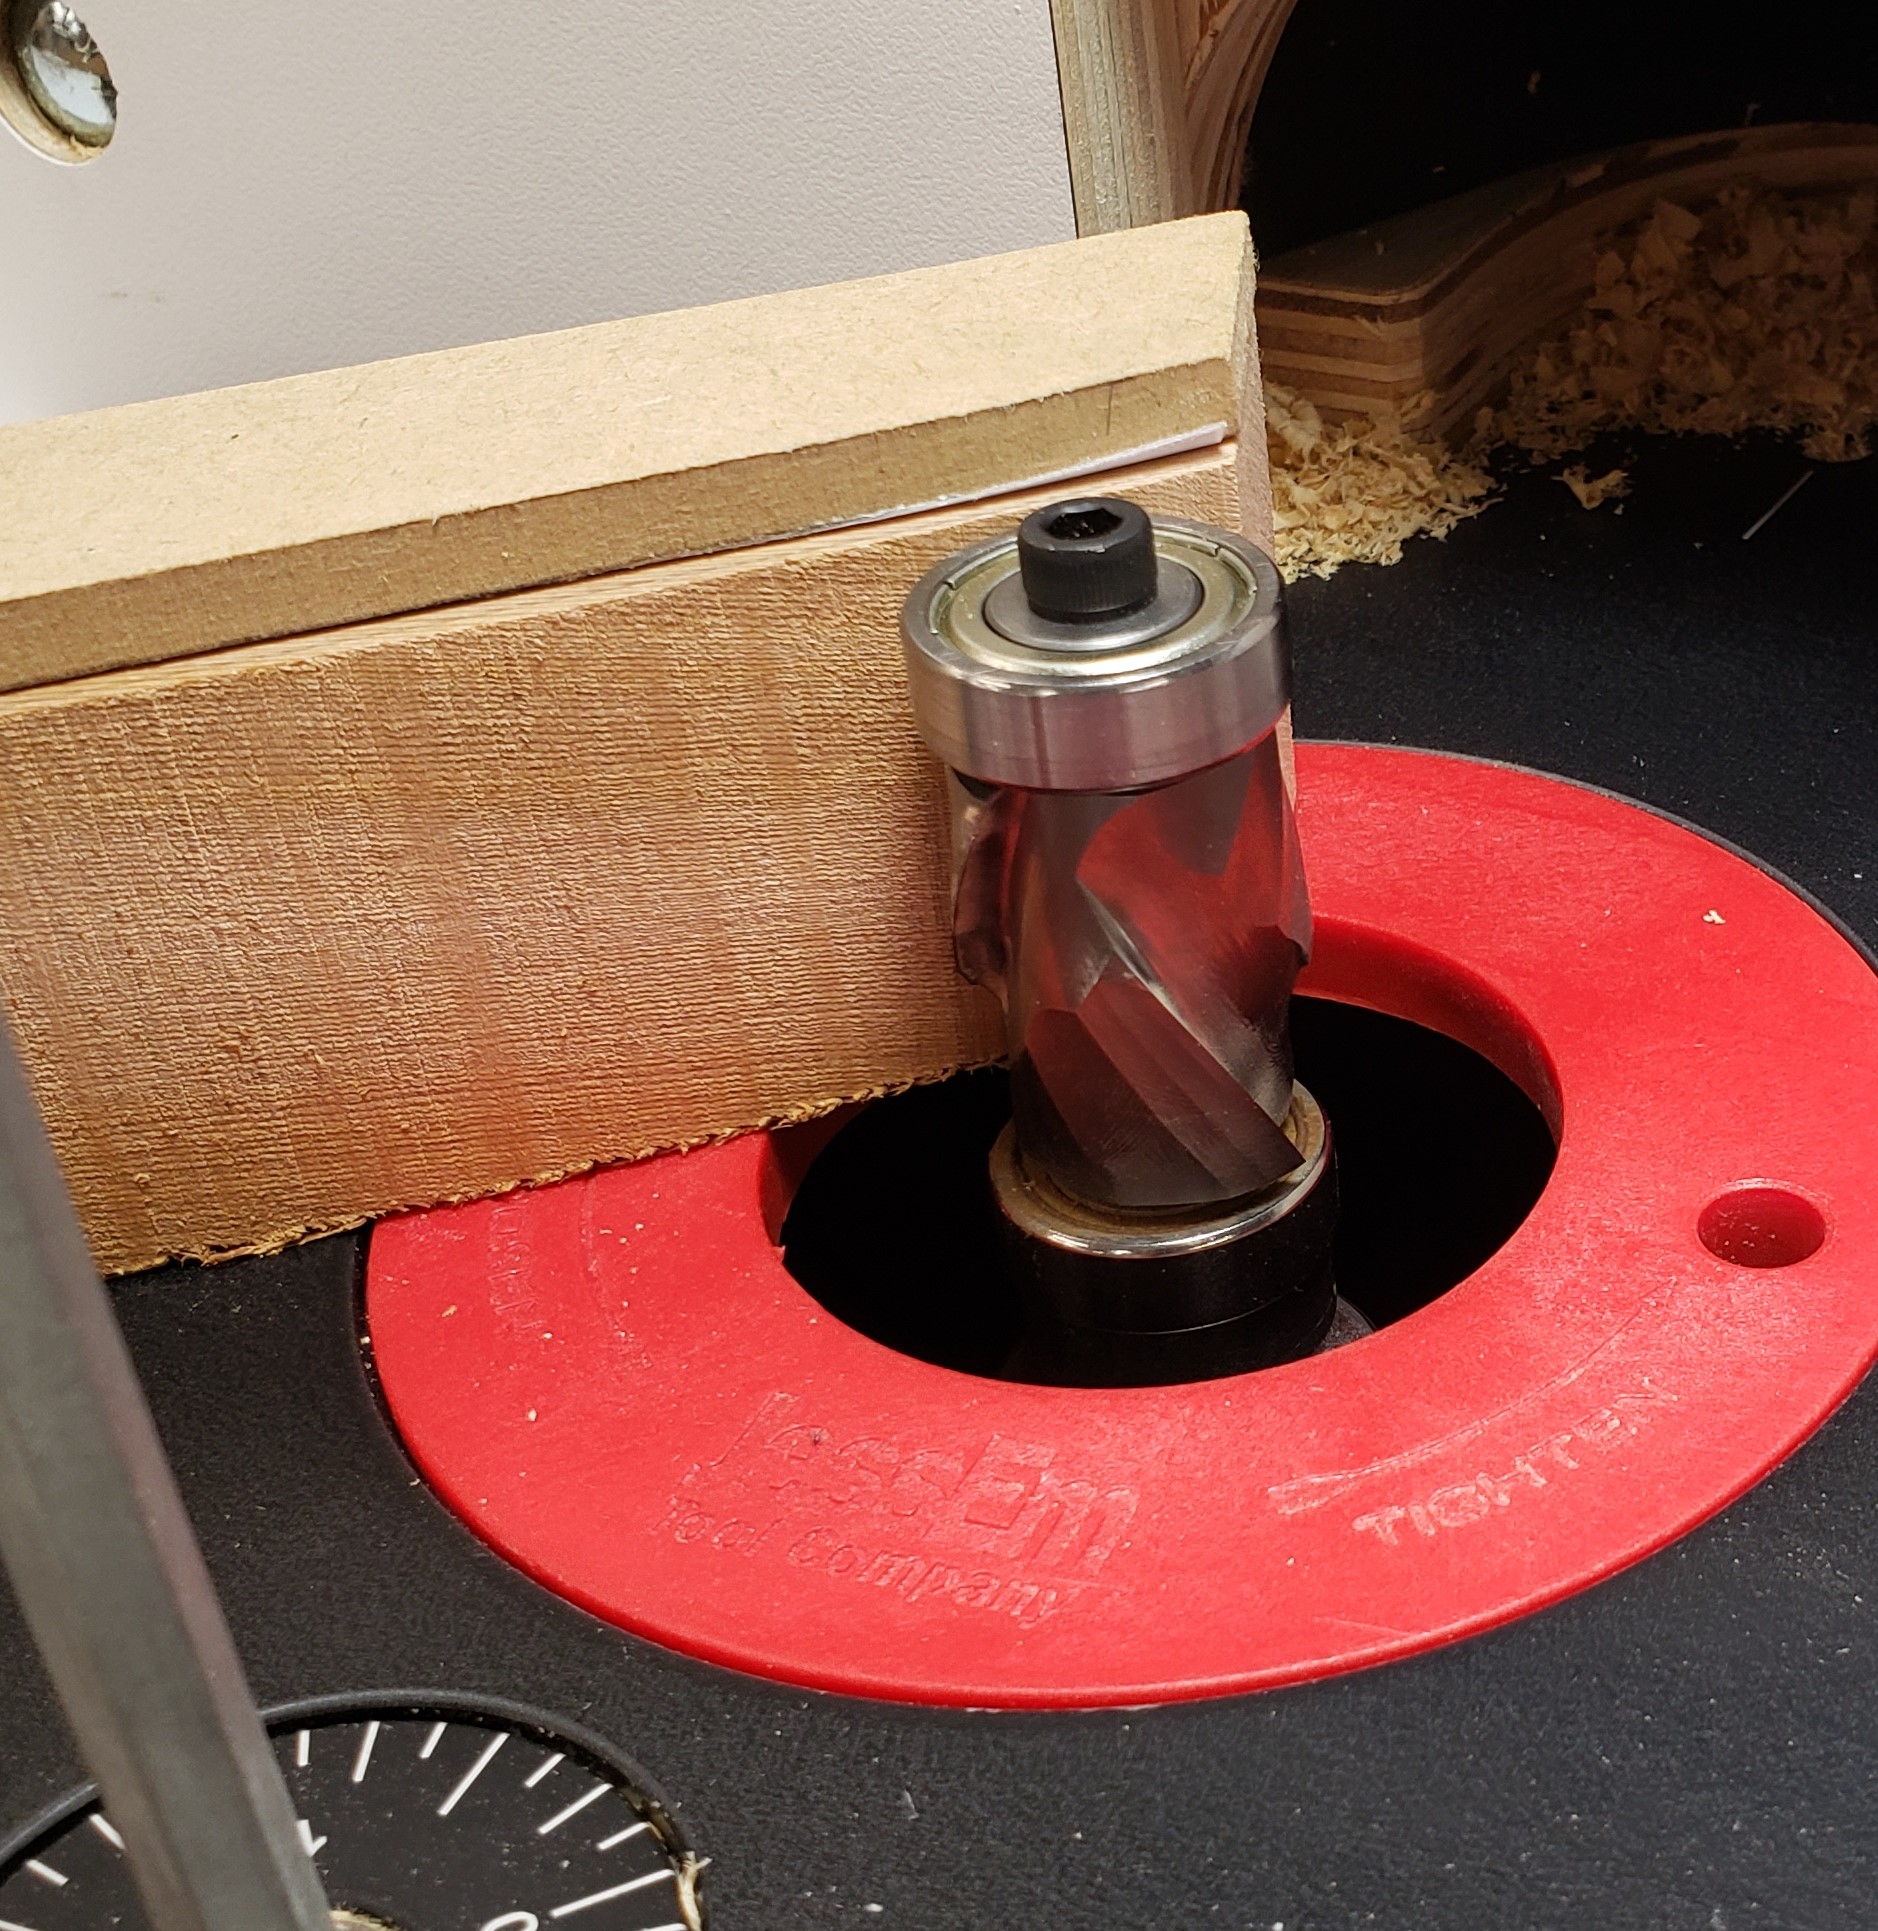
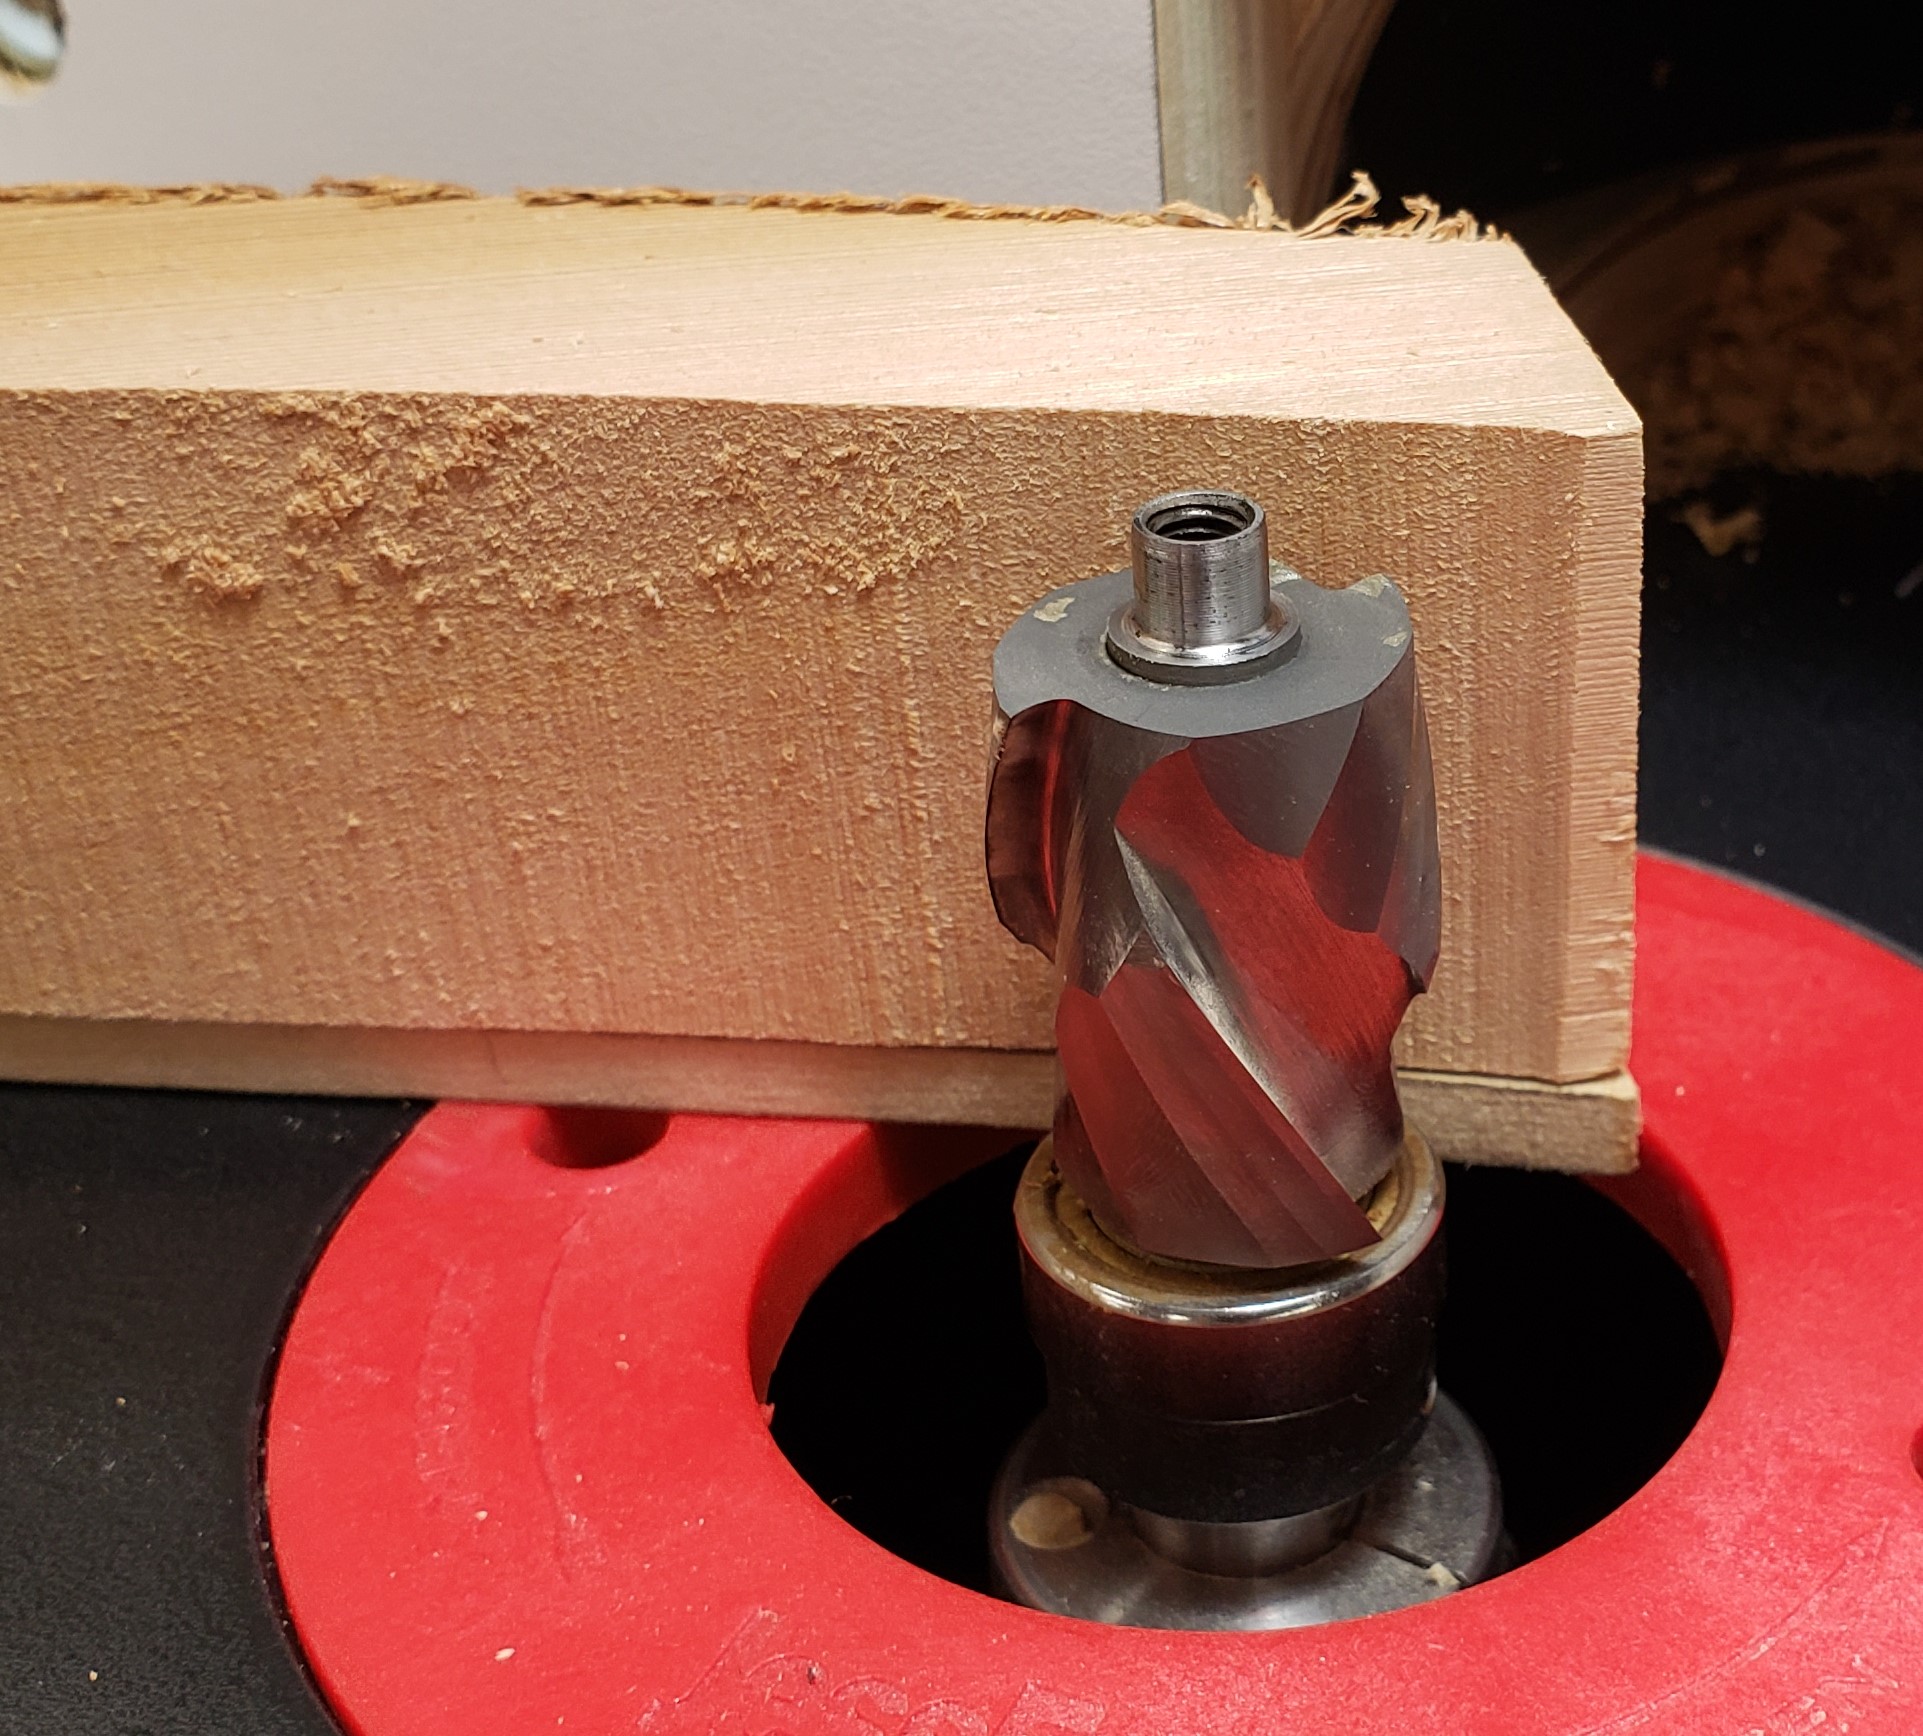
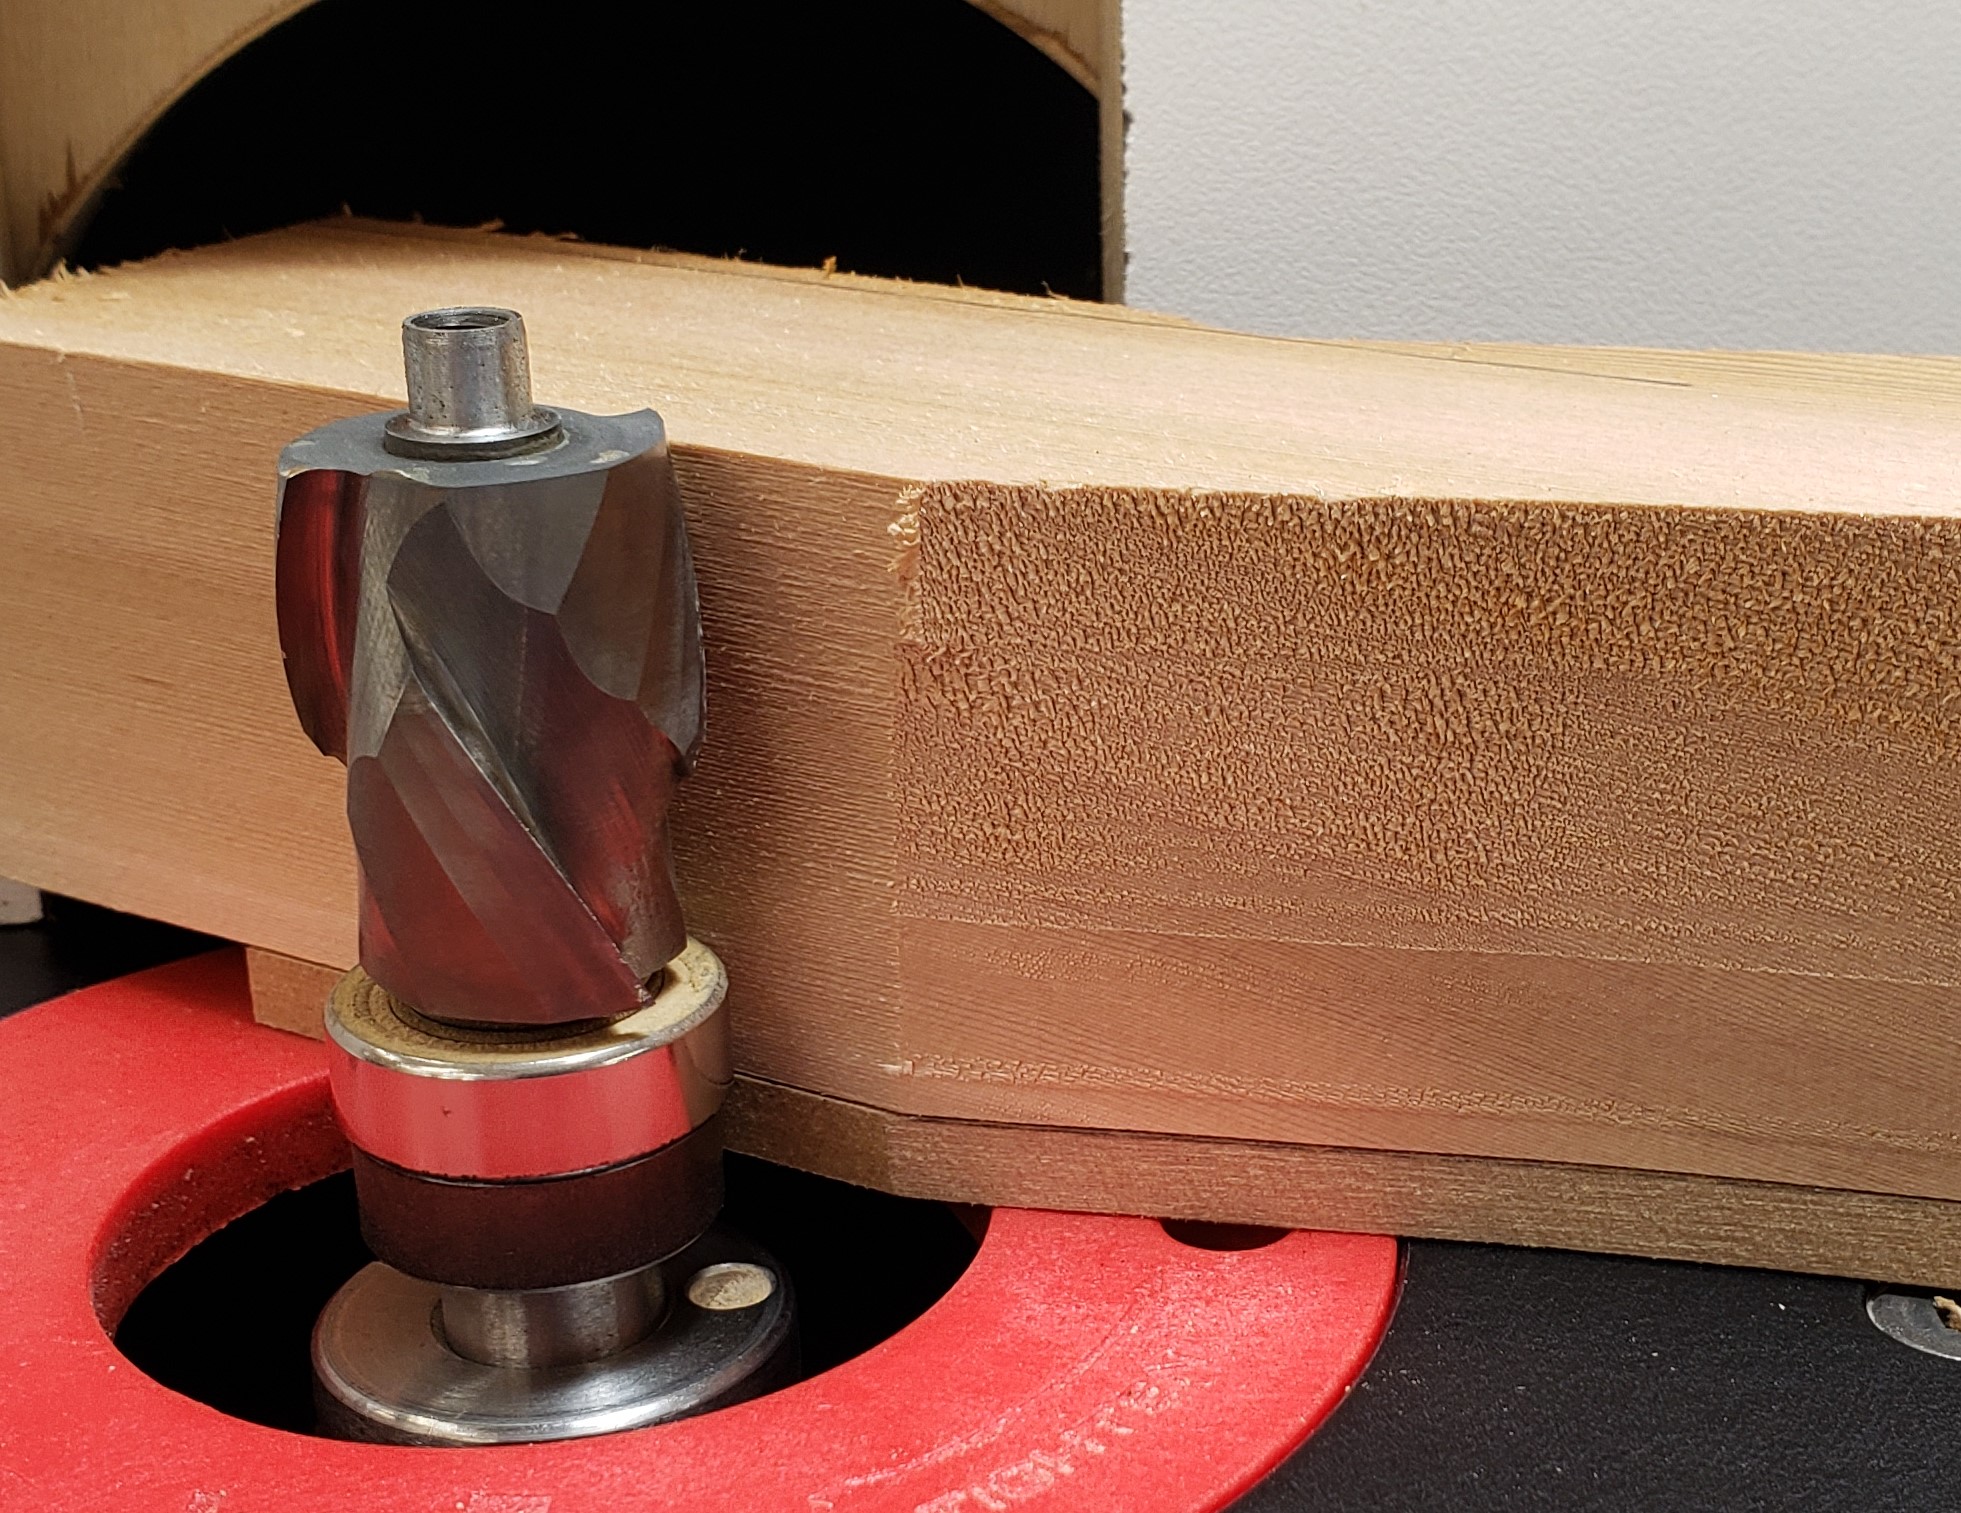
With the legs roughed I again used the pattern bit to clean them up to the line. I just bought this fancy compression pattern bit because of how much I do pattern routing. Oops, the piece is too tall to cut it all in one go. Off goes the top bearing, I will have to take one bite, then increase the bit height to do it again.

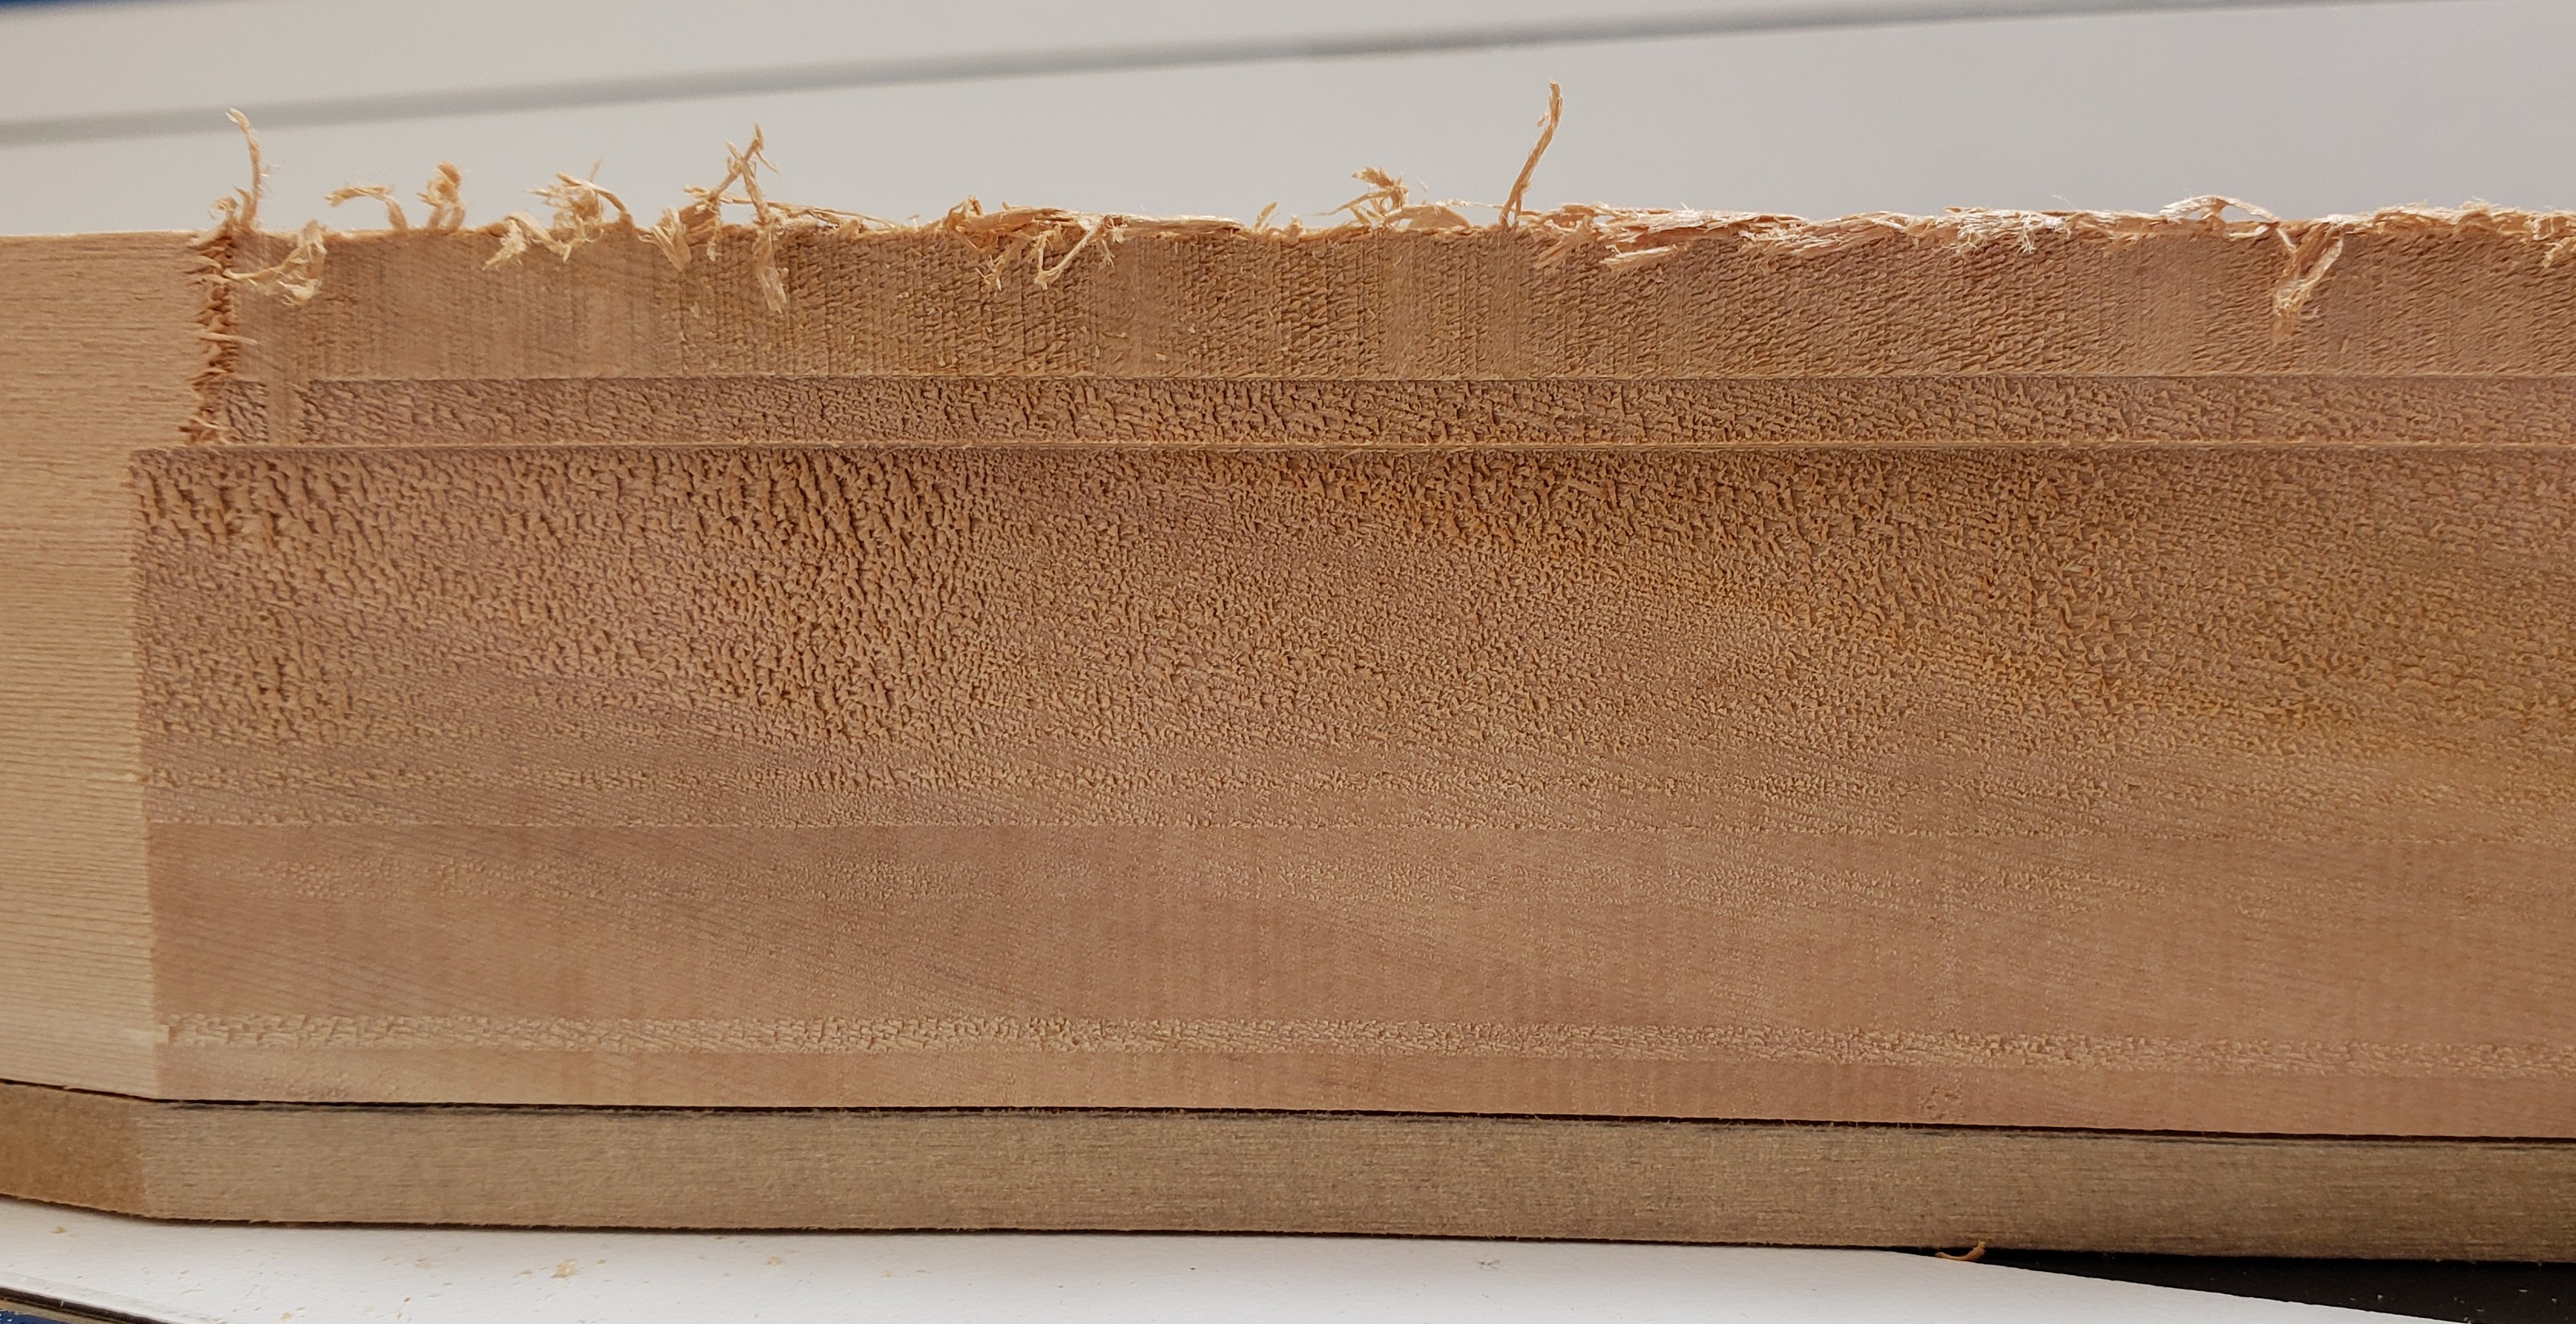
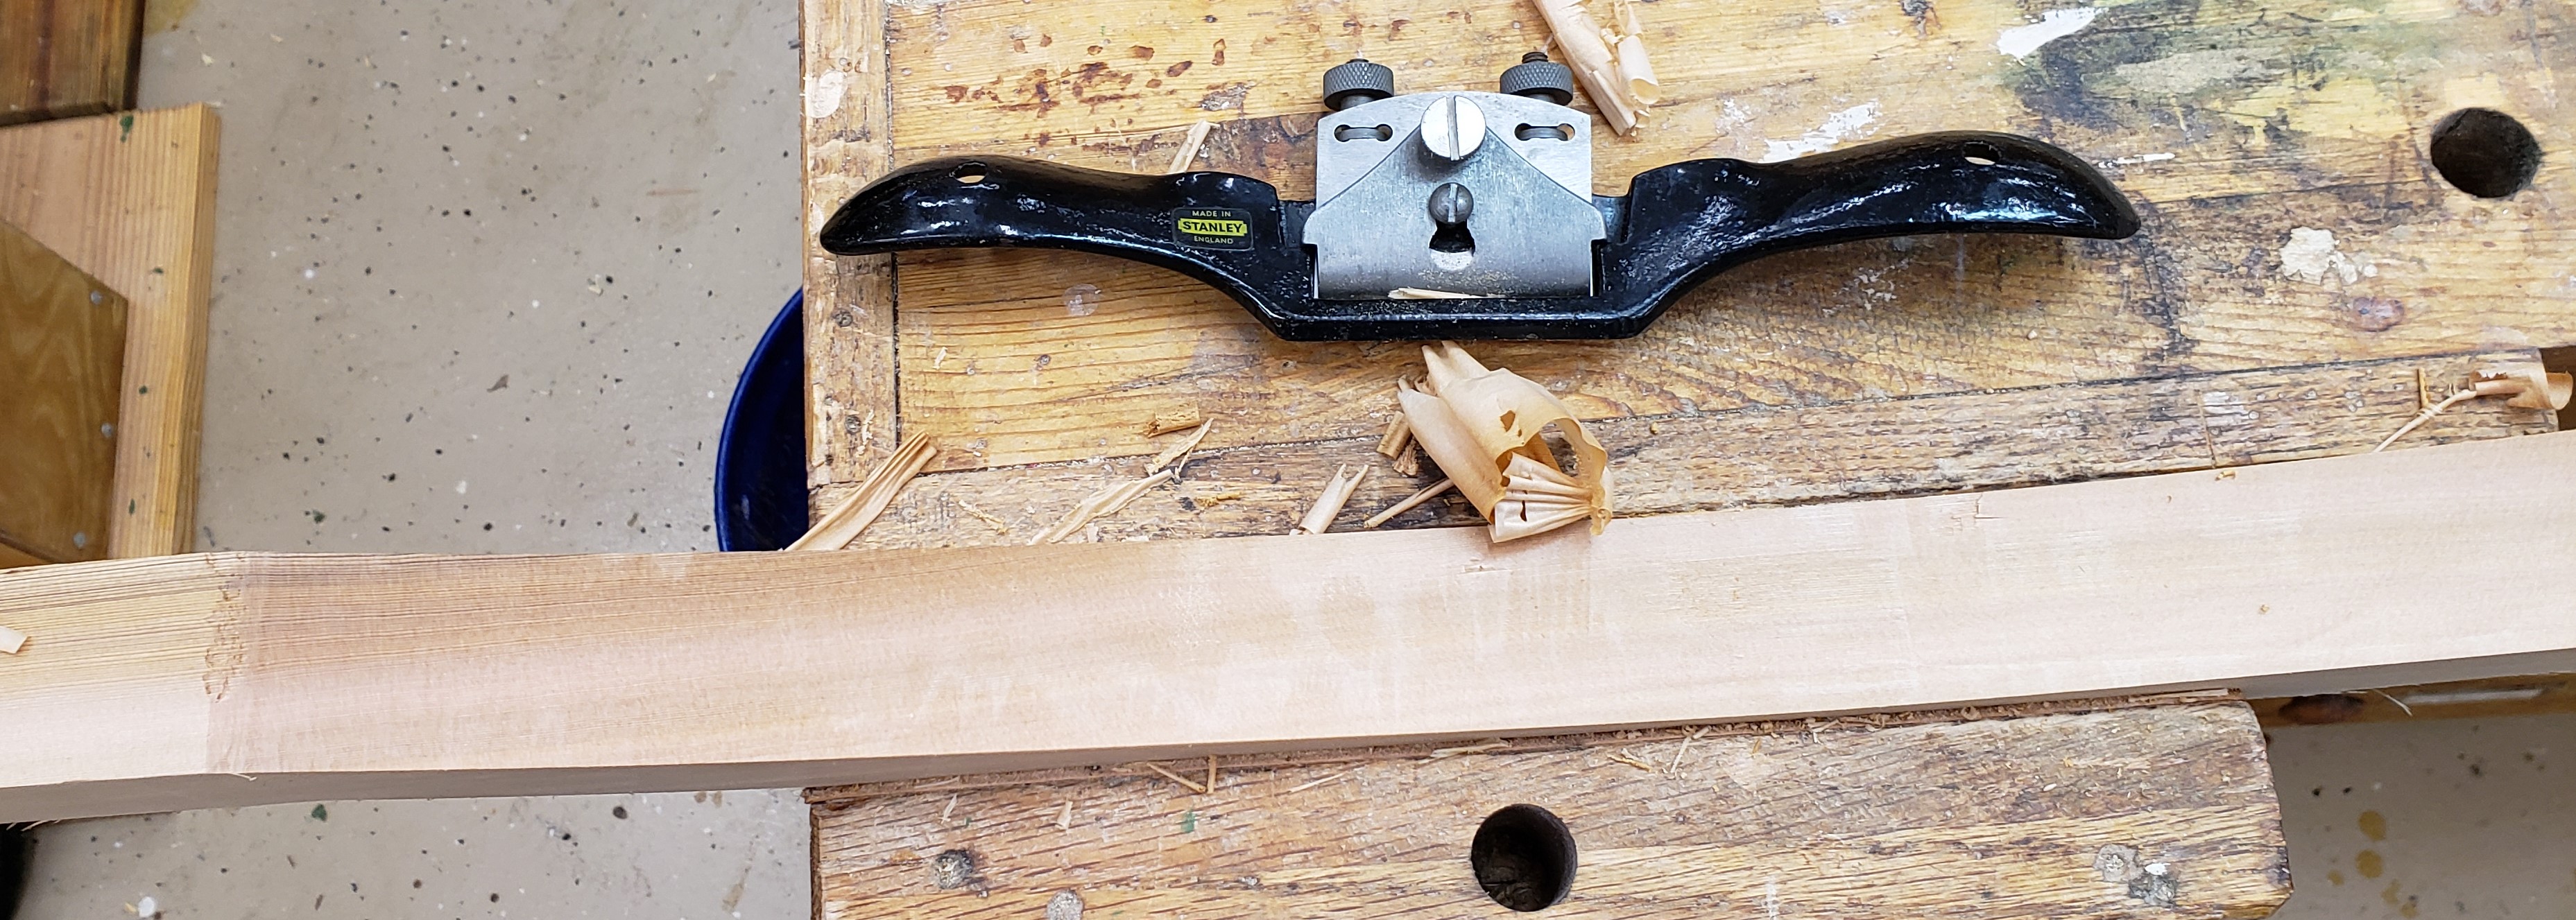
I got all the routing done, but was still left with a pretty rough surface. Cedar is so soft it tears more than it cuts with the router. I actually got to break out my spokeshave in order to clean up the leg faces. Probably overkill considering I am going to round over all the legs, but it was still fun and good practice.


Aprons and Assembly

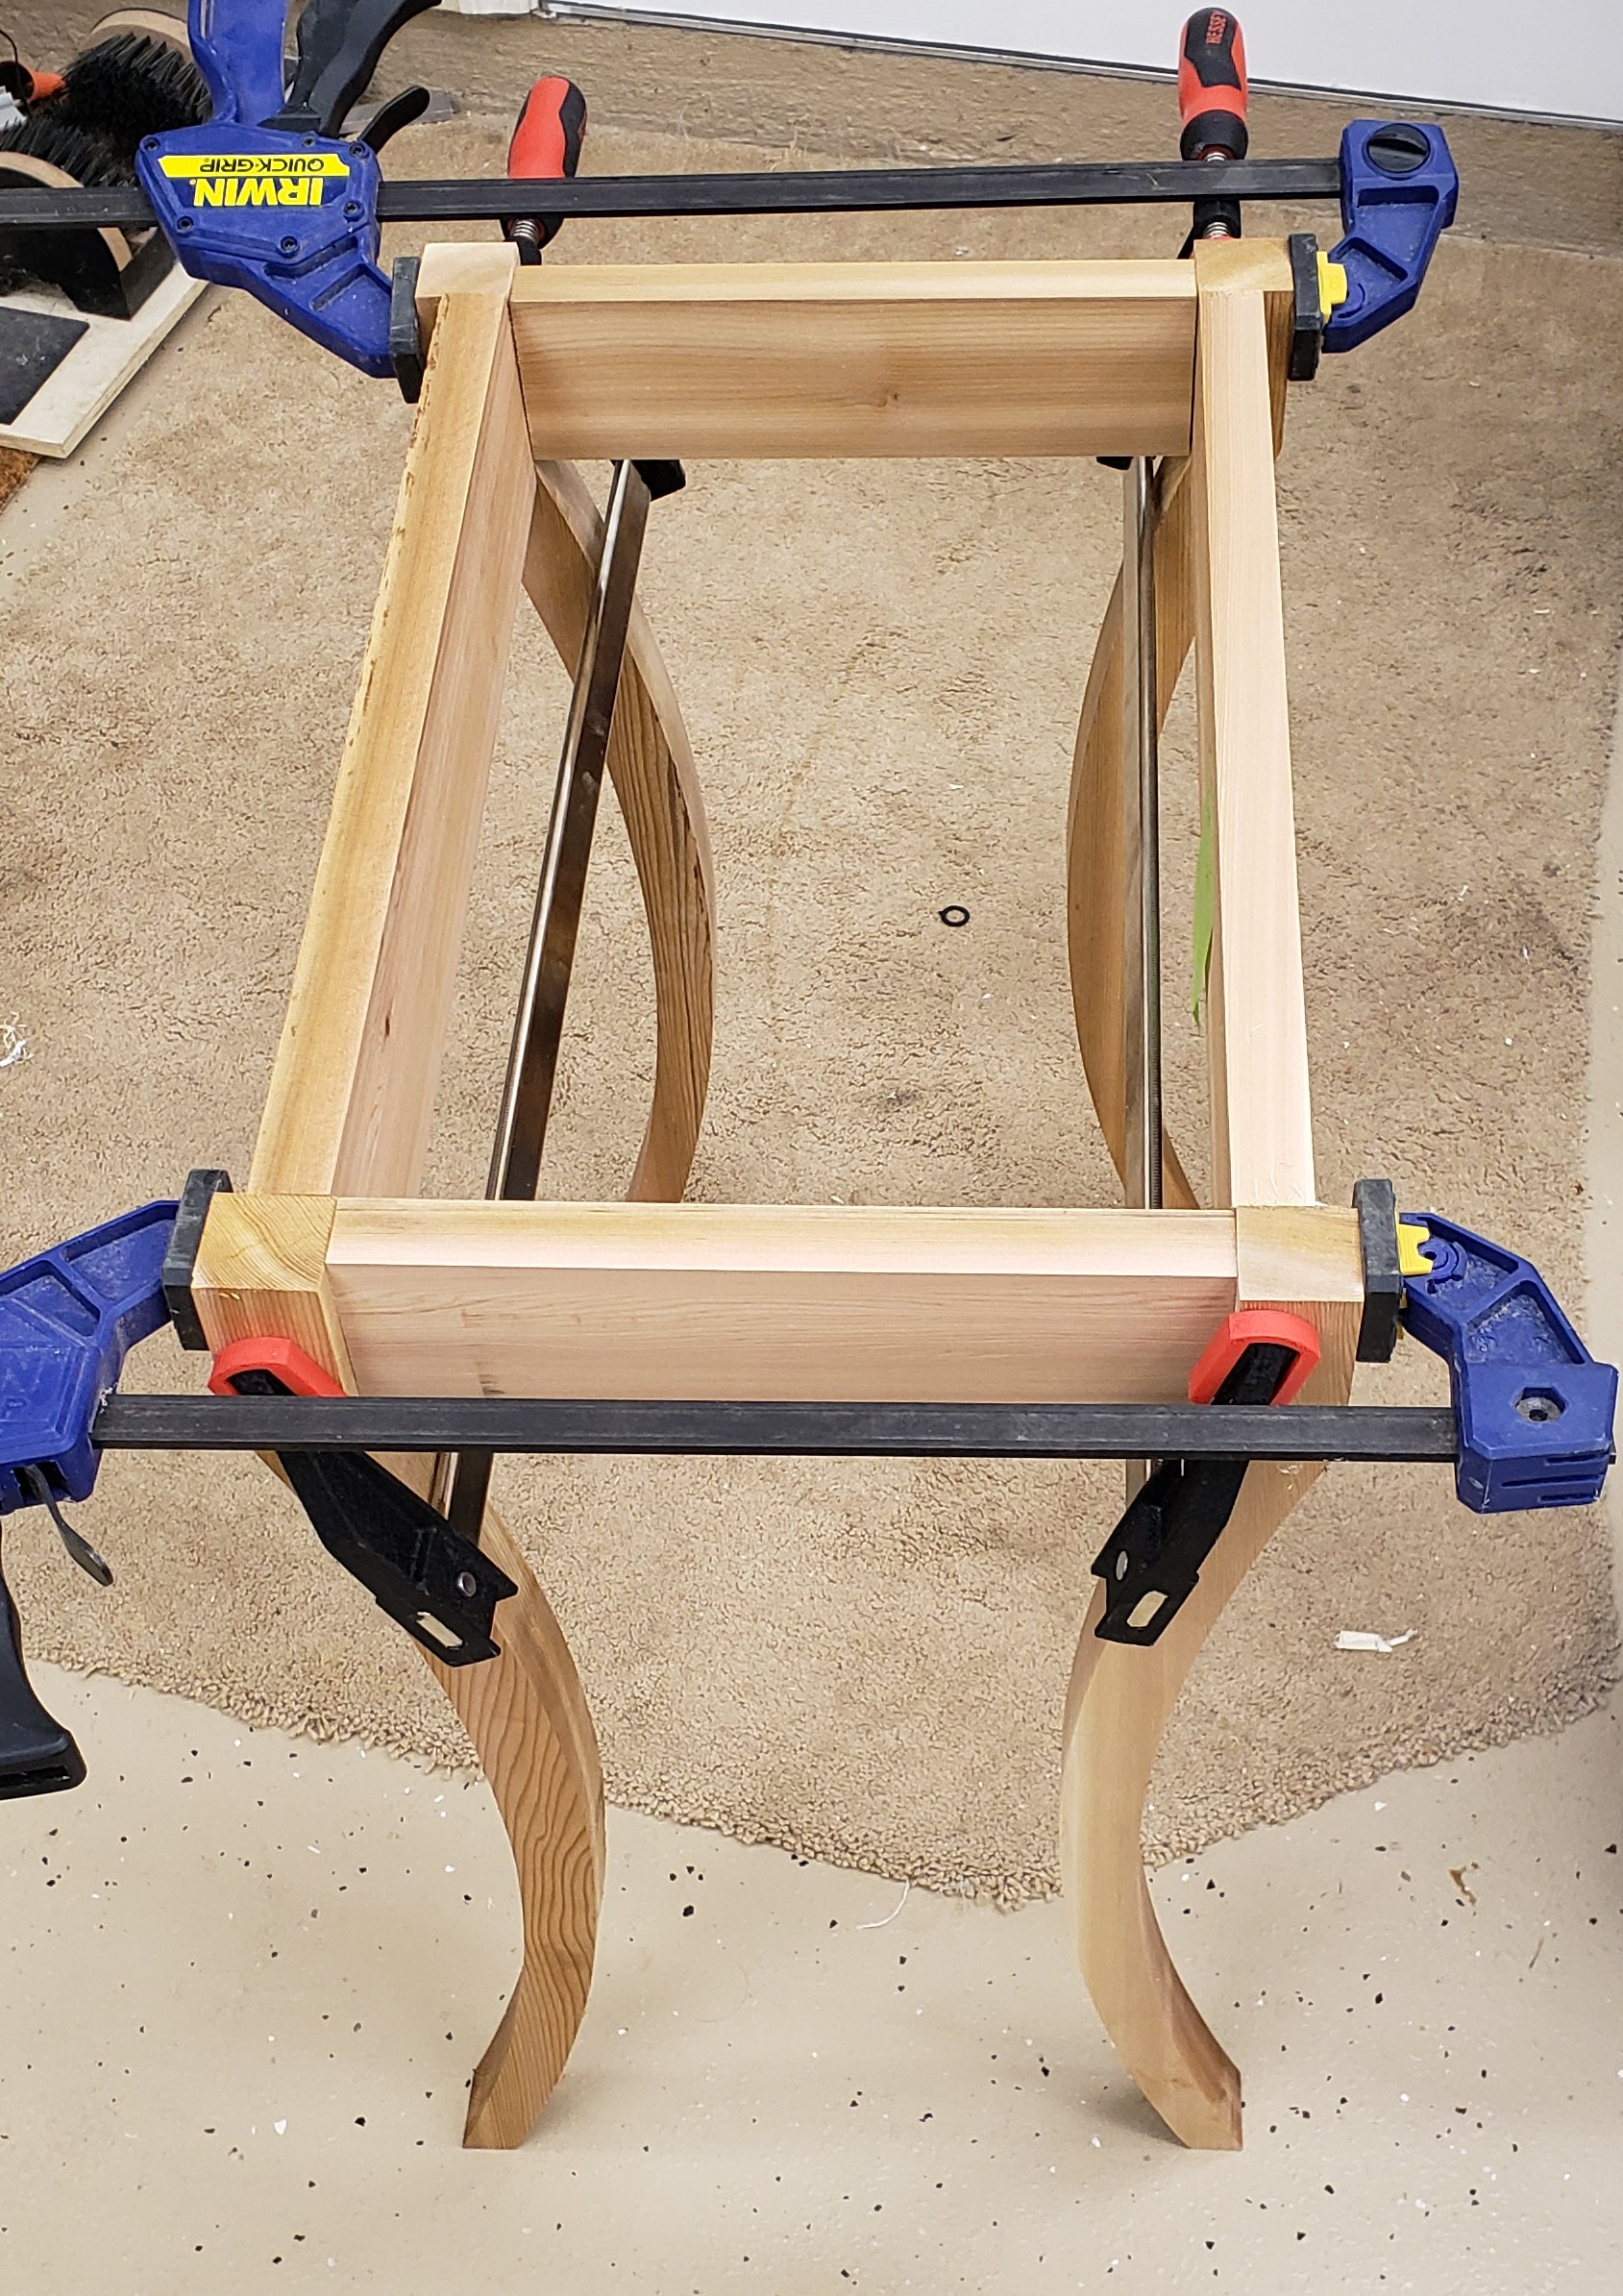
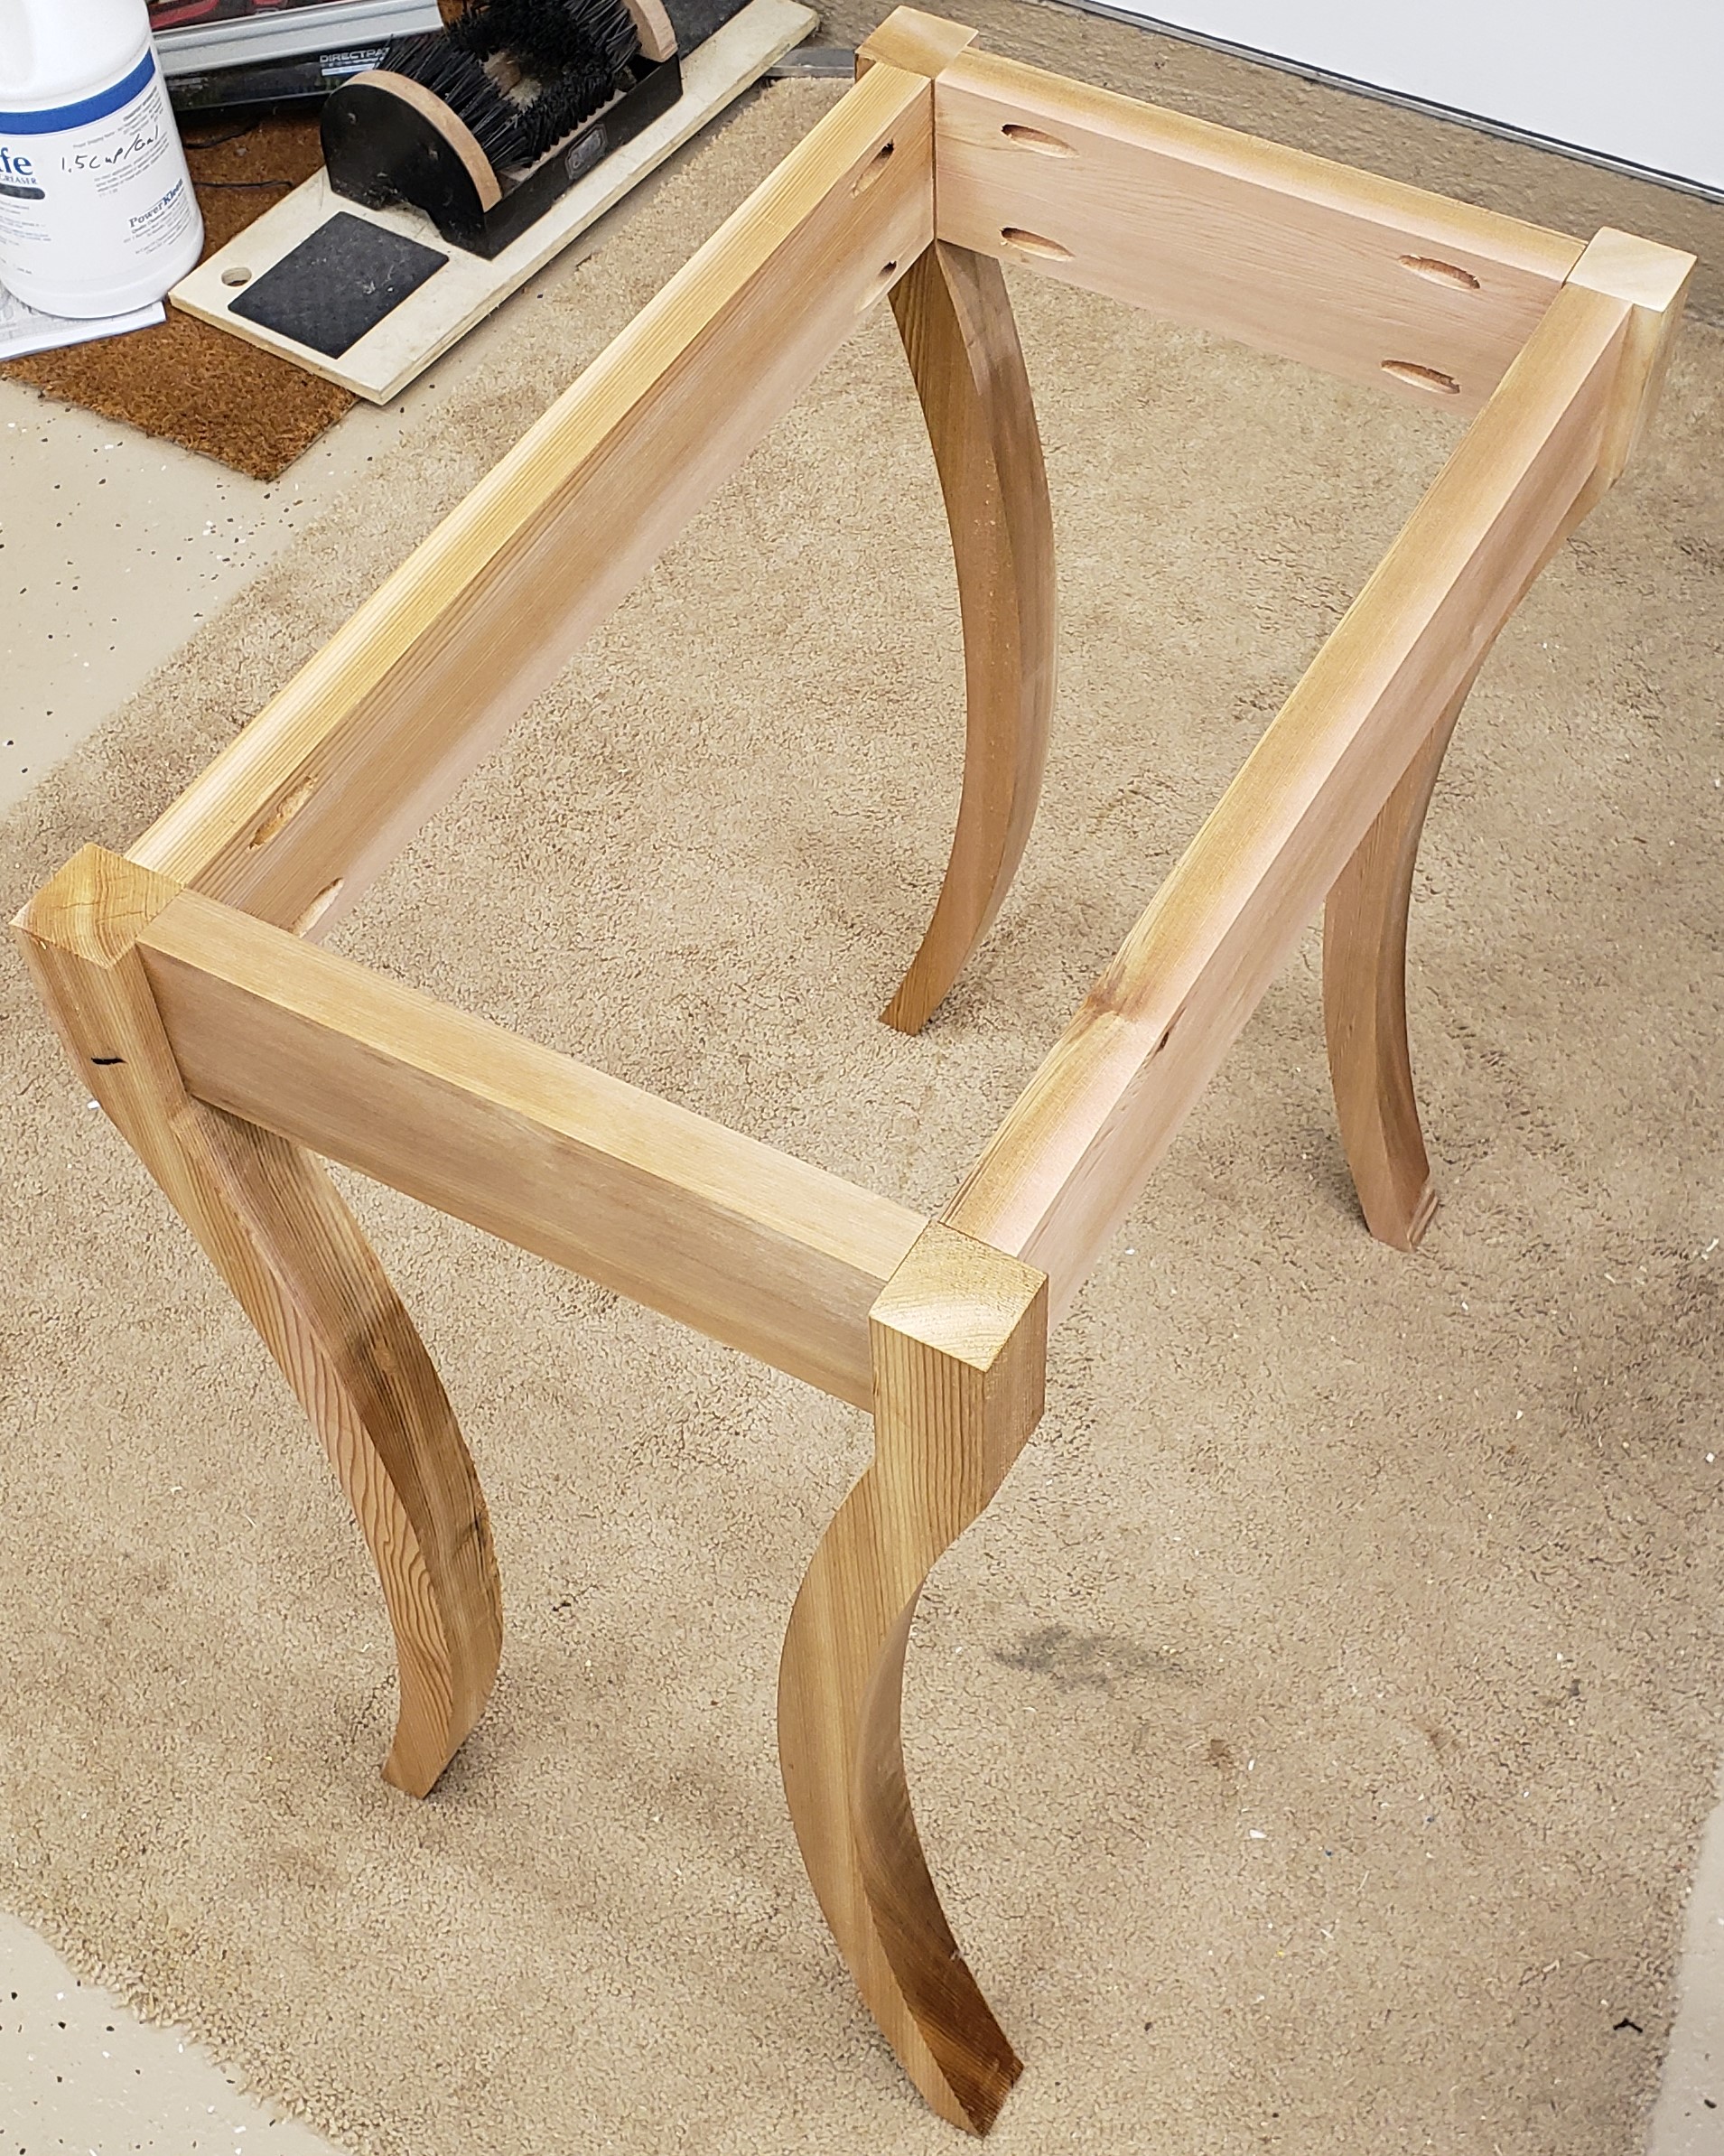
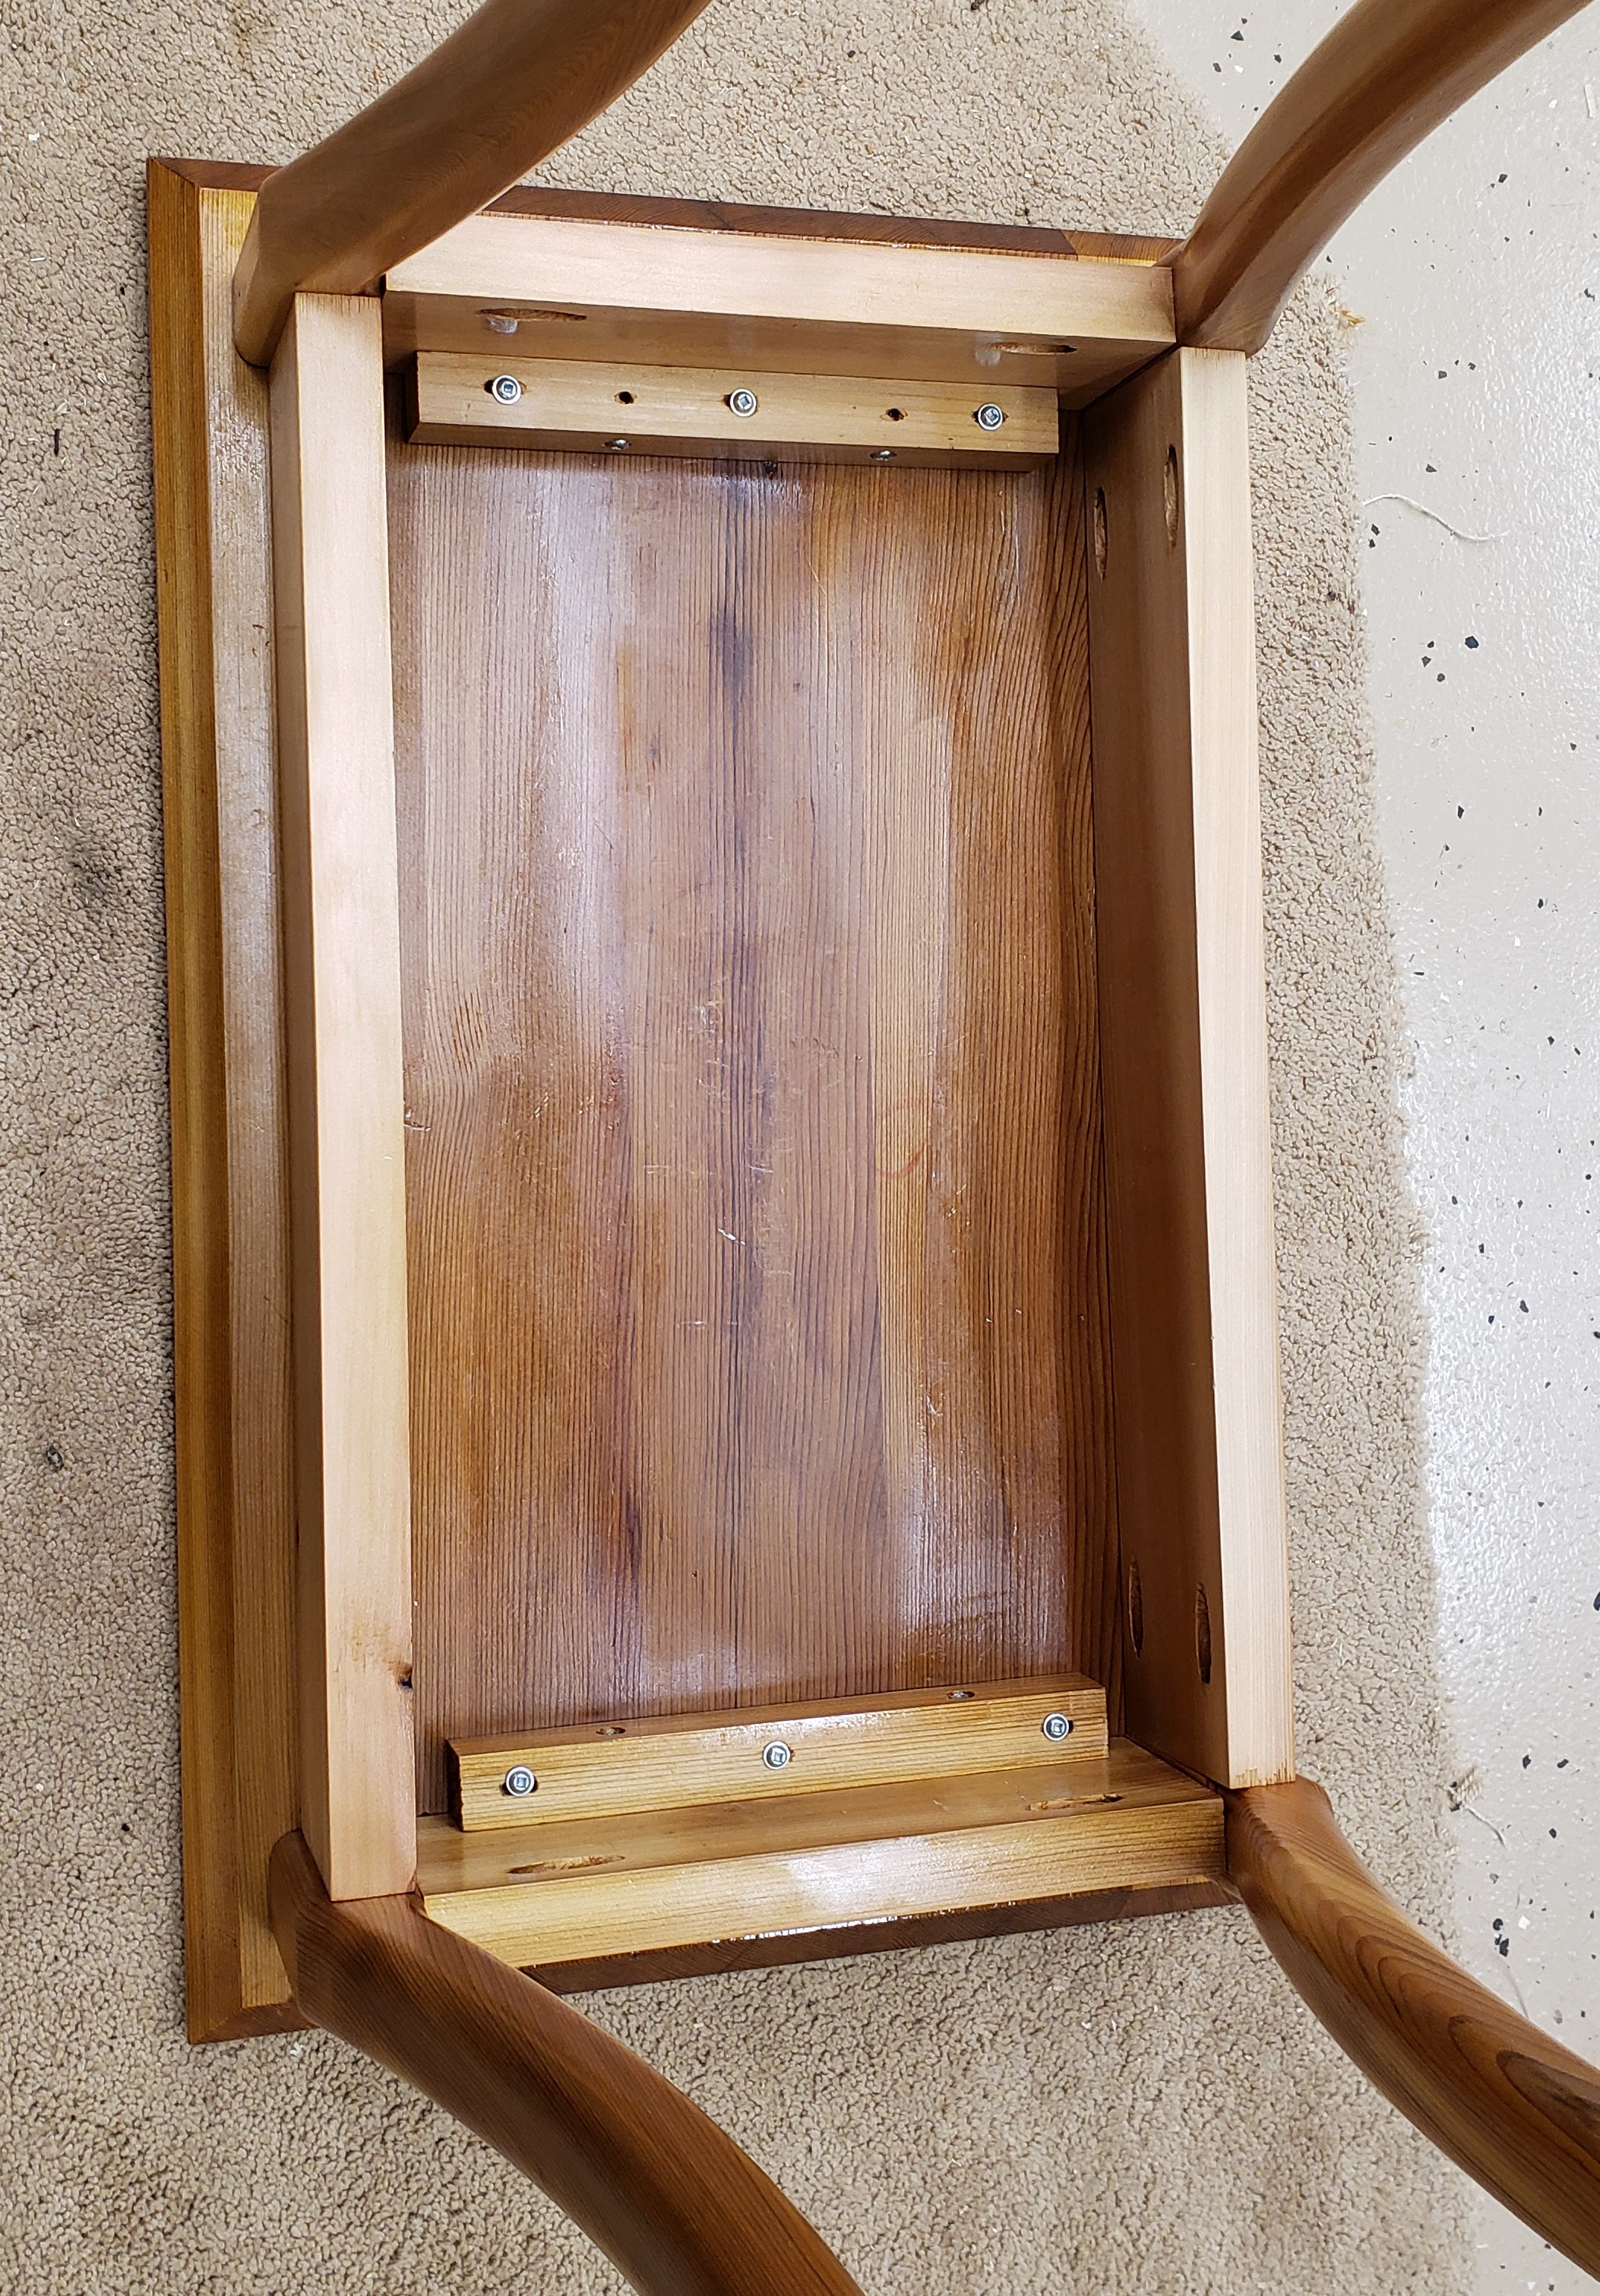
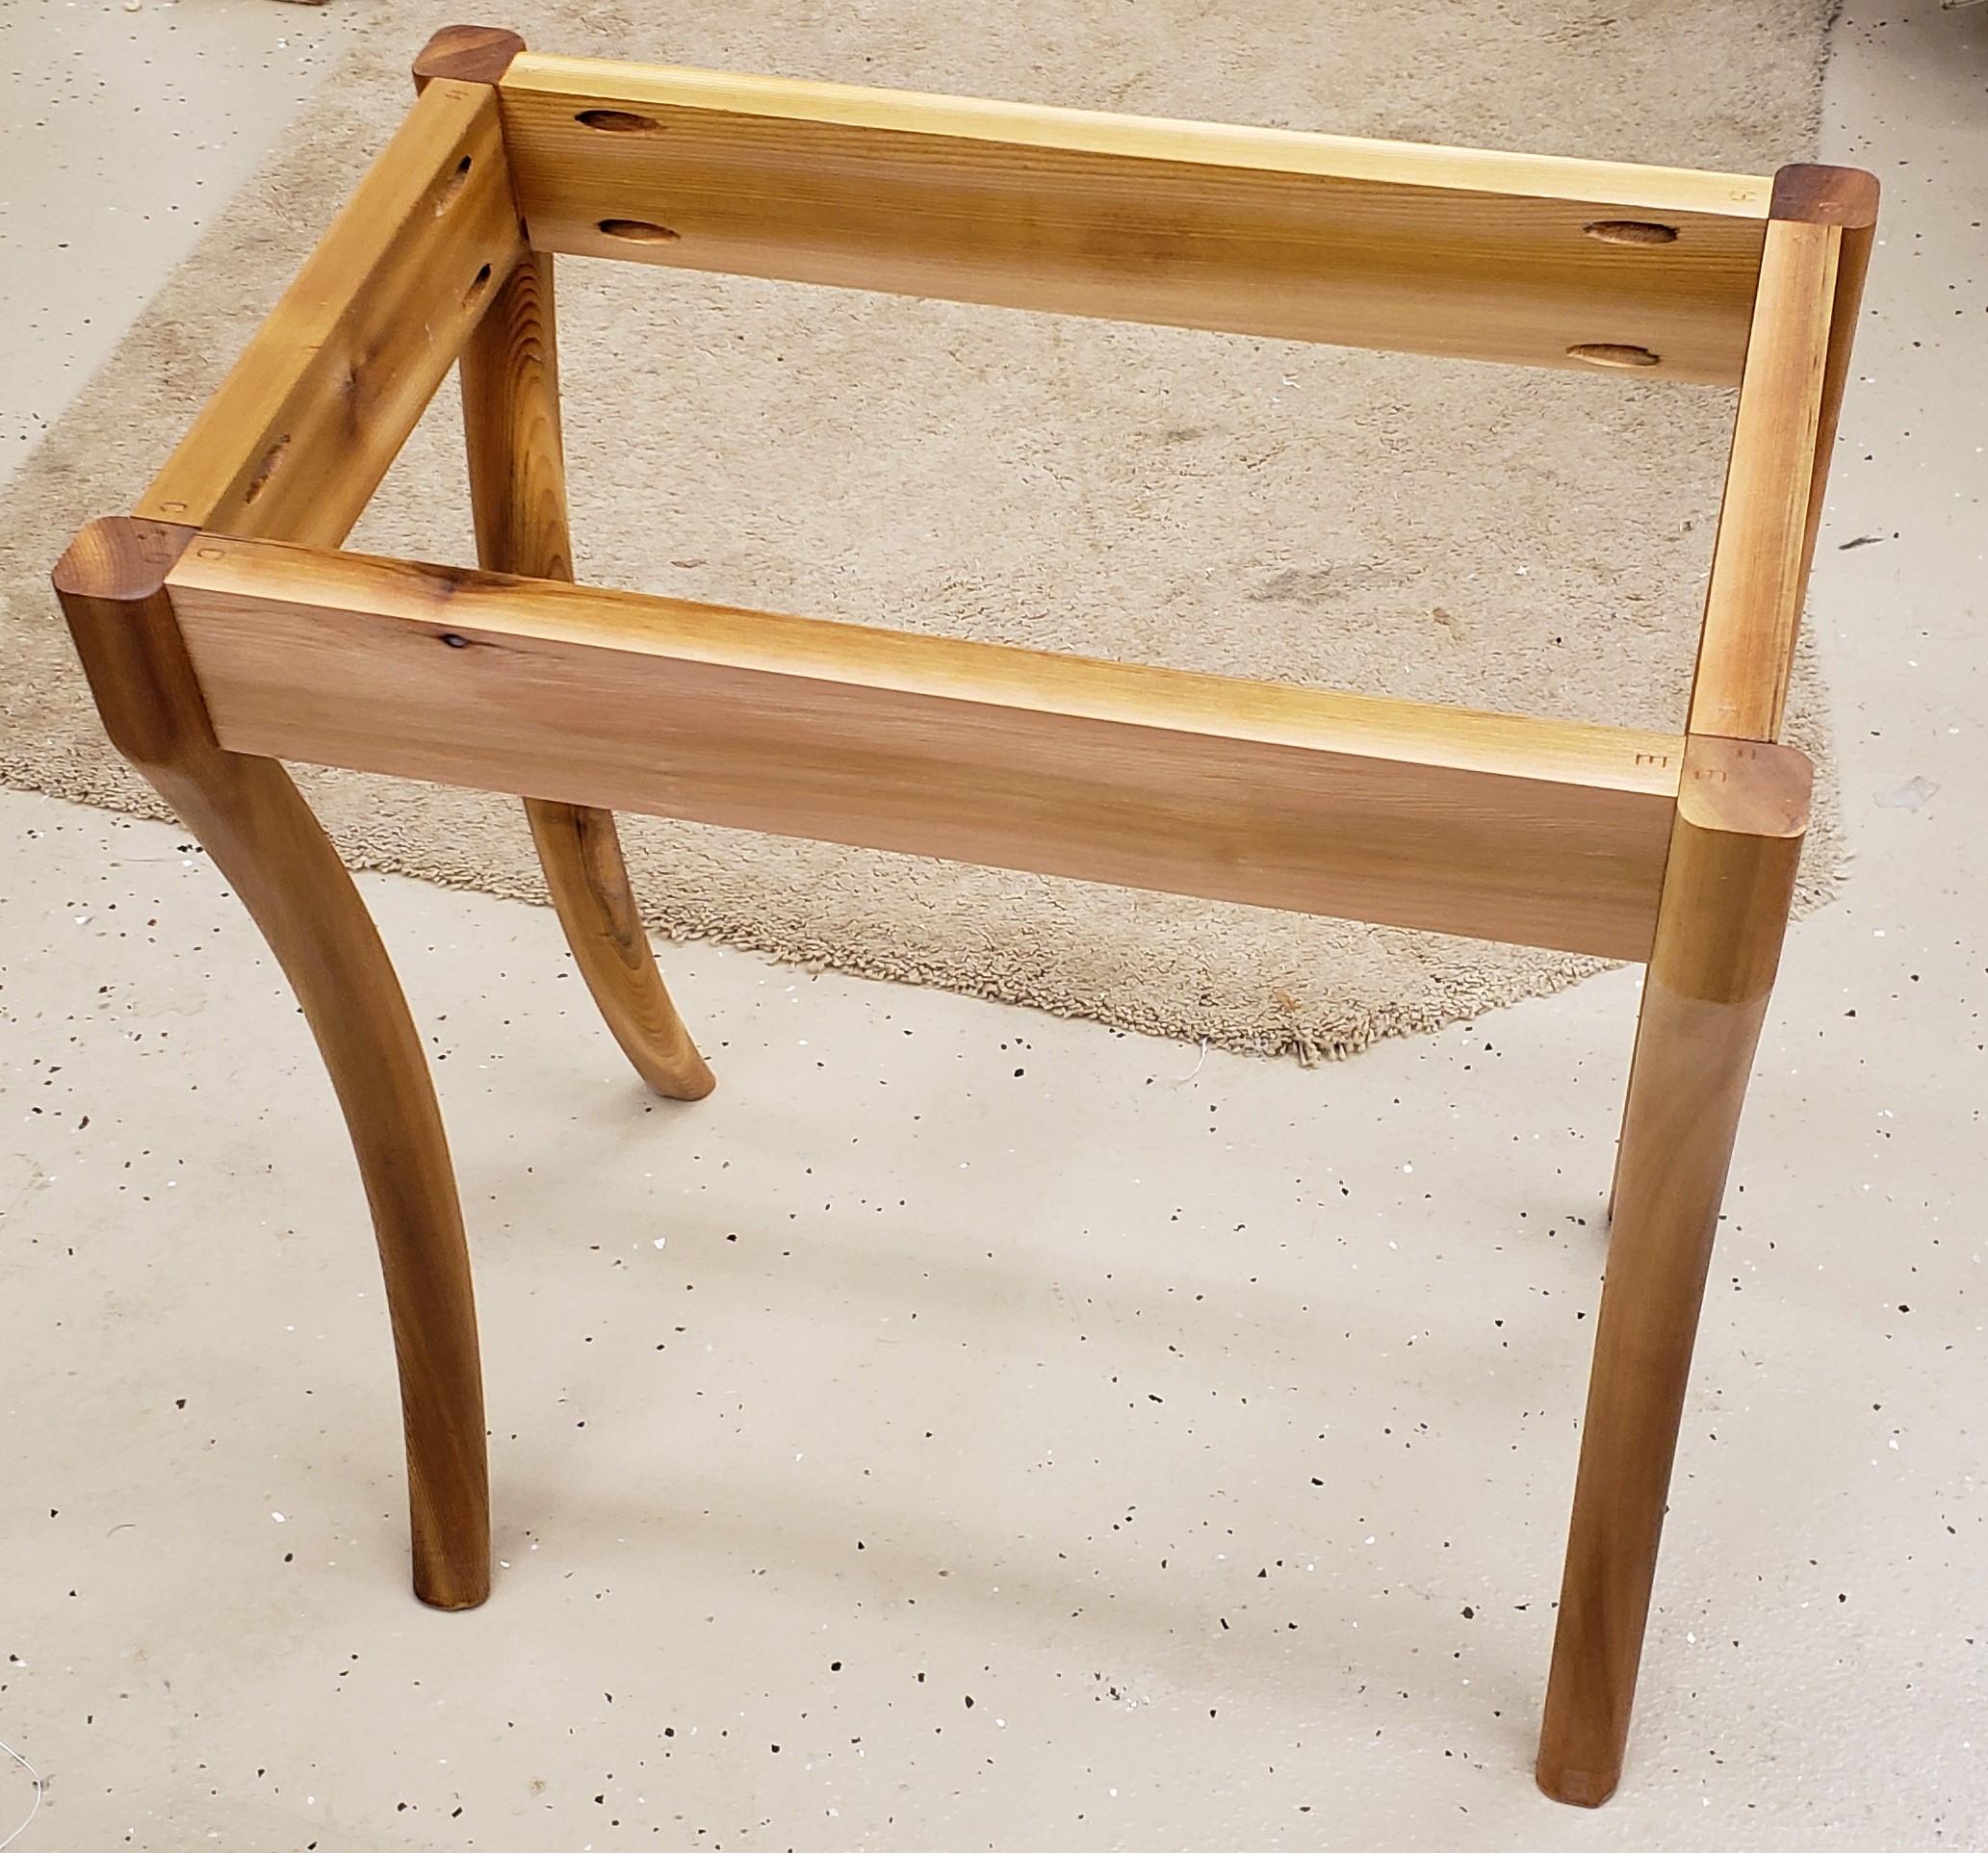
I am leaving the legs square until the last minute, they bruise like crazy and I want to preserve their shapes. Instead of trying to cut mortise and tenons I just used pocket hole screws. I would probably blow out a side wall trying to mortise these legs, and the pocket hole screws are outdoor rated.

To get the shape right I cut the aprons a bit long and assembled with clamps to get a feel for the size of the base. Then, I was able to cut the width and length down until the proportions looked good. Not as fancy as drawing it all out ahead of time and knowing the exact dimensions, but better than just making up round numbers and building it regardless of looks. I am no master designer, but I am getting better. Once I got the dimensions right I drilled the pocket holes and did a final test assembly.

With the dimensions all set I could do my roundover on the legs and perform final sanding on everything. Once again the cedar bit me. The roundover, which I did in multiple gentle bites totally chipped out the bottoms of the legs. I could trim them down a smidge, but I figure the rabbits will chew down there anyways, so whatever.

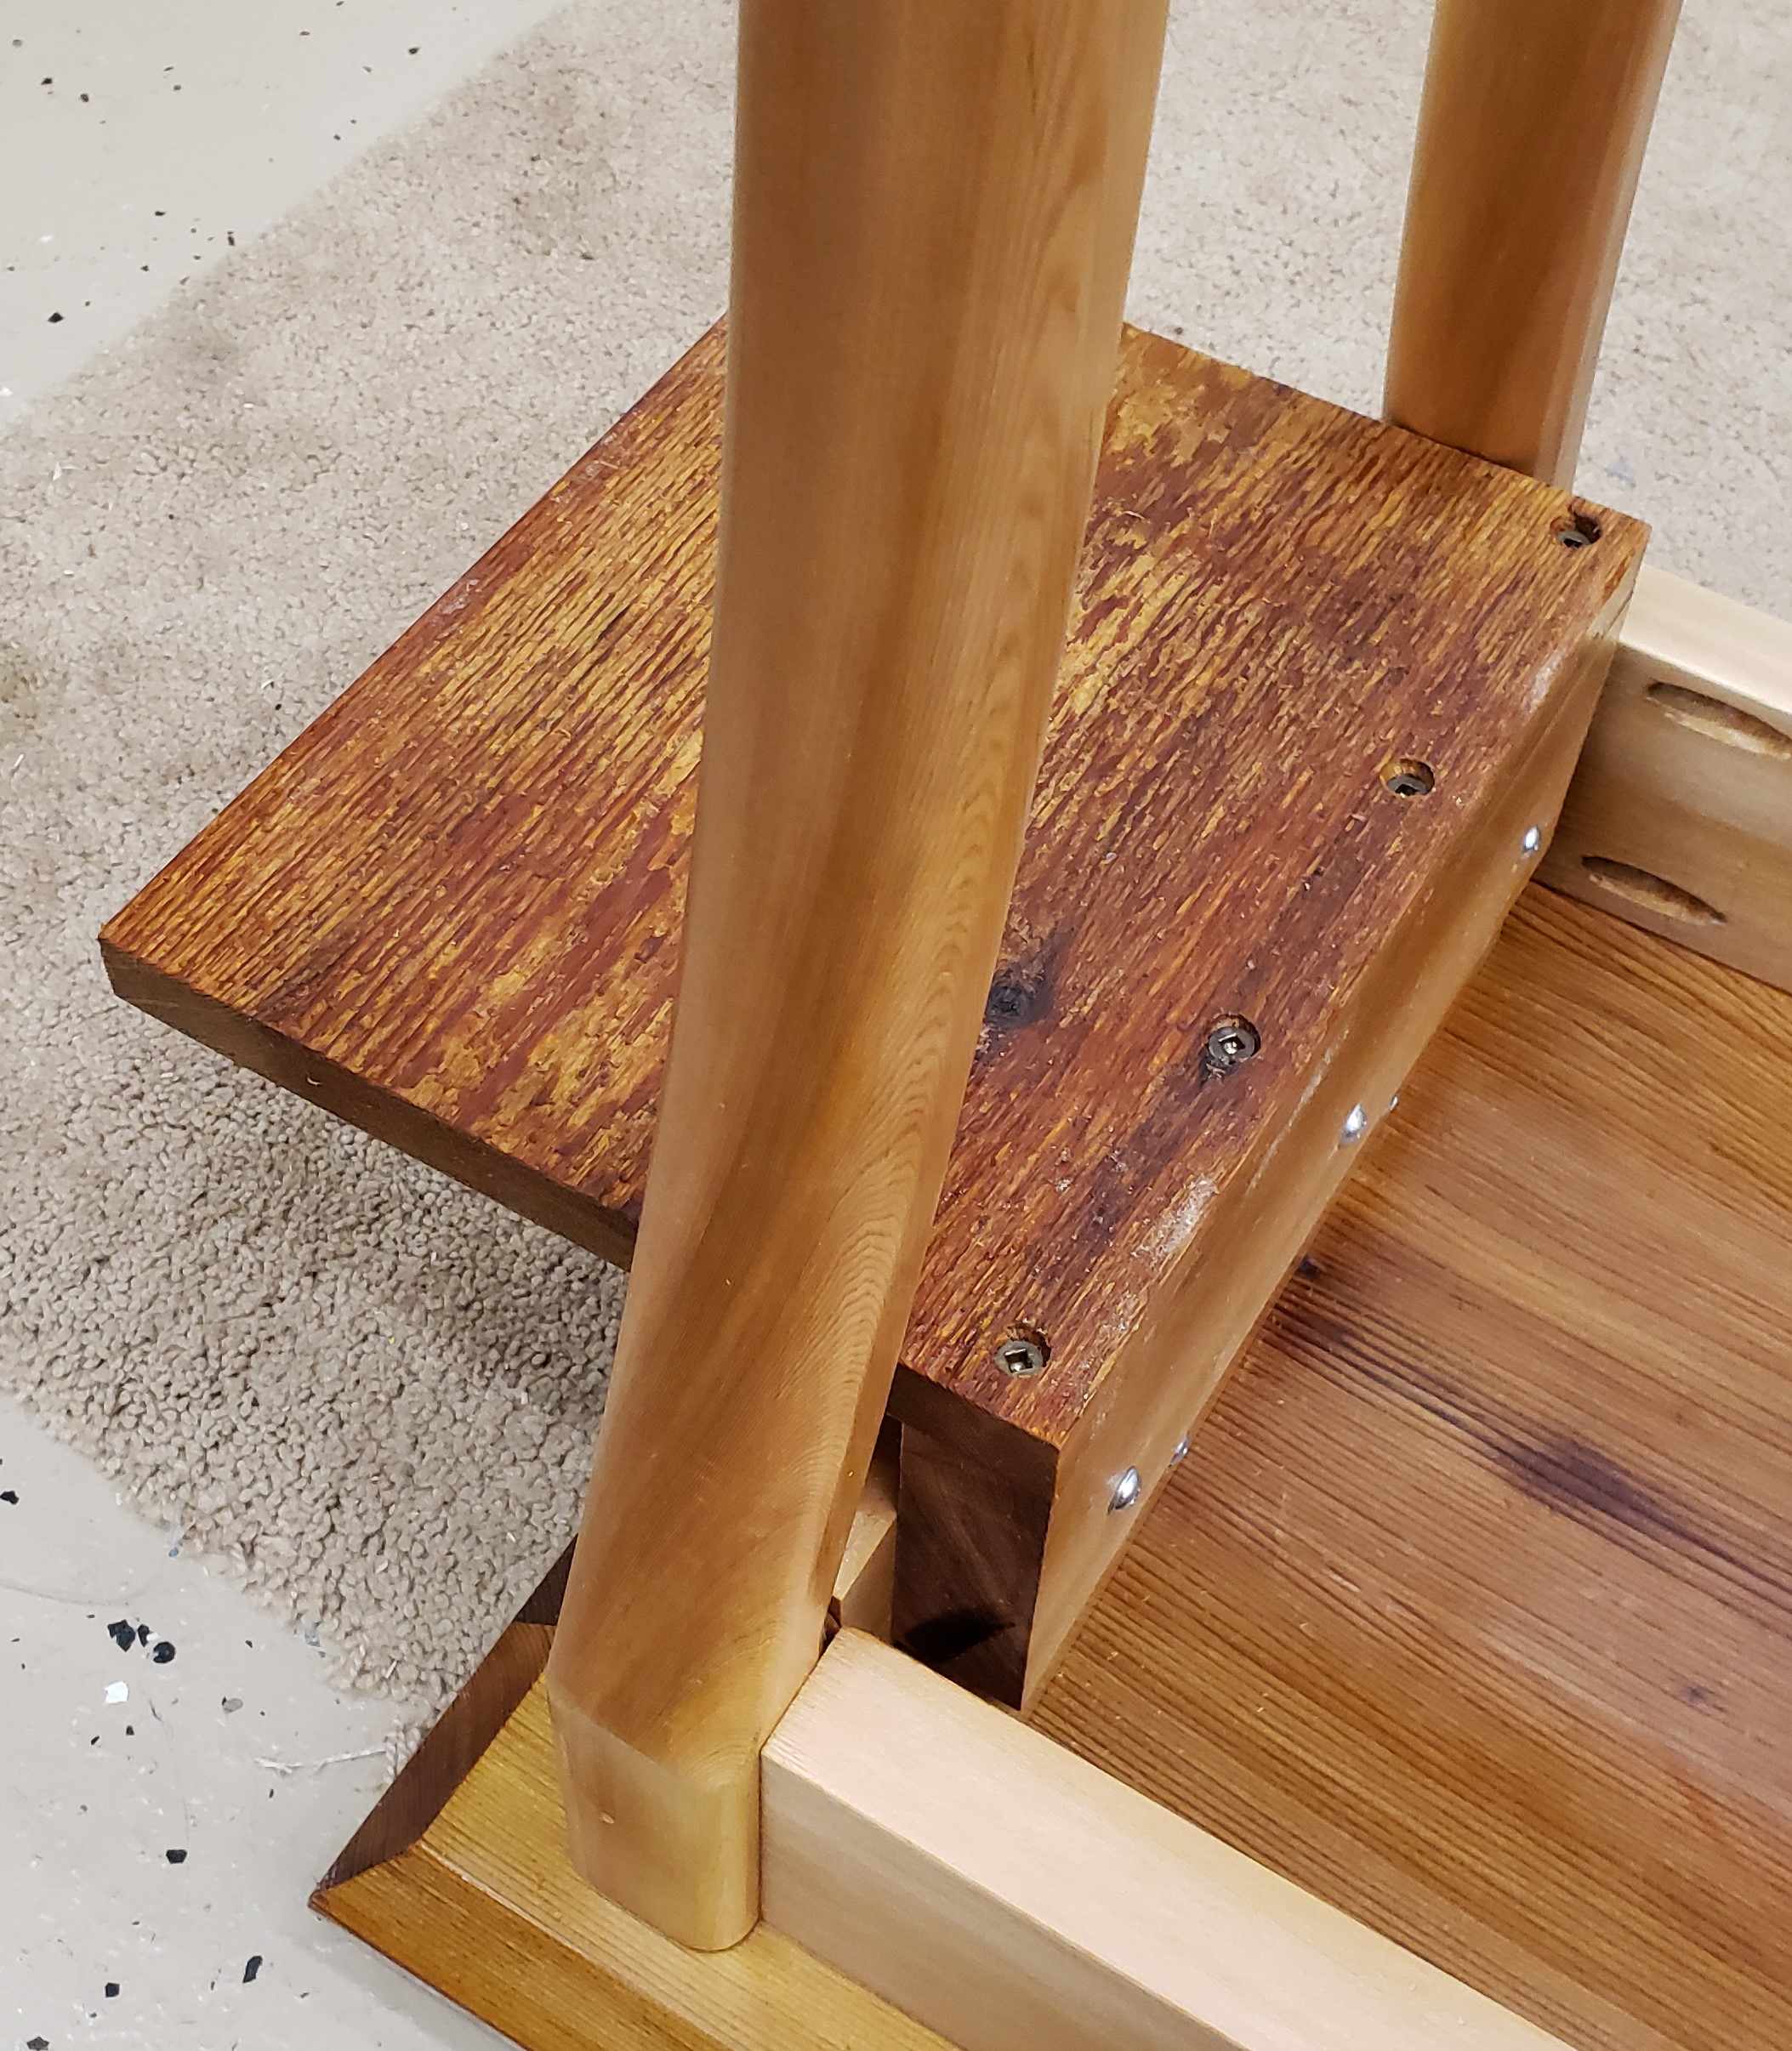
I finished all the parts individually with a spar polyurethane that I thinned down to make a wiping poly. It is dark to help keep UV damage down and it did make the wood take on a lovely color. To attach the top to the base I made a cleat with slotted holes so the table could move and not pull apart. I also added a hidden back shelf so we could sit things behind the table. Our son likes to pull out the tissue box and assault the fan remote. These can be stored in the back.

I attached some plastic slider feet to keep it from having direct contact with the ground. The table never sees direct sun or rain, and between the wood choice and finish it ought to last forever. The softness of the wood means that a child and two rabbits will destroy it mechanically before nature ever does. Done just in time for porch season to set in.

Height Growth Ruler

Our little guy is growing fast and I wanted a way to help document that. Kids are usually interested in seeing how big they are, so I decided to make a height ruler. I started back in July because I wanted to be done by the time his birthday hit. I got done in time, but hit a bunch of snags along the way, and still have trouble getting him to hold still for a measurement.

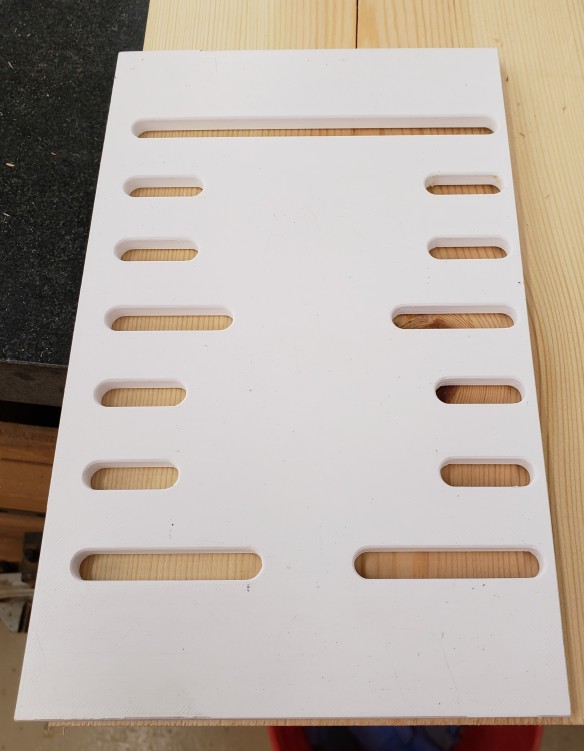
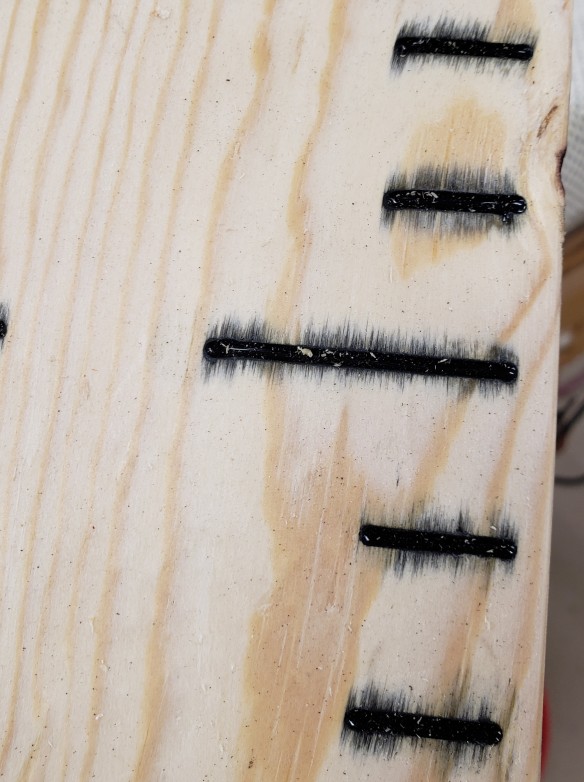
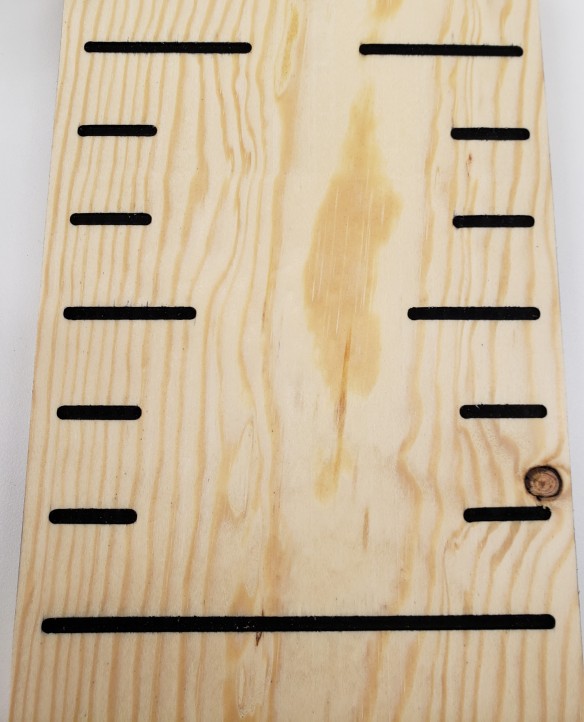
First up, I bought some pine boards to experiment on and 3D printed this guide to make the ruler marks. This took a few iterations, I was trying to use a pattern bit, but ultimately a bushing and plunge route was the best way to go. You can flip the template around to continue the pattern and route the whole ruler with one template. I based the marks off of an old folding wooden ruler I have.

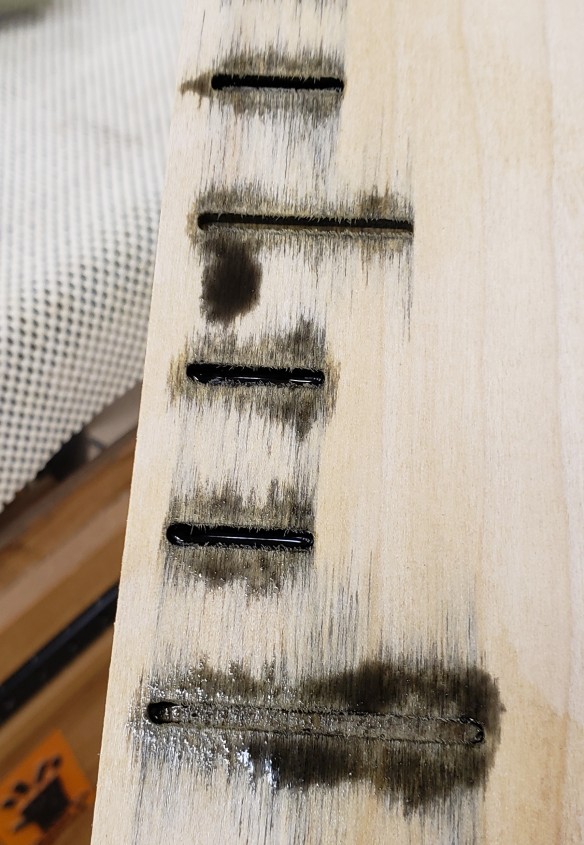
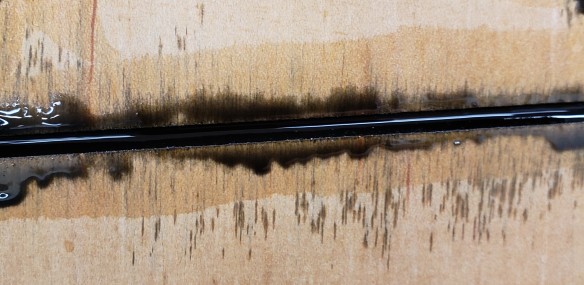
The first big issue I ran into was inlay. I wanted to route a pattern, then mix black epoxy to pour into the cut grooves. The epoxy kept wicking into the grain. I tried poplar, it wicked too.

I tried sealing the grain with multiple rounds of shellac and still ran into some issues on the poplar samples. I should have started with a hardwood of some sort.

I eventually got enough sealing done on pine and filled another test piece. There was still some grain seepage and in trying to plane through the top surface and get to flat inlay, I kept hitting bubbles. I tried vacuuming the epoxy and still couldn’t get it to be void free. Here again, the rough pockets that are left by the routing might be allowing air pockets. Again in retrospect using maple or something would have been better.

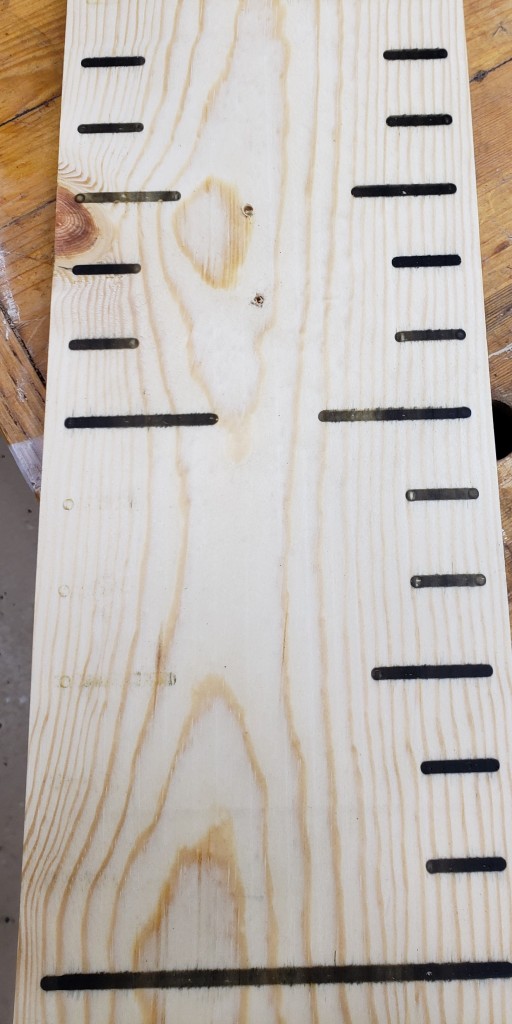
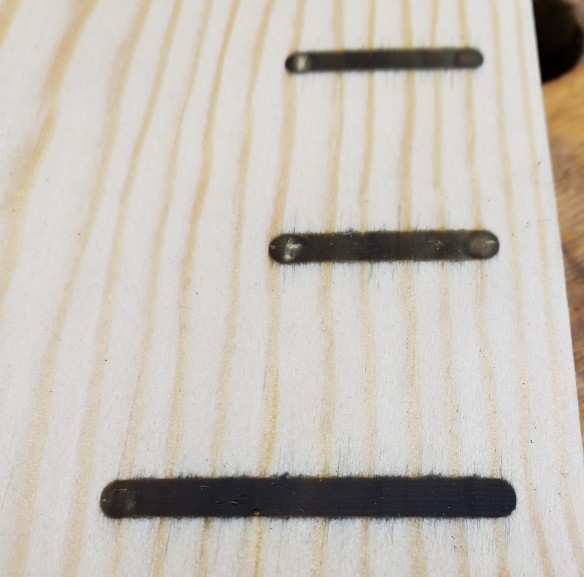
Finally I settled on a quick clear coat to seal, and spray paint. It makes the router cuts dark and visible, and is easy to apply. The sample board turned out well enough, so I moved on to the real thing. I will work on improving my epoxy inlay techniques later.

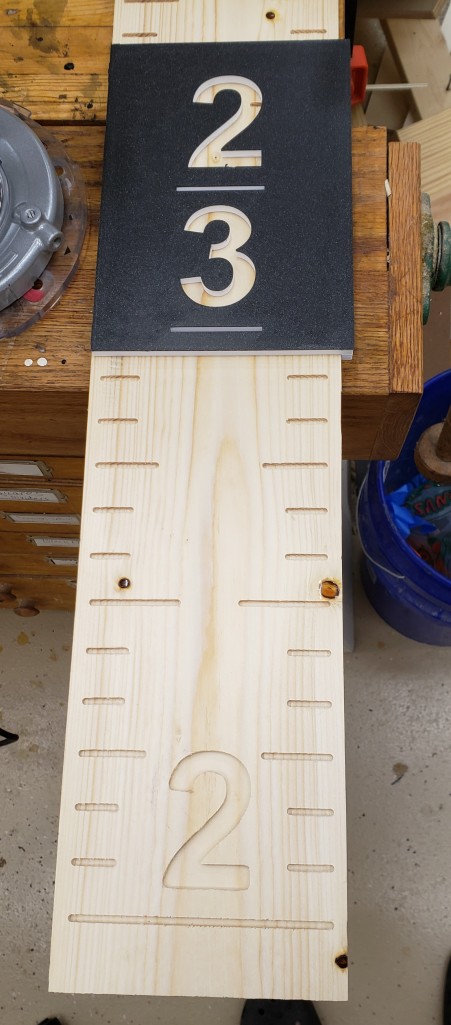
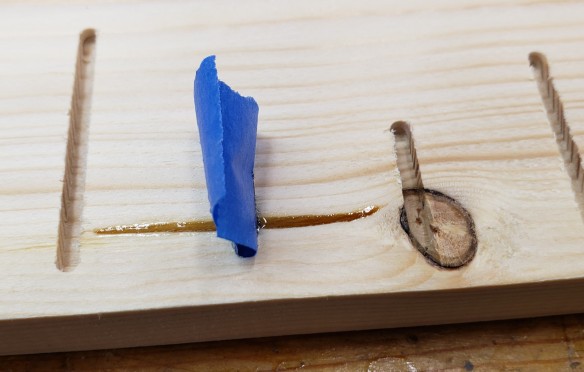
I printed letters to make the ruler clear to read. Each letter has an alignment line underneath so you can see the foot mark line when putting it down. I had a few knots and checks that were in the way so I used clear epoxy to fill the voids so that the spray paint wouldn’t get inside. I then routed everything and sprayed the entire surface.

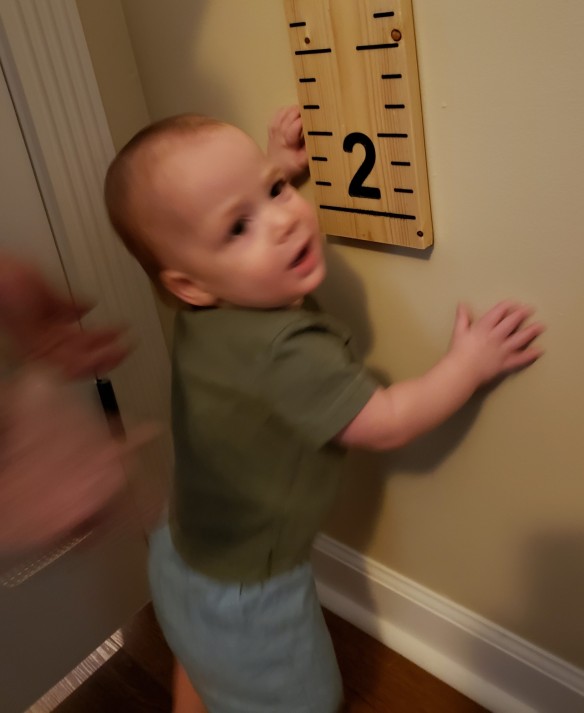
I planed off the top surface to reveal a decent inlay. Everything got a few coats of finish, then hung up on the wall. The hardest part now, is getting him to stand next to it. He pulls himself up to standing constantly, but always has his own agenda. This picture was the best I could get in nearly 2 months of trying. Never work with kids and animals they say.

Disk Sander Circle Jig

My Bandsaw Circle Jig actually started out as an idea for a disk sander jig I saw in one of my woodworking magazines. They used a sliding arm with a screw adjuster to fine tune the diameter of the circle. I thought this was neat and it slowly evolved into the arm I made for my bandsaw jig.

I already had an arm with T-slot track in it from the bandsaw project, so I figured that would get used in both jigs. You could cut on the bandsaw, then fine tune on the disk sander. The construction method I used before applies well here too. 3D print a runner to go in the miter slot, start with a base of 1/4″ MDF, then attach 3/4″ MDF on top to guide the sliding arm. I CA glued the runner in place with it all aligned, and then screwed it in from underneath.

I don’t have any features to keep the adjustment arm locked down because the disk sander’s movement should push the work piece into the table and keep it stable. Hopefully that theory continues to work out for me.


The new thing here is the adjuster. The wood magazine had something with a T-nut and bolt. It was fine, but I figured a printer could do better. The knobs were something I had designed earlier. Each holds a 1/4″-20 coupling nut. The adjustment screw is a bit of threaded rod with a coupling nut bonded to one side. The other was rounded via a drill and bench grinder. The knob will glue on to the nut and the rounded end will push up against a hard stop. Having it rounded should mean there is only point contact and will make for smoother more even adjustment.

The adjuster uses a bolt in the t-track of the adjustment arm to clamp itself down in the rough position. I added a block to the bottom of the jig and bonded a big fender washer down for the head of the adjustment screw to contact. It should be a very firm stop and won’t wear easily.

Putting it all together, and with a few coats of polyurethane to keep the MDF stable, I tested it with another sharpening wheel. My last one was a little small, so I made a new bigger thicker one. The only thing to note is that doing heavy sanding in one spot will load up the paper badly. Sliding down the table occasionally will help even out the wear.

Bandsaw Circle Jig

I have a router circle cutting jig from milescraft that works pretty well. It screws down a center and uses your router on an adjustable arm to make big circles. It does take a bit of setup though, and anything under about a foot in diameter is pretty awkward. There are loads of bandsaw jig ideas, so why not add mine to the pile? I think I have three things that are slightly unique in this design. Not revolutionary, but a bit different.

1. I started with a 3D printed miter slot runner. It is T shaped so once you slide it in the jig can’t come up off the table. Most folks make wood runners. Those are fine, but with printing it is a lot easier to dial in a T-slot so that the jig can’t lift. It comes with countersinks for #6 mounting screws.

2. The jig needs some kind of sliding arm to hold the piece being circle cut and set the circle radius. Dovetail slots and all sorts of things are employed. I took a T-track and glued it into a piece of 3/4″ MDF. Even 1/2″ screws would have been too long, so I just used epoxy. It holds well. A look from underneath shows that a bolt and knob let you lock down the circle radius arm in position.

3. To hold the work piece, most jigs use a small nail sticking up from the adjuster arm. You would drill a small hole in the part and pin it on the nail in the jig. Instead, I wanted a more flexible solution. I cut a 1-1/4″ hold in the end of my adjustment arm so I could put in 3D printed holders. One is 1/2″ in diameter so I can cut a MDF circle for my buffer. The other has a countersunk hole so I can screw a small #6 screw into the work piece. Optionally, there is enough space there to double sticky tape the puck down and use the center hole for alignment. I can print all sorts of posts or pins to suit my cutting needs.

To put that all together, a piece of 1/4″ MDF was CA glued to the runner (temporary) and pushed into the saw till it reached the middle of the jig. I glued a little stop in front so it would hit the bandsaw bed and stop in the same place every time. I then glued on 3/4″ MDF around the centered adjustment arm. That gave me enough material to screw on, from underneath, the glued runner. That all got pushed in again to the saw to cut through the new 3/4″ MDF.

I did some measuring, marked our the rough radius locations, and coated everything in a few coats of thinned polyurethane. It struggles a bit with anything under a few inches in radius, but a different blade would help. Up to 2 foot circles are possible. Above that and I will go to the router jig. To try it out, I made a sharpening wheel for my buffer out of 3/4″ MDF.

  1. Set the runner to the appropriate radius and lock the knob
  2. Install the square of material to be cut on the peg
  3. Push into the saw until you hit the stop
  4. Slowly rotate all the way through the circle
  5. Done!

Early 2021 Prints

I haven’t done a print grab bag in ages and realized I had a pile of fun and useful prints bouncing around. Let a montage of 3D printed goodness begin!

Plant Labels

Not super original, you can find a zillion of these online, but I wanted my own. First up, they are nice and big for me to read, and secondly, there is always something you have that isn’t in the list given online. The first set were just white with black paint marker coloring. I later started doing batches and swapping to black on the right Z layer to make the lettering pop.


Tool Holder

I always keep a big exacto blade and a few deburring tools around in my shop. They tended to float on my messy table top and get lost (part of the reason I have two deburring tools). In an effort to keep that area clean I made a tool holder that screws to the underside of the shelf. Previously unused space now keeps me better organized. It tilts back 10 degrees to keep them from vibrating out when I slam the door on that wall. No unexpected falling knives please!


Dispenser Bins

Sticking with the shop theme, I have a supply of semi-disposable items I always keep around. Popsicle sticks of various sizes and acid brushes are really useful for mixing, spreading or applying different substances. I used to keep them in loose piles or cups, but now I have a custom dispenser for each.

The basic design is the same in all, but with some modification to dimensions depending on what was being dispensed. The front wall slides in and has custom text for each one. A lid keeps the dust out and allows stacking. I printed them with 5% gyroidal infill and a hole in the bottom. That let me use sand to add weight, capping with epoxy. I have been using this trick a lot lately and love doing it. I used hot glue on the bottoms of each, then smashed it down on a silicone mat to make quick non-skid bottoms. The weight from the sand and the non-skid bottoms keep them from moving around easily. You wouldn’t want them to fall off the high shelf they are on.

Cross section of dispenser

Shark Bite Remover

Shark bite fittings are a great plumbing invention. They fit over the 1/2″ cpvc plumbing in my house and mean the fittings can be replaced without cutting the pipe. I had a supply valve go bad in one location, and wanted to switch orientations in another location. No cutting required! The trick is, getting them off is a beast. You have to push in on the release sleeve, twist and pull. All while being gentle and not stressing the pipes too much. They sell little C clips to make it easier, but I lose them and they aren’t comfortable on your fingers. Enter some printed ones.

I printed LOTS of these and sprinkled them throughout my plumbing supplies. They have more finger surface than the store bought ones, so you can get a better grip. Plus they are thinner. I found myself having to replace a fitting that didn’t have much pipe sticking out. These thin ones got in there, the store bought wouldn’t fit.


Chess Set

Moving from the shop into the house, my wife has been playing chess a lot recently. She wanted a chess set so I made one out of sparkly galaxy black filament and marble filament. I printed each one hollow, filled with sand, and capped with epoxy. The board is a set of 4 tiles printed with a color change from black to white. I put it all on a piece of MDF. That part wasn’t brilliant. I started with black polyurethane then tried to move on to spray paint. I still don’t have a good MDF painting technique apparently. The edges endlessly suck up what ever you put down. That part will probably get remade at a later date.

To hold all the chess pieces I made a box with sliding lid. The fit is good enough that it kind of blends in when fully assembled. Embossed along the sides are a symbol of each chess piece type.


Moon Lamp

This moon lamp design comes in many flavors online. Thingiverse My implementation isn’t that unique. I did copy the spline shape used to attach the moon, and made my own base to hold the bulb. The base was once again filled with sand and capped. Now the lamp is quite hefty. The main challenge of this job was that the moon print took about 3 days. I accidentally interrupted one attempt when it was 90% complete… oops. The base is 6.5″ in diameter and the moon a little over 8″.


Monitor Picture Holder

Last but certainly not least, I got this cool frame for fathers day. I wanted to keep it close by, and for some reason the top of my monitor jumped out at me as the perfect location. A simple print later, and there was a perfect space for the frame to sit. The little guy is always on my mind, and now always on my monitor.

Hydralisk Skull

I have been working on this project slowly in the background since probably October. Early on, I was unable to finish printing the parts because of a mysterious heat creep issue. After a few months I had that sorted, and went on to figuring out how to smooth my prints. That went through a few iterations, then it was on to painting. Lots of trial and error, but with really good final results. Over this project I learned a lot about the hot end of my printer, came up with a new-to-me smoothing technique, and picked up an airbrush and taught myself to use it.

My first challenge was to smooth out the prints. The head came in 3 parts and I decided to smooth each one individually, then glue them together. Probably would have gone better the other way as we shall see. I spent a lot of time with sanding sponges, power tools and air erasers. Nothing worked well to bring down the surface roughness. My printer issues were really starting to bite me. I hit upon an idea with epoxy coating. They make special two part epoxies for over-coating FDM prints. I figured a slow two part I already had available was probably good enough. Below is one of my tests. Left side bare, right side coated.

Two part epoxy works well, but has a few draw backs. You tend to have to mix big batches, then really get working once they are cooking. It adheres well and is thick enough to hide most layer lines. Drips are an issue and once you have it in place, it can run and sag till the stuff starts to kick off. It was way better than endlessly sanding and priming, but still had some issues. Another test piece below.

I did some more research and found that printer resin is another possible option. I picked up a small bottle and a 405nm light and got to work. The results are great. It a good thickness as is, but can be thinned with IPA if desired. The trick is that you want to completely coat an area, then cure. Painting on more resin will make it hard to blend as the new stuff stays on top of the cured stuff. The resin has as much working time as you want, so you can take your time, go thin, then cure when you are ready. The part should be wiped down with a bit of IPA afterwards to clean up the sticky residue. The resin used below is black, but is transparent enough it is hard to see the effect.

With the major parts coated and smooth, I glued everything together. There was some bed warp, so I had major gaps to fill. I used bondo spot putty. It is hard to apply smoothly, and takes a bit of sanding to get flush. It sands much faster than the resin parts, so if you get too aggressive, you make valleys. Plus, resin doesn’t stick to it, so this part was pretty tricky. I need to find a better gap filling solution. UV resin won’t cure deep enough and is too thin.

I sanded and thought it all looked good, but the bondo still wasn’t smooth in spots.

You can’t hide anything once the primer goes down. That flat color shows all. After countless rounds of filling, sanding and re-priming I got it good enough. Next came the paint.

I am not much of an artist, and this is where I got out way over my skis. I had some basic craft paints, so I tried to make a bone color. The first was way too dark, and the second went on looking like streaky junk. My paint strokes were adding up and looking really awful.

Some peas for help on the internet got me the idea that I needed to try airbrushing. I had never done it before, but a basic cheap airbrush was about 40 bucks, and I already had the compressor. Plus, the cheap paints I was using had very little pigment. I went to slightly better craft paints that came in the color I wanted. The results were becoming much better.

Airbrush puts down a soft subtle amount of paint that you can easily add to. The acrylics were very matte, and that matched the bone look perfectly. After getting a base layer of everything down I went ahead and mixed a darker color for shadows.

After that I mixed white with a glossing agent and made the teeth whiter and shiner. It didn’t show as well as I had hoped, but the effect is still there a little in the end.

Lastly, I mixed up a really thin dirt color and started doing a weather/wash coat. I got a little carried away and the thing ended up being more dirty than I had originally set out to use. It was hard to stop though, it looked so cool. I spent extra time cleaning off the high spots and ridges so they looked a little polished, while the valleys were dirty.

I had the head and mouth parts complete, but needed a mounting plaque. I found a design on thingiverse someone made, but needed it a lot bigger. I cut the print into multiple parts. Instead of trying to glue them together and hide the seams, I taped them down to MDF, and used the print as a router template.

I used the slicer to cut off those raised bits, with a few alterations, and printed them separately to glue on later. They need to be smoothed, but I already had a plan for that. To keep them from getting to saggy or organic looking I used my airbrush to spray on the resin. It could be very thin and juuuuuust fill in the lines without breaking up any crisp edges. You have to make sure the fill job is good, once the primer goes on, resin won’t stick, so you have to fill and sand the rest of the way.

The MDF took paint like a thirsty beast. I eventually had to use bondo filler on the edges to seal them up.

Finally it got some silver spray paint with a few black brushes and accents. I am getting better at this whole painting thing! The head was glued down and hanging hardware added.

Total length is about 18 inches from back of head to the tip of mandible and looks quite smart on my shop wall. The original files are located here https://www.thingiverse.com/thing:4622672 and the base plaque that I upsized is here https://www.thingiverse.com/thing:4768350

NASA Worm Logo

I have been watching this guy on youtube recently called Jigsaw Nation. He makes a lot of cool big signs out of plywood. Mostly car stuff, video games, and whatnot. I got inspired and decided to make a pair of NASA logos for my dad and I for Father’s day.

The jigsaw dude I follow projects onto the plywood and traces his designs out. I wanted to produce two of the same thing, so I opted to print a template and route instead. The AS was too big to print, so I cut it up into two parts with an alignment stitch between them. I doubled up the plywood and used my bandsaw to remove most of the waste. These letters are around 6 inches tall.

I went to the router table and ran into an issue. My pattern bit only has about an inch of cutting depth. Oops. I’ll have to split these up and do one set at a time.

I wanted these to look really clean and crisp, so I proceeded to use filler to make the edges solid and smooth. I tried mixing up goodfillas, plasticwood, and bondo spot filler. They each are kind of OK I guess. I didn’t end up taking pictures of that process because… can I still use the dad brain excuse? Same excuse for the background. It is a 2ft wide piece of plywood with the edges rounded and filled. For paint I did a number of coats of primer/filler to get it all as smooth as possible with sanding in between where needed.

I still need to work on my spray painting skills. I think I get going too thick and it leaves little puckers and attracts dust. When I go super light though I don’t see the gloss I want. Practice I suppose. To get the kerning right I printed the space between the N and A, and another between the S and A.

Once the glue was try I was all set. Dad was visiting at mother’s day and already has his hung up outside his rocket building control room. Mine is up high in my shop where the paint imperfections are hard to see!

Side Table Organization

My side table is a mess. It kind of always has been, but now I have a small one crawling around and yanking on every cable he finds. I can see a job as an electrician in his future. He loves wires! Here is the horror.
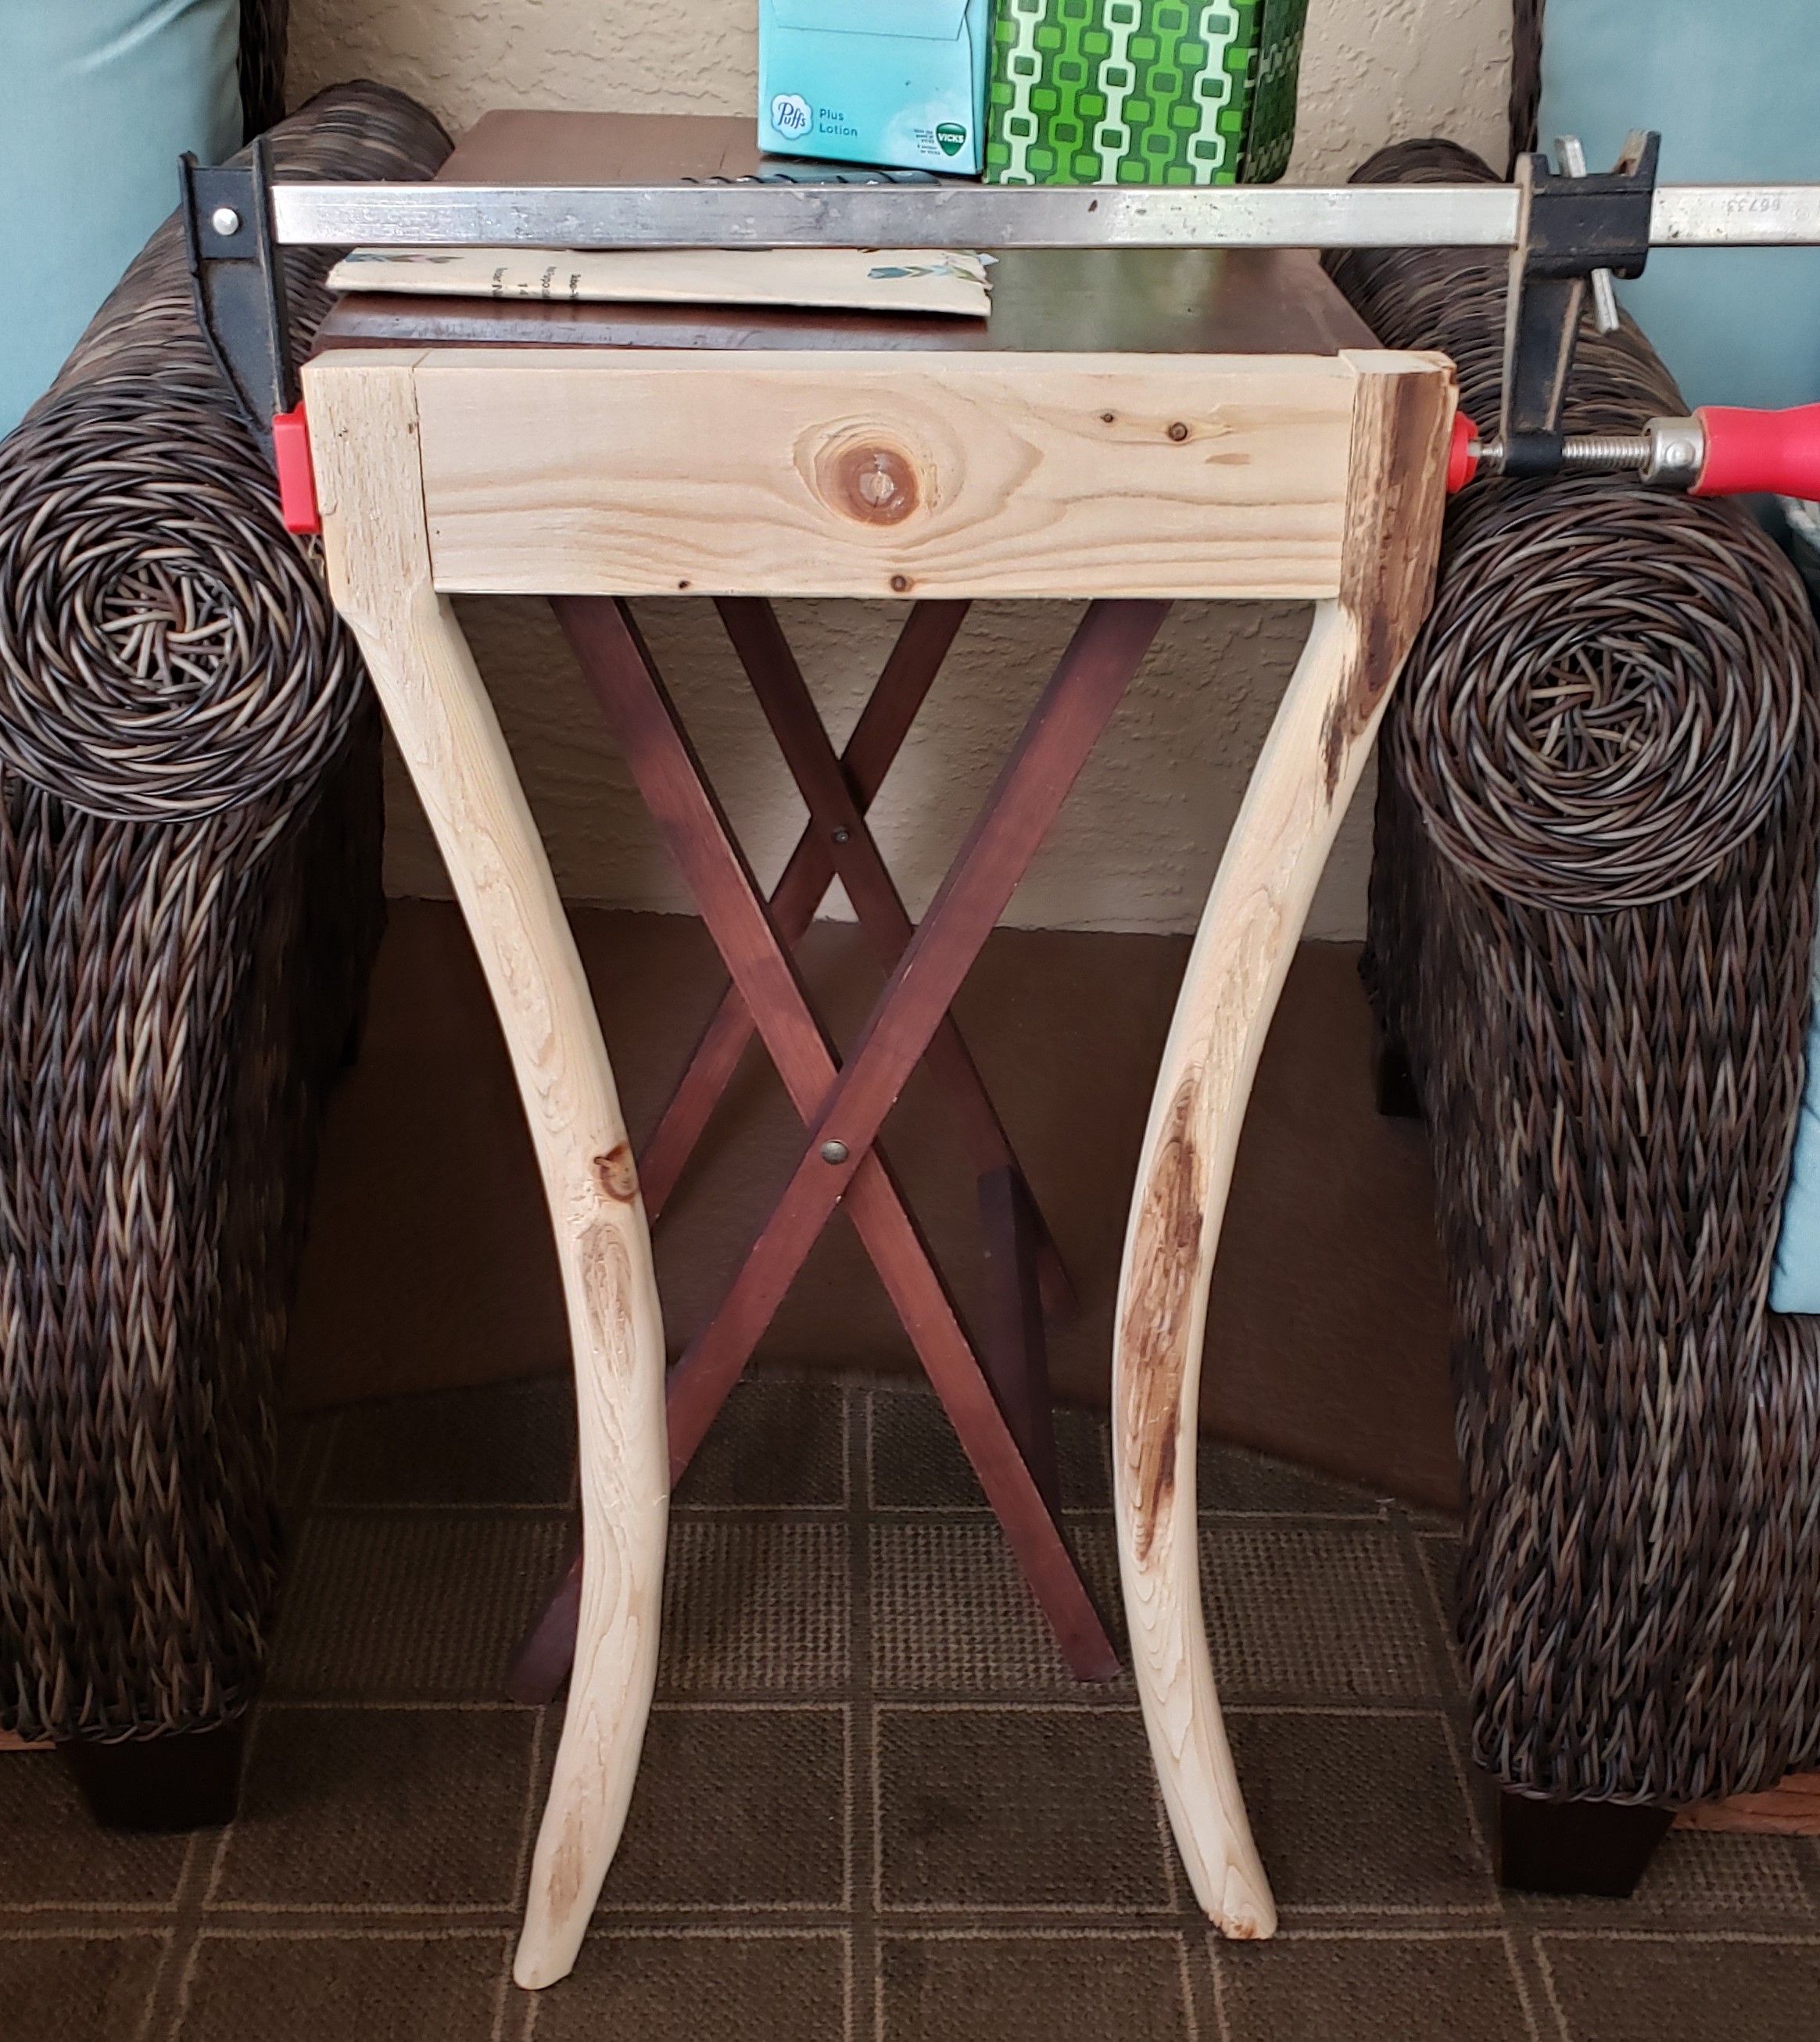
I can’t even bare to show the top side, it is not safe for the internet. In order to cleanup and keep my little guy safe from random power cords I started moving things to the underside of the table. The first step would be to anchor the power strip. Everything else would revolve around that. I measured the mounting hole spacing and made a drill template on the 3D printer.

Now I could start putting down wire anchors. Some of these are closed loops you can use with zip ties or velcro, others are open, and you can slip loops of wire into them. I designed my own, but lots of printed options are available online. I made a set of brackets to strap down my USB power brick. I will leave it under the table, and run the needed free lines around to the top.

As I was going, I realized I didn’t have anything for my laptop’s power brick. I found that velcro straps can make a quick flexible hold down if need be. Much faster and cheaper than printing something custom.


With the underside of the table taken care of I moved on to the top. General cleanup was in order. I wanted to consolidate as many things as possible into a single unit. This block will hold my weather station screen, has space for pens, roku remote, fan remote and echo dot. I printed it with 5% gyroid infill, filled everything with sand, and capped it with epoxy. Hot glue makes for thin grippy feet. Just squirt on the hot glue once it has gotten fully up to temp, smash the block down on a silicone glue mat. After a few when it is all cold the glue mat should peel off easily.


To help with all the speaker cables I made a box that slides around the backside of the sub-woofer. I screwed the speakers to the sides so they couldn’t be pulled out. The rear left and right speakers sit on the far side of our couches. Their wires are getting covers to keep them safe from small hands.

I screwed down some wire cover to the legs of the table. This gave me a place to run up and down the various power and connection cables I needed. The only free thing now is the audio cable between the echo dot and the speaker controller. I might either get a longer cable, or mount that to the underside of the table at some point in the future. The top looks pretty good now, and I have managed to keep it tidy for the last month. On to the next baby-proofing project!