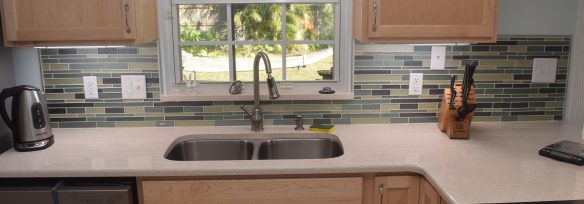
The kitchen is finally complete! The last two months have involved a lot of waiting on things to get in, but it is all done.
With the countertops installed I was able to go ahead with a layout scheme. The tiles are glass, of different heights and widths, and on a floppy mesh. Figuring out where and how to cut to make it around the outlets was tough.

Everything started and stopped at a metal quarter round boarder strip. After a few different tactics I figured out that measuring everything from the edges and countertop gave me the best results for cutting around outlets.

T he gaps between each tile varied between 1/8″ and 1/16″. It made any errors on my part easier to hide, but keeping everything looking right meant I needed a variety of shims. When installing the tile I did my best to keep the gaps clean, but sometimes the mortar squeezed through. It is tough to clean without disturbing the wet tile too much. Instead I waited till it was cured and used a custom little tool to scrape it out. It is a thin putty knife ground down to make a small hook/dovetail shape. I was able to get into the gaps and clean out any stray mortar that even the smallest grout saw couldn’t get to.
With all the edges and gaps cleared out I could move on to grout. Backsplash grouting seems to be pretty similar to floor grouting. The grout is un-sanded on account of the narrow gaps, but otherwise you smear it on, let it sit for a bit, then wipe off. The high ratio of gaps to tiles means a lot ends up staying in place and getting wasted in the wiping.


Hazing is really noticeable on the glass tiles, so they took a few dozen extra rounds of wiping, but you really knew when you got it all. After months of work and waiting, and more money than I care to admit it is really good to have a gorgeous working kitchen. Time for a kitchen warming party!