Maple Closet Shelves

I am starting to mix in house projects and longer term goals along with my shop infrastructure work. We pulled all the built in organizers out of the master closet when we were renovating. It was basic white particleboard and appeared to be rather old. We cleaned up all the walls and installed brackets that supported a continuous closet rod for hanging clothes. This gave both of us ample hanging storage space. The bracket is designed to have a shelf above it. I wanted something nice, and waited until now to build it.

Actually like a lot of my projects I started this a few months back and got side tracked by other house issues. I got the only 10 foot maple boards they had at the local lumber place and went to town planing them.

Buying rough cut wood is a bit like Forrest Gump’s box of chocolates. You never know what you are going to get. In this case, some cool mineral darkening and nice figure.

This is an interesting transition project. I started it with my old Hitachi planer and ended it with my new Dewalt planer. The old planer has been donated to a co-worker that is starting to fill out his shop and could put it to good use.

Goodbye old friend

With the boards cleaned and flattened I needed to work on the edges so I could joint them together in a panel glue up. I preserved the length as long as I could knowing that the ends would eventually get cut down some. Planing a 10 foot board by hand is hard work. I had to employ a helper to keep the board propped up. I haven’t had a power jointer in years, and I don’t see how it would have helped me in this situation.

After much time spent with my #7 jointer I glued the two shelves together and was ready to continue the flattening. This time with the new planer. The main reason I bought this one was because it was reviewed well, and there was an available helical cutter head for it. The two are a match made in heaven. No matter what, the thing produces a clean surface, no tearouts, and the carbide inserts will last a long time.

There is some really pretty figure in the wood. Another advantage of the new cutter head is that it makes really short shavings. You can see them wizzing around in the first stage of my dust collector window.

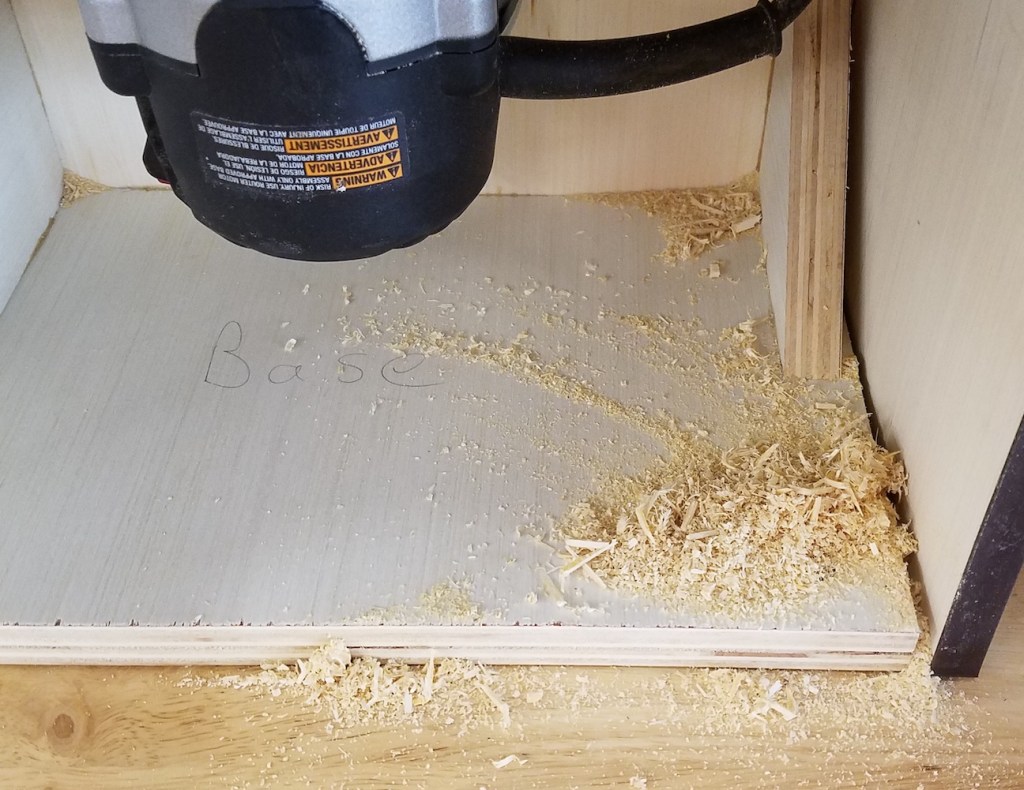
After a very minimal amount of sanding and clean up of the ends, I routed a round over on all the exposed edges.

With the boards in their correct shape I applied a coat of boiled linseed oil to protect the wood and give character. These will not see heavy use, so a tougher film finish shouldn’t be needed. The oil really pops out some of the birds eyes and other grain variation.

Unfinished above, oiled below

Once the oil soaked in and dried I installed the shelves. They don’t hold a lot now, but probably will as we collect junk in the future. With all the clothes in place you can barely see them. I almost wish I had used pine instead of this gorgeous wood. Oh well, it should be a good shelf for generations. The next owners certainly can’t say it was made of particle board and falling apart.

Router Table Dust Collection

The next item on my dusty hit list is the router table. I have a dust port in the back of the fence, but that only really gets half the mess, and depending on what kind of operation you are doing it might get none. A lot falls down below the table and gets everywhere. The router is a high speed cutter and makes a lot of fine dust. Here is what the surface below the router often looks like.

I need some kind of box to go around the router and capture most of the dust that falls below the table. They can be bought online, but for 100+ dollars I will make my own. I made a back and bottom with dust port in the back to take a 4″ hose.

I wanted all the other sides of the box to move out of the way when I am working on the router. I attached the left and right sides with hinges so they can swing closed or wide open to let you get your hands in and work.

To hold everything closed and attach a front door, I put strips of magnets on the front edges of the side walls and the front door. It just snaps into place and keeps the side walls from swinging open.

I attached the bottom of this box directly to the toolbox base that the router table sits on. There is a small gap between the top of the box and the underside of the router table, and a large gap at the front wall. These gaps help by drawing air in and pulling the dust away. If this box was completely sealed you wouldn’t pull any dust out.

The quarters are a little tight under there, but the front door just pulls off and comes out any way you want. The sides naturally swing open a little and there is all the access you could ever want to the router for adjustments.

In the back I attached a duct splitter and have one hose going to the box and the other to the fence. Hopefully the 50/50 split will always be enough to get the job done. I wanted to add blast gates to adjust which side got more flow, but didn’t have space. Maybe a 3d printed part that acts as a flow control valve is in my future!

To test it out I routed a bunch of rabbets in some random plywood. There was a little left in the bottom, but most was removed. Any left over dust is at least confined to this box instead of in the air and all over the shop.

Kilt Belt Loop Repair

My latest kilt is going on 3 years old and has an issue with one of its belt loops. The center one in the very back is hanging on by a thread. This kilt is a few sizes smaller than my previous ones, and I have noticed that smaller pants/kilts tend to come with fewer belt loops. It may be the fewer loops, it may be the design changes utilikilt made, but for whatever reason, I need a new loop.

About 10 minutes after snapping the above picture I put the kilt on, sat down, and broke the last threads. Good thing I have an old kilt that I kept around. I figured I could cut some material out, sew it up into a belt loop, then sew that on. Turns out one of the loops on the old kilt was in really good shape.

I went after the old kilt with a thread ripper and managed to free the loop. The way they fold it over and under there ended up being a lot of material to work with. Good thing I am a hopeless hoarder!

I bought a basic sewing machine not long after college. I used it to make a few things early on, but never really picked it up as a hobby. Every year or so I break it out to fix something and completely forget how it all works. I need to make a photo guide. To make things worse I think it needs oiling.

I picked up the old kilt and sewed a few straight lines to make sure I had the stitch settings the way I wanted. When I got done I realized my mad sewing was done in the kilt I was trying to repair, not the spare parts kilt. Oops. More time spent with the thread ripper. Thankfully it wasn’t in a highly visible spot and the final damage was minimal.

With the settings all worked out I went ahead and started tacking the repair loop down. The sewing machine had a lot of issues with the thickness and I ended up with a broken needle for my troubles. I switched out the needle and was able to finish. It looks a little ugly, but feels sturdy. I went wild with the sewing and managed to sew down the tag. Oh well, no real harm done.

Once I trimmed up all the spare strings it looks nice. I need a little darker thread next time, but this will definitely keep my belt in place for another 6 months or year. I like to get 4 years out of a utilikilt if I can.

Socket Cabinet

Not long after buying my first house I picked up a big set of socket wrenches from craftsman. Previously I had an odd assortment of hand me downs that were missing various sockets. The plastic trays the sockets came in were labeled and worked well. The case was always kind of shoddy. It tended to drop the drawers out and spill sockets everywhere. If you pulled the bottom drawer out the top drawers collapsed. I am finally ditching it and making my own cabinet.

I started by making plywood drawers for each plastic tray (1/4″, 3/8″, and 1/2″ socket set), and two more full drawers for extras. This is the first project I have done where I made the drawers all first, then built a cabinet to hold them all. Kind of a neat way to work.

Once I got all the drawers assembled and installed into the cabinet I covered the face frame of the cabinet with 1/4″ poplar. I thinned more poplar down to 5/8″ and put a heavy chamfer on it to make drawer fronts. I thought pocket hole screws would be a great way to attach the fronts. They were, but I forgot to reset the depth of the drill bit to 1/2″ instead of my standard 3/4″, and drove the first screw through the drawer front. oops…

That won’t matter too much, and I am sure nobody will notice. Mostly because I accidentally drilled the first set of drawer pull holes at 3″ instead of 5″. Otherwise the cabinet looks great after a coat of boiled linseed oil.

Now to fill it all up. I used small strips of plywood to make stops so the plastic organizer trays sit still and don’t slide left to right when opening and closing the drawers.

Everything fits with room to accommodate future purchases. I don’t do a lot of mechanic work, so this set will probably cover me for the very far future. Lastly I did 3d print a few little organizers and helpers. I seem to have a lot of 3/8″ extensions, so I made a little slot holder for them. Also adapters to go from 1/4″ hex drive to various socket set sizes. The steady drum beat of garage organization marches on.

Kilt on a Hot Tin Roof

OK, so it is probably steel, but it still has a nice ring to it. The old shed at our new place could use a little love. It is 10 years old and the fasteners that hold the metal roof down appear to be in bad shape. The tops are all rusted and the rubber washer that keeps water out looks rotted. I pulled a few, and luckily none appeared to be rusted below the surface.

The shed seems to have a constant supply of leaves on top. In fact, I think that branch has been up there since before we moved in.

Some of the leaf piles had been there so long they had decomposed into a dirt/compost looking substance. The surface finish of the roof looks really rough in places.

I swept off all the leaves and debris, then gave the roof a pressure wash to clear the rest of the dirt and prep the surface for paint. Before painting I went through and replaced every screw on the roof with a new longer one.

Once all the screws were replaced I sealed everything in with two coats of a siliconized roofing compound. It looked a lot like super thick paint. Putting it on really heavily, a 5 gallon bucket gave me two coats with a little left over.

I spilled over the sides in a few places, but otherwise it all turned out well and looks nice. I hope this buys the roof another 10 years before I have to do anything. I know walking around up there was bending the sheet metal up, so I won’t make a habit. I do need to sweep off the leaves a few times a year though. That should be an easy job with a long broom and a ladder.