New Appliances

Strike number two in the kitchen renovation!  I ordered a new stove and dishwasher as part of the November black Friday madness.  Instead of waiting for them to arrive after the new cabinets go in I’ll do them early.  To some extent this doubles my work as I will have to uninstall these in a few weeks when the renovations start.  While that isn’t ideal, this lets me work out the process and guarantees I have the right parts on hand.

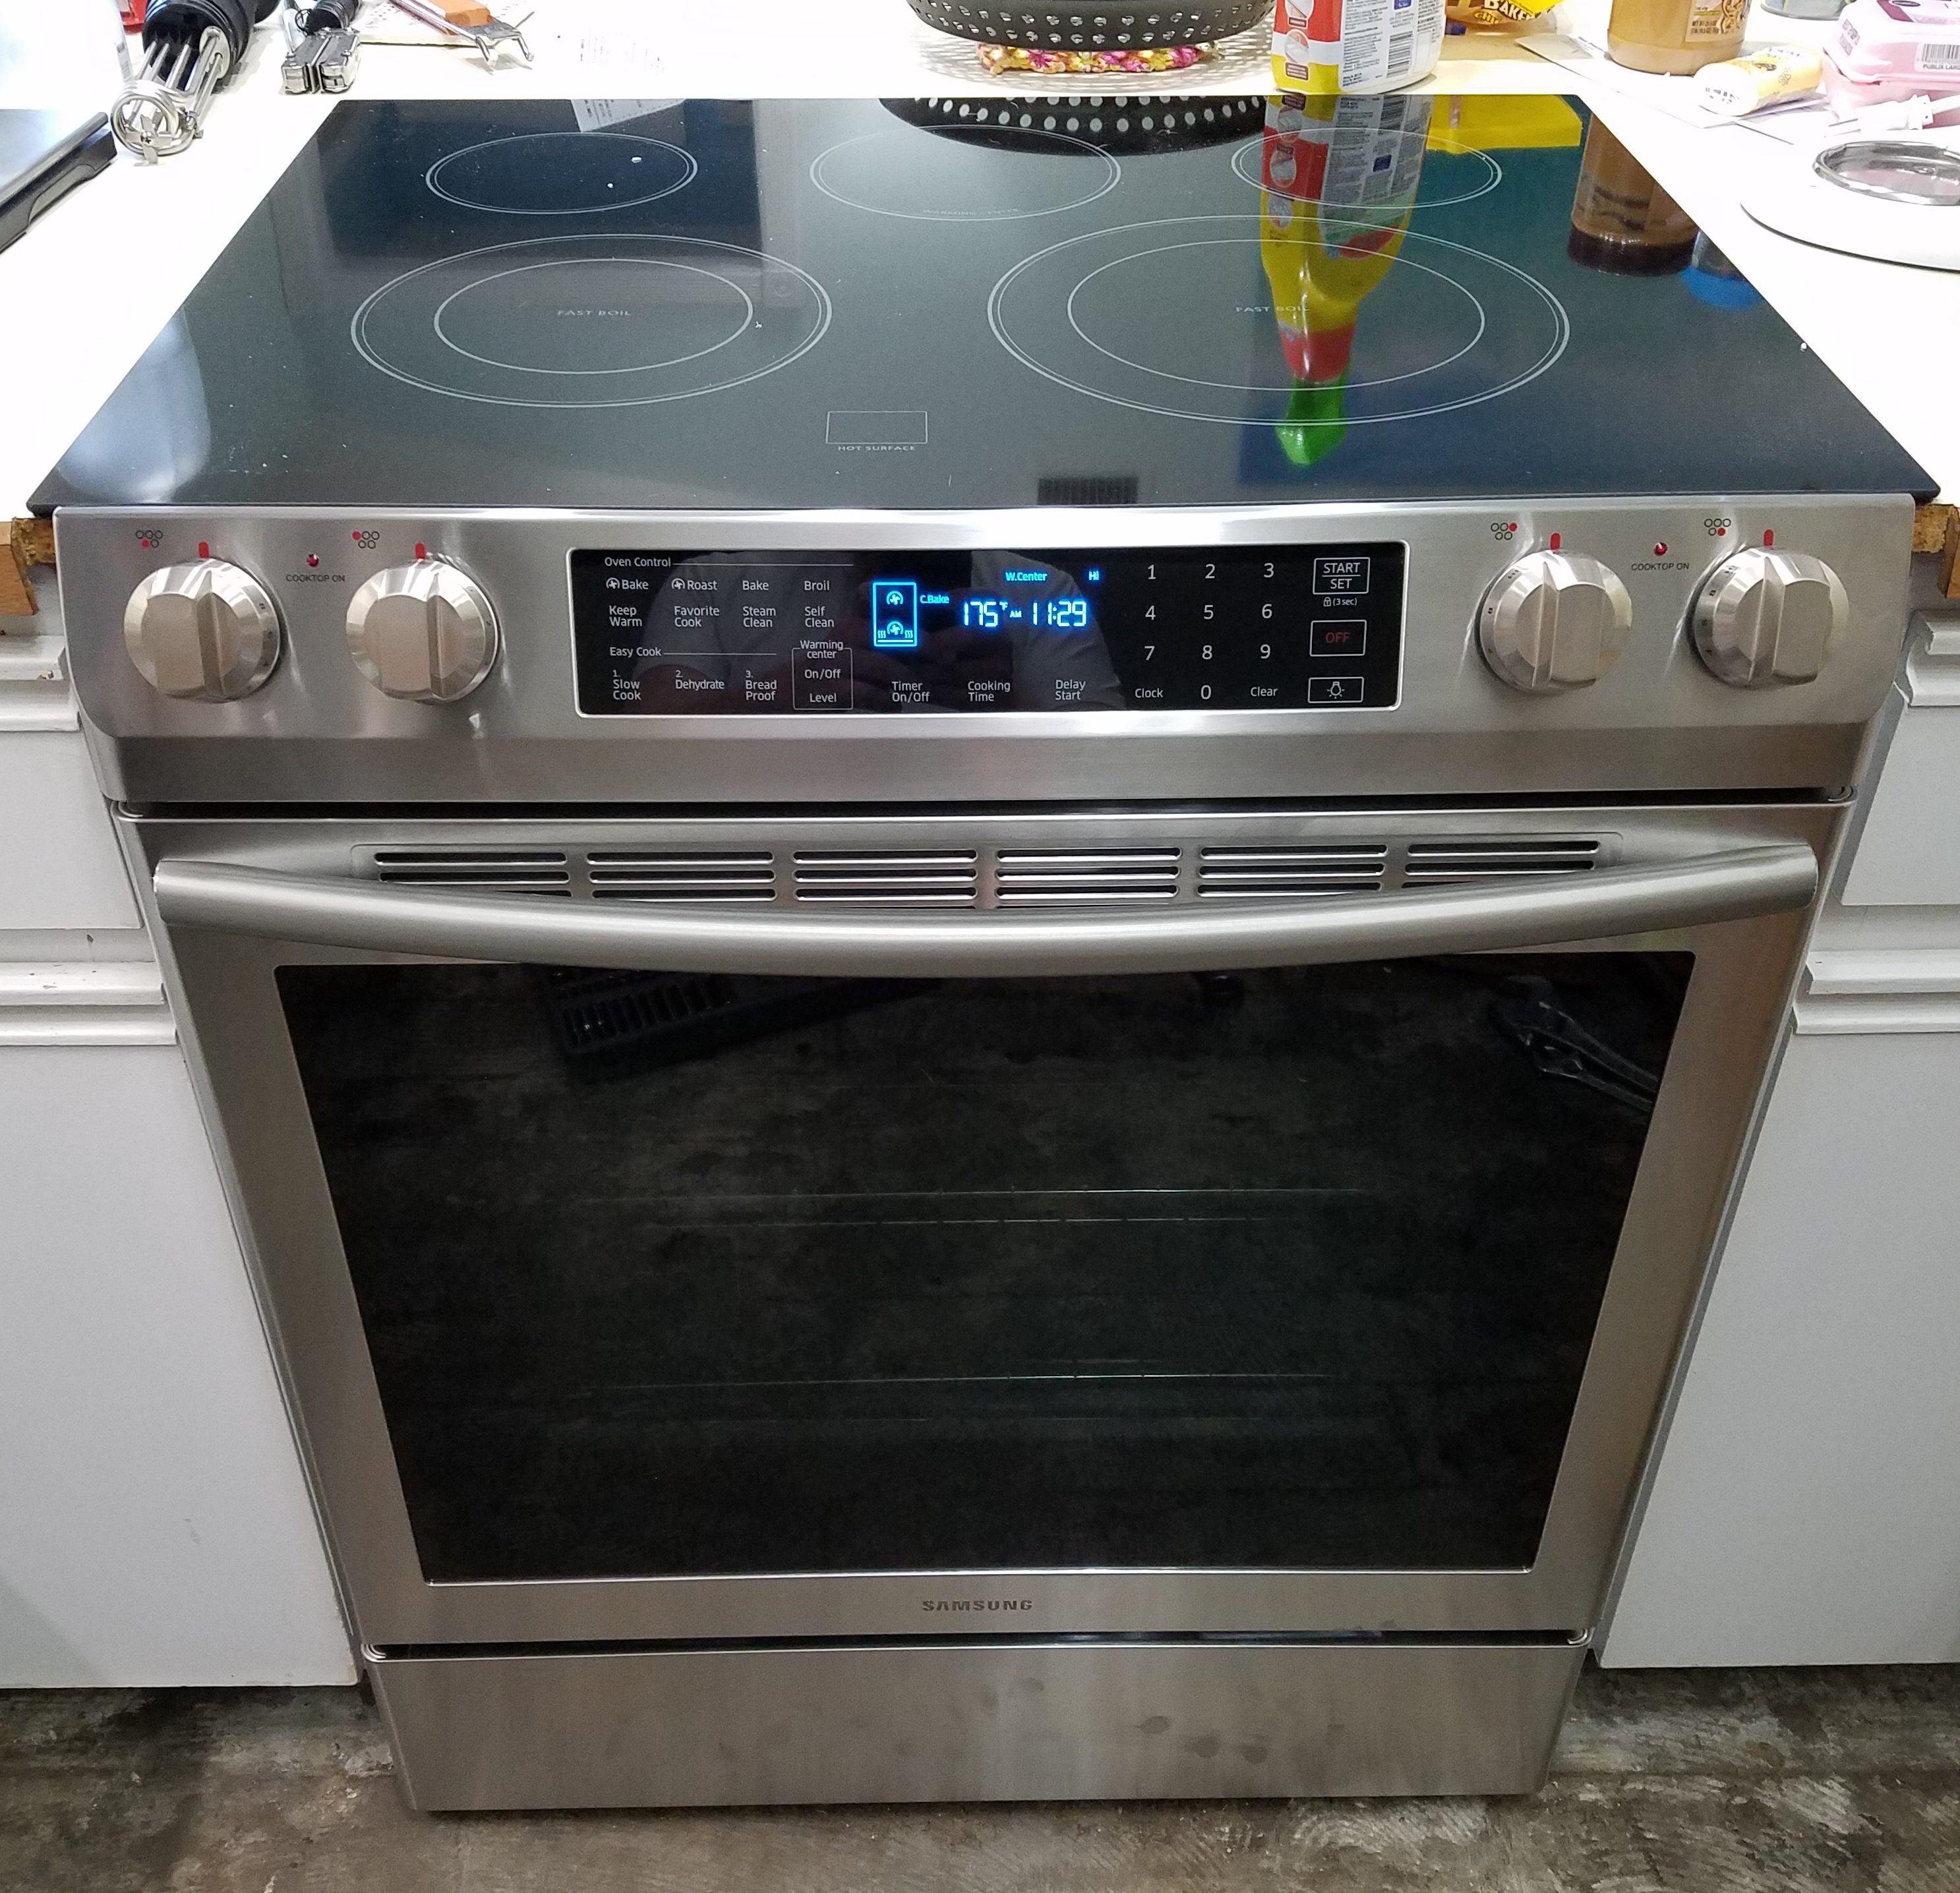
The two patients to be worked on are a very old chef magic dishwasher and a GE slide in glass top stove.  The dishwasher was rusting out and had a broken soap door when I bought the house 7+ years ago.  I thought it would die soon, but it has held on!  The oven is decent, but the top was scratched badly (not by me).  It worked well aside from a somewhat expensive touch board failure a few years back.

20161111_084703

Off with their heads as it were!  Well first I was able to run one final load of dishes before the delivery guys came.  Just in case I spent a long time getting them all installed, I would at least have clean dishes.

First comes the unwrapping and the very careful reading of instructions.  Or rather the unwrapping and the smelling of new appliances.  Instructions would only come when I was really really stuck!


They really do look gorgeous!  The stove was the first one to go.  I had already pulled the old one out a few times for measurements and such.  The cord swap went quickly, and after some cleanup and feet leveling I was able to shove the new one home.  It is a good thing I got these now, the front overhang is slightly different.  My old stove covered the countertop a bit differently and it leaves some edges exposed.  This would be a problem, but we are getting new everything, and the countertops will be fitted to this stove.  Good thing I acted now.

20161111_112706

Next came a perplexing game of “figure out how dishwashers are installed”.  The plumbing was pretty straight forward, but the electrical turned out to be an issue.  It is barely long enough to reach the front panel let alone let you pull the unit out past an inch or so.  I eventually worked everything out and got the old girl to the street corner where she belongs.  The new one went in slowly but without major incident.  I barely have enough power cord, so a modification of the permanent electrical system is in order.

wp-1480127789142.jpg

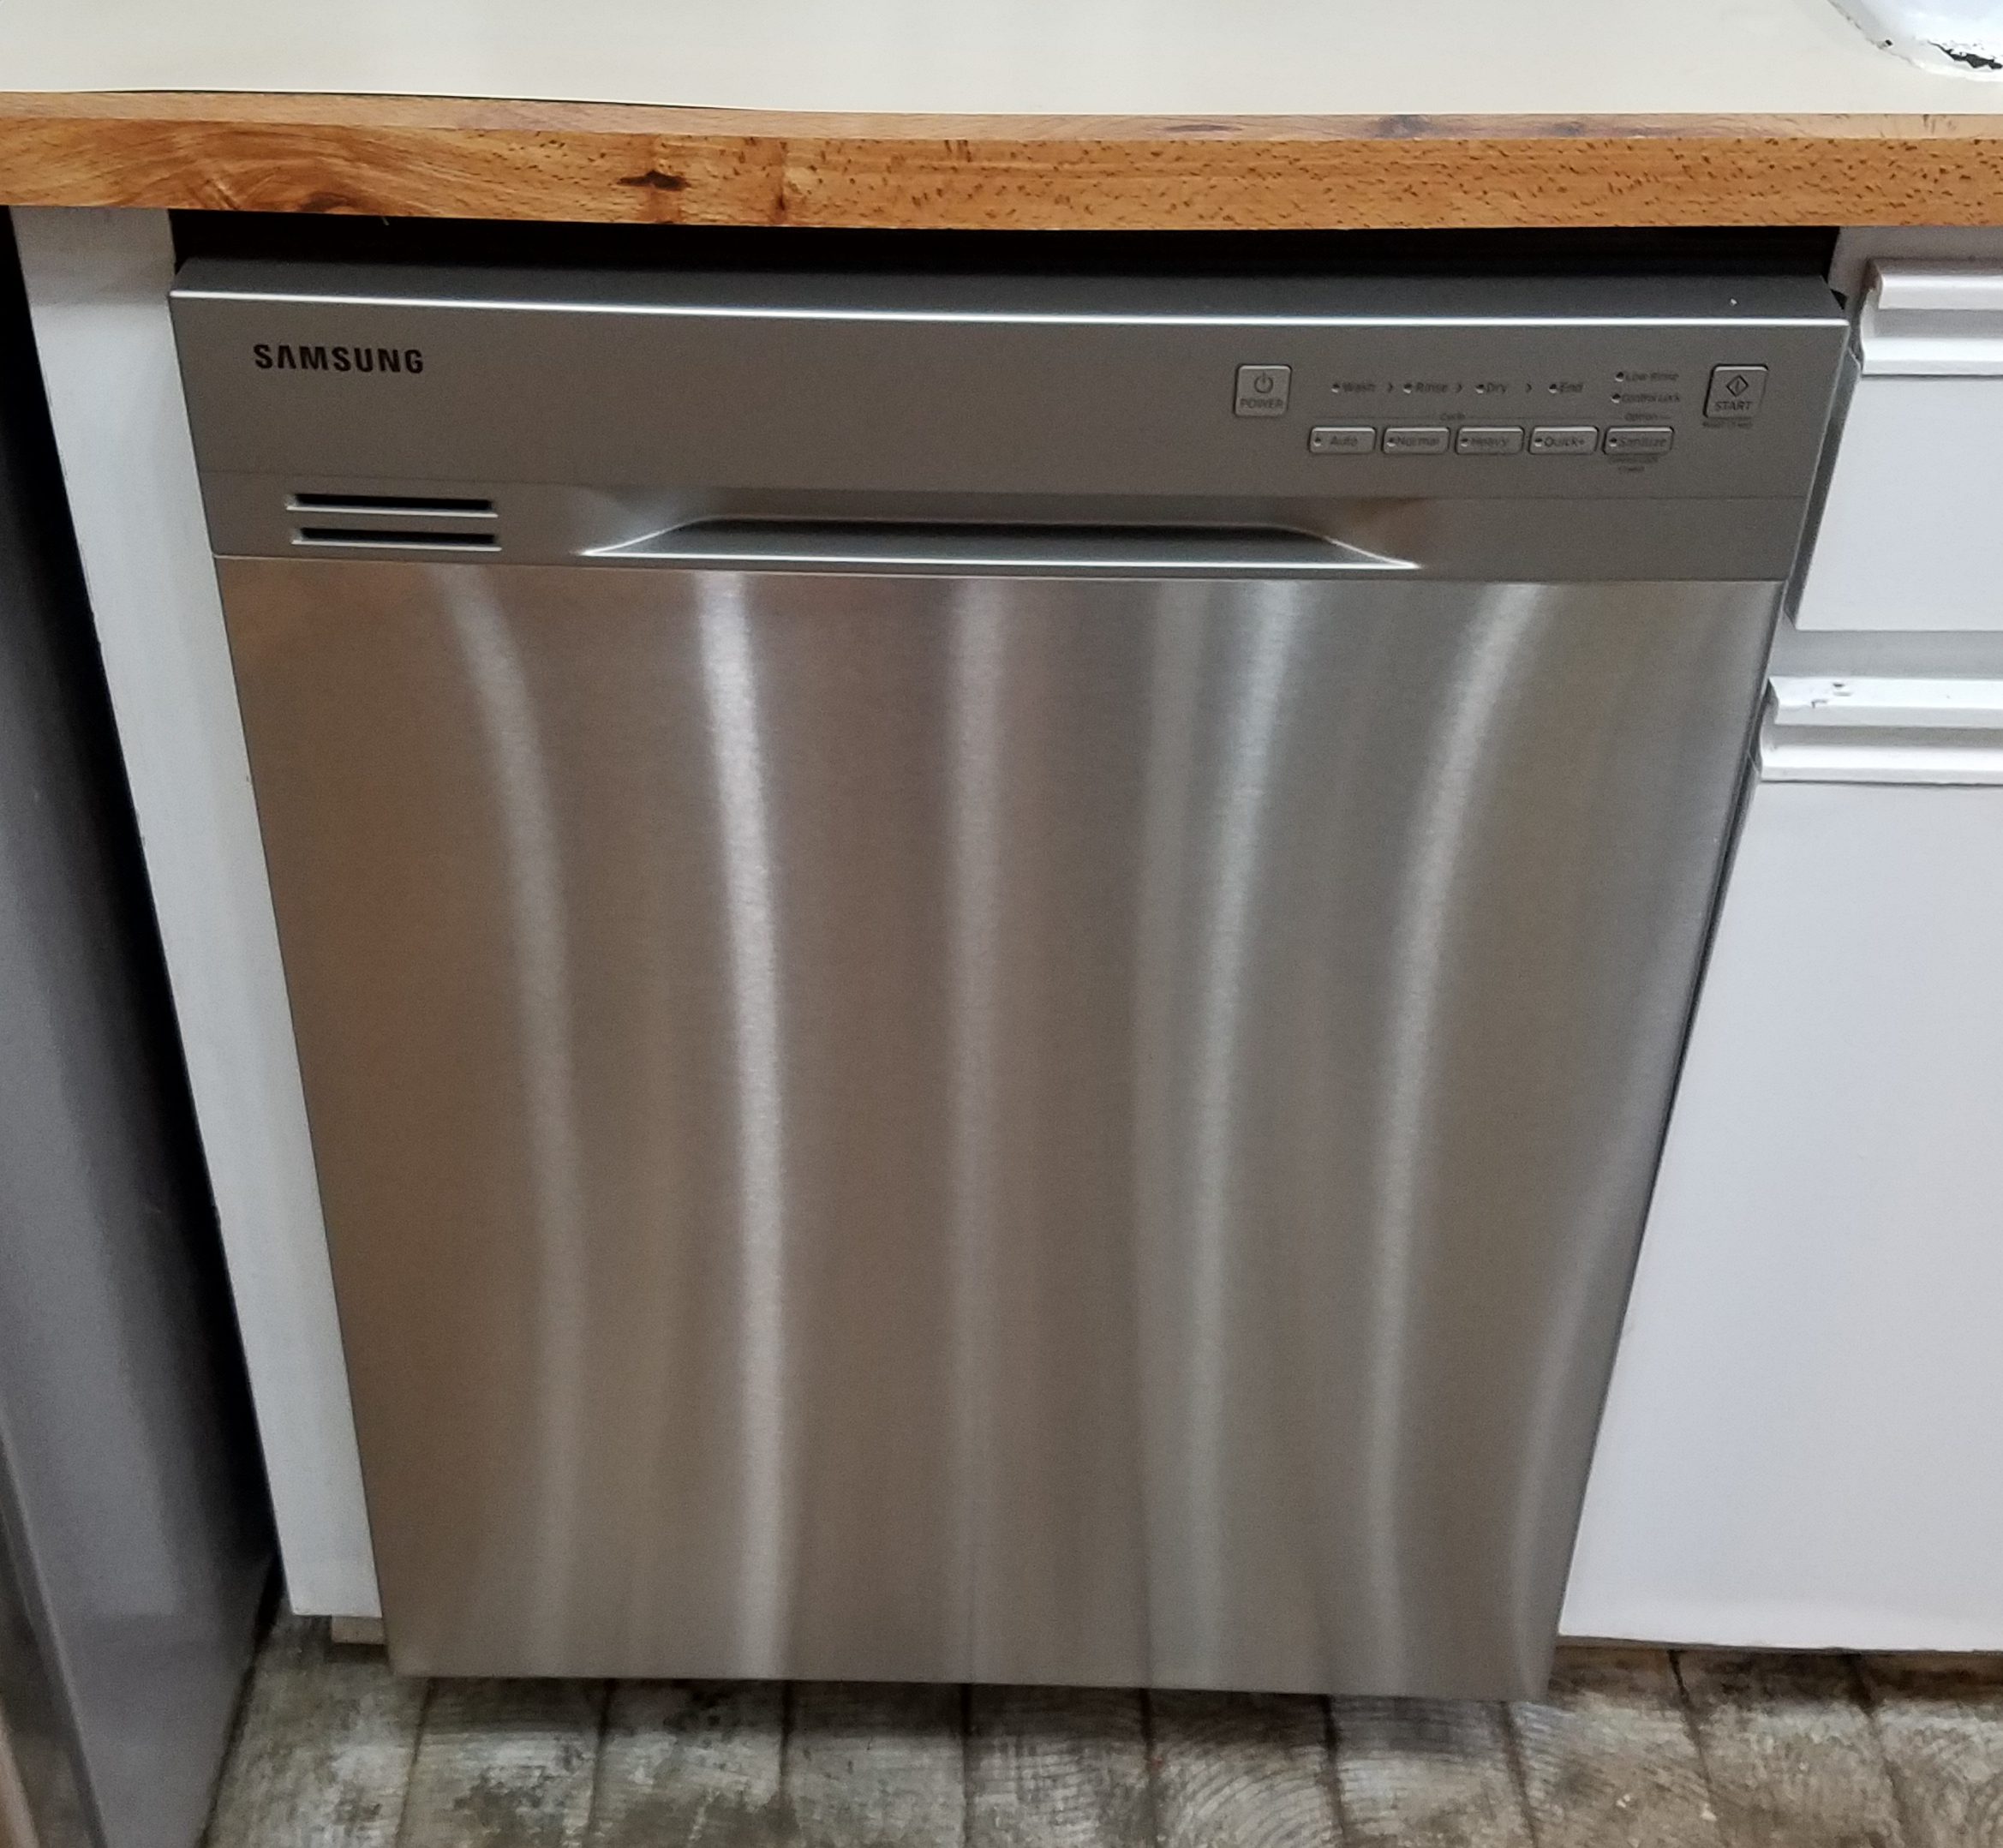
For anyone working on this kind of thing, I highly recommend stubby wrenches.  Much better for getting into those tight places under the dishwasher.  Like installing the adapter for the water supply.  Got lest than 6 inches of wrench room?  No problem for a stubby!

20161111_121558

The new appliances are wonderful.  The dishwasher is very quiet and cleans a thousand times better than the previous junker.  The stove has a lot more cook top flexibility, and gets hotter faster than the other.  It even managed to get through a 7 dish Thanksgiving baking session without spilling anything!  Now if I could just get the rest of the kitchen to catch up to these two beauties I would be all set.

Porch Fuel Organizer

The slow take-back of the porch continues.  With all the bunny stuff gone, I have to get things organized so we can maximize the available space.  I have grill stuff everywhere.  Three propane cylinders for the grill, outdoor cooker, and spares for hurricane season.  I put all my Traeger pellets into kingsford charcoal bins to keep them organized and from spilling all over the place.  This all needs a nice storage rack.

dsc_0561I was planning on using 1x4s to do a majority of the building, but found that the store was out of their basic grade boards.  Instead I noticed their furring strips.  1×4 with nicely rounded edges for about a 1.70 a piece.  The quality is terrible.  They are very light rough and soft pine.  Many were so bent and twisted you couldn’t even use them for boat building.  Still, with enough cherry picking I got some good boards and was able to keep my whole project cost to less than 15 bucks.

A few scraps of 2×4 made uprights for the two level contraption.  I set the width so that I could store the 3 propane tanks comfortably below with a few pellet bins on top.  Keeping the propane low seems like a good idea.  Less distance to fall.

dsc_0562

Short pickets run between the two frames to tie them together and give the propane tanks a stable surface to sit on.

dsc_0564

The top shelf could hold a lot of weight in pellets.  To help stiffen the two existing runs I wrapped a vertical boarder around the edge.  It added a lot of strength to the shelf, keeps the pellet bins from sliding off, and looks nice!

dsc_0565

dsc_0567

Everything fits as intended, and I am ready to give it all a heavy coating of boiled linseed oil.  Never used this on an outdoor project, but it will live under cover on the porch, so it should work out.

dsc_0568

24 hours later the coating was nicely cured, and the wood took on a lovely golden yellow look.  I may have to use furring strips more often!  It looks good on the back porch and helped clean up a lot of space.  I wish I had gone a few inches wider though, I could have gotten another bucket of pellets up there.  Oh well, next time!

dsc_0569


Kitchen Lighting Upgrade

I have made the first salvo in the kitchen makeover war.  It needs a better name.  How about instead of the war of the roses it could be the war of the spatulas?  Any who, instead of leaving everything for the two weeks or so I will be doing our kitchen renovation, I am tackling small jobs that are easy and won’t involve a lot of backtracking.  For example, some of the lights can be installed now and left in place throughout the renovation.

First, what did I have to start with?  A fluorescent tube set over the sink, a hanging light trifecta over the stove, and on the ceiling, a spot light array.  I did the one on the ceiling a few years back, and the one over the stove when I first moved in.  The stove one looks nice, but doesn’t provide the best lighting.  The ceiling one is bright, but kind of harsh and the color temp isn’t great.

For above the sink I went with an under-cabinet LED light.  I want to put lights under the cabinets to the left and right of the sink.  I figured using the same light over the sink and under the cabinets would tie together well.  I found some with a good color temp and really high CRI.  I installed one as a test.  I love it and bought the rest of what I will need!  There is going to be a second one under the window, and one under each cabinet all connected to the same switch after the cabinets get installed.

dsc_0557

I went with a matching set of lights for the ceiling and over the stove.  They are the same style from the same company with 4 lights over the stove and 6 on the ceiling.  Frosted spot lights directed most of the shine downwards over the stove, while regular bulbs were used in the ceiling.  The modern “daylight” LED bulbs are amazing!

20161111_205007

The kitchen is already nicer to work in.  Next will be an early appliance delivery.  After that, I am out of things to do before starting a full kitchen destruction in ernest.