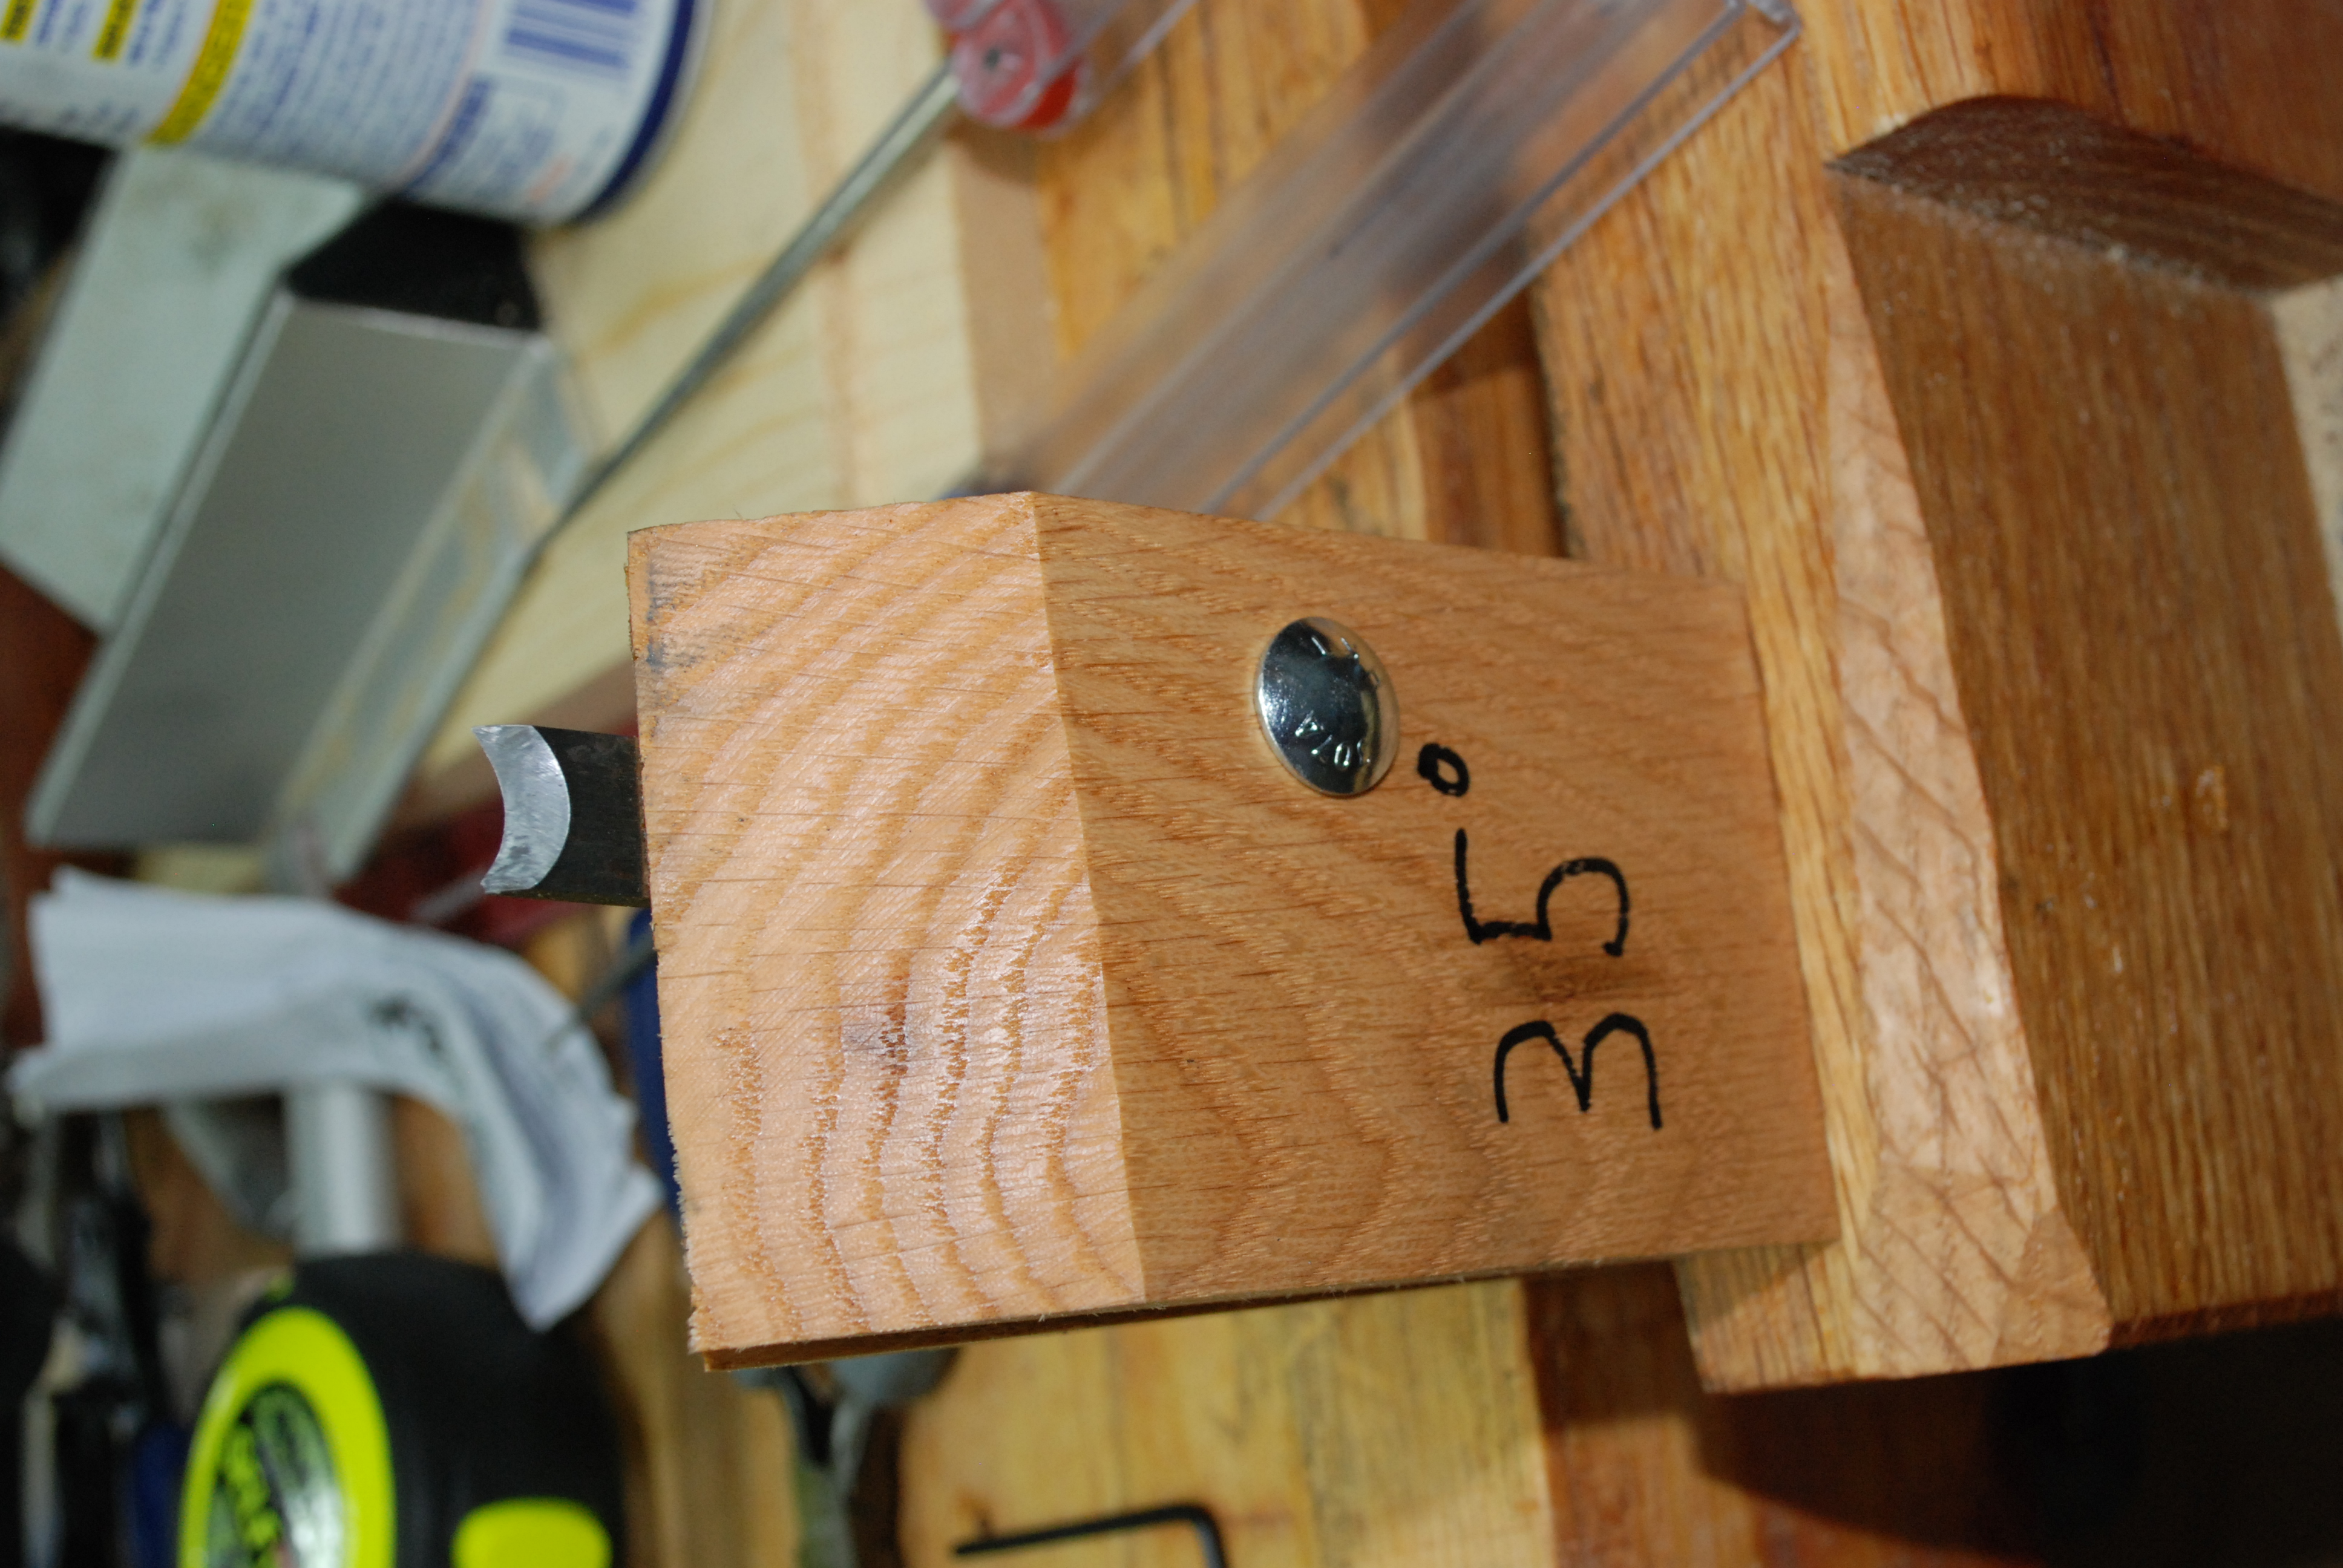
I have been doing a lot of ebay trolling recently to grow my hand tool collection. Most things you buy off ebay, or that I find at tractor shows, comes in various states of bad. Some have a little rust and patina, others are succumbing greatly to entropy. I have renovated a decent pile at this point and am working out a pretty good process. This post is dedicated to my method of old tool cleanup. I have two candidates. One is a nickel plated preston spokeshave that was in decent shape, but needs a little help. The other is a No 3 plane that belonged to my great grandfather. It was so rusted and pitted, that if it weren’t a family heirloom I might have considered it a lost cause initially.
Great Grandpa’s Plane
This rusty little guy is a Keen Kutter number 3 smoothing plane. It has seen a rough life. The top portion of the frog is broken off, there is substantial rust and pitting, and the blade has been replaced with a stanley one. Also, there is some paint dribbled over the tool in places.
 I have messed with a few different products for rust conversion and Evapo Rust is the real winner in my mind. It does a good job when you leave things in over night, and it is not as dangerous as some of the other options. The product is skin/eye safe, doesn’t smell bad, is reusable many times, and can be had for a reasonable price per gallon at auto parts stores.
 Hope is restored to this tool after a bath in evapo rust. It can’t cure the pitting, but it cut through thick rust and grime to reveal bare metal. Next comes a lot of work with brass brushes. I try to use a brass bristle wheel on my bench grinder as much as possible. It cleans off any remaining gunk, but doesn’t harm the iron. Plus, it brings back a nice luster.

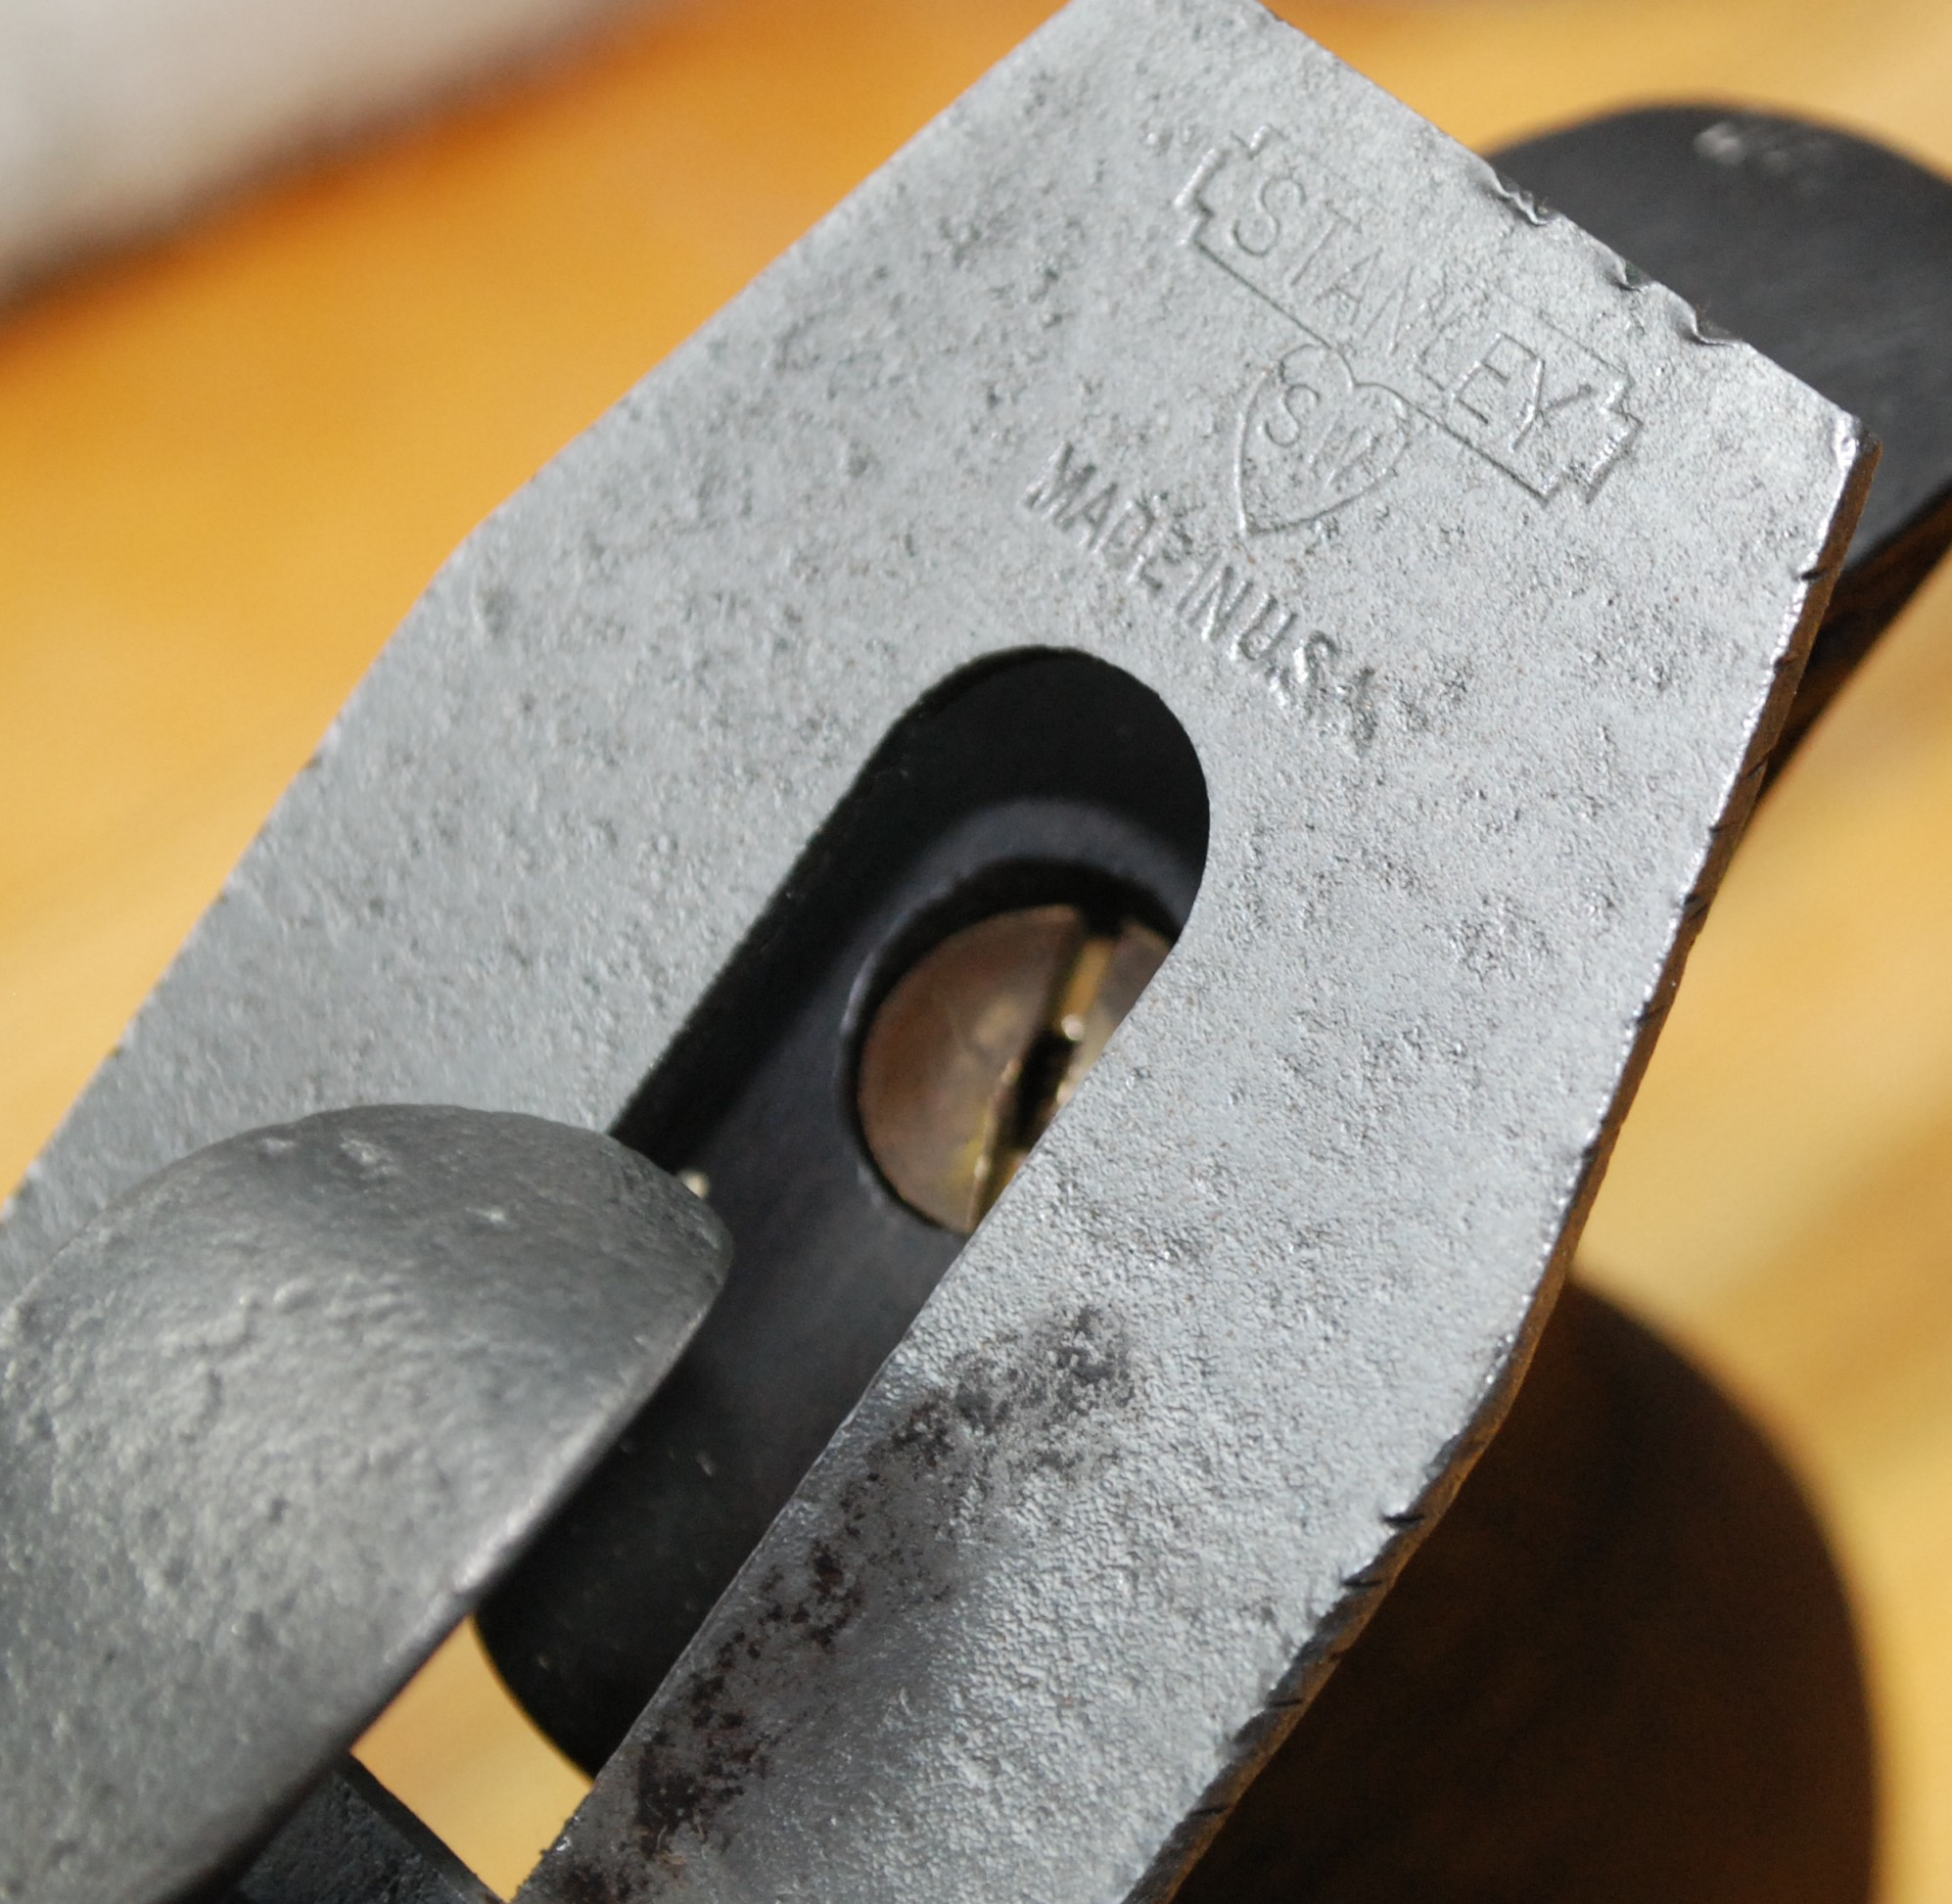
Where the big bush couldn’t reach, smaller ones that go on a drill do the trick. Most of the japanning had rusted from underneath. I didn’t try to strip what was stuck down well, but most was shot. WD40 and a scotchbrite pad will take care of the last little nooks and crannies to help even everything out. With the rust stopped, and the metal cleaned it was time to bring the working parts back into action. I started by filing the frog and bed.

Both were actually pretty flat and in good shape. On the right you can see the slightly jagged top edge of the broke frog. I will have to do any lateral adjustments manually. The picture below shows some scarring on the iron from aggressive adjustment with a steel hammer.

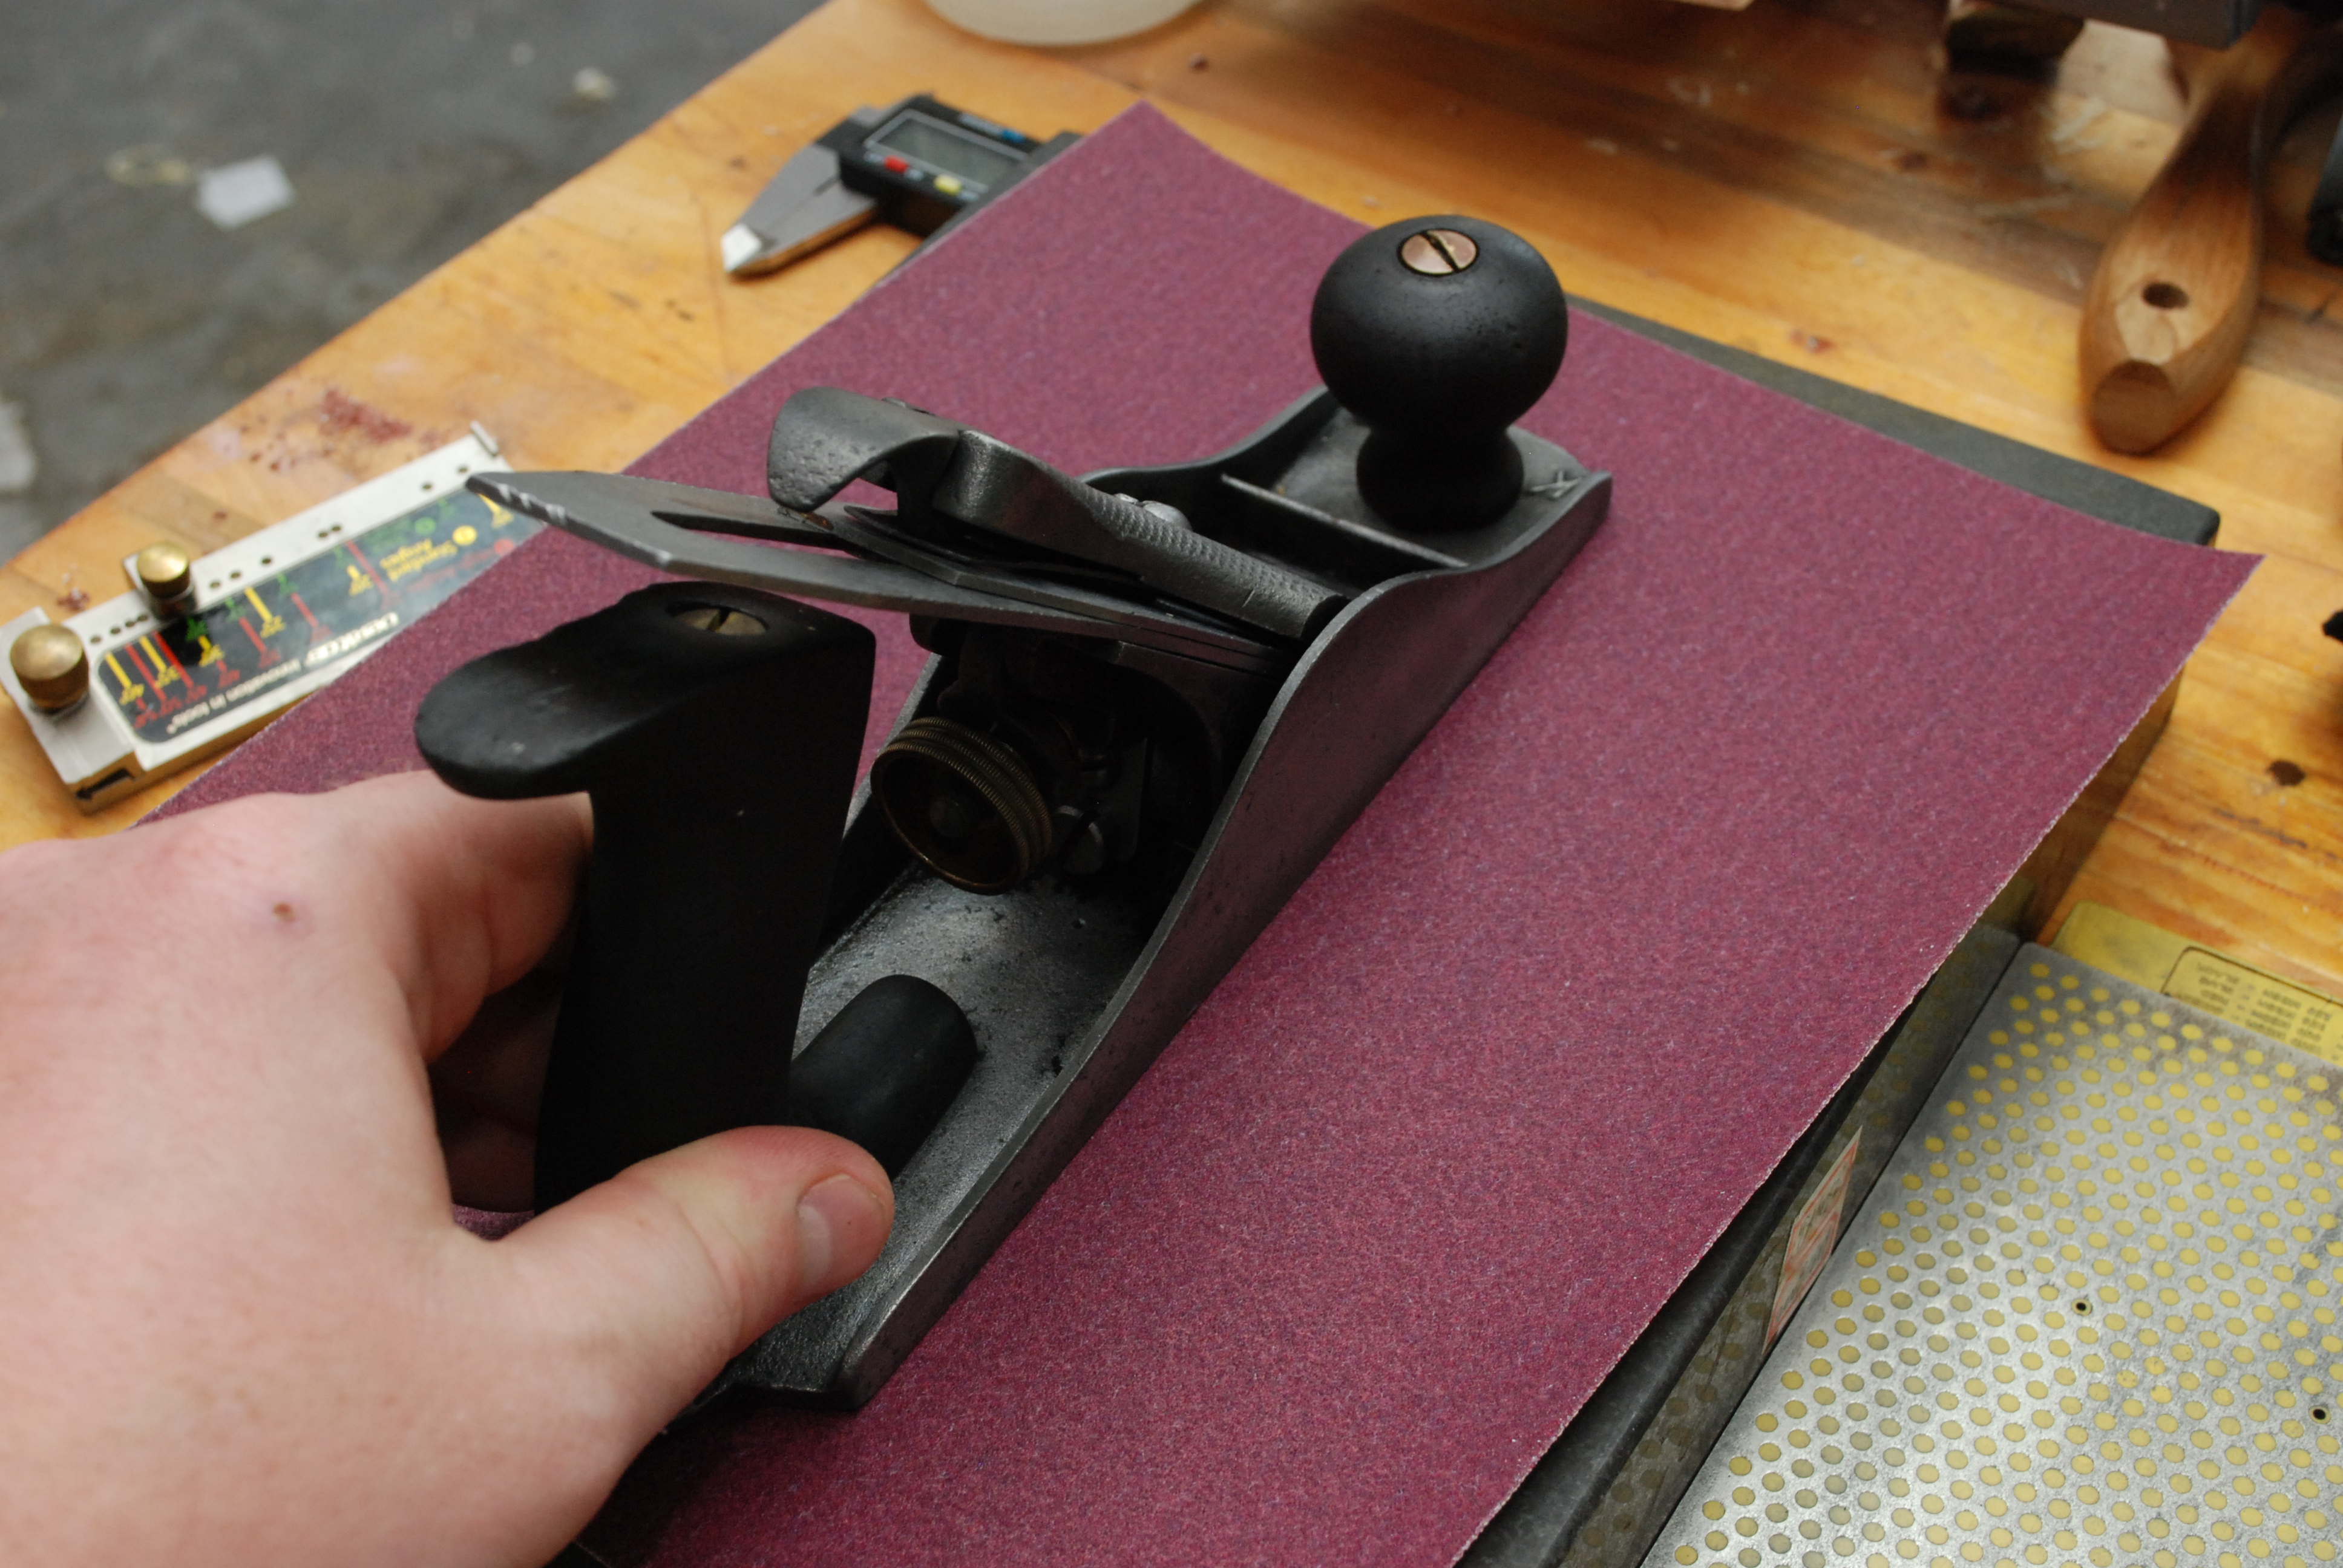
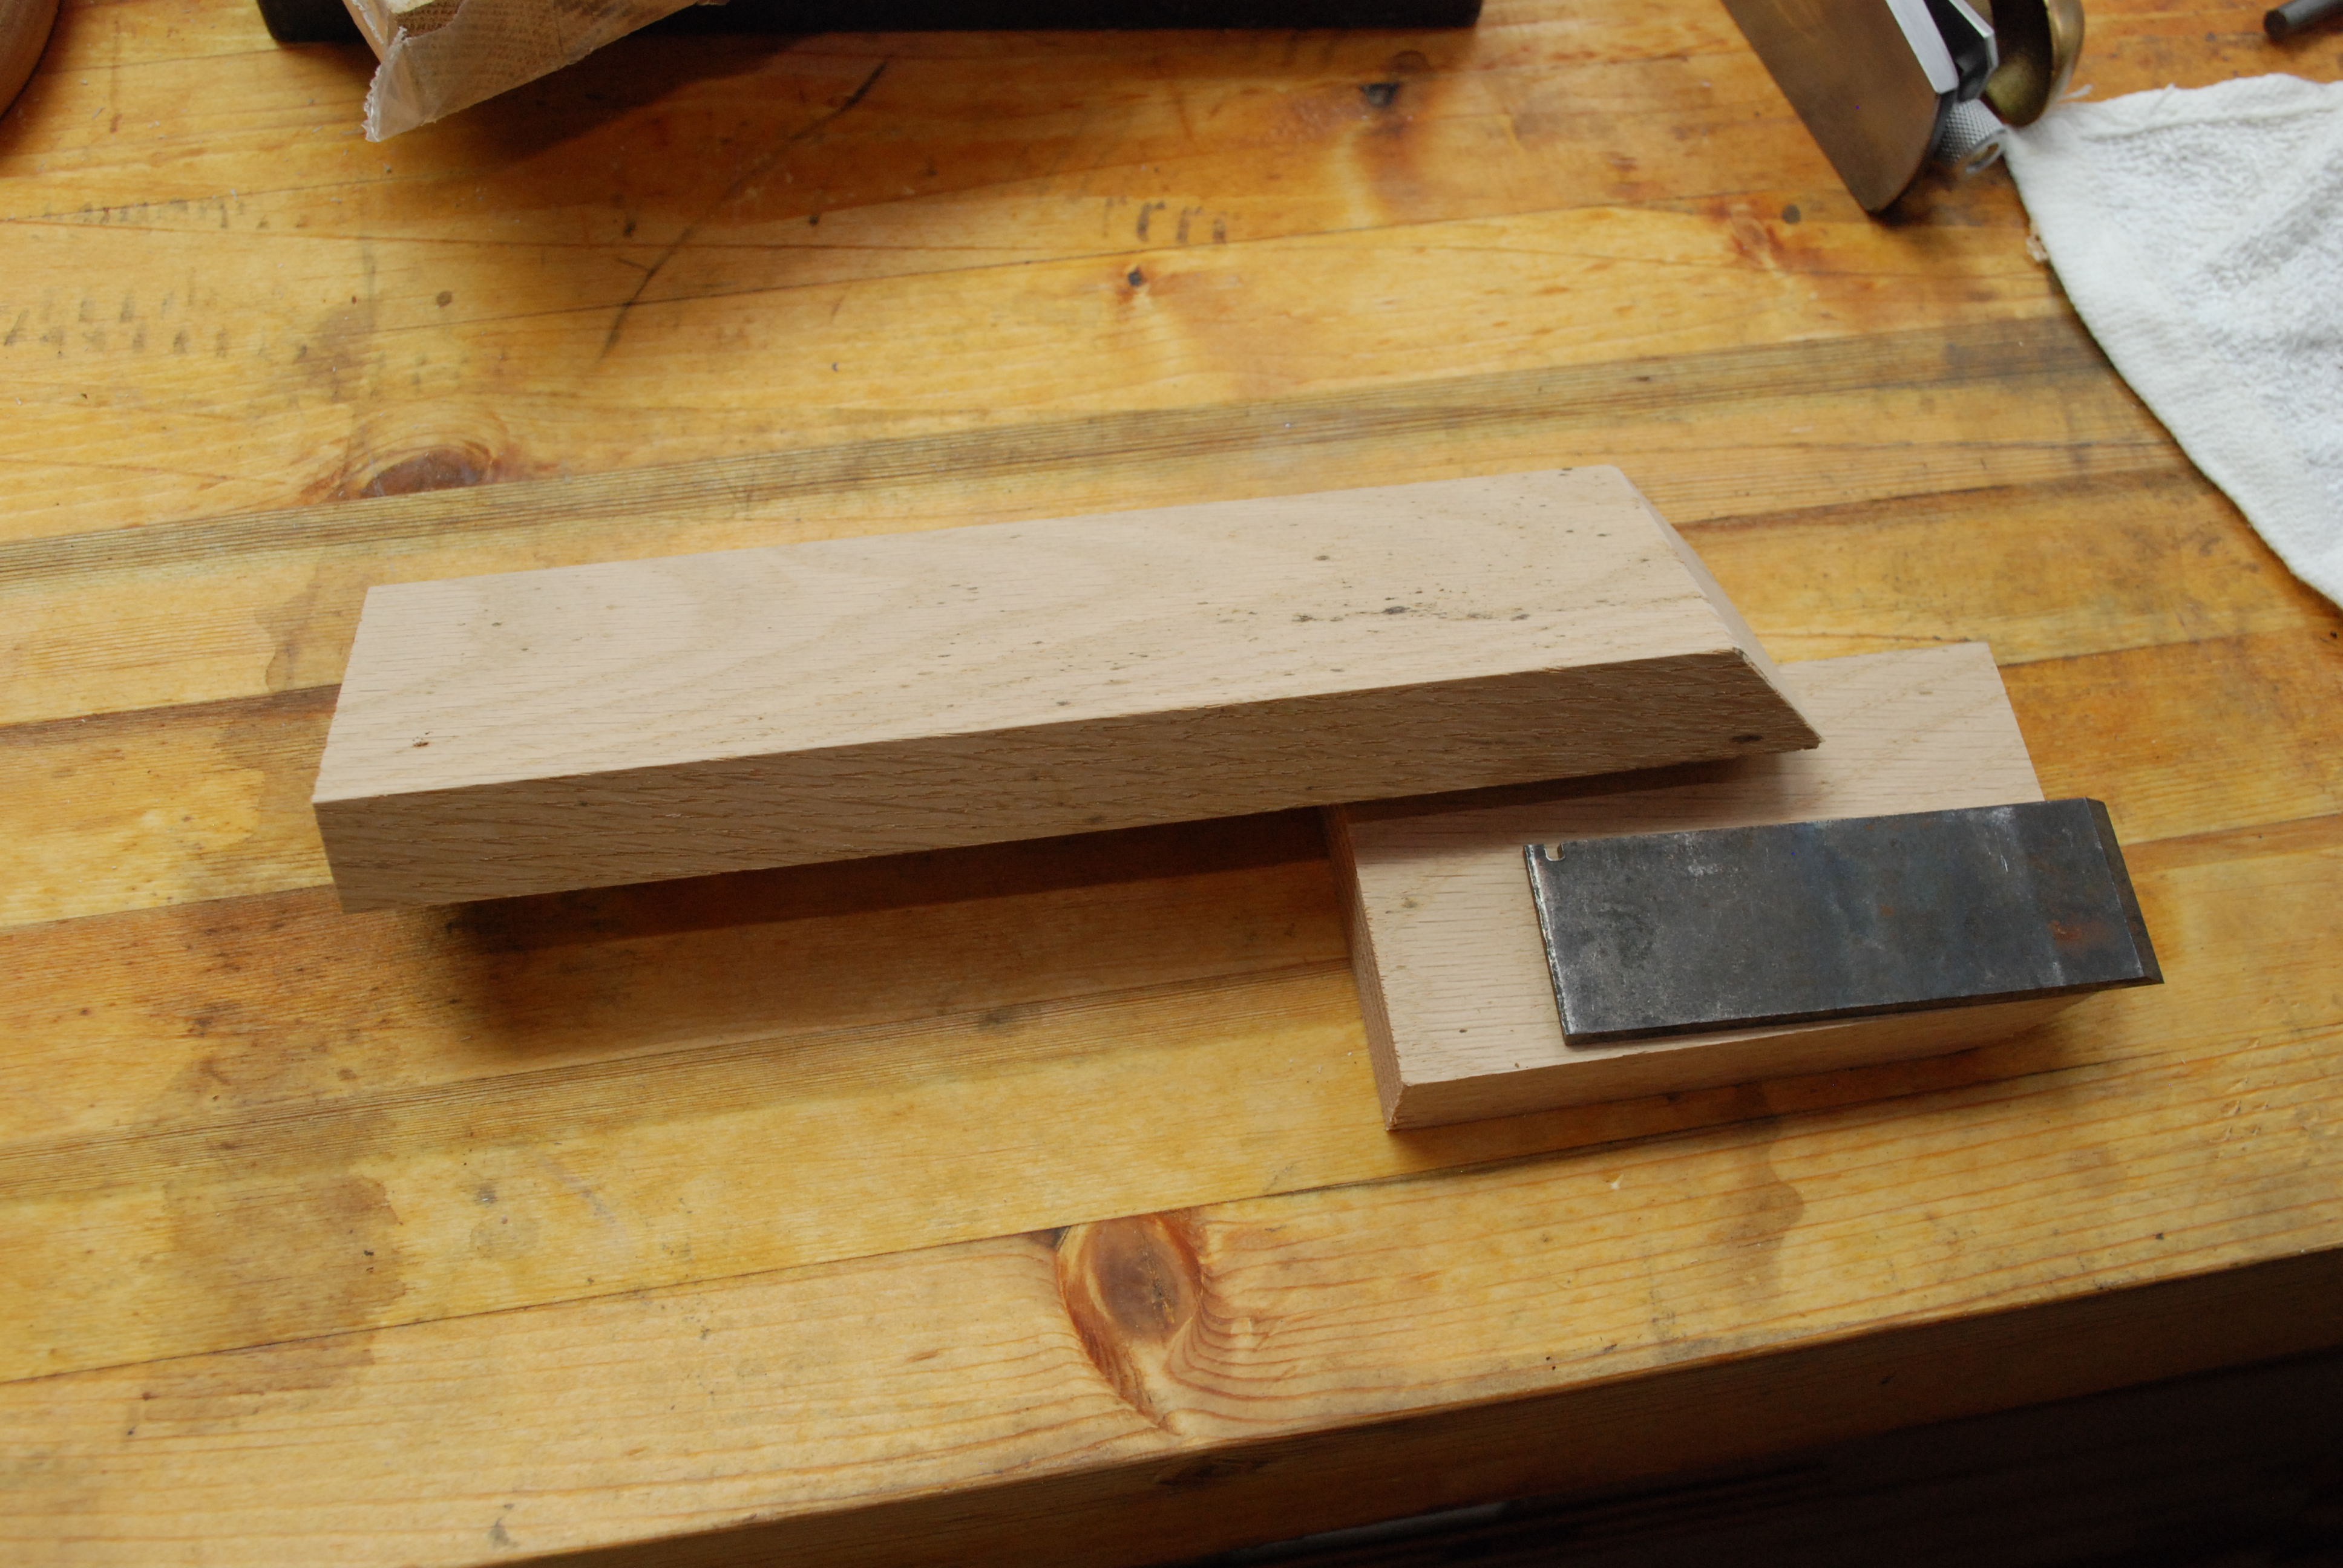
With everything in place and tightened down I could start lapping the bottom. Sand paper on a small granite block is my method of choice. Pretty fast and makes for a good flat surface. Start rough and go smoother. Anything over 400 is probably over kill.

Over all the plane is starting to really look good. The knob and handle both got a sanding and a coat of boiled linseed oil. There is heavy pitting in places along the soul and sides. This isn’t really ideal, but shouldn’t seriously hinder the plane. Luckily many of the places that matter, like the frog, were in decent shape. Lastly I sharpened the blade and took a few test cuts with excellent results.
Preston Spokeshave
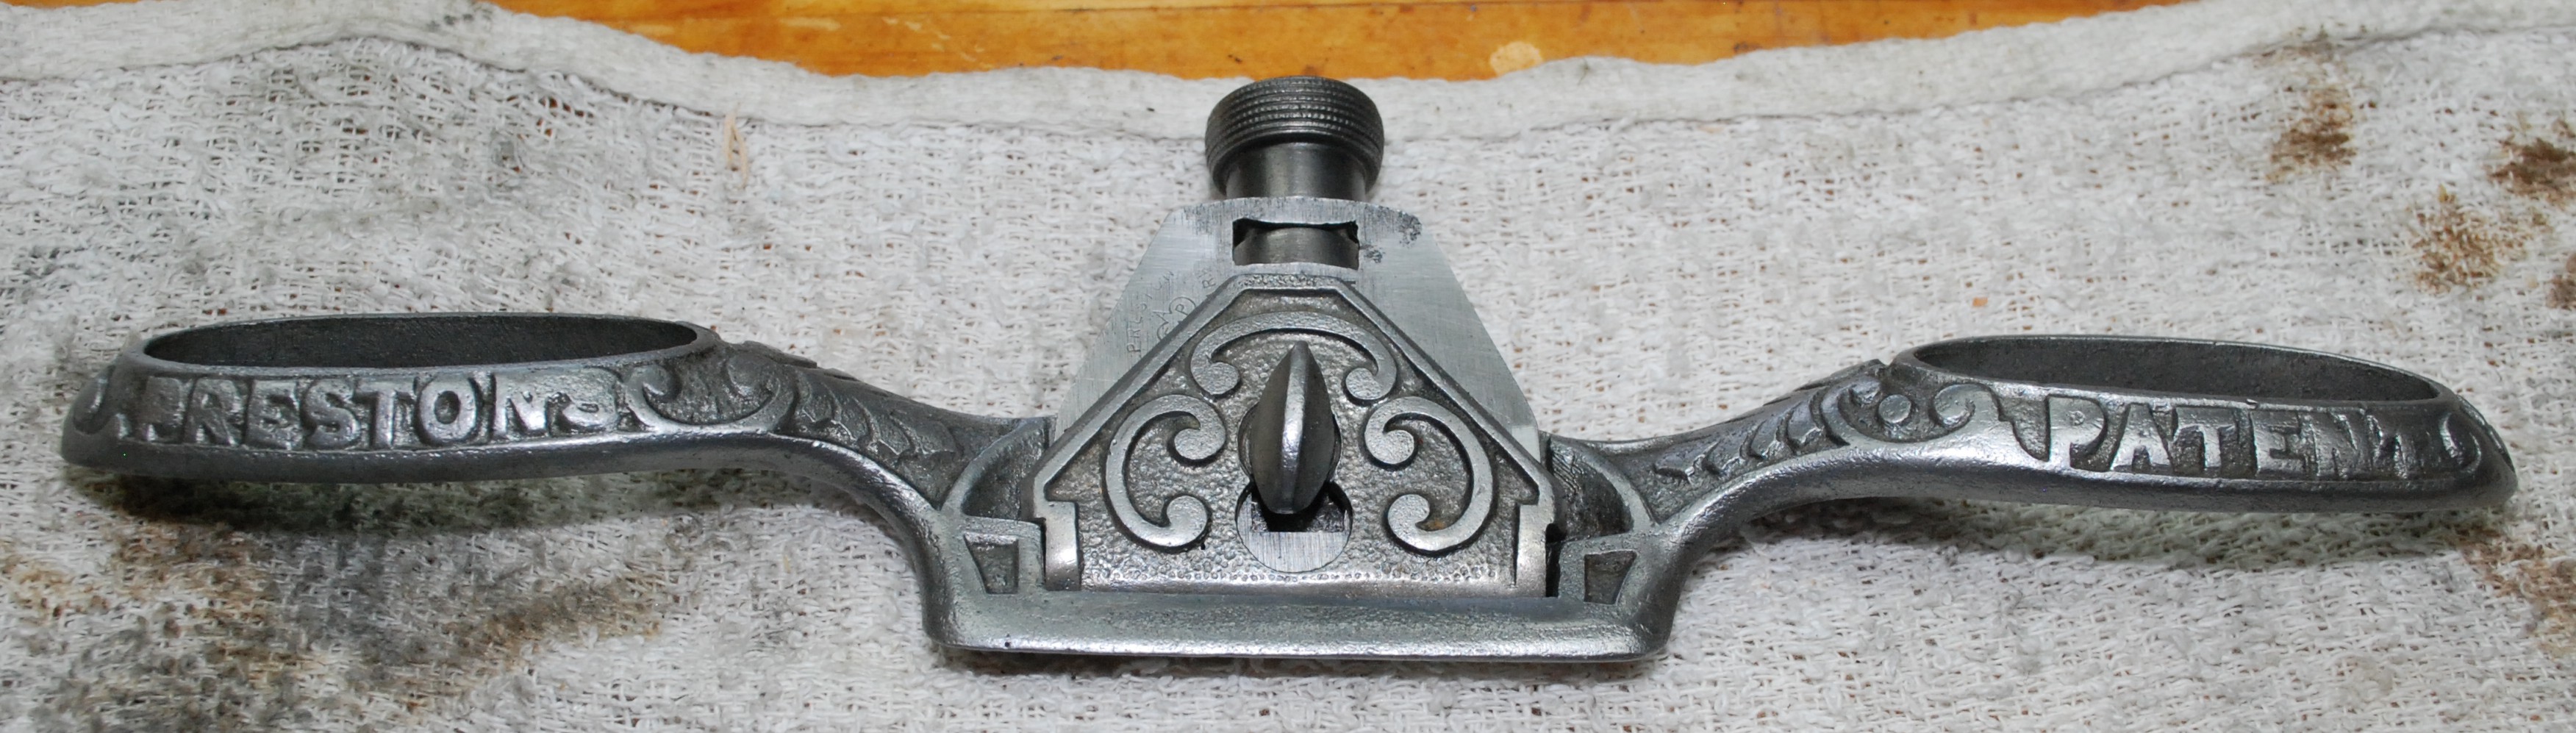
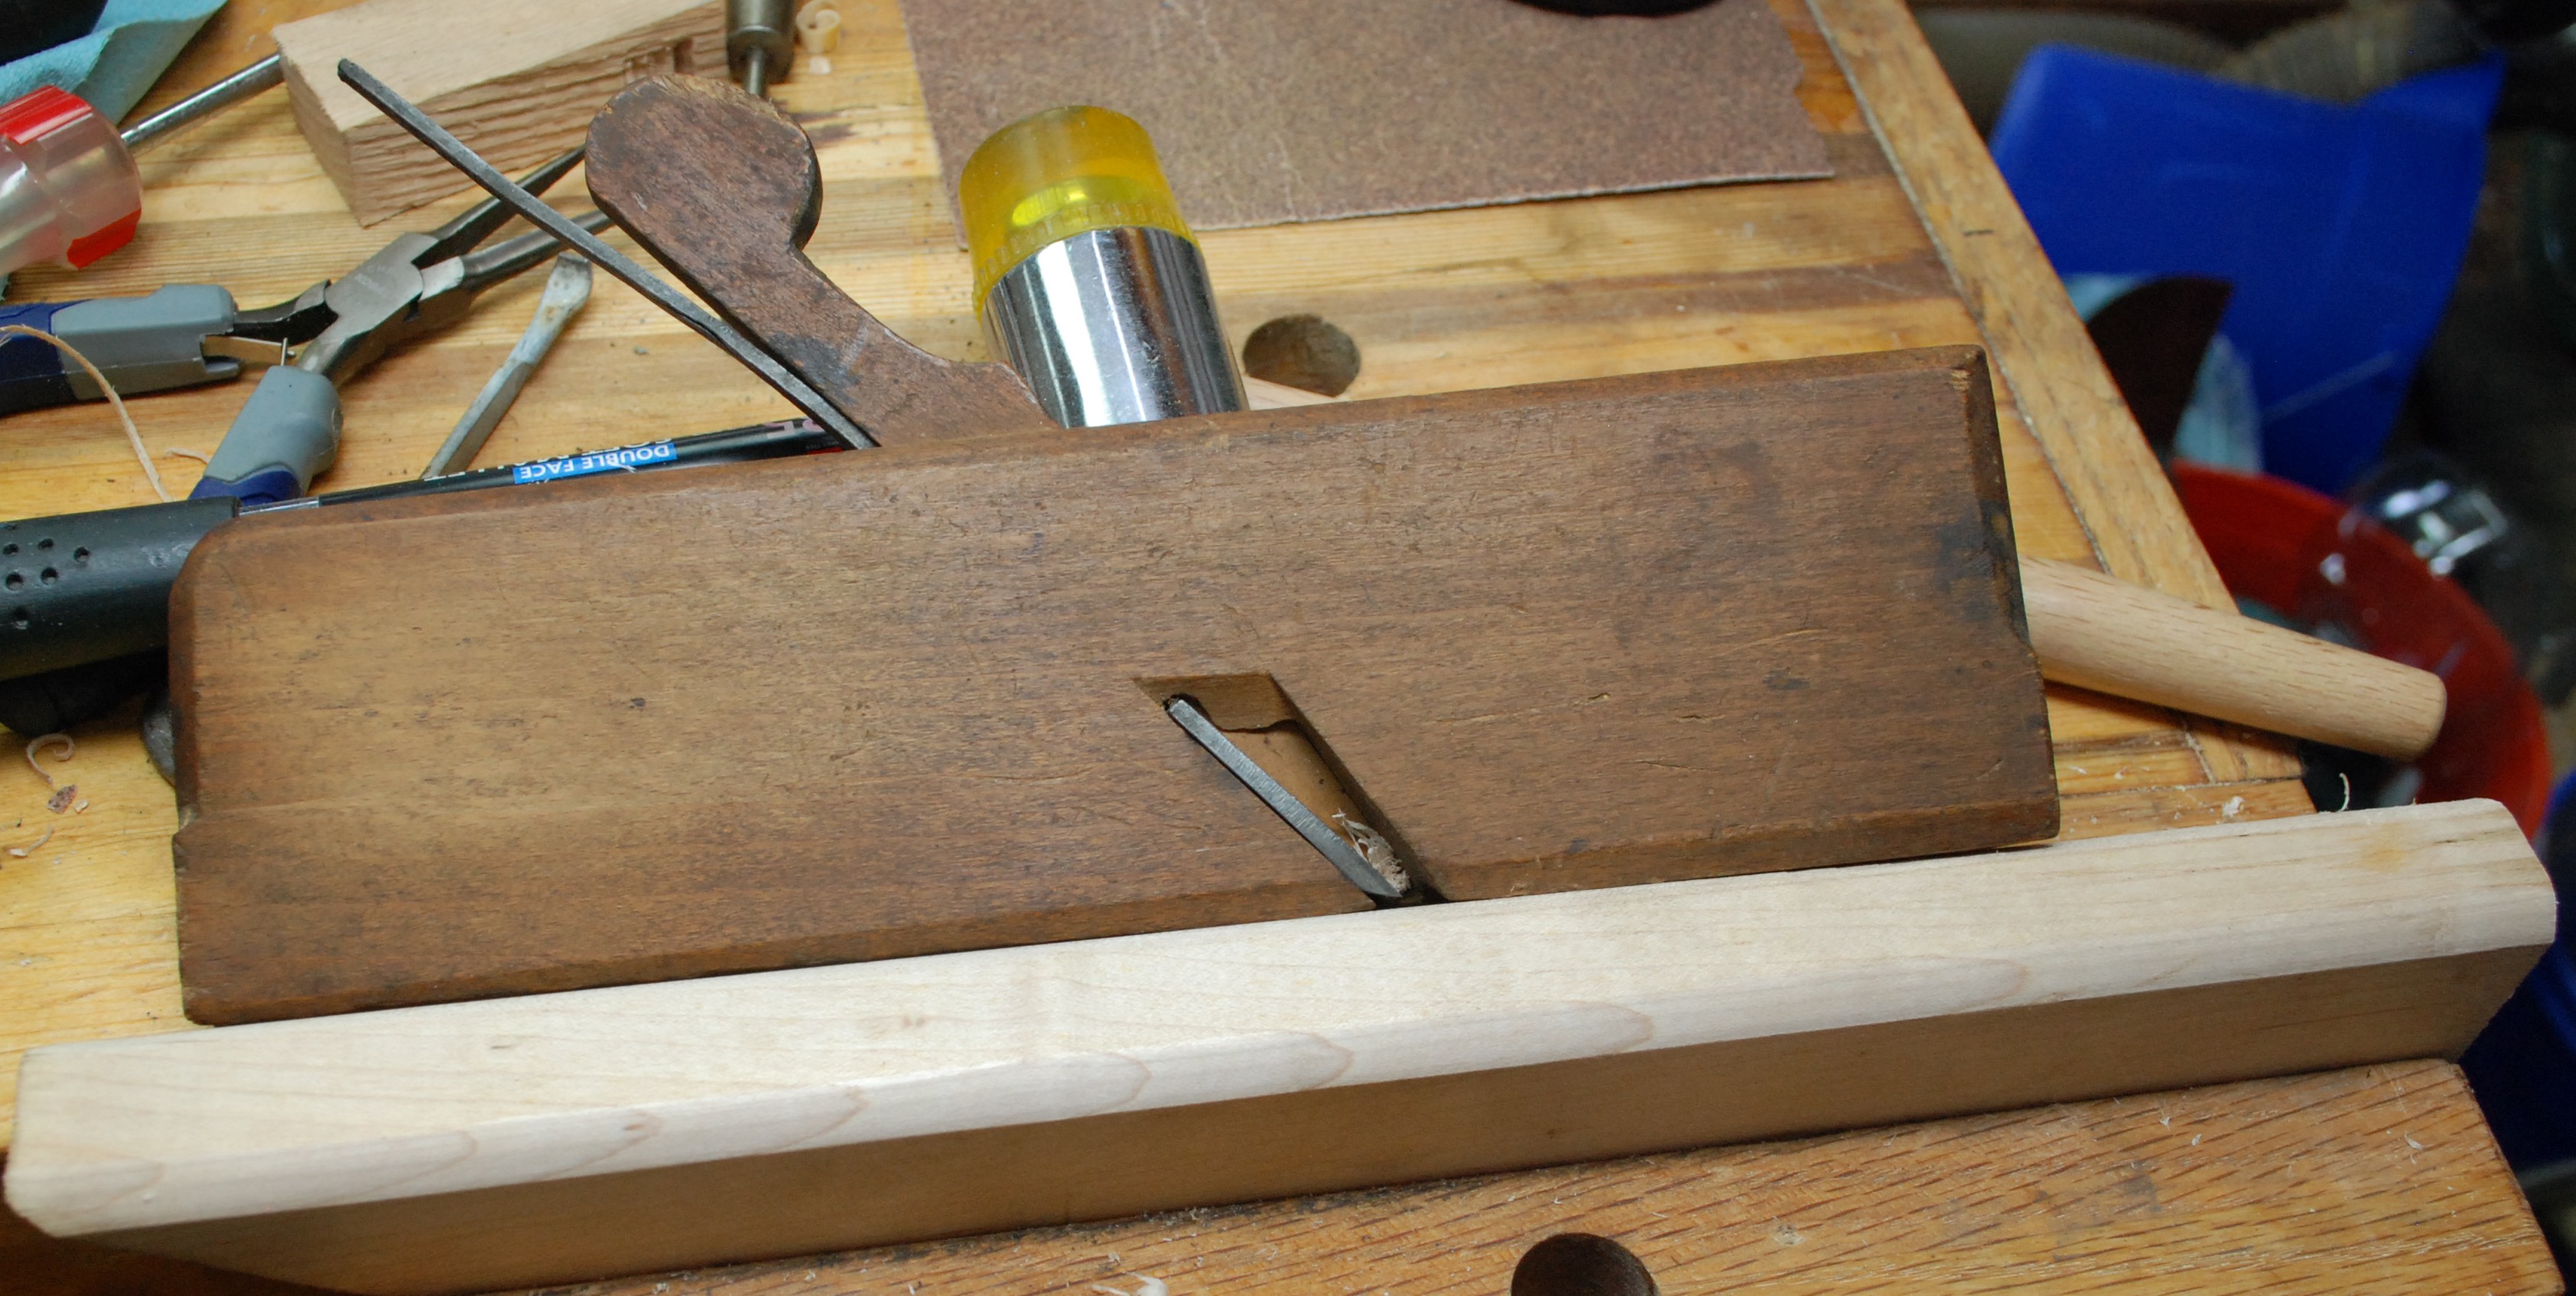
What a gorgeous example of turn of the century engineering. It is highly functional and has gorgeous decorative elements. There is some rust on it though, so into the drink we go!

Already the tool is looking brighter and happier with all the rust removed.

Next comes some work with a brass brush. I hit the left half with my bench grinder’s brass and left the other as is from the bath for comparison. What a great looking shine!

I finished polishing everything up, sharpened the blade, and put it all together. I am not experienced with spokeshaves and this one is round bottomed making it extra difficult to use. I will have to wait till I get a fun curvy project to really test this little one out. Till then, spokeshave practice is in my near future.

Process Summary
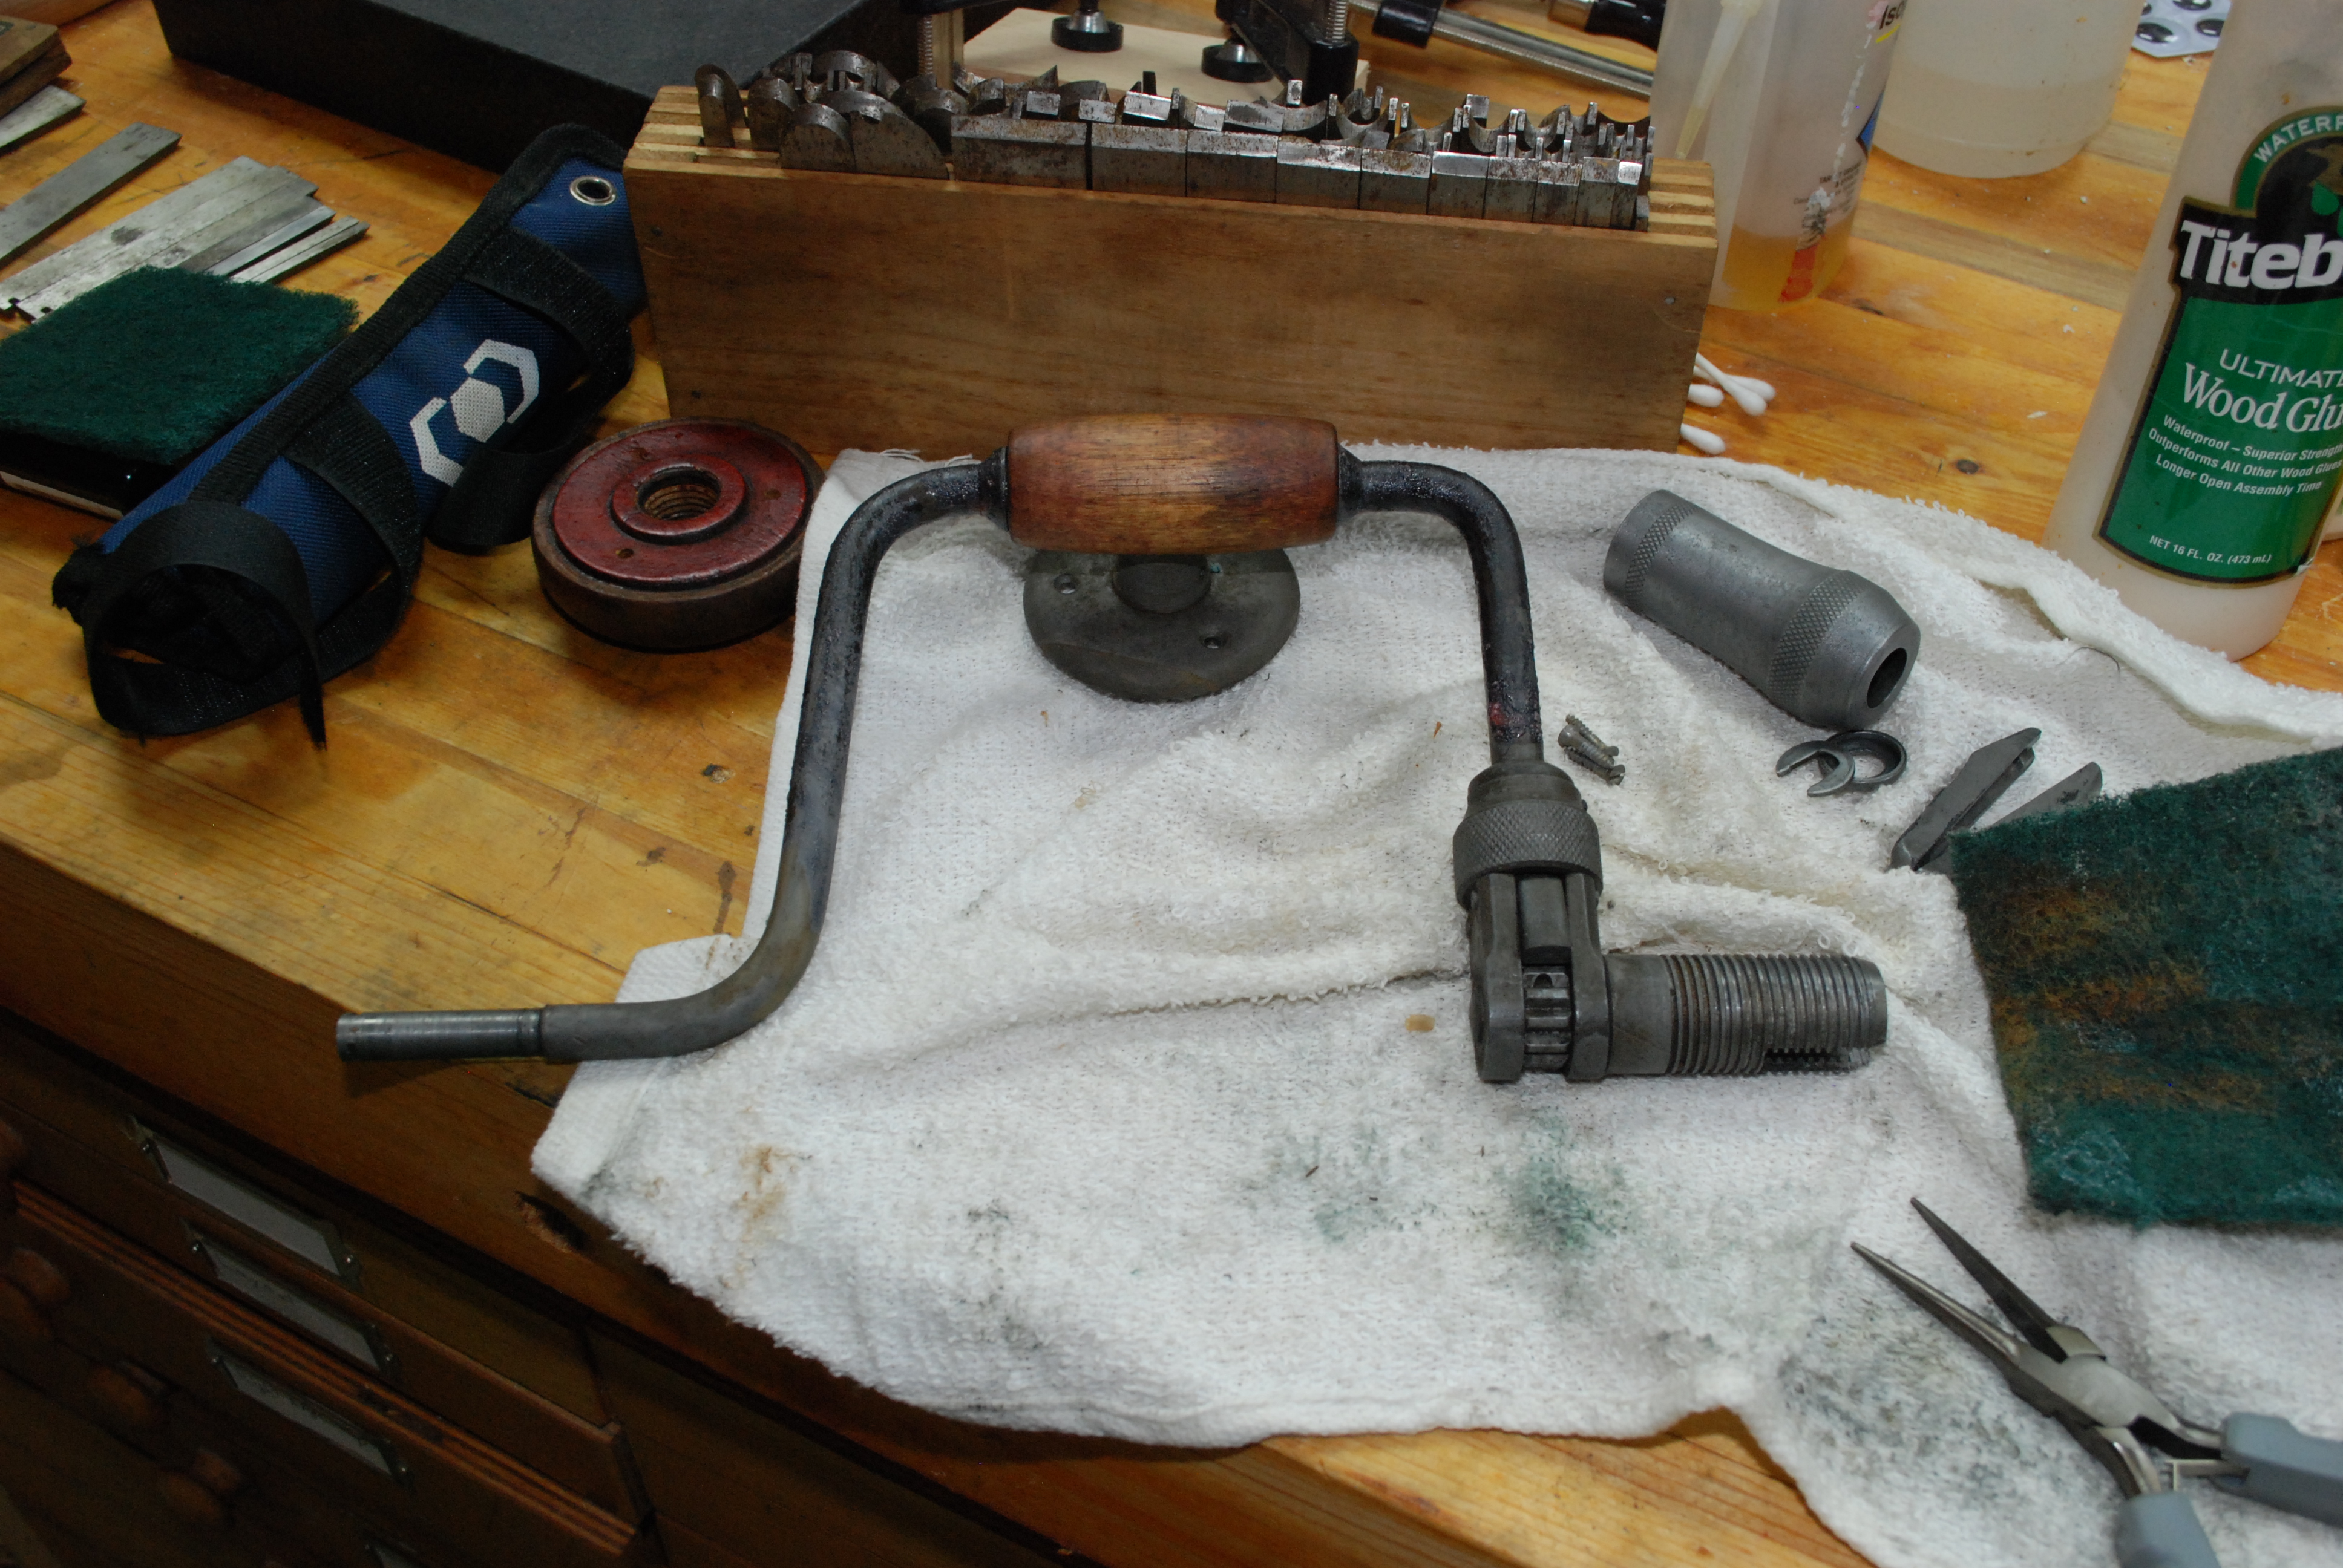
- Disassemble as much as you can and dunk in evapo rust over night. If something doesn’t come apart easily, let it soak first.
- Dry everything really well and use brass brushes (power and hand) to remove crud and converted rust.
- WD-40 and a scotchbrite can help clean up tight or rough areas.
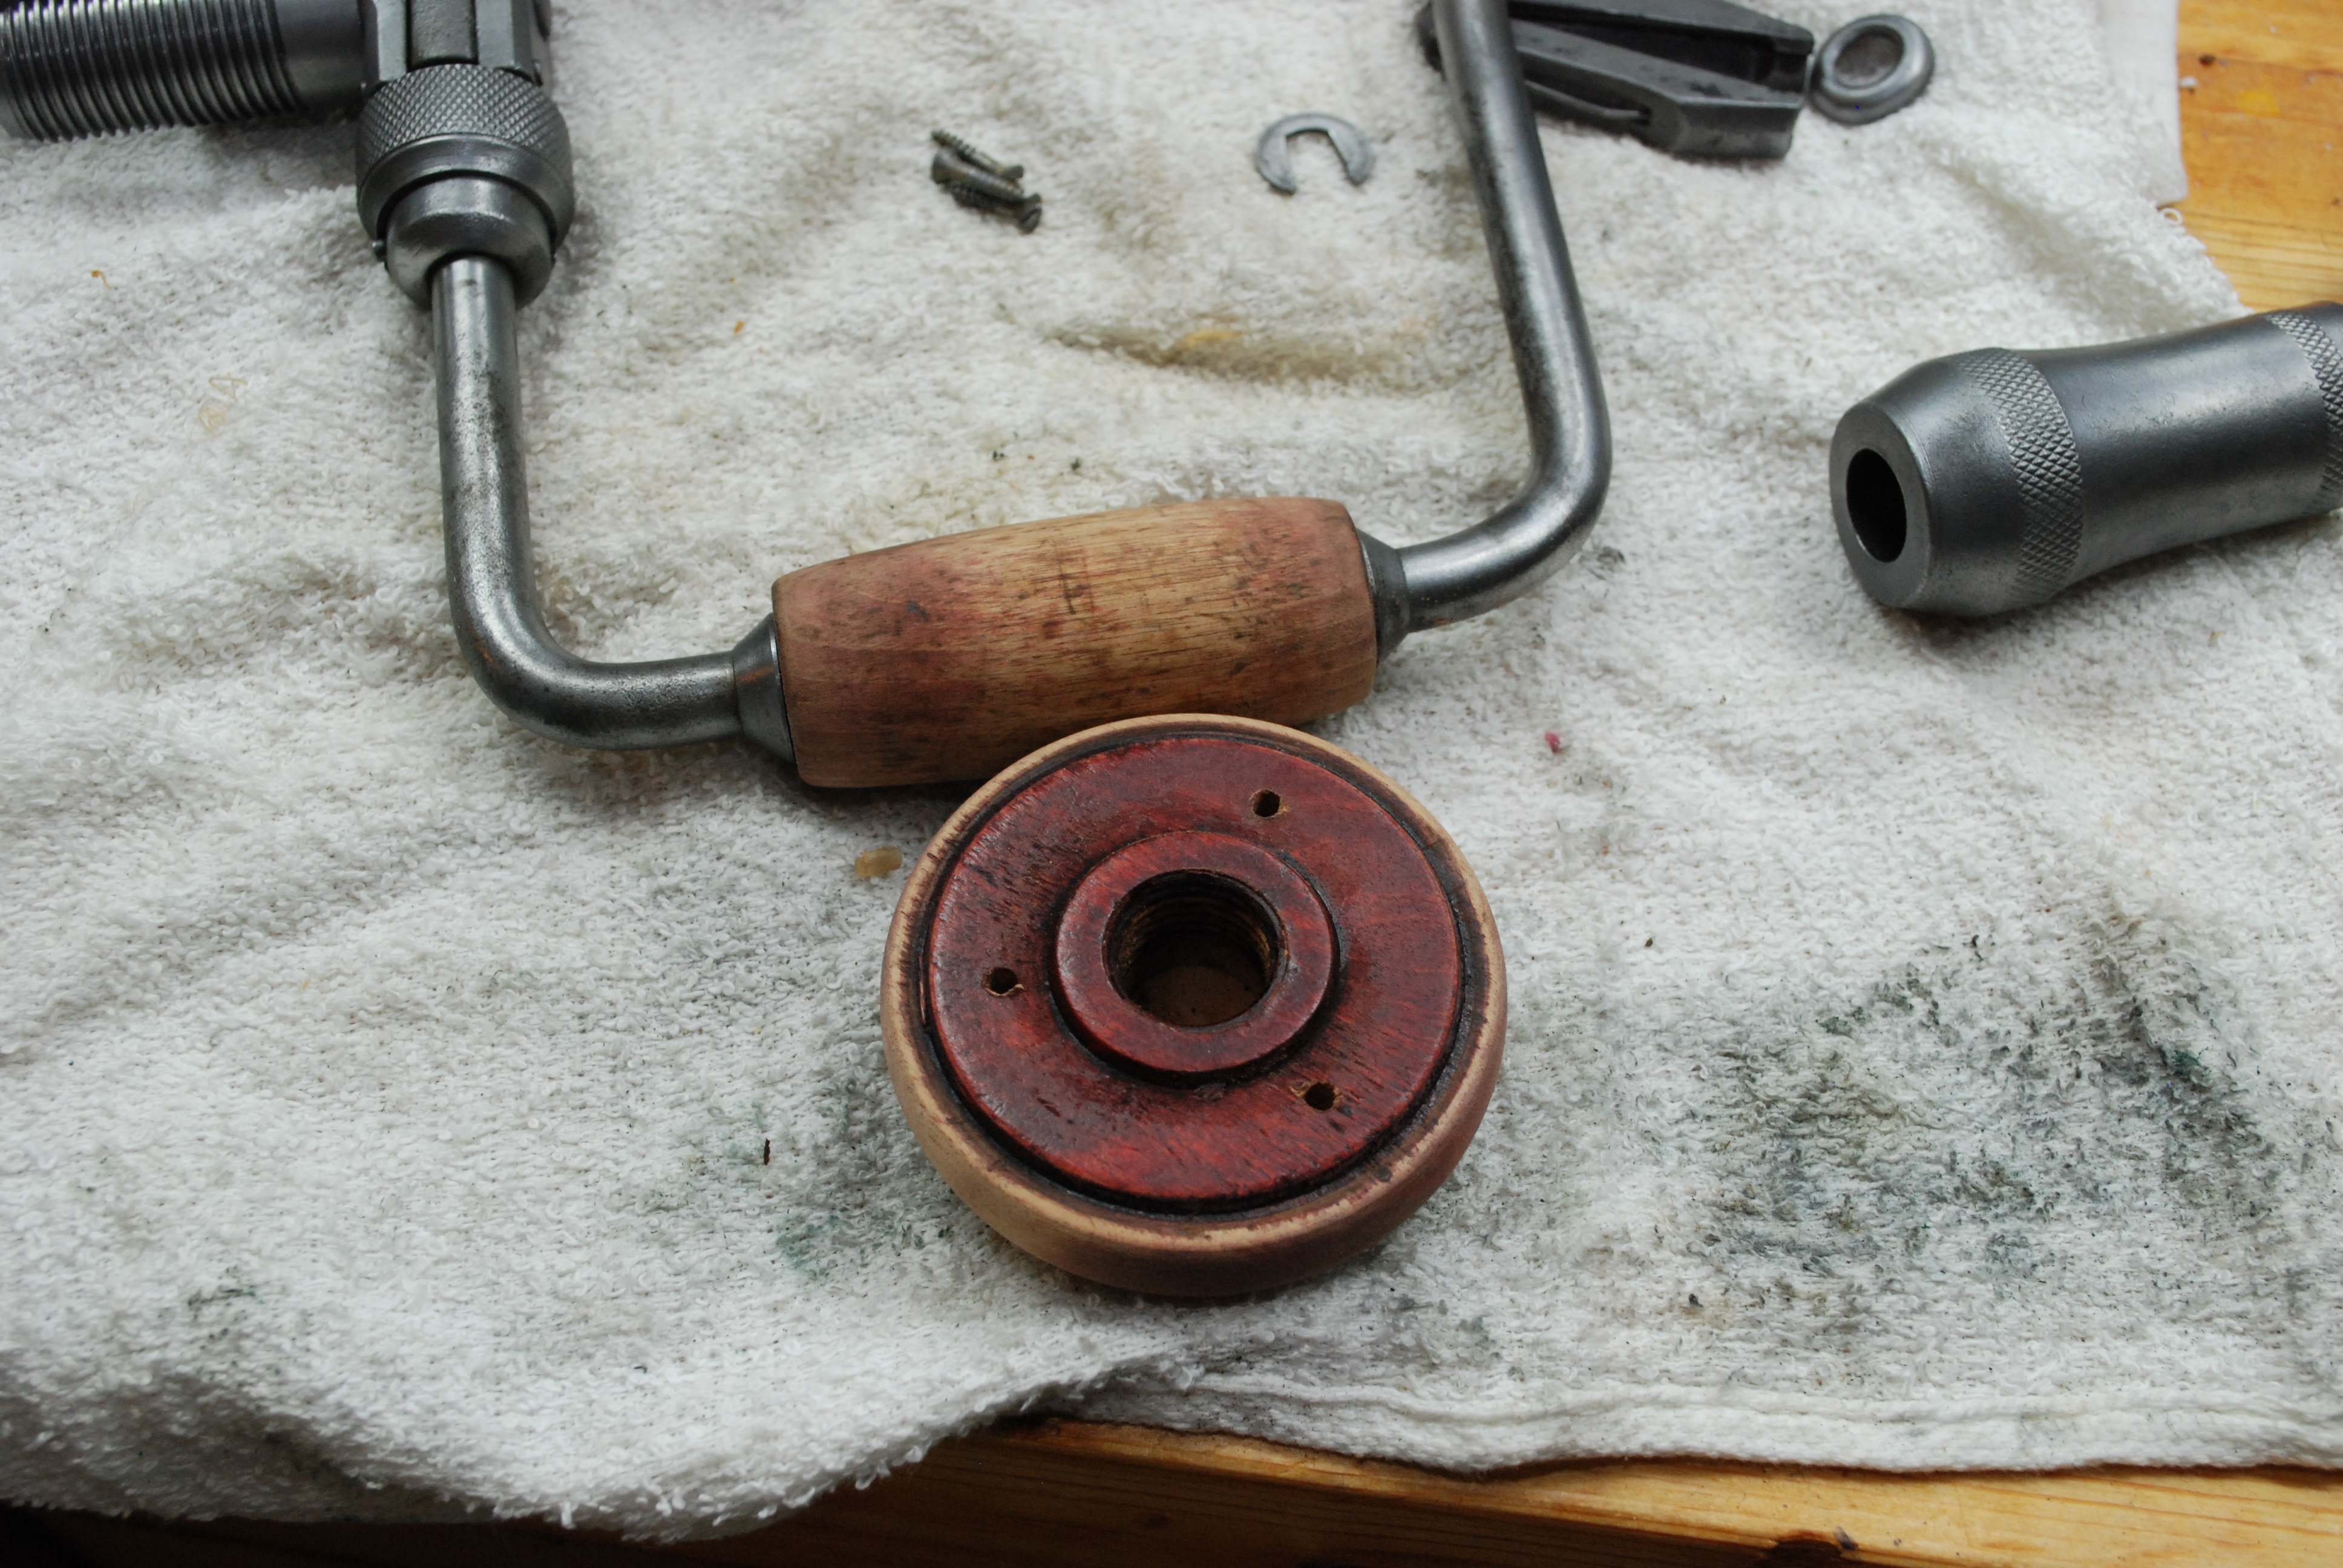
- Wooden handles should be sanded smooth and coated in boiled linseed oil.
- Sharpen and flatten the blade as usual.
- Lap the bottom with sandpaper to finer grits till even and shiny.
- Coat everything in a good protectant like boeshield and behold your diamond from the rough.
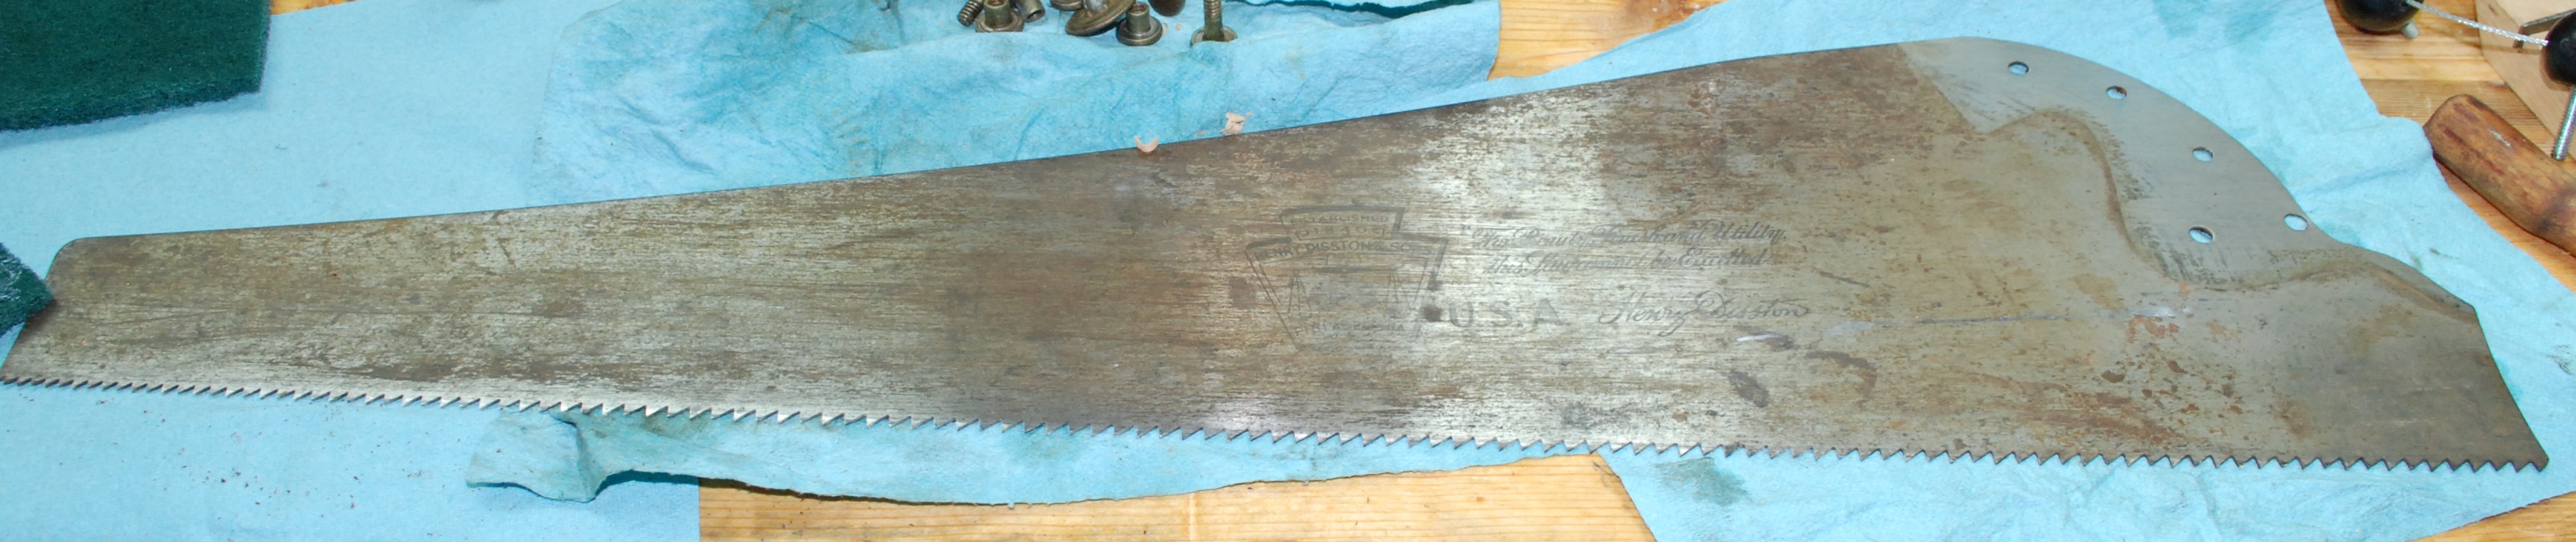
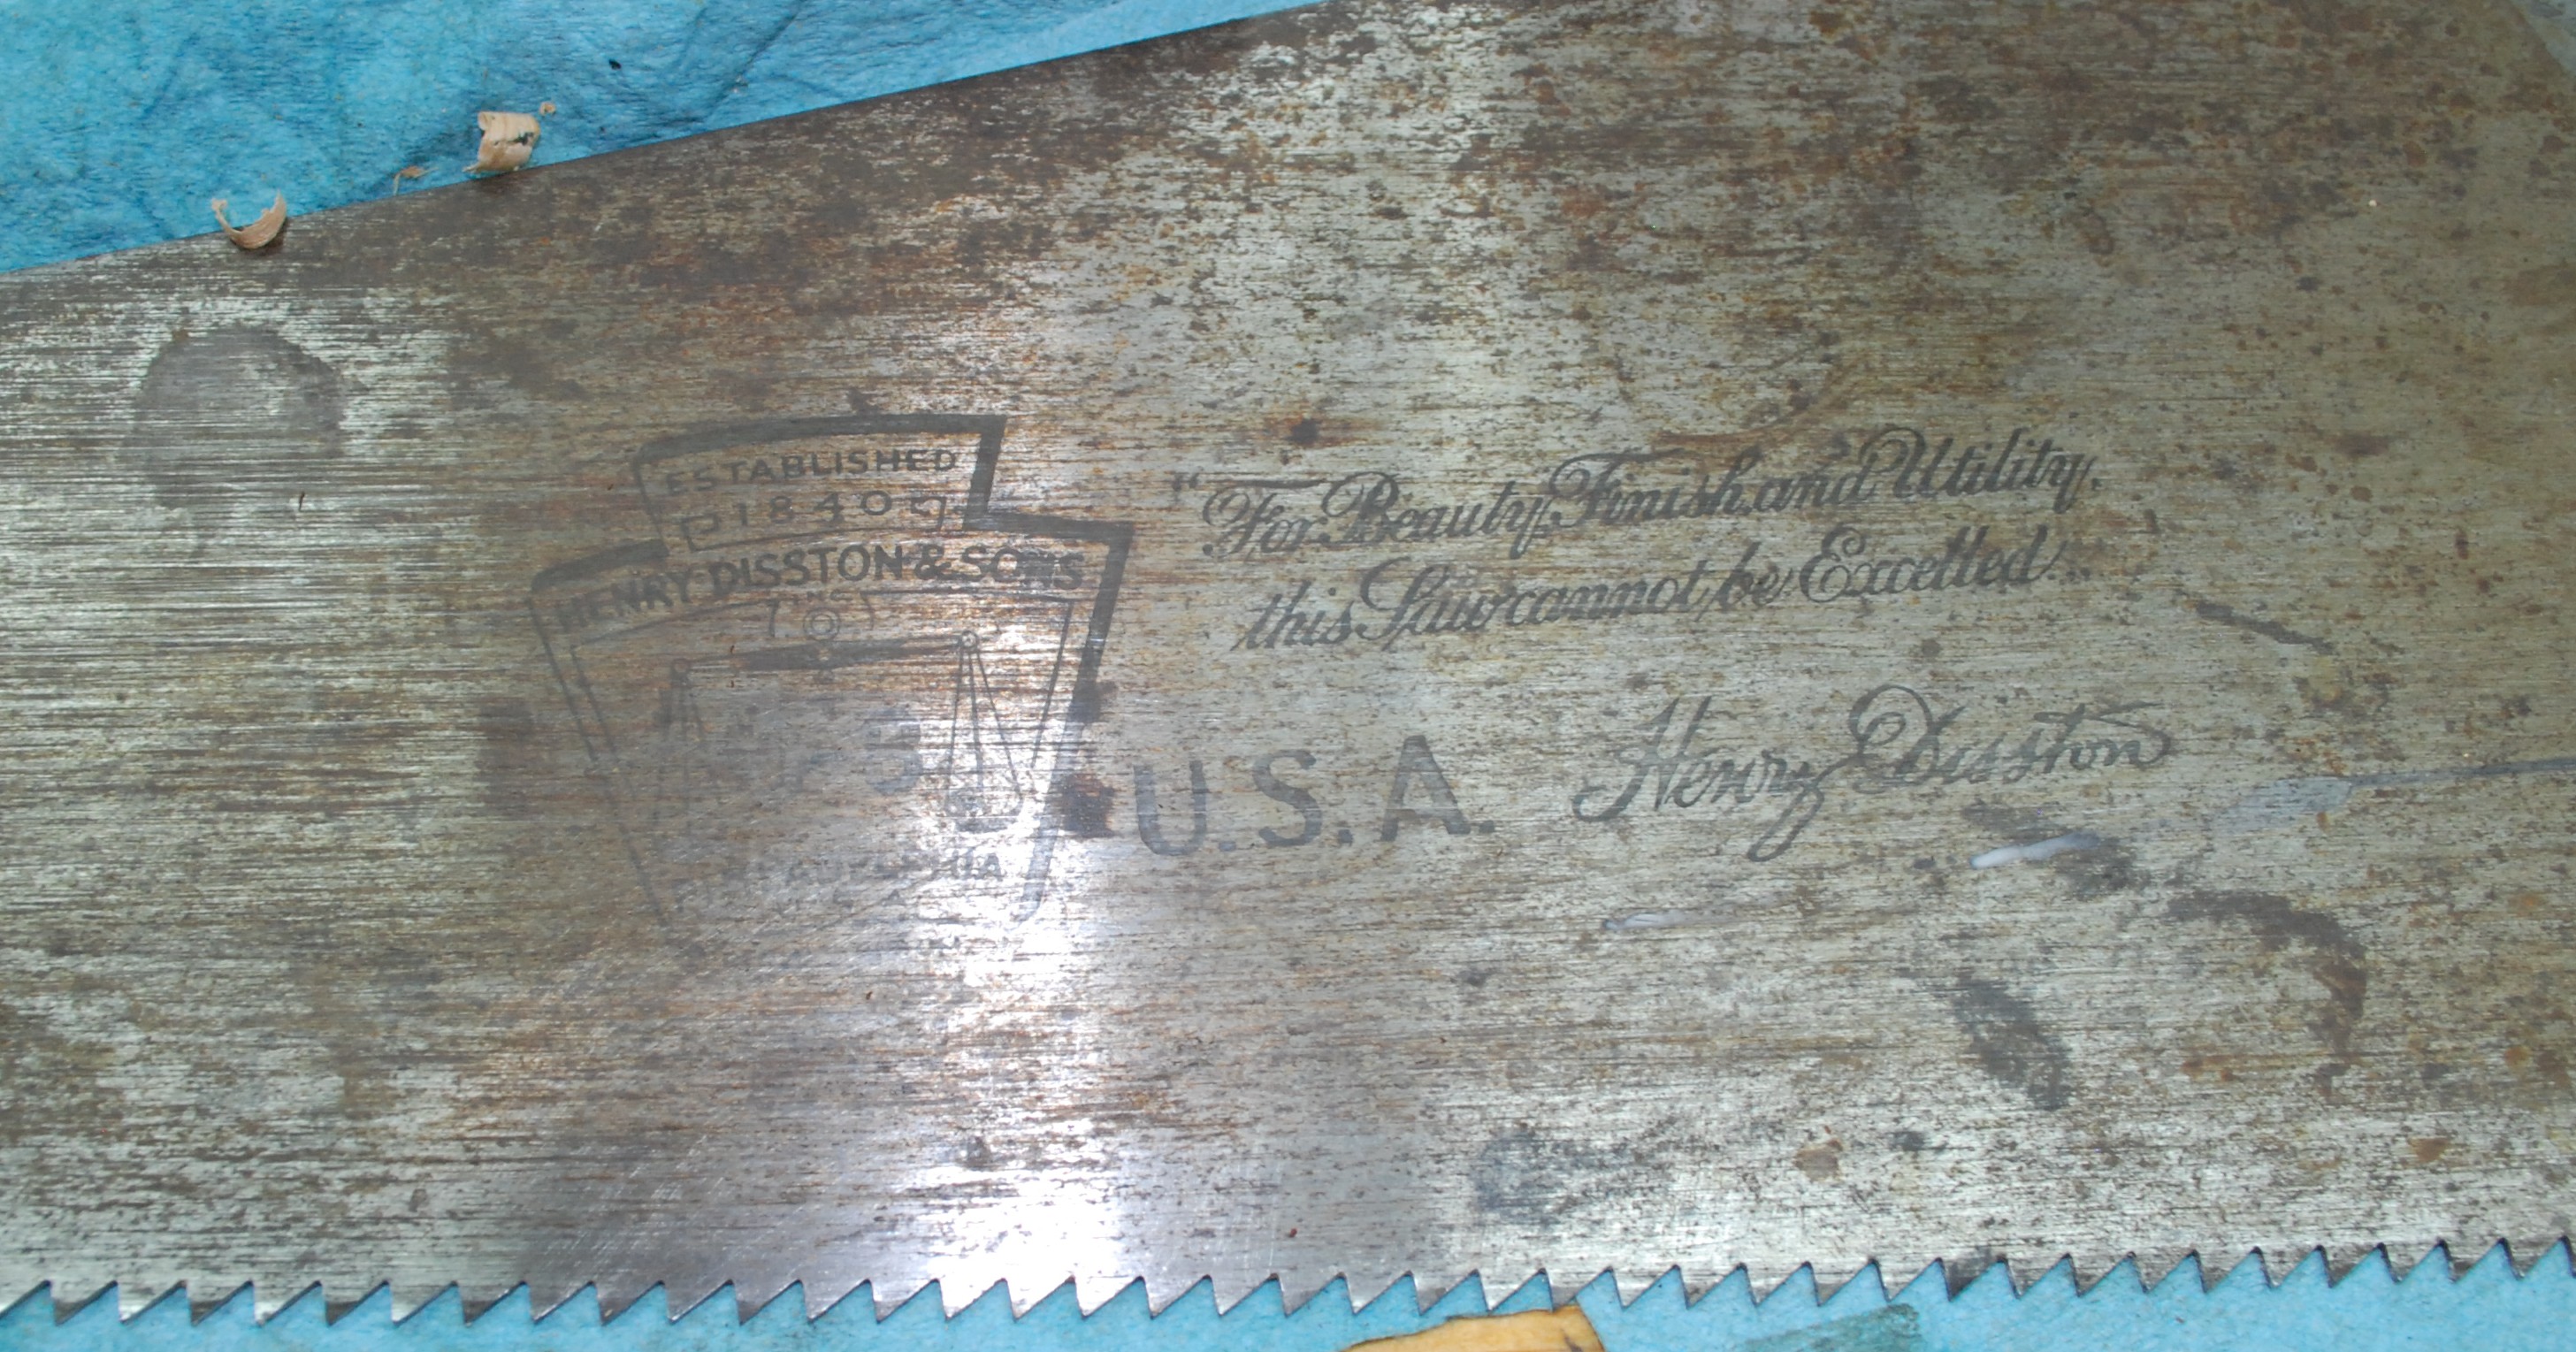
Bonus Saw Set
I got an old stanley saw set for a few bucks from ebay. There are some issues with the non-moving portion of the anvil, but other than that it was ok. I did the standard, rust bath, scrub, brash brush polish, and boeshield job. What a difference it made!

Before

After


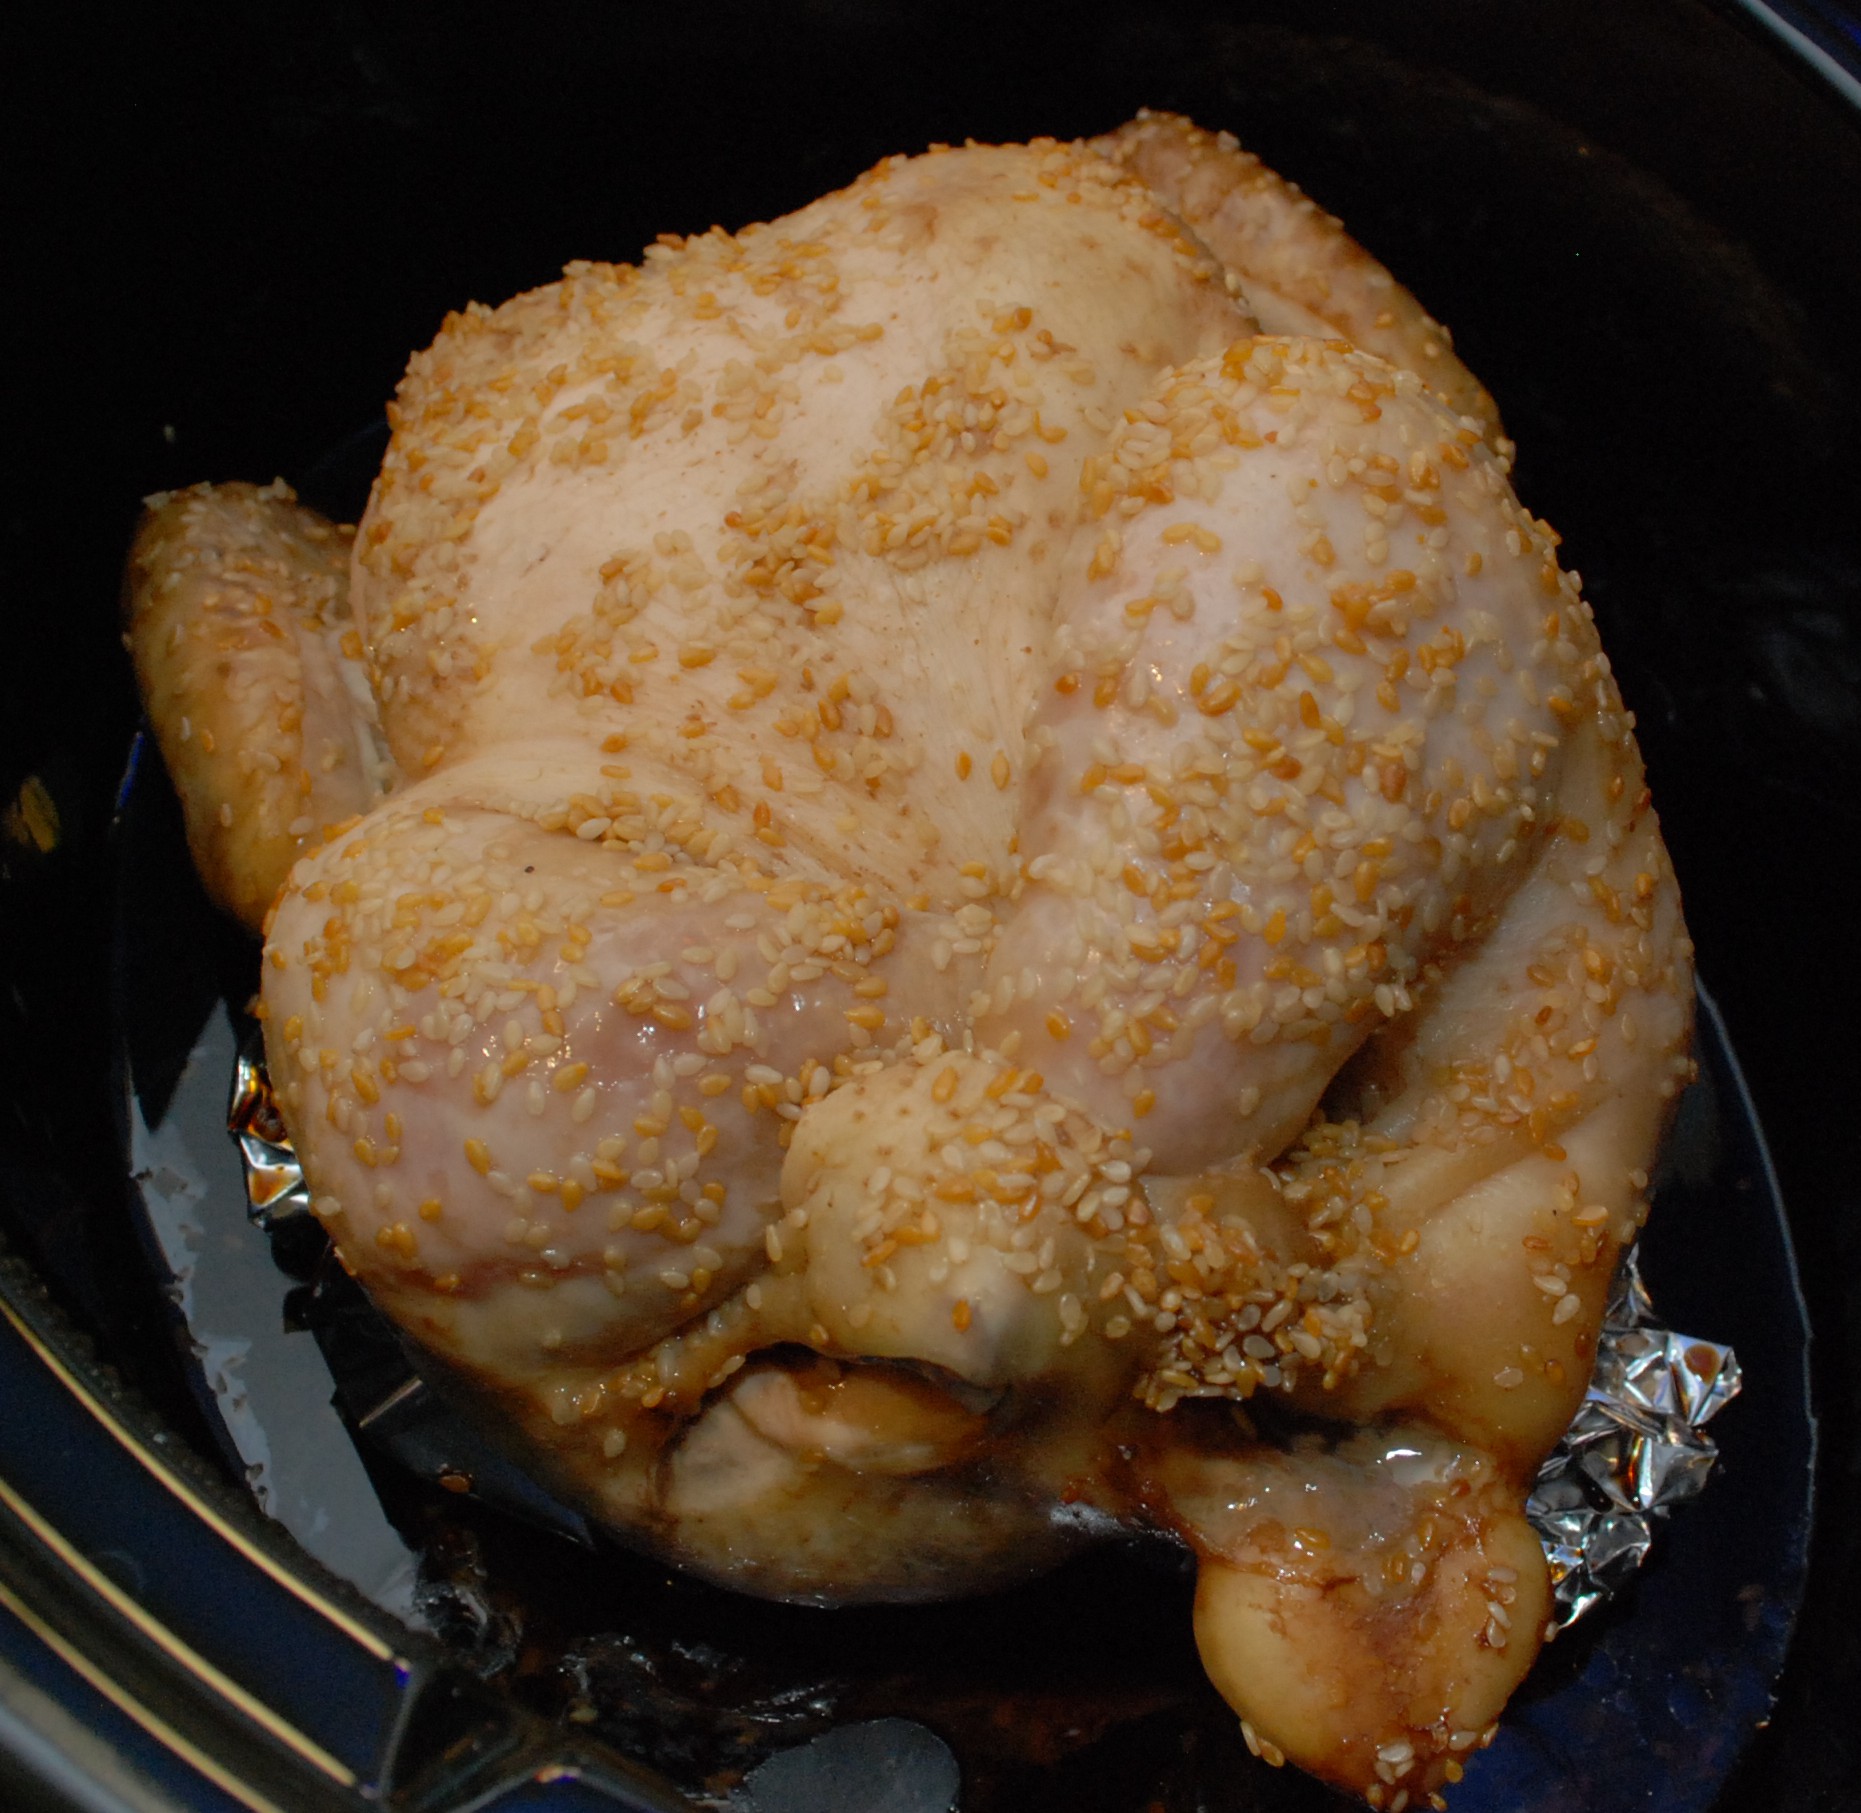 The results were wonderful. The soy flavor wasn’t as strong because I only had half of what was needed. Still, the breast was juicy and tender, the legs were pulled apart easily, but the whole thing didn’t turn to a mush pile. This is a great basic recipe and could be adapted to a long list of other sauces and flavors.