Cutting Board Wedding Gift

I am about 6 months late on this wedding gift, but better late than never! I wouldn’t normally add yet another post to the internet about making a butcher block cutting board, but this one had a few noteworthy mistakes I thought I would share along with a juice groove, which is a novel endeavor for me. Isn’t it funny how cutting boards call for half the clamps in your shop?

Lesson 1: Melamine Does Not Resist Glue

I had some spare plywood with melamine face that I thought would make a good glue up surface. It is flat and strong and the wood glue will not stick to it. Imagine my surprise when the board wouldn’t come off. I employed numerous wedges and was eventually able to break it free. I don’t know what they use to hold the face down, but my glue is better. I guess you need to wax it to prevent adhesion. I will go back to using wax paper like I did before.

Lesson 2: Helical Cutters Work Wonders

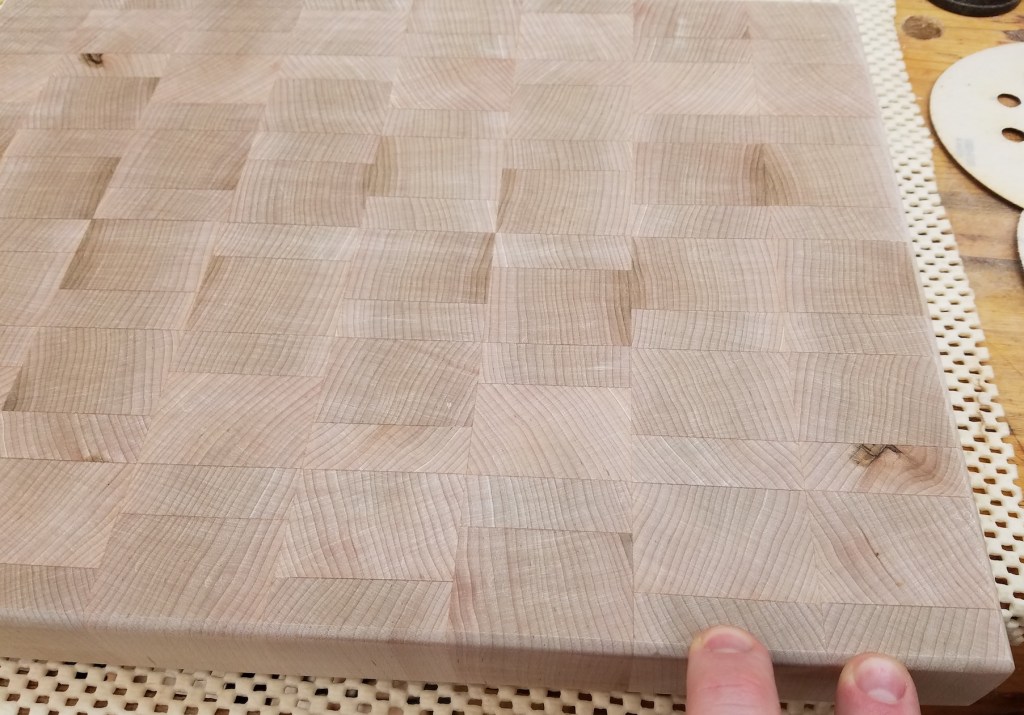
On a more positive note after scraping off the glue ridges I tried to send the board through the planer. Normally using a planer on end grain like this yields poor results. I had it shoot the board out of my last planer in pieces. My new helical cutter works wonders, the top looks gorgeous now.

Lesson 3: Watch Your Glue Up

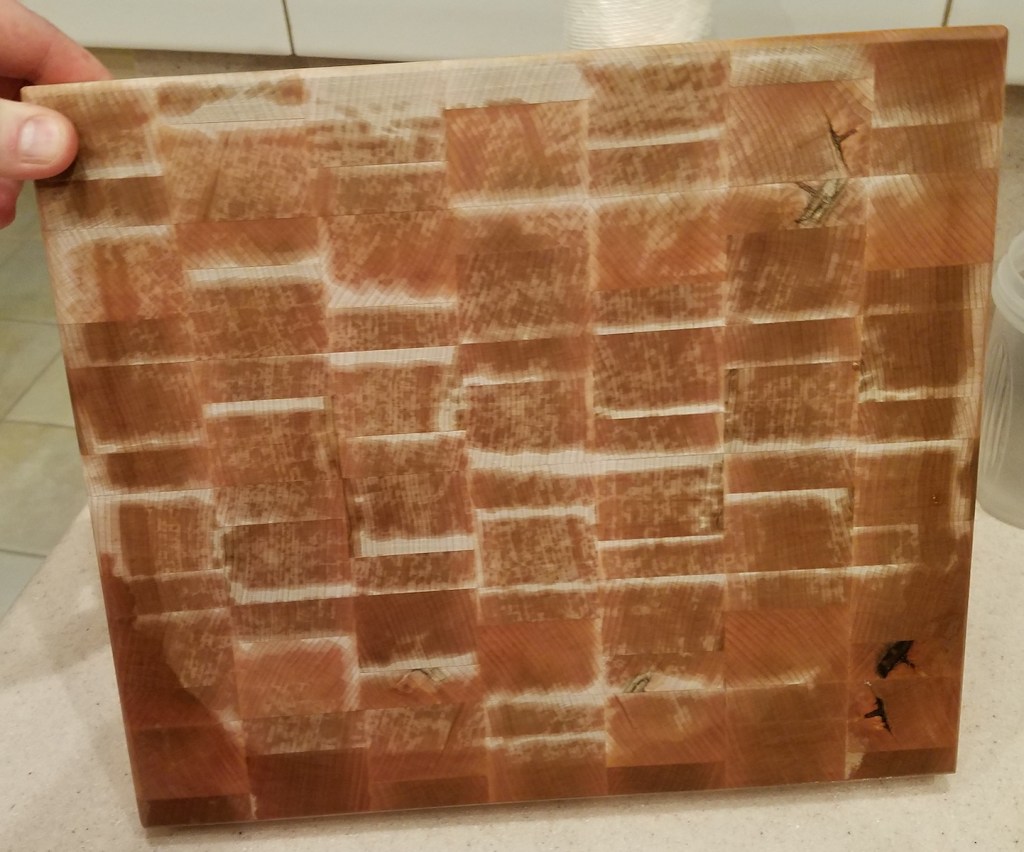
I thought I was being really careful with this build. I measured and planned everything out so there was a 1:2:3 pattern to the size of the blocks in the board. That worked out, but I failed to flip the last piece properly when gluing. The pattern repeats on that last row.

Lesson 4: Juice Groove

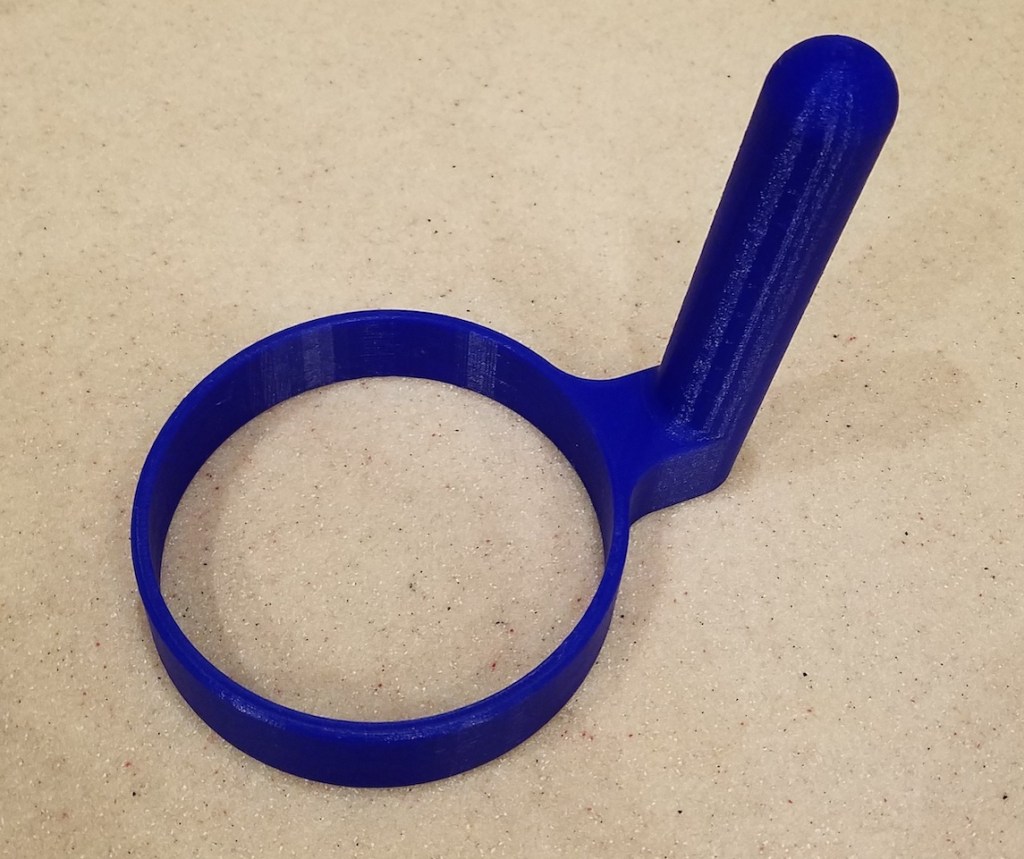
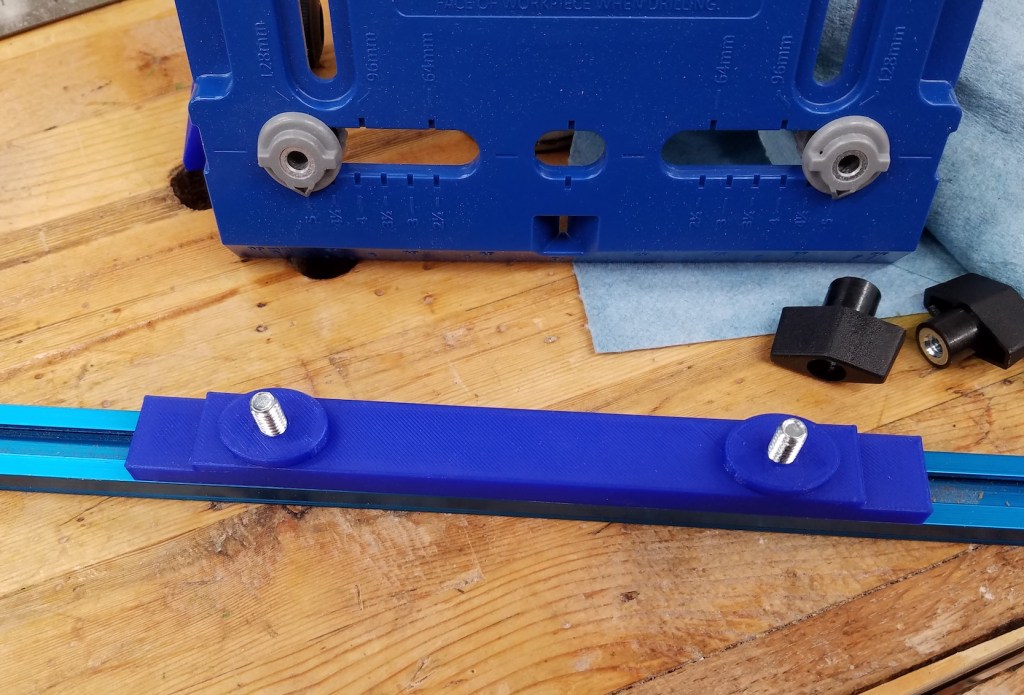
I cut the last row off and re-sanded the end. Despite some minor road bumps this was going well. Time to press my luck even further and add a whole new feature! There are a lot of ways of doing a juice groove. Setting up stop blocks on the router table seemed to be quick, safe, and reliable.

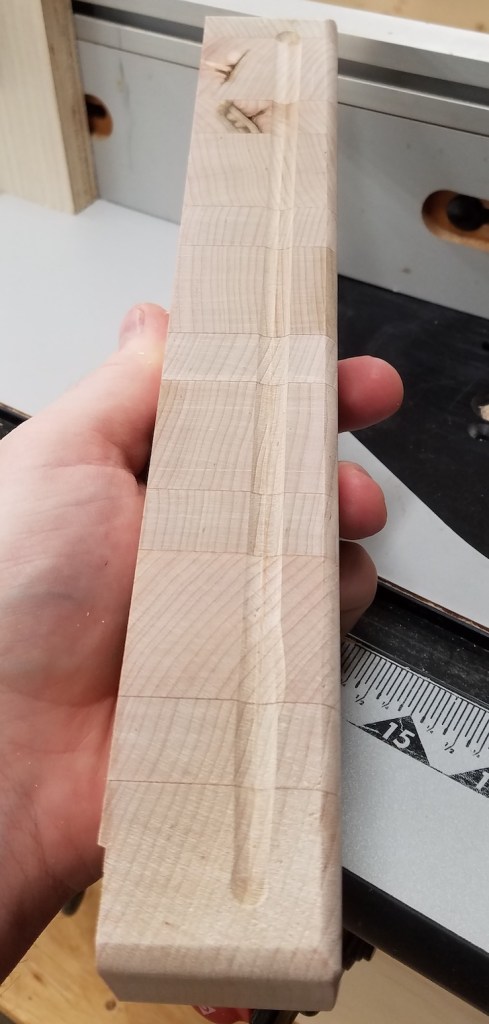
I used that row that was cut off to experiment. You have to use a lot of pressure up against the fence or else the bit will wonder. Ok, now on to the real thing.

It was quick, it was safe, and it is certainly a groove. Not 100% reliable though. It looks straight everywhere, but overshoot exists at some corners. I don’t know if the stops shifted, or if my measurements were just off. Maybe I won’t be using this technique any more.

The Finish

Over all I would call the board a success. It came out slightly smaller than intended and the juice groove has a little wonder to it. Otherwise the oiling process made me very happy I with my efforts.

I kept pooling mineral oil on the top surface and let it soak in. That juice groove kept the oil from spilling over the edges. Eventually it saturated through all the way to the bottom side.

Bandsaw Outfeed Table

I have a project coming up that will require a long resaw cut on my band saw. Resawing is where you sit a board up on its skinny side and cut down the length. I love my bandsaw, but when it comes to doing long work the small table has left me in the lurch. The bandsaw is a tall tool so that most roller type outfeed supports don’t come close to high enough. I am going to add a removable outfeed table to the back end to help with these kinds of scenarios.

I have some phonelic resin covered plywood that makes good slick surfaces for things like this. The resin surface can chip off if hit on the edges though. I made a frame to hold the plywood, protect the edges, and give me a place to bolt too. This could have been done in pine, but I am trying to increase the quality of my infrastructure work, so I went with maple instead. I routed a groove on the router table and used my roundover templates to make the corners match on the plywood insert.

After gluing and pinning it through the side I did a careful trim with a block plane to get the outside frame and inside surface to be perfectly flush. This made fun little corkscrew shaped shavings. Now anything sliding across wouldn’t get caught on a lip or edge, and the sides of the plywood will remain protected. This is another place where hand tools make the job a lot safer and less likely to induce disasters than something with a motor would do.

With the table top complete I needed a support leg to help keep the back end from sagging. Making it screw together let me turn two short pieces of plywood into a longer one, and helped with fine tuning the outfeed level.

A hinge attaches the support leg to the under side of the table top. There was a good place for the bottom of the foot where the bandsaw base meets the cabinet it sits on. This will let the table support a decent amount of weight without sagging.

The bandsaw’s table top has two bolt holes in the back that accept M6 screws. I got some socket head cap screws and bolted the front of the outfeed into the back of the cast iron top. The back support leg keeps the rest of the table top up under load. I finished everything with boiled lineseed oil and wax.

The table is almost exactly the same width as the iron top, but doubles the total length. Now I can resaw a 3ft board without worry about it dropping off the back end. As a bonus, the outfeed table doesn’t interfere with anything behind it when pushed into its resting place. Nor does it interfere with the fence. Basically I will probably never take this off.

April 2019 Prints

RTIC Tumbler Handle

For some reason RTIC has changed the shape of their 30oz tumbler. Not sure if YETI did this, and they followed suit or what. I suspect it is a plot to sell more handles and accessories. As it stands, the old handle I designed doesn’t fit on the new style of cup any more. The taper angle and diameters are just a little different.

My old handle was printed in 2 parts because most low end printers (including the one I owned at the time) couldn’t print something that big. Now a days at least a 6×6 bed size is pretty bog standard. This new design will be all one piece. The cup is large enough in diameter that getting my calipers on it wasn’t going to work. I printed some rings of different diameters and used them to estimate the taper angle of the new cup.

With that figured out I just printed a new handle that looks a lot like the old one, only with slightly more finger room and a longer grip. Thingiverse link

Drawer Pull Centering Jig

I picked up a Kreg cabinet handle jig for one of my recent projects, and because handles are something you install pretty frequently. It is certainly possible to do them well without a jig, but that always makes repetitive work easier. The jig does a good job of setting the height and width of the holes. It doesn’t center them on the drawer though. I made a few add ons to help with that.

I took a length Kreg track that you would normally imbed into a table to make moveable hold downs. Instead, this becomes part of the top fence used to set depth. Now with a spacer it registers across the whole top edge of the drawer. That also lets you use an edge stop. Now it is all centered. Once set you can put handles in the same drawer position over and over again with no more measurements or adjustments. The only downside is that there was a scale on the back of the jig for setting depth. That no longer measures true because this vertical stop doesn’t register where the old one did.

Router bits

Storage and organization is a place where the printer continues to be endlessly helpful. I have had this nice router bit set for years, but always had trouble getting the bits back in their slot. They end up clanking around the drawer and taking up more space than they should. A simple printed tray gives them each a home and takes up a lot less drawer space. For smaller prints like this, a label maker works better than trying to 3D print the text.

More Dust Collection Adapters

Woodworking Dust Collection Rule 1: No two dust collection ports are ever the same size… EVER

Once again I find myself trying to fit a dust collection hose on to some of my tools and wind up having to 3D print a custom solution. Why is it always like this? This time it is a port for my random orbit sander to 1.25″ hose (which isn’t really 1.25″), one for my belt sander, and an adapter to go from that hose to my dust deputy inlet (which has some funky taper on it). The good news is that the ridges left over from 3D printing these always helps the adapter stay in place, even if it isn’t perfect. This is exactly why industry standards and groups like ASME and SAE exist.

Saw Blade Cleanup

Saw blades tend to get gummed up with pitch and glue from all the various woods you saw. I have been doing a lot of hard wood and noticed some burning in my maple cuts. The blade was looking pretty gunky. I always blew off cleaning saw blades as not being that important, but decided to give it a shot. My table saw blade is pretty new and is starting to perform poorly.

There are various products out there for blade cleaning, but Internet searches suggested simple green or laundry detergent. I always keep simple green around so I started with that.

30 or so minutes of soaking later and a scrub with a stiff plastic brush and the blade looked practically brand new!

No more pitch or burned in junk. I was starting to think the carbide had some thermal damage, but no, it looks great. It worked out so well I went ahead and tried it on my big miter saw blade.

A simple green soak plus a little scrubbing puts you back on top. I was thinking I needed to replace this blade, but after the cleaning it cuts like new. Carbide wears out eventually, but not cleaning makes it seem worse than it actually is.