Shop Made Awls

A woodworking magazine of mine had a good article on making your own awls. You start with O1 hardenable steel rod, grind to shape, fire and quench. The handles are made on a lathe. This sounds like a mini knife making project and something I would benefit from. I am always using awls to mark wood for screwing or drilling and was looking into buying more. At 10 bucks for a 3ft rod of the steel, these are super cheap and easy to make.

I started with 1/8″ O1 drill rod. This was fine, but in the future I would go with a 3/16″ or maybe 1/4″. I chucked them up in the drill and freehanded a point with the bench grinder. A mapp gas torch was potent enough to get them past a magnetic point (hot enough to quench properly) and into a small jar of canola oil they went. I threw them in to an oven at 400F for an hour to temper, then eventually sanded and buffed off the scale.

I like working on the lathe, but often find that order of operations is absolutely critical. If I go in just doing the first thing that comes to mind, I wind up in a place where I can’t clamp something properly or the part is out of center. My first attempt or two painted me into a corner.

I settled on this order of operations. Mark center (wouldn’t an awl be nice right about now?) for the tail stock to hold, then chuck up a square blank at the head. Drill the 1/8″ hole for the awl to fit in (picture missing). Put a center point in that hole, and round everything down and make the shape as close to final as possible while leaving a little attached towards the head stock. Now is a good time to do all the sanding. Once that is done you can part the last bit off and it will be free. There is always a little nub that needs sanding at the butt end.

With the metal and handles done I used structural epoxy to bond them and then a series of dips in home made shellac to finish the handles. Many coats later and they were ready to give out. I now have one at my lathe, another at the drill press, and a few more for my bench. Don’t leave home without these beauties!

Socket Cabinet

Not long after buying my first house I picked up a big set of socket wrenches from craftsman. Previously I had an odd assortment of hand me downs that were missing various sockets. The plastic trays the sockets came in were labeled and worked well. The case was always kind of shoddy. It tended to drop the drawers out and spill sockets everywhere. If you pulled the bottom drawer out the top drawers collapsed. I am finally ditching it and making my own cabinet.

I started by making plywood drawers for each plastic tray (1/4″, 3/8″, and 1/2″ socket set), and two more full drawers for extras. This is the first project I have done where I made the drawers all first, then built a cabinet to hold them all. Kind of a neat way to work.

Once I got all the drawers assembled and installed into the cabinet I covered the face frame of the cabinet with 1/4″ poplar. I thinned more poplar down to 5/8″ and put a heavy chamfer on it to make drawer fronts. I thought pocket hole screws would be a great way to attach the fronts. They were, but I forgot to reset the depth of the drill bit to 1/2″ instead of my standard 3/4″, and drove the first screw through the drawer front. oops…

That won’t matter too much, and I am sure nobody will notice. Mostly because I accidentally drilled the first set of drawer pull holes at 3″ instead of 5″. Otherwise the cabinet looks great after a coat of boiled linseed oil.

Now to fill it all up. I used small strips of plywood to make stops so the plastic organizer trays sit still and don’t slide left to right when opening and closing the drawers.

Everything fits with room to accommodate future purchases. I don’t do a lot of mechanic work, so this set will probably cover me for the very far future. Lastly I did 3d print a few little organizers and helpers. I seem to have a lot of 3/8″ extensions, so I made a little slot holder for them. Also adapters to go from 1/4″ hex drive to various socket set sizes. The steady drum beat of garage organization marches on.

Hanging Bosch Flexiclick Station

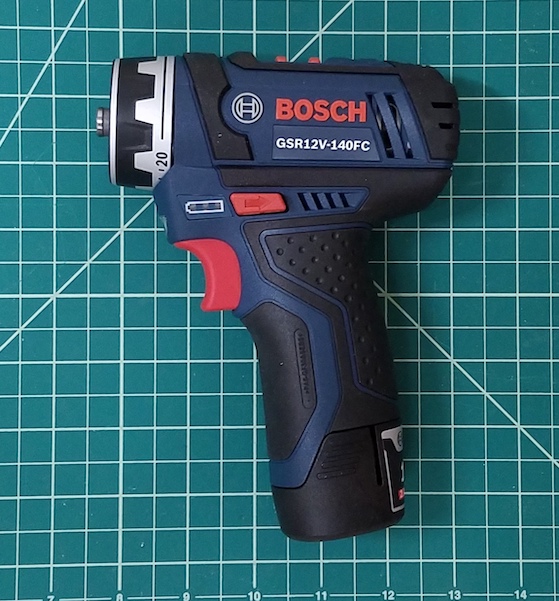
I happened across a Bosch flexiclick around the black friday season. It is a 12V driver with interchangeable heads; offset, hex driver, and regular 3/8″ chuck. Any of the 3 can go on a right angle attachment. It is pretty genius. I have owned their pocket driver for a few years and love it to death. I liked it so much I built it a portable caddy a while back. This new driver needs a home too.

I started by imaging a few things I wanted to make prints for on top of my cutting mat. It provides a good grid reference when making things in CAD. That usually gets you a 90% solution. The drill body will need a holder and the charger has no wall mount ability. Usually they have some key holes in the bottom to let you hang them from a screw.

I have a wall section with a french cleat so I arranged all the holders until I got a compact layout. Here are all the printed parts screwed down on a scrap board.

Starting off at the top is a plate that holds the charger. It is shaped like the charger with a channel underneath to allow a zip tie to pass through and hold it down. A cleat on the bottom keeps it from slipping down. The one zip tie wrap has been sufficient in holding it down with battery connects/disconnects.

The drill body has a nub sticking out where the various heads are removed. I used that to provide a good lock in mechanism. It is sturdy enough to have not fallen off yet, but is easy to plug in and out. The bottom bent section has some flex to it which is part of the magic.

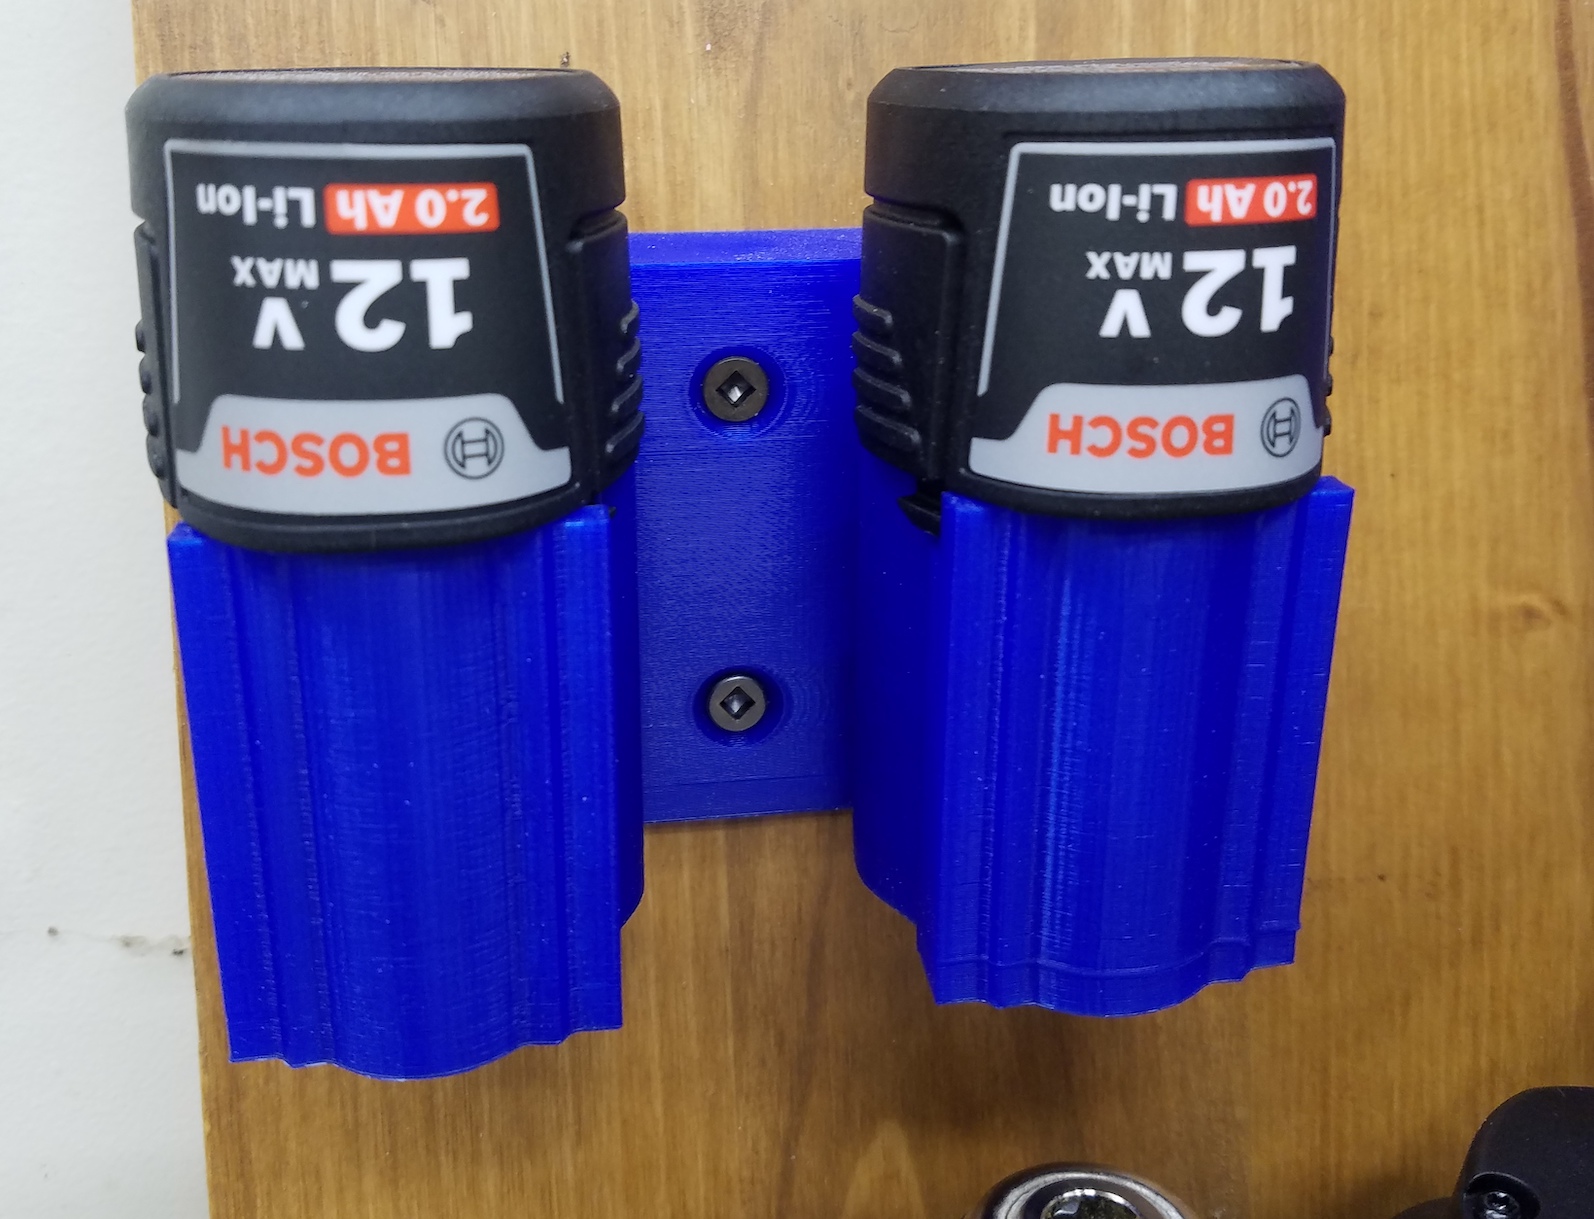
The battery holder is not my design, Thingiverse link to the original designer.

Last but not least is the tray that holds the flexiclick heads. The right angle and offset attachments have a high enough center of mass that they need a little helper support to keep them from toppling over.

I bundled my three original designs and uploaded them as a group to Thingiverse. All together fully populated and with the wires bundled up, it looks like a nice drill station. I had room left over so I stuck a Ryobi charger on there for good measure.

If I were to do a review of this tool I would say it is good but would have been a lot better if it were brushless. Trying to mix this many functions together always results in some compromises. Still, I use it for small light drilling quite often, and the offset driver has gotten me out of a bind.

Car Phone Charger Dock

My phone has wireless charging built in, and it is a wonderful feature.  Very futuristic.  I wanted this ability in my car when doing road trips or errands.  I started with a flat lipped bed that would keep the phone in place.  There is a spot behind the gear select knob that was just big enough for it to sit.

I took apart a small puck wireless charger and pulled the internals out.  It was all one piece with 4 holes for me to mount to.  Very convenient.  Below are the first 3 PLA iterations of my design.

20180525_141934

The first one on the left was too wide, and din’t have enough space cut out for fingers.  The cover (below) didn’t sit well in the cavity either.  The next one was better, and had more rounding.  The last one had a tapered bottom to lighten the look, and a simple disk to cover up the electronics.

I put it in the car and test drove it for a few days.  It was an awkward fit.  the rubber pads underneath kept it from sliding around, but it was tight navigating it between the shifter and console.  I sat it upright in the change well and found that orientation a lot easier to use.

This sticks up a lot higher than was really needed, but The principle is sound.  I switched to PETG because the other car parts I printed in that material have held up well.  I thought I had a slam dunk with the left one, but the angle of the cable was too low, and the circuit card needed a little fit adjustment.  PLA and PETG shrink differently.  If you prototype something in one material, then switch to another, tight fights might need adjustment.

20180608_085402.jpg

I have run around with this version for a week now and love it.  My phone falls right in and is picked up easily.  The cable is well controlled and doesn’t get in the way.  It took a few iterations to get here, but was worth it.


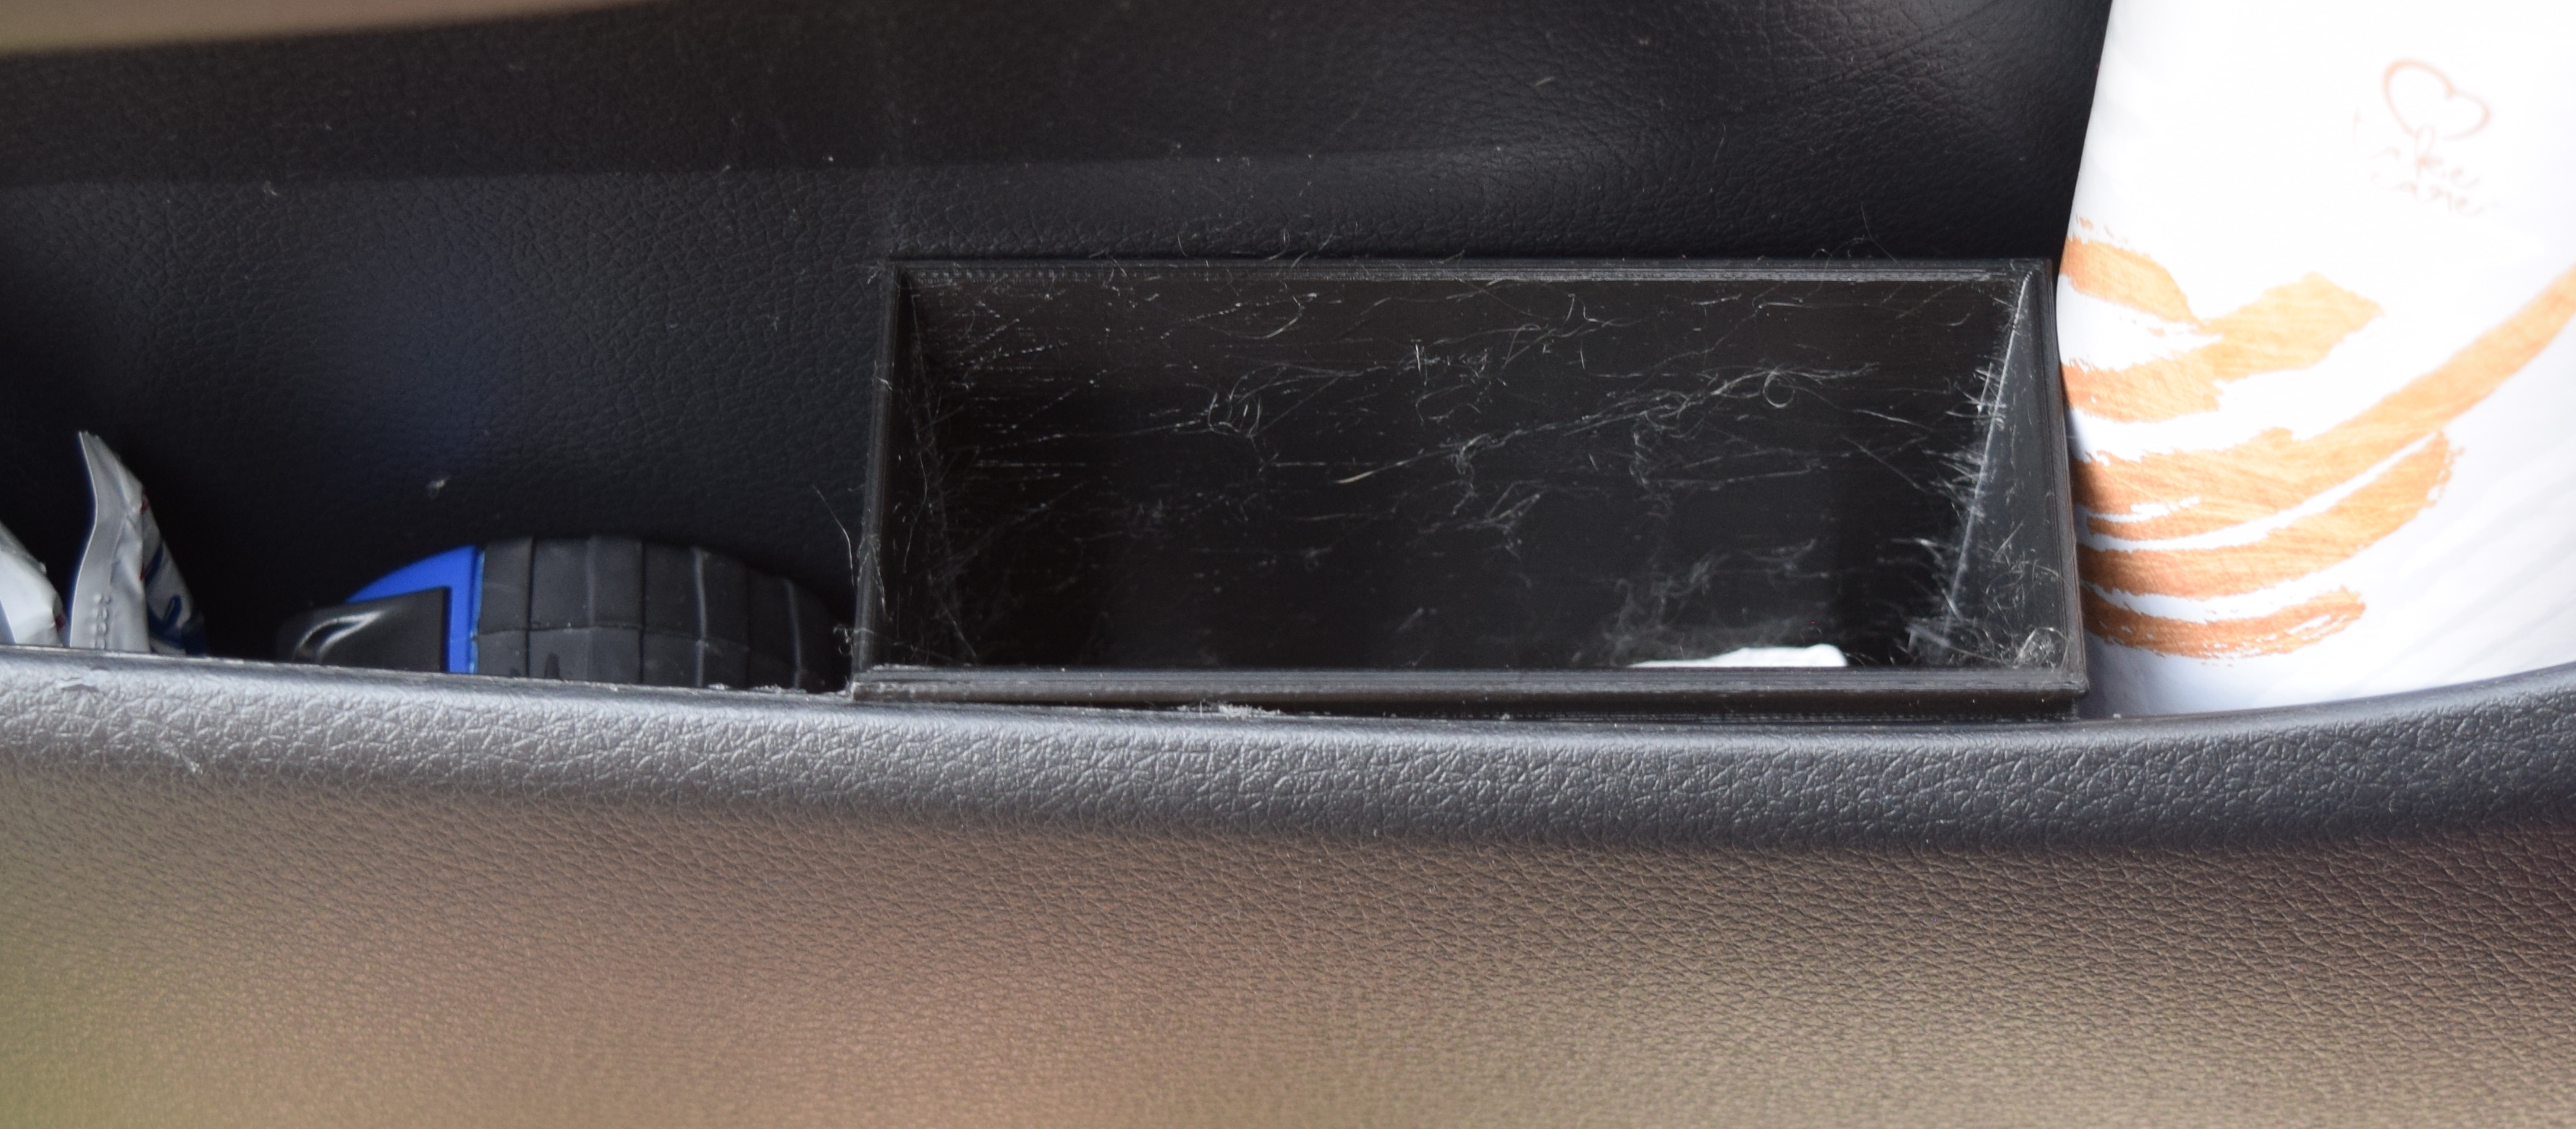
The only issue with using that space for my phone is that I typically put trash there.  It was easy to see and clean out at the end of the day.  Time for another print!  I can fit a little trash can in the side pocket of my door.  Measuring down inside the pocket calls for something like a pair of inside dividers.  I didn’t have any, but I do now!

With tool created I measured the pocket width in a few spots and came up with a profile.  It took some adjustments, but the second version clicked into place.  That area of the car has a ton of curves.  This didn’t match them perfectly, but it sits well and doesn’t stress the door mold too much.  I gave this design a week as well.

It worked out like a charm, but could stand to be wider.  I printed it 50% wider out of PETG to survive the heat, and called my car project done.

DSC_1271

Tumbler Sanding

Long story short: I tried to use a tumbler to conformally sand 3D prints and clean up old metal parts.  It didn’t work that well.

Long story long: I wanted a way to sand complex parts such as 3D prints and old tools.  I can convert rust easily enough, but it leaves surfaces dark, and doesn’t handle other grunge.  Sanding 3D parts works, but never gets the nooks and crannies right.

Enter the tumbler!  It is a funny shaped open top globe that vibrates.  Shooters use them to tumble brass bullet casings to clean them up.  I started with sand because it is abrasive and cheap.

No luck, sand didn’t do much even after hours of work.  How do the rock tumbler guys do it?  Silicon carbide grit.  Lovely!  I will buy some and mix it with my sand.

20170823_184435

Watching it combine with the sand is a really fun trippy experience.

20170823_184505

I tried lower concentrations of carbide grit to sand, but eventually added the whole 5lb bag of grit.  The metal and printed parts both spent 2-3 hours in full concentration grit.  I feel like the metal parts may have benefited.  It is a little hard to tell in the photos, but the metal is a bit cleaner.

The 3D prints didn’t show much improvement.  The sanded one was a touch smoother in places, but picked up a lot of staining from the grit.  None of the ridged areas were knocked down well.  On the plus side, delicate features didn’t break off.

Poor pickle rick is just going to have to remain rough around the edges.  Don’t buy a tumbler and grit to sand your 3D prints, it doesn’t work well.

20170830_201430


Tampa Woodworking Show 2017


The Tampa Woodworking Show is back!  I went for the first time last year.  This year was similar in that I learned a lot, met cool new people, and spent way too much money on tools!

20170318_095724

The fun begins as soon as you walk up.  They had this trailer with a mobile wood mill on it again.  I managed to snag some video of them carving up a big cedar log.

How would you like to have one of those bad boys show up in your front yard and slice up a few trees?

There were classes going practically all the time, and I managed to make it to 6 different sessions.  I learned about finishing, turning, and molding making.  This guy was doing some really big and aggressive turnings.  All his AV equipment was constantly getting covered in shavings.

20170317_150933

My favorite housewright (ok, the only one I know) Ron Herman was back this year dispensing with some old school wisdom to constantly full classes.

20170318_151031

Did I mention I spent too much on tools?  It was hard not to, there were vendors everywhere.  Lee Valley would let you touch and play with everything.

20170318_150020

Saw stop did a demonstration of their saw saving a poor defenseless hotdog.  This is my win-the-lottery tool!20170318_103045

When it detects your finger (via capacitance?) it crashes a stop into the blade and pulls it down.  Must be seen to be believed.

They had one of the crashed blades to show how the mechanism works.

Moving up from there we had festool (more like festdrool amirite?, or something like festwo-wholepaychecks).  Everything they make looks great, but once again, I think a lottery handout might have to be involved before I get one.  This Aussie company makes a massive converting industrial wood transformer thing.

Giant slabs of gorgeous wood, CnC mills galore, and even a bag for the knitters in your life.

20170318_105413

One of these years I will have to travel to one of the bigger shows.  Maybe Atlanta first.

Changing Of The Guard

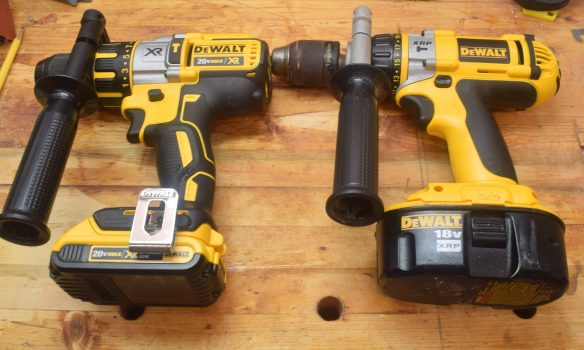
It is time for a changing of the guard.  My dad bought me my first Dewalt drill when I was still in school.  It is has been almost 10 years and the drill served me well.  I replaced the motor over a year ago, but the gearbox and chuck were starting to give me issues.  I was ok with nursing it along until a bit of a deal came my way.  Lowes was getting rid of a brushless 20V hammer drill with batteries.  It was a display model and lacks accessories and a charger, but was still a complete steal!  My hammer drill wasn’t in bad shape, but the cost was less than I could buy the batteries alone for.  I had to do it!

dsc_0577

After a few weeks of using the new drill I was hooked.  Fast, light and very powerful!  It is like when you make a clean spot, then realize you need to clean everything.  I had to replace my ailing drill/driver, but seeing the capability of the new tools meant I really wanted a new impact driver too.  Black Friday swept through and provided me with a reasonably opportunity for both.

dsc_0573

dsc_0574

I am in building DIY heaven!  Now that I have a complete set of new everything running on 20V, lets zip through the various plusses and new features.

Weight

The tools feel incredibly light and well balanced compared to the old ones.  This is surprising considering that with the exception of the hammer drill (it lost 10 ounces), they weigh within an ounce of the old ones.  Mostly that comes from the batteries.  They go from over 2 pounds each to 3/4 of a pound per.  Despite the weight loss they have a similar energy capacity to the old XRP batteries.  That should go further with the brushless motors.

More Plastic?

Without opening them up it is hard to say if they have traded a lot of metal for plastic.  The chuck for the drill/driver got more compact and went all metal which is good.  The hammer drill auxiliary handle went all plastic.  Not great, but I don’t use it often.  If they got smaller, but kept the same weight, then it would seem they are denser.  Maybe they have denser packaging or the motors are heavier.  Hard to say unless you took both sets apparent and compared, but they certainly don’t feel cheaper.

New Features

Aside from the brushless motors, everything got nice lighting.  The drill driver even has brightness options and a 20 minute light timer if desired.  Good for working in dark tight spots.  They all have heavy rubber pads on their sides.  When you lay them down they sit on these pads.  Good for when they get knocked over, and to prevent scratches and sliding.  Each one also has a built in belt hook clip.  They go well on belts or pants pockets.  Very handy when climbing ladders and such.  The chucks have a small hexed section for tightening/un-tightening with a wrench.  Last but not least, the impact driver now has 3 speed/torque settings.  You can gently install or remove screws from soft delicate structures, or really punch home a long bolt.


Enough gushing about my new toys, they still are going to spend a lot of their life sitting around.  As it turns out, they fit perfectly in the hanging rack where my old ones went.

dsc_0578

dsc_0580


Most of the old tools and batteries are going to friends and family.  The drill isn’t much use to anyone, and I wanted to keep it.  My dad gave it to me, and it was kind of my first real tool.  I hot glued some magnetic stripping across the back and used some other magnetic brackets to prop it up in my toolbox lid.  Kind of a trophy or memorial to a great tool.  I did a lot of work with that thing!  Maybe I will get around to mounting it on a real plaque someday.

dsc_0583