
Our household bookcase is already pretty full with regular adult stuff. A new kid will require more book space. I always like those ones that would face all the covers forward. They of course sell for a lot, but with a bit of plywood I can make my own. Final product first, so you can see where we are going.

Our small collection of baby books ready to go! The only thing I would do different next time would be to make each pocket shallower. Lots of kids books are only 4 or 5 inches high, so they get half obscured.
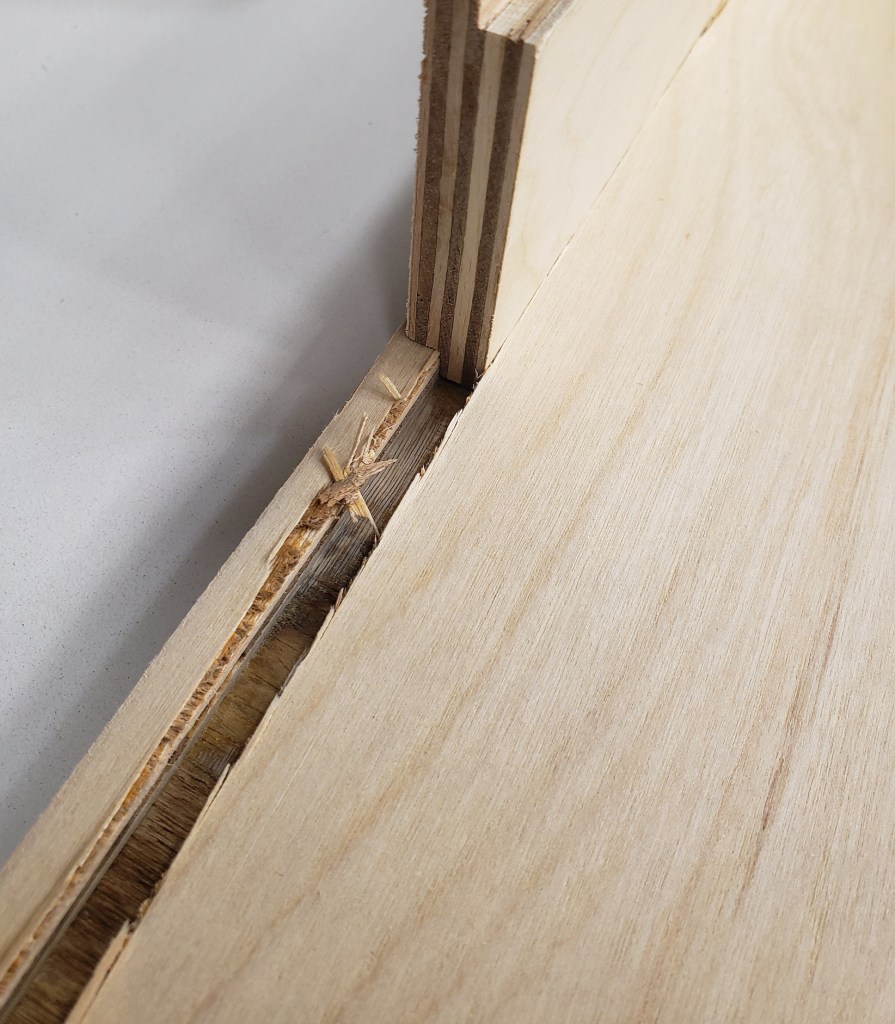
I wanted to make a locking rabbet joint to hold the bottoms of each shelf on to the back. I used a slot bit on my router table and had numerous issues. This plywood tears really badly without any kind of support around the small diameter slot cutter. Those Jagged edges are really nasty and will be a pain to deal with. Good thing I cut a spare shelf to experiment with.
The other problem I was having was that my joint didn’t seat up very tightly across the wide shelf. I re-did it twice and still had odd gaps. I started looking at my router table and found the source. That is a straight level on the table, and the red arrow is pointing to a very large gap where the flashlight beam is shining through.

The router table is made of MDF, and the center plate that attaches to the router is plastic. Both had sagged after 10 years of weight and humidity. No wonder my cut wasn’t straight, my table isn’t flat! I will have to fix that later. I setup the tablesaw with a 1/4″ dado blade and cut all the joints. I hate having my table saw tied up for doing joinery, but it did make the cuts a lot cleaner than the router did.

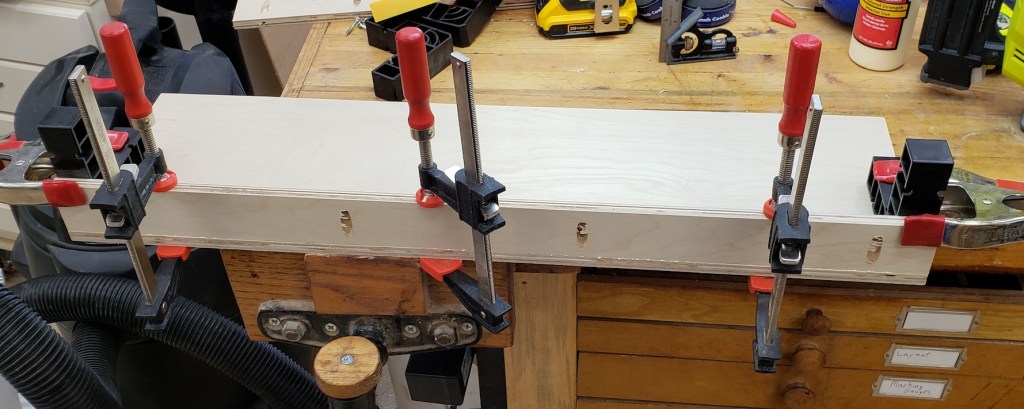
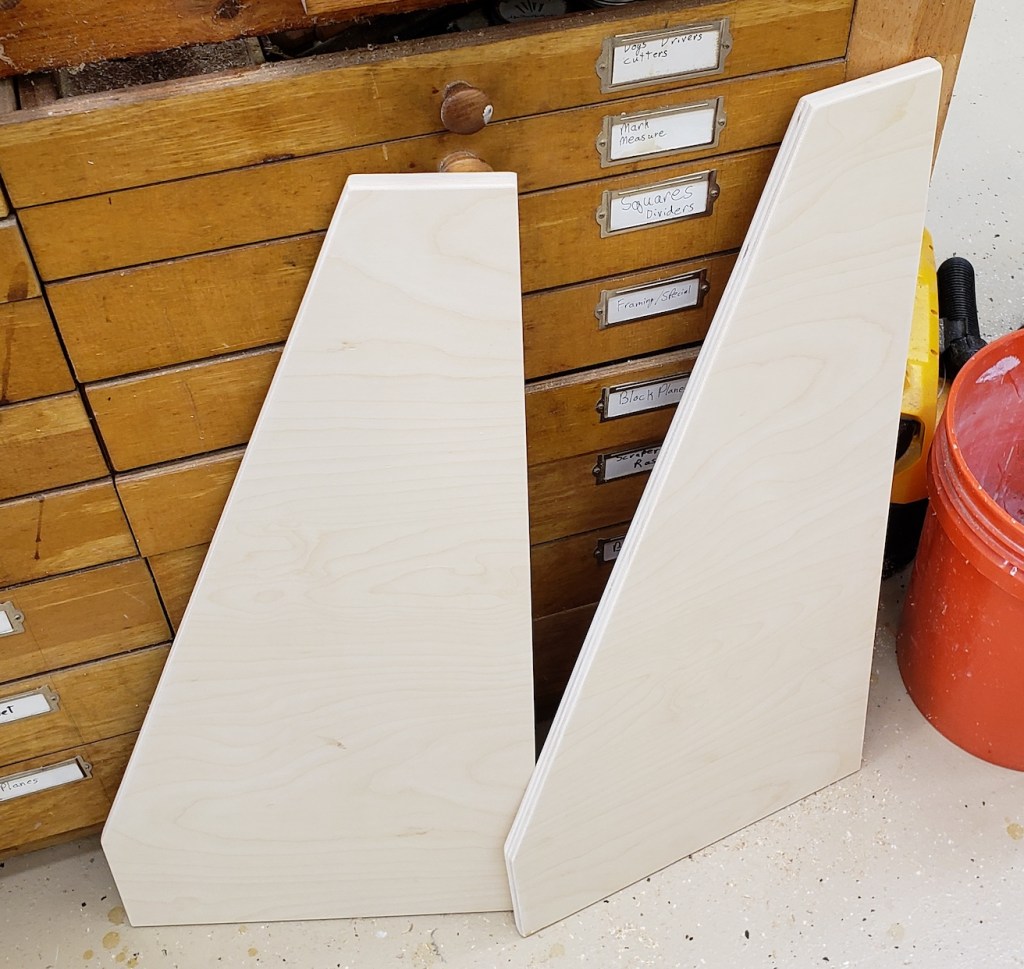
With that solved I assembled all 5 shelves. Each one has pocket holes in the base so it can screw into the shelf in front of it, and more pocket holes along the sides to screw into the uprights. I finished all the shelves and cut out the two outside uprights that everything else would screw to. Other than the locking rabbet to attach the back and bottoms of each shelf everything else is pocket holes. Not glamorous, but effective.

For finishing I decided to try my hand at spraying shellac. I broke out shellac for the first time in a while on the stacking block project, but picked up a compact HVLP spray gun to try this out with. I reduced the shellac down to a 1lb cut and sprayed away. I didn’t have the gun setup right the first round and wasted a lot of finish. The second time I got it tuned in and was able to apply a few coats in a very short amount of time.
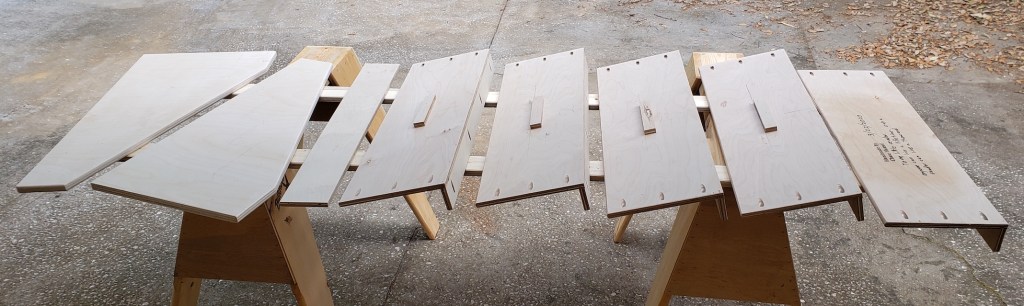

The shellac is dry to the touch in a few minutes, and with a little buffing, the next coat is ready to go on. Once the solvent evaporates it is set. Each successive layer will re-desolve the previous a little, so it always sticks. Not the most durable finish, but kid friendly and easy to repair.

Pingback: Table Saw Zero Clearance Insert | Kilted Craft Works
Pingback: Router Table | Kilted Craft Works