Electric Flamingo

Do Floridians Dream Of Electric Flamingos?

I had this idea for a piece of wall art (using that term loosely) pop into my head. Truth be told it was the legs that first occurred to me. The neon glow didn’t come until later. Here is where we are going. A day and night shot are needed to show its various aspects.

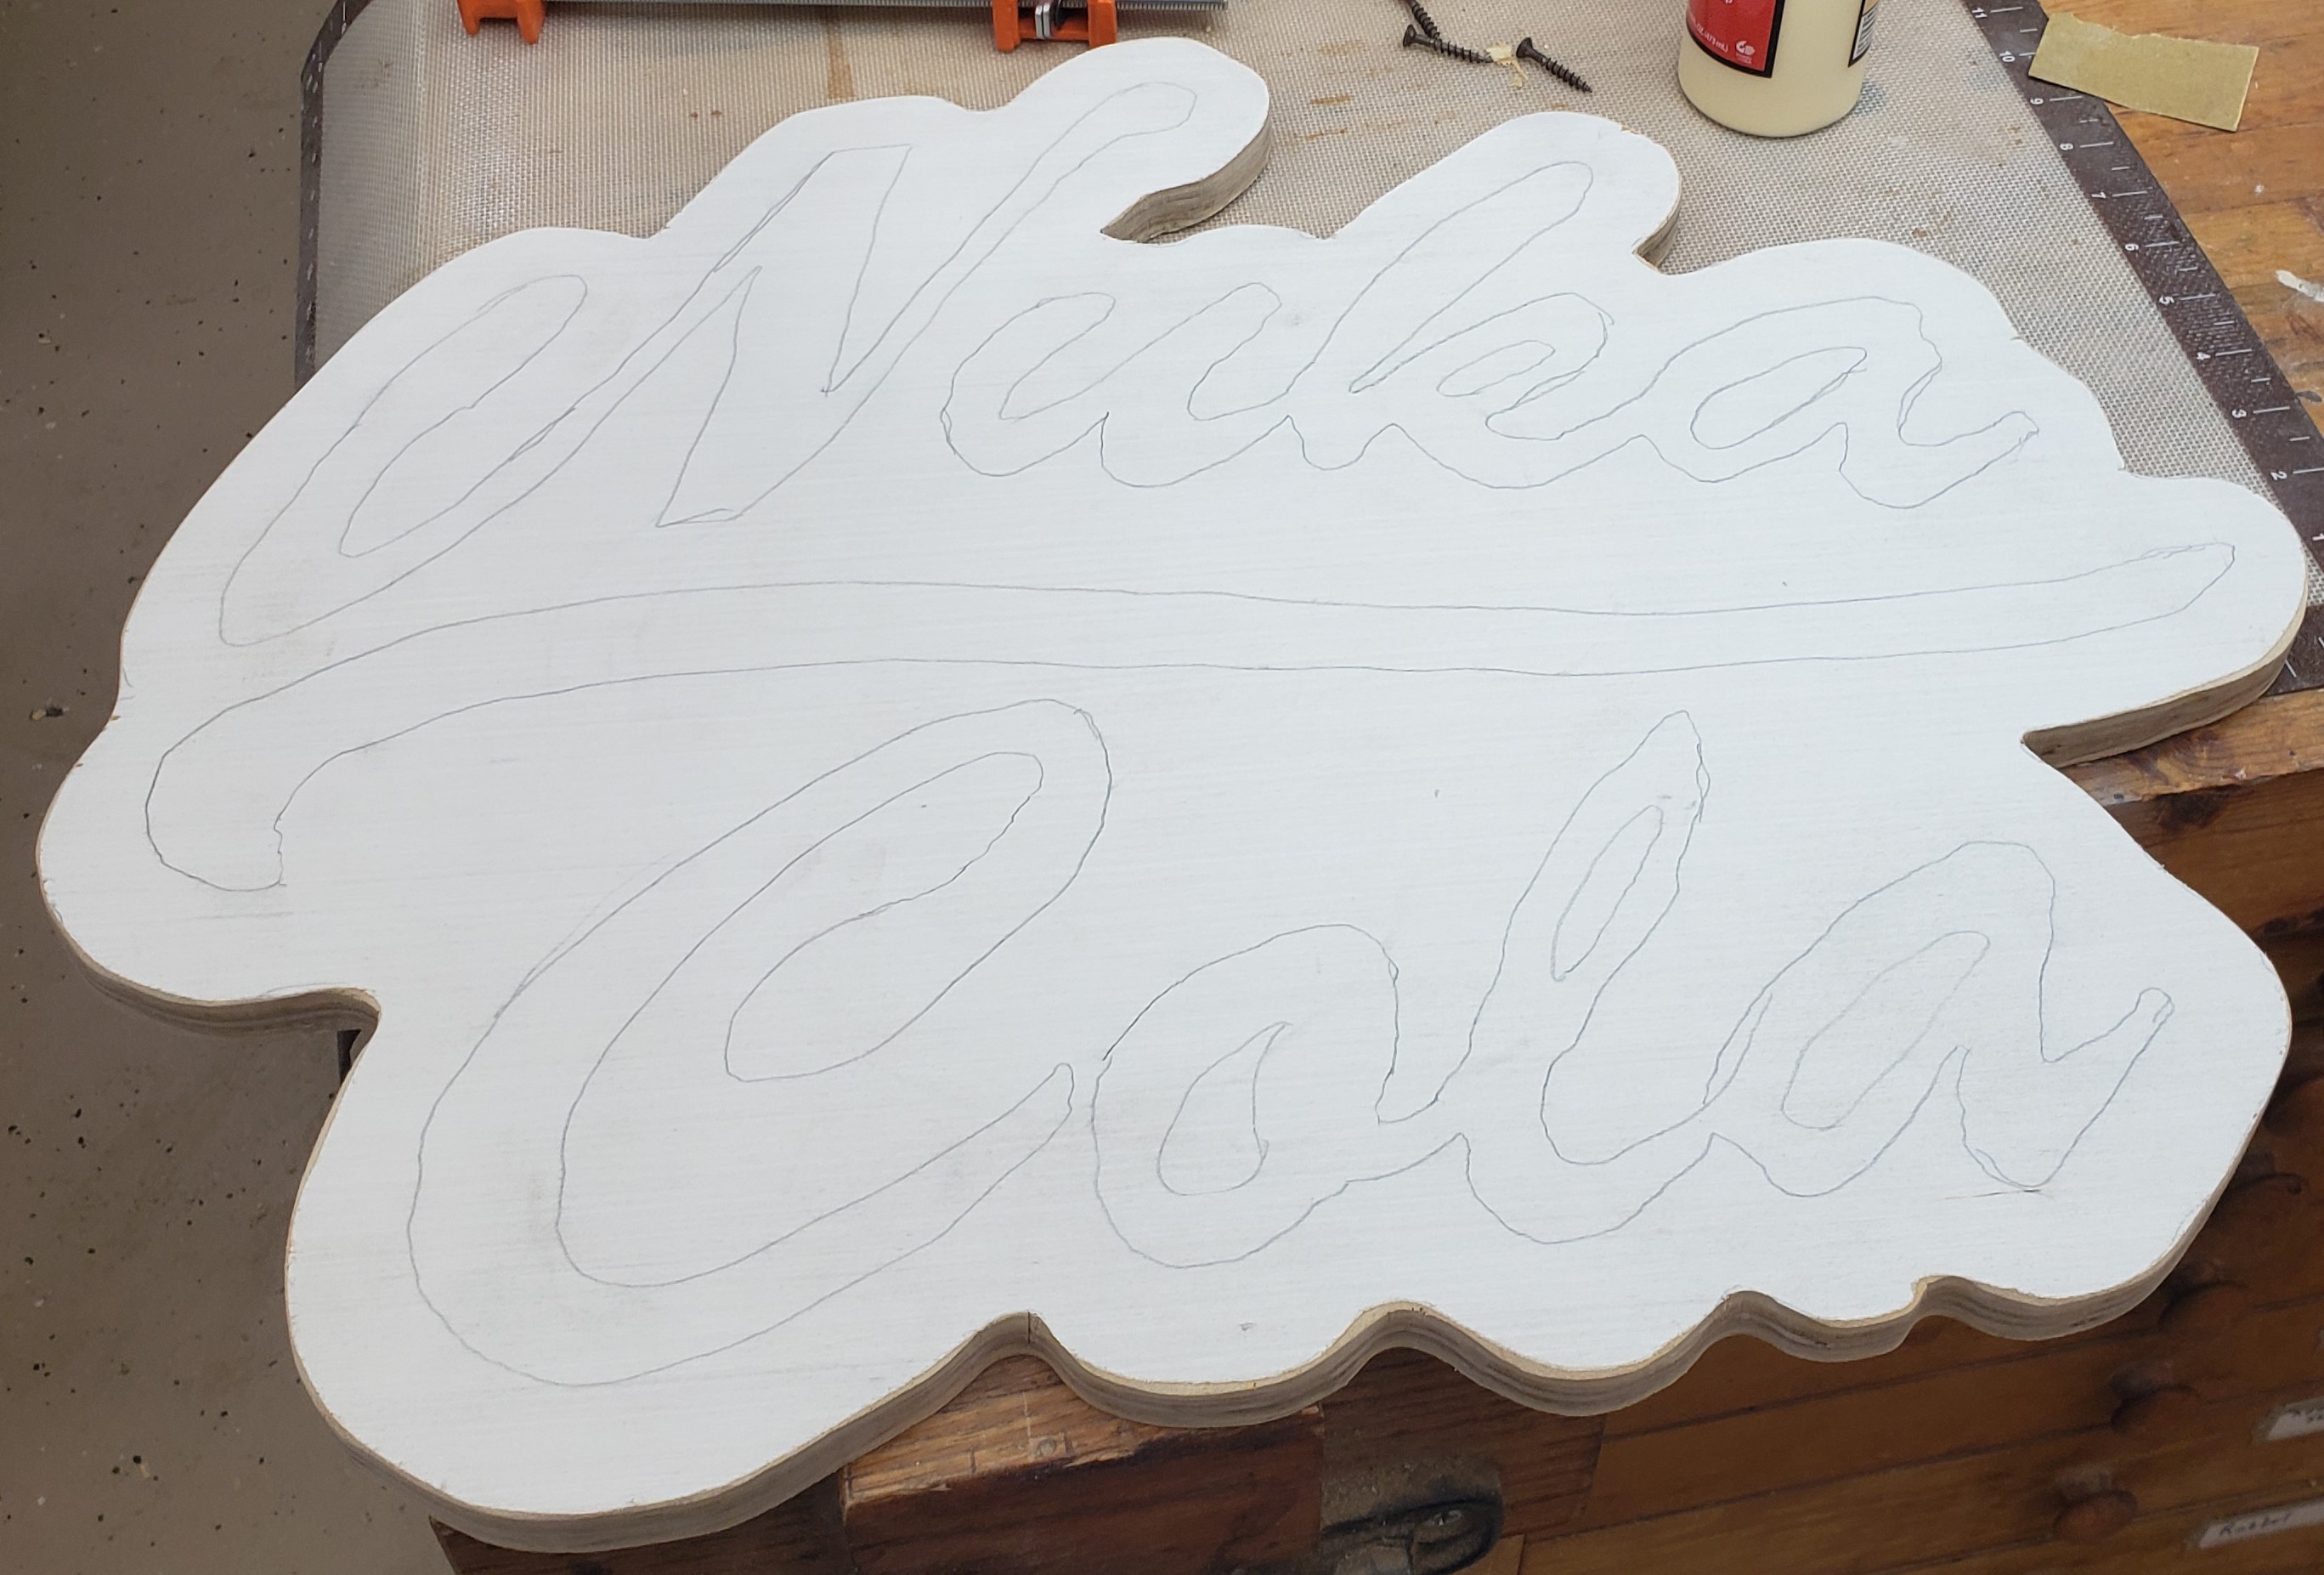
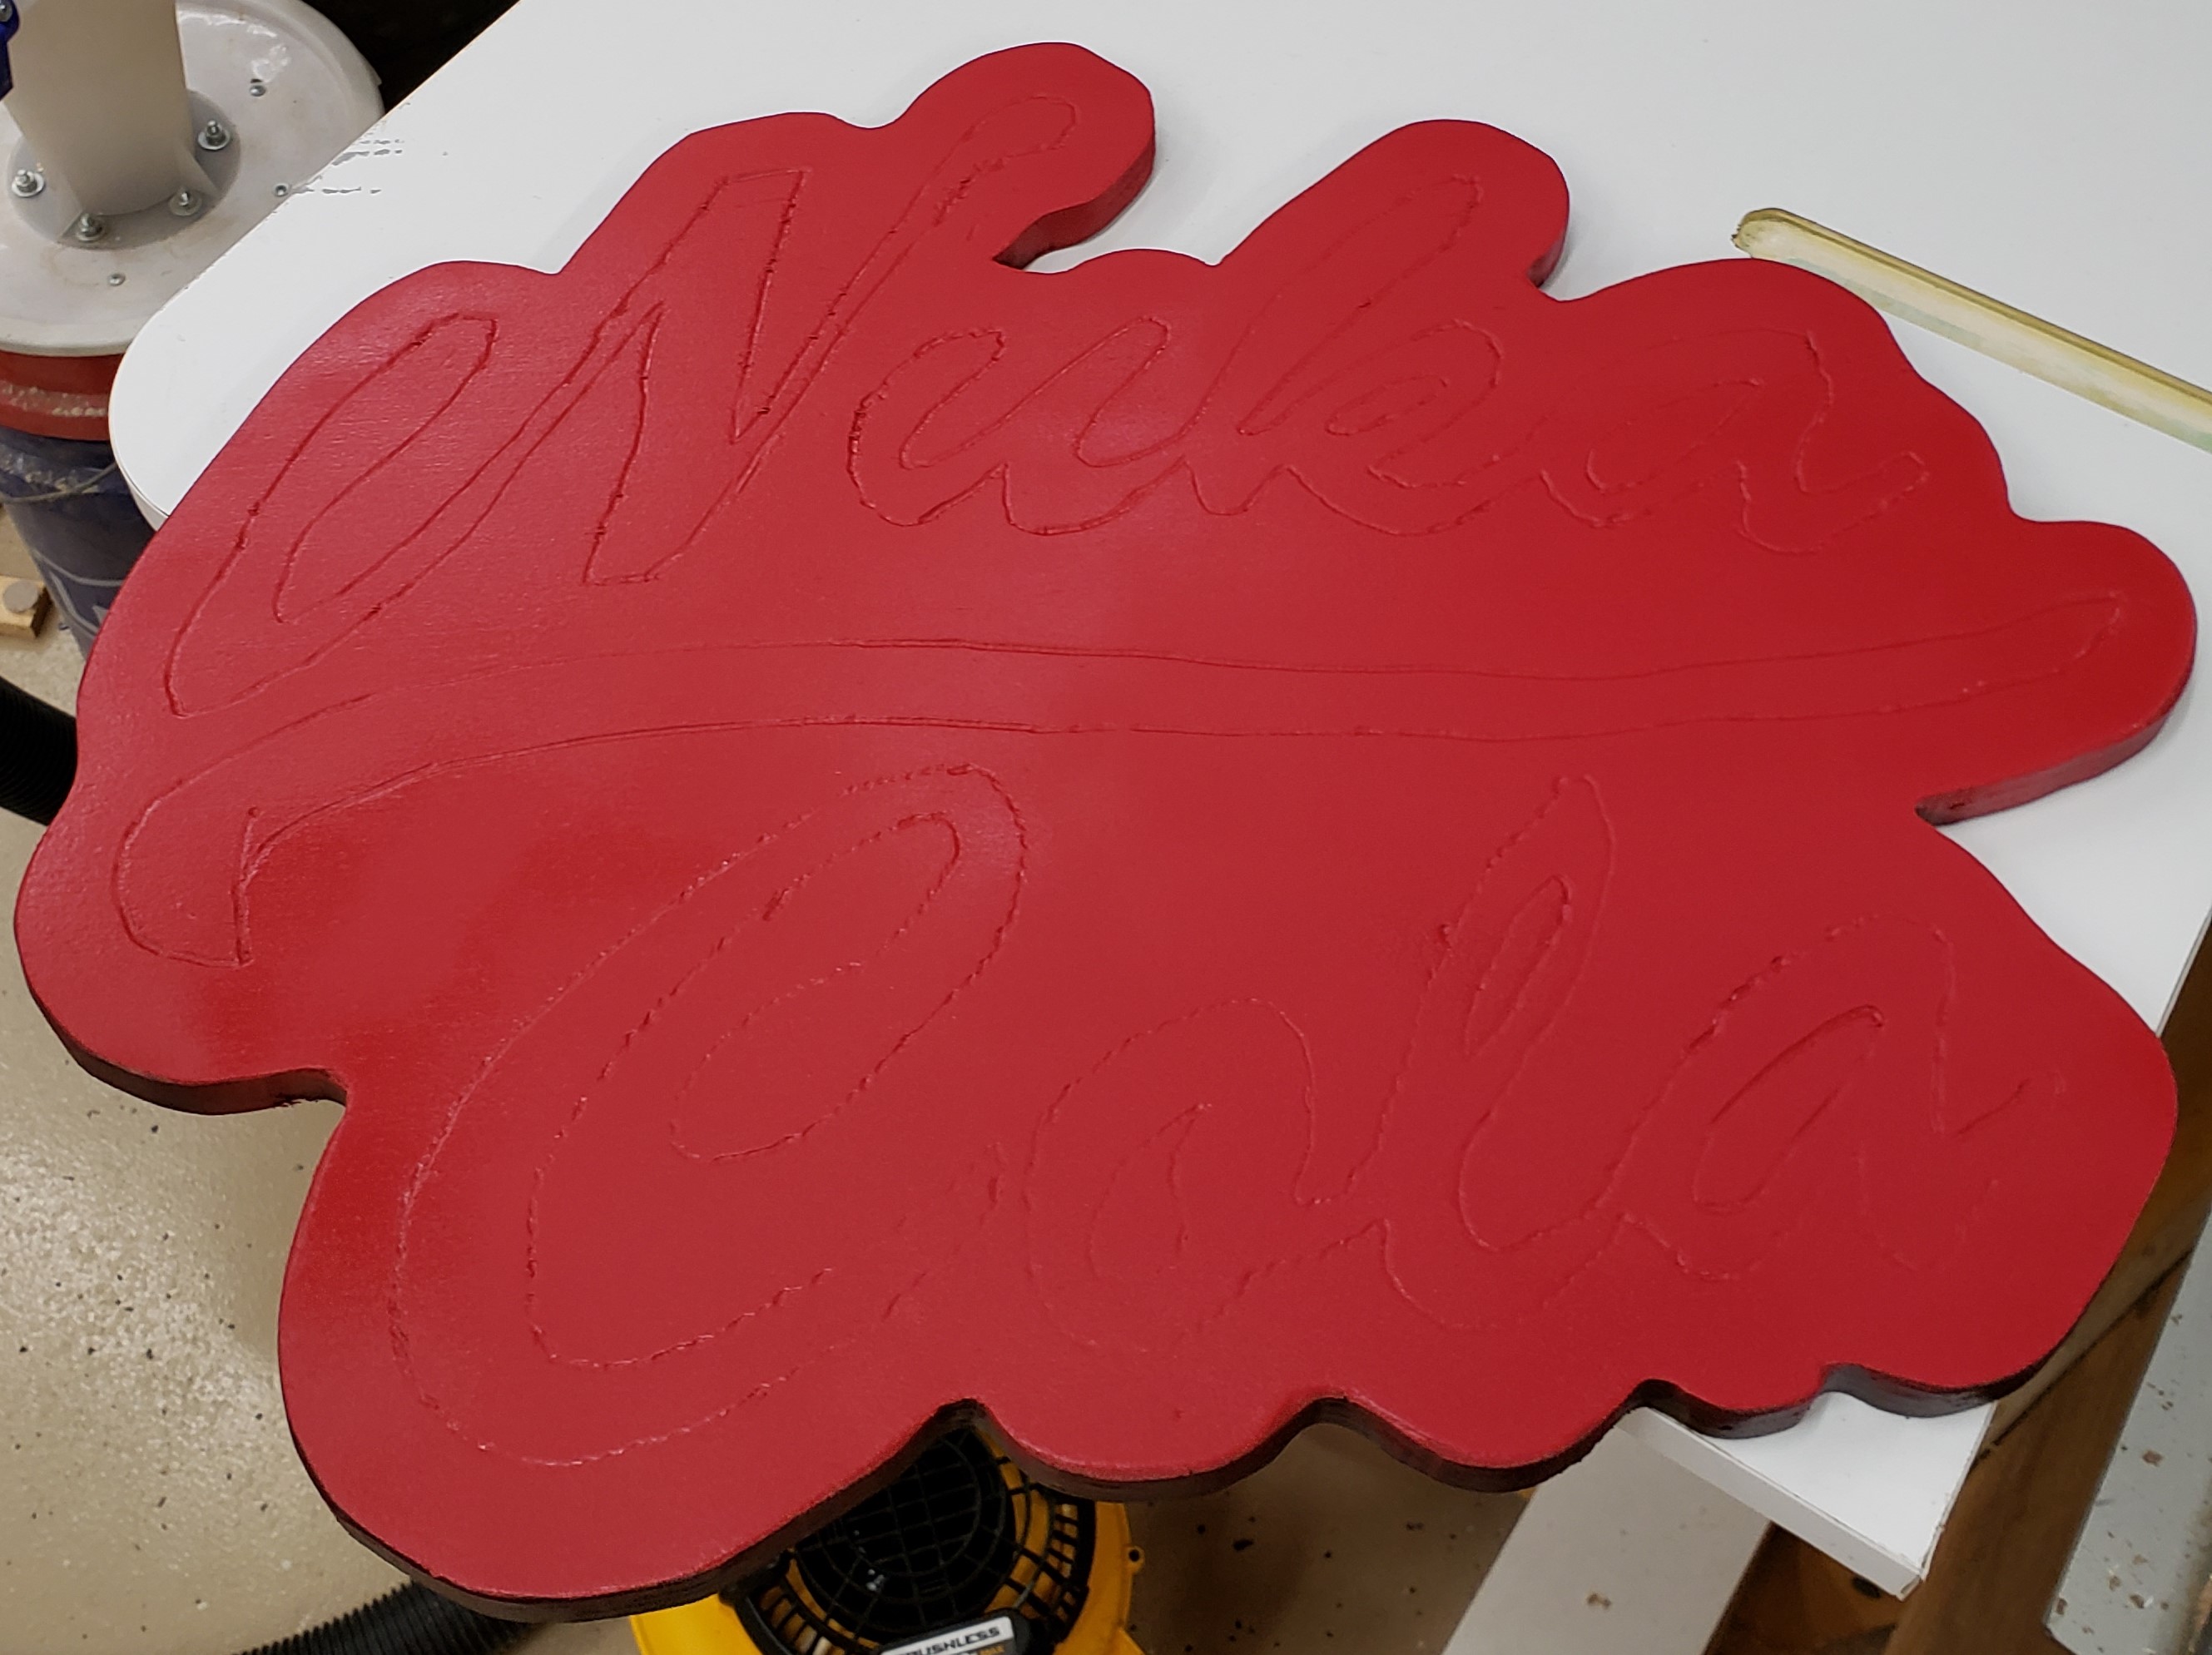
I started by projecting a rough flamingo shape onto a piece of plywood, then tracing it out as I have done in other projects. I used a dremel and a light touch to carve in the lines for other details like the eyes and feather line. I had some hot pink left over from repairing the finish on my lawn flamingos, so I used that as a base coat.

Around this time I saw a video on tested’s website where Norm was using this LED strip that was setup to look like neon sign tubing. It was really gorgeous and I wanted to try it out myself. I found a pink variety that runs on 12v. I free handed an offset from the outside edge of the flamingo and tried to follow it with a 1/4″ router bit. That gave me a good groove to seat the LED strip in. You have to cut at specific locations and solder together the ends to make it a continuous strip.

The project started when I had this vision of making flamingo legs using rebar and epoxy putty. Not sure why that came to me, but it did. Sure enough, bending rebar after a bit of torch work and then using epoxy putty to make knees and feet is a good way to make flamingo legs. I am no sculptor, but they came out good enough from a distance. I used a bone color as a base, then did a splotchy overspray of pink to add texture.

To add the rest of the feather color I used my air brush. I was going to try to airbrush a feather texture, but it didn’t really turn out like I wanted. In trying to wipe some of it off, I made a thumb smudge. It looked pretty good. I started from the back and worked my way forward doing air brush areas with finger smudges to make it look like feathers. The lighter area around the beak was airbrushed, but the beak and eyes were done with a normal brush.

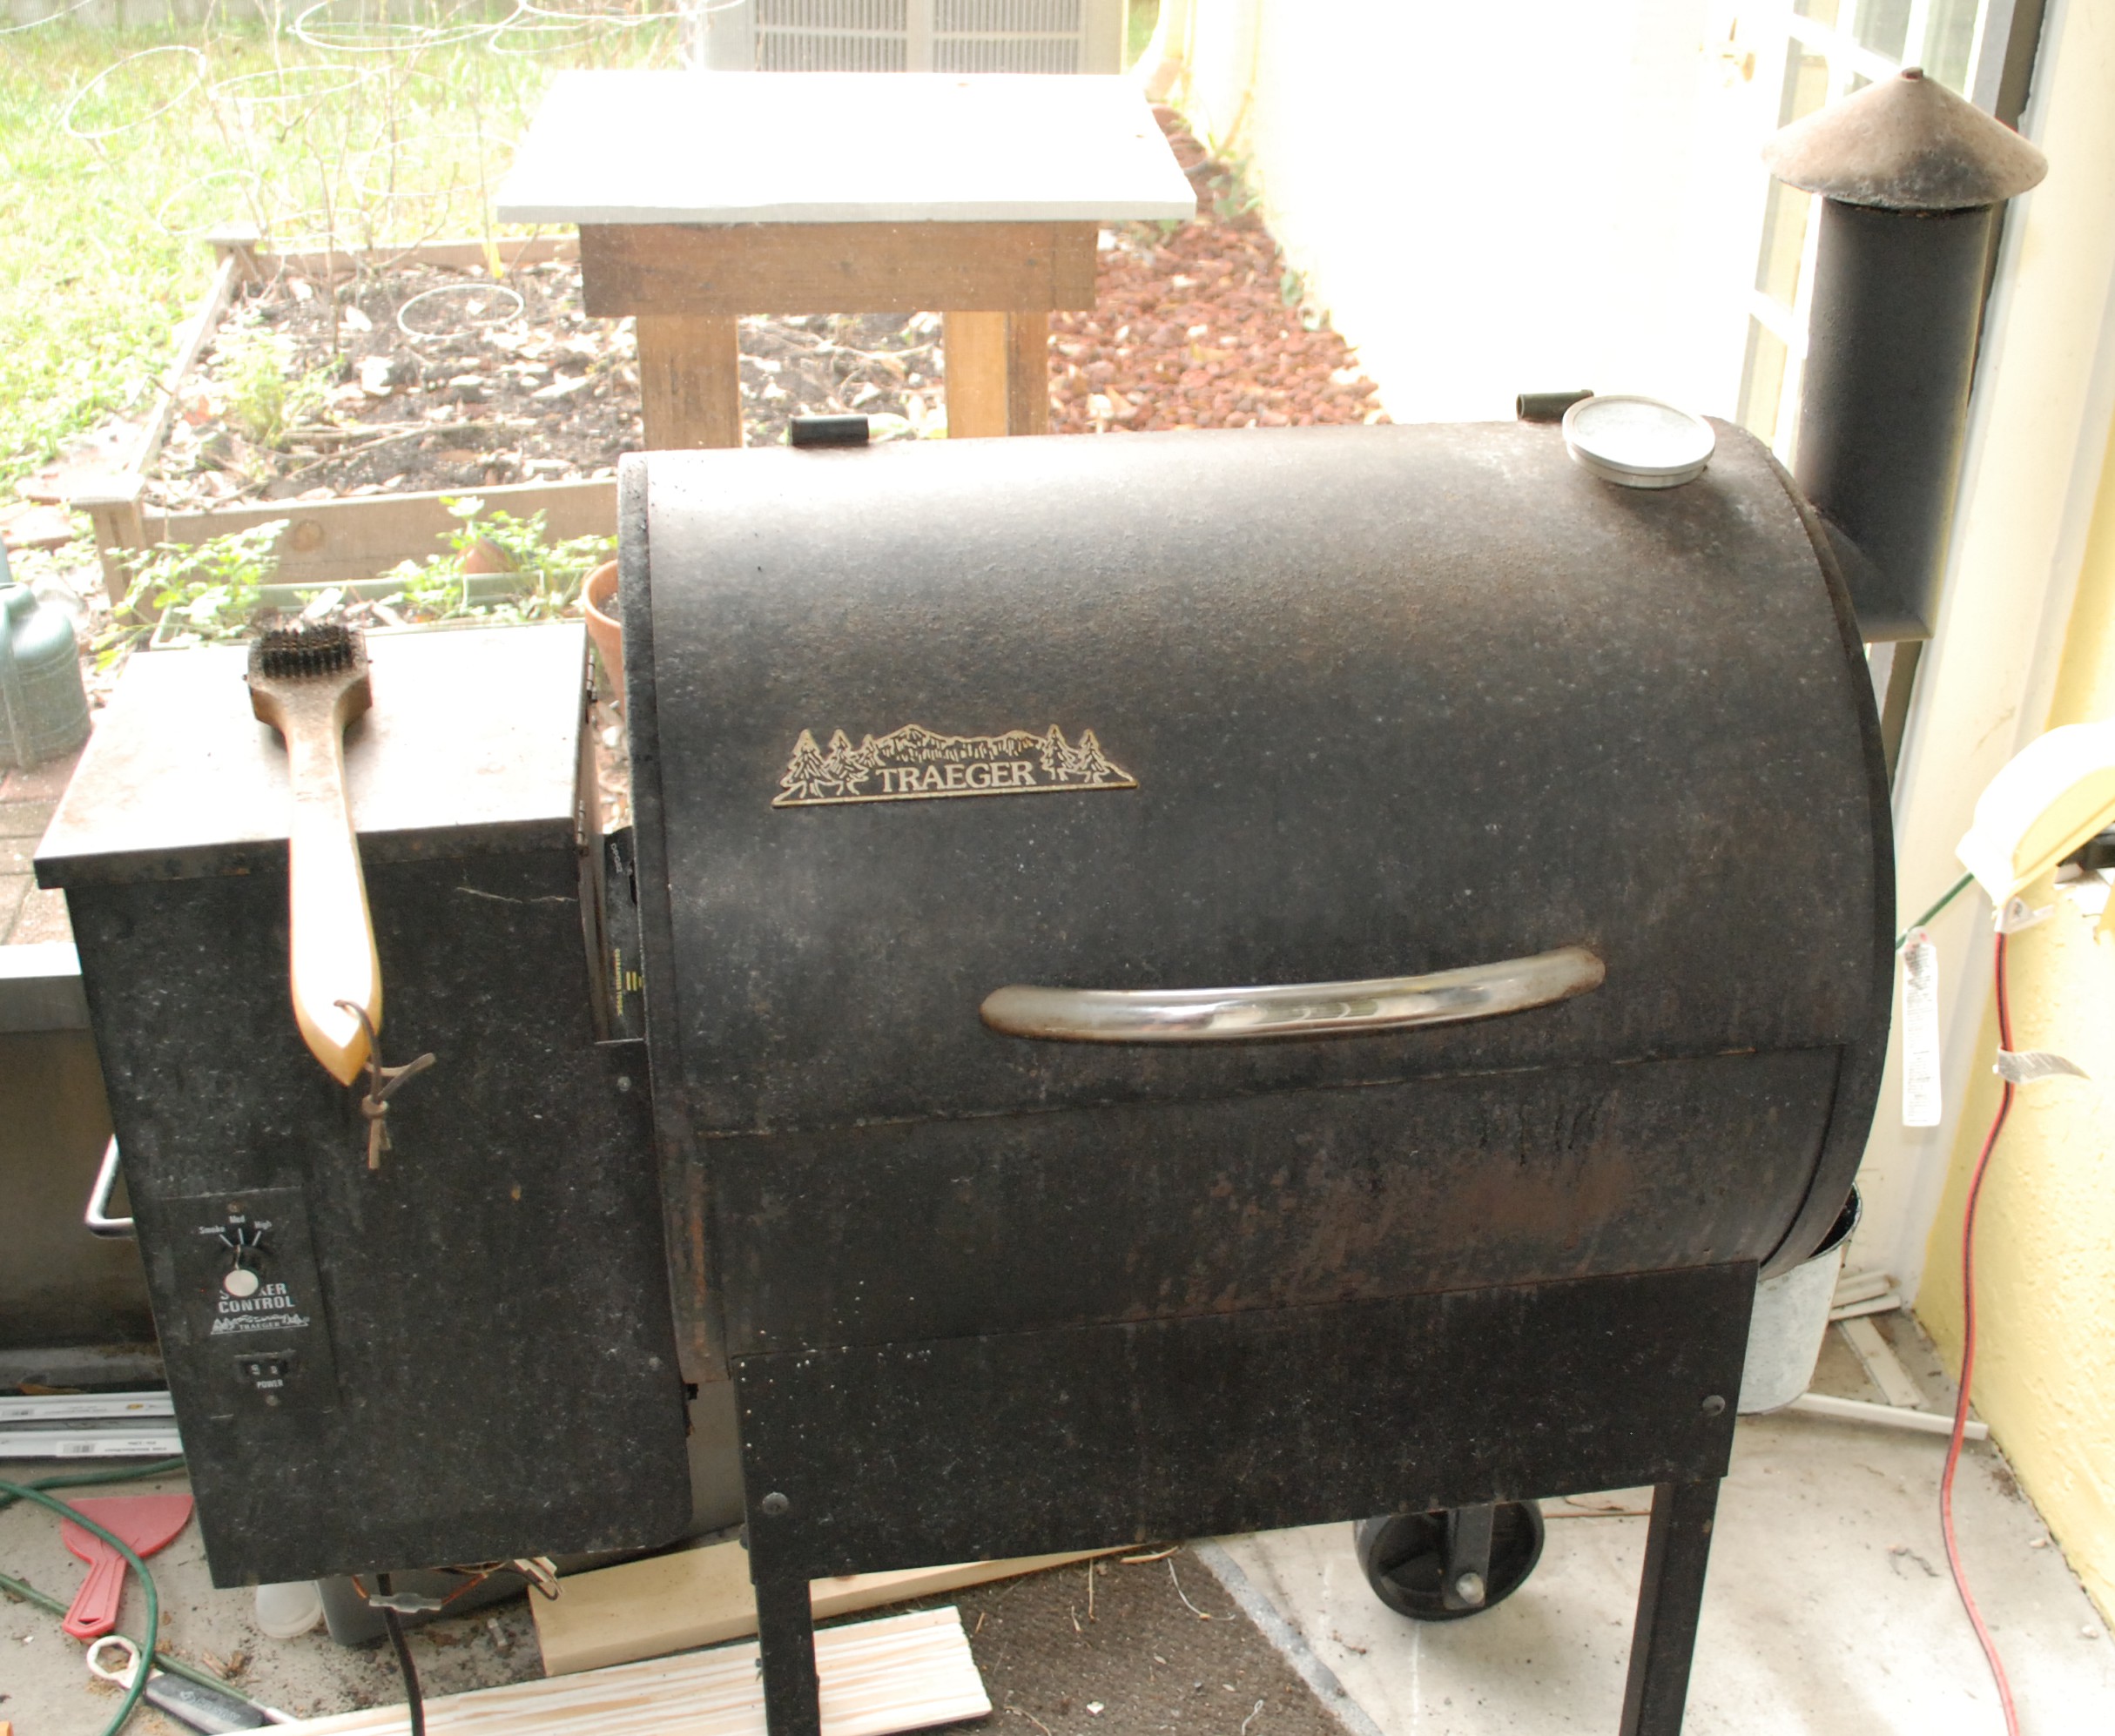
I found an outdoor rated power supply to run the LED strips and soldered it to an extension cord to minimize the space and wiring needed for this. There is a hard wired power cord for my flamingo now. I used metal pipe strap to attach the legs. Overall, it took a few twists and turns, but looks awesome on my porch. I need to do a little better job hiding the power cord against that hurricane track, but otherwise it is great.

Nuka Cola Sign

I have been a fan of the Fallout video game series for a good 20 years, since I first played the original game. Sometimes called Diesel Punk, imagine a retro-futuristic world imagined in the 1950s. Everything is nuclear powdered, sleek ray guns, cute suburban homes with tv dinners and a cold war that went hot. The game has a lot of back story and atmosphere including a soda brand called Nuka Cola that looks a lot like coke.

I am also a fan of this funny Russian guy that makes signs with lots of skill and few tools. He did a few different fallout based signs, so I had to follow his lead and make my own Nuka Cola sign. His methodology is simple. Project onto a piece of plywood with a cheap projector, trace, carve those lines in with a dremel so you can see them after you paint, then paint the various layers. I still managed to mess up a little. First up, the projection.

I found a rough text/logo of what I wanted and used inkscape to make the offset for the sign outline. I hand traced it and moved on to cutting the outline. It took a little special sanding to get it all straight and clean, but I was happy with the shape.

Next came the carving and a bit of an issue. The plywood I used was pretty light and I had trouble seeing how deep I was carving. I started with a small pointy burr, and moved to a much larger, too large, ball carver. Later when I painted it all, everywhere I touched was obvious, and the deeper cuts were obviously too much. Next time I might prime with a neutral color before starting the projection. It will make the pencil line standout better, and make the dremel lines more obvious.

With it painted, the base red coat it might be a bit more obvious how uneven some of the carving is. The jigsaw guy mostly back sprays with black to form a border. I did that too, but the complex shape in a few spots means I will have to go back and do it again after putting all the red down.

With the base of red down, you fill in the letters with white. I went for house paint and did 3 coats. It built up more texture than I wanted, a good quality craft paint might have been better. In the end it didn’t matter that much. The biggest issues was my wobbly carve lines that were too big in places. It kept my edges from being very crisp. It is hard to paint to a clean line when the guide is over an 1/8″ wide. A weathering trick he uses sometimes is to hit the finished product with a wire brush on a drill. Genius, it looks great.

Overall I am really happy with the project, but I need to work on my dremel carving technique and hand painting. I have another sign idea in mind, so hopefully the lessons learned will be applied there. It looks great in my shop next to a metal fallout sign I got ages ago.

NASA Worm Logo

I have been watching this guy on youtube recently called Jigsaw Nation. He makes a lot of cool big signs out of plywood. Mostly car stuff, video games, and whatnot. I got inspired and decided to make a pair of NASA logos for my dad and I for Father’s day.

The jigsaw dude I follow projects onto the plywood and traces his designs out. I wanted to produce two of the same thing, so I opted to print a template and route instead. The AS was too big to print, so I cut it up into two parts with an alignment stitch between them. I doubled up the plywood and used my bandsaw to remove most of the waste. These letters are around 6 inches tall.

I went to the router table and ran into an issue. My pattern bit only has about an inch of cutting depth. Oops. I’ll have to split these up and do one set at a time.

I wanted these to look really clean and crisp, so I proceeded to use filler to make the edges solid and smooth. I tried mixing up goodfillas, plasticwood, and bondo spot filler. They each are kind of OK I guess. I didn’t end up taking pictures of that process because… can I still use the dad brain excuse? Same excuse for the background. It is a 2ft wide piece of plywood with the edges rounded and filled. For paint I did a number of coats of primer/filler to get it all as smooth as possible with sanding in between where needed.

I still need to work on my spray painting skills. I think I get going too thick and it leaves little puckers and attracts dust. When I go super light though I don’t see the gloss I want. Practice I suppose. To get the kerning right I printed the space between the N and A, and another between the S and A.

Once the glue was try I was all set. Dad was visiting at mother’s day and already has his hung up outside his rocket building control room. Mine is up high in my shop where the paint imperfections are hard to see!

Half Wall Renovation

I wasn’t taking a lot of pictures while working on the new house.  Too many small fix ups to name, and not enough time to document them all.  One larger project was my kitchen half wall.  There is this segment of wall that separates the kitchen from the living room.  It made both rooms feel smaller and didn’t seem to serve much of a purpose, so I decided to take it out.  Only the pantry remains at full height.

I removed all the drywall and found a lot of wiring to do with the intercom system.  It hadn’t worked when the previous owners moved in, so out it comes.

It was tough to cut all the drywall and studs to a really straight line.  An oscillating multi tool helped with the drywall, but standing studs are hard to cut straight.  I did as best I could with a reciprocating saw, and came back later with a belt sander and 4ft level to make everything even.

I have never done a bullnose corner before, but managed to pull this one off pretty well after a few rounds of drywall mud.  The odd dark green wall got a lot of primer and paint so it matches the rest of the house.

To cap off the wall top I ripped down a 1×8 to a nice width, and painted it white.  A little store bought molding also painted white finishes it off.  It feels good to not be renovating a house right now.

20180929_213718.jpg

Plumbing Nightmares

I actually had a nightmare the other night about paint.  We owned a house and for some reason had cut out a huge part of a wall, but were going to put it back ourselves (lots of drywall work).  I looked at one of the remaining walls and the sheen of the paint used was all over the map, flat to gloss.  Someone started painting and accidentally mixed in streaks of black and other colors.  I awoke from that nightmare into one that might be worse.  A broken pipe in the wall.

The new house’s two spare bathrooms have pedestal sinks.  They look fine, but as I found out are dreadful to work on.  I think they must install all the faucet and drain hardware, then move them into position on the stand.  My simple faucet switch out turned into a total sink removal.

20180831_202009

But wait, there’s more!  Every supply valve in this house leaks when you touch it.  The valves are CPVC pipes with some kind of copper washer crushed on.  Impossible to remove.  In trying to get the valve apart so I could cut close to that copper washer I broke the cold line off in the wall.  This was at about 8:30 at night.  Crestfallen doesn’t begin to describe my state.

20180831_205919

Yeah, this little guy right here.  I don’t trust CPVC any more, and wish they had used copper instead.  I cut a hole in the wall and inspected.  The next day my oscillating multitool and I had made a big hole in the wall and repaired the pipe.

20180901_094540

Not exactly gorgeous, but no leaks and I could have the water turned on again.  With this big gash, reinstalling the pedestal sink was not going to happen.

20180903_110715

We picked out a nice little vanity that matched the rest of the bathroom to replace it.  The pedestal sink was high enough that a lot of drywall mudding and painting had to happen before the new vanity could be installed.  Friday night I broke the pipe off.  By Monday I had the pipe repaired, the wall patched primed and painted, and the new vanity in.  That is what a long weekend can do for ya.

In the mean time we removed the other bathroom’s pedestal sink and replaced it with a similar vanity, replaced both toilets, and took care of a half dozen other small things.  It will all be over soon.

Rotten Fascia

Entropy and rot are a constant enemy to the homeowner.  There is no perfect prevention, only a delay of the inevitable, and dealing with it when it strikes.  I noticed the corner fascia on my porch  looked a little funny.  A bit of probing revealed a lot of water damage.

This is one of those few situations where an oscillating multitool comes in a lot of handy.  I made plunge cuts far away from the corner to give myself space to install new boards.  Chopping that out with a chisel would have been a chore.

Not great, but only the ends of those boards are rotted.  There is a bit of cross bracing behind those beams to give support for the motion light below, so it should be fine structurally.  I noticed the way the drip flashing was folded allowed for a big hole.  I bet water runs back under via that entry point.  I soaked all the surrounding wood in a few rounds of wood preservative to stop the rot and prevent further damage.

A few custom cut boards made a nice looking miter.  I filled the drip flashing hole with white caulk.  It looks funny, but it should act as a noticeable reminder to pay attention to that area in case the hole opens up again.  Multiple rounds of primer and paint later, and it is back together.  You can definitely tell something happened.  Just the texture of the wood alone is drastically different.  It beats a creeping decay of the roof line though!

20171231_135730


While on the subject of things needing painting, the number sign on our mail box was in poor shape.  All the finish was coming off the numbers and the fasteners were getting really rusty.

20171229_145426

I wanted to get new ones but the PVC board they were on had faded where the sun was exposed.  Even with a bit of sanding I couldn’t get past it.  They don’t sell this particular style any more, so I wire brushed the old finish off the numbers and gave them a new coat of black paint.

I found stainless steel screws that were close enough to the originals to fit in the numbers.  It ended up being a cheap fix if somewhat time consuming.  Can’t have the mail person judging our letters to be in disrepair!  Oh the joys of homeownership.

20171230_142058

Kitchen Renovation Part 1

After a lot of early salvos, the kitchen war has finally begun.  First, let’s look in horror and disgust at the kitchen that was.  Painted 1980s particle board cabinets with rotted bottoms, dark blue peeling paint, and no flooring.  Not a pretty set of pictures.

Don’t look too long, you will hurt your eyes.  Granted the next set of images aren’t that much better.  I happily smashed cut and dragged out all the old cabinets, and peeled the various paint layers off.  At least it looks a lot brighter in there.

dsc_0621

Most of the kitchen stuff and appliances had to be spirited away to back rooms and the porch.  What was left was the bare essentials.  I call it Kitchen Base Camp Alpha.

dsc_0622

Next came the sanding of texture.  When the house was built, some kind of roll on orange peel texture was used.  In decades since installation it has turned to powder and sluffs off in chunks.  Every square inch of wall had to be sanded back to the drywall.  It was messy business.

Next came patching of various issue areas, priming, more patching of missed issues, and then two rounds of the brilliant blue/green color that was in the living room.

At this point I got a lot of plumbing and electrical fixtures changed, and even a bit of routing done to account for changes in cabinet location.  With the walls complete I could scrape the floor of any glues or gunks and get to tiling.  As usual odd walls and squareness issues confounded me, but I was able to stitch it together pretty well with the existing living room tile I did last Christmas break.

dsc_0636

dsc_0638
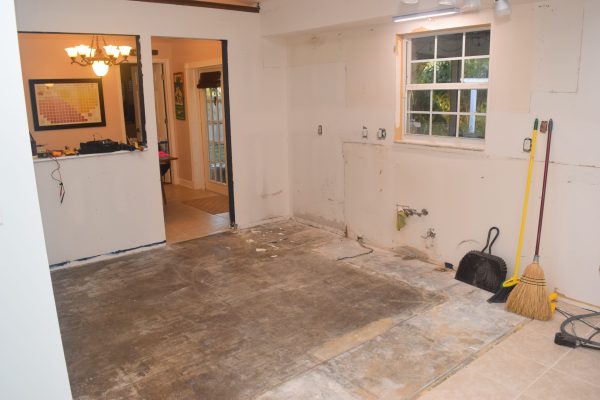
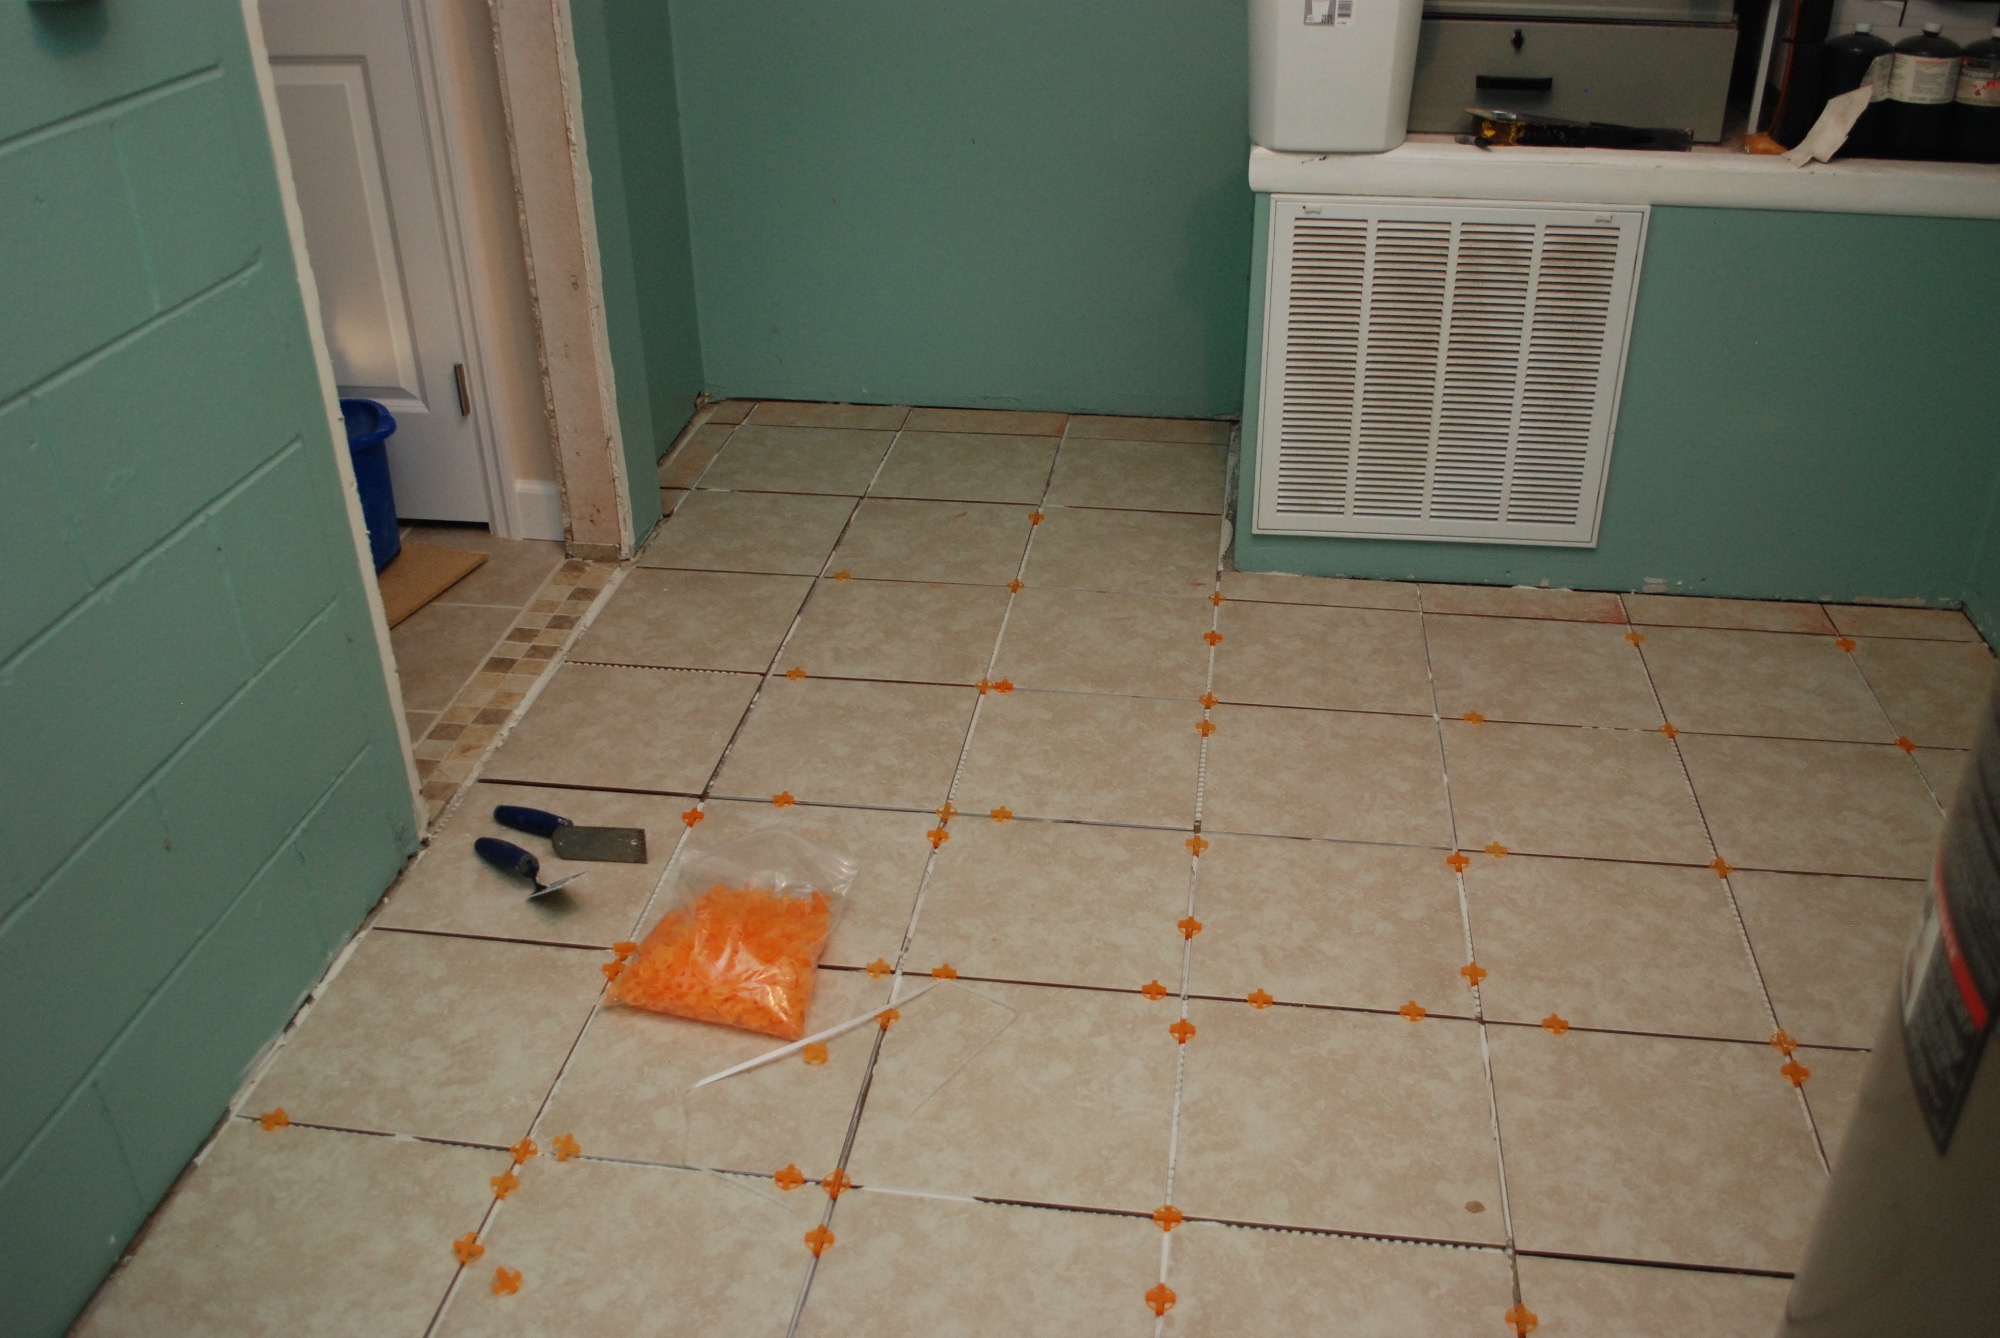
I could now work on the small pantry without any fear of getting in the way of cabinet installation.  It would give us a place to put back some of our boxed junk and help out in minor cooking adventures at Kitchen Base Camp.  I went with adjustable wire shelves and wired an under-cabinet light in the top that goes on with the lights over the stove.  Some basic molding happened on the inside, but most will wait till I can do everything after the cabinets are complete.


Until the cabinets get installed we got to move a few essentials back into the new area.  I call it Kitchen Base Camp Beta.

dsc_0640


Smoker Renoation

My beloved smoker has fallen on hard times.  I bought a traeger pellet fed smoker in the summer of 2009, and have done mountains of delicious meat in it ever since.  All those years outside in florida have taken their toll.

DSC_0092

The paint has faded and is rusting through in places, the outside is quite dirty, and a back leg has completely rusted through. I had to prop it up to keep the thing from rocking.

The inside doesn’t look much better.  Surface rust is kind of unavoidable, but neglect had built up on the walls and in the bottom tub.  I should really clean this thing out more.

My bad behavior aside, this thing is built  like a tank.  Even with all the years of outdoor use, I was able to pull all the screws out.  There is a lot of surface rust, but nothing too deep except for the one back leg.  I started to take everything apart and became even more enamored with my smoker’s build and design.

With all the parts pulled out and the mess cleaned up it was time to get everything back into shape.


Rebuild

I used a wire brush on my angle grinder to strip all the bad paint and rust.  I started everything with flat black rustoleum grill paint.  It covered everything but looked kind of bad.  I was in the hardware store and noticed they have a semigloss.  It matches the original paint job.  I redid most of the parts with a primer, and gave everything another coat with the semi-gloss.

DSC_0130

DSC_0131

Once all the paint was down I started rebuilding.  Some of the hardware got replaced, but most of it was actually in really good shape.  The back leg was shortened and fitted with an aluminum extension.  No more rusting off foot!  I replaced the hot rod starter because it is hard to get to and didn’t cost much to replace.

Other upgrades happened along the way.  They have a nice shelf that bolts in with the legs.  It folds away when not in use, and sits nicely in line with the entrance so you can transfer to and from the smoker.

DSC_0143

I pulled out the old controller that only had 3 heat settings.  The new one reads the internal temperature and feeds in pellets accordingly.  It has an autostart-up feature and a shutdown cycle that helps prevent soot.  I also replaced the drip bucket because it was pretty nasty.

All in all it looks pretty good.  Because I couldn’t get all the old paint off there is some odd texture, but it looks way better than when I started.  Now that I have the primer and grill paint around I will make it a point to check every year or so for bad spots that need a touchup.

DSC_0144

Lastly, the accessory I should have bought when I first got the grill.  A cover!  I don’t know how much longer the paint would have lasted with one, but it is worth a shot.

DSC_0146

This smoker rocks.  With a little more preventative maintenance than I had been doing I can hopefully look forward to another 6+ years of service.  Delicious smoked meat posts to follow!


Laundry Room Renovation

A little time off from work means a little time to spend on another home renovation.  Lets hit the laundry room!  First, the before.  We pulled the doors off and all the contents out.  There was no flooring in here when we bought the house.

In removing the door to the garage I found an interesting discovery.  There were two funny patched holes in the top of the door case.  Removing all the case I found part of two broken off drill bits.  In some distant past, the security system installers had a difficult day!

With “demo” done I went to work prepping the floor and tiling.  The first day was rough.  I got delayed and didn’t do prep on the previous day as I had intended.  Thankfully my wonderful wife emptied all the shelves before I got started.  More bad luck struck when the bag of mortar ran out sooner than I thought it would.  Not a great start, but at least I got most of the tiling done on day 1.


Day 2

Ok, day one had some snags, but day two should be more straight forward.  I ran to pickup the mortar, and found out they were out of grout.  I had half a bag left over from the font room, but not enough to finish.  That will involve a long trip to an alternate lowes.  Still, I was able to finish up the remaining tile at a reasonable hour.

DSC_0377 ResizedThe rest of the day I broke out all my doors and molding for a big paint off.  Doing latex with an hvlp gun is a little touch and go.  Every time I mix a new batch of paint, the settings change.  I am really a hack at it, but the results are still a lot better and faster than rolling.

At least it would be faster if I hadn’t put too much down, and then had to deal with Florida’s wonderful 80% humidity winter.  The metal door took hours to dry and ended up having a lot of runs.  I stopped what I could with a brush and tried to even things out.  In the end I had to bring it into the garage, hours later, still wet.  I had to roller paint the casings after I installed them anyways, so it got a touchup with that job.

End of day 2 was not a complete disaster, but I spent a lot of time monkeying with wet paint and driving beachside to get grout.


Day 3

Go go go it is time to grout!  I cleaned up the floor and mixed up a few batches of grout.  It is a messy job, and you have to clean the tiles 100 times to get the haze off.  Still though, I love grouting.  In just a few swipes of the sponge you can making everything look right with the world.  All the madness of renovation settles down into calm (mostly) even lines of beautiful grout.

While I waited for grout, there were a number of other things around the house that needed attention.  Later in the day I braved some walking on the tile to install the two casings.  It is kind of astonishing how twisted and out of square a house can be and still look ok to the casual observer.  I guess that is why we have shims!


Day 4

The final count down.  It is Christmas eve, and I HAVE to finish today.  This is the last of my days allotted to home renovation.  Let the molding begin!

I did a very basic baseboard molding around all the places you would normally see.  No sense in buying another piece to install behind a dryer.  There wasn’t anything before, so this adds a nice touch.  Both the doors had their molding installed and everything got caulked and touched up.  Getting molding to all fit right and have the nail holes filled properly is really tedious but worth the effort.  I was done, stick a fork in me!!!


Day 5ish

After a brief foray to see family we had some time to put everything back together.  Newly installed adjustable wire shelving offers more storage than before and makes it feel more open.  The lighter flooring helps too.  I could have painted it a brighter color, but the walls were mostly in good shape, and I kind of like the color it started as.

No renovation will change the fact that it is a small room in a house with not quite enough closet space.  Still, I am really happy with the results.  The soreness and smashed fingers will pass in days, but the laundry room will last for years.