Our Beloved Killer Bees

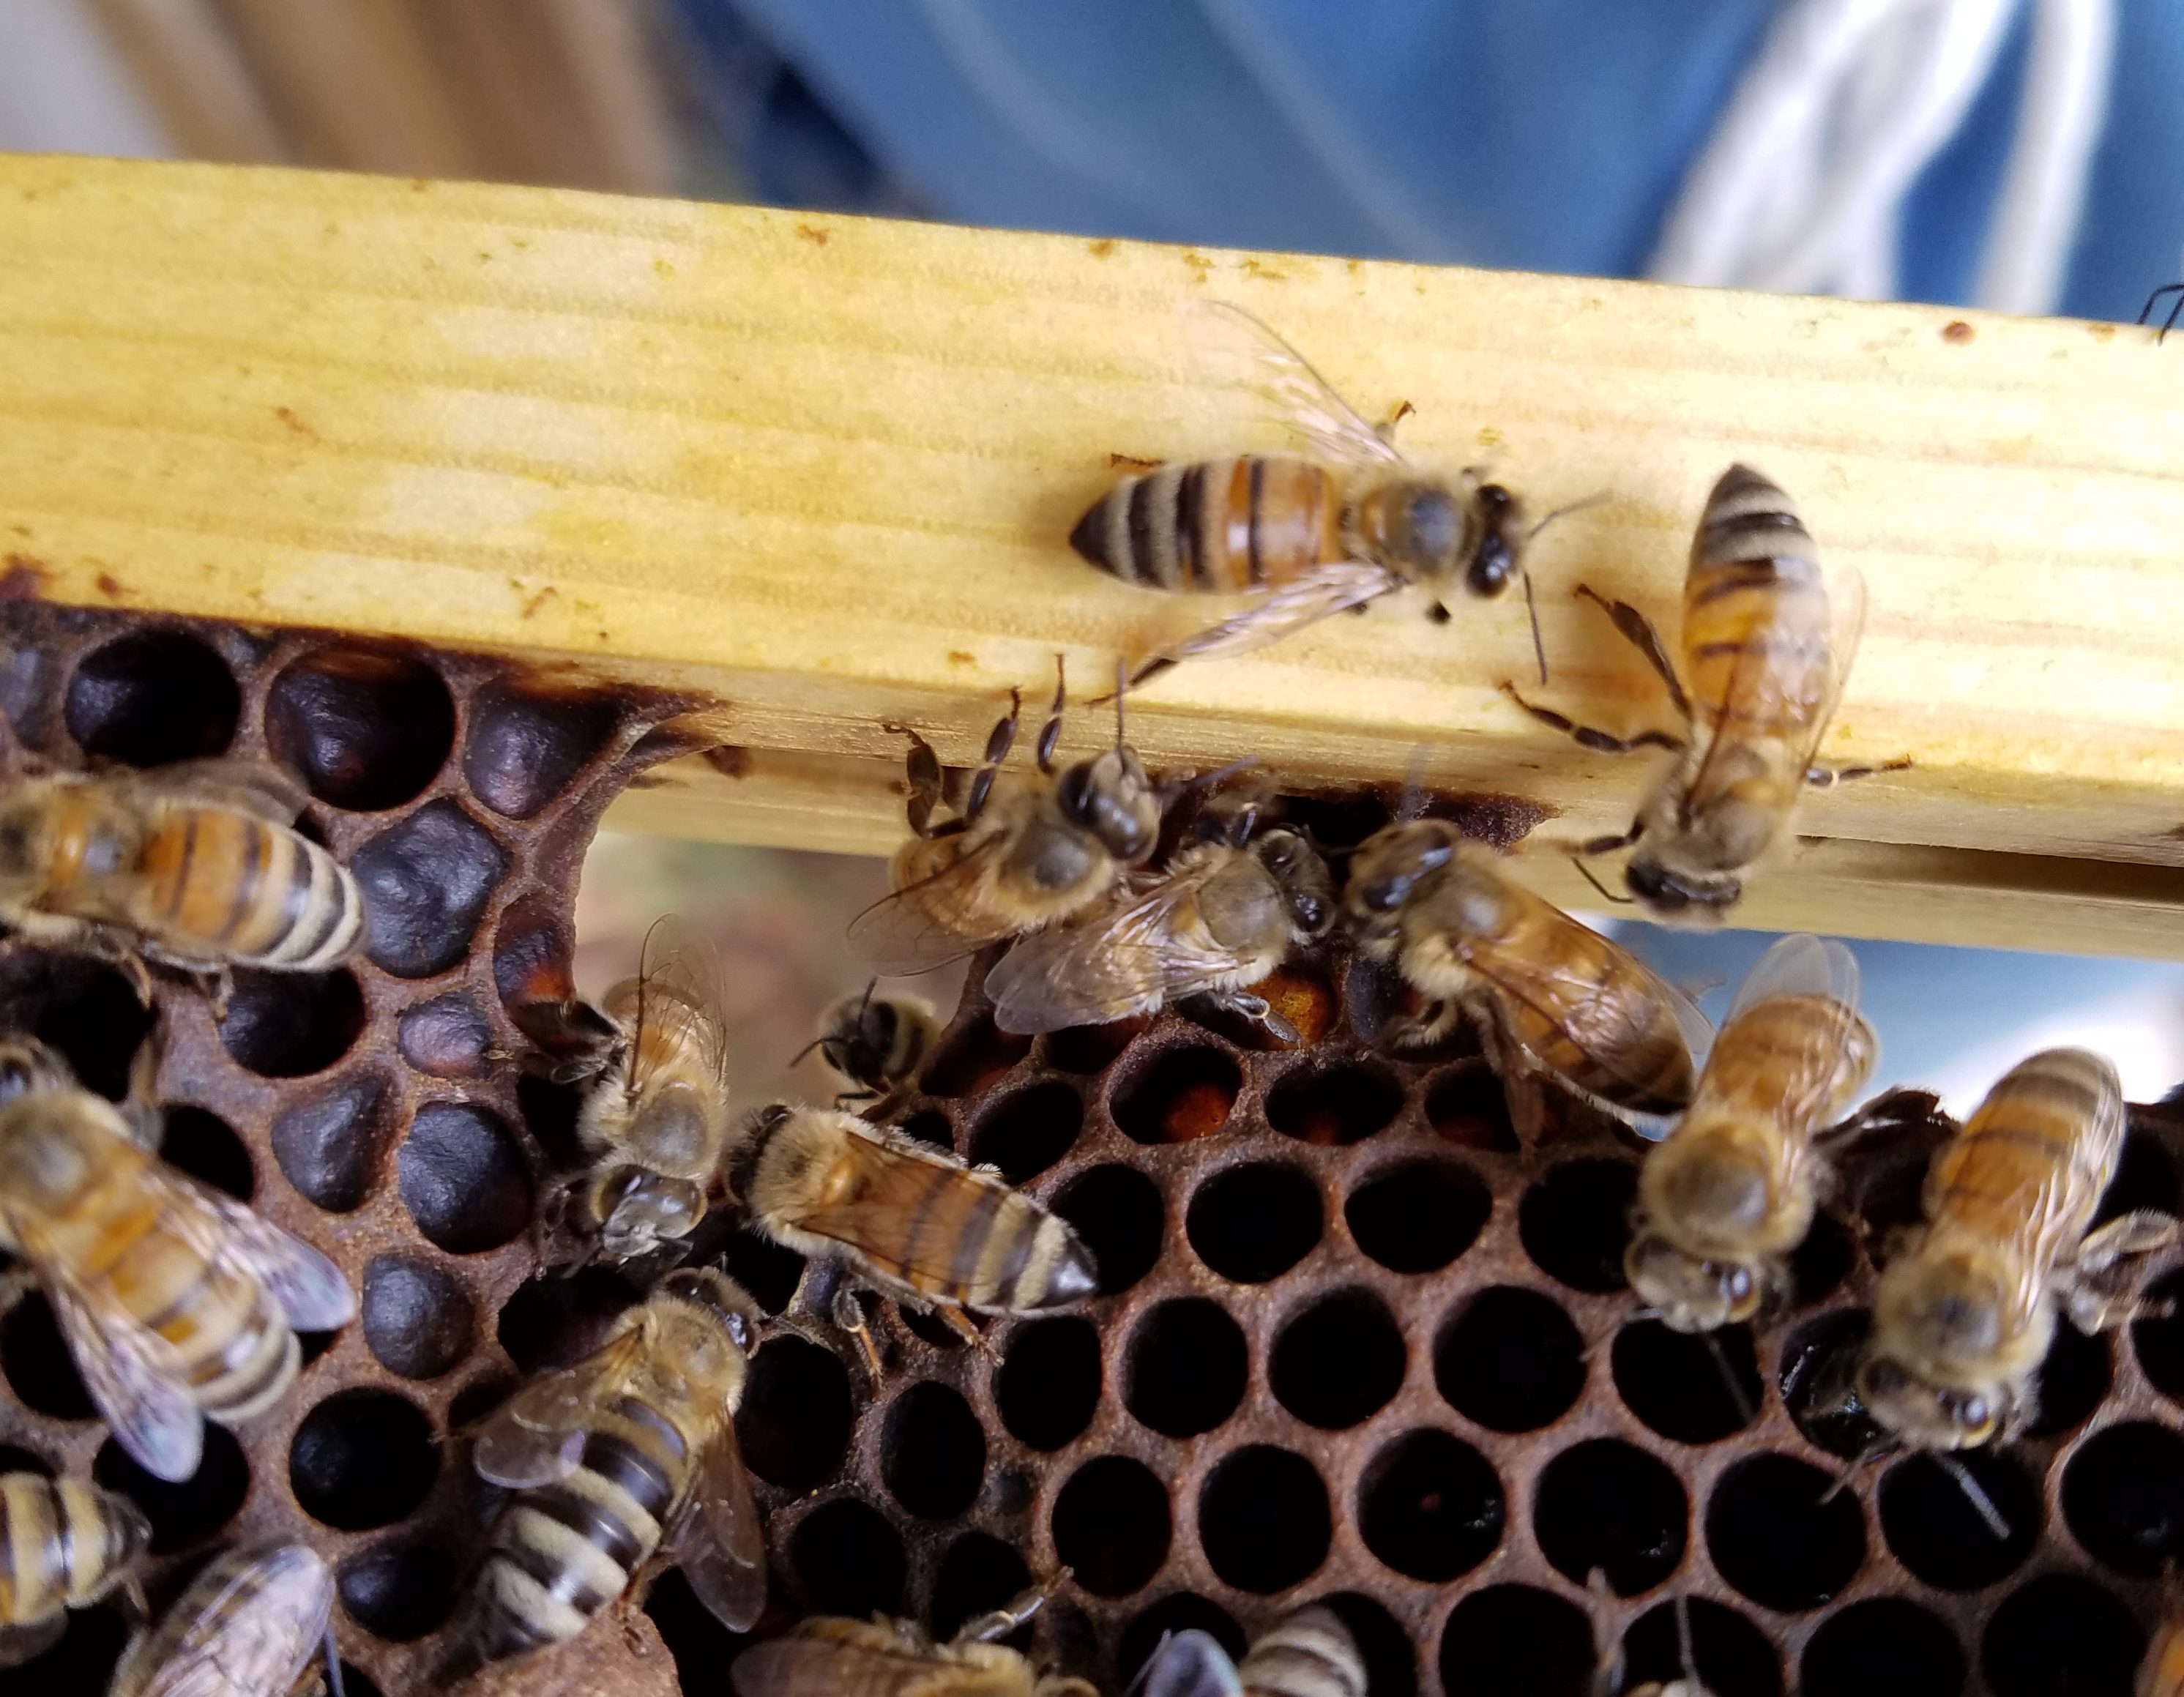
We had to destroy our lone hive.  This was the hive that had been going like crazy and racking up a ton of honey.  The one that survived the longest out of any of our hives, and was obtained for free from an infested owl box.  I had been having increasing aggression problems with them.  It was slowly building as the colony got larger.  I haven’t been able to mow the back yard in a month because they would attack, and then stay mad for hours later.  It was to the point that we couldn’t risk someone else getting hurt.

I will spare all the gory details of how we did it.  Needless to say our backyard was a horror show, I have been stung nearly 30 times, and we are both drained from the ordeal.

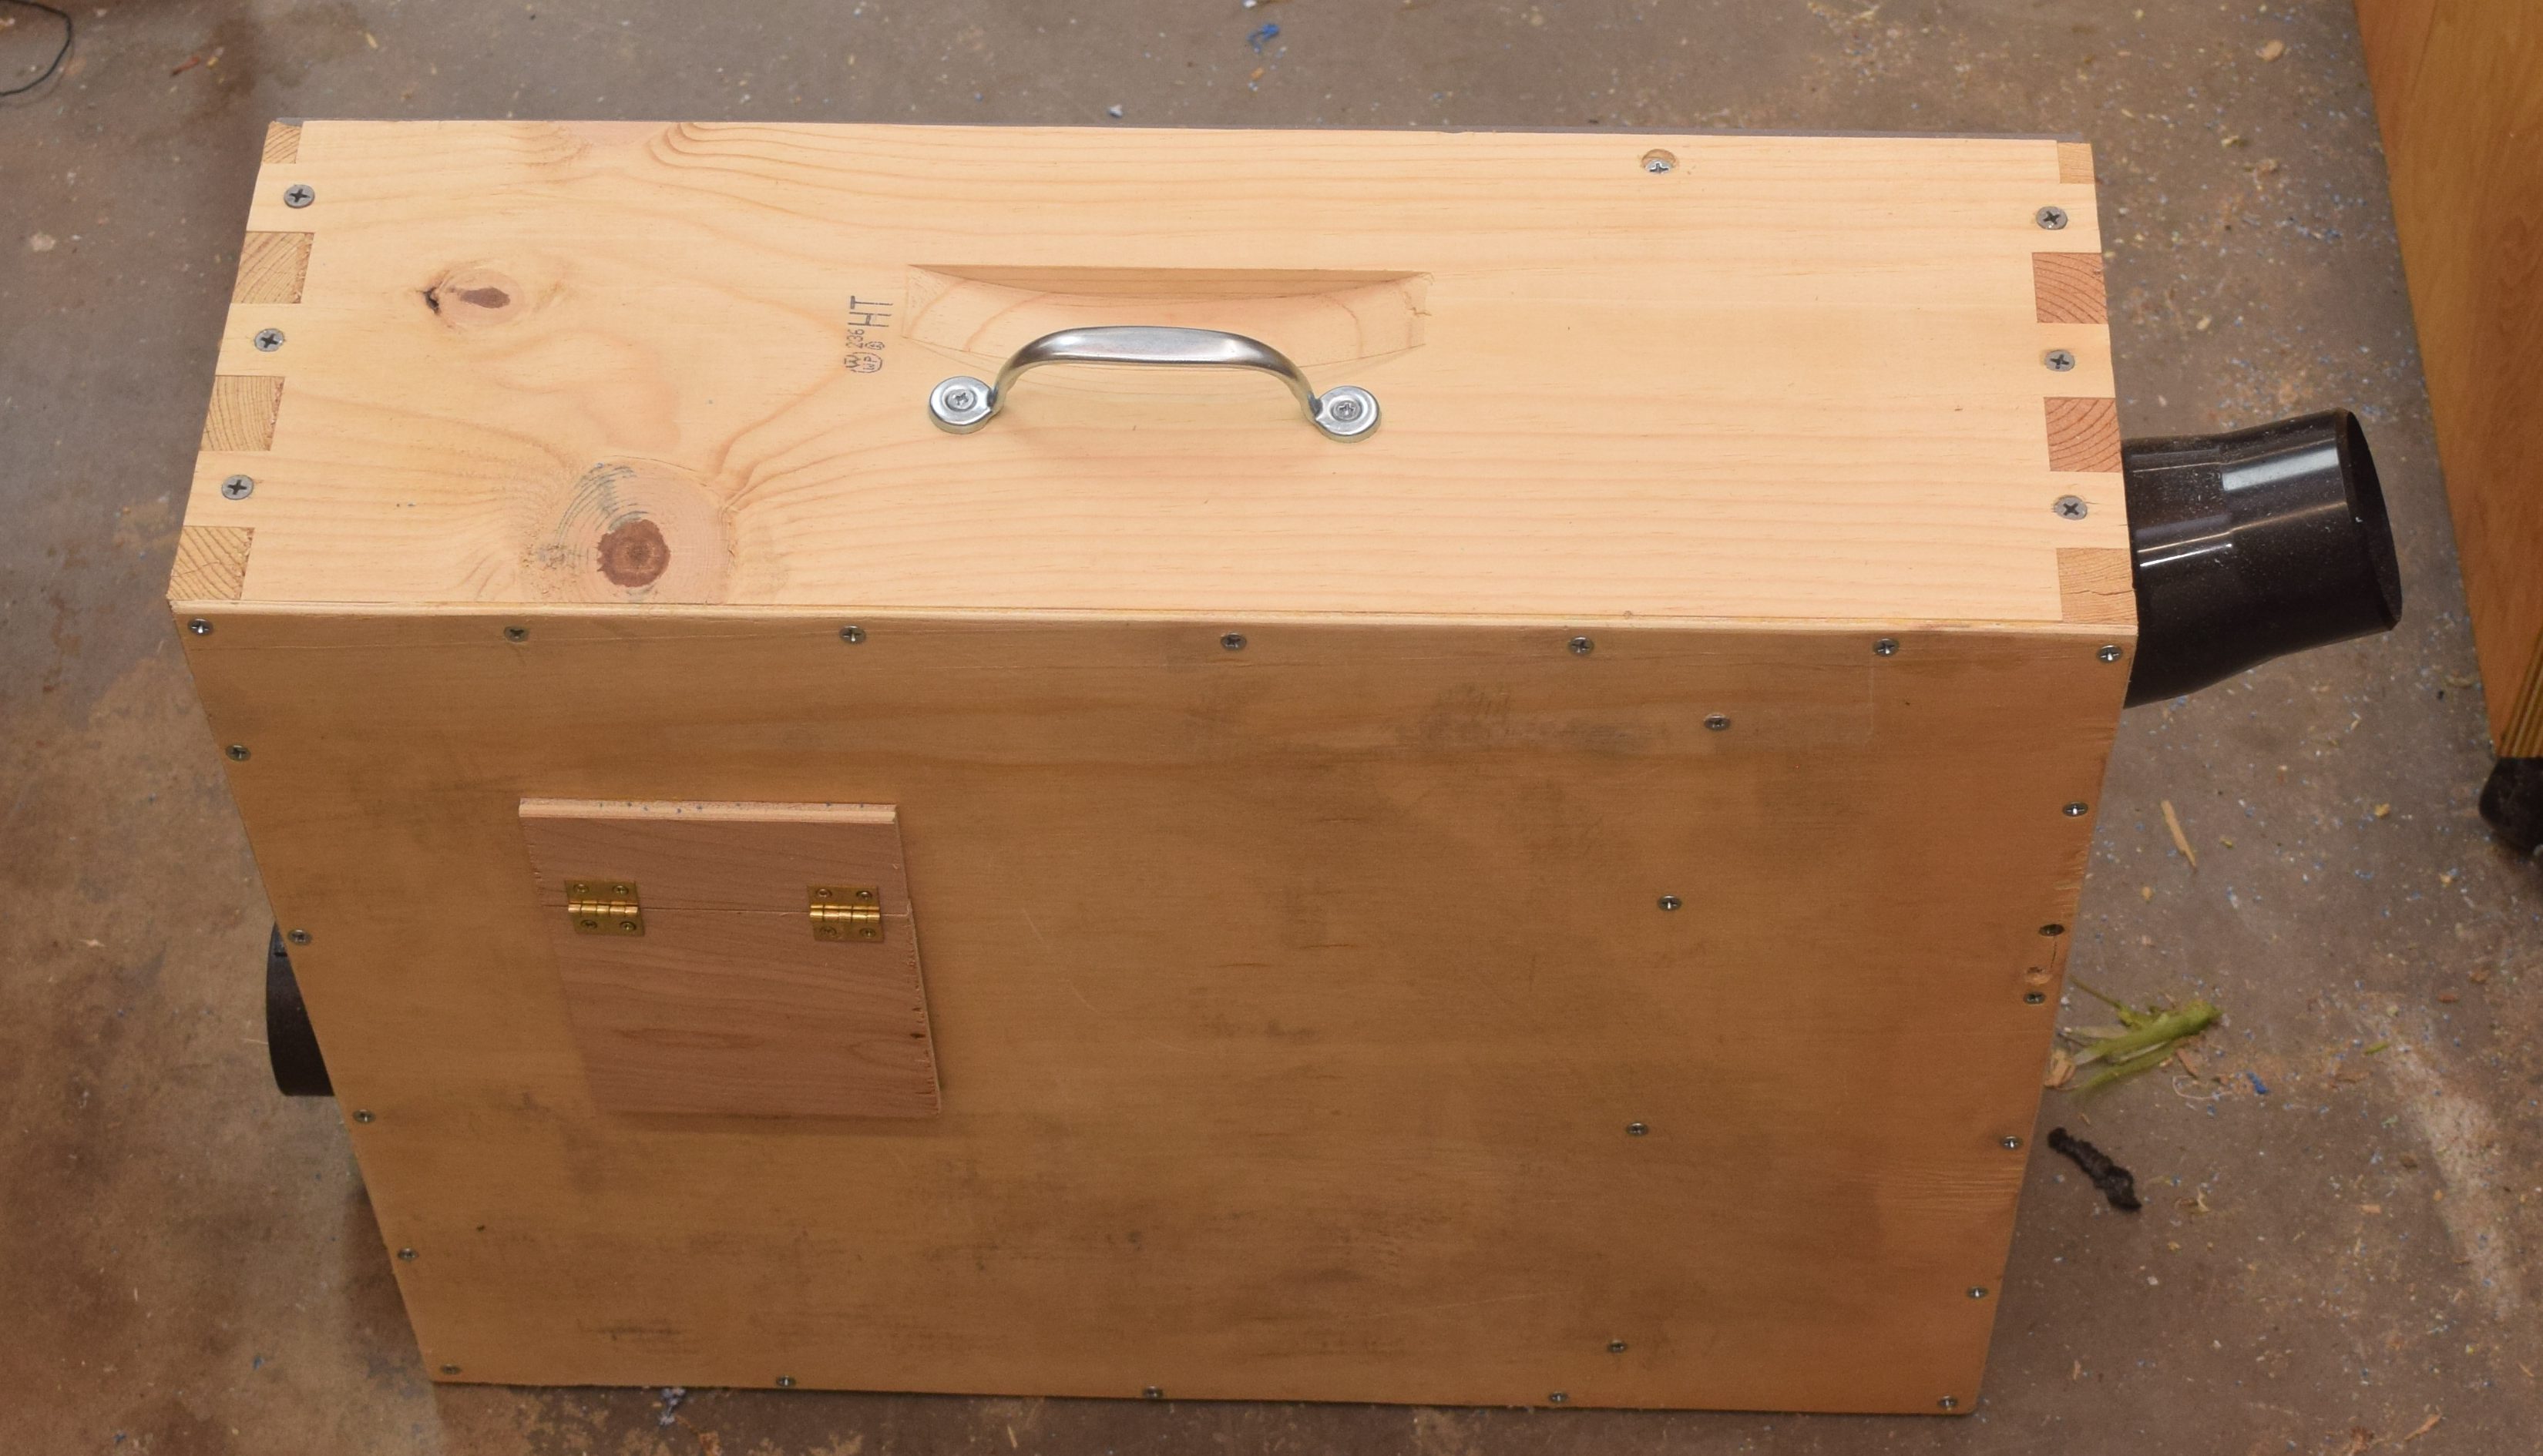
We did manage to harvest about 30 pounds of honey.  The spinner worked well again.  Newspaper on the floor really helped keep it from being a slippery mess.  The only major harvesting issue we had was that our electric hot knife died before we even got started.  This was only the third time we ever tried to use it.

Sore, swollen from stings and sad at the loss of another hive.

Major Hive Weight Increase

I don’t normally post about the usual inspections of the hive, but today’s was worthy.  We went out to check on the girls and oh boy had they been busy.  Despite having had very little rain since the new year they are finding nectar somewhere.  We had a 40 pound increase in the last 3 weeks.

Screen Shot 2017-05-20 at 1.16.47 PM

Seriously busy as a bee.  The previous time we checked they increased about 25 pounds in the same time.  Not sure where they are finding it all, everything is brown in the area, but glad they are.  We aren’t going to be able to harvest for a few weeks and everything was slammed full.  Had to stick on another super.  At this rate they will fill it too before we get to harvest.

20170520_131912.jpg

Owl Box Cut Out

I got tired of the owl box bees not descending down into the lovely medium super I provided them, so I forcefully evicted them.  The plan was simple, start by removing as many screws as possible from the owl box so I could pull the side off.

img_20160828_153543

Once the lid and side were off I could get to the whole segments of comb and remove them one at a time.

img_20160828_153752

I placed each piece on a large sheet of cutting board, used an empty frame to cut out segments of comb that would fit nicely in empty frames, and then rubber banded them in.  The wonderful wife shot some video of the process to better illustrate.

A few of the appropriately sized rubber bands did a great job of holding the pieces of comb in as long as you are careful and don’t tip the frames sideways.  Everything fit in a single super, so I made that the bottom box with their expansions super on top.  Time to wait.


Two Weeks Later

I let them sit for a while hoping that they would not leave in anger or stress, and that they would start melding their cut up comb into the new empty frames.  The entrance showed plenty of activity when we came to inspect.

20160918_125020

They really took to the wooden frames.  Every piece of comb we put in was expanding and was well anchored to the surrounding wood.

20160918_125831

20160918_125837

20160918_130103

They even added propolis and wax around the rubber bands in places.  I read that they would chew through them eventually, but for now they are making them a structural part of the hive!  I took a weight measurement on both boxes now that they are in regular boxes.  With a little luck they will gain weight and start expanding more into the additional super.

Bee Vacuum Box

It is time to kick up our bee rescues to another level.  We typically use a shop vac to suck up as many bees as we can.  Sometimes it works out well, sometimes we end up with a canister of pulverized bees.  I think the swirling action of most of those vacuums breaks the bees up eventually.  Enter, the bee vacuum box.

DSC_0366

DSC_0365

This tool goes in-between the vacuum and the hose sucking up the bees.  It catches them in a screened section that should hold them and prevent damage.


The Build

I started with an assembled medium super.  It is a good size to hold bees, and I built a lot of them a while back.  A thin scrap of plywood forms a sealed bottom of the box.  I made a small frame out of 1×2 and stapled on some 1/8th inch metal screening.  I used a lot of staples because I figured the force of thousands of bees pushing on the screen could be high.

I wanted to be able to see how many bees we had and how healthy they were.  A piece of clear acrylic sheeting across the top will be strong and allow viewing.

DSC_0341

I used a 2-1/2″ dust collection gate on the front entrance.  This should accept a standard shop vacuum hose, and can be shut once full to keep the bees from escaping.  I attached it with a lot of silicon caulking.  A standard port was screwed to the other end.  This side will go towards the vacuum.  It doesn’t need to be shut because the screen will keep the bees from getting out this way.

Once you have the bees captured you will need to let them out in their new hive.  I used more thin plywood to make a small trap door.  Tape will keep it from popping open in transport.  Once at the hive, you can just pull the tape off and let it open as you put the vacuum box down on top of the hive.  You could even completely seal the hive entrance with this method and leave the vacuum box on top for a day or two.  This will encourage them to stay and setup shop before opening the hive entrance.

All of this sounds great in theory, but has yet to be put to practice.  There is supposedly a tree that needs some bees removed from it, so we might be able to put this to the test soon.

Swarm Trap

Getting new bees can be expensive, and cutting them out of the floorboards of someone’s shed is a lot of work.  Why not try to catch a wild swarm in something convenient before they setup shop someplace tricky?  That is the idea behind a swarm trap.  You build a space that is right for a new bee swarm, bait it with essential oils, and hope they show up.

The general consensus is that something like a 5 frame deep nuc is what they naturally look for in size.  I only do mediums now a days, but hopefully they aren’t that picky.  While we were building the screech owl boxes my bee buddy and I put together a set of swarm traps to try and catch some bees!

I started with the dimensions for a langstroth medium and cut the width down so that 5 frames would fit comfortably.  I added a bit of height to allow space above and below the frames that would normally be there in a hive stack-up.  Cleats on the side help with picking it up.

Five frames with foundation went into each box and they got their lids screwed on.  The lid should keep it dry inside, but can easily be removed with a few screws once occupied.  I wanted the trap up in the oak tree in my backyard.  I added a tall piece of pine with screw holes so I could use long exterior screws for attachment.

I got a bunch of medium boxes put together in the mean time and went ahead with my lovely yellow paint for all of them.

DSC_0260

DSC_0261

I hope the bees aren’t put off by the wild yellow.  Who knows, maybe it will attract them to move in.

DSC_0268

The trap has been up in my oak tree for about a month now, and so far no bees.  I have heard that lemongrass oil is supposed to attract them.  I doubt it lasts more than a week or two, so I should probably refresh that.  Oh well, now we wait.

DSC_0298


Water Meter Hive Rescue

Our local bee group got another contact about a person with bees living in their water meter housing.  In Florida they are a plastic box set into the ground with a removable lid for servicing the meter and valves.  This one had apparently been occupied for a while.

wp-1467981535714.jpg

We were fighting dwindling daylight and some tricky comb.  It was quite tall and oddly shaped because of the shape of the water meter box and the piping inside.  We didn’t have time to cut the comb to size and fit it inside the frames so we just stuck it in between open frames.

wp-1467981535713.jpg

Everything fit inside a single medium super nicely, minus the bits of random comb on top.  I need to come up with a technique for quickly cutting and framing the comb.  Ideas are forming and updates should be coming soon.  This one went to my bee buddy that still doesn’t have a running hive.  So far they are making themselves at home.

Hive Ester II is Dead

We aren’t doing very good at this whole beekeeping thing.  We checked our hive just over a week ago.  They showed some signs of mite issues, but otherwise were laying a lot of brood and had a decent looking population.  Today they are nearly all gone.  I bagged and sealed up the frames and left them in the yard.  We are having some pretty harsh sun which should kill the small hive beetle larva and other nasties that were starting to take hold.

20160405_160303

I am very seriously considering getting rid of these frames and starting over again.  It is horrible to see, but below is a picture of one of the brood frames.  Poor little girls.


20160405_154752

The Queen is Dead, Long Live The Queen!

It is official, we lost our first hive.  I had hopes that maybe we could do something to revive them, but no.  Our friends at Trevena Fee Farm were able to provide us with a nuc of russian honeybees.  The original idea was to combine the new nuc with the old hive by separating them with newspaper.  They would chew through the newspaper slowly and eventually the new queen would be bonded onto the old bees.  I went in to inspect before opening the new nuc.  There were no old bees… well that makes the combining easy!

I was getting slimed however.  When there is nobody home to watch the house lots of nasty critters descend.  Specifically small hive beetles (SHB) had started to setup residence.  About half the frames in the deep had small but noticeable levels of SHB larva.  I think the new hive could take care of them, but decided to pull those frames.  I will reintroduce them after a day or two in the freezer.  No beetle larva problems then!

The great news is that the new nuc was absolutely packed with bees.

We gave him our #4 box with 5 of our drawn, but empty frames.  He have us back a box that must have been completely packed with bees.  If you think that is a lot, there were tons more inside.  I am floored.  We might have been having problems for a long time, I don’t remember the last time I saw that many bees.  At any rate we are very happy to be solidly back in the beekeeping business and can’t wait for them to settle in.  Ester 2, long may you reign.

Honey Harvest 2015

We had our first full harvest of hive Ester.  20 frames went by really quickly and easily with our home built honey spinner.  It was a bitter sweet harvest though.  I am pretty sure our queen is dead.  The hive population is very low, there is no capped brood, no signs of new brood, and we found a wax moth larva.  We had 6 weeks straight of rainy days, and near the end a serious brood problem showed up.  I couldn’t find any straight answer as to what it was.  It must have been some serious problem with the hive/queen.  Luckily some new friends from the beekeeping group might have a nuc for us.  Hopefully they come through before I have to freeze all the frames and give up for the year.

Back to the harvest, look at all these gorgeous frames!

All our equipment performed really well, and we ended up with about 37 pounds of honey. That looks pretty serious when it is all in one 5 gallon bucket.

DSC_0396

We bottled everything into 12 ounce bears to have enough small quantities to give away to friends and family.  That worked out to 50 bears, each with their own smart little label.

Now time to enjoy some honey.  Thanks bees!

DSC_0400


Wax Refining

I used a plastic tub to catch all the decapping debris.  There is a lot of honey mixed in, so a session sitting in the strainer is warranted.  Once drained of honey, it went back to the tub, and through multiple soak and drain cycles before the water ran clear and free of honey.

I was able to pack the wax into a single jelly strainer.  The strainer sat in an old pot and slowly melted away.  Once completely melted the nasty jelly bag gets tossed, and the wax can go into old containers.

The finished product was 9.5 ounces of wax.  It looks decent, but might need another strain.  Next time I might break it up into multiple runs to see if that helps the cleanliness of the finished product.  Still, it is perfectly good wax for use in all sorts of projects.