Frame Saw – Giant Hack Saw

Paul Sellers has a really great video on making your own frame saw from a band saw blade or blades available specifically for frame saws.  It is a wonderful project that can be done with a minimal amount of tools and material.

DSC_0154

I started with a metal bandsaw blade and a few pieces of scrap oak I had around.  Typical hack saw blades are only 12″ long.  This one is going to be 18″.  The extra length should translate to a much faster more comfortable cut.  I will also have a lot more fine control on blade tension vs a normal hack saw.

DSC_0143

DSC_0144

The shorter pieces will make an upright and the long piece will act as a pivot bar in the center.  The uprights got a small set of mortises with a rounded relief to let the pivot bar do its pivoting!  The bar got a matching tenon on each end with a rounded section.  I did the round with a few saw cuts to get it close, then finished with a rasp.

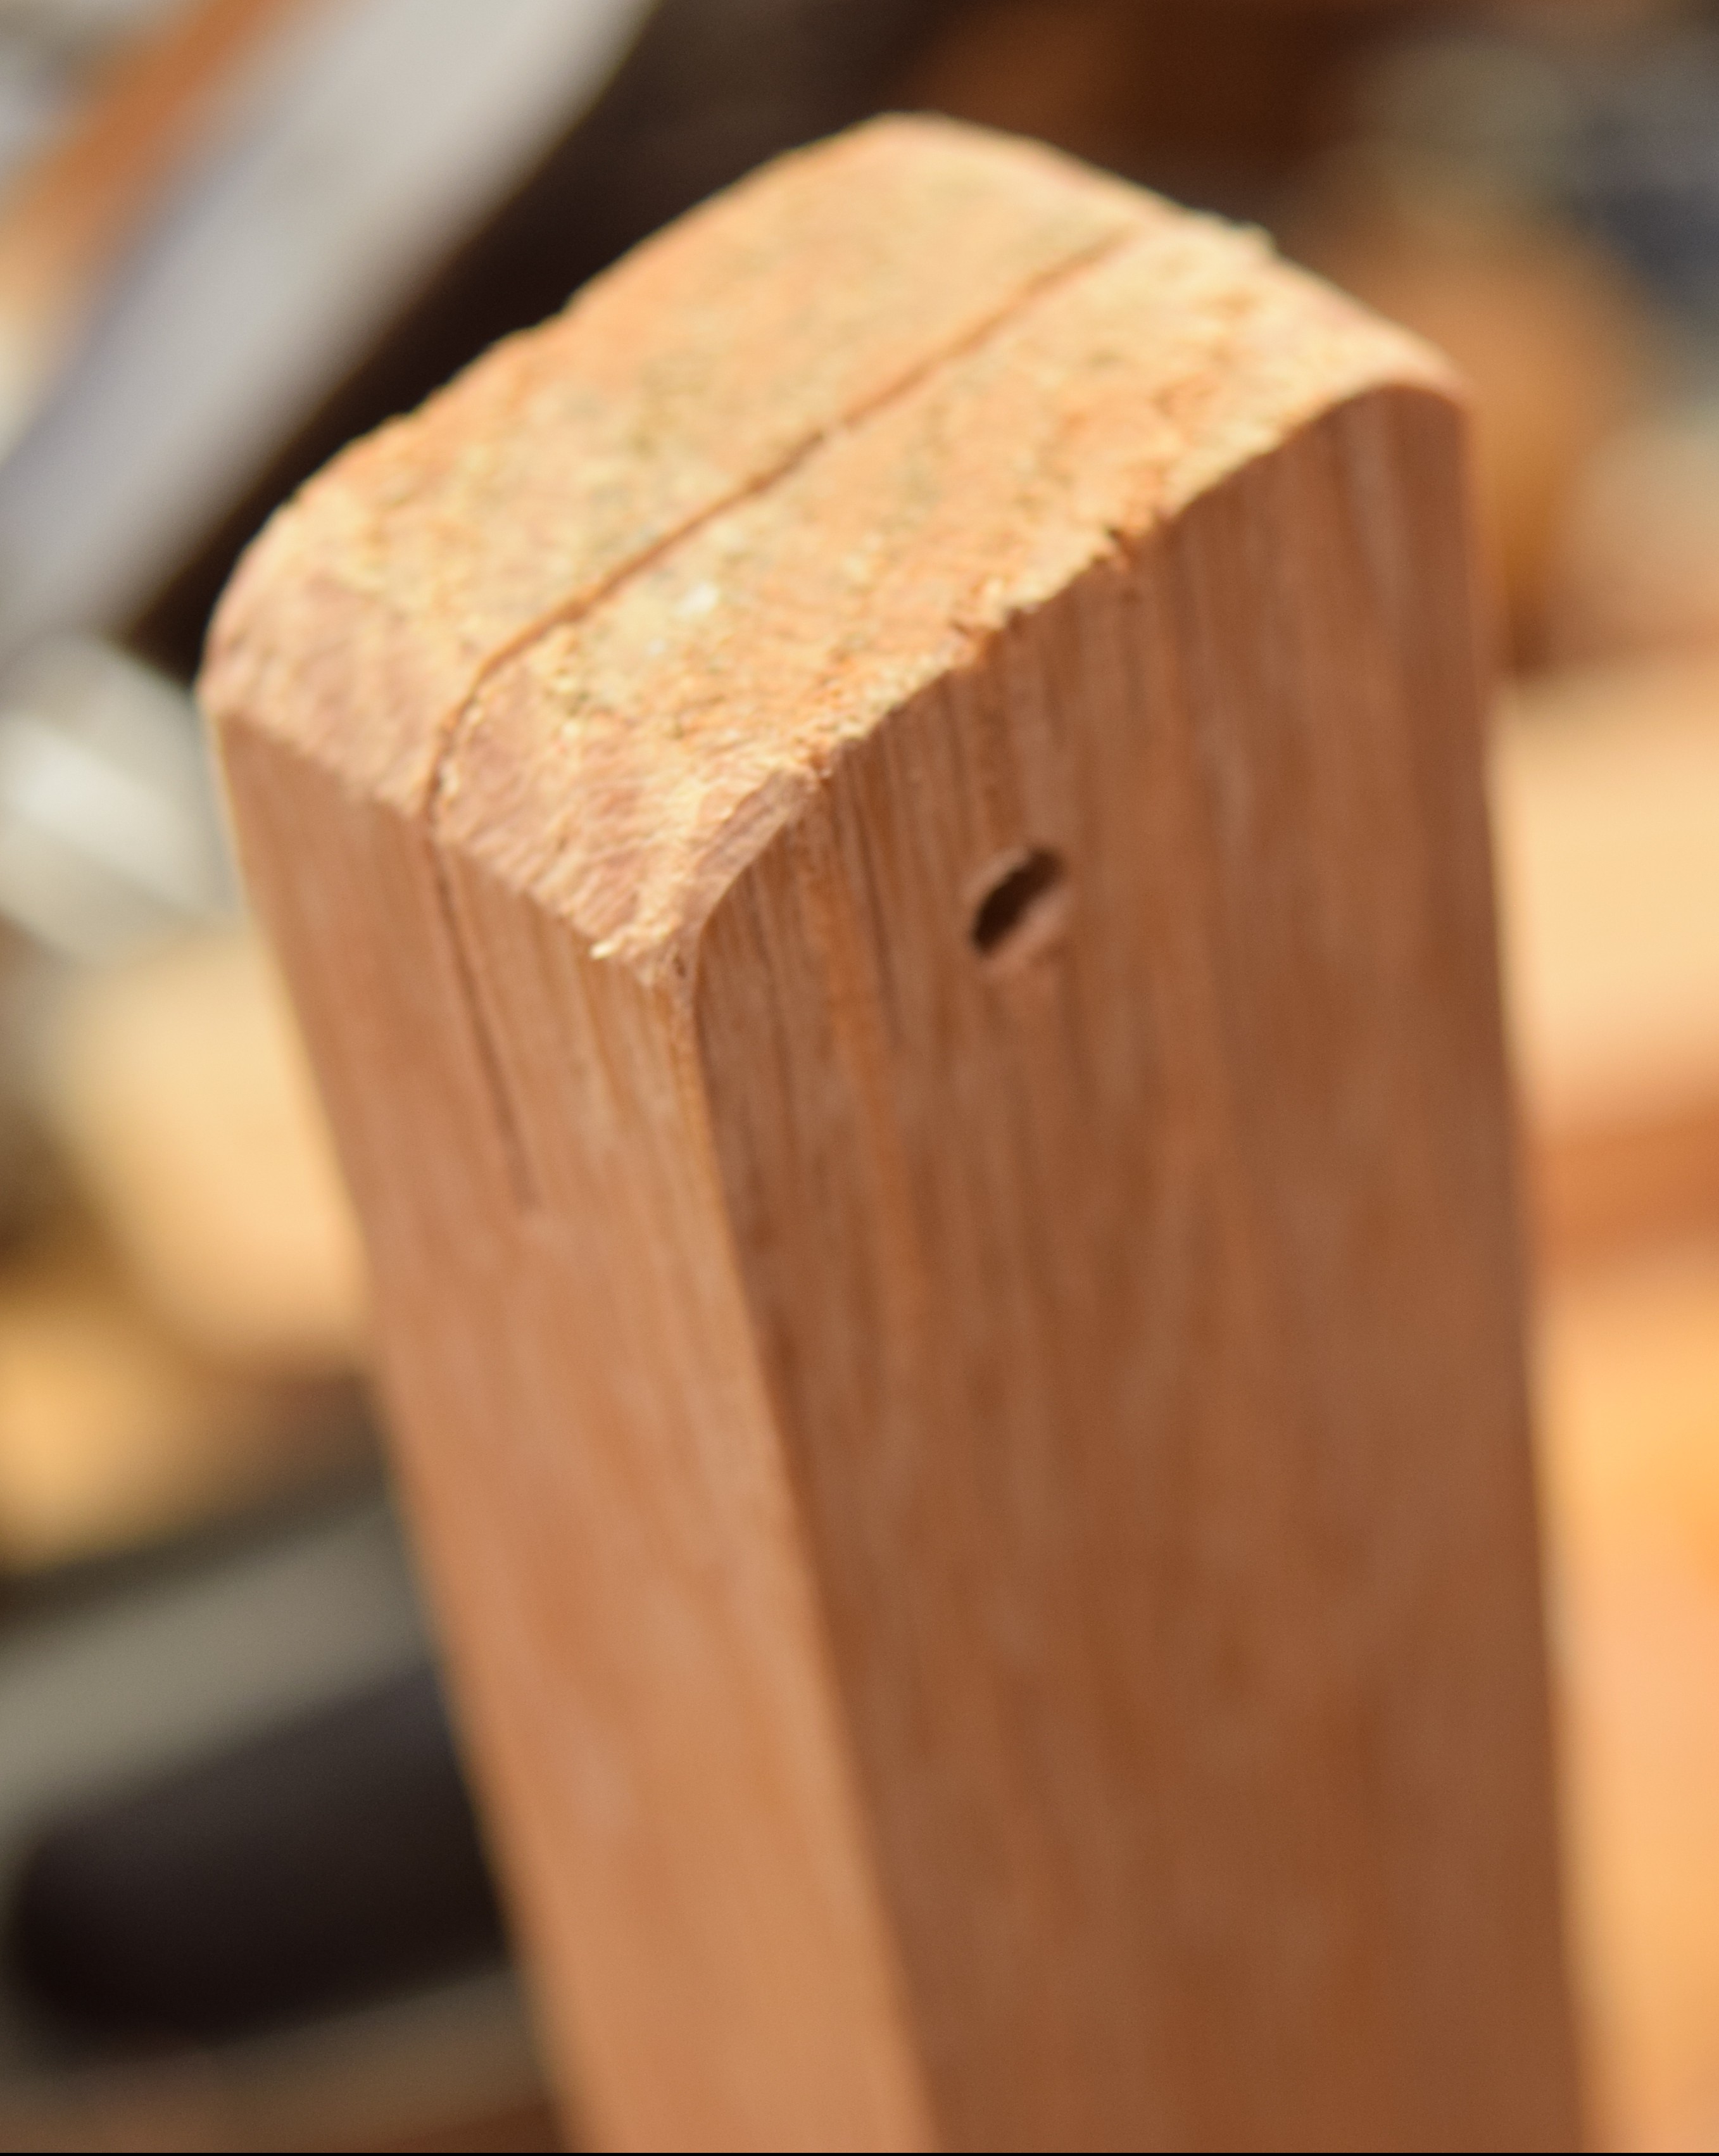
When I got those fitting reasonably well I moved on to the bottom.  A saw cut will let the band saw blade in, and a hole set 3/4 of the way over will accept a nail to hold the blade in place.

DSC_0149

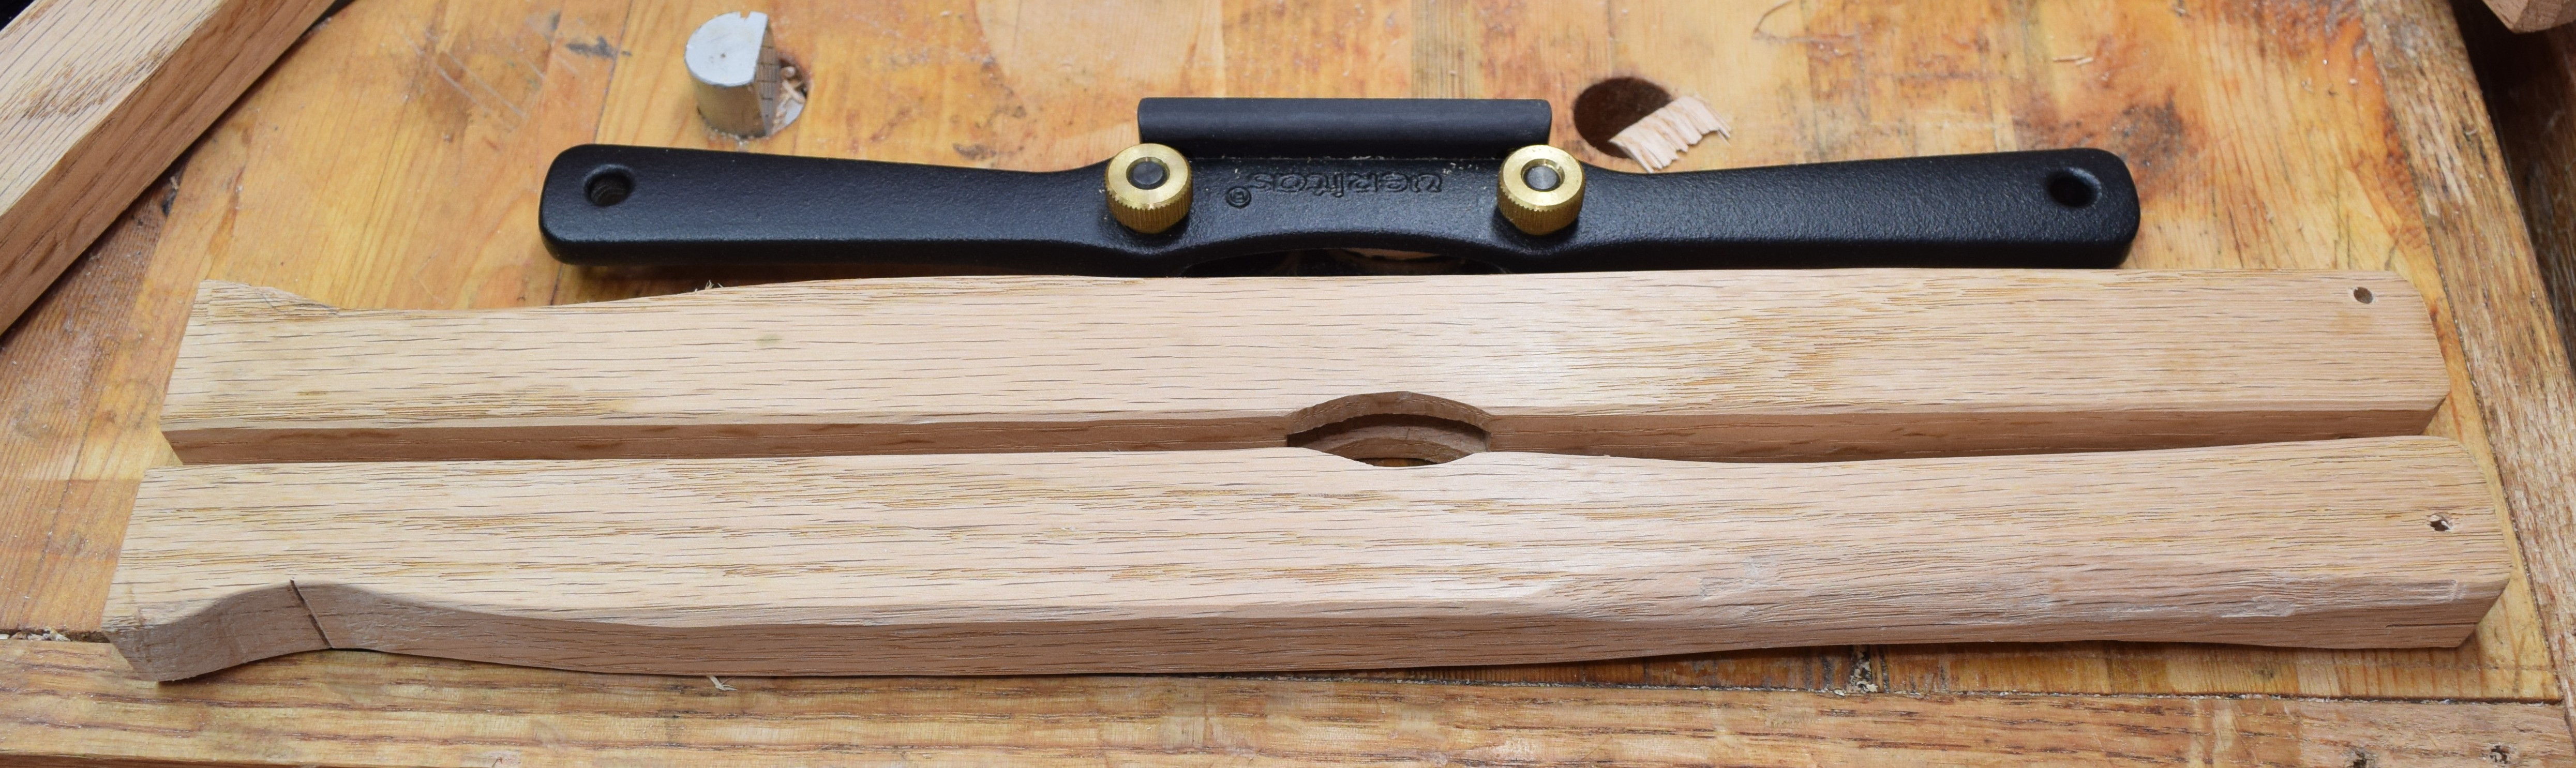
To hold the string I cut a small notch down, then used a chisel to sculpt both sides into that saw cut.  Once roughed in I pulled out the ole spokeshave and went to town.  What a fun tool to use.  It can be hard to see in the picture, but I did a lot of subtle shaping on the handle side.  Being able to hold it, then shape, then hold again is a fast way to make a part like this fit you really well in a short amount of time.

DSC_0151

DSC_0152

When everything was rounded I assembled, tensioned the bow by twisting the strings with another small scrap of oak, and tried it out on a bar of steel I had around.  Very nice!  The saw is light and well balanced, and the 18 inches of length meant I could really get into the cut without having to hold back.

DSC_0153

Next time I will work harder on making the rounds at the mortise/tenon joint more consistent, but otherwise I am very happy with this.  With testing done, I disassembled it, coated everything with BLO, and reassembled when dry.  The first picture of this post shows the saw with finished and in a low tension storage state.

Saw Renovations (Part 2)

The Summer Saw Stravaganza continues.  I took another set of three sad looking saws and gave them a run through the bath.

DSC_0094

The saw in the middle is a real mixed bag.  It is very old and has a nicely carved handle.  On the other hand it is badly rusted and pitted in places.  Looking at a close up of the blade you can see two neat features.  First, that carved dip of the handle as it comes around your little finger to meet the plate again.  That is called a lamb’s tongue.  Totally for decoration.  It needed some gluing back together.

DSC_0099

The other is that number 10 near the teeth of the blade (left side of picture).  You can barely see the 1.  They would typically stamp the number of teeth per inch there on the blade.  The trick is it was usually 3/8″ or further from the teeth.  This saw has seen a lot of use and resharpening.

Like last time the saw plate got a bath in Evapo-Rust, the handles got sanded and a coating of boiled linseed oil.  The middle saw needed a little banging on my anvil to straighten out, but it looks quite true now.  The transformation was quite stunning.

DSC_0103

The only thing that has me worried about these saws is the heavy pitting on some.  A saw should be tapered, wider at the bottom than top, and will have the teeth flare out (called set).  This means that only the business end should really be touching the wood.  That having been said, the plate is going to do a lot of sliding in the cut, and a smooth plate will slide better than a pitted one.  I really hope they work out, these saws are gorgeous, even with all the pits and stains.

Pint Canning Crate

This is both a simple, and overly complex project.  It is simple in that I have made a set of pine boxes with glued on plywood bottoms.  Had I been only interested in making them functional, I could have finished these in an hour or two.  Instead, I wanted to practice hand cut dovetails, and make them look good.

If you want to make basic boxes to hold canning supplies, then cut the boards and attach via whatever method you like.  Screw/glue, pocket holes, nail, half lap etc…  1×6 boards are the perfect size for pint cans.  Remember they are actually 0.75×5.5″.  Cut them so the outside dimensions end up being 11×14.5″, and attach a plywood bottom.  1/4″ plywood seems adequate.  It took me a number of hours to finish the two crates, but the experience was worth it.

DSC_0106


Dovetails

If you are crazy like me and want to make basic utilitarian boxes with super fancy joints, then read on.  Or if you just want to see how I make dovetails.  There are a lot of good resources out there that detail how to make dovetails.  I am going to give a brief overview of how I do it now.  Maybe in a few years when I get good at them I will make another post with some sage advice.

  1. Cut boards to rough length, and use a shooting board to clean up ends and get lengths exact.
  2. Use a marking gauge to set tail depth to thickness of wood.  Pencil marks make everything easier to see.
  3. I start with an end pin mark, then use a divider to layout the remaining tails.
  4. The veritas dovetail marking gauge is quite excellent for marking up the tails.  Always use a knife for the best marks.
  5. I hand cut the tails on the waste side.  The hope is that they are cut close enough to not need any chisel work.
  6. Remove the waist material with a coping saw, then carefully pare out with is left with a chisel.
  7. Use the back side of the tails to guide a marking knife for the pins.
  8. Cut pins and clean waste out in a similar manner as the tails.
  9. After a test fit I apply glue to the pins and assemble the box.
  10. If everything was made right the box should go together square and require minimal clamping.
  11. Applying BLO (boiled linseed oil) provides an easy and cheap finish.

There were 8 joints total.  Most of them turned out decently, but not GREAT.  Practice will help out, but I think pine might be hard to work with.  I will have to try making dovetails in a harder wood to see what the results are like.