Bandsaw Circle Jig

I have a router circle cutting jig from milescraft that works pretty well. It screws down a center and uses your router on an adjustable arm to make big circles. It does take a bit of setup though, and anything under about a foot in diameter is pretty awkward. There are loads of bandsaw jig ideas, so why not add mine to the pile? I think I have three things that are slightly unique in this design. Not revolutionary, but a bit different.

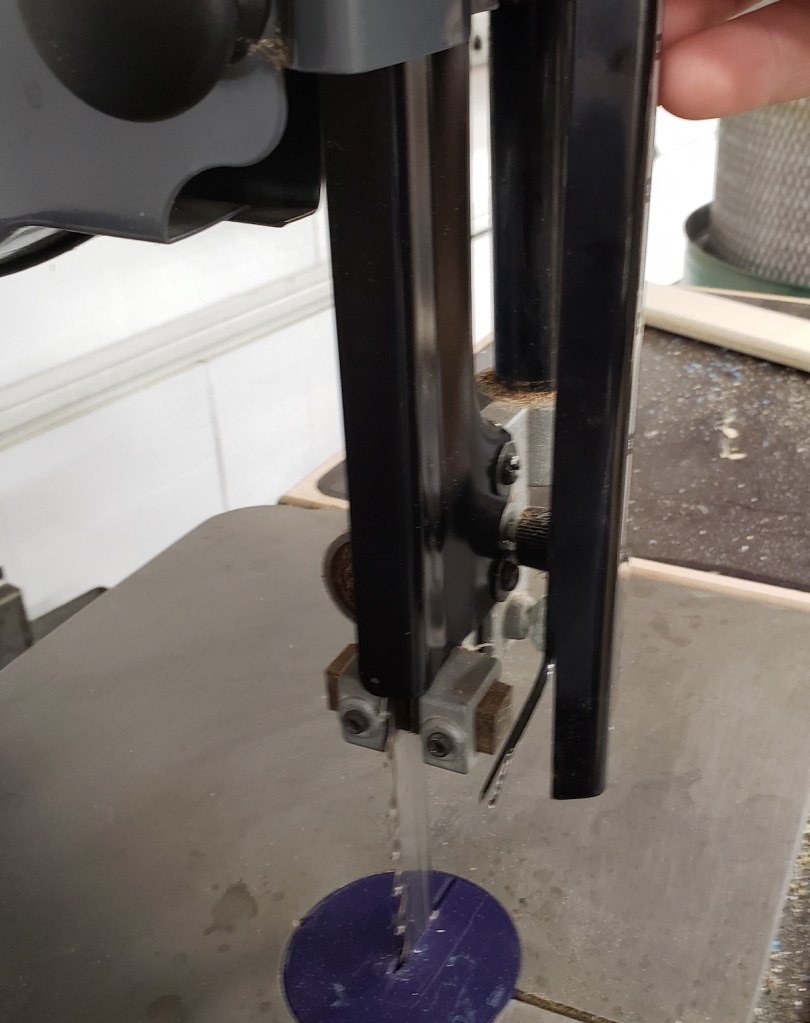
1. I started with a 3D printed miter slot runner. It is T shaped so once you slide it in the jig can’t come up off the table. Most folks make wood runners. Those are fine, but with printing it is a lot easier to dial in a T-slot so that the jig can’t lift. It comes with countersinks for #6 mounting screws.

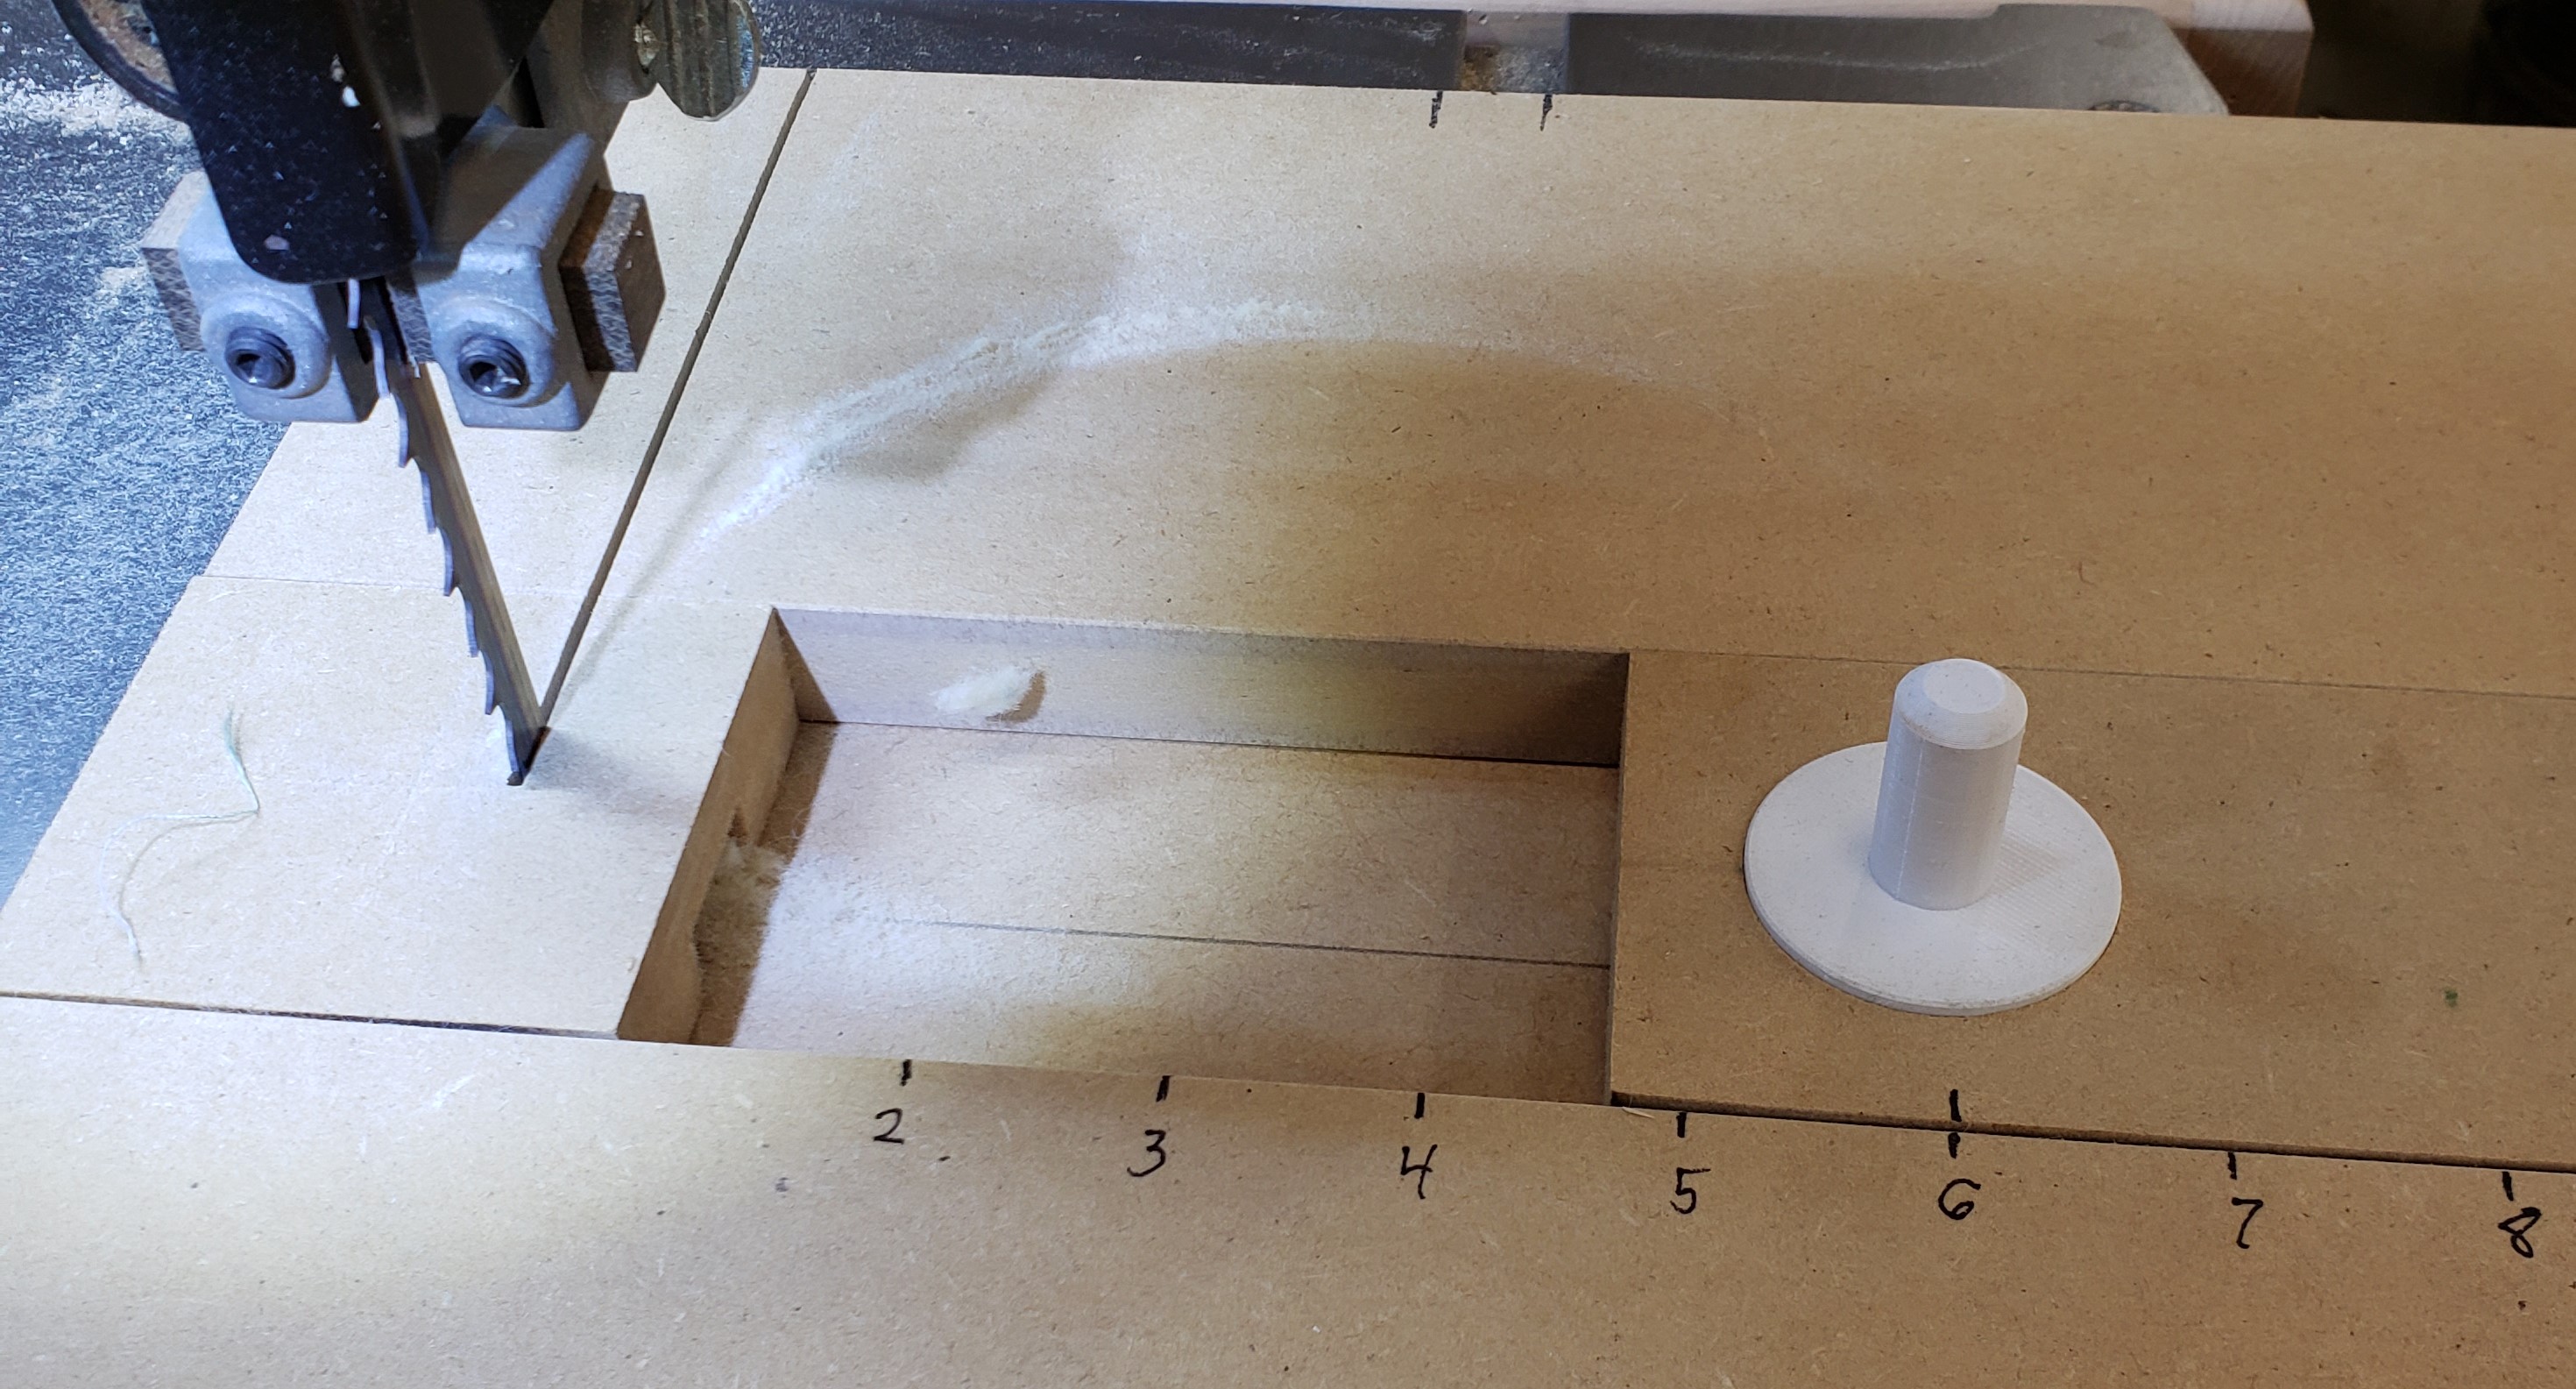
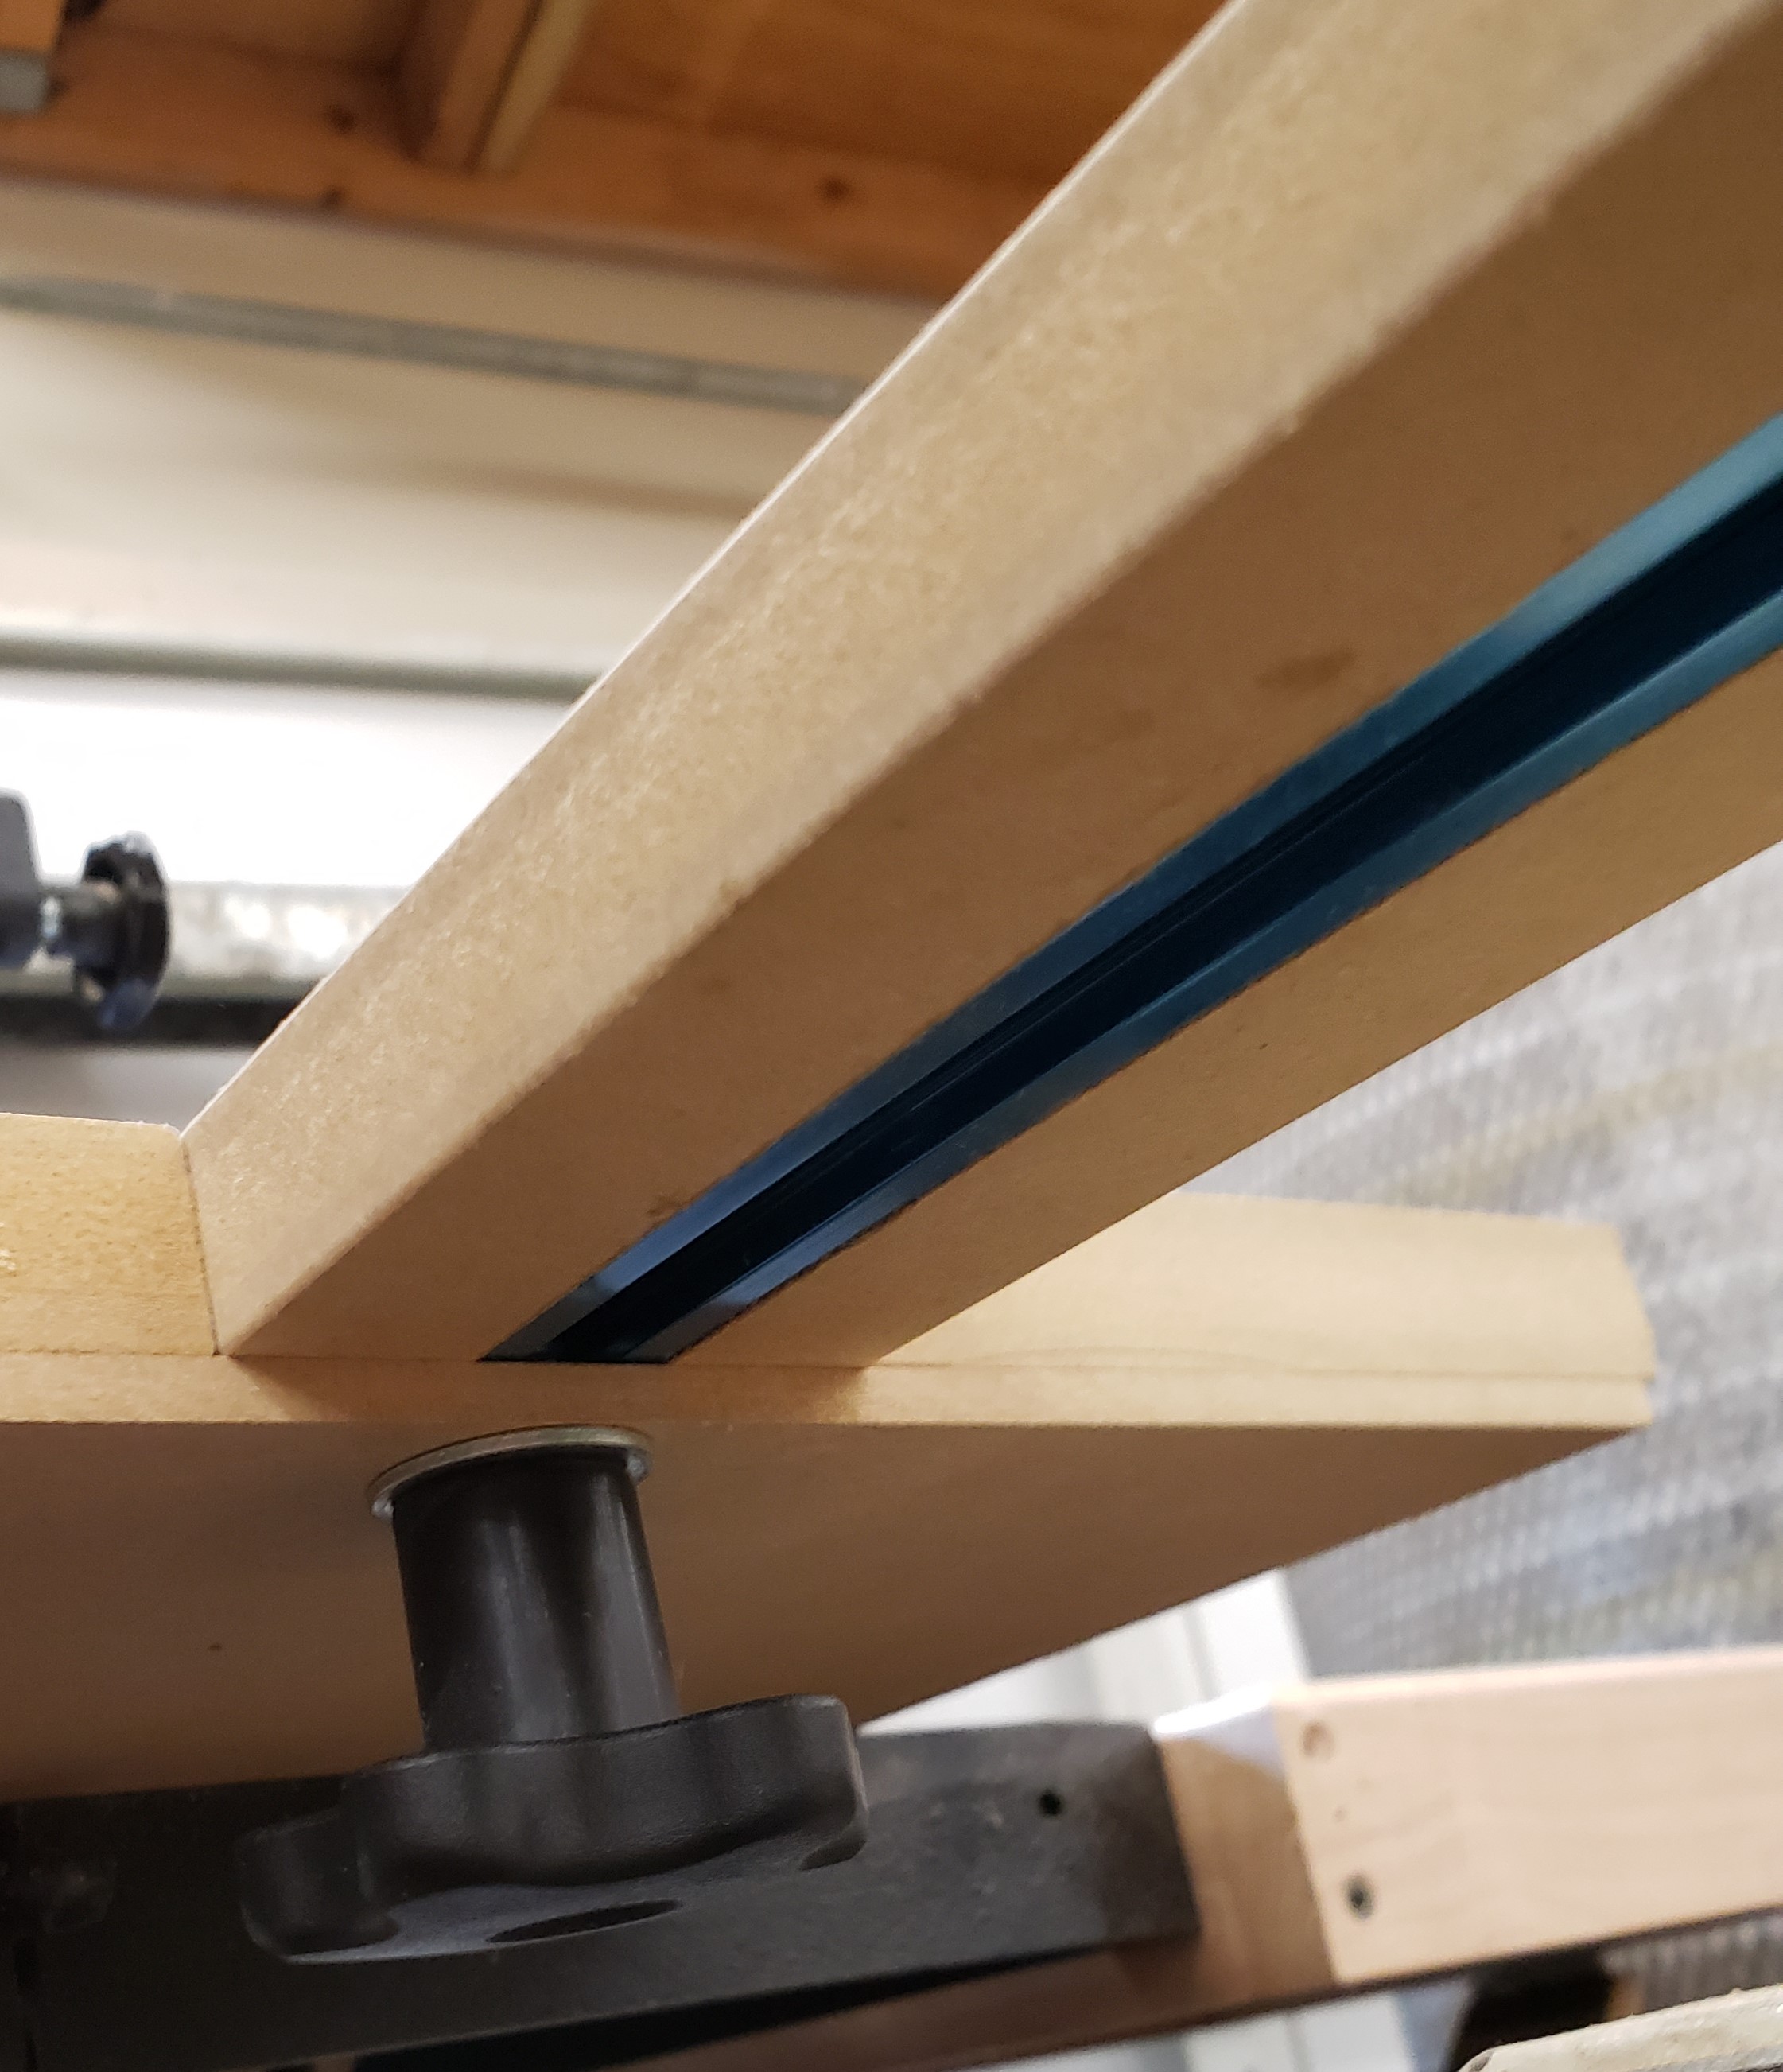
2. The jig needs some kind of sliding arm to hold the piece being circle cut and set the circle radius. Dovetail slots and all sorts of things are employed. I took a T-track and glued it into a piece of 3/4″ MDF. Even 1/2″ screws would have been too long, so I just used epoxy. It holds well. A look from underneath shows that a bolt and knob let you lock down the circle radius arm in position.

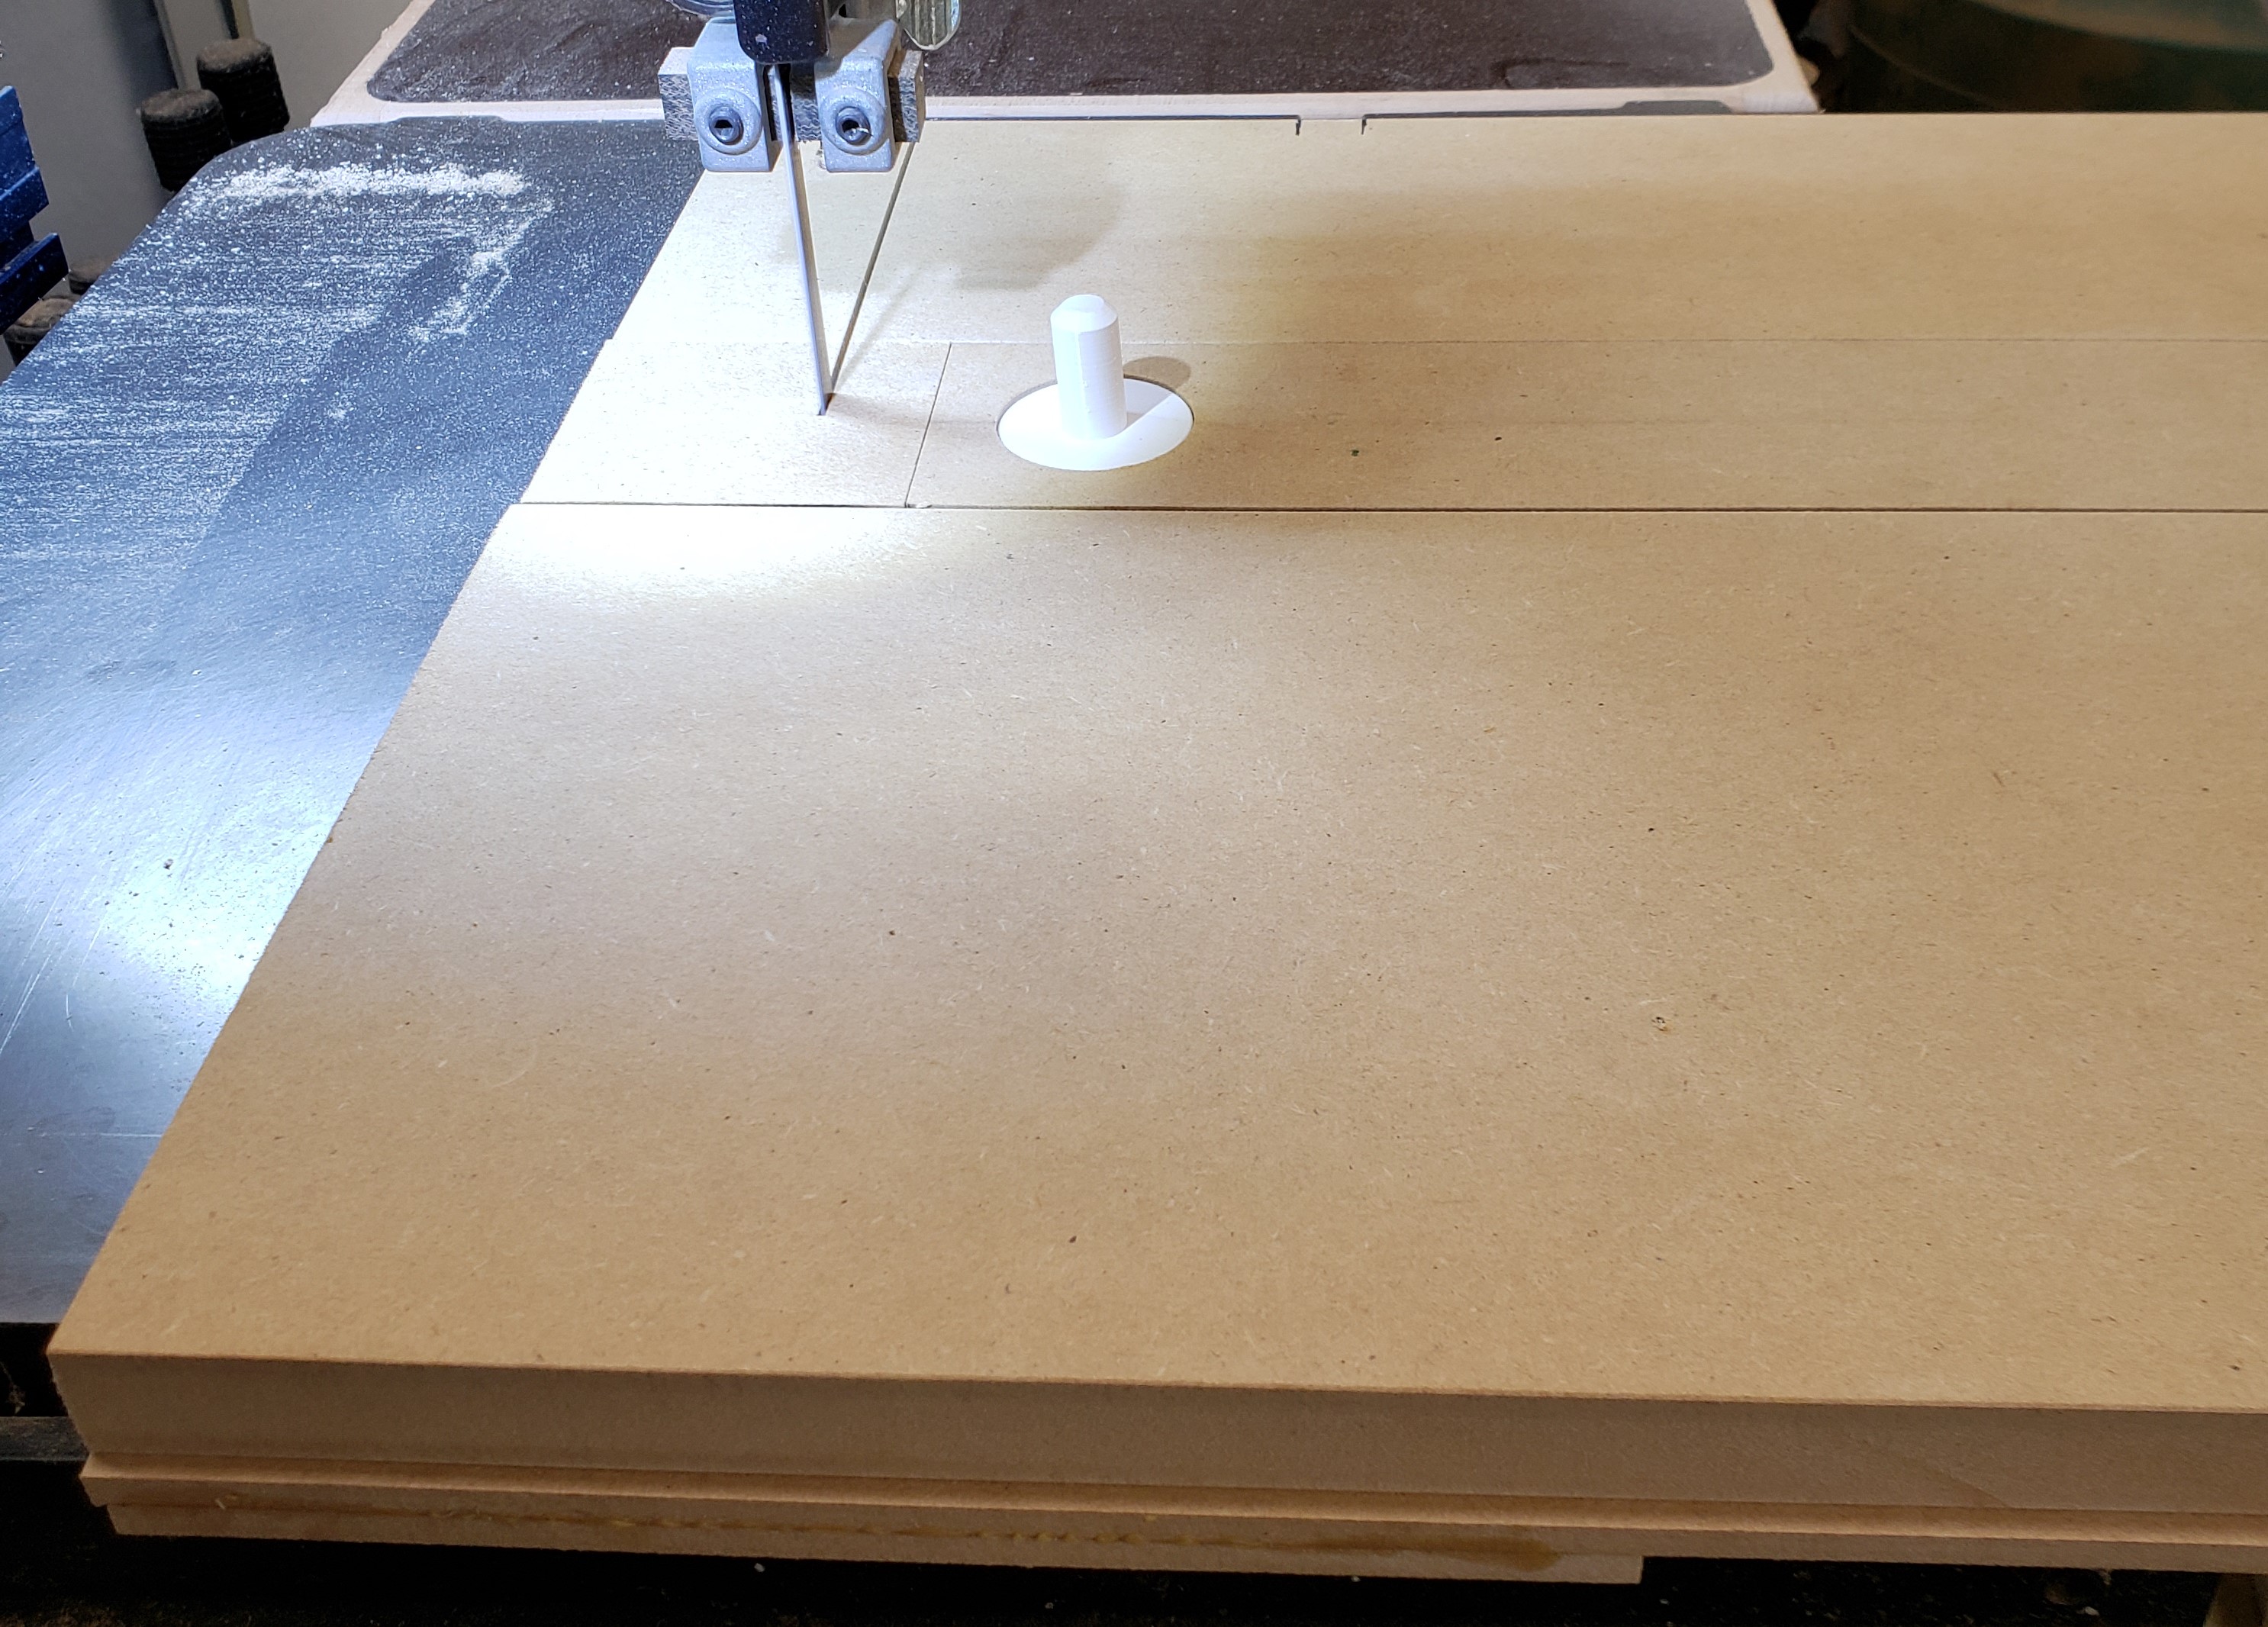
3. To hold the work piece, most jigs use a small nail sticking up from the adjuster arm. You would drill a small hole in the part and pin it on the nail in the jig. Instead, I wanted a more flexible solution. I cut a 1-1/4″ hold in the end of my adjustment arm so I could put in 3D printed holders. One is 1/2″ in diameter so I can cut a MDF circle for my buffer. The other has a countersunk hole so I can screw a small #6 screw into the work piece. Optionally, there is enough space there to double sticky tape the puck down and use the center hole for alignment. I can print all sorts of posts or pins to suit my cutting needs.

To put that all together, a piece of 1/4″ MDF was CA glued to the runner (temporary) and pushed into the saw till it reached the middle of the jig. I glued a little stop in front so it would hit the bandsaw bed and stop in the same place every time. I then glued on 3/4″ MDF around the centered adjustment arm. That gave me enough material to screw on, from underneath, the glued runner. That all got pushed in again to the saw to cut through the new 3/4″ MDF.

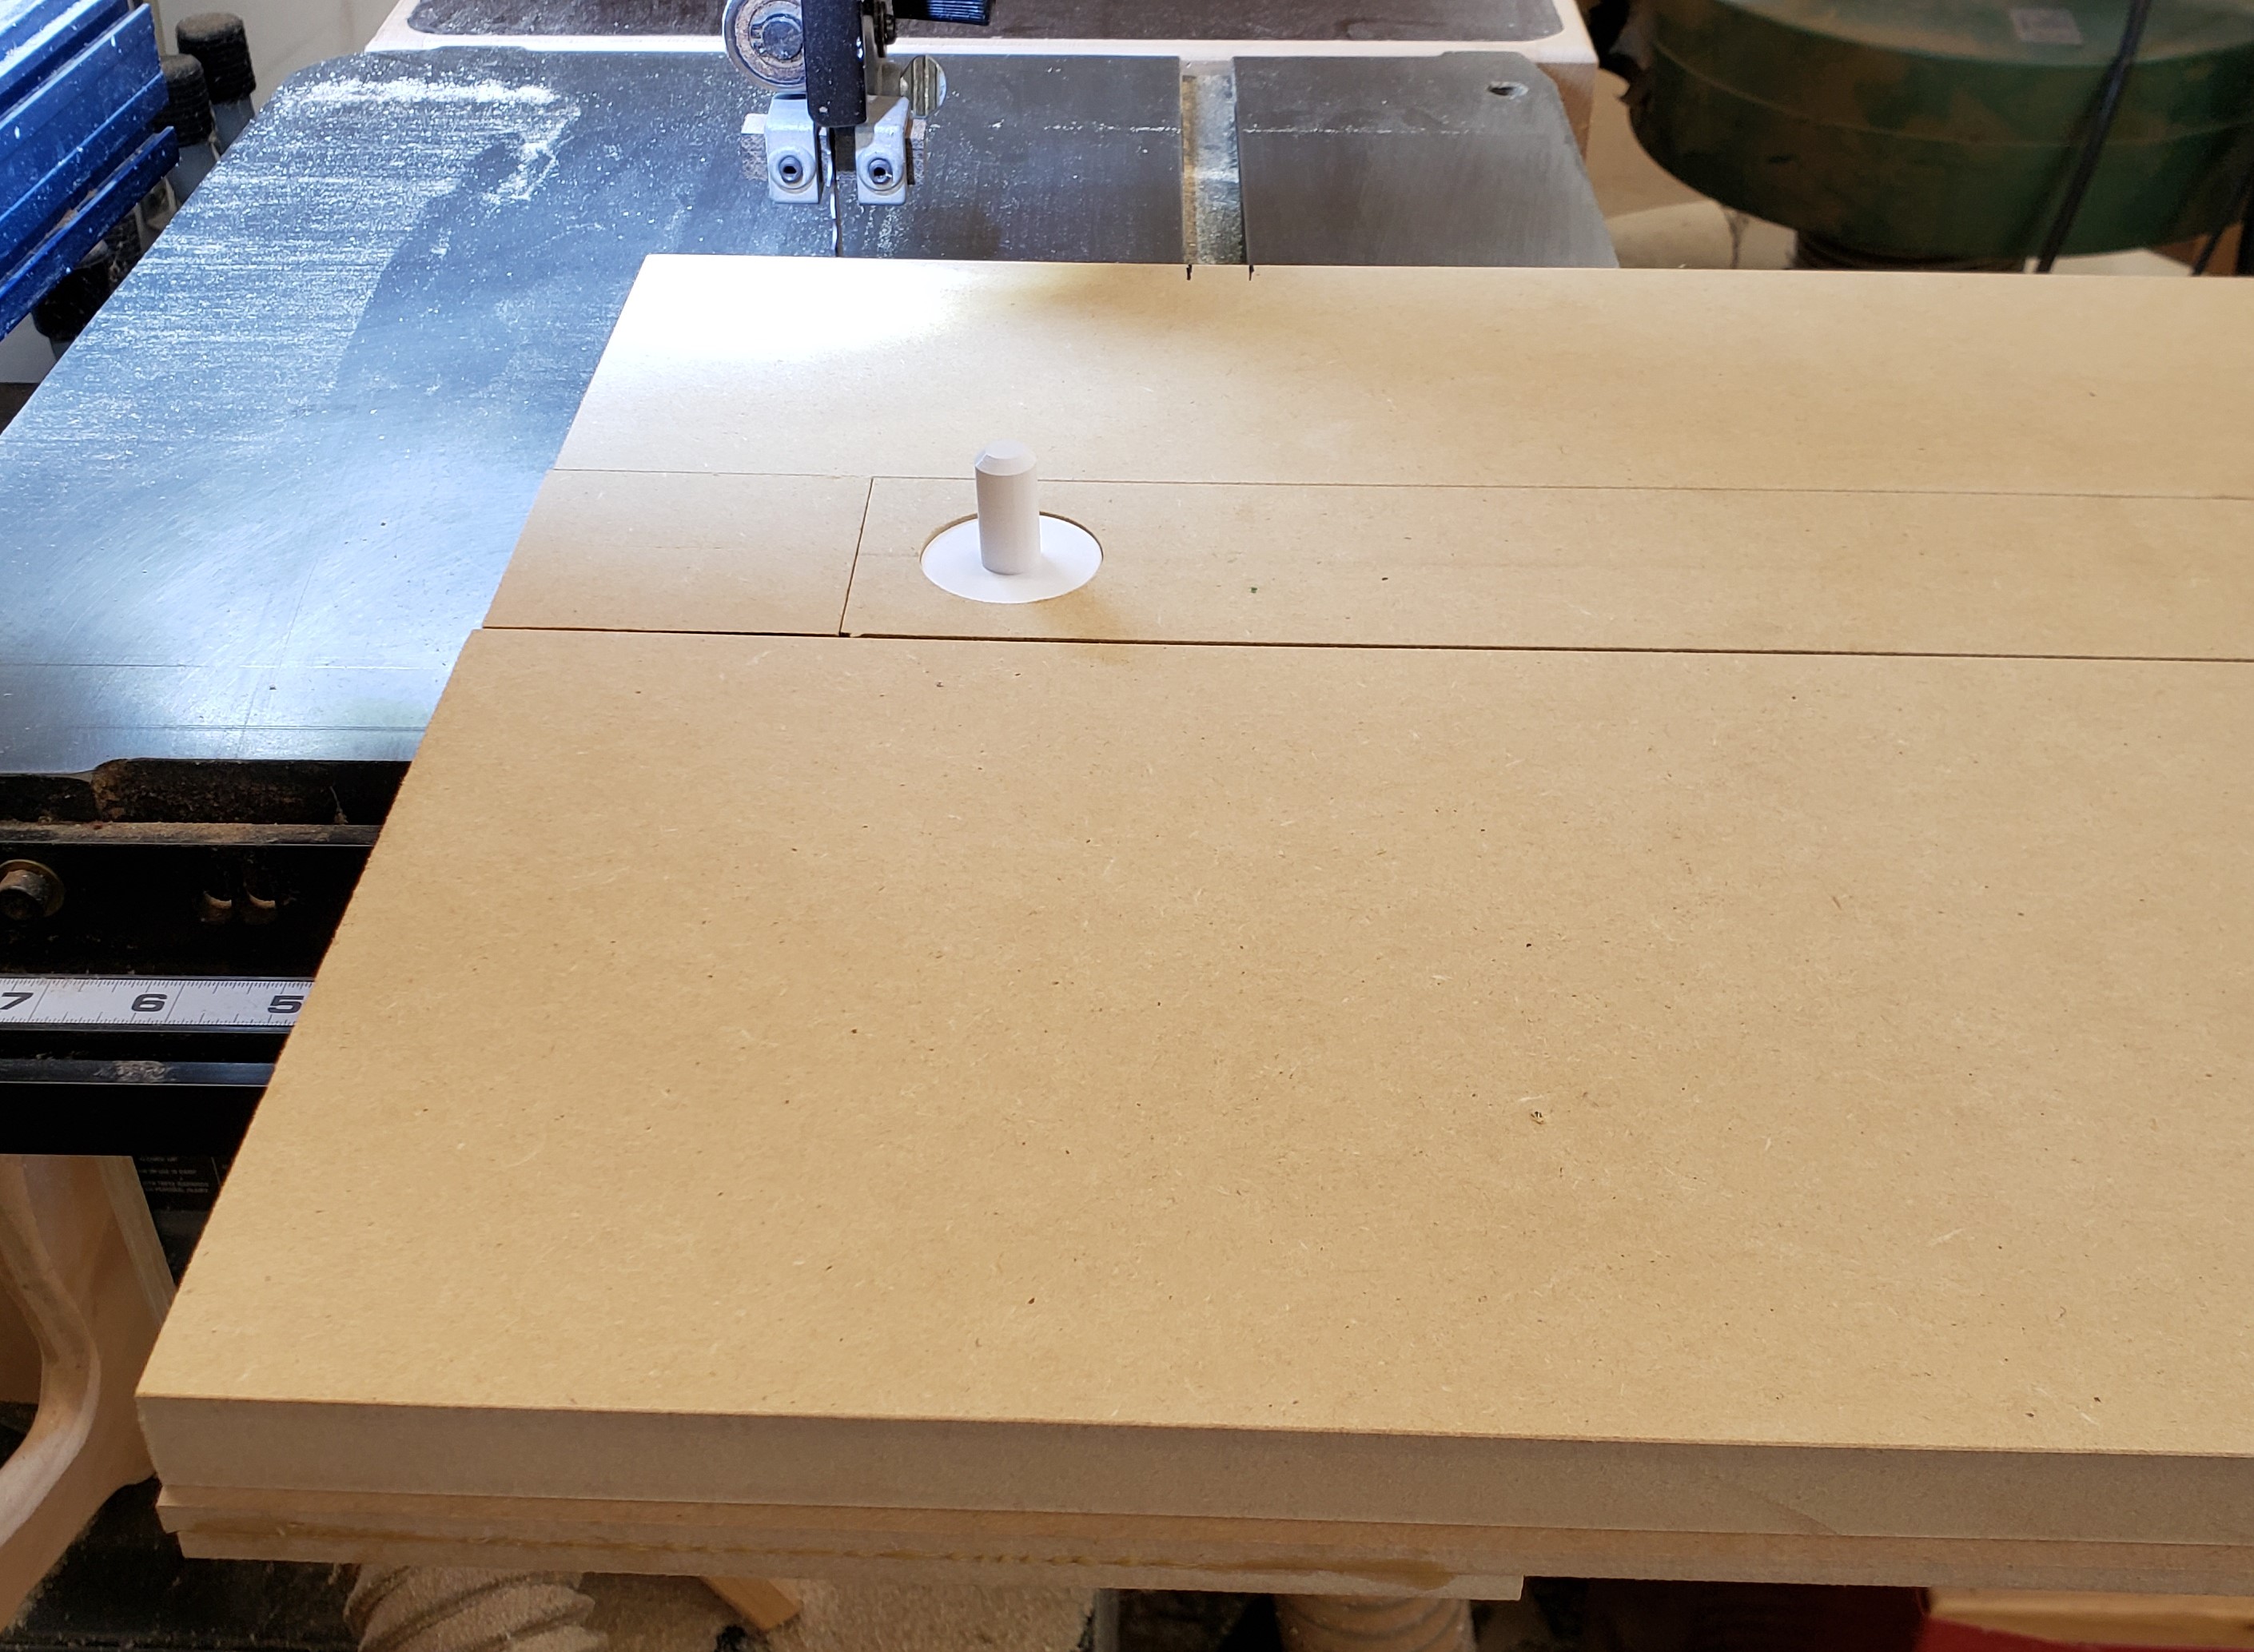
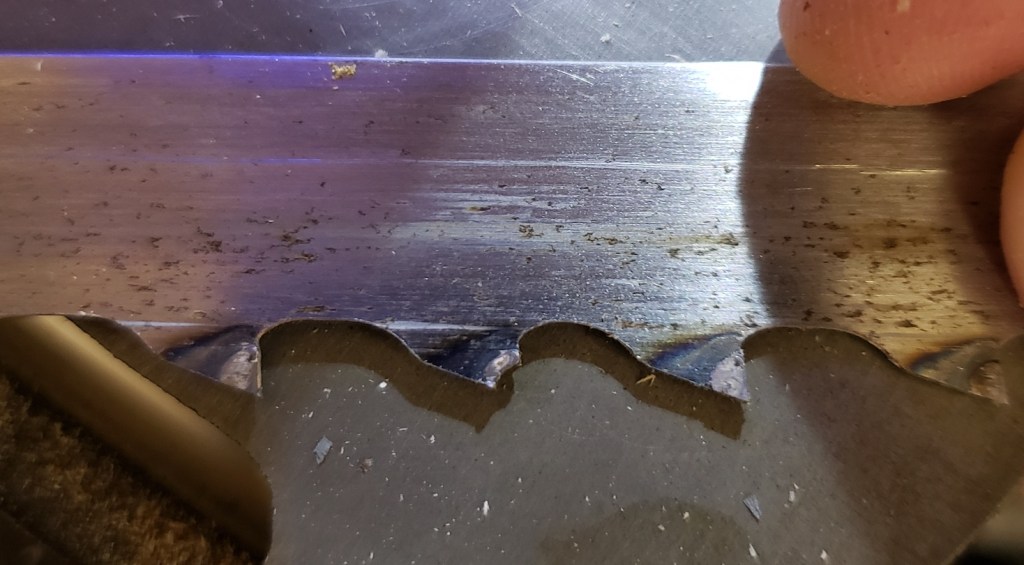
I did some measuring, marked our the rough radius locations, and coated everything in a few coats of thinned polyurethane. It struggles a bit with anything under a few inches in radius, but a different blade would help. Up to 2 foot circles are possible. Above that and I will go to the router jig. To try it out, I made a sharpening wheel for my buffer out of 3/4″ MDF.

  1. Set the runner to the appropriate radius and lock the knob
  2. Install the square of material to be cut on the peg
  3. Push into the saw until you hit the stop
  4. Slowly rotate all the way through the circle
  5. Done!

Surprise Bandsaw Repair

There are few events in life quite as thrilling as having your bandsaw throw a tire. And by thrilling, I mean terrifying! I flipped on my trusty porter cable 14″ saw and instead of a steady hum it had a terrible screech and roar. The top tire (rubber band that goes around the wheel and contacts the cutting band) split and set the blade loose. After 8 years of service, I guess it was time. The bottom tire was still in good shape, and that is where the motor is, so it still managed to drag the blade around inside the tool.

I feel like I switched it off pretty quickly, but I may have been in shock for a few seconds. The time that it did take me was enough for the wild blade to lurch forward and start cutting into the guard just above the top guide bearings. It cut through the metal guard and left a gash a few inches tall. Metal shavings were all over the tape top. The teeth are a heavy set tungsten carbide for ripping, so they are quite capable in soft metals. I did manage to chip a few teeth in the process.

Those blades are expensive enough that I was worried I would have to trash it. Luckily a few missing teeth out of 100 doesn’t appear to make that big of a deal. I opened everything up, pulled the blade out and ordered new parts. The top tire obviously needed replacing, and the new ones were a shiny blue! The bottom one looked worn and yellowed, so I replaced it too.

Last but not least I found the part number for the blade guard and ordered extras just in case. With the guards and throat plate replaced all was right with the world. The horrible screech was returned to its usual purr.

Bandsaw Outfeed Table

I have a project coming up that will require a long resaw cut on my band saw. Resawing is where you sit a board up on its skinny side and cut down the length. I love my bandsaw, but when it comes to doing long work the small table has left me in the lurch. The bandsaw is a tall tool so that most roller type outfeed supports don’t come close to high enough. I am going to add a removable outfeed table to the back end to help with these kinds of scenarios.

I have some phonelic resin covered plywood that makes good slick surfaces for things like this. The resin surface can chip off if hit on the edges though. I made a frame to hold the plywood, protect the edges, and give me a place to bolt too. This could have been done in pine, but I am trying to increase the quality of my infrastructure work, so I went with maple instead. I routed a groove on the router table and used my roundover templates to make the corners match on the plywood insert.

After gluing and pinning it through the side I did a careful trim with a block plane to get the outside frame and inside surface to be perfectly flush. This made fun little corkscrew shaped shavings. Now anything sliding across wouldn’t get caught on a lip or edge, and the sides of the plywood will remain protected. This is another place where hand tools make the job a lot safer and less likely to induce disasters than something with a motor would do.

With the table top complete I needed a support leg to help keep the back end from sagging. Making it screw together let me turn two short pieces of plywood into a longer one, and helped with fine tuning the outfeed level.

A hinge attaches the support leg to the under side of the table top. There was a good place for the bottom of the foot where the bandsaw base meets the cabinet it sits on. This will let the table support a decent amount of weight without sagging.

The bandsaw’s table top has two bolt holes in the back that accept M6 screws. I got some socket head cap screws and bolted the front of the outfeed into the back of the cast iron top. The back support leg keeps the rest of the table top up under load. I finished everything with boiled lineseed oil and wax.

The table is almost exactly the same width as the iron top, but doubles the total length. Now I can resaw a 3ft board without worry about it dropping off the back end. As a bonus, the outfeed table doesn’t interfere with anything behind it when pushed into its resting place. Nor does it interfere with the fence. Basically I will probably never take this off.

Bandsaw Lighting

My drill press lighting scheme worked out really well and I have other tools that could use a helping light.  Enter a few useful items.  1.  Is a pair of car accent headlight strips (7 bucks for the pair and super bright)  2.  Inline switch  3.  12v power supply.  All told, about 20 bucks of stuff.  DSC_0433

I started by zip tying the power brick to the back side of the bandsaw housing.  Make sure all the cables and zip ties are in places that won’t get snagged by wood passing through the bandsaw.

DSC_0434

I used some 3M VHB tape to stick the switch to the front of the machine within easy reach of the tool’s power switch.  VHB tape is a bit pricy, but really good stuff if you need something to stick and stay stuck.

DSC_0435The light strips fit nicely under the top section of the cast band saw structure.  The strips came with some basic double stick foam tape.  For now they are sticking ok, but the cast housing is rather rough, so I expect they will need additional shoring up after a bit of Florida summer gets to them.

DSC_0436

All the lighting wiring comes to this point behind the switch.  I tied the two lights together and connectorized them to the switch.  I used a lot of zip ties to keep all the wires out of the wood aperture, and I think it was pretty successful.

DSC_0437

I had a goose necklight already installed from a while back.  It does an ok job, but with the new lighting strips everything is really nice and bright when working on the bandsaw.


Lighting Test

DSC_0438

No Lights

DSC_0439

LED Strips

DSC_0440

LED Strip with Spot Light