Paint Cabinet Organization

After my spray paint crates got my paints organized, I got to taking a harder look at my cabinet. I 3D printed a series of holders for the different calking tubes I have, then I went through and got rid of some old glues that were past their prime. Next thing I knew I was re-organizing the whole cabinet. This isn’t quite a before shot (Wish I had one of the beginning), but about half way through.

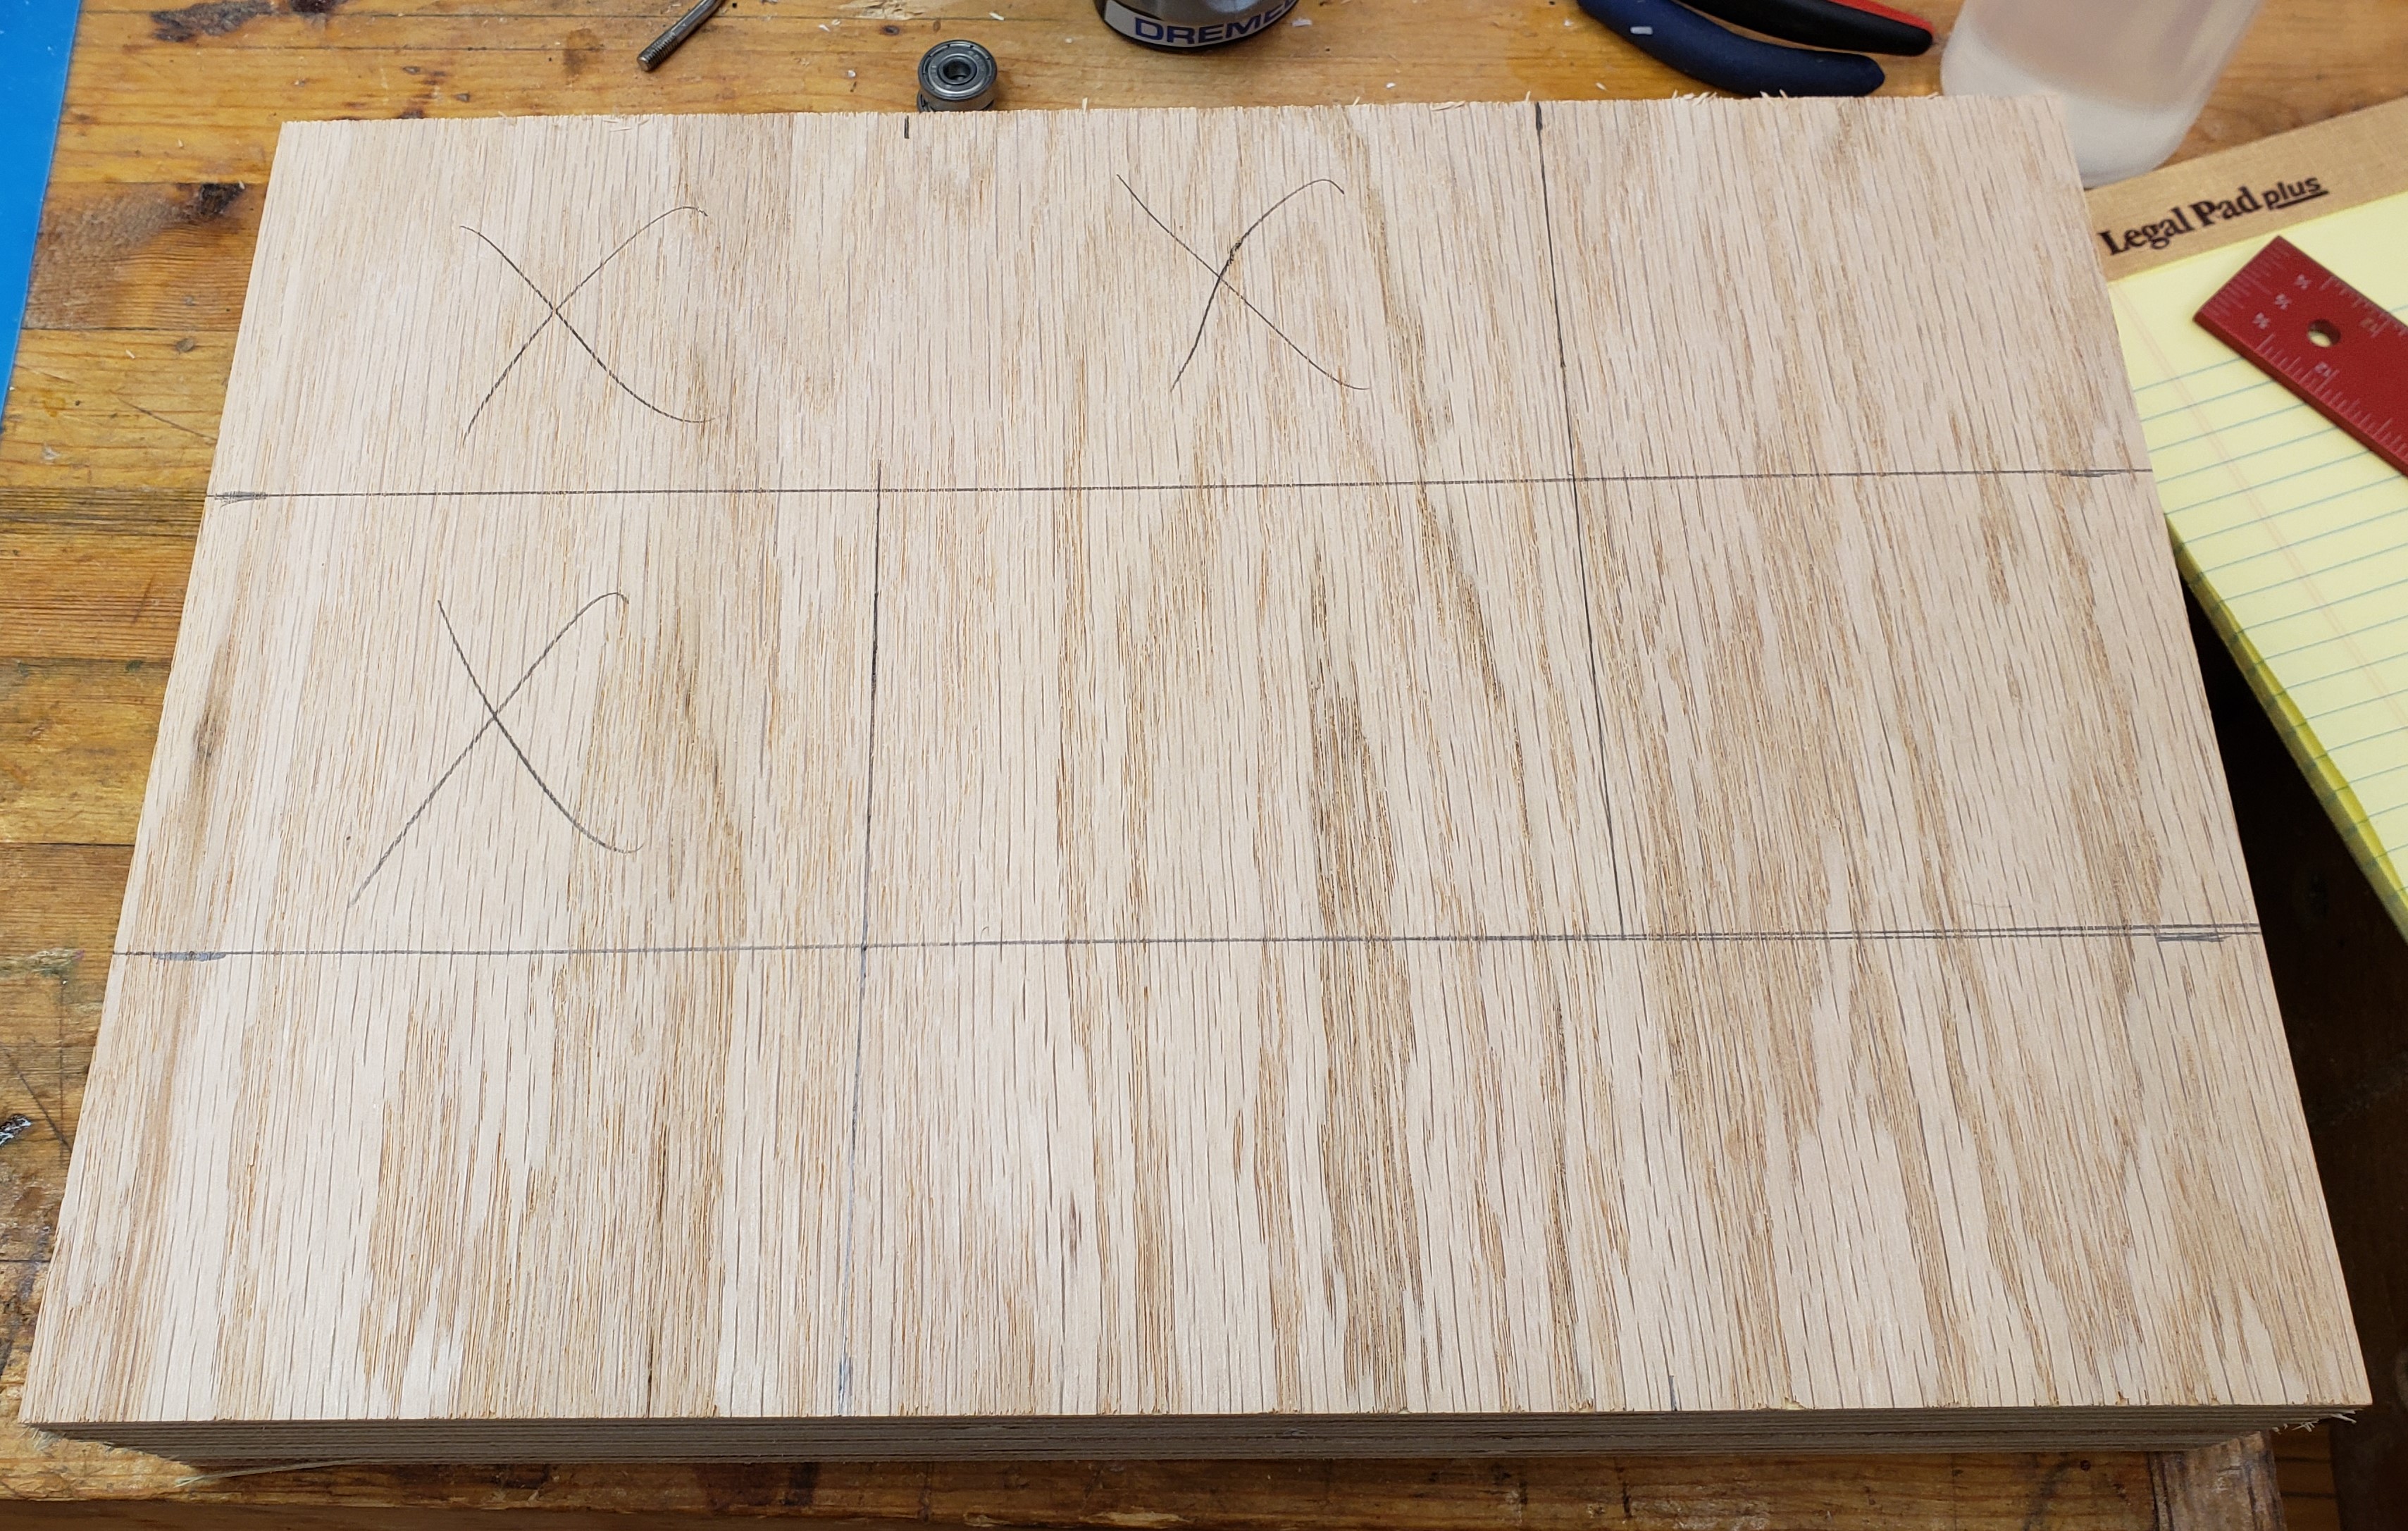
This cabinet has really deep shelves. That is great, but small stuff gets lost and even medium stuff gets hidden. I started making stadium seating for all my cans jars and bottles. I taped together two or three sheets of plywood, then laid out the stair step cuts. Glue bottles are smaller and got more layers that go taller. The wood finishing stuff tends to be bigger, so fewer wider shelves. 1/2″ plywood across the top makes a sturdy mini shelf.

I had a pile of tapes rolling around one of the lower shelves, so I looked for how to store them. I had recently picked up some harbor freight magnetic hooks. Turns out the hook is just a M4 stud, so if you unscrew it you can put in your own screw. I picked up a bunch more hooks and combined them with a stash of M4s I already had. Now I can flexibly store tape all along the inside of the doors.

I put more like things together. The spray paint was up top, but is now down low with the solvents, the glue and calking are together, the wood stains and finish have their own shelf, etc. I cleared up enough room to bring my hot glue out of a packed drawer and in with the other glue stuff. Magnetic bars and plywood gave me a wooden surface on top to attach my printed calking gun holder and a pvc hot glue gun holster. I printed a kimwipe box holder and stuck it to the roof too. Got to think in 3D when maximizing storage here! Use every surface possible.

To summarize, when organizing something like this:

  • Store like with like
  • Get creative about typically unused space (backs of doors, top of cabinet)
  • Make sure you have elevated seating for all shapes and sizes so you can see what you have

DIY Cleaning Wipes

Everyone seems to be in clearing out the store of all available cleaning products. Specifically the disinfecting wet wipes are GONE! I am no health expert, but the CDC says that general disinfectants and anything with alcohol over 60% is effective against covid19. Where does one get that now that the stores have all been cleaned out?

Easy, go to the hardware store and get denatured alcohol. From what I have found, any of the “green” denatured alcohols available from hardware stores are 80-90% ethanol. The non-green versions are about half ethanol and half methanol. Probably decent at killing germs, but not as safe to be using on yourself. Our local Lowe’s sells the Jasco brand and their SDS lists the ingredients. A small amount of that on a paper towel or rag should act as a highly effective cleaner for a really cheap price. I just picked a quart up for 7 or 8 bucks, though the website doesn’t seem to have it. They had a full shelf of the stuff when I was there.

Saw Blade Cleanup

Saw blades tend to get gummed up with pitch and glue from all the various woods you saw. I have been doing a lot of hard wood and noticed some burning in my maple cuts. The blade was looking pretty gunky. I always blew off cleaning saw blades as not being that important, but decided to give it a shot. My table saw blade is pretty new and is starting to perform poorly.

There are various products out there for blade cleaning, but Internet searches suggested simple green or laundry detergent. I always keep simple green around so I started with that.

30 or so minutes of soaking later and a scrub with a stiff plastic brush and the blade looked practically brand new!

No more pitch or burned in junk. I was starting to think the carbide had some thermal damage, but no, it looks great. It worked out so well I went ahead and tried it on my big miter saw blade.

A simple green soak plus a little scrubbing puts you back on top. I was thinking I needed to replace this blade, but after the cleaning it cuts like new. Carbide wears out eventually, but not cleaning makes it seem worse than it actually is.