In industry there is a line of drawer cabinets from a company called Vidmar. They can be short or tall, but are usually pretty wide and deep and super well built. Each drawer can hold hundreds of pounds, they have different divider systems, and full extension drawers. Also they tend to have fancy features that don’t let you pull out too many drawers. You could easily tip one over on yourself and cause serious injury.
In looking at my materials storage area, I have a lot of plastic bins that are organized, but maybe only half full. I have made hardware drawers in the past and love their organization and dense storage capacity. This new cabinet will be much larger and deeper and use full extension metal slides. I started with a lot of planning. I wanted to maximize the materials I used, my limited shop time, and the space available.
I had it all worked out on paper, and started with the drawers. I cut 24″ wide sheets of 3/4″ plywood and put a rabbet down two sides to make half lap drawers. All four sides of the drawers would all be the same length. This made batching easier. Routing bulk material was faster and cleaner than cutting out individual sides, then doing the routing. This was a big improvement over previous drawer efforts.


With all the sides cut, I put another rabbet along the bottom of each board for the drawer bottom. Each would get a 1/2″ piece of plywood in the recess. Probably overkill, but I want them to be able to handle a lot of weight. Eight 24×24″ drawer bottoms worked out nicely to 1 full sheet of 1/2″ ply. It was subtle, but I put a little radius on the top edges of all the drawer sides to make it easier on your hands when reaching in. They took a bit of sanding to smooth out.


I had everything figured out really precisely, and cut all the drawers at the same time to reduce error. If they went together with any kind of bows or warp, it would throw my plans off. I attached a board to my table saw to act as a square, and used the top as a large flat assembly surface. Each side got glue and nails in two directions. Nailing and gluing a half lap like this is really fast, easy, and strong. The drawer bottoms got glue and nails in from the bottom, and into the side of the bottom plywood. They were fast to assemble, and should be bomb proof!


For the drawer fronts I cut a single strip of 1/2″ plywood and aligned each front with numbers so the grain flows naturally from bottom to top.


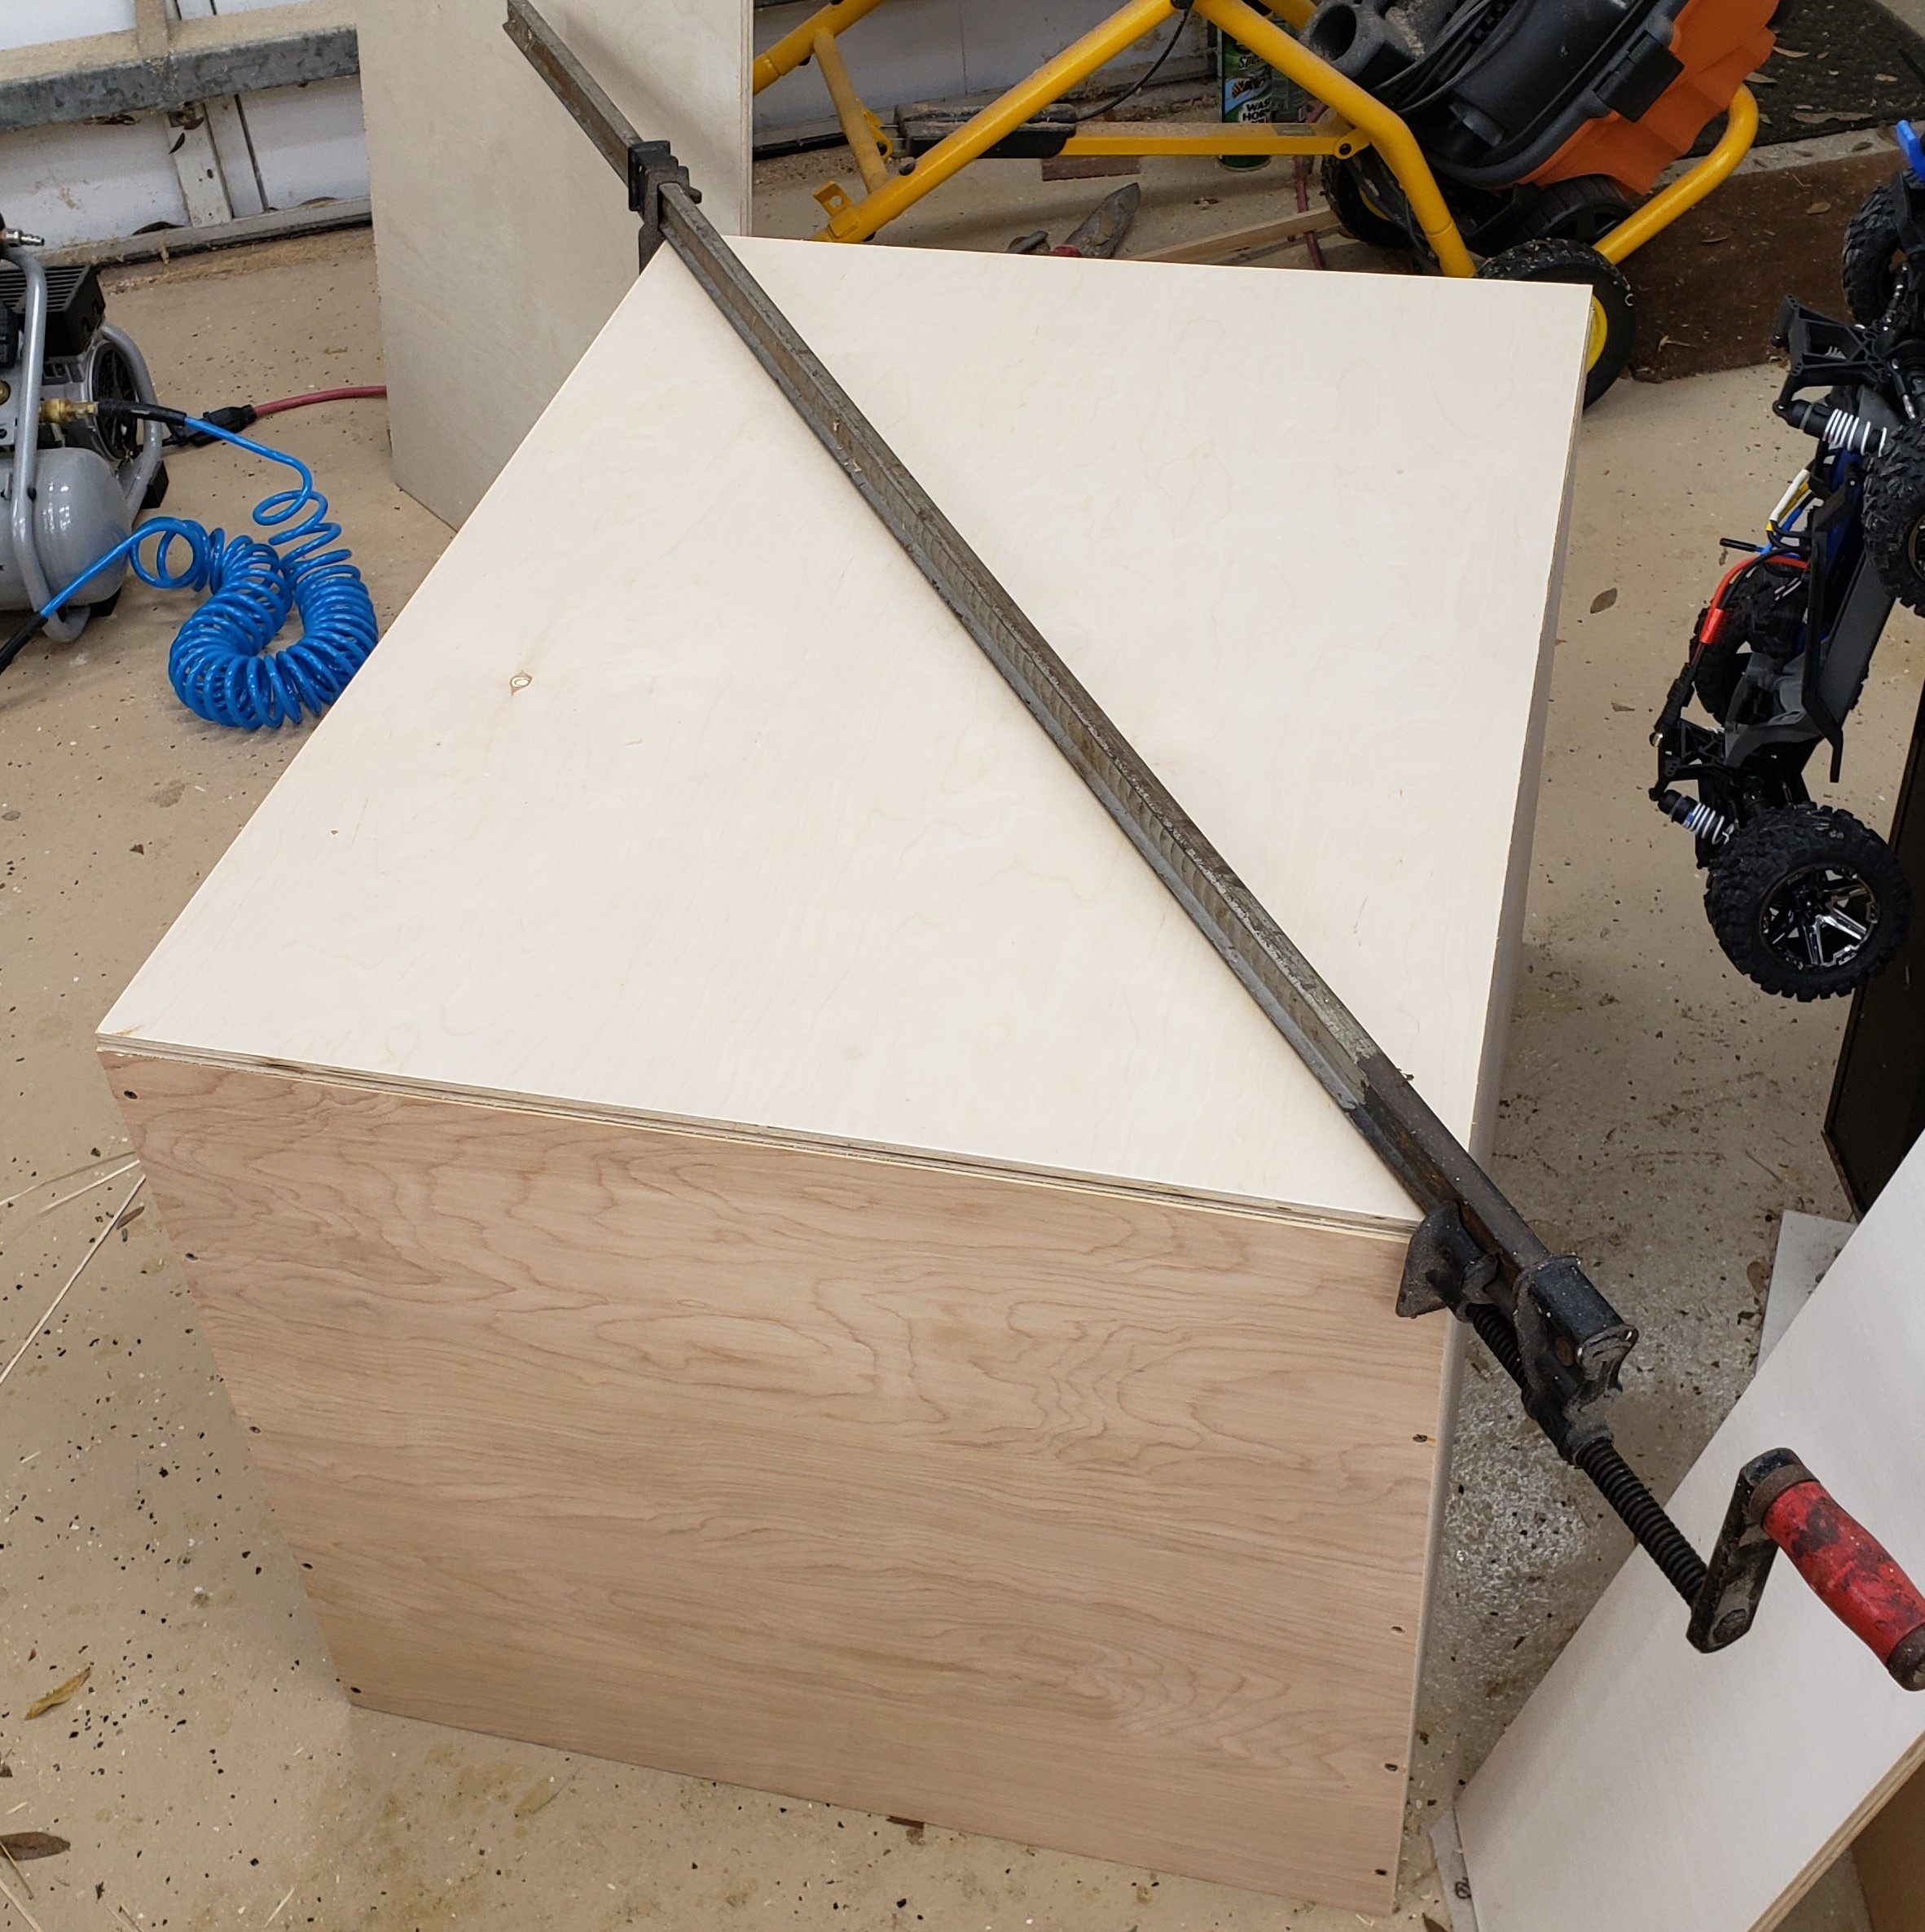
Next came the carcass of the cabinet. Nothing special here, just a box with an open front. I had to be very precise though, if the sides crept in, I couldn’t fit my drawers, and if it got too tall, It wouldn’t fit in the right spot in my garage. I had a little squareness issue, and had to break out my biggest clamp to fix it while installing the back.
For finish I turned to my usual boiled linseed oil shop tool finish. There was so much to do I broke out a roller and tray to put it all on. I think I went through half a gallon to do the cabinet and drawers. My shop helper was sprinkling the painter pyramids all over the driveway for me to step on.


A few days later when it had all stopped smelling I started assembly. The bottom drawer was numbered, and went down with a small spacer between it and the floor. I installed the hinges, then slowly pulled out the drawer and attached the runners. With the first drawer done, I put a 1/2″ sheet of plywood down to provide proper spacing for the next drawer to sit on top of the first. The runners go on the cabinet at a set height, then the next drawer goes in for installation. That gets washed rinsed and repeated until all the drawers are in.


Next comes the home for this big fella. I put heavy casters on the bottom so I could roll it around to clean underneath or rearrange easily. It cost a little storage space, but who wants to bend down that far anyways? Here is the cabinet next to its final resting spot.
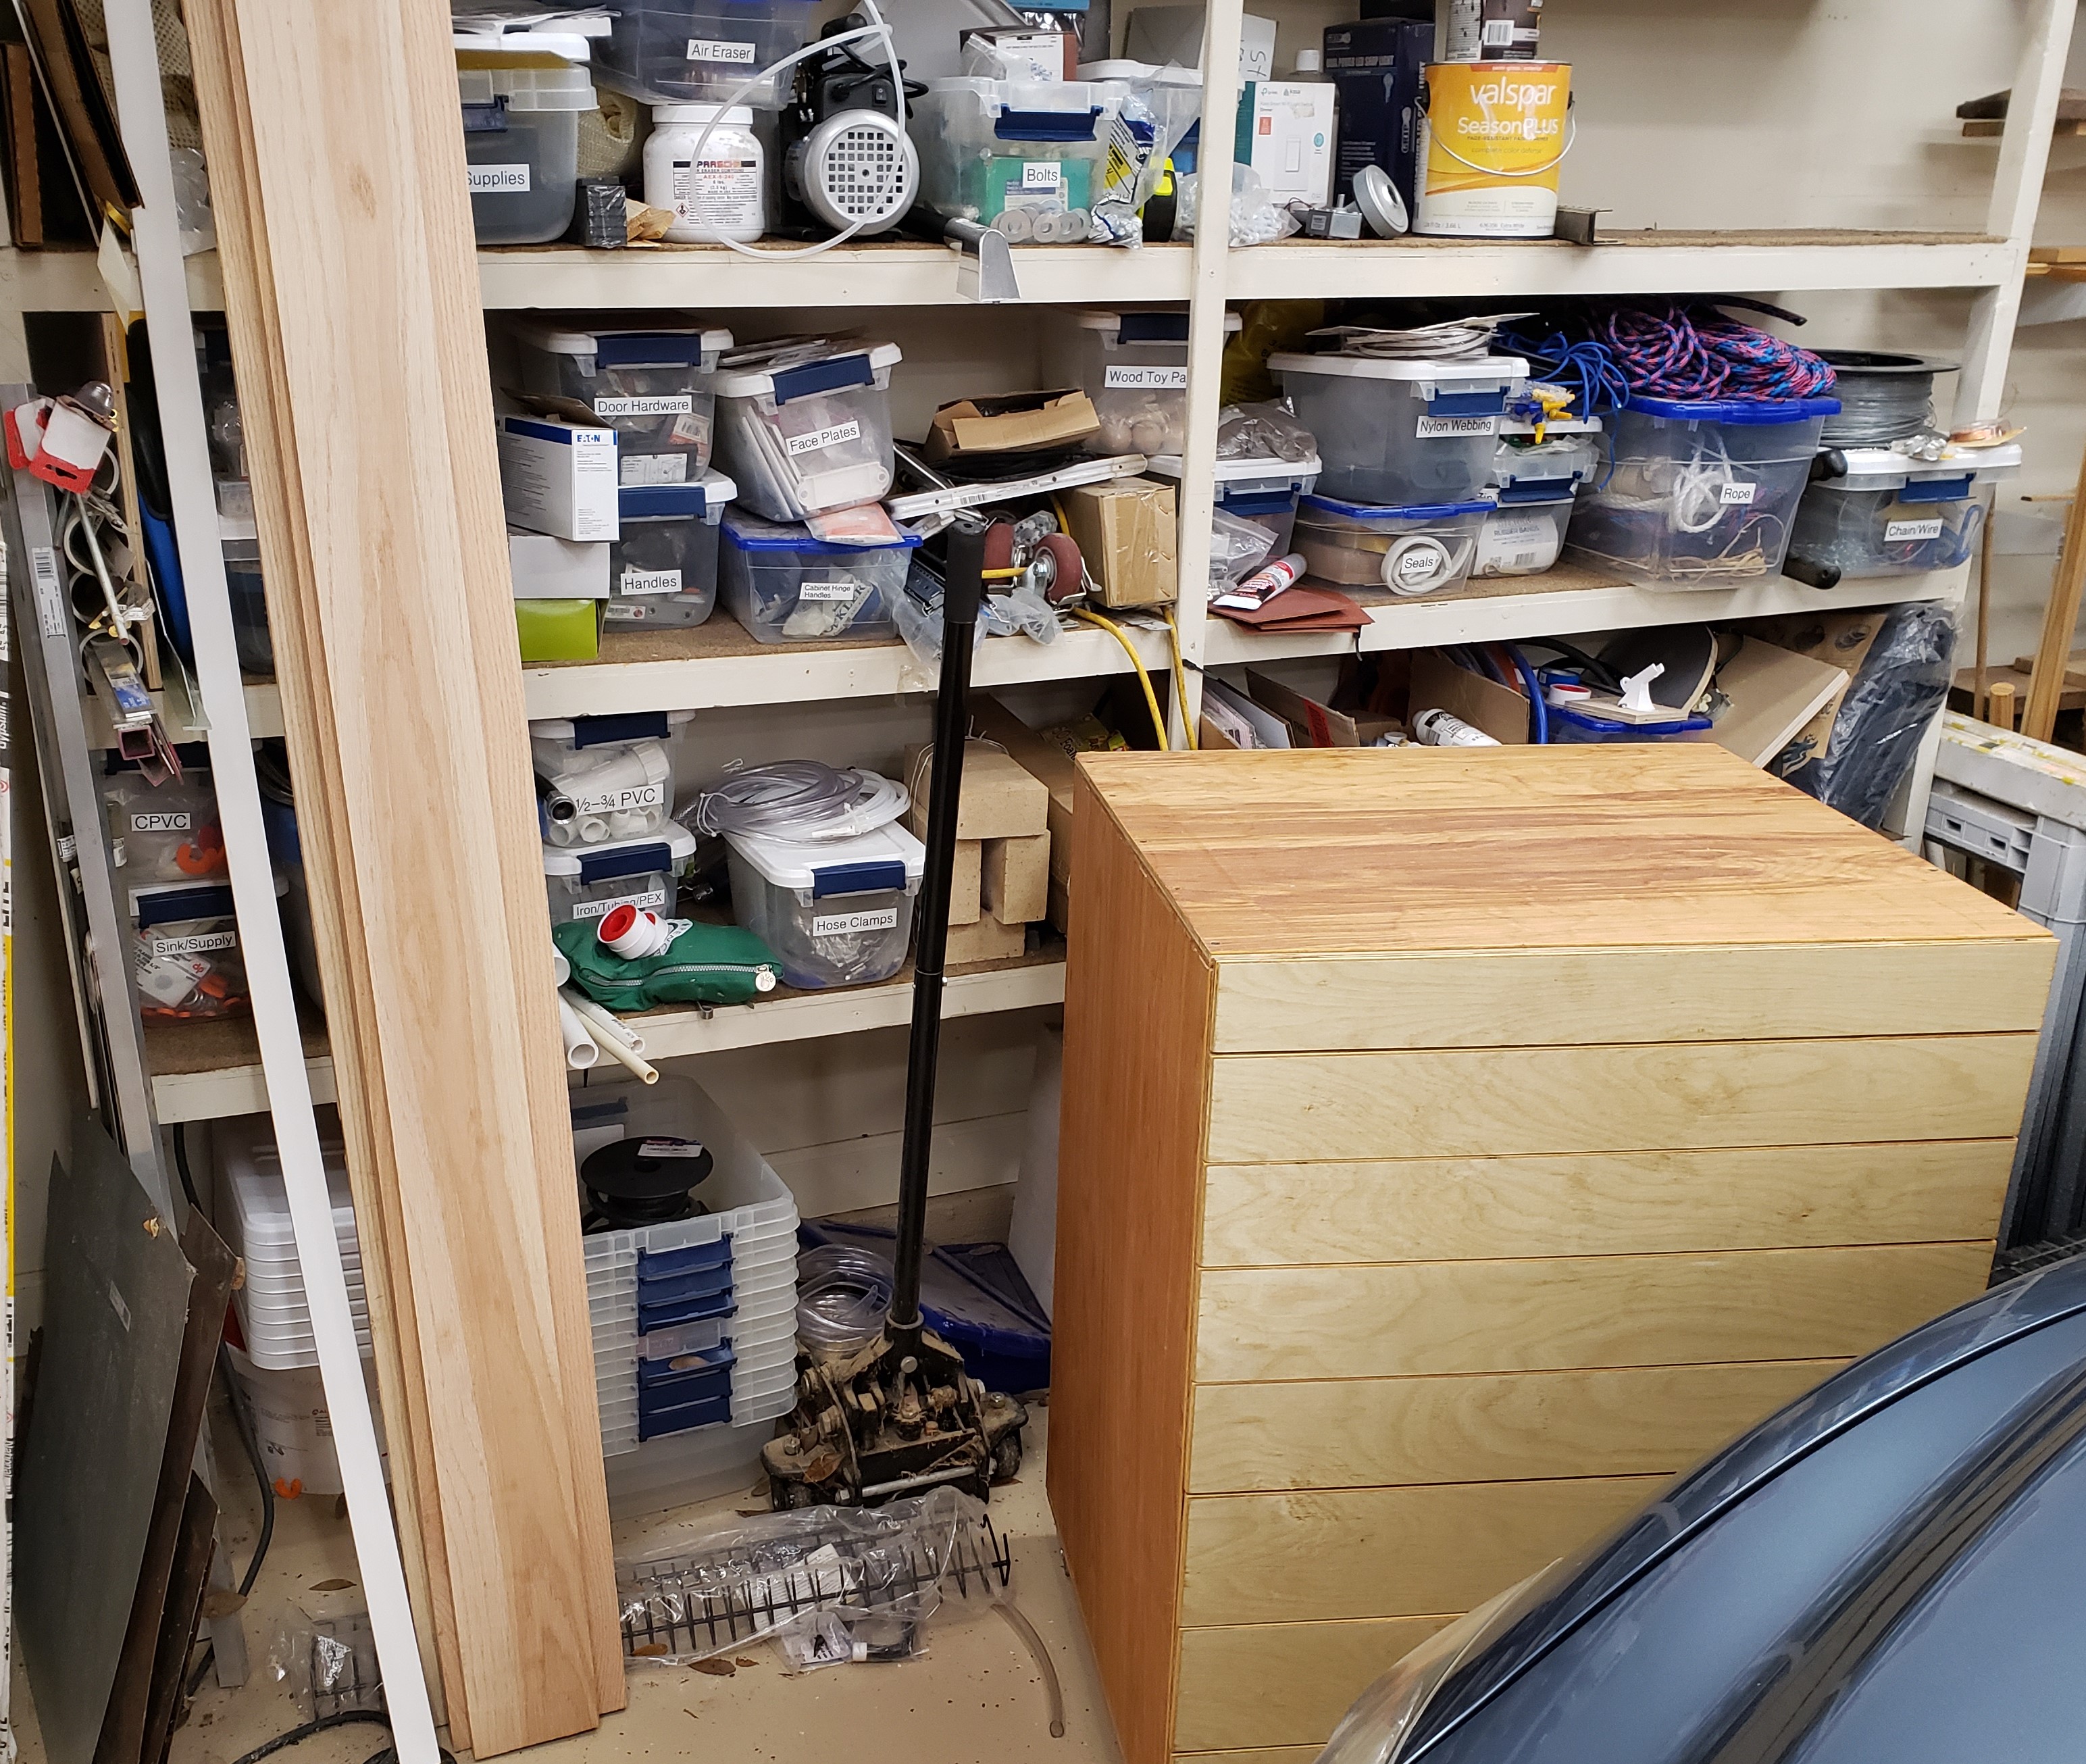
Yes it is a mess, that is why I need this cabinet. I cut out the bottom shelf and slid everything home. I had planned it perfectly. The drawers all fit, the drawer fronts align well, and the cabinet fits up to the next shelf with only a tiny bit to spare.


Drawers of this size need a good beefy handle. I employed my mill to cut a nice looking handle shape. It was a bit more of an ordeal than I thought it would be. The machine really bogged down in oak, and a number of them broke off the double sticky tape before finishing. After numerous failures I got the feeds set slow enough and incorporated a screw in the work holding.
To keep from drilling tons of holes in my waste board I made the first operation to drill a hole for my screw, then pause the program. That drill operation is quick, and doesn’t stress the double sticky tape. With the screw installed in the same space every time, I reused the hole in the waste board, and knew it would be out of the way of my cutting. The results were rough, but they worked.


Next the handle blanks got sanded, a round over, and more sanding. I figured I would make their look a little more industrial, and set to counter bore the front for a screw. Lots of stop blocking and clamping was needed for that. This would be stronger than screwing through the back, and easier to install. I like the aesthetics of it too.


Things were coming together. I needed some labeling, so I printed slots that would accept 1″ label tape without the back removed. It meant I could rearrange tags quickly without peeling anything. A little calking on the back held the holders down. I used a few pin nails to tack them in place while the calking dried. No heads on the pins means they don’t interfere with the labels sliding in from the sides.

I painted on a little linseed oil on the handles and installed each one down the center. They are comfortable, easy to use, look gorgeous, and finish off a wonderful cabinet. I should make my own handles more often. I feel like my experience and planning payed off. Other than some issues with the handles this job went off without a hitch. I have done a lot of other stuff like it before though, so I shouldn’t be making as many mistakes at this point.


I spent days pulling things out of bins and drawers, organizing, cleaning up and throwing away junk. This isn’t the final configuration, but it is close. The shelves are a lot cleaner and I still have a lot of room left in this guy. It isn’t hoarding if you use labels!