Disk Sander Circle Jig

My Bandsaw Circle Jig actually started out as an idea for a disk sander jig I saw in one of my woodworking magazines. They used a sliding arm with a screw adjuster to fine tune the diameter of the circle. I thought this was neat and it slowly evolved into the arm I made for my bandsaw jig.

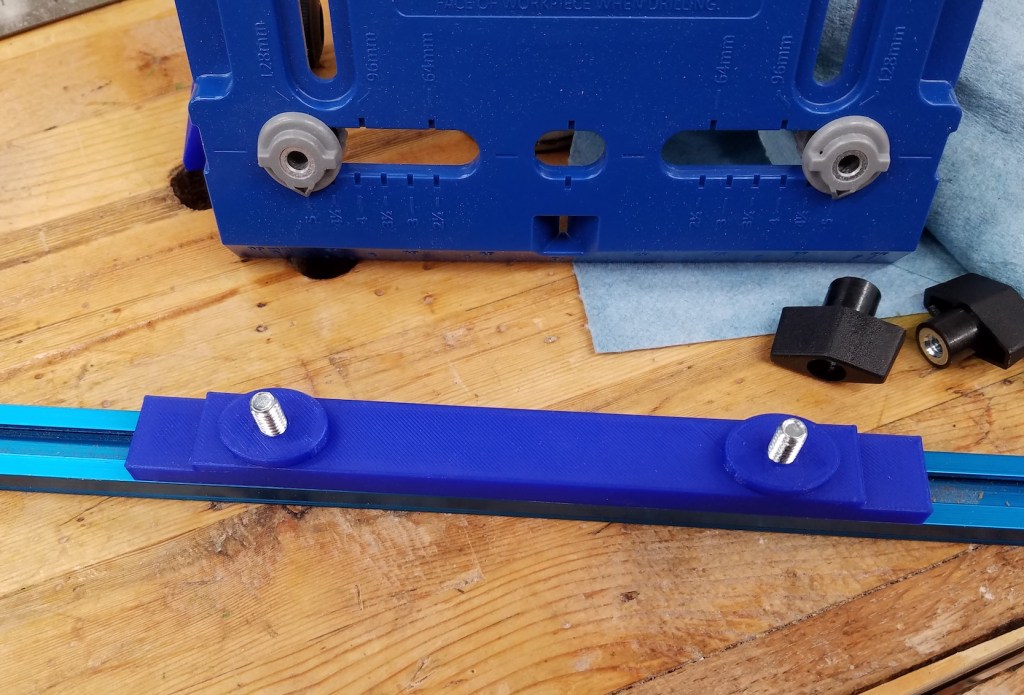
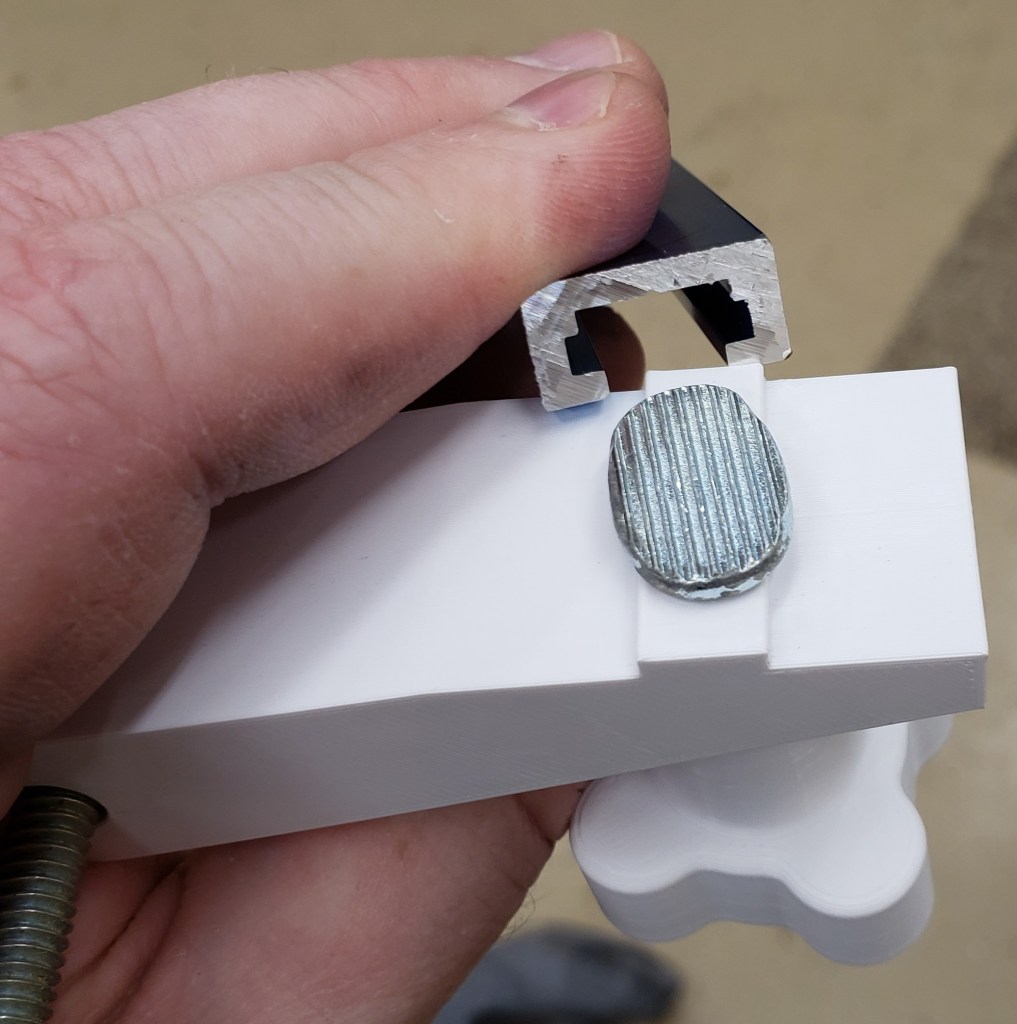
I already had an arm with T-slot track in it from the bandsaw project, so I figured that would get used in both jigs. You could cut on the bandsaw, then fine tune on the disk sander. The construction method I used before applies well here too. 3D print a runner to go in the miter slot, start with a base of 1/4″ MDF, then attach 3/4″ MDF on top to guide the sliding arm. I CA glued the runner in place with it all aligned, and then screwed it in from underneath.

I don’t have any features to keep the adjustment arm locked down because the disk sander’s movement should push the work piece into the table and keep it stable. Hopefully that theory continues to work out for me.


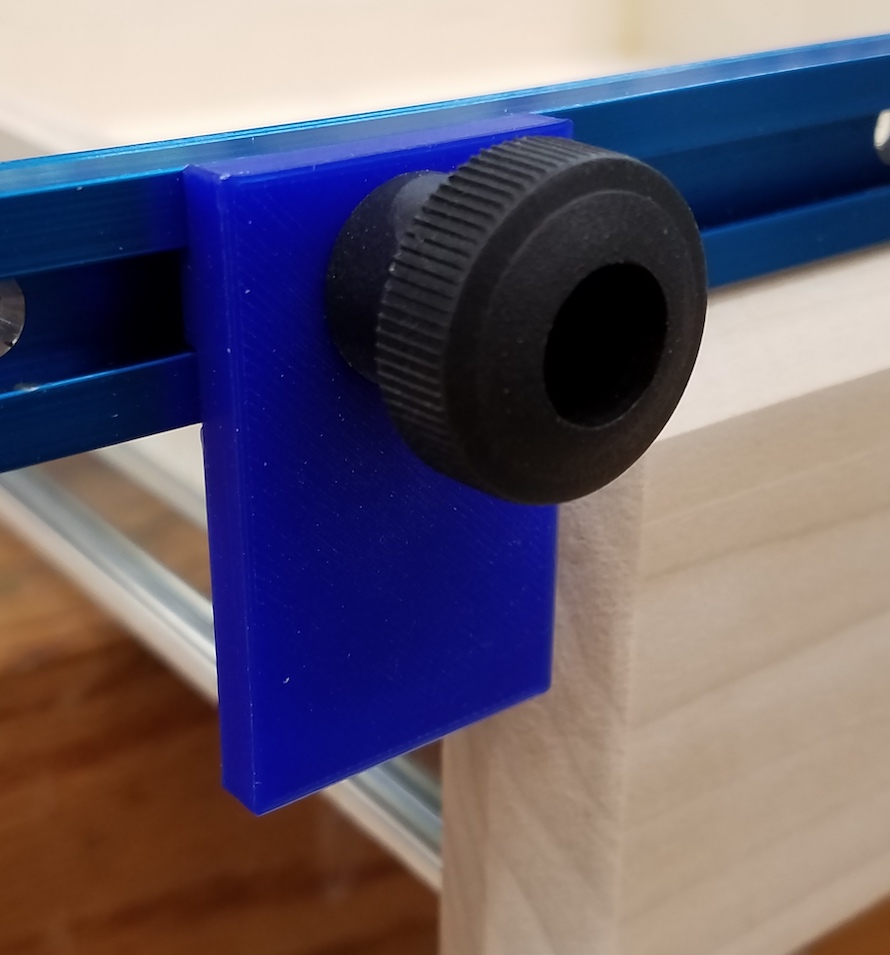
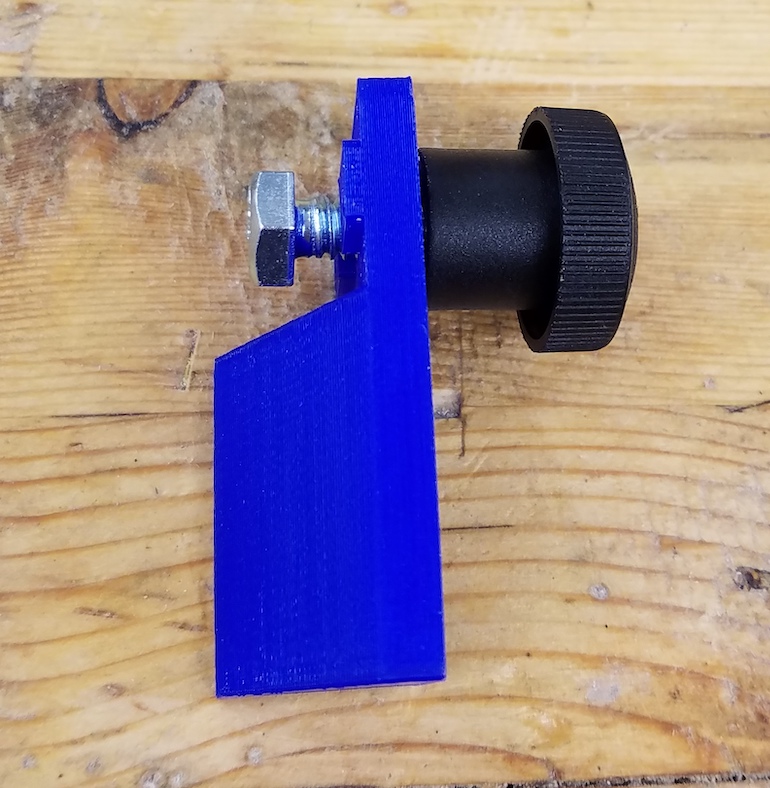
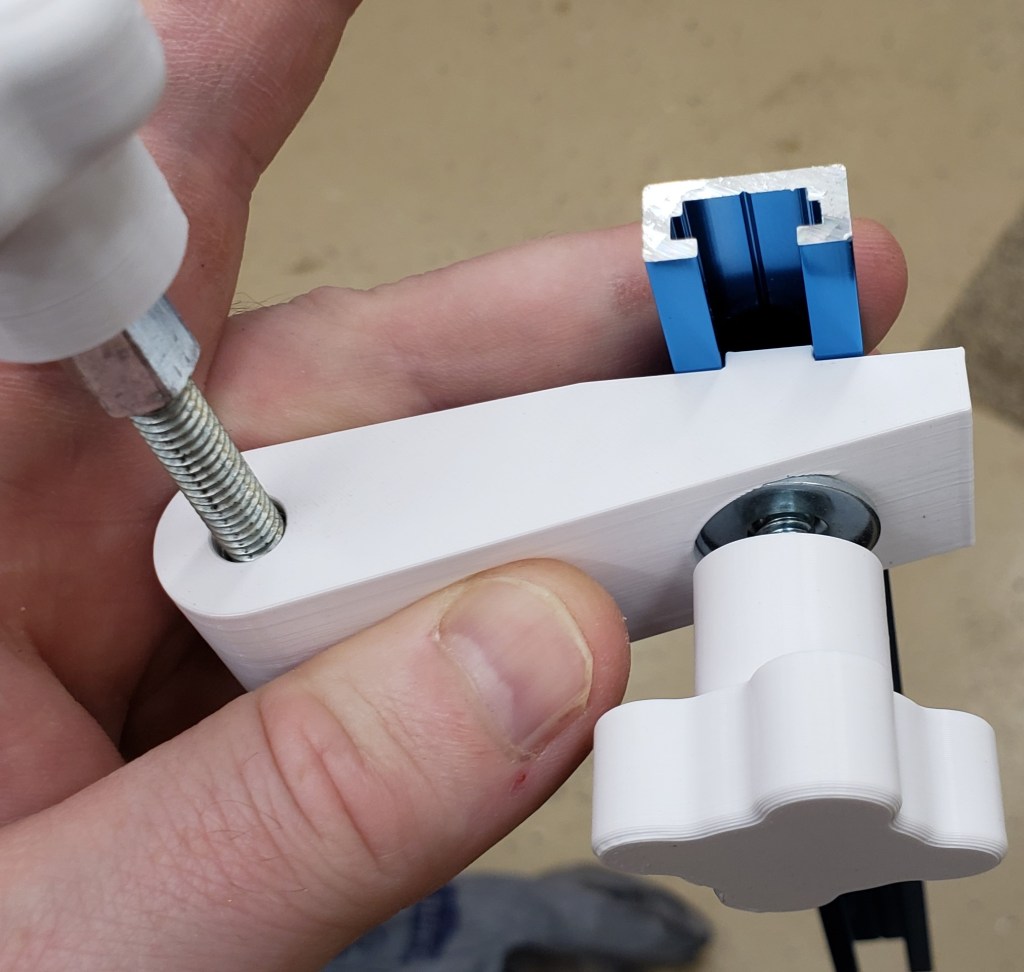
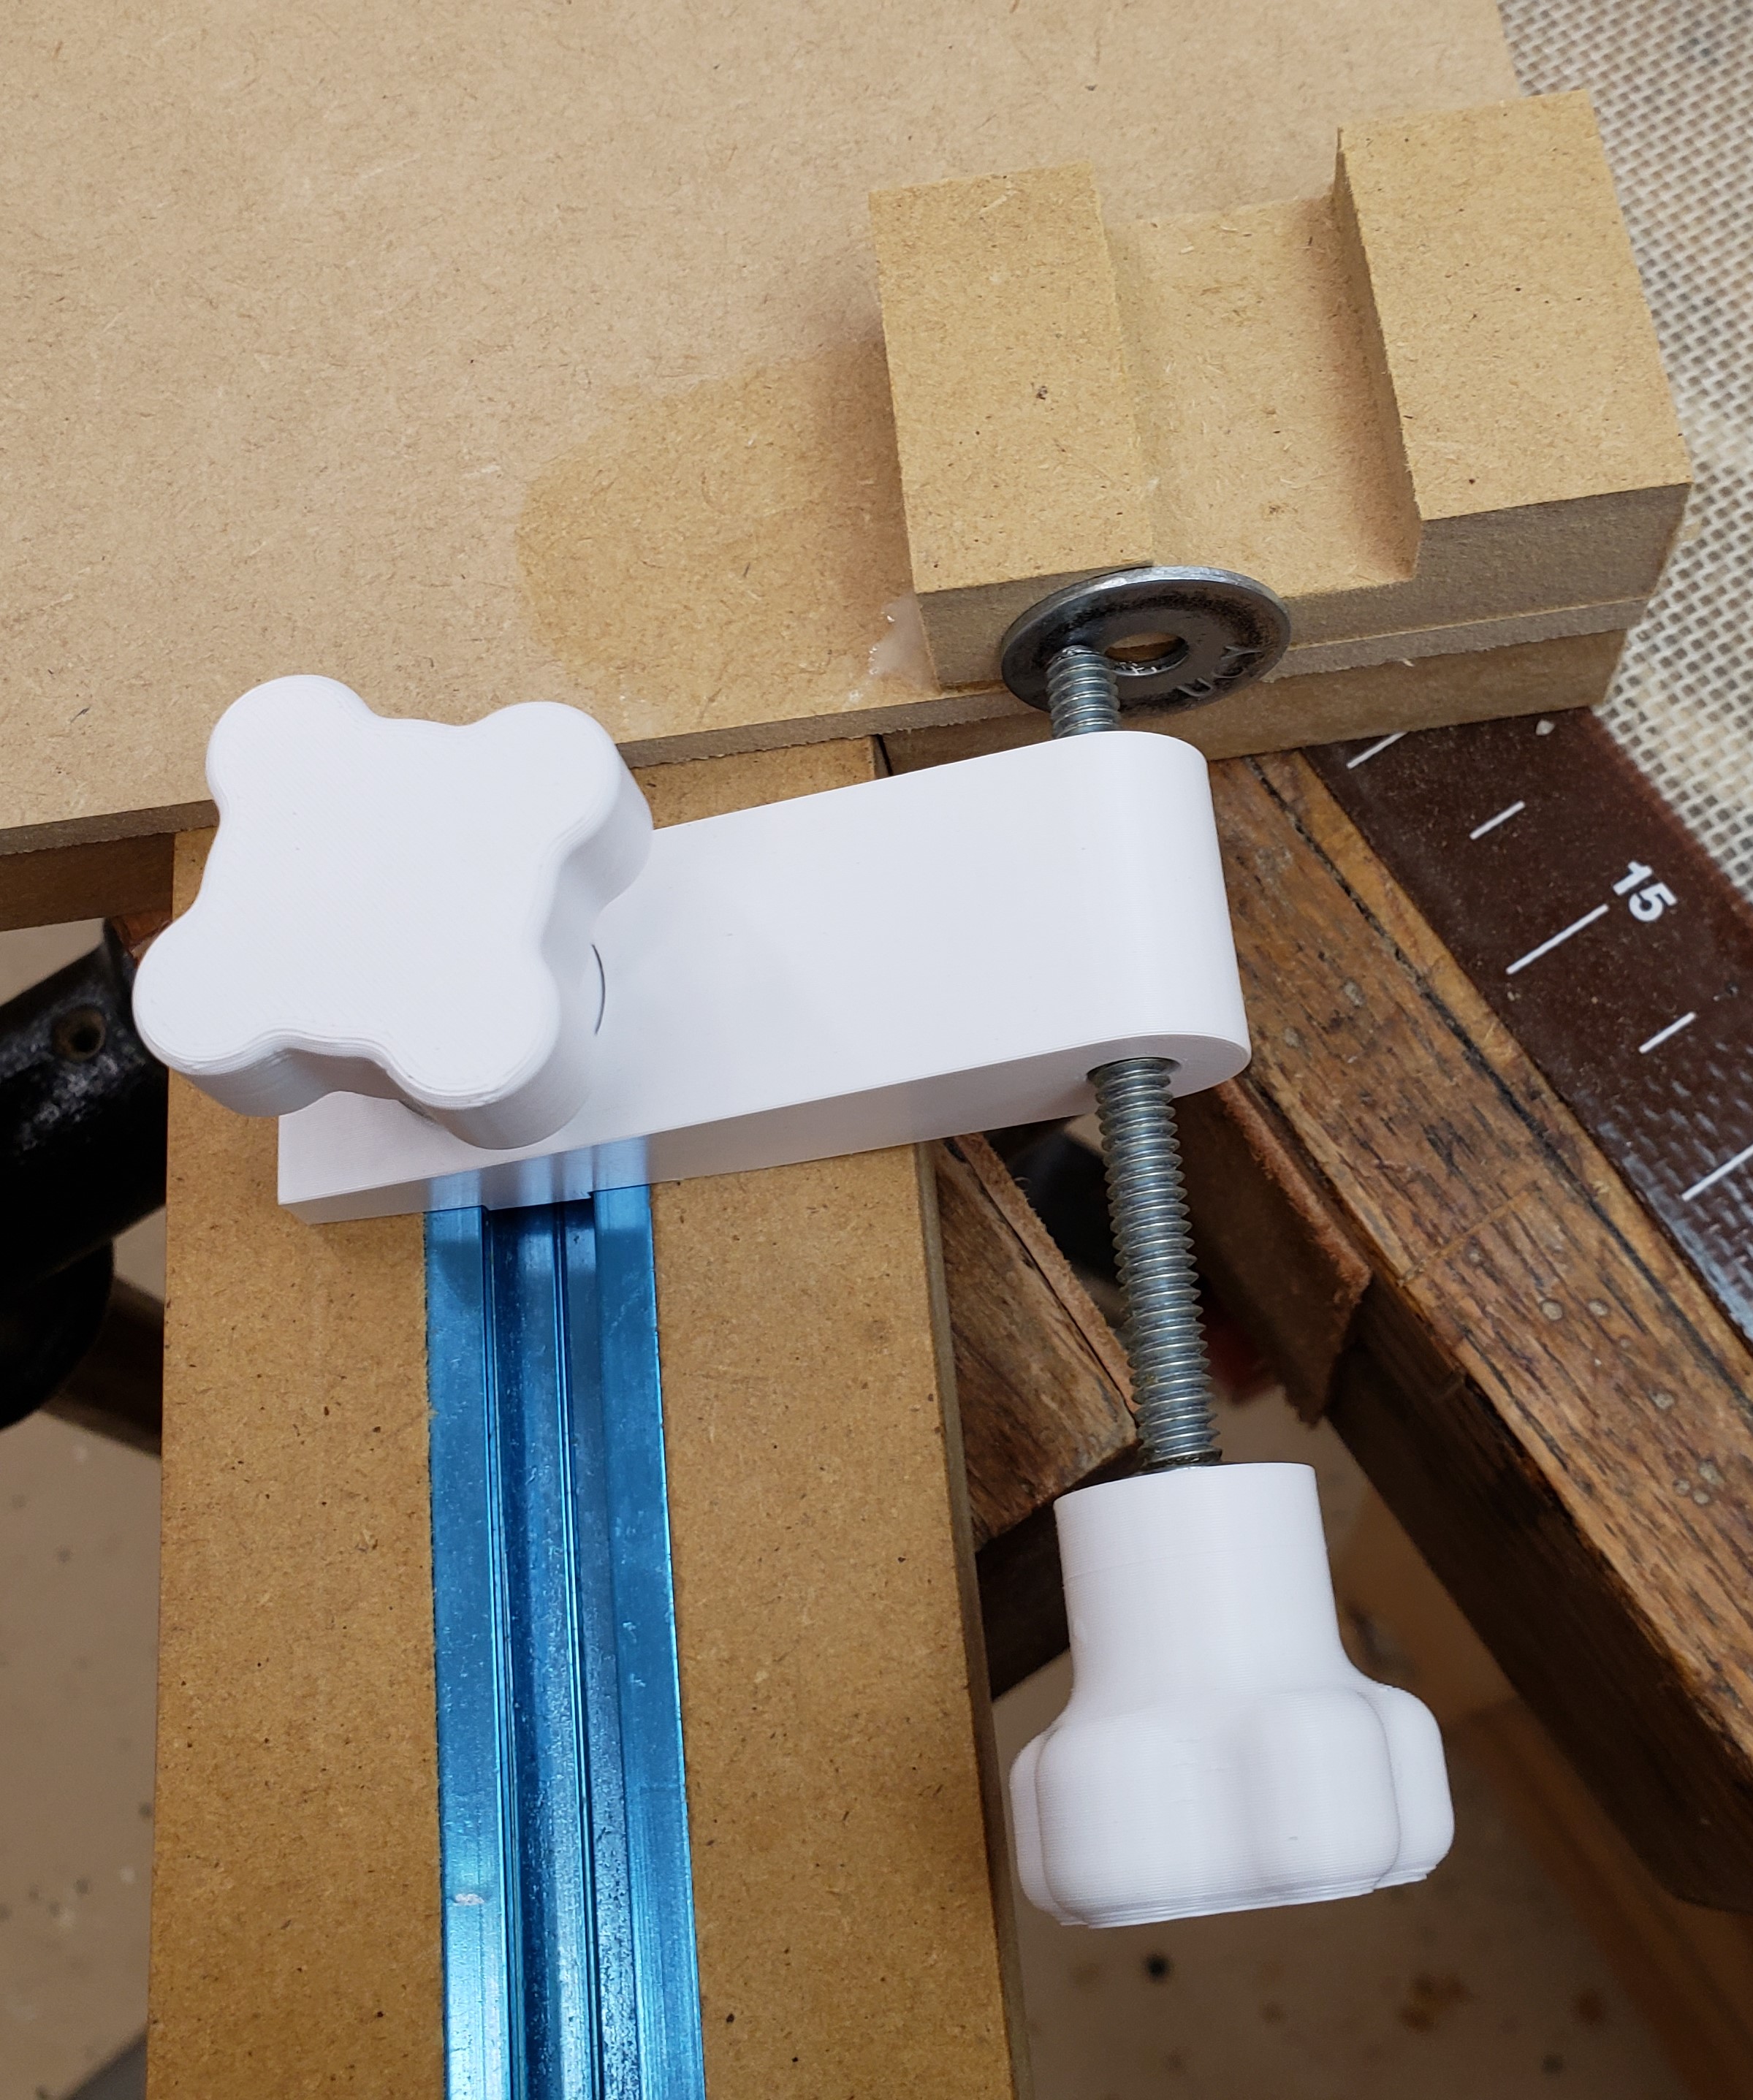
The new thing here is the adjuster. The wood magazine had something with a T-nut and bolt. It was fine, but I figured a printer could do better. The knobs were something I had designed earlier. Each holds a 1/4″-20 coupling nut. The adjustment screw is a bit of threaded rod with a coupling nut bonded to one side. The other was rounded via a drill and bench grinder. The knob will glue on to the nut and the rounded end will push up against a hard stop. Having it rounded should mean there is only point contact and will make for smoother more even adjustment.

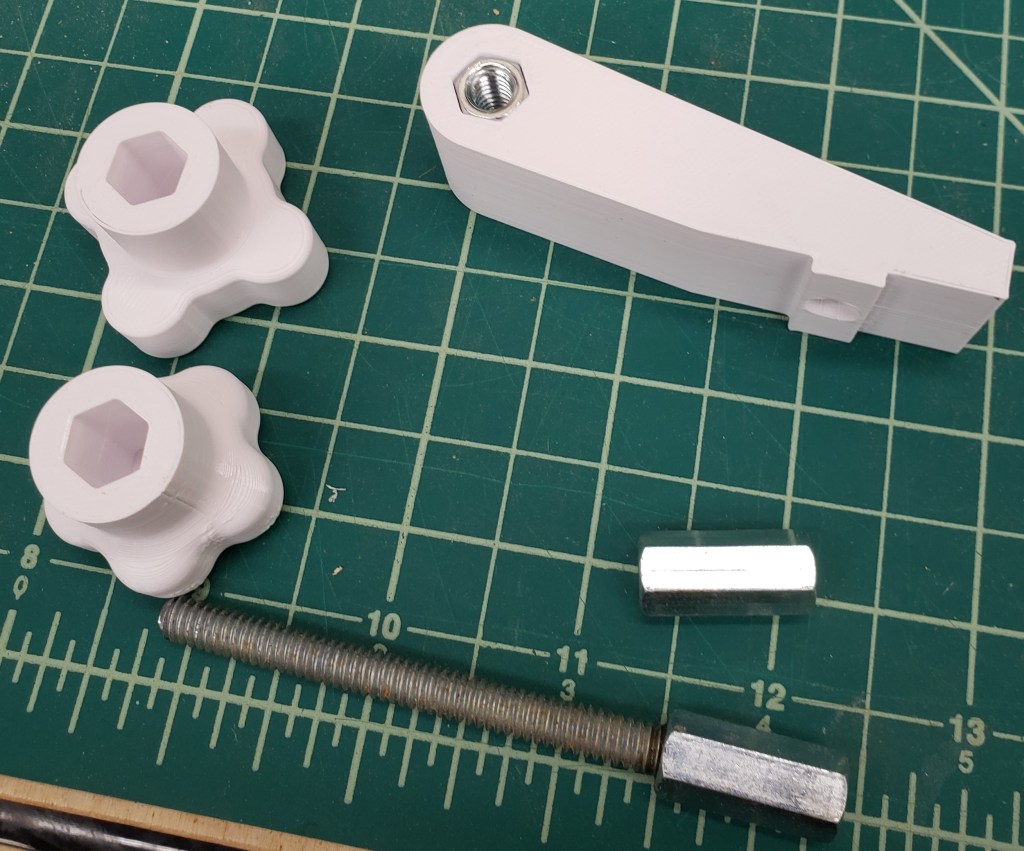
The adjuster uses a bolt in the t-track of the adjustment arm to clamp itself down in the rough position. I added a block to the bottom of the jig and bonded a big fender washer down for the head of the adjustment screw to contact. It should be a very firm stop and won’t wear easily.

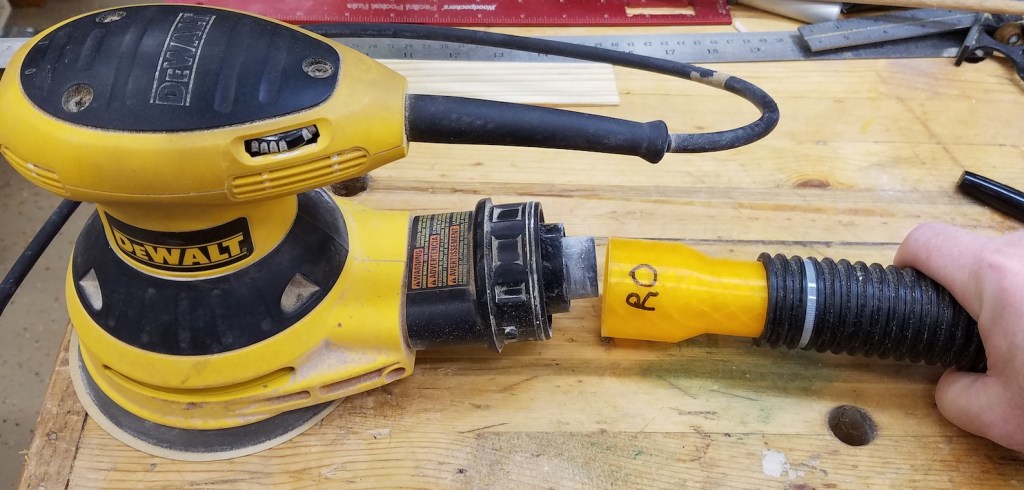
Putting it all together, and with a few coats of polyurethane to keep the MDF stable, I tested it with another sharpening wheel. My last one was a little small, so I made a new bigger thicker one. The only thing to note is that doing heavy sanding in one spot will load up the paper badly. Sliding down the table occasionally will help even out the wear.

April 2019 Prints

RTIC Tumbler Handle

For some reason RTIC has changed the shape of their 30oz tumbler. Not sure if YETI did this, and they followed suit or what. I suspect it is a plot to sell more handles and accessories. As it stands, the old handle I designed doesn’t fit on the new style of cup any more. The taper angle and diameters are just a little different.

My old handle was printed in 2 parts because most low end printers (including the one I owned at the time) couldn’t print something that big. Now a days at least a 6×6 bed size is pretty bog standard. This new design will be all one piece. The cup is large enough in diameter that getting my calipers on it wasn’t going to work. I printed some rings of different diameters and used them to estimate the taper angle of the new cup.

With that figured out I just printed a new handle that looks a lot like the old one, only with slightly more finger room and a longer grip. Thingiverse link

Drawer Pull Centering Jig

I picked up a Kreg cabinet handle jig for one of my recent projects, and because handles are something you install pretty frequently. It is certainly possible to do them well without a jig, but that always makes repetitive work easier. The jig does a good job of setting the height and width of the holes. It doesn’t center them on the drawer though. I made a few add ons to help with that.

I took a length Kreg track that you would normally imbed into a table to make moveable hold downs. Instead, this becomes part of the top fence used to set depth. Now with a spacer it registers across the whole top edge of the drawer. That also lets you use an edge stop. Now it is all centered. Once set you can put handles in the same drawer position over and over again with no more measurements or adjustments. The only downside is that there was a scale on the back of the jig for setting depth. That no longer measures true because this vertical stop doesn’t register where the old one did.

Router bits

Storage and organization is a place where the printer continues to be endlessly helpful. I have had this nice router bit set for years, but always had trouble getting the bits back in their slot. They end up clanking around the drawer and taking up more space than they should. A simple printed tray gives them each a home and takes up a lot less drawer space. For smaller prints like this, a label maker works better than trying to 3D print the text.

More Dust Collection Adapters

Woodworking Dust Collection Rule 1: No two dust collection ports are ever the same size… EVER

Once again I find myself trying to fit a dust collection hose on to some of my tools and wind up having to 3D print a custom solution. Why is it always like this? This time it is a port for my random orbit sander to 1.25″ hose (which isn’t really 1.25″), one for my belt sander, and an adapter to go from that hose to my dust deputy inlet (which has some funky taper on it). The good news is that the ridges left over from 3D printing these always helps the adapter stay in place, even if it isn’t perfect. This is exactly why industry standards and groups like ASME and SAE exist.

Sander Dust Collection Fittings

This falls into yet another “project I started over a year ago” category.  Not sure how it fell off the radar, but it did.  Dust collection is a wonderful thing to have, but there appear to be no standards.  Every piece of equipment has a different hose size.  I wanted to plumb my two main bench-top sanders together in a clean and easy way.

I started by adapting the back of my spindle sander to a PVC elbow, and then to a ribbed segment that would accept some flexible hosing.  5 minute epoxy is all you need to join the plastic pieces.

I cut a small length of hose and attached another hose coupler.  One side is ribbed to keep the hose from coming off, the other is smooth.  The hose slides on and off easily, but seals well enough to be a good vacuum.  I printed some mounting blocks that have a path through them to pass zip ties through.  This holds the coupling down without any complex clamp mechanisms.

DSC_1133

Similarly I went to the stand that has my disk/belt sander and attached hosing so I could get to it on the side of the machine.

DSC_1132

Now the vacuum built into the disk/belt sander can service both it and the spindle sander with just a quick re-plumb.  Cheers to less dust in my lungs!