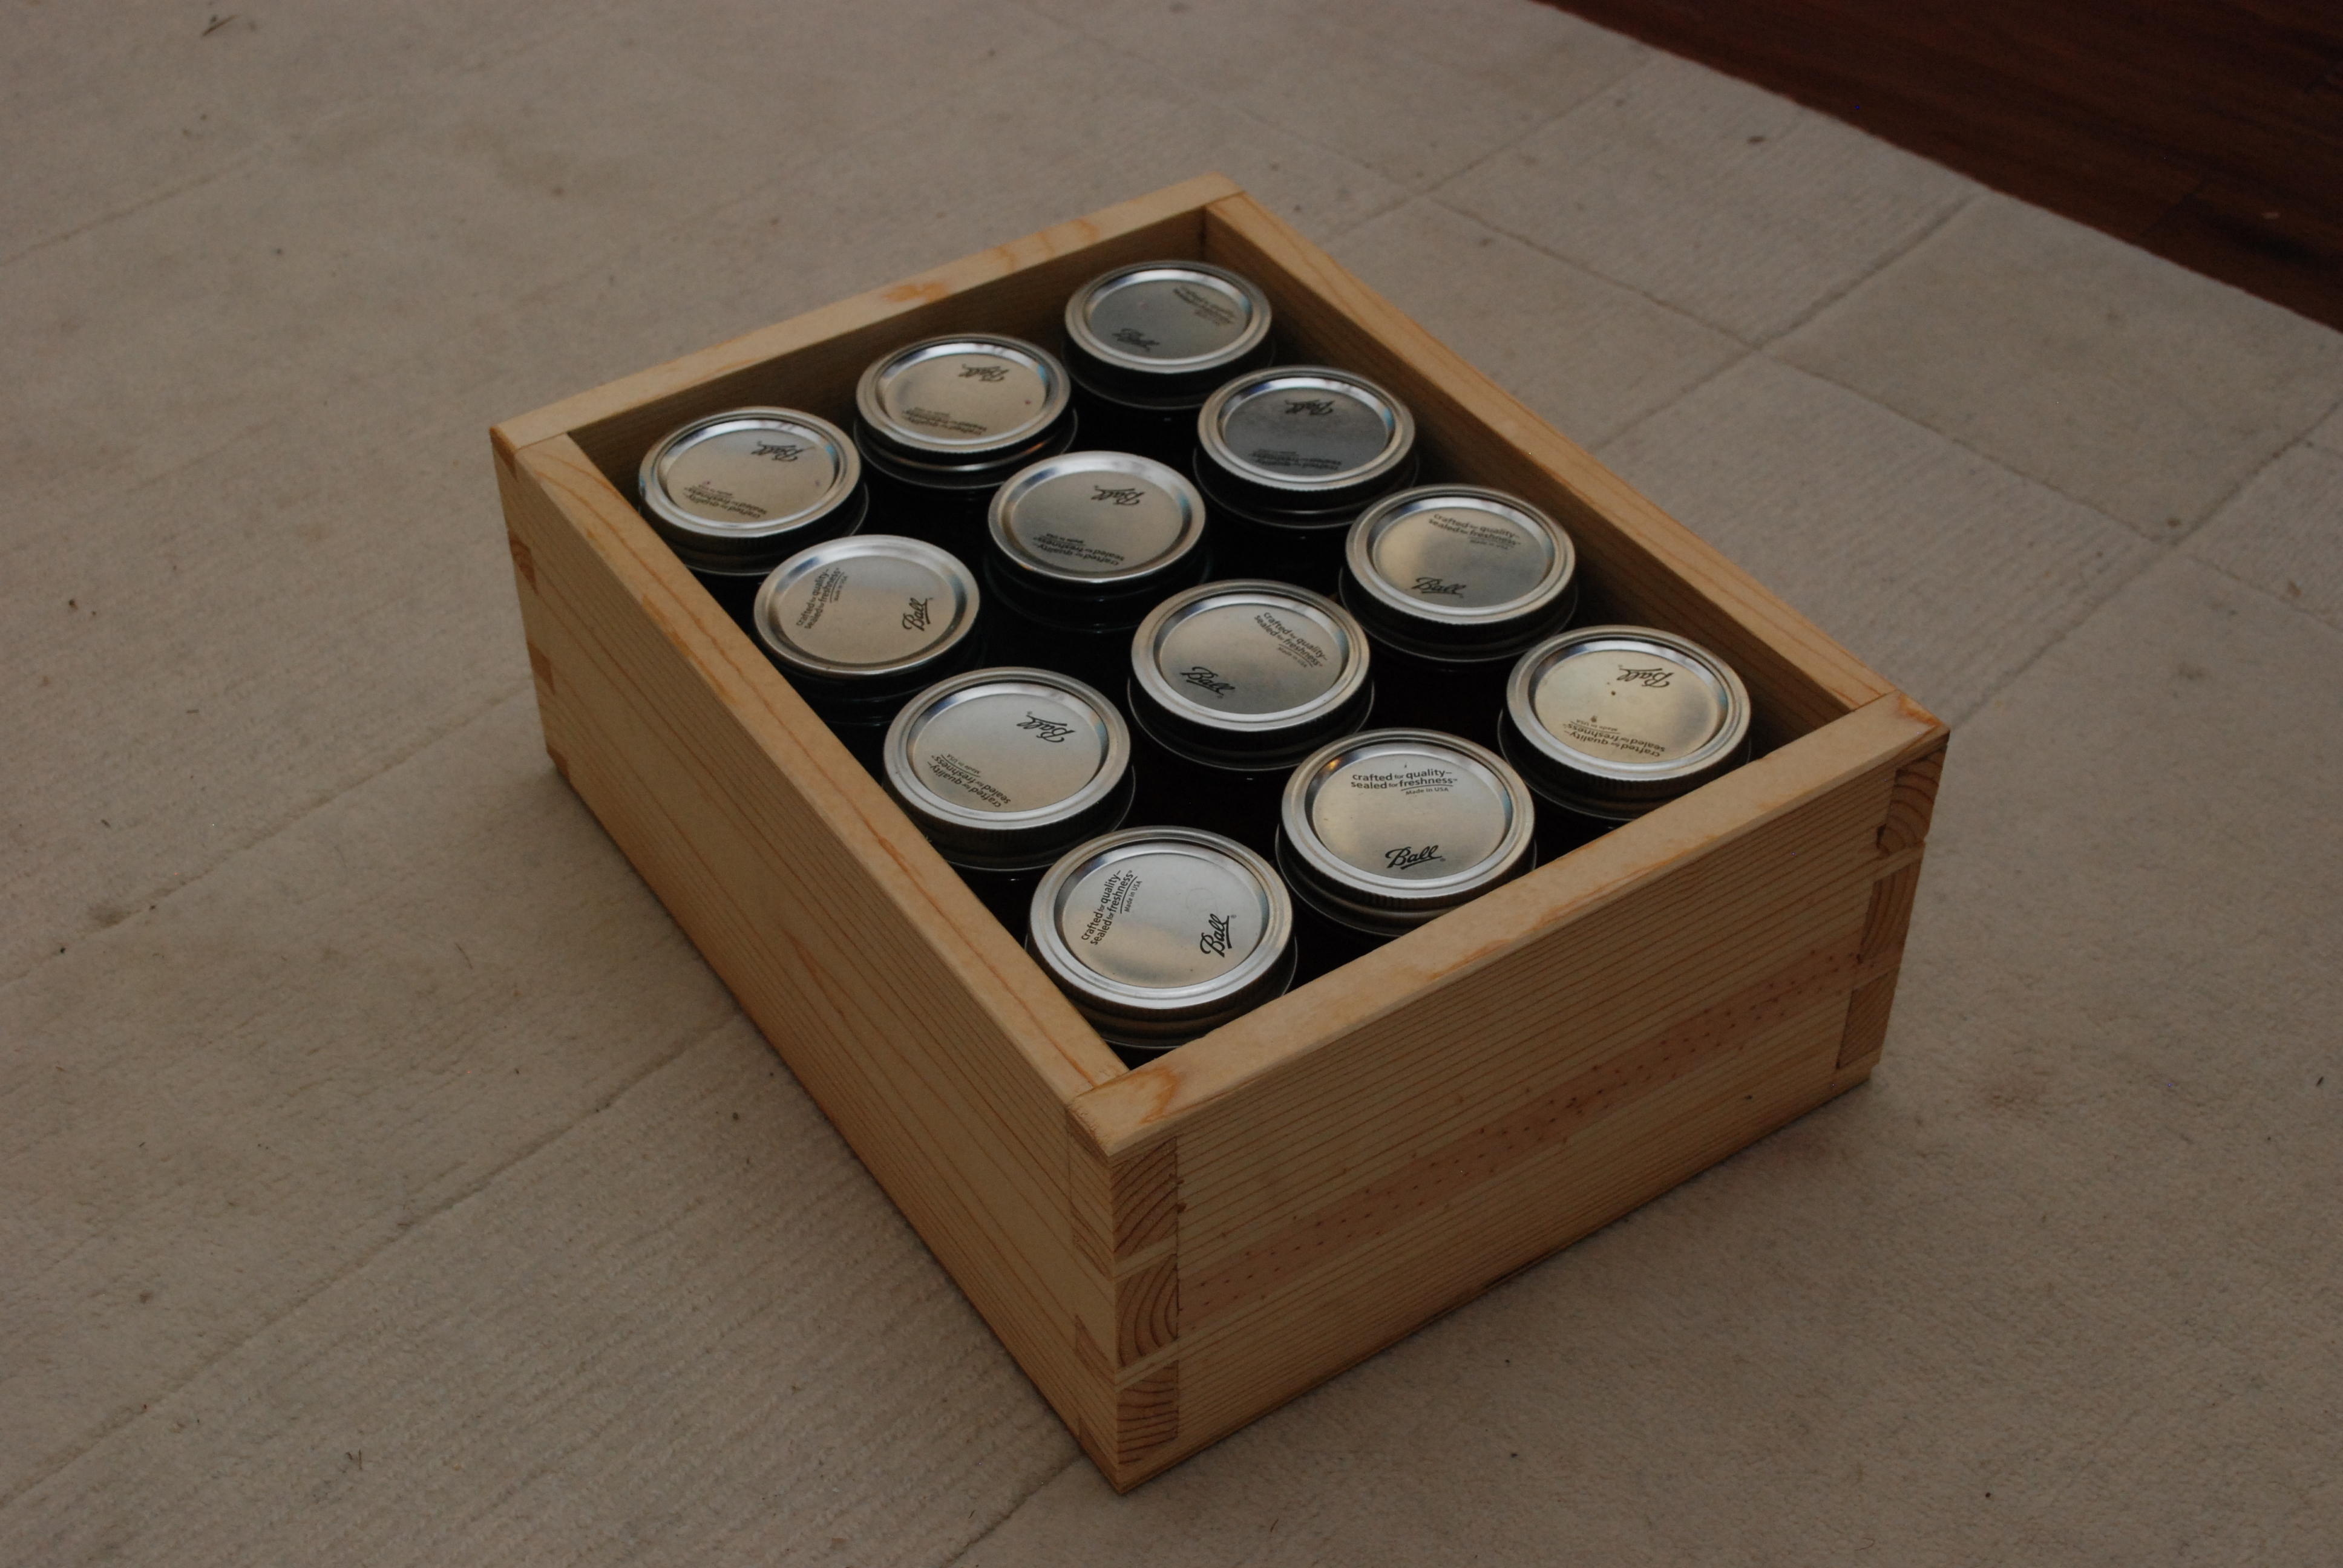
This is both a simple, and overly complex project. It is simple in that I have made a set of pine boxes with glued on plywood bottoms. Had I been only interested in making them functional, I could have finished these in an hour or two. Instead, I wanted to practice hand cut dovetails, and make them look good.
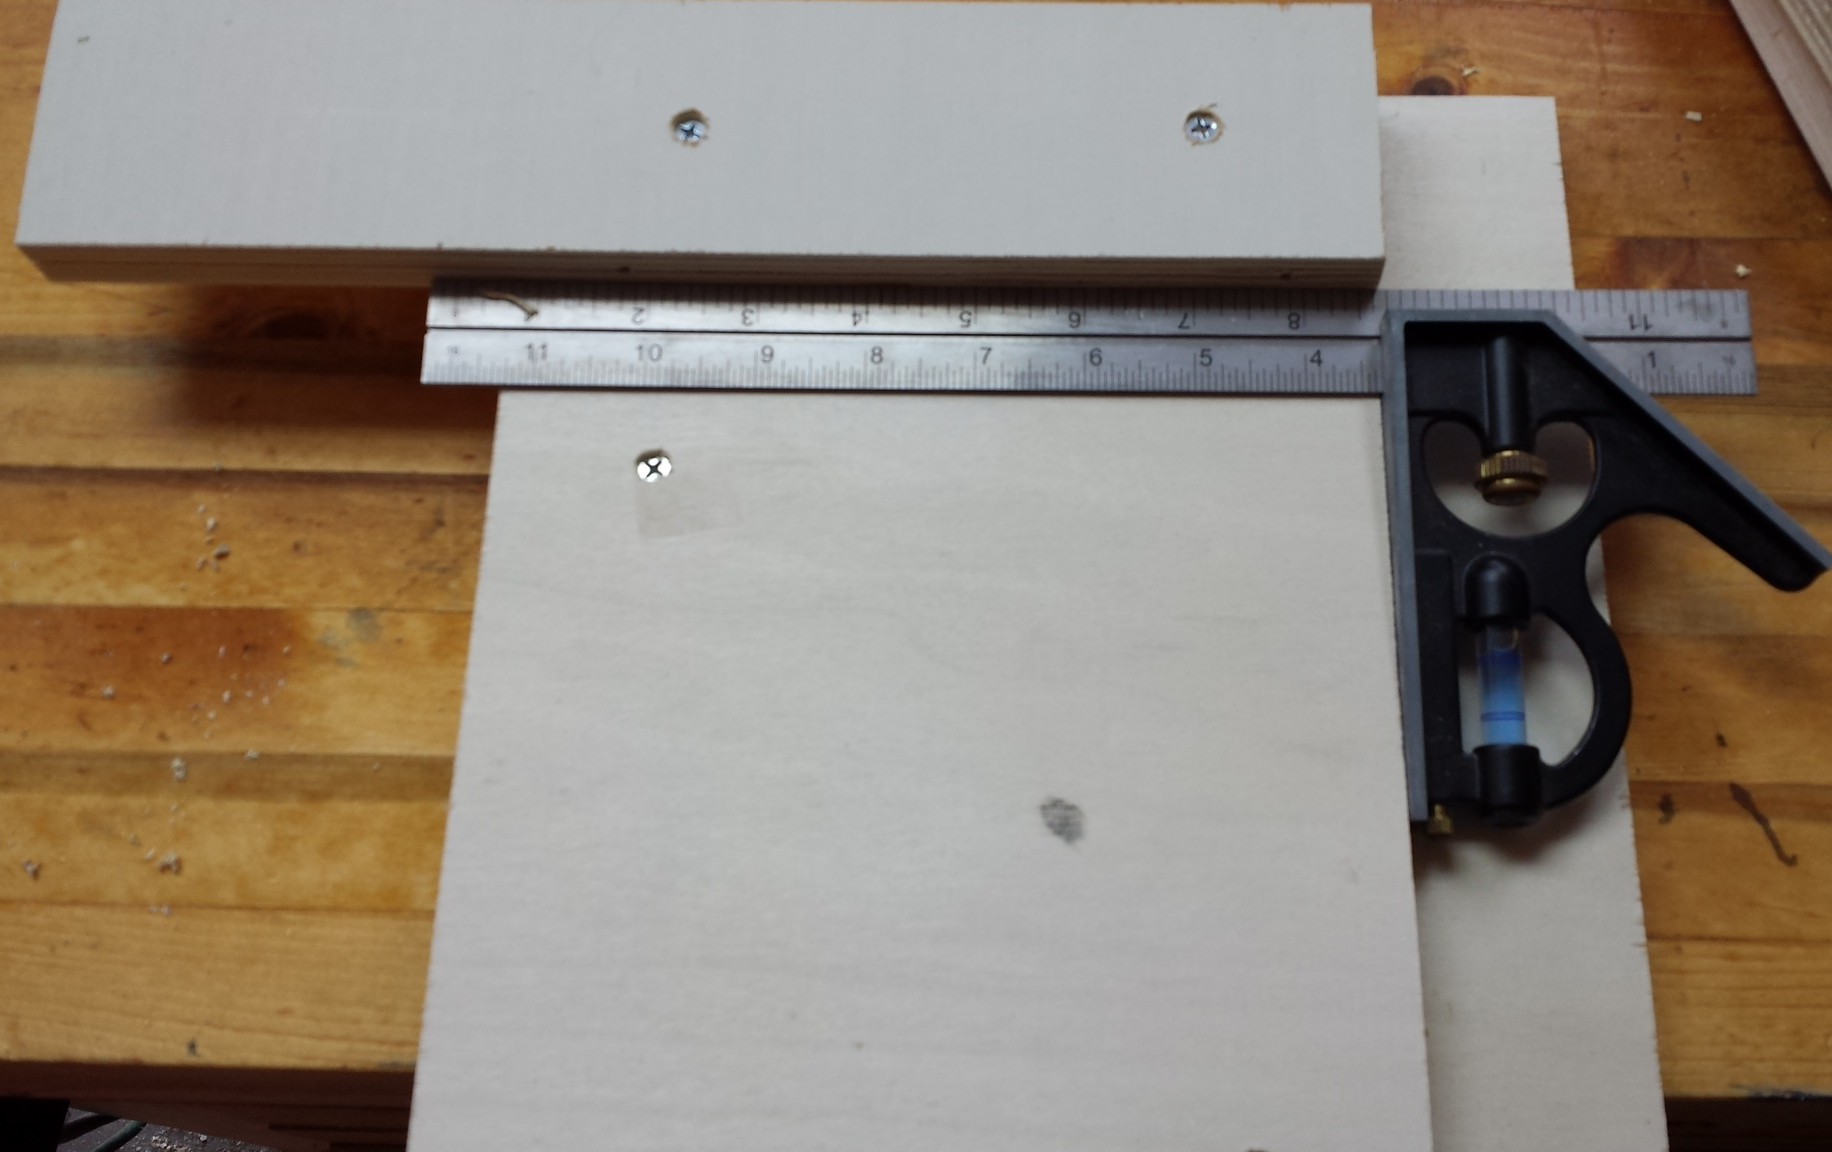
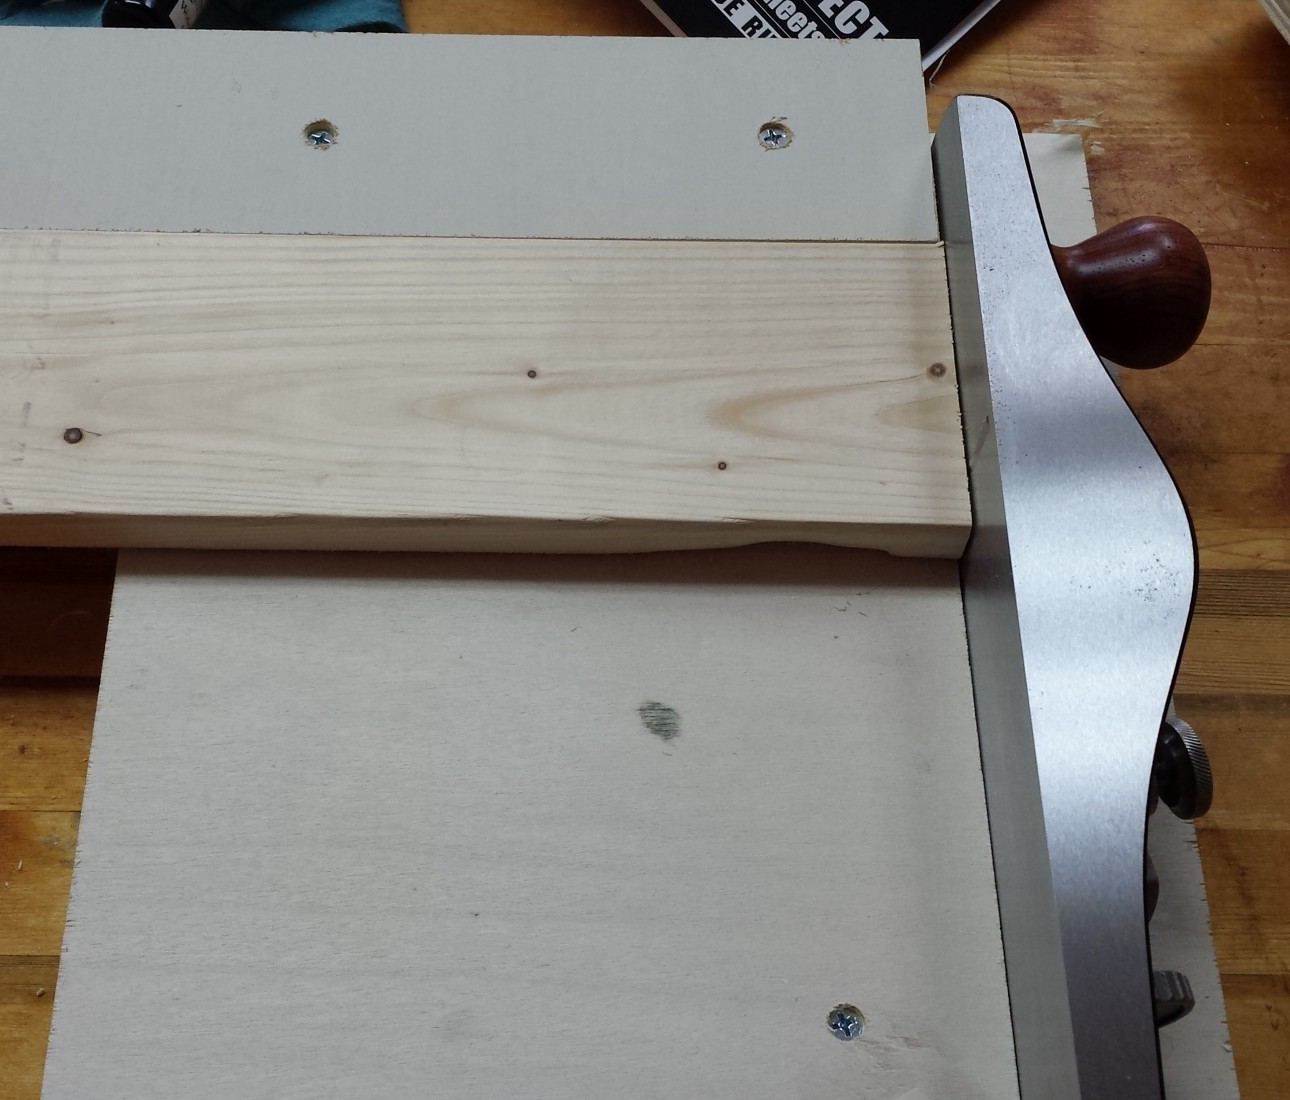
If you want to make basic boxes to hold canning supplies, then cut the boards and attach via whatever method you like. Screw/glue, pocket holes, nail, half lap etc… 1×6 boards are the perfect size for pint cans. Remember they are actually 0.75×5.5″. Cut them so the outside dimensions end up being 11×14.5″, and attach a plywood bottom. 1/4″ plywood seems adequate. It took me a number of hours to finish the two crates, but the experience was worth it.
Dovetails
If you are crazy like me and want to make basic utilitarian boxes with super fancy joints, then read on. Or if you just want to see how I make dovetails. There are a lot of good resources out there that detail how to make dovetails. I am going to give a brief overview of how I do it now. Maybe in a few years when I get good at them I will make another post with some sage advice.
- Cut boards to rough length, and use a shooting board to clean up ends and get lengths exact.
- Use a marking gauge to set tail depth to thickness of wood. Pencil marks make everything easier to see.
- I start with an end pin mark, then use a divider to layout the remaining tails.
- The veritas dovetail marking gauge is quite excellent for marking up the tails. Always use a knife for the best marks.
- I hand cut the tails on the waste side. The hope is that they are cut close enough to not need any chisel work.
- Remove the waist material with a coping saw, then carefully pare out with is left with a chisel.
- Use the back side of the tails to guide a marking knife for the pins.
- Cut pins and clean waste out in a similar manner as the tails.
- After a test fit I apply glue to the pins and assemble the box.
- If everything was made right the box should go together square and require minimal clamping.
- Applying BLO (boiled linseed oil) provides an easy and cheap finish.
There were 8 joints total. Most of them turned out decently, but not GREAT. Practice will help out, but I think pine might be hard to work with. I will have to try making dovetails in a harder wood to see what the results are like.