A month or two back I saw where someone had smoked a chuck roast and turned it into pulled beef. It looked awesome, so I thought I would try. This gave me a great chance to use my bag of pecan smoker pellets.
I cut two roasts in half to give extra bark and to make the process go faster. 6 hours later they had quite the mahogany finish. I waited for them to get to a good 200-210 depending on the size.
I wrapped them in foil and stuck them in a cooler for a few hours till dinner. I was going for pulled beef but ended up a little dry. Next time I will wrap when I get the color I want. It holds true for pork butts, and it seems to hold true for chuck roast.
I had some family in town so I figured why not put them to work! Apples were at a great price locally, so I picked up 30 pounds of a mix of gala, pink lady, braeburn, macintosh, and honeycrisps.
My process for making applesauce and butter is documented in previous posts.
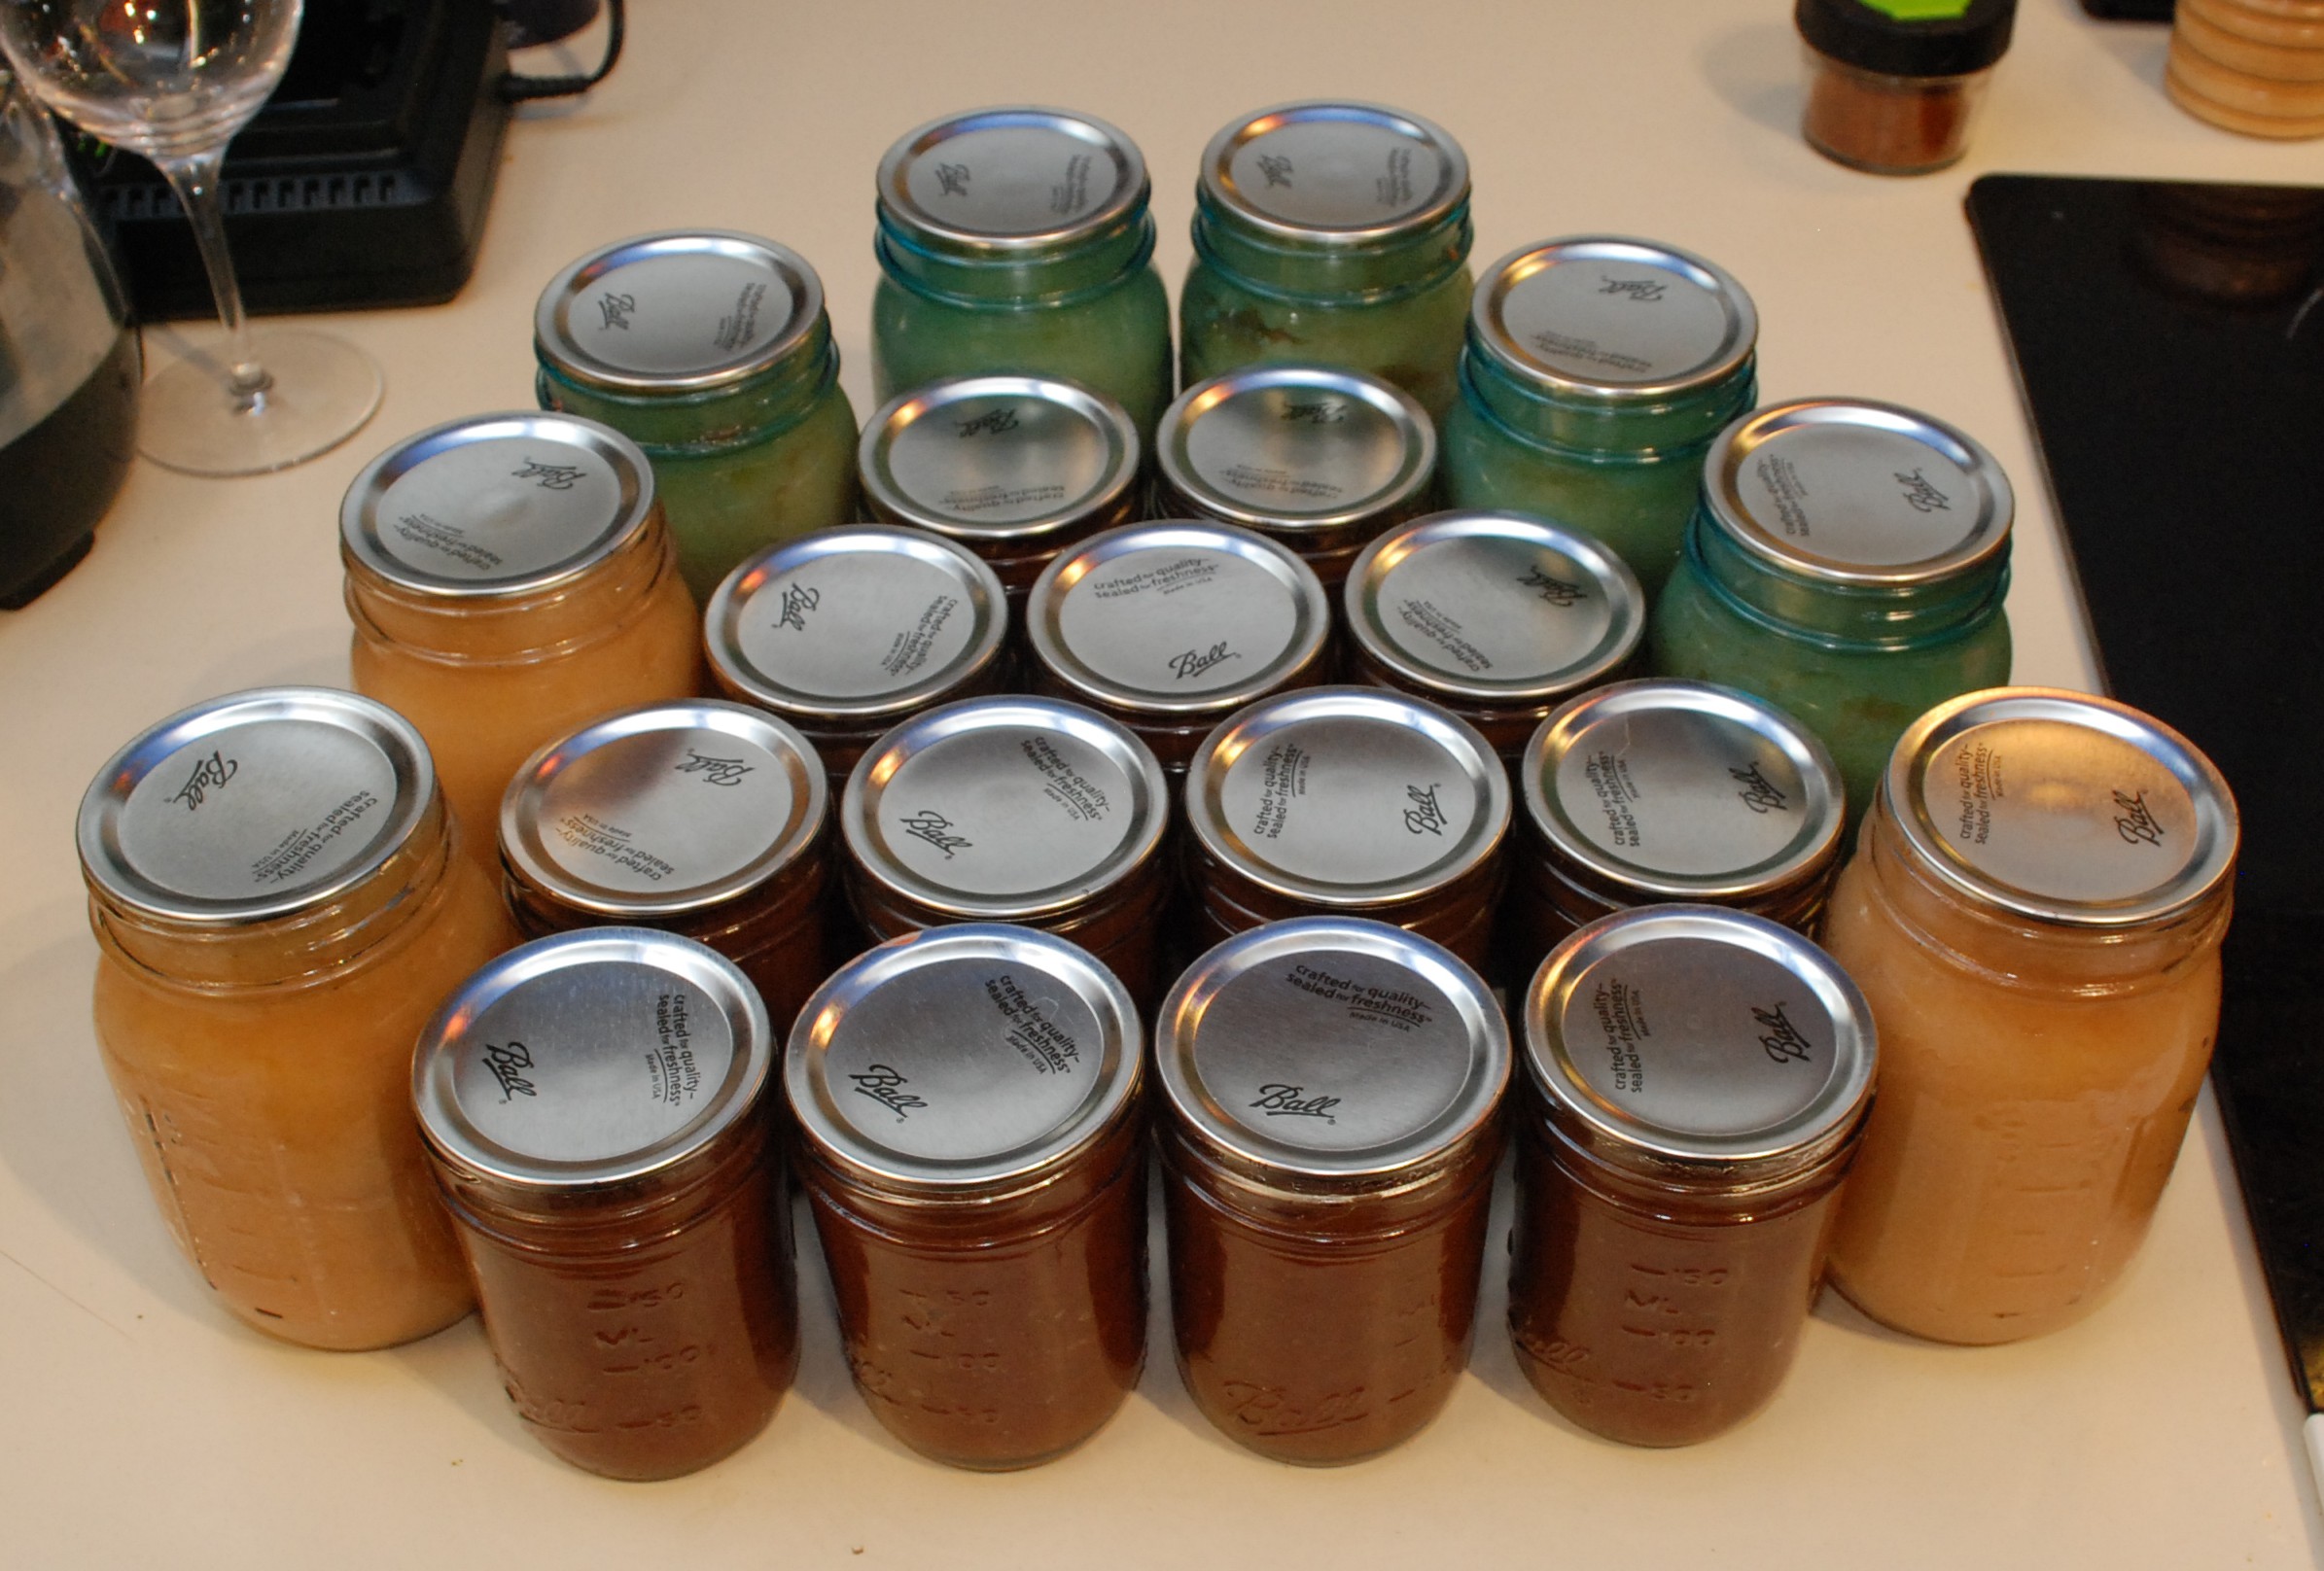
One big difference from last year’s efforts was my new crock pot. I bought a bigger fancier one at a black Friday sale last year and hadn’t done apple butter in it till now. It is a quart or two larger than my last and the settings seem to be a lot hotter than my old crock pot. The apple butter was easily cooked down by the next day and a fairly full pot yielded a little over 13 half-pint jars. My canner can only hold 13, so all is right with the world.
The 30ish pounds of apples gave me 9 pints of sauce and 13 half-pints of butter. In reality I could probably fill another jar of each, but those are the limits of my canner. The remainder always goes in the fridge and gets eaten in short order.
I have been on a BBQ media bender. I recently read the Franklin Barbecue Meat Smoking Manifesto, and have watched all available episodes of BBQ with Franklin. The result is that I want to make a brisket so bad! Traditionally I have done mostly pork, some chicken, and sausage on my smoker. All of those are awesome, but after so many years of smoking, it is time to branch out.
I traded my beloved hickory for oak, my complex sugar heavy rubs for coarse salt and pepper, and my pork for a big hunk of brisket.
I got up at 6am to get this beast started. I don’t like waking up early on the weekends, but this was totally worth it! It went on about 6:30 and sat soaking up smokey goodness till about lunch time.
I started spraying it down occasionally with apple cider and checking for the level of bark. I had some problems controlling the temperature on my smoker. The base traeger I got has only 3 settings of temperature, low medium and high. Low is lower than I want, and medium is higher. Upgrading to a temperature controlled unit is high on my priority list. I was getting through the stall and had the level of bark I wanted. Next comes the wrap. I went with the franklin method of paper wrapping instead of foil wrapping.
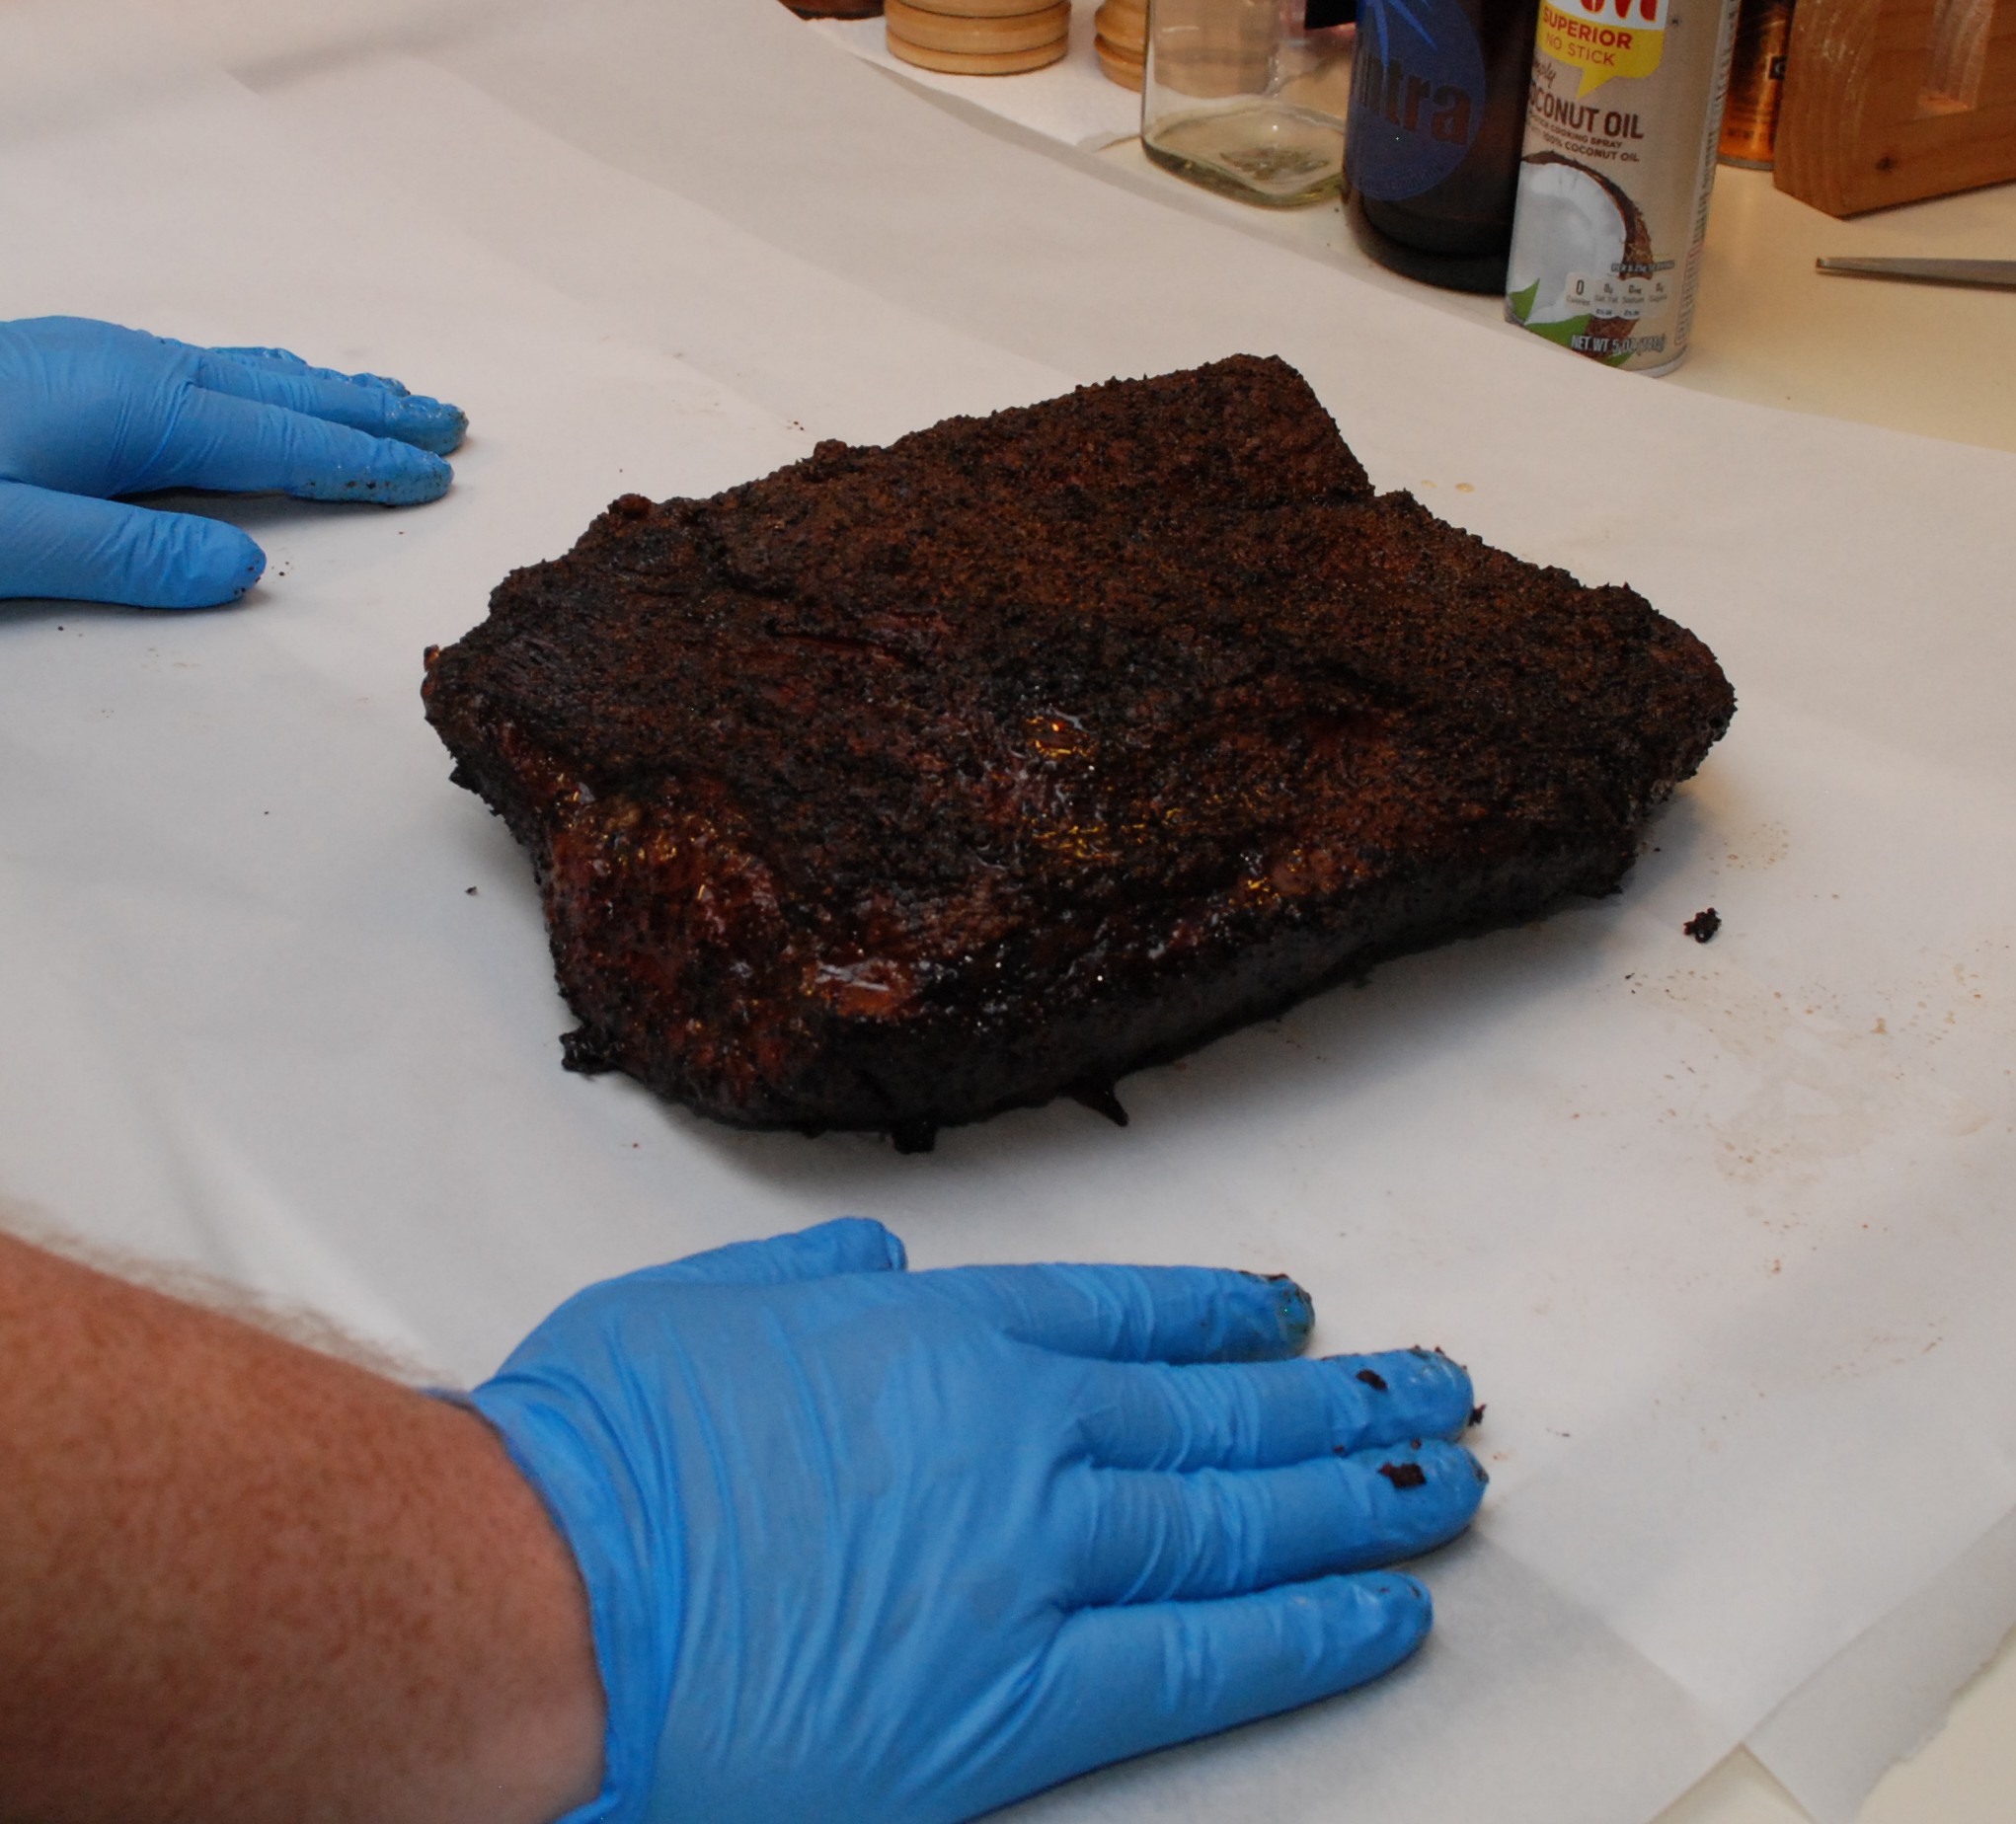
Once wrapped it went back to the smoker for the remainder of the afternoon. I started poking and temp probing, and by 4:30 or so things looked done. I pulled it and let it sit for a while still wrapped in paper. I might unwrap next time, It took a long time to cool. Finally, the cut. I am no expert carver, and a really long knife would be helpful. Still, I was able to identify the right side and carve properly. This smells so good.
It was goooooooooood. The temperature swings caused a few edges to be a little on the burned and dry sides, but otherwise it was a really good moist tender brisket. Using only salt and pepper as a rub turned out great, why would you need anything more? Not only does it provide some amazing dinners, we had brisket and eggs for breakfast. Now that is a breakfast of champs!
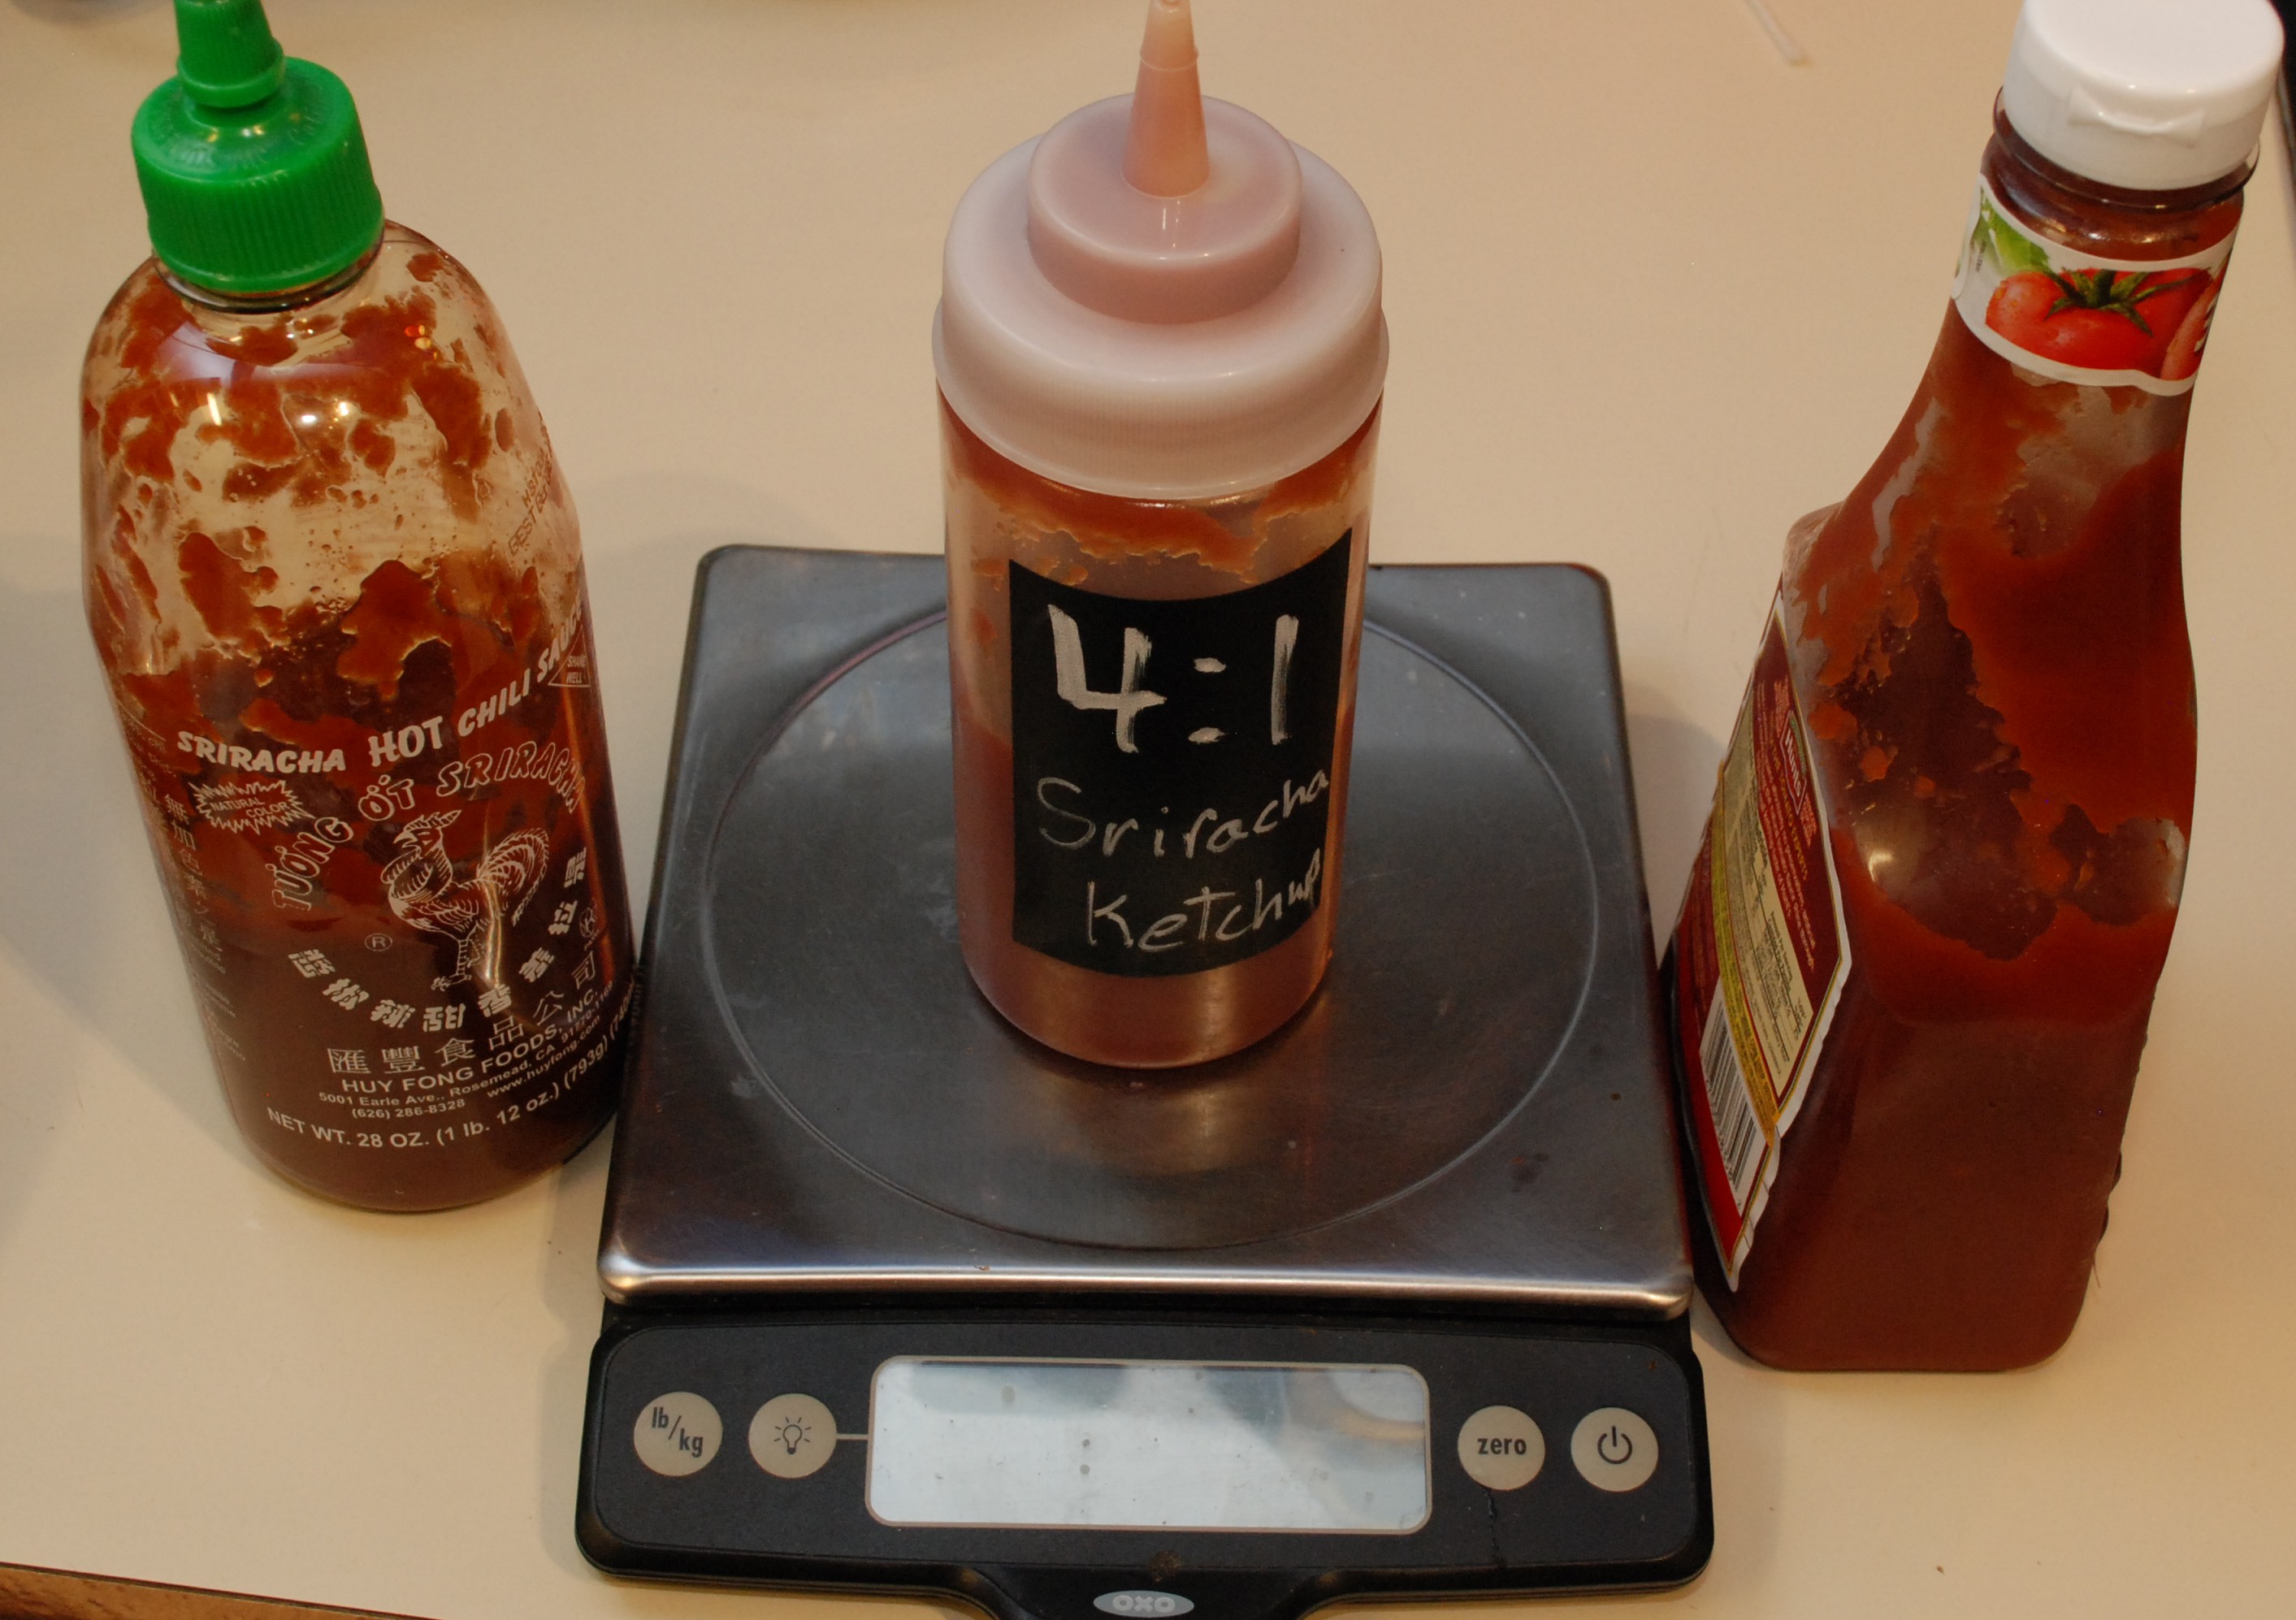
I bought some empty squeeze bottles for making custom home sauces. An easy starter was Sriracha ketchup. I began with small quantities and used a scale to set my ratios.
4:1(ketchup to Sriracha) was a pretty good blend. You could taste the chilli sauce with every bite, but wasn’t left in flames after eating a few tablespoons of the stuff. Hot heads might want to try a 3:1 or a 2:1 ratio. Only filling the squeeze bottle up a little means you can tweak your mix ratio after sampling.
A pile of Wendy’s fries provided an excellent test medium for my new sauce.
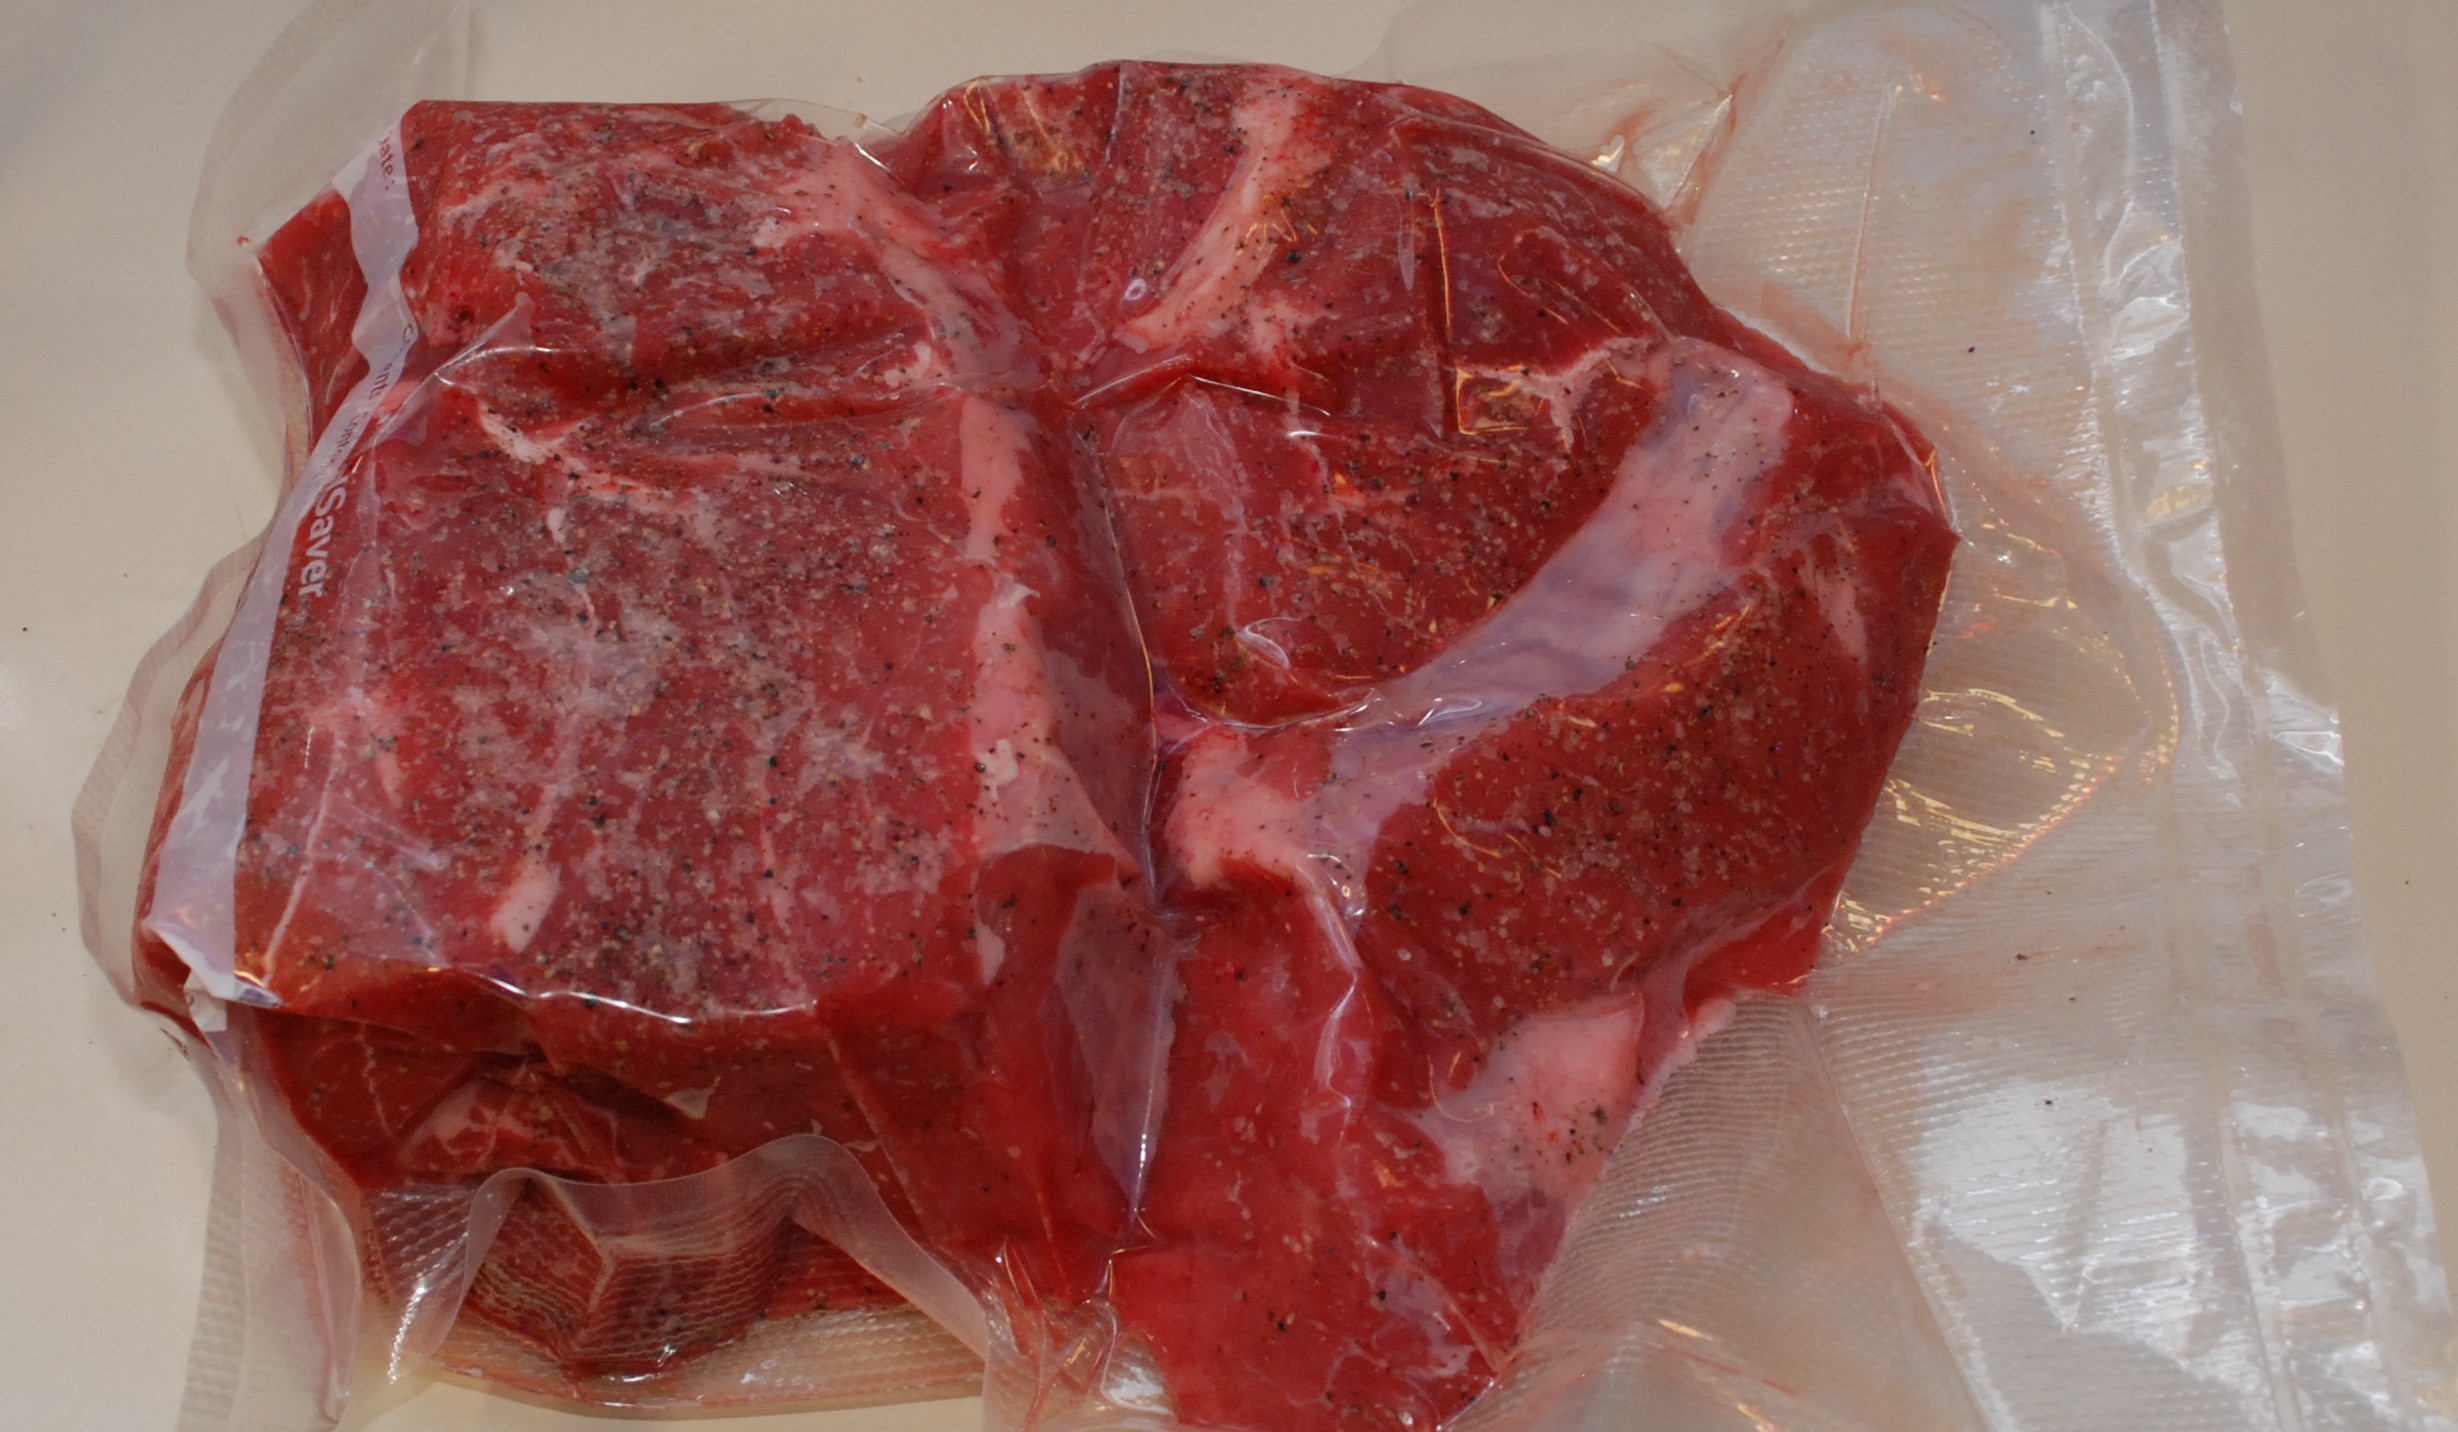
I am still riding high on my sous vide cooker. I have done piles of pork chicken and steaks. All of these were cooked in a few hours. It is time to try an overnight cook. Behold the chuck roast!
Salt and Pepper
It is cheap and kind of tough which makes it a perfect candidate for a long cook. I started with a kosher salt and fresh cracked pepper coating. I then bagged the two together and chucked (haha) them into the sous vide. My instructions came from Baldwin’s website. That place has seriously good info on sous vide.
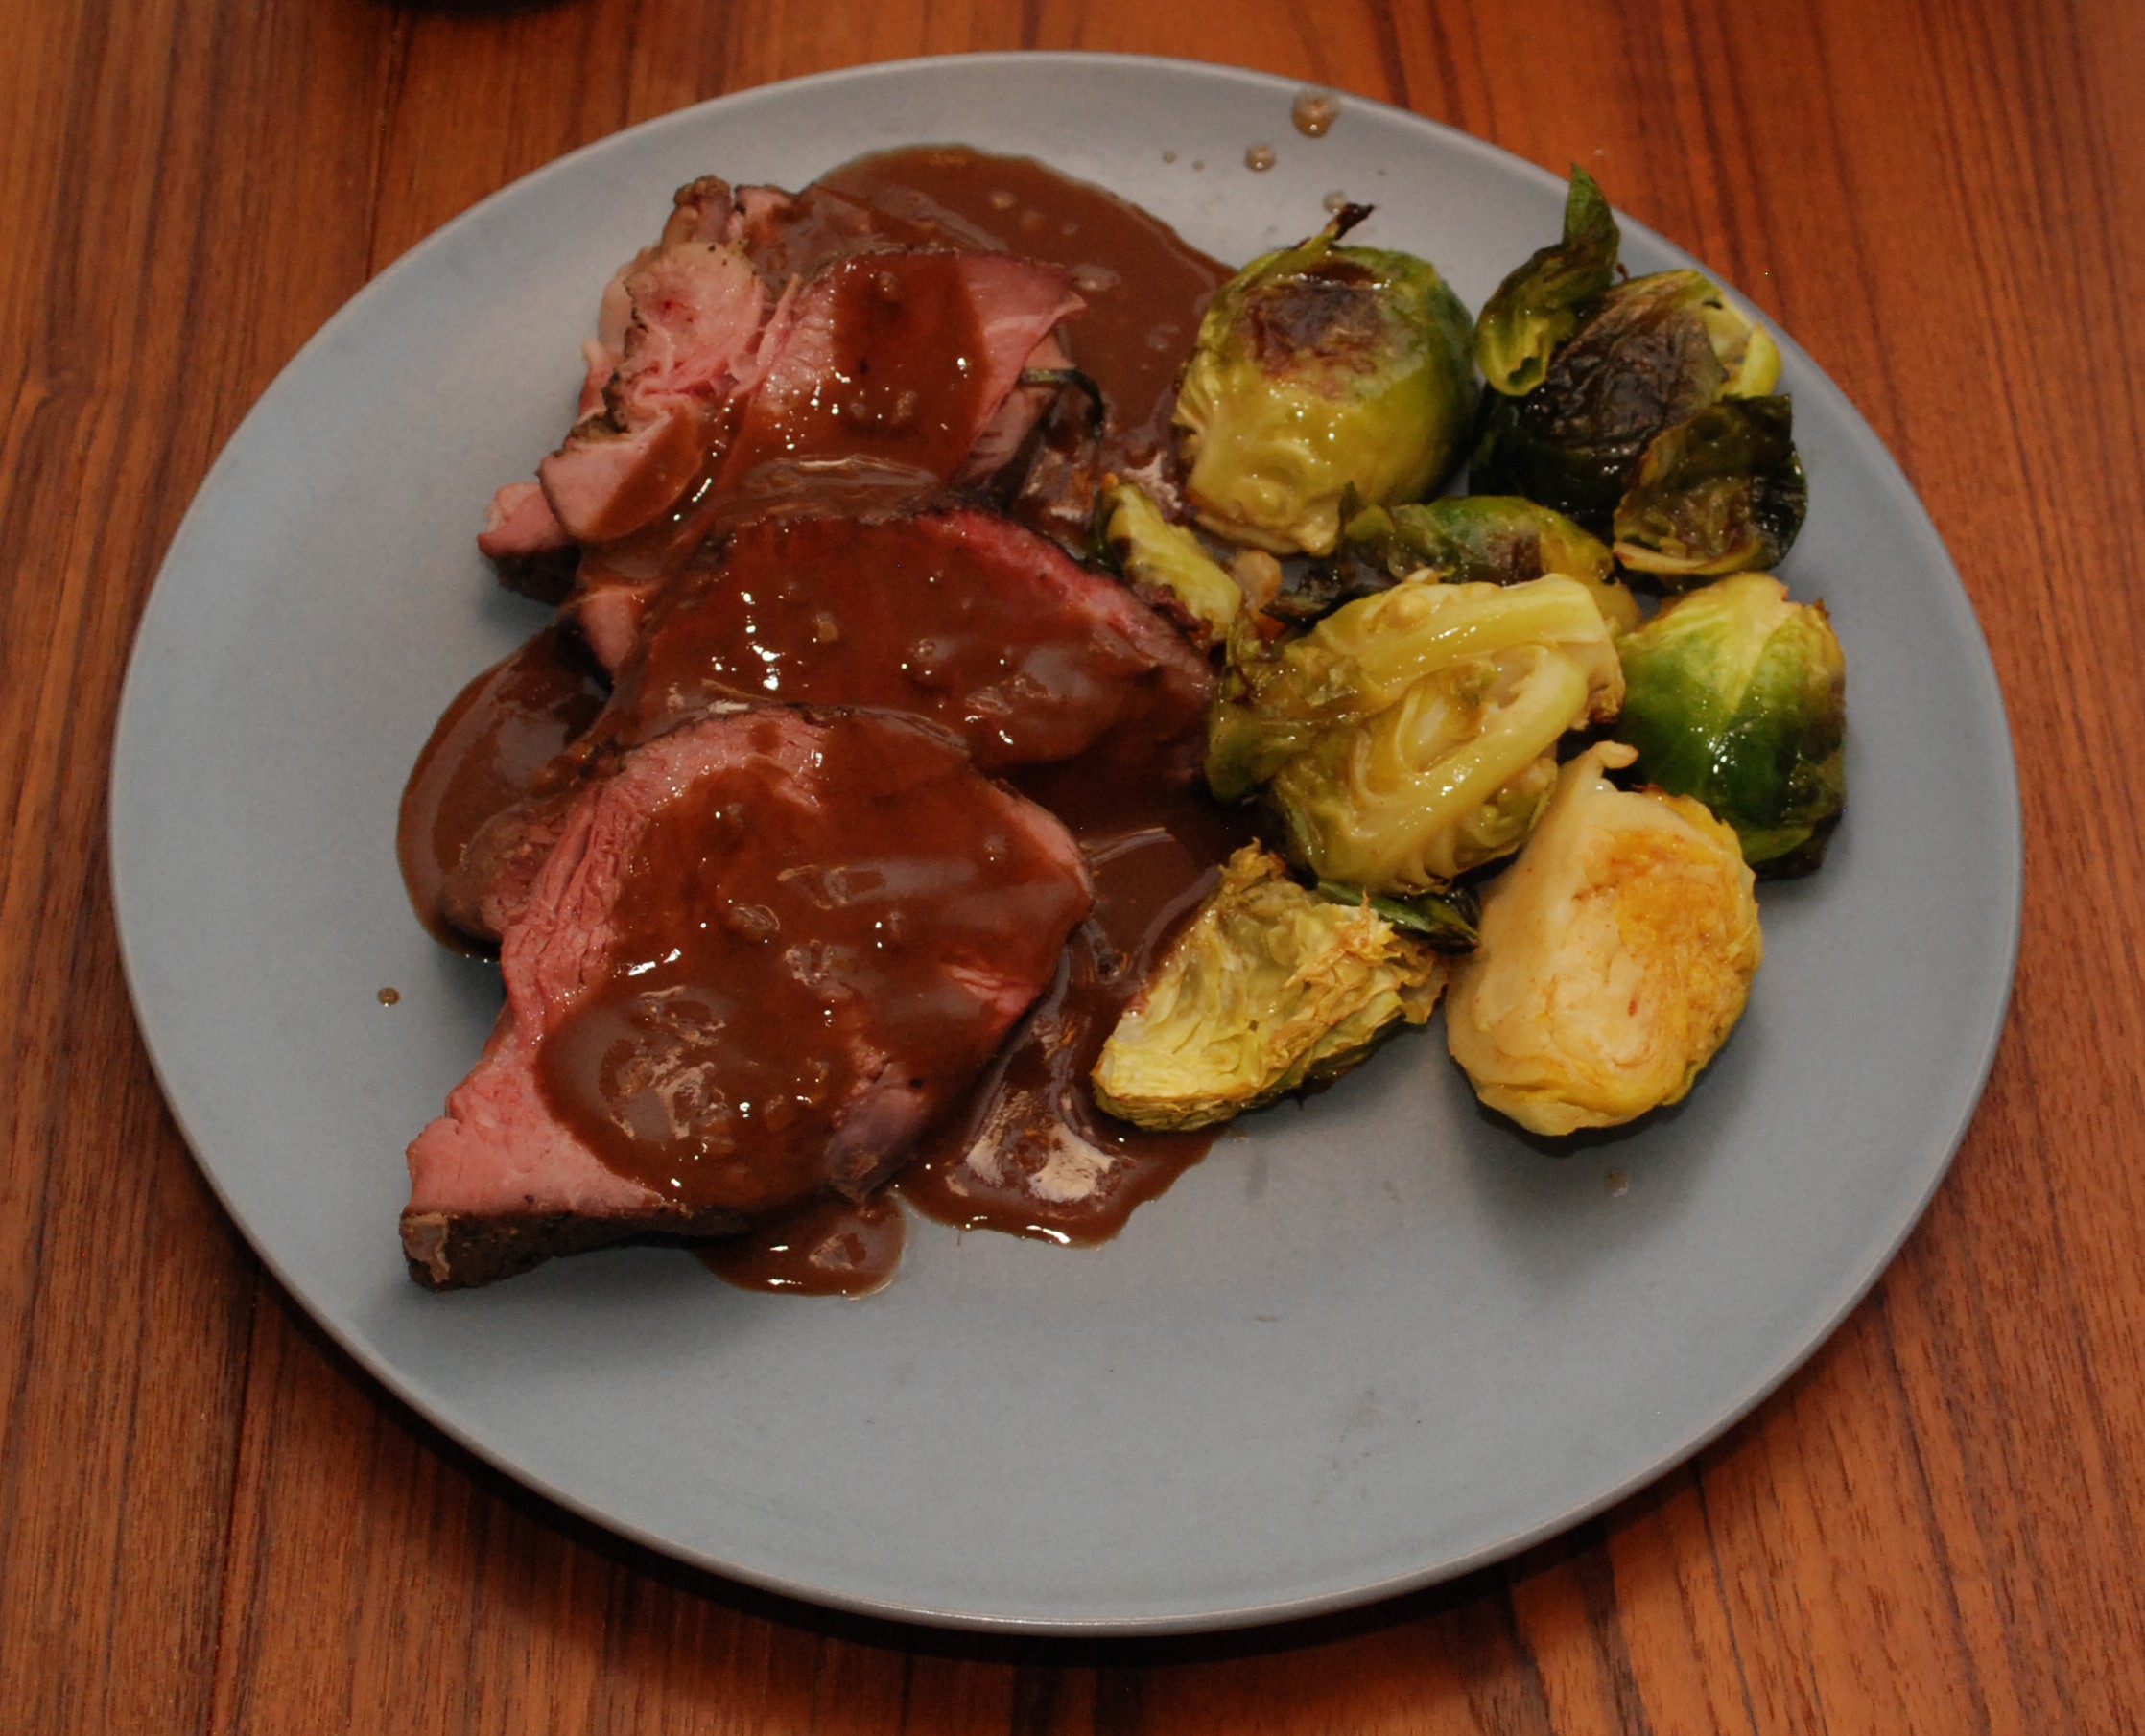
After around 27 hours at 135F it was dinner time, and the roast was ready to rock! I pulled it out and dumped the liquids in a measuring glass. The dark color on the roast was natural from the cooking, no searing needed. A really nice dark brown on the outside, and a consistent red throughout. Searing might be a good idea, but I sliced it up without.
The poured off liquids went into making a really kick butt gravy. All that pepper that was on the outside of the roast got into the liquid and really carries through the brown gravy. Mix that nice peppery bite with some honey Sriracha brussel sprouts and you have a seriously good dinner. Tender and juicy, this is hands down the best roast I have ever made.
I purchased an Anova cooker a few weeks back, on their father’s day sale, and have been sous videing up a storm. Is that how the verb form works, sous videing? At any rate the unit is quite impressive. It can heat up a large quantity of water quickly, and keeps it at a very stable temperature.
Initially it was a few degrees low compared to two different meat thermometers I had. Luckily there is a straight forward way to alter the calibration. See the instructions for details.
One interesting thing is that unlike big professional models, this one is placed in a container of your own choosing. I have used two different crock pots, and a large polycarbonate container to cook in. That makes it really flexible for doing either two pork chops, or a pile of food. I clocked the unit while it was heating up these various amounts of water and came up with a few pre-heating times. Times will vary depending on container and starting temp of the water. Around here it is nearly 80º.
3 quarts: 145ºF in 13min, 167ºF in 20min
5 quarts: 145ºF in 25min
8 quarts: 140ºF in 30min
8 quarts is a pretty good amount of water to heat up that quickly. I was surprised. In my first run with the full sized polycarbonate bin I filled it to the max. A good sale at my local market resulted in a pile of chicken and pork chops. I pre-seared the pork chops and some chicken before they went into the bath. The rest of the chicken got various marinades. I was able to fit 10 pounds of chicken (before trimming) and 8 big pork chops in the large container.
In all I have cooked chicken breasts, pork chops, pork tenderloin, buffalo burgers, scrambled eggs, and steaks in the sous vide. Everything, eggs somewhat excluded, has turned out to be some of the best I have ever made. I would highly recommend this method to anyone interested in taking the plunge.
This unit is great with the slight exception of their interface. Setting a temperature is easy enough, but calling the timer setting process convoluted is being generous. The unit has bluetooth and the app is ok, but thats about it. Setting times and temp requires a lot of scrolling. It is a minor annoyance, but I feel like it could have been much better. Still, for the sale price I love this thing!
My madness for cooking gadgets knows no bounds. I saw a sous vide cooker on sale for fathers day and couldn’t help myself. A coworker friend of mine has had one for a while and made some awesome meals in it. His enthusiasm for this method of cooking was infectious and I had to do it. If you are not familiar with the method, basically you bag food, ideally in a vacuum sealer, and place it in a water bath of the desired cook temperature. You basically can’t overcook things!
I got an Anova cooker, and I will talk about it more at some later date. For now I had to rush head first into this new world and try out steak. Cooking steaks is one of the things sous vide is famous for. I lined up some test subjects (coworkers) picked up a pile of steaks from the local meat market, and got to cooking. Take a look at these gorgeous steaks.
While sous vide cooks the meat and pasteurizes it to a food safe level, it doesn’t look that great. Kind of wet, grey, and unappetizing.
That is where a good searing comes in. You want to cook in sous vide and then brown with high heat. I got 4 steaks, and seared each with a different method. On the grill, on the grill with steak seasoning, cast iron, and with a blow torch.
Blow Torch: I used my mapp gas plumber’s torch to sear the outside. This was the softest because of how little time the steak saw the heat
Grill: Great steak. Probably the most cooking on the outside. The outside had some good chewiness while the inside was still good and tender.
Grill w/ Season: Same as above but with montreal steak seasoning sprinkled on before the sous vide. Best flavor of all!
Cast Iron: I put a big cast iron skillet on the grill, and seared there. Kind of in between the grill and torch.
All the steaks were good. The torch was definitely the softest if that is what you are looking for. Seasoning goes super well with the sous vide process, so that one is a winner. Really there are no losers here. I think we will try the cast iron next time with seasoning on it.
As a curiosity and because I have always adored time lapse, I did a time lapse shot of the steaks in the sous vide cooker. They were in for about 1hr 45minutes. It took me about 5 minutes to get the GoPro setup, but in that time they had already started greying quite a bit. Amazing how fast that happens!
Bonus steak and eggs
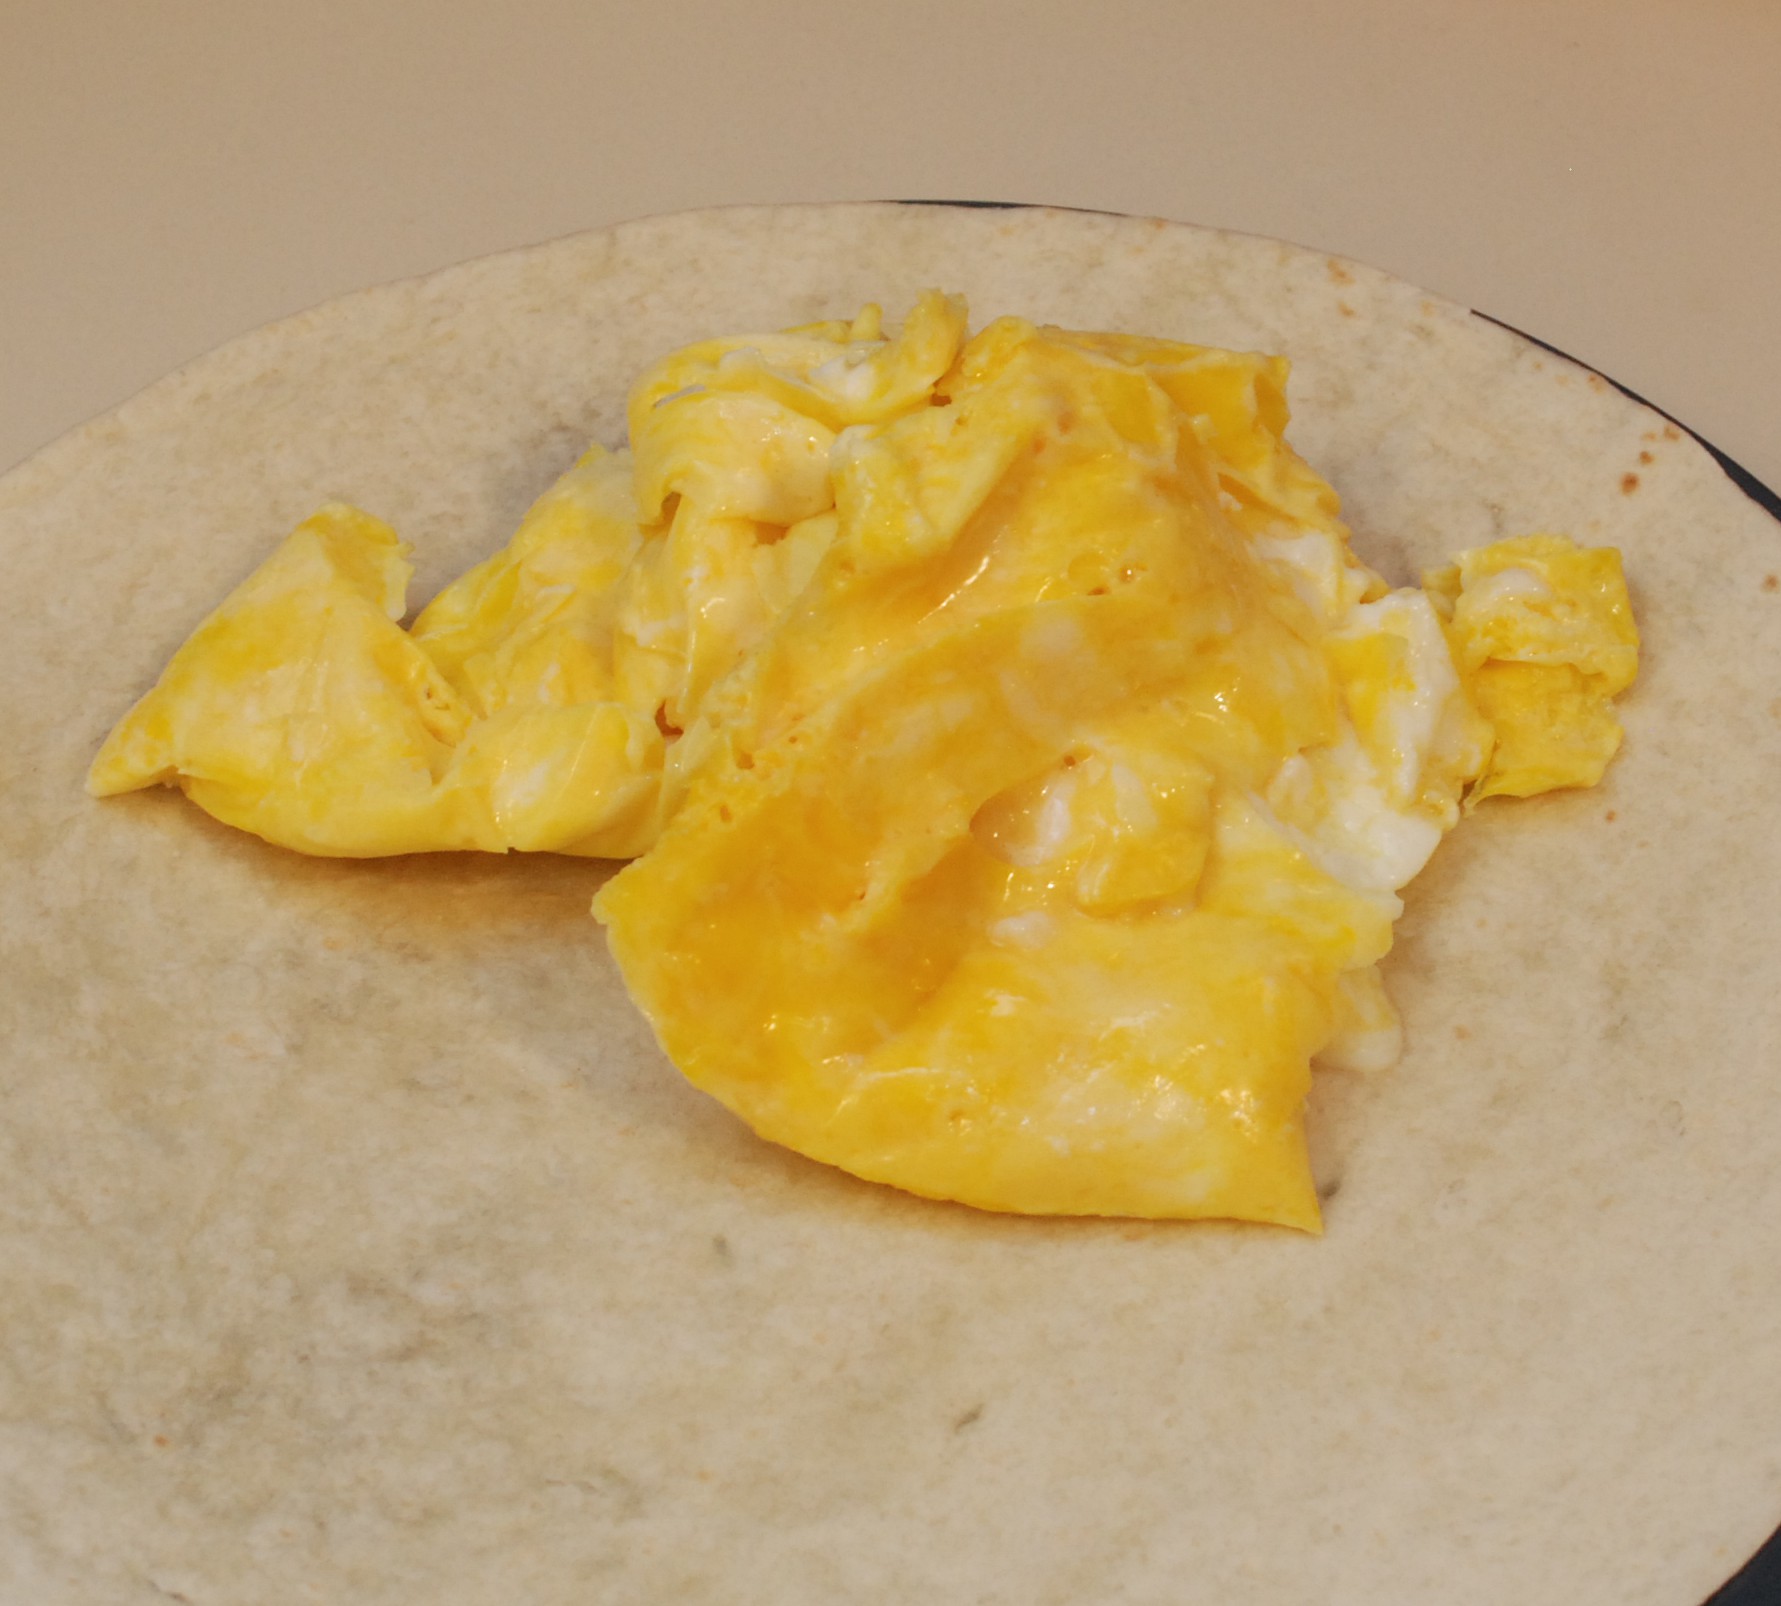
The next morning I warmed up some left over steak, and did scrambled eggs in the sous vide. I set the cooker in my mini crock pot and tossed in the eggs when it hit the right temperature. 20 minutes later it was finished!
I broke it up with a fork and sprinkled on my steak. It was a good breakfast, but the texture was a little odd. I don’t mind my eggs being a little loose, but these were really consistently so. I almost feel like eggs need searing for the same reason steaks do. It adds flavor and provides a good texture contrast. The experimenting continues.
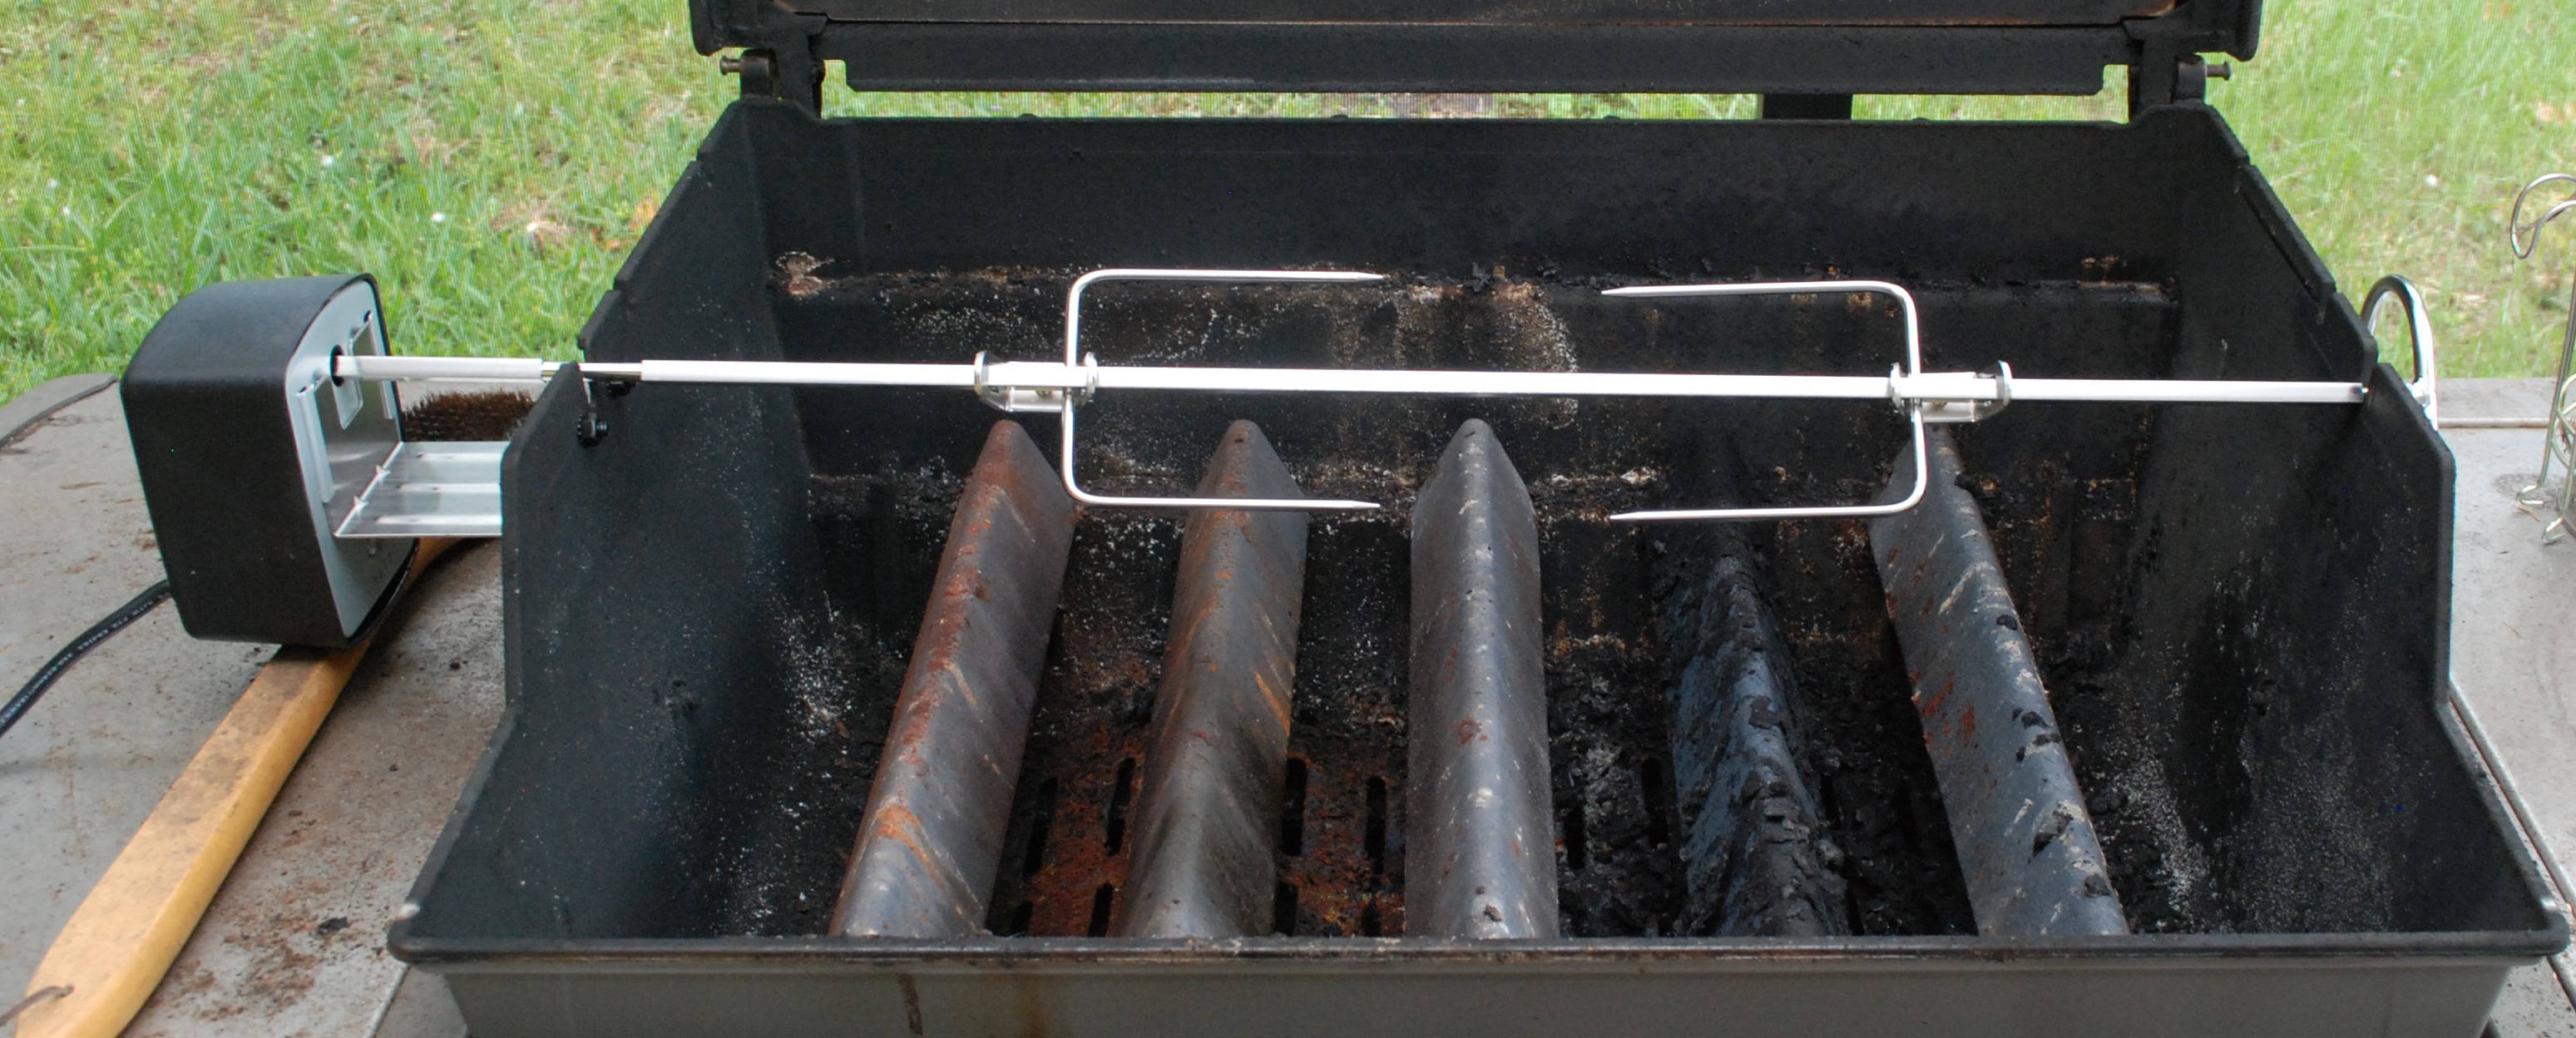
I have thought about making a rotisserie upgrade for my grill for a while. It turns out they can be had for about 80 bucks on amazon. Thus, the webber has a shiny new spit!
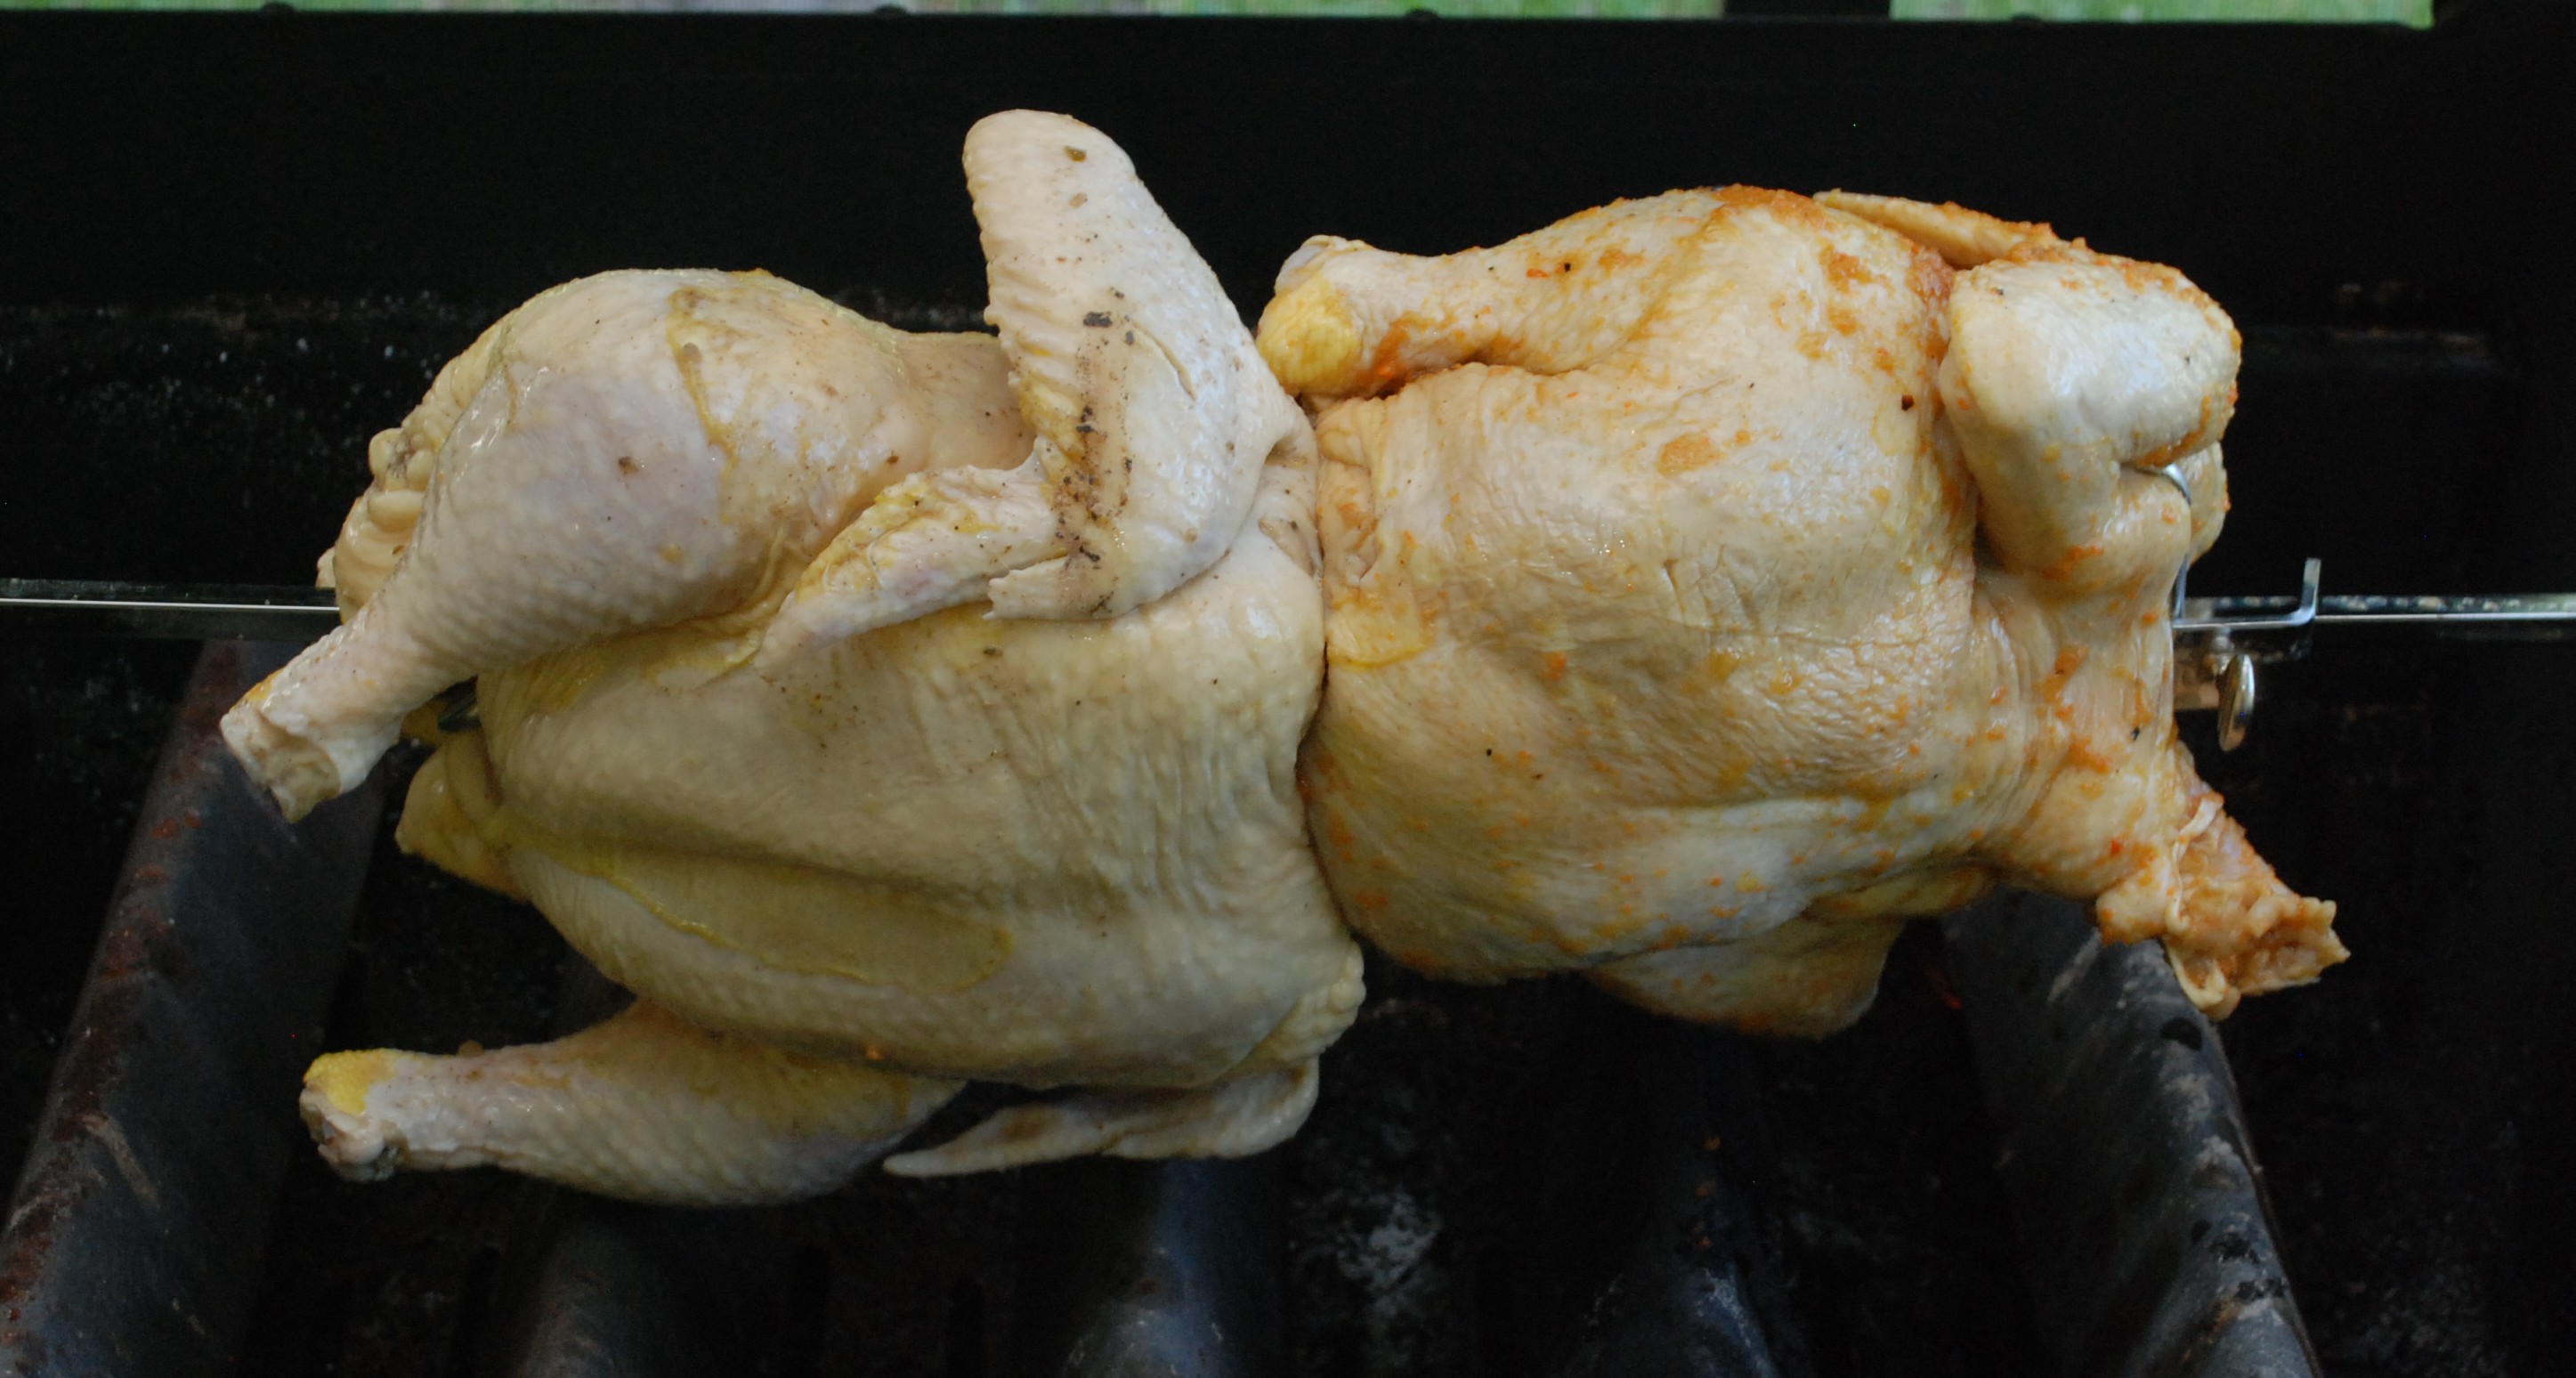
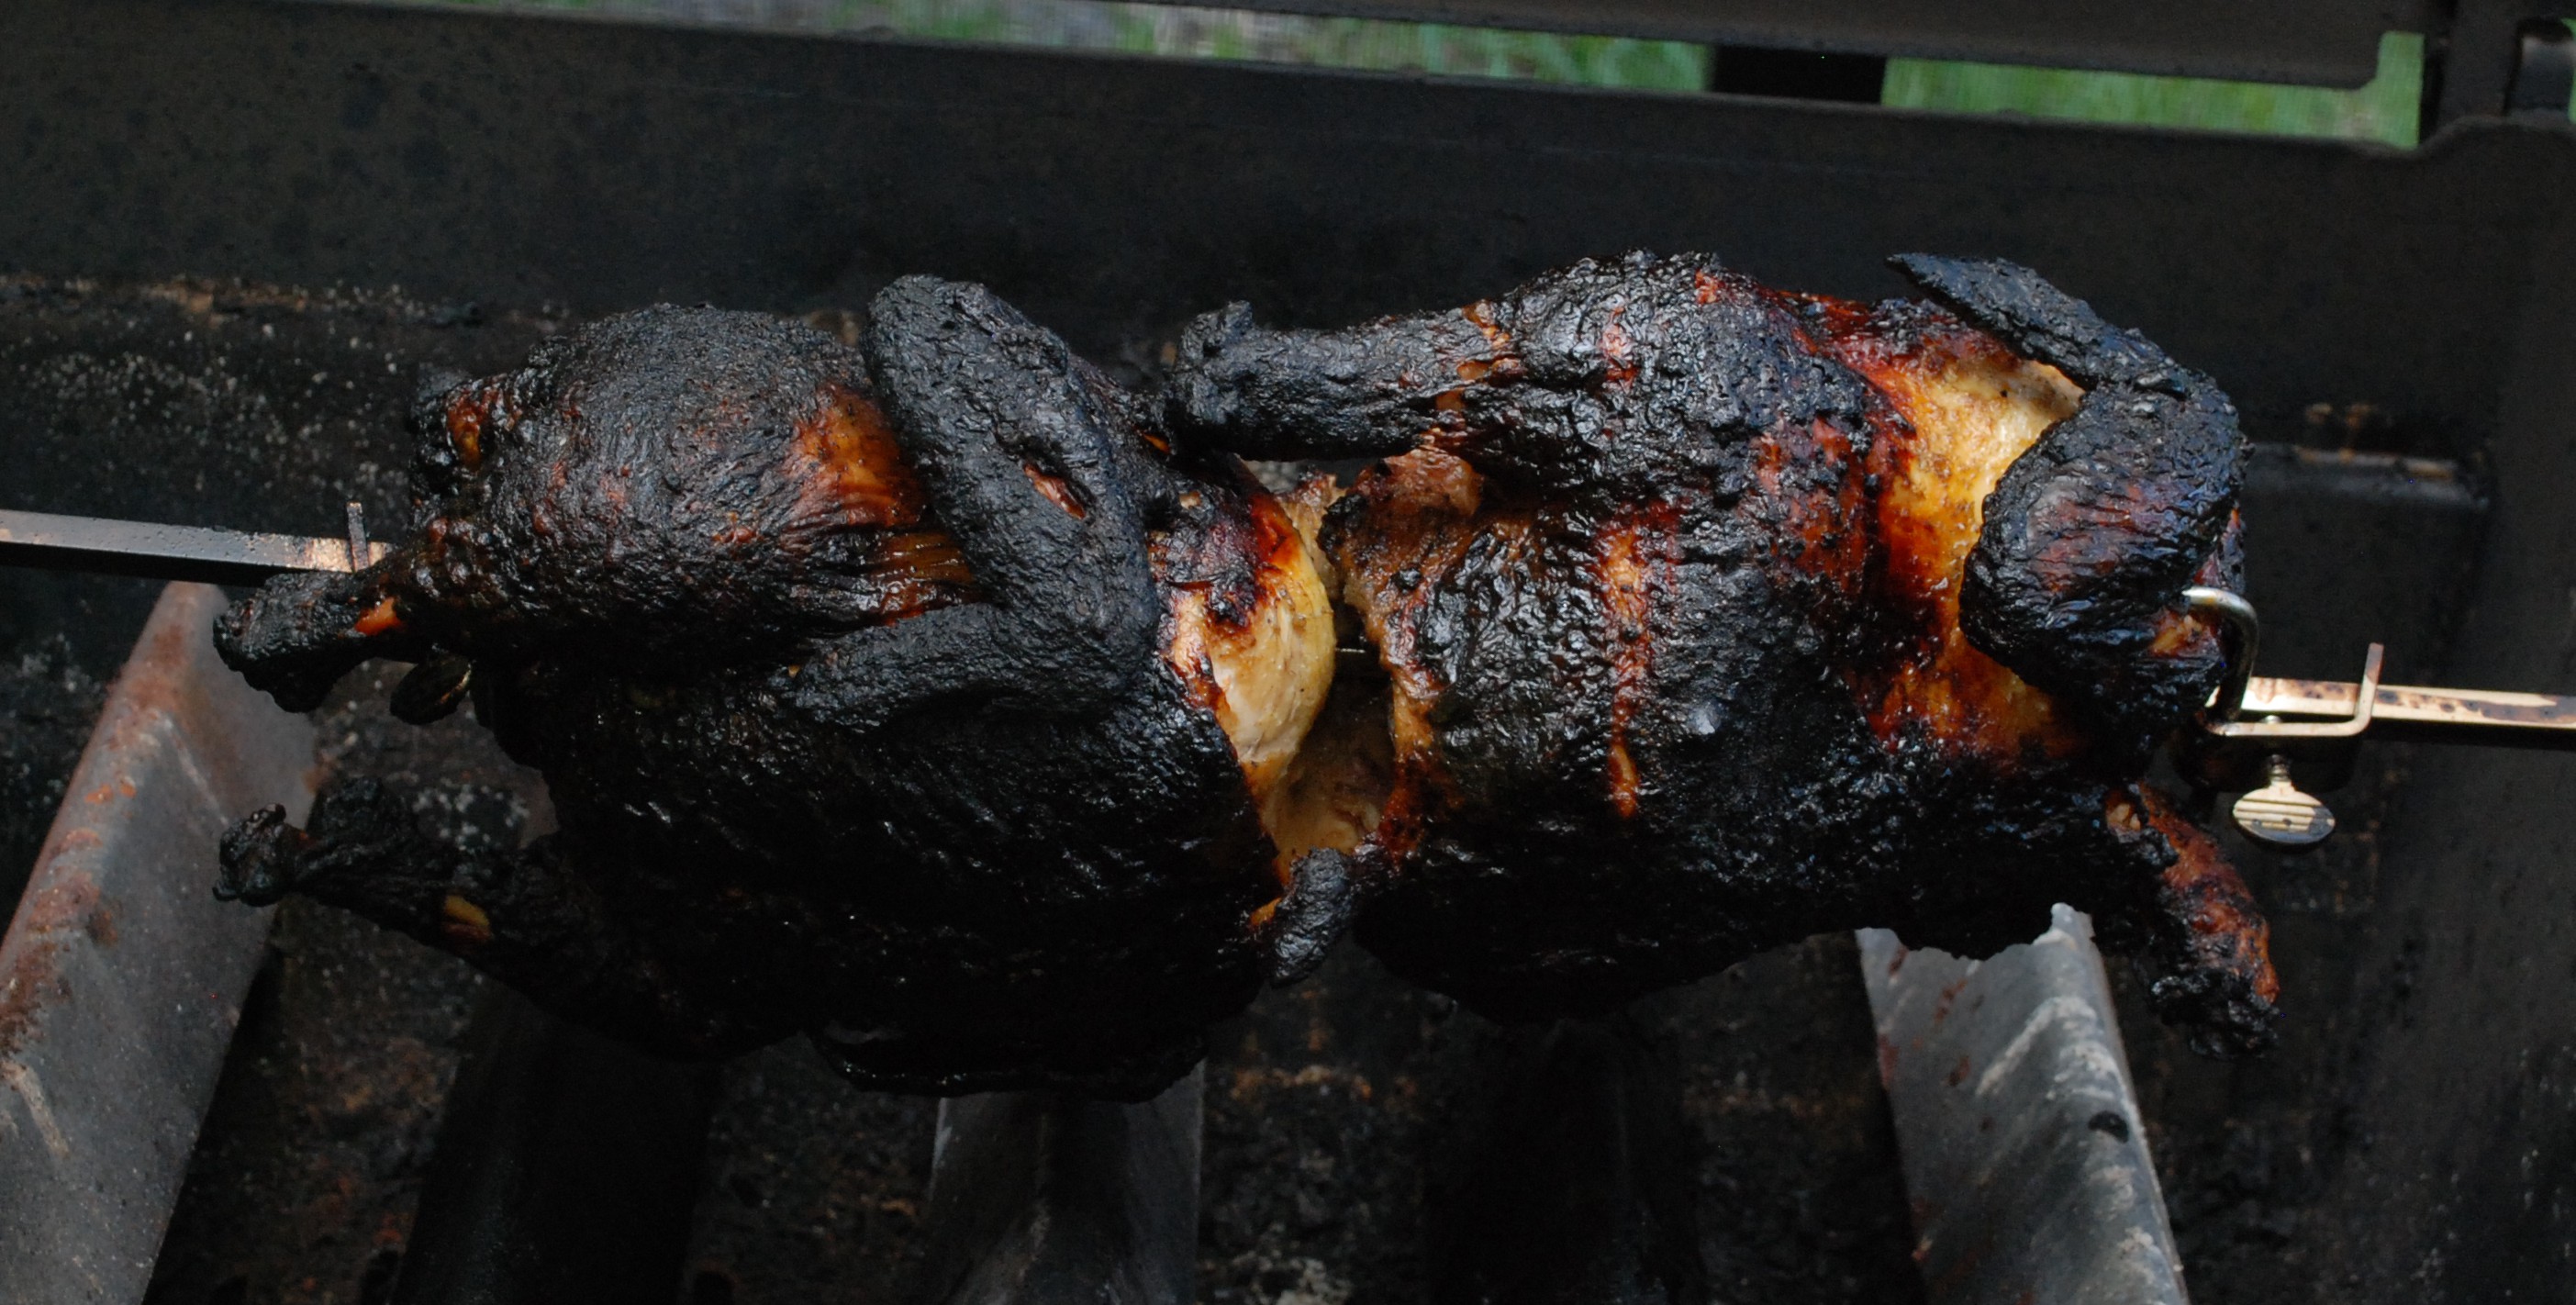
I couldn’t find tons of info online on how to best cook with this thing so trial and error it is! I started with two ~5.5lb birds. Both marinated for a day and a half, one in mojo, and the other in my first batch of home-made lizano sauce.
I started the two on medium heat, closed the lid and came back 20 minutes later to check. FIRE!!! Yep, medium was waaaay too hot. Lots of drippings and lots of flare ups. I pulled it back down to low, and carried on. The results look terrible, but actually tasted quite good. The fire must not have been going long, and only charred the skin.
If at first you char your chicken, try try again. I picked up another set of birds and set about doing a quick marinade. One was a short brine session with sprigs of fresh rosemary, and the other marinated with official lizano sauce. Instead of medium I stuck with the lowest setting throughout, and placed a cookie sheet under them to help deflect direct heat and keep drippings from flaring up.
Much better. I was so excited to dig in and eat, that after they rested I didn’t get a picture. The taste was awesome, the skin delightful, and the breast meat was tender and juicy. Big Success! The only downside is that my cookie sheet was ruined. Next time foil sheets.
I have found a miraculous sauce from the land of Costa Rica. Lizano sauce (salsa) is a brown sauce that is apparently quite ubiquitous in the country. There are a lot of different variations that I have tried, and I am sure in Costa Rica they have a lot of regional differences. A local burrito shop has their own version that is a medium brown, and tastes amazing. I found out half moon bay trading sells a “Caribbean Condiment” which is excellent and close to the burrito shop version. I haven’t found a local source, so it is time to craft my own.
The sauce is rather strange. It has vinegar and spices obviously, but also vegetables. Not a sauced tomato mind you, but hearty root vegetables. I thought they were pickled, but I couldn’t find evidence of that. In first searching I came up with a recipe that is repeated a lot. I don’t know who to credit, and spoilers, it isn’t quite right. I will say that it has chilis, water, a bit of onion and carrot, 2T sugar, 2T lemon juice, 1T vinegar, 1T cumin, 2t salt, 2t molasses.
Peppers are roasted, then simmered
The results are pretty nice, but the first thing that strikes me is that it is too thin and has way too much cumin. I love cumin, but this sauce shouldn’t have much, it is a really dominant flavor. There are various ways to thicken sauce, so I will worry about that part later. Other than the chilis getting a roast and simmer, the recipe didn’t call for anything else to be cooked.
I bought some “Official” Lizano sauce from an internet supplier for comparison. It is pretty good, but isn’t as good as others I have tasted. Looking below, the color is much darker than mine. Digging deeper on the internet I found an alternate recipe that has more vegetables and less cumin. There will be a part 2 in the near future! I tried to marinate a chicken in the sauce and grill it. Due to an unfortunate flare up the bird was burned beyond recognition. It still tasted pretty good though.
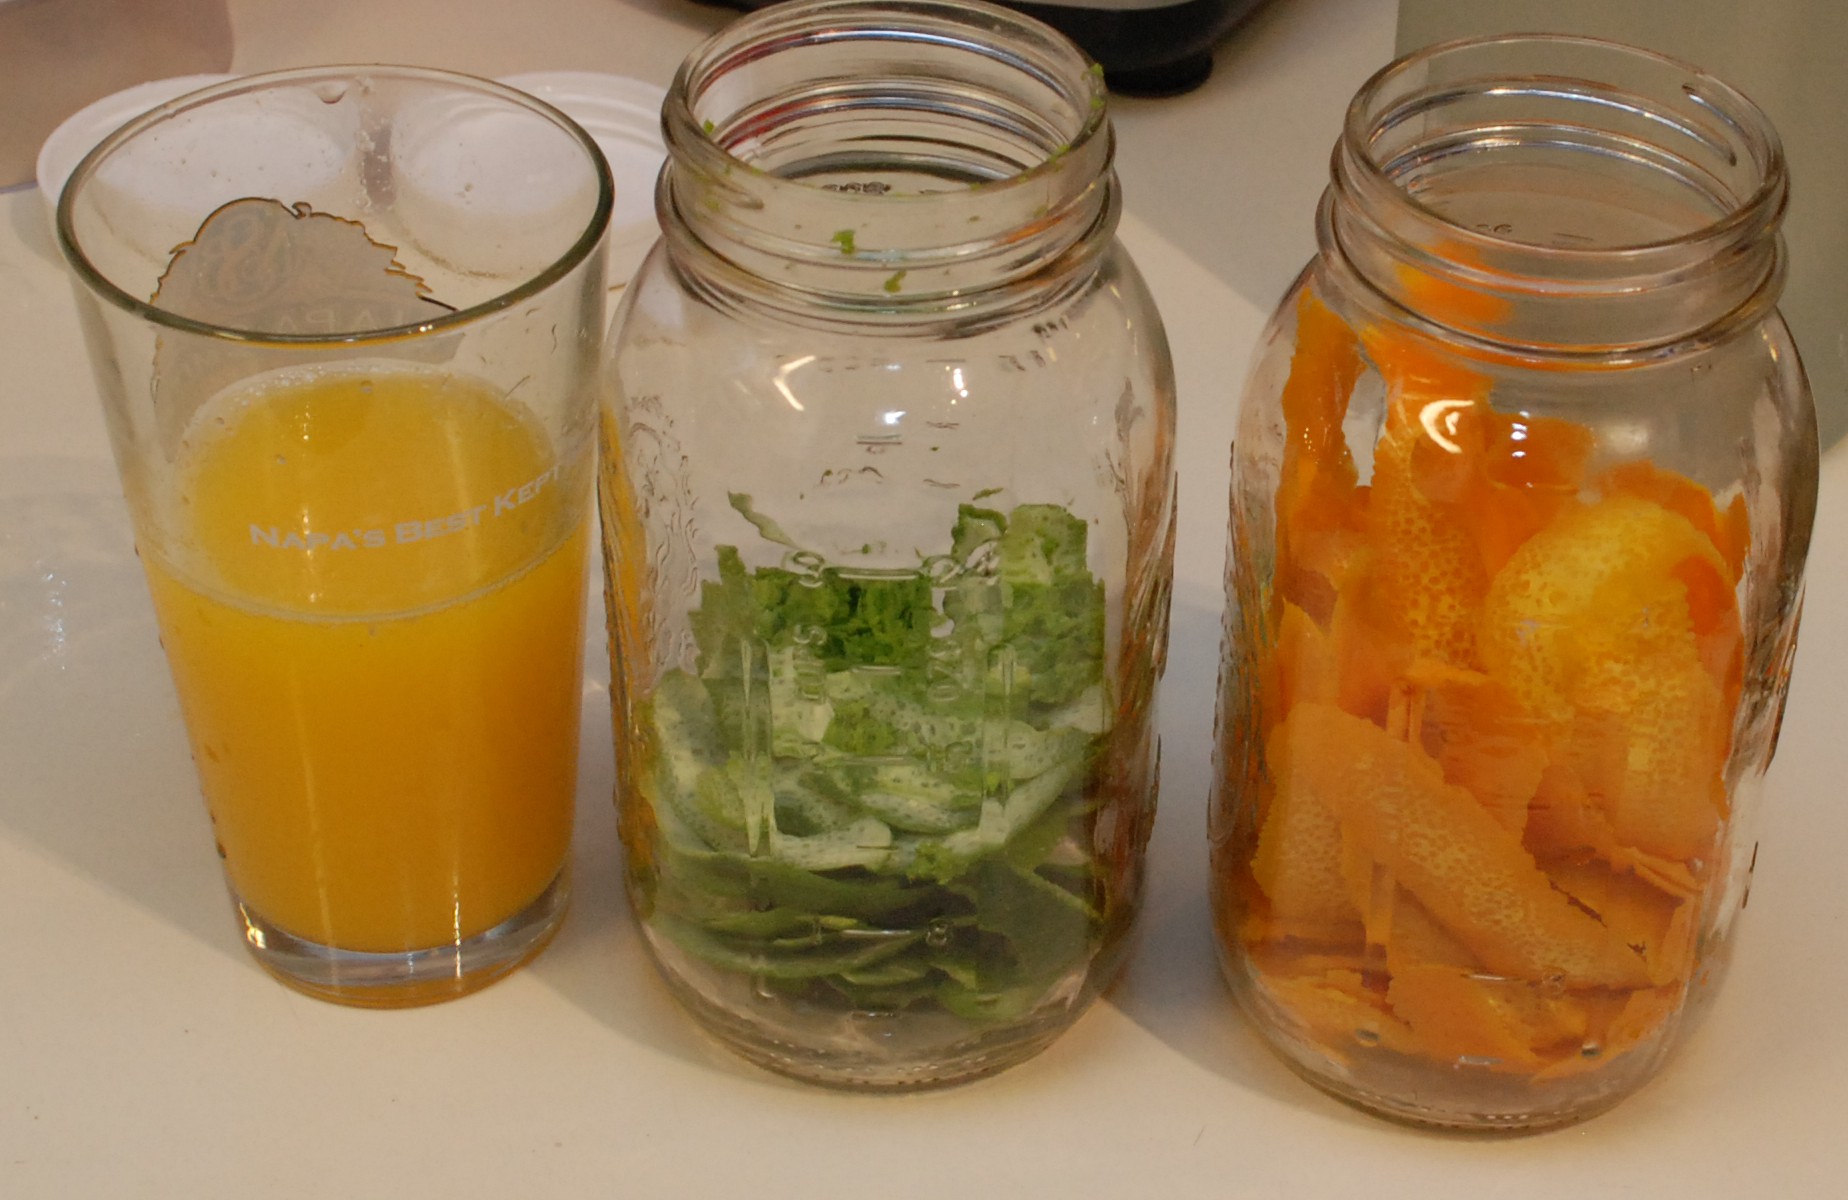
My limoncello has been quite good. It isn’t something you gulp or drink large quantities of, but a few ounces in the late evening or on a hot day is quite refreshing. Though less popular it appears you can do the same thing with oranges and limes, so lets do that!
I didn’t quite use all of the oranges, but the limes got either peeled or zested and tossed into a quart jar. I juiced the left over fruit and had some really awesome limey orange juice.
Next, I tossed in some multi-distilled vodka and left them to sit for a week. It worked well last time, so why mess with success?
Before
A week later
Both batches got filtered through a coffee filter into a 1L glass bottle with a sealable top. Here is a picture of the two liquids with a shot of my limoncello between them. Orange is on the left and lime is on the right.
I am kind of amazed that there isn’t a bigger difference. They seemed so different in the jar, but that must have been mostly the rind. I mixed up a batch of 2:1 simple syrup and filled both bottles up most of the way. My goal was again to make it drinkable with a hint of sweetness, but not super syrupy. Chilling and an upcoming dinner party will tell how I have done.