Continued Jerky Lessons

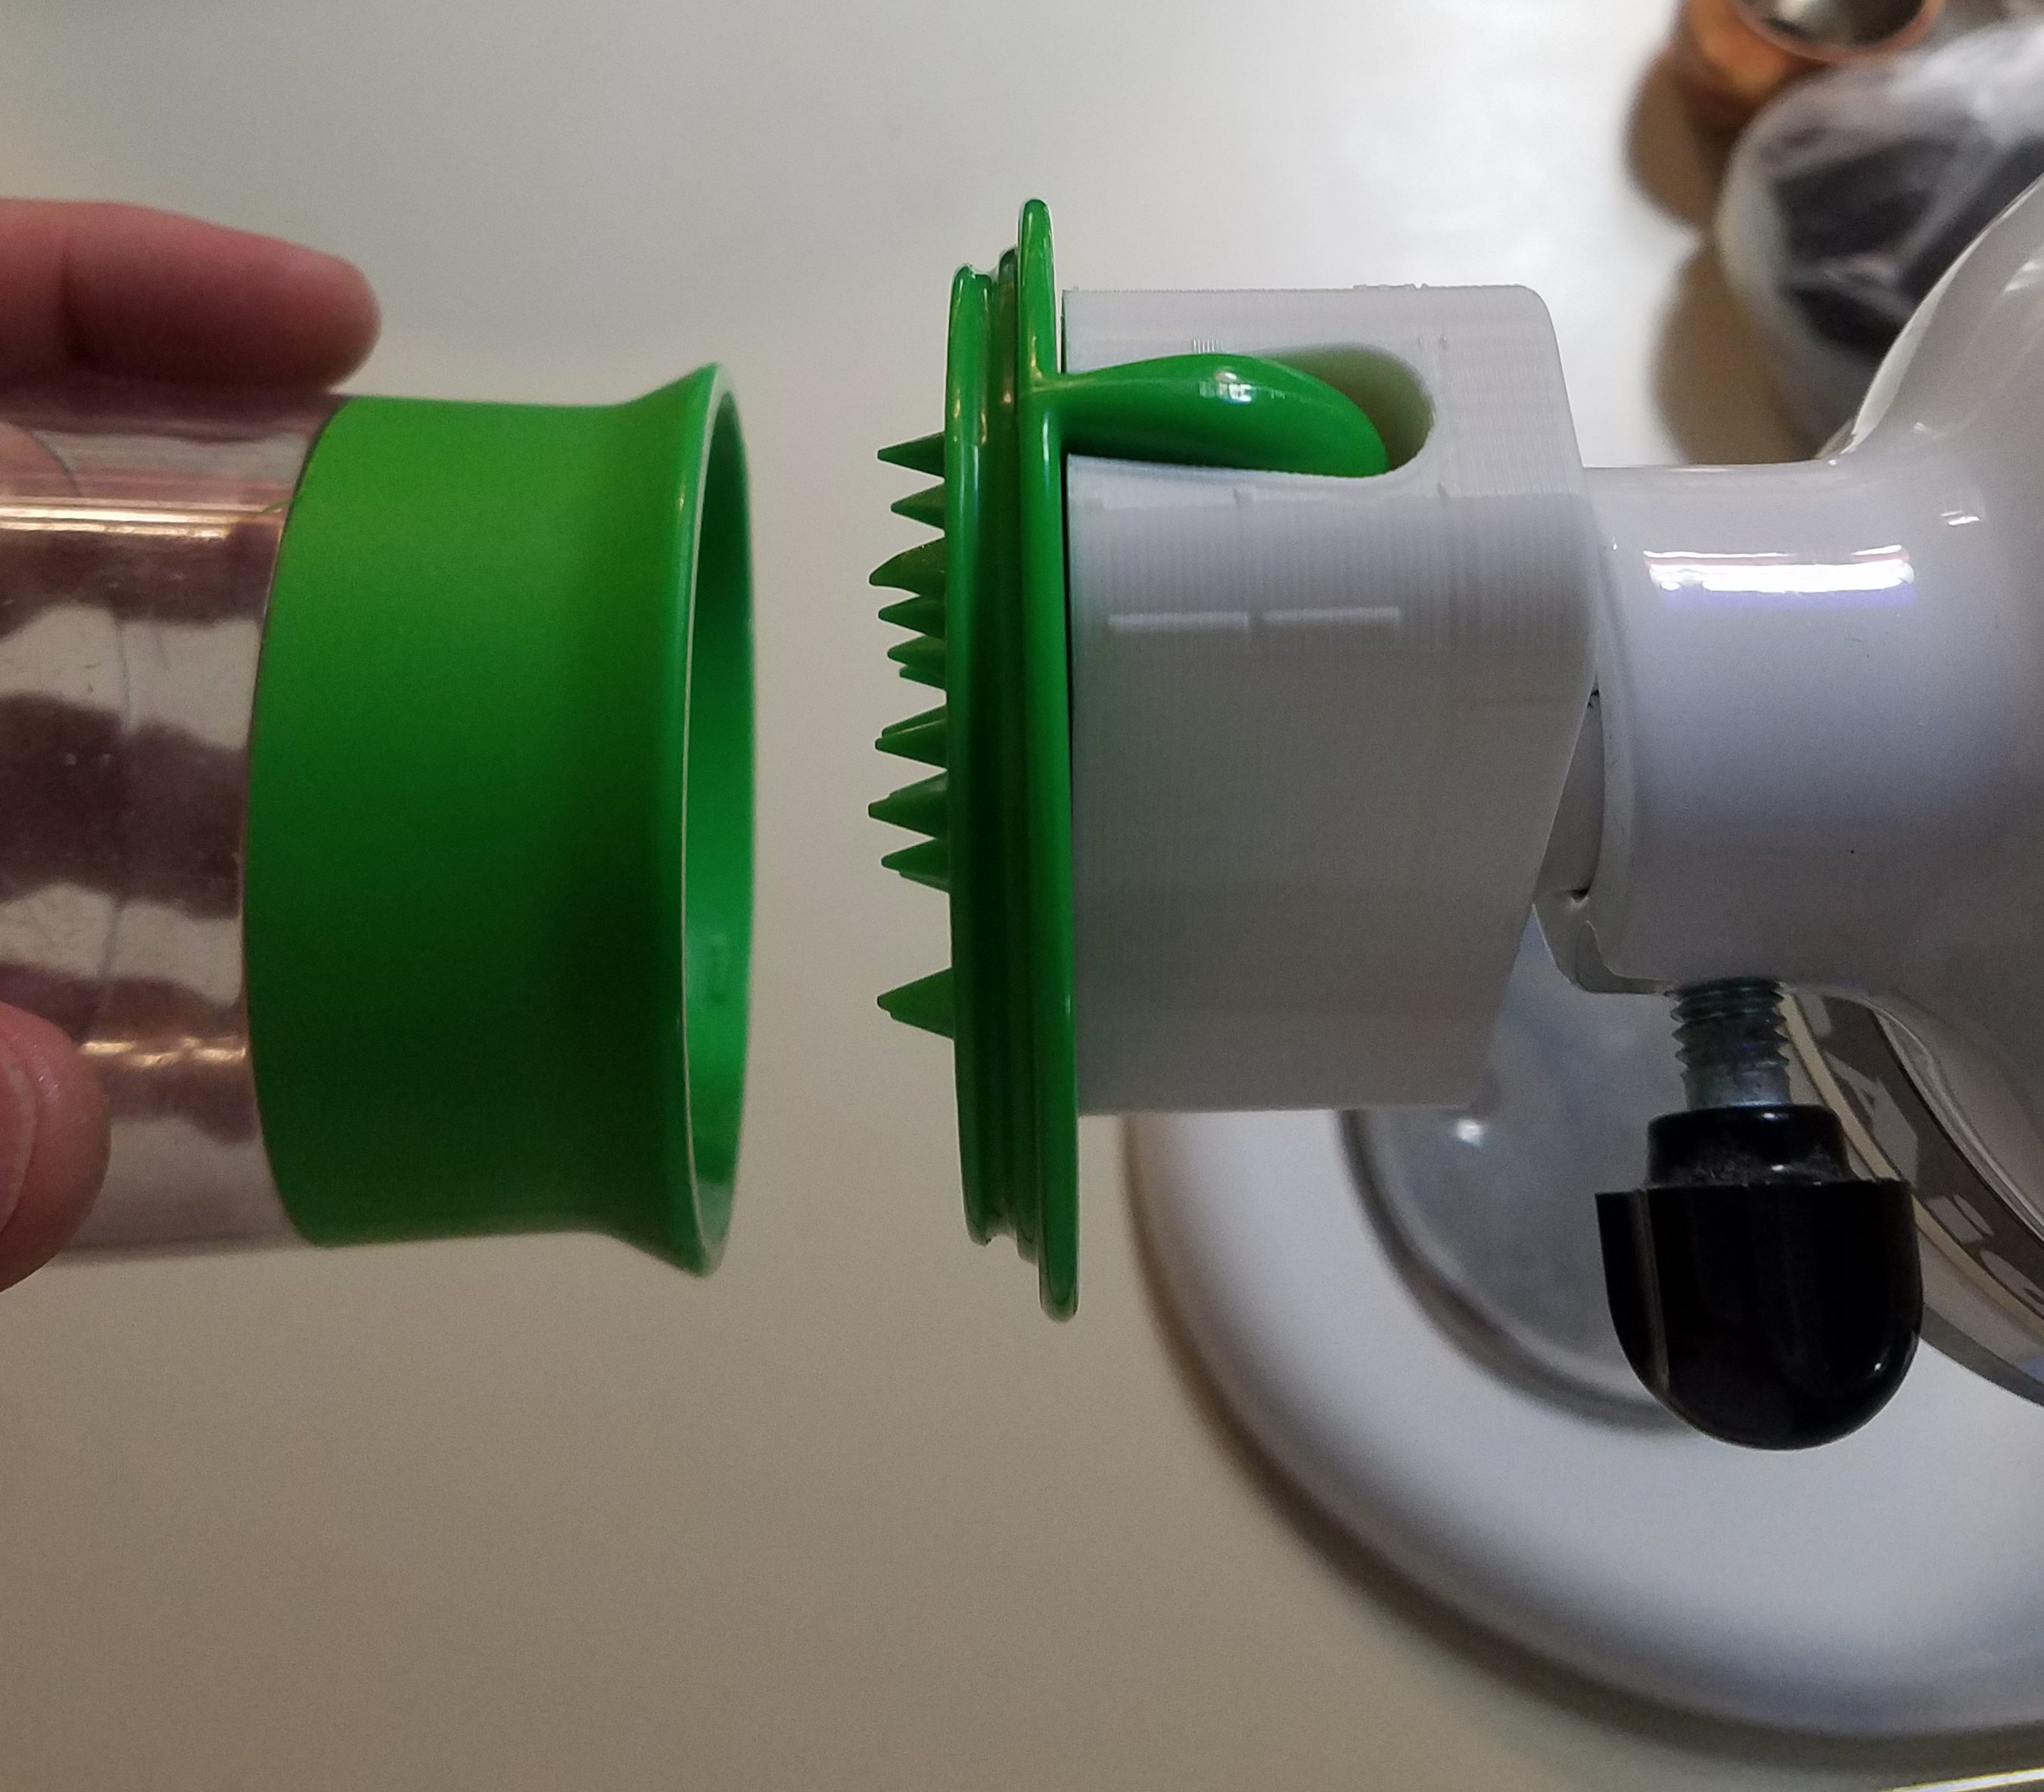
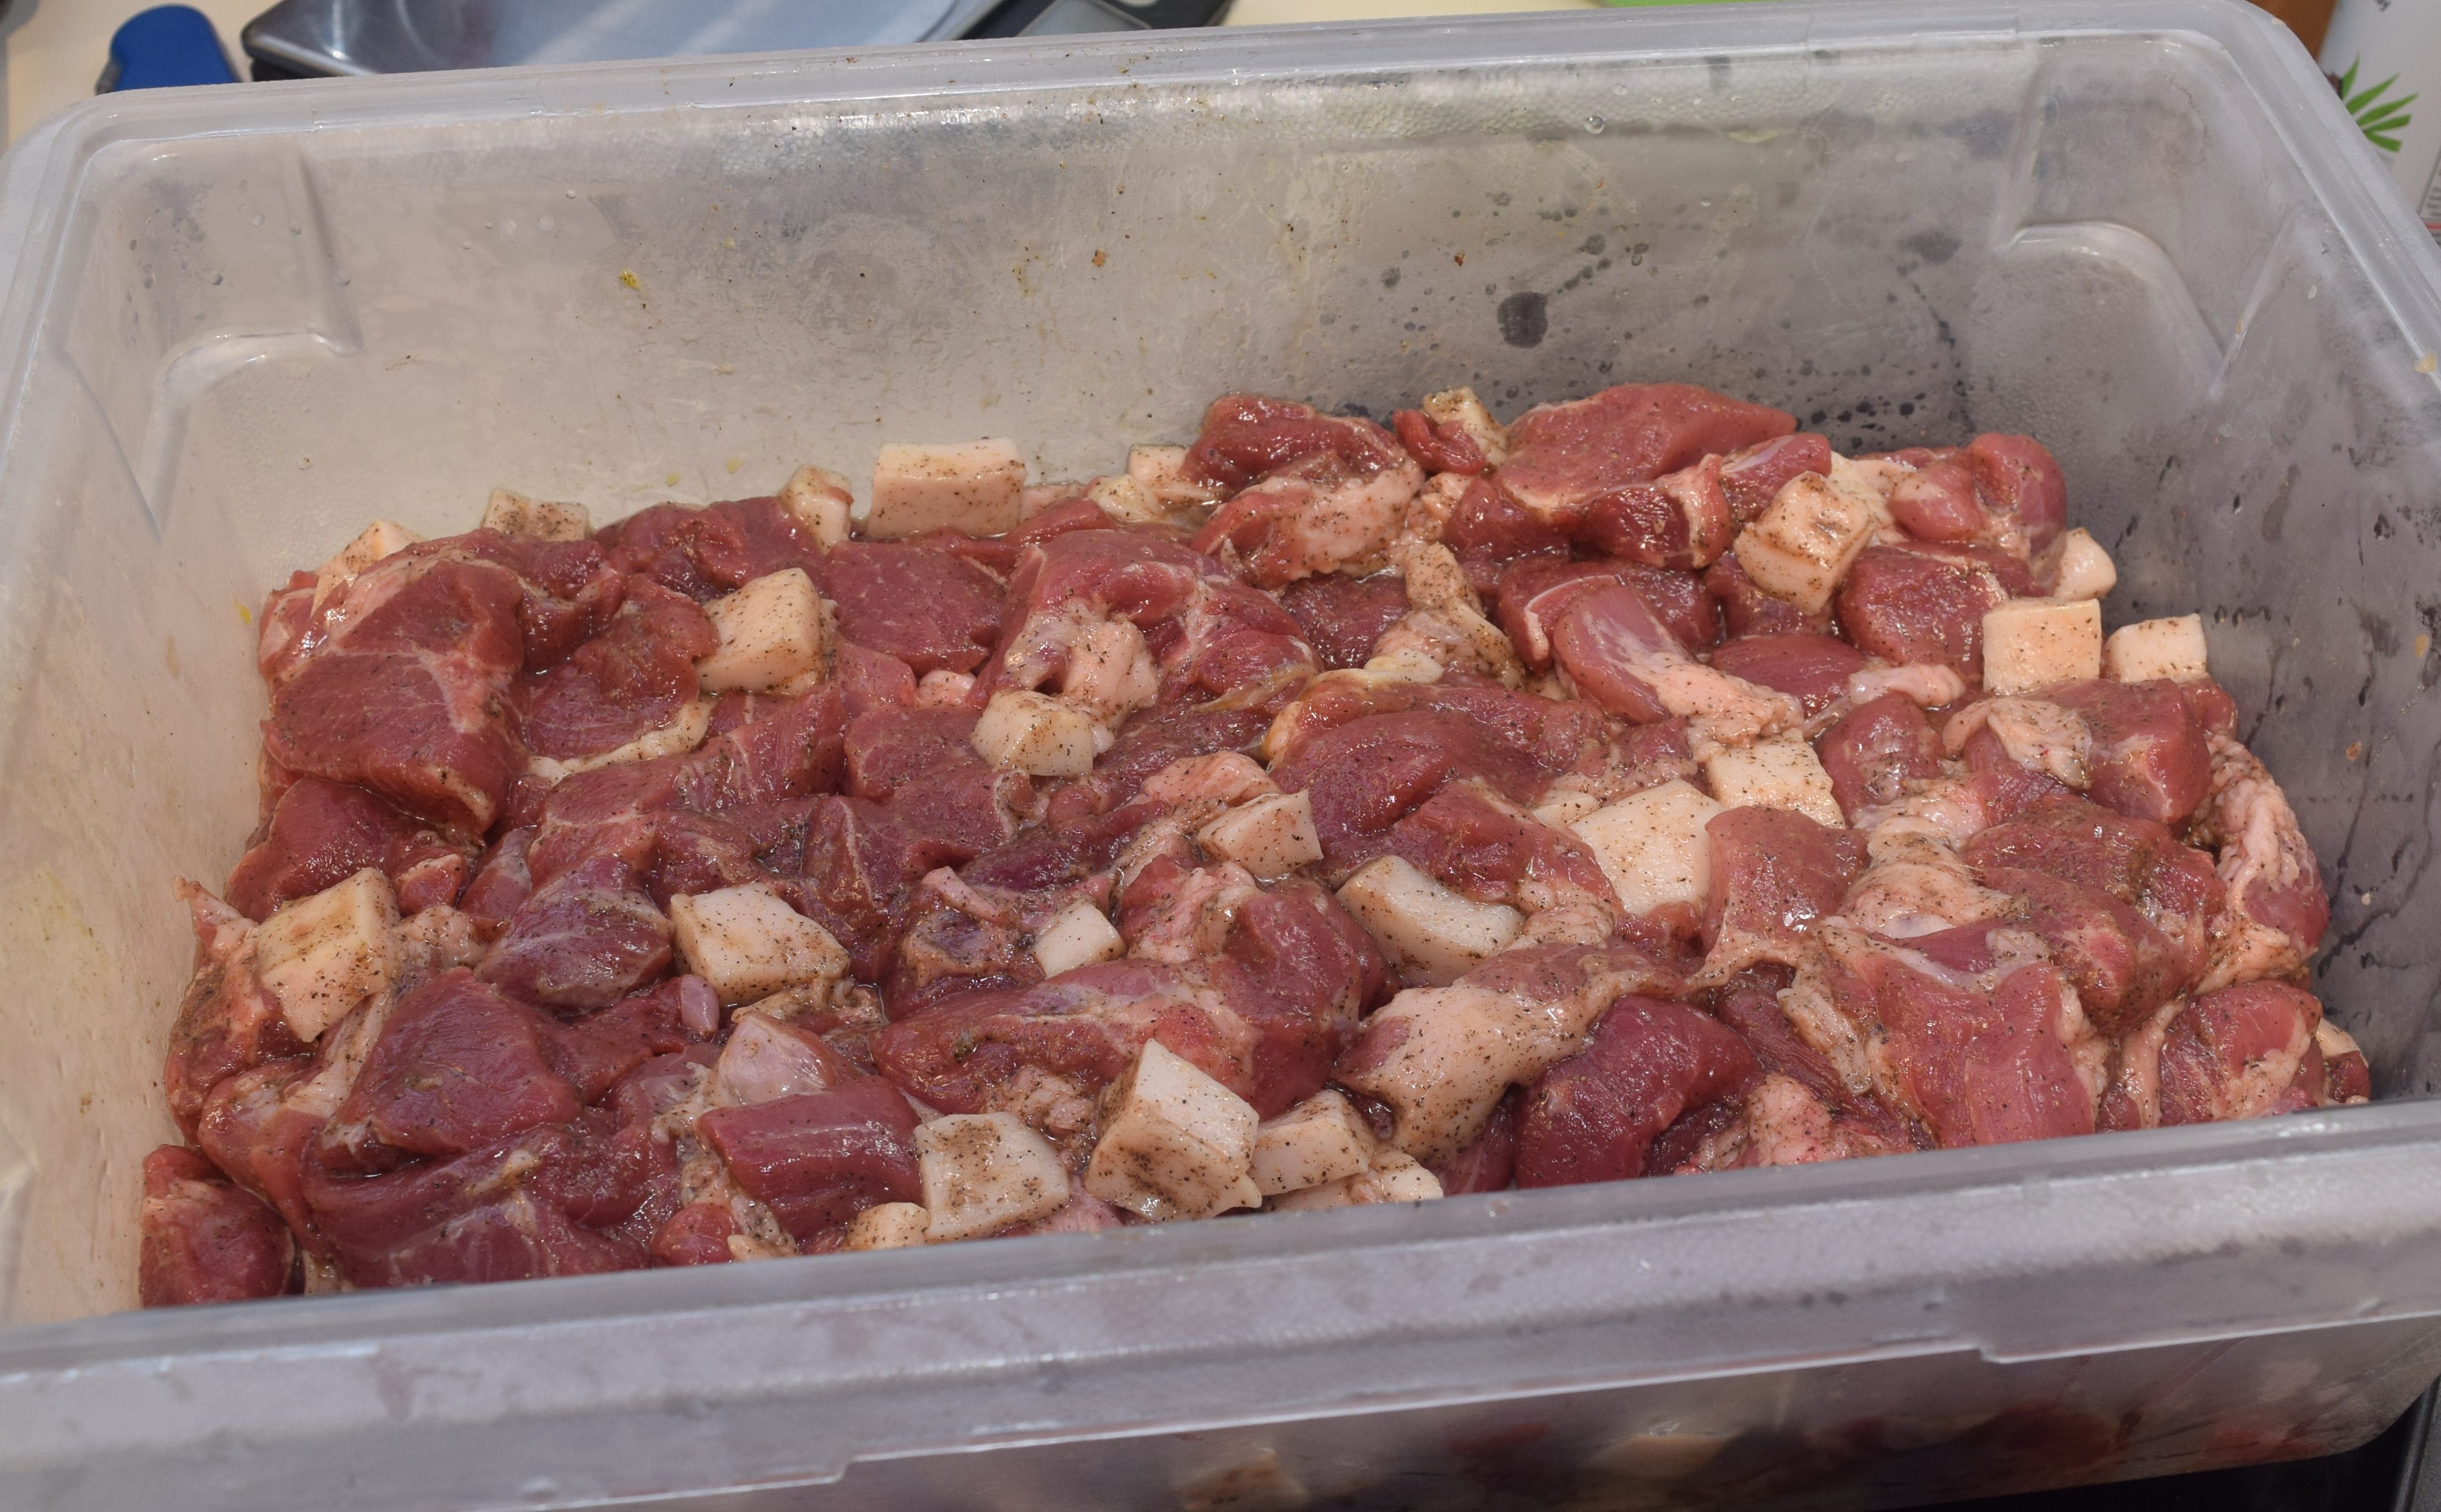
This is my 4th round of jerky and I feel like I am still learning a lot every time.  My co-worker uses a 3/8″ nozzle, where as my jerky gun came with only a 1/2″ nozzle.  Thankfully the sell these little road cone looking things that you can cut to size.  DSC_0937I switched jerky seasoning brands because I had run out of the original stuff and wanted to try something different.  They recommended mixing their seasoning with water first, then mixing with meat.  This is a great idea, it helps ensure that the seasoning and cure are well mixed and distributed throughout.  I am feeling confident enough to wager 5 pounds of extra lean to make this happen.  In retrospect the seasoning should have been mixed in the big metal bowl before adding meat.  It saves a bowl.

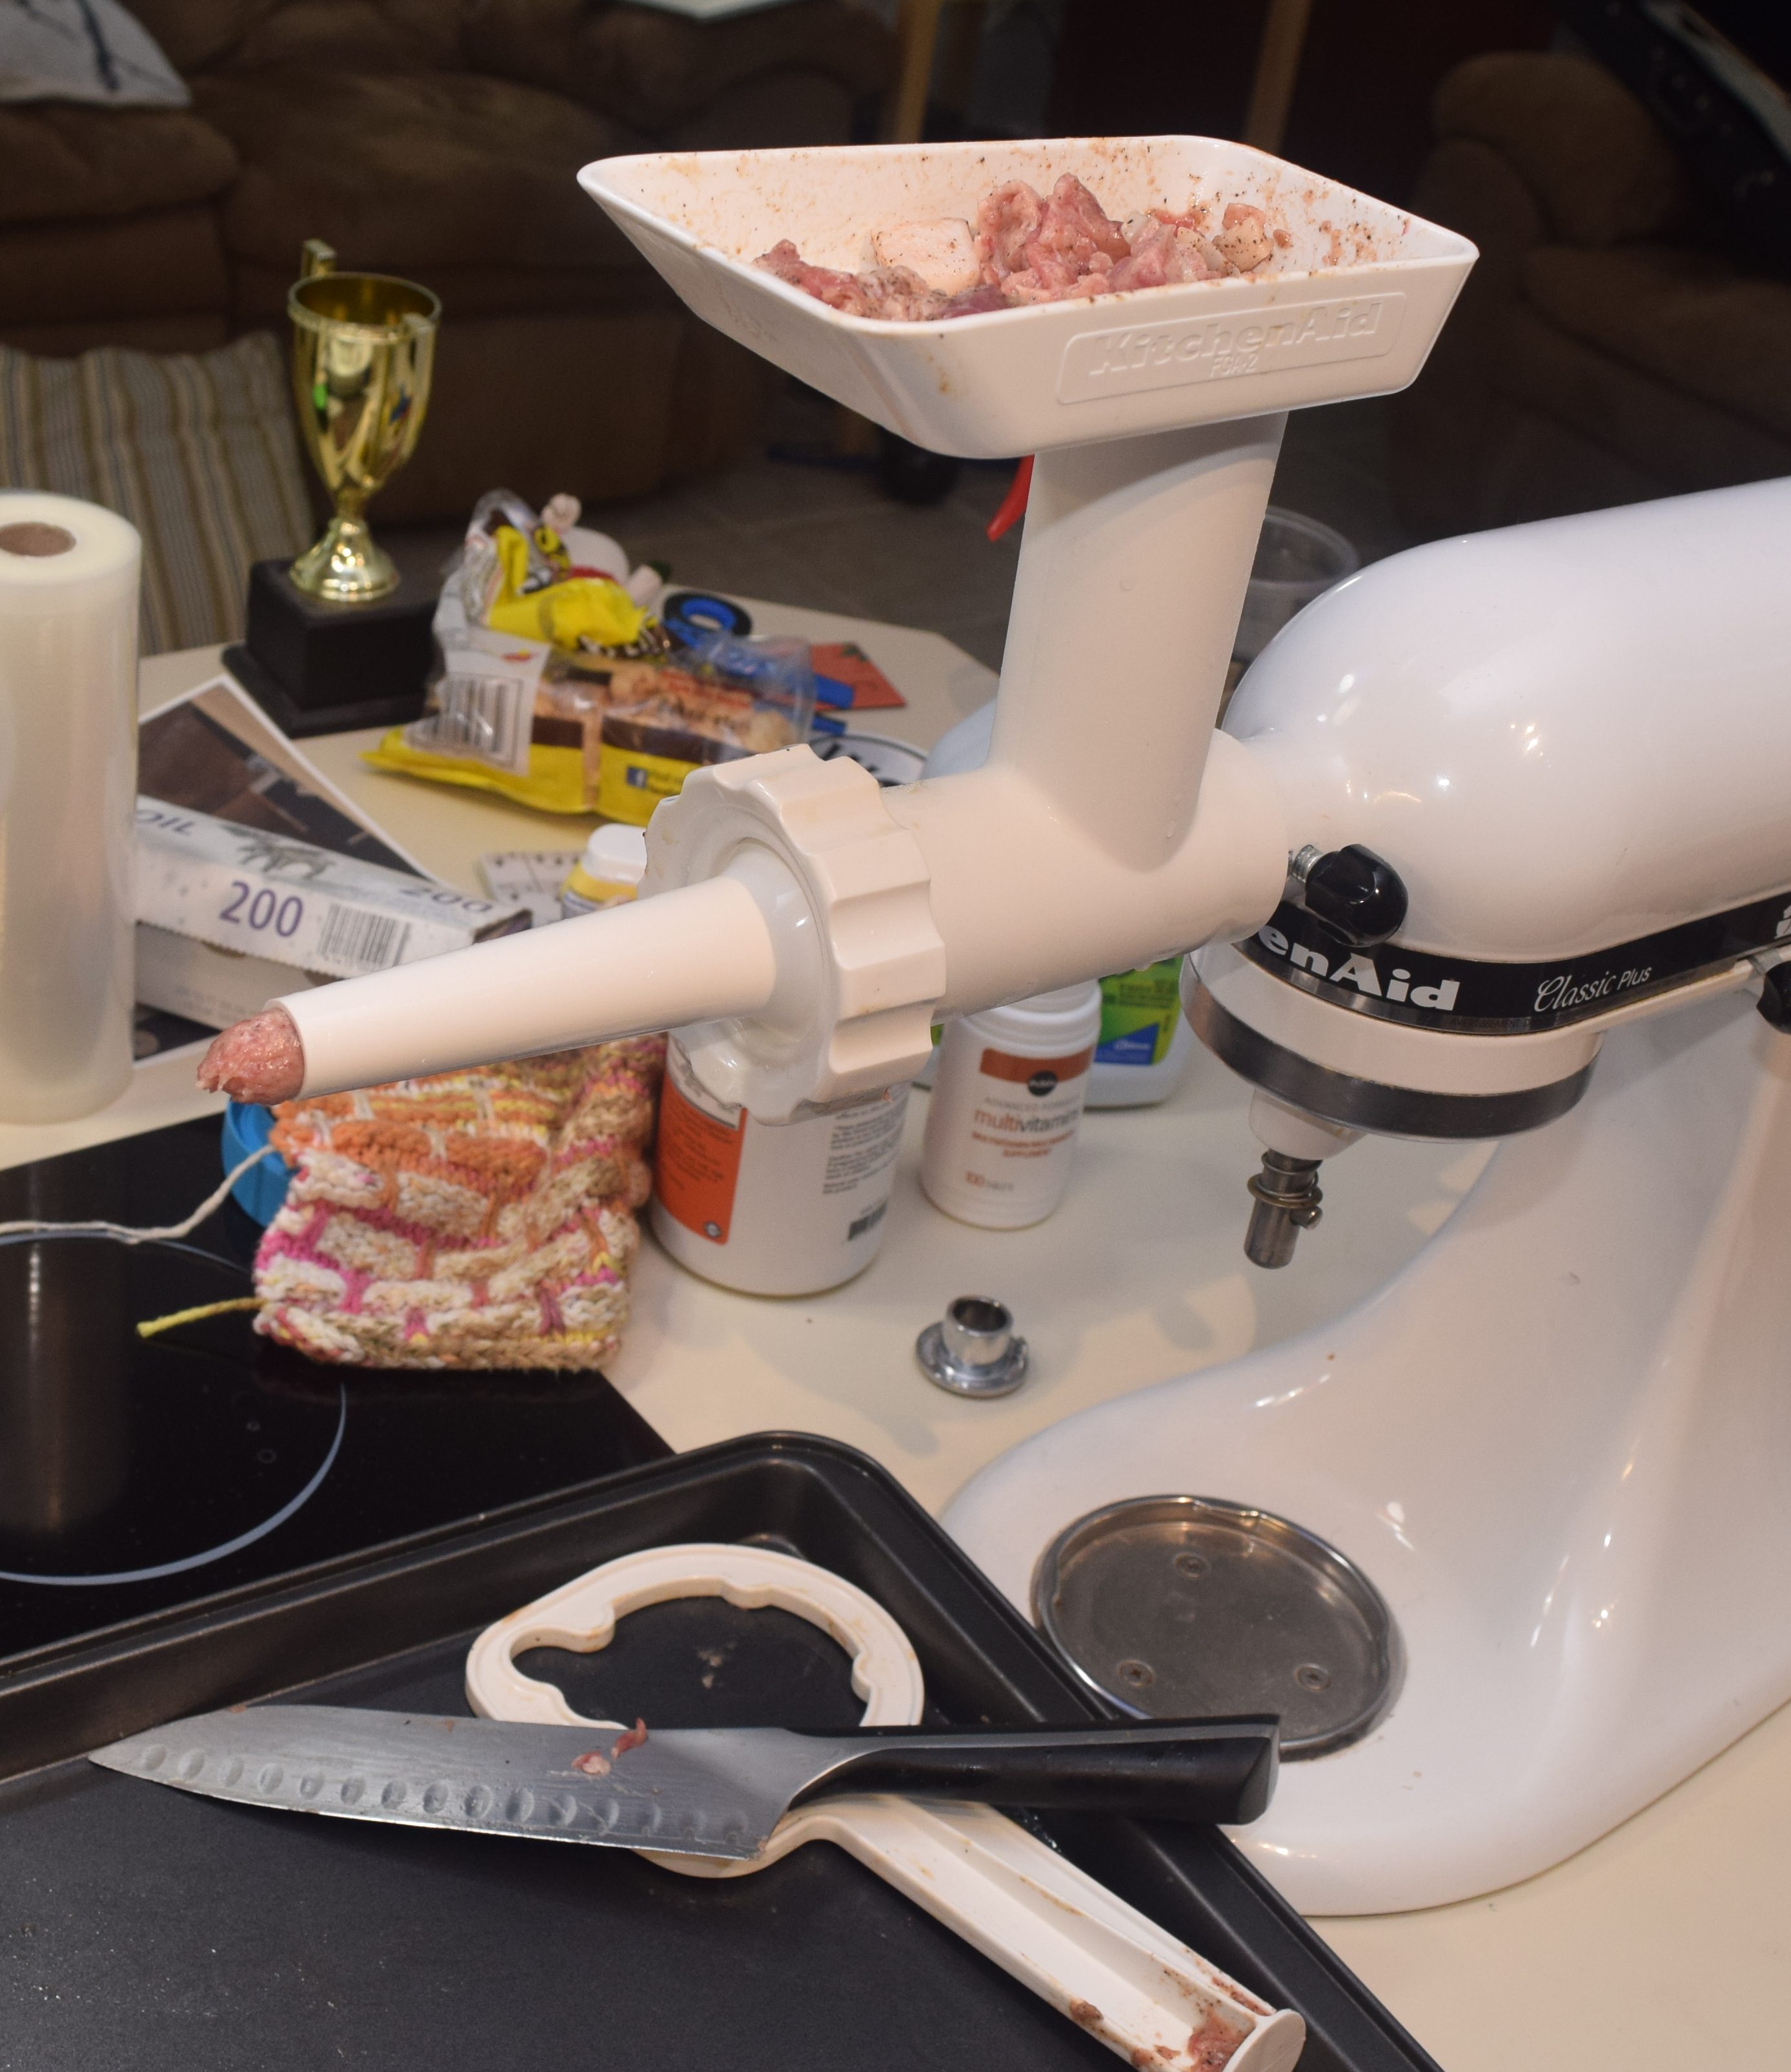
Loading can be tricky.  One clean hand, one dirty.  You ball up a small wad with the dirty hand and load while holding the barrel with the clean hand.  They make a tool that helps tamp it all down.  Which hand holds that?  My new 3D printed hand of course!  I came up with this clip to hold the barrel while my clean hand tamps.  The overnight print came complete with a really good game of filament chicken.  About 2 wraps left before I would have been in trouble.


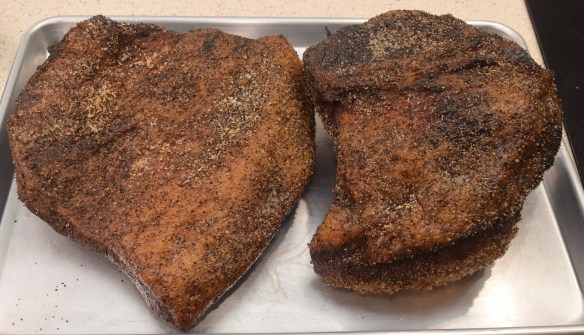
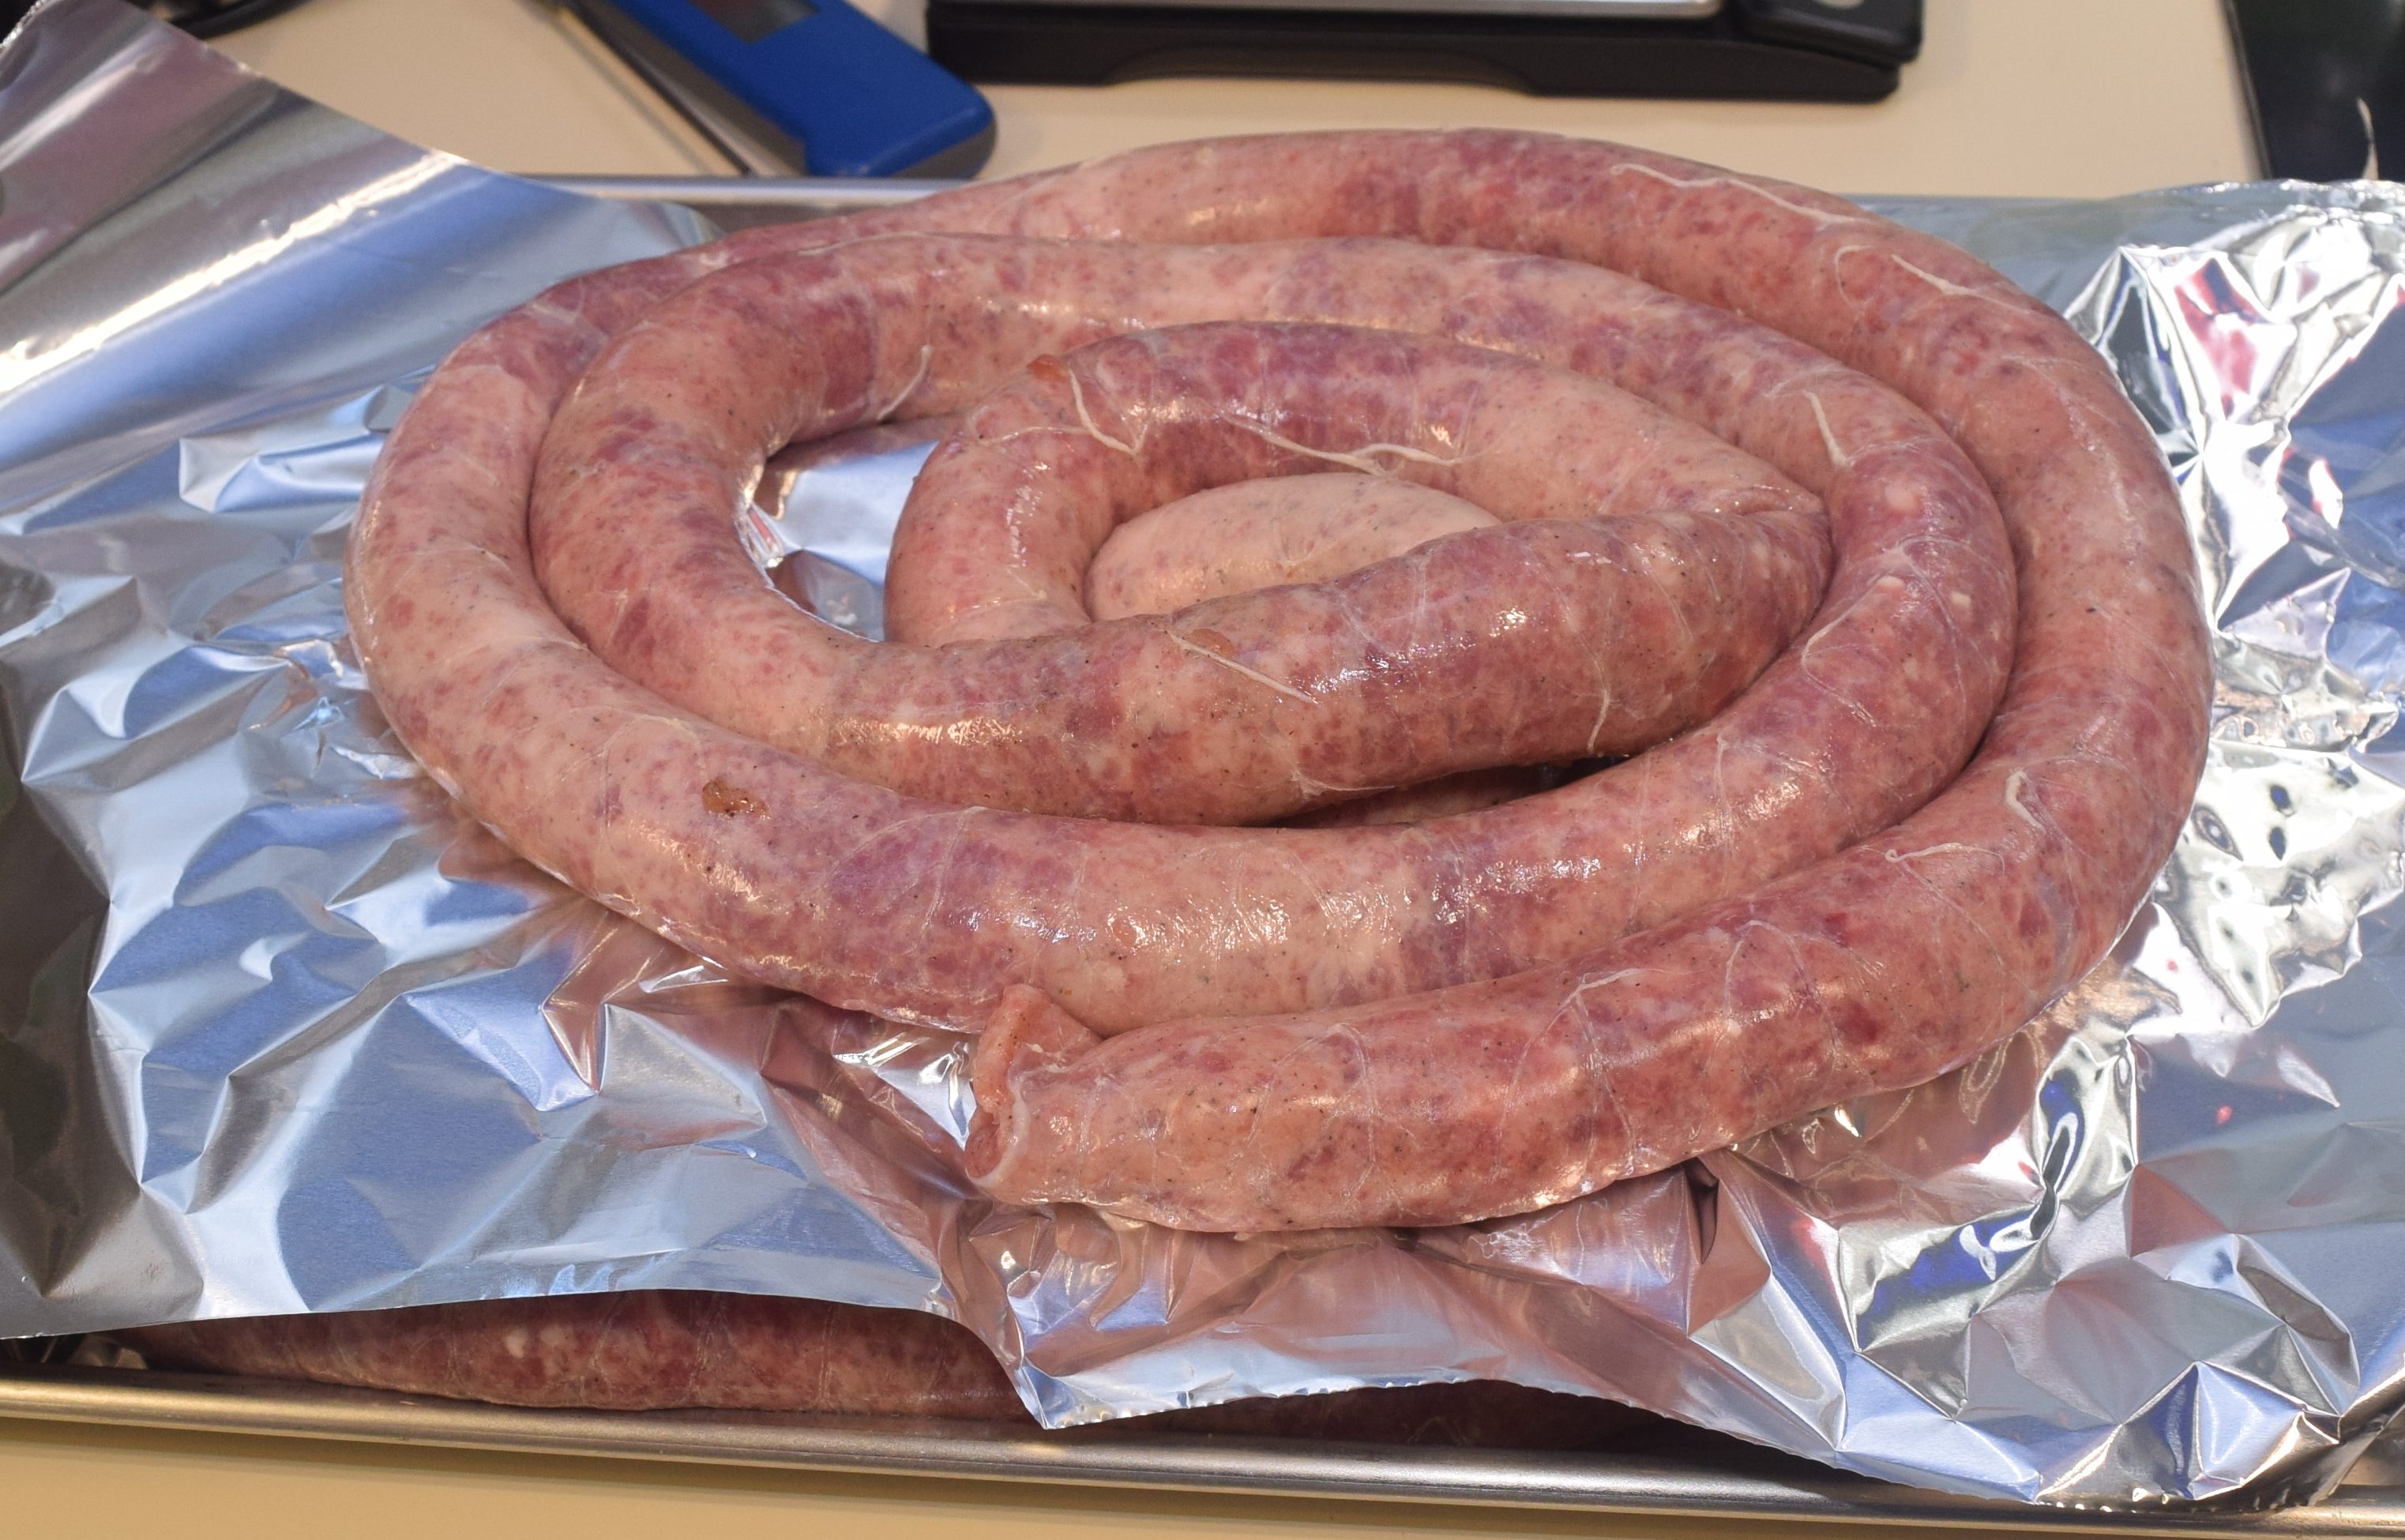
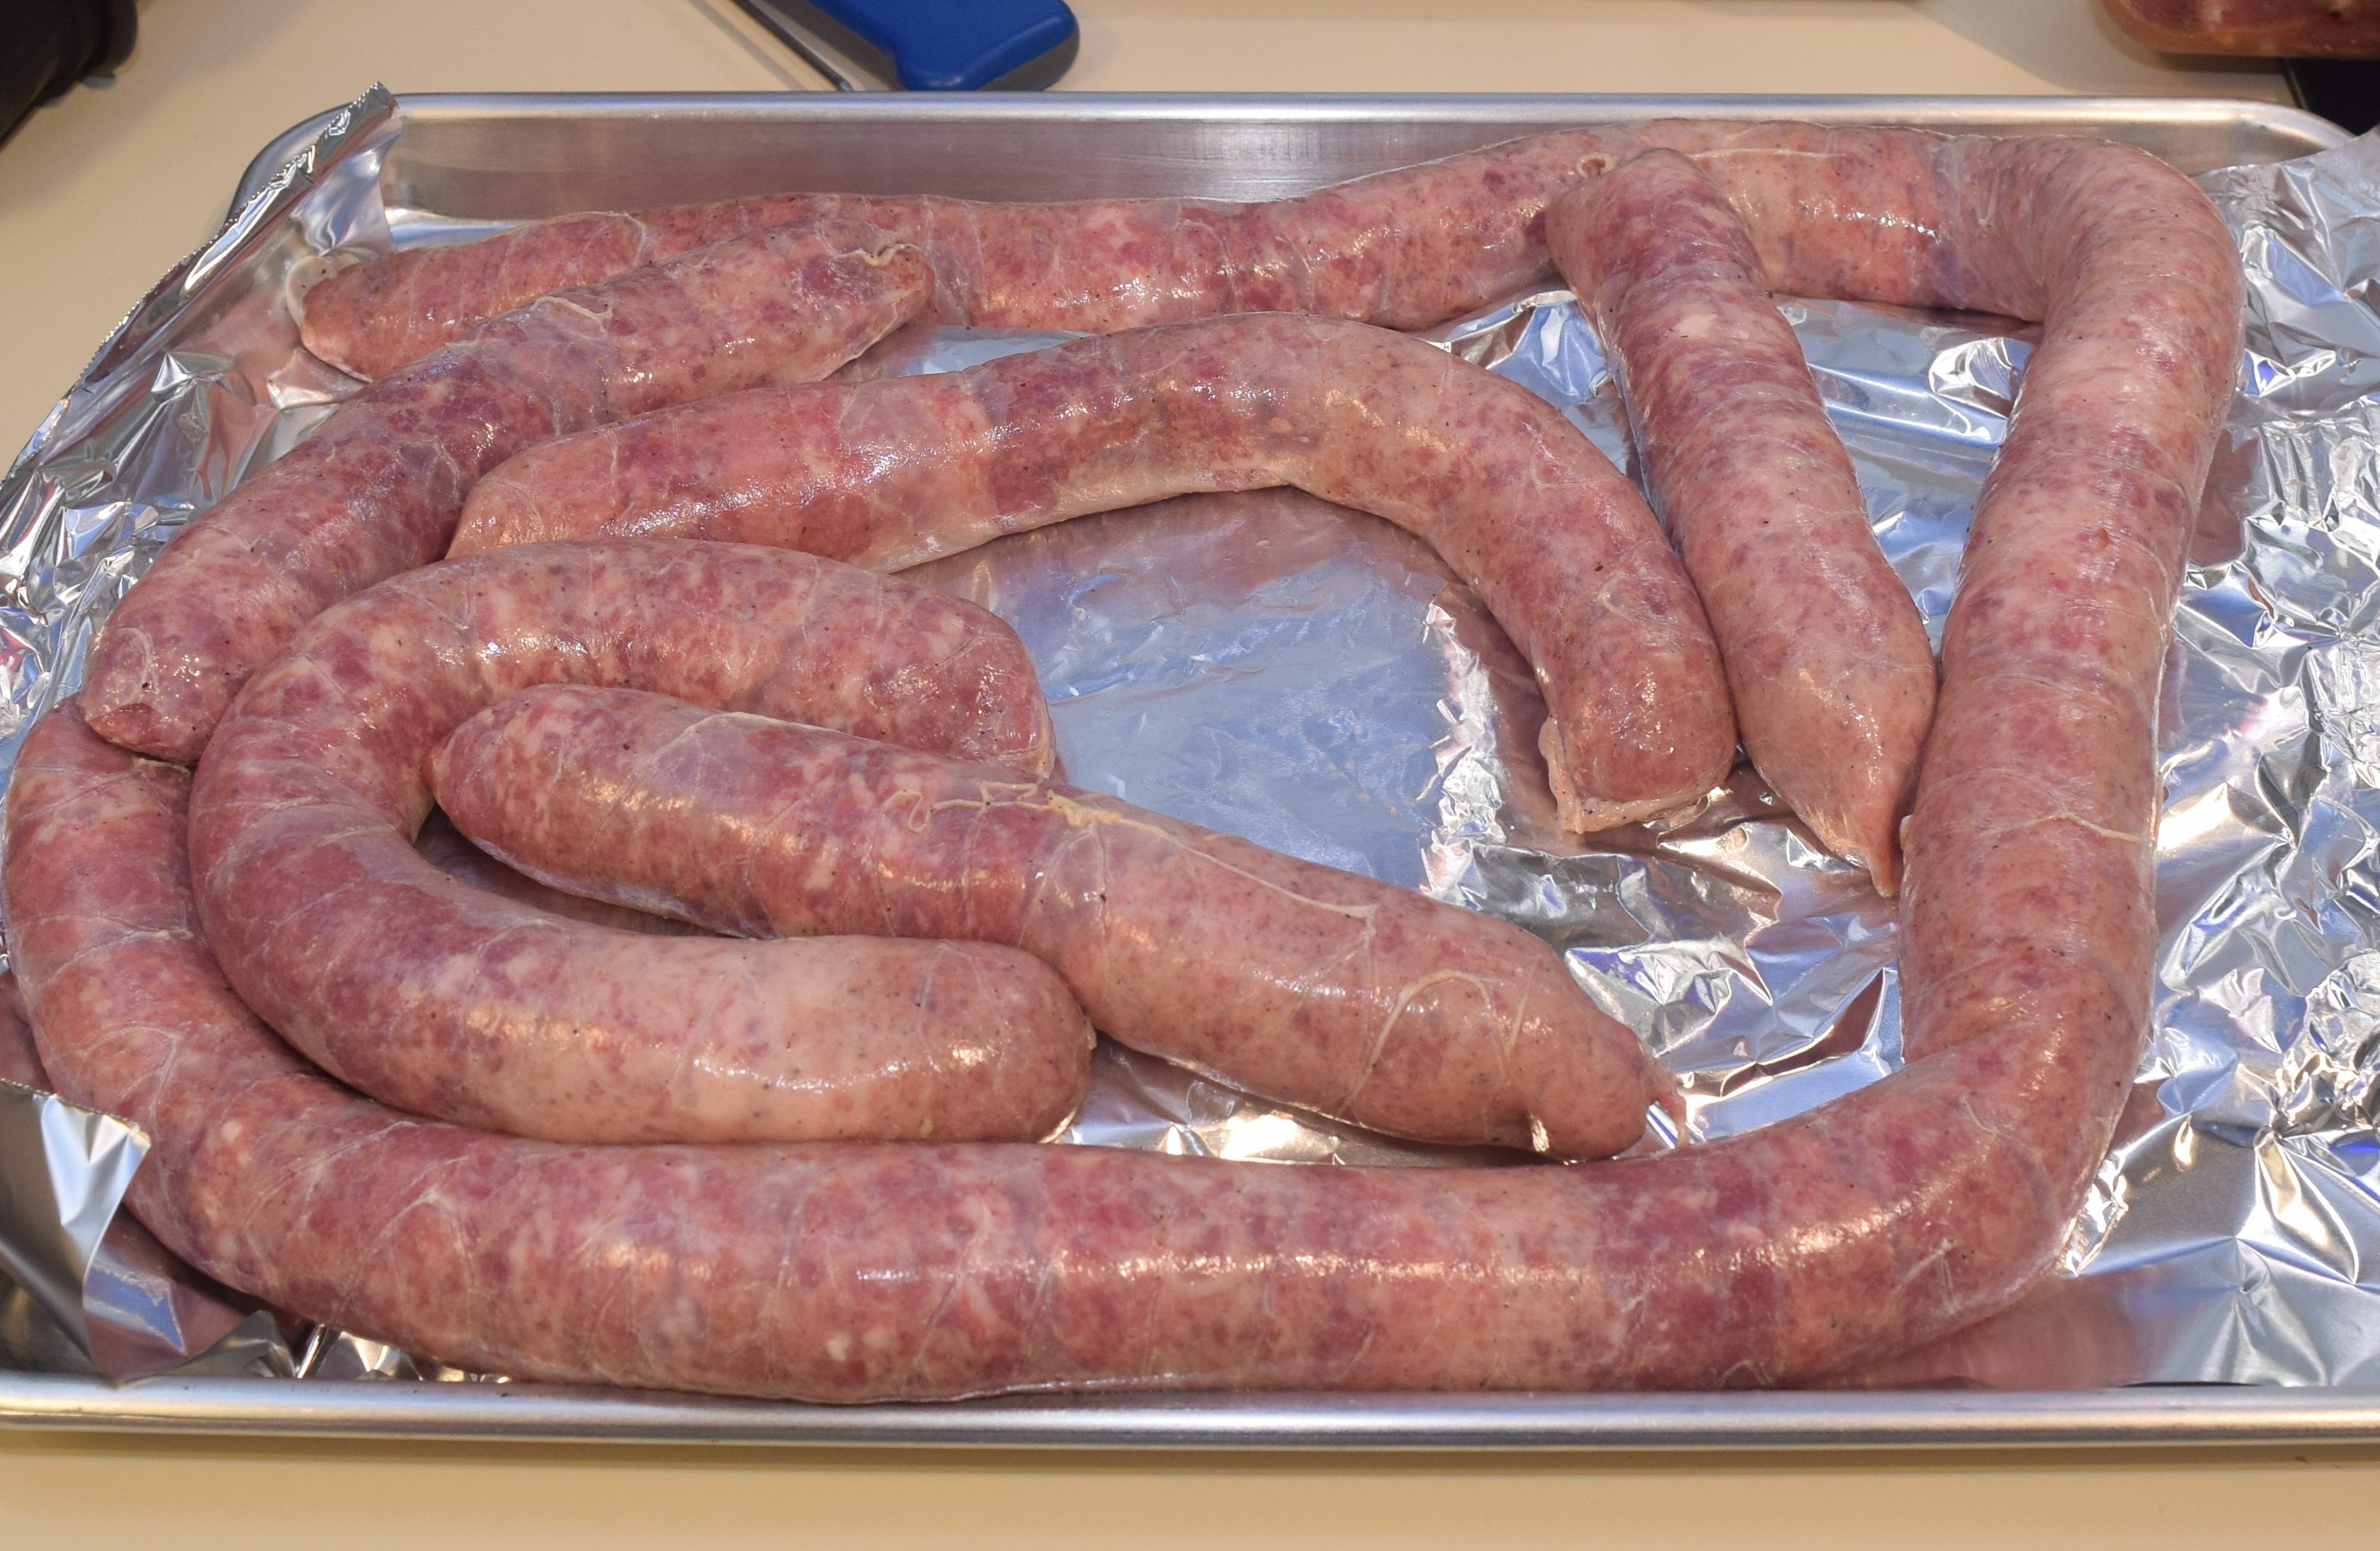
The mix and extrusion went well.  I used every tray I had and in 5 hours was able to dry a pretty good looking batch of jerky.

I weighed the final product and came up with about 2.5lb.  That is probably at the low end of dry enough, but it shouldn’t go bad in the 4 days it will take for me and everyone around to eat it.  It occurs to me that I could monitor the progress of my jerky simply by taking the initial weight and weights throughout the process.

DSC_0947

Jerky Dehydrator Hack

I have been experimenting with jerky in the oven after a co-worker introduced me to the idea of making jerky from ground beef.  I had no idea such a thing was even possible.  It is easier and can be cheaper than whole muscle jerky.  Plus it isn’t nearly as jaw bruisingly chewy.  I started in my oven, but the long lingering cooking smell is disagreeable with my wonderful wife and the oven doesn’t seem to vent enough to properly dry the meat.  Enter my new Nesco Snackmaster!

20171125_161652

Good ole black Friday deals got me a discount on a damaged box item.  I cleaned and assembled everything and used the dehydrator to dry all the piece parts.  I stuck my grill probe in various places checking for consistency.  It is a surprisingly consistent unit, but there was an issue.  The temp was too low.  You are supposed to dry jerky at 160F, and it stalled at 145.  An hour later, it was still at 145.  I didn’t really feel like sending it back, or finding out the bad way that my jerky wasn’t cooked enough.

The dial has a hard stop (brass piece in lower right picture).  I wondered if it needed adjustment.  I tried tweaking the metal shim that hits the hard stop, and broke it off completely (Sad bent metal in lower left picture).  No sending it back now!  I gave it a slight turn past the previous hard stop and reassembled everything.  Hey presto, 160F without issue.  It super voids the warranty, but now I know I can get one of these things to higher temps if I ever need to.


Fast forward to actually mixing up some meat and making a test run.  I had a jerky seasoning sampler pack, and wanted to stick with known spices while I worked on the mechanics of jerky making.  Once I get the basics down I will venture off into recipe development land.  I mixed it all up, put it in my jerky gun and shot 1/2″ round extrusions into the snackmaster.

20171125_154536

Not highly appetizing at this point, but give it some time.  I was dubious of the temperature control still, so I put my probe back in and monitored.  It still didn’t come out to the right temp, so I had to do more adjusting.  No clue if I am being overly controlling, or if something is wong with the built in temperature control.  6 hours later it was looking a bit more like jerky, and I was looking for bed time.

20171126_082235.jpg

My previous batches got stopped before this point.  They weren’t chewy enough, but lasted about a week before mold set in.  I figured they would be ok overnight, and restarted them in the morning.  Not ideal, but it should be safe. After 4 more hours of drying I had other events that were becoming press, so it was time to call it quits.

20171126_113622.jpg

10 Hours total yielded a pretty good looking jerky.  Drier than my previous attempts with a good amount of chewiness.  I will hold a small sample of this in a bag and check it for mold routinely to get an idea of shelf life. The only round nozzle I have is 1/2″ in diameter. I need to get a thinner diameter to help speed this process up. Then again, 10 hours would be easy to do overnight.

More jerky updates to come over the next few weeks. I hope to have a full suite available for Christmas gifts.

Franken-Cooler

My sous vide adventures have sometimes been serious mis-adventures.  Case and point was the Easter Brisket Saga.  I wanted something sturdy, large, and well insulated for large and longer term cooks.  Something that would be efficient and not heat the house as much.  There are some guide out there that recommend drilling a hole in a 24 quart coleman stacking cooler.  They don’t sell those in my area any more, and I didn’t want to online order one.  A local sporting goods store did have 48 quart coolers on sale for 16 bucks though!

Most guide recommend a 2-3/8″ hole in the lid.  The sous vide cooker will slip down the hole, but stop before the electronics get submerged because of a shoulder on it.  The larger cooler meant the device would sit much higher, and it comes out of the water every time you lift the lid to check on things.  Instead I printed a bracket to get it clipped to the side and held much lower than the stock bracket would allow.  I started in orange PLA to get the dimensions all worked out, then printed in black PETG.  It is a higher temperature material and should withstand the cooking temps.

DSC_0879

I cut the bottom section off the orange test part and used it as a tracing template for cutting the lid as tight as possible to the bracket.

A little sanding cleaned up the edges, and everything was looking nice.  The only trick being that the lid hit the top of the cooker when opened.  I was considering taking the hinges off anyways, so I just did that.

It turns out the lid on these cheaper coolers is hollow.  Not too shocking.  Instead of leaving it that way I shot it full of foam.  I don’t think I got every square inch, but it should be an improvement.  Either break off the excess or cut with a sharp knife once fully cured.

With that all setup I was able to start my first ambitious project.  I did an 8 hour run at 179F for barbacoa.

It was a really high temperature for sous vide, and right around the limit of PETG.  Though the cook came out well the bracket had a few issues.  The bottom had a little bubbling from the heat.  That wasn’t the issue though, there was a crack started where the outside of the clip sat on the cooler rim.  I played with it a bit and got it to break off.

When printing, that segment is printed as a bridge (filament free hanging out in space), so ends up being kind of weak.  To compensate in the second bracket (top in right and picture) I increased print temperature for better adhesion, increased number of bottom layers to make sure the bridging didn’t compromise strength in that area, increased thickness of that bridge, and the thickness of that outside clip area.

Even though it broke I am happy with this design.  It went for hours at a really high temp and only broke when I started prying on it heavily.  Anything that asks for a sous vide temperature this high can probably be done in the crock pot on low (~190F typically).  Still, the lid didn’t get too warm, and the sides of the cooler were room temp to the touch.  It was a great stress test.  This thing can sous vide anything!

Sous Vide Barbacoa

I am a huge chipotle addict and love the spice flavor and texture of their barbacoa beef.  Why not make my own?  I found some recipes you can make a home.  Some involved the slow cooker, but sous vide was also an option.

DSC_0885

I skimmed a number of recipes and came up with a simple ingredient list.  5+ pounds of chuck roast, AC vinegar, onion, garlic, lime juice, cumin, chipotles in adobo, salt and pepper.  No measuring, just seat of the pants cooking.

DSC_0886

Everything sat and mingled together over night so the flavors could soak in.  I stuck it in a jumbo zip back and into the bath at 179F for 8+ hours.  This gave me a chance to test my newly created frankencooler.  More on that in another post.

DSC_0889

I drained 80% of the liquid and poured it all into a bowl.  It was still looking pretty chunky, but a few minutes with a potato masher got it in good shape.  It tasted wonderful, though not quite the same as chipotle.  I was worried about it being too spicy, but it really wasn’t.  I might buy more adobo next time, and perhaps add some kind of tomato sauce or paste.  It is gonna have to go into the rotation.

DSC_0891

Easter Brisket Saga

How can one lowly Brisket turn into a whole saga?  Well gather round, because I have a tale of how much misery and woe a single slab of beef can cause.  Ok, it wasn’t that bad, but there was a lot of water all over the kitchen floor.

This story starts off innocently enough.  A boy and his brisket.  15 pounds of beefy goodness.  I had read about cooking a brisket via sous vide, then smoking it.  You get the tenderness of sous vide, with natural smoke flavor added.  Smoking briskets is hard, they are easy to dry out in the thinner flat area.  This should be easy!

I gave it a nice trim, set the fat cap to roughly the right thickness and then sprinkled generously with salt and pepper.  It is like putting on a fancy tuxedo, only for food.

DSC_0777

DSC_0779

Plan A

Next I cut it up, stuffed it in big ziplocks and tried to fit everything in my usual food grade polycarbonate container.  Oooohhh  might not be big enough.  The point is sticking up inches out of the tub.

DSC_0780

Plan B

No big deal, I have one of those fancy modern soft coolers.  People do sous vide in coolers right?

DSC_0781

It looks all snug and warm in its soft jacket.  Zip everything up and come back 24 hours later!

Wait, what is that dripping sound?  Why is the cooler leaking?

It turns out the cooler is only rated for 120F, not 155.  So the liner glue let go and started leaking everywhere.  I pulled out my hard plastic cooler and dumped everything in.

Plan C

Plastic coolers are definitely ok to work with.

Why is there water everywhere?  Oh great, the drain plug was out.  At this point I was running around like a mad man trying to sop up the gallons of hot water.  No pictures exist.

This container will work, but it is huge.  It needs at least 5 gallons to get everything covered right, and there is no good way for the sous vide cooker to live in there.  Normally they cut a hole in the lid so the electronics can be outside.  This will hold for now, but I need a…

Plan D

Run off to the supermarket and come back with a styrofoam container.  Big enough for a brisket, but not a monster like my big cooler.  It can definitely handle the high temp (you put boiling hot coffee in the stuff after all!).  I modified the lid on the band saw and we were back in business.

DSC_0786

A few hours later I walked by and water was all over the floor.  Apparently the foam is porous enough to let a little bit of water weep through.

DSC_0787

Plan D-2

Re-enter the plastic tub I tried using from the beginning.  It is only weeping a cup every hour or two.  I can keep it full for the time needed, and this tub should keep the floor dry.

DSC_0788

The Next Day

I made it through the night without spilling any more water on the floor.  The brisket actually turned out looking pretty.  Dark, soft, and ready for the smoker.  After another application of the tuxedo treatment that is.

Because the beef is already completely cooked there is no need to smoke all day.  Only a few hours to impart some nice flavor.  I went for about 3.5 hours on a low smoke.

DSC_0791

They are nowhere near as dark as they would be had they been smoked all the way through.  Still, they have been nice dinners for the week.  Reasonably moist, and pretty tender.  The fat is rendered perfectly.  That kind of melt in your mouth velvet feeling when you eat some of it.  I need a new container scheme if I want to do this again.

Chicken Sausage

The sausage maker strikes again.  This time with a smaller load of chicken thighs.

20160916_162720

I started with only 5 pounds of chicken thighs instead of 10+ pounds of meat like last time.  The pieces were chopped up smaller this time, and I didn’t add any pork fat.  This was just simple chicken, salt, pepper, and a little fresh rosemary from the garden.

Last time I was doing a lot of meat shoveling and stuffing, and ended up having to employ my lovely wife to help.  I didn’t get many pictures as a result.  This time my maker mom was in town.  I figured out how to guide with one hand while I pressed with the other.  Mom filled the hopper and took pictures.  

I don’t know if it was the consistency difference, the smaller hunk size or what, but this batch went really smoothly.  My diameter consistency needs help still, but I am improving.  When all was said and done, we had two piles of lumpy but delicious looking sausage.

img_0834

The batch with rosemary got grilled for dinner the same night as it was made.  I don’t know if it should sit in the fridge a few nights for the flavors to meld or not, but this worked well.  It was pretty tender and moist enough.  Not as much as the brats were, but the fat content of this was a lot lower.  A very delicious and cheap chicken sausage for the grill.

20160916_182613

The second batch got smoked a few days later.  It was also quite delicious.  I am glad I didn’t use any white meat, the sausage was good, but could probably easily be dry if it were any leaner.

20160918_170358

Vegetable Spiralizer

3D Printing isn’t all useless statues and funky alligator clips.  Those are fun, but you can actually make real world useful objects with even a small printer using PLA.  I use an OXO vegetable spiralizer to turn zucchini into spaghetti.  You can sauté it up with garlic, pesto, red sauce, or just eat it plain.  Very good, and an excellent alternative to pasta.  The only trick is, a manual spiralizer takes forever and leaves your wrist in pain afterwards.  Enter my first functional printer invention.

In the video looks a little awkward to use, but I found that if you cut them in half, everything goes smoothly, and 100 times faster than doing it by hand.

I had to go through a few iterations to get the plug shape right.  It turns out the kitchenaid mixer’s power take off is in a tapered housing.  A straight plug will not cut it!  The good thing about the printer is that all the parts below cost < 2 dollars, so iterating the design is cheap and easy.

DSC_0490

I started with a full run at it on the left.  The plug didn’t fit, and it had a lot of extra material.  The plug in the middle was my attempt at getting the shape right.  It worked, so I went with the final design on the right.  I uploaded it to thingiverse:

http://www.thingiverse.com/thing:1745222

Now that I know how to tie into the kitchenaid I can imagine a whole lineup of normally hand operated gizmos being plugged into my power mixer.  I wonder if it will chop onions?  The future is bright!

wp-1473298747459.jpg


Homemade Bratwurst

I just had some of the best sausage I have ever tasted, and it came from my own kitchen!  Follow me on a pork filled journey of discovery and mistakes as we watch sausage being made.

Ok, not quite, this was a two person ordeal and when your hands are covered in pork, you don’t get to do much camera work.  How does one make sausage?  It is quite easy, take 10lb of boston butt, and add a bit more pork fat.

DSC_0462

Chop all this up into small cubes to go into the meat grinder.  It takes a while to chop up 11 pounds of meat, and I got a little impatient and didn’t make all the pieces as small as I should.  You are supposed to do one inch cubes, but I got lazy and did a lot bigger.  This laziness bit me later on.  Mix the meat and fat together with seasoning (bratwurst pack in my case) and put in the freezer for a short while to really firm up.

DSC_0463

Next comes the fun and messy part.  I got a meat grinder attachment for my kitchen-aid.  Not sure if it is the ideal meat grinder, but it was super cheap.  Put on a sausage stuffer tube, slide the hog casings on, and let her rip!

DSC_0465

This is where all the trouble came in.  The chucks went down the hopper fine, but the auger had problems with them.  I think it was the cut size, but until I repeat this with a smaller average chunk size that is just a guess.  At any rate it required a lot of force pushing down the throat to get anything to come out.  Filling and pushing became a full time job.  The other person had one hand supporting the sausage and another on the tube regulating the casings coming out.  If you don’t do that part you get a lot of air and irregular filling.  It took forever, but we found a good pace and made a ton of sausage.  Seriously, 11lb is a lot!

DSC_0464

DSC_0467

DSC_0466

Some we successfully twisted off into links, most of it was just in a huge coil.  It was lumpy, inconsistent and involved a lot of swearing, but it grilled up real nice.  Flipping this monster wasn’t too hard once the bottom side firmed up a bit.

DSC_0468


The final results were well worth it.  This stuff is amazing!  Tender, juicy, and it holds together pretty well in the casing.  The seasonings have sunk in a little more with time and leftovers area  treat.  The picture below was only the first bit that we grilled, and probably represents less than 1/3rd of the total haul.  Hopefully it freezes well once vacuum packed!

DSC_0469


Easter Brisket

Since my smoker renovation back in January I have been working to re-learn the process.  The new controller holds everything at different temperatures than I am used to.  Time to experiment!  I had a lot of family over on Easter, and decided to skip the ham and go for an Easter brisket!

This badboy started off at 2am weighing in at over 13 pounds!

DSC_0110

A lot of trimming later he was ready for some coarse salt and pepper rub down.

Off the little brisket goes to smoker school to learn to be tender and dark and delicious.

DSC_0115


5 hours later I woke up and did a check.  It was really far along.  I started off with the setting of 275, but I know that the smoker runs a little colder in the center than the built in probe reads.  Maybe using oak changed the setting.  I lowered the temp to 225 and let it go for another 4 hours.

20160327_114609

Our little brisket has graduated with a bachelors degree in deliciousness.  Some post graduate school would do it well.  All wrapped up in butcher paper it continued its studies in a cooler.  Resting in a cooler is great, all the insulation keeps it hot for hours.  We ate nearly 3 hours later, and it was still piping hot.

The bottom 1/8 to 1/4″ of the brisket was a little dry and hard, but the rest was pretty good.  I am guessing this was due to the heat being too high at the outset.  The fat was well rendered and melted in your mouth.

20160327_143533

Over all it is a really tasty brisket, but there is always room for improvement.  Next time, I will start at 250 and see how things run.


I couldn’t completely buck tradition.  Sometimes you just really want ham for Easter.  I stuck a little half ham in the smoker for the last few hours to warm it up and impart a little smoke.  Oak and ham aren’t a perfect match, but it turned out well nonetheless.


Smoker Renoation

My beloved smoker has fallen on hard times.  I bought a traeger pellet fed smoker in the summer of 2009, and have done mountains of delicious meat in it ever since.  All those years outside in florida have taken their toll.

DSC_0092

The paint has faded and is rusting through in places, the outside is quite dirty, and a back leg has completely rusted through. I had to prop it up to keep the thing from rocking.

The inside doesn’t look much better.  Surface rust is kind of unavoidable, but neglect had built up on the walls and in the bottom tub.  I should really clean this thing out more.

My bad behavior aside, this thing is built  like a tank.  Even with all the years of outdoor use, I was able to pull all the screws out.  There is a lot of surface rust, but nothing too deep except for the one back leg.  I started to take everything apart and became even more enamored with my smoker’s build and design.

With all the parts pulled out and the mess cleaned up it was time to get everything back into shape.


Rebuild

I used a wire brush on my angle grinder to strip all the bad paint and rust.  I started everything with flat black rustoleum grill paint.  It covered everything but looked kind of bad.  I was in the hardware store and noticed they have a semigloss.  It matches the original paint job.  I redid most of the parts with a primer, and gave everything another coat with the semi-gloss.

DSC_0130

DSC_0131

Once all the paint was down I started rebuilding.  Some of the hardware got replaced, but most of it was actually in really good shape.  The back leg was shortened and fitted with an aluminum extension.  No more rusting off foot!  I replaced the hot rod starter because it is hard to get to and didn’t cost much to replace.

Other upgrades happened along the way.  They have a nice shelf that bolts in with the legs.  It folds away when not in use, and sits nicely in line with the entrance so you can transfer to and from the smoker.

DSC_0143

I pulled out the old controller that only had 3 heat settings.  The new one reads the internal temperature and feeds in pellets accordingly.  It has an autostart-up feature and a shutdown cycle that helps prevent soot.  I also replaced the drip bucket because it was pretty nasty.

All in all it looks pretty good.  Because I couldn’t get all the old paint off there is some odd texture, but it looks way better than when I started.  Now that I have the primer and grill paint around I will make it a point to check every year or so for bad spots that need a touchup.

DSC_0144

Lastly, the accessory I should have bought when I first got the grill.  A cover!  I don’t know how much longer the paint would have lasted with one, but it is worth a shot.

DSC_0146

This smoker rocks.  With a little more preventative maintenance than I had been doing I can hopefully look forward to another 6+ years of service.  Delicious smoked meat posts to follow!