
I have heard a few including Paul Sellers endorsing the use of a dependable number 4 as a scrub plane. The suggestion is to grind a good camber on the blade, open the throat a bit, and back off on the chip breaker. I don’t have a scrub plane yet, so it is time to press an old plane into new service. There is a big woodworking project coming my way, and a scrub will come in handy.
My subject is an old Stanley No. 4. I picked it up from ebay and did a rough job restoring it back in the day. It was my first plane ever, poor thing. In addition to a scub conversion I wanted to try repainting them. The black coating on hand planes is called japanning. The process is a little lost, but some have come up with similar modern substitutes. I might get into that at some point, till then, I am going with a very modern alternative. One of my work friends has had some pretty good results using engine enamel. This is the tack I will take.

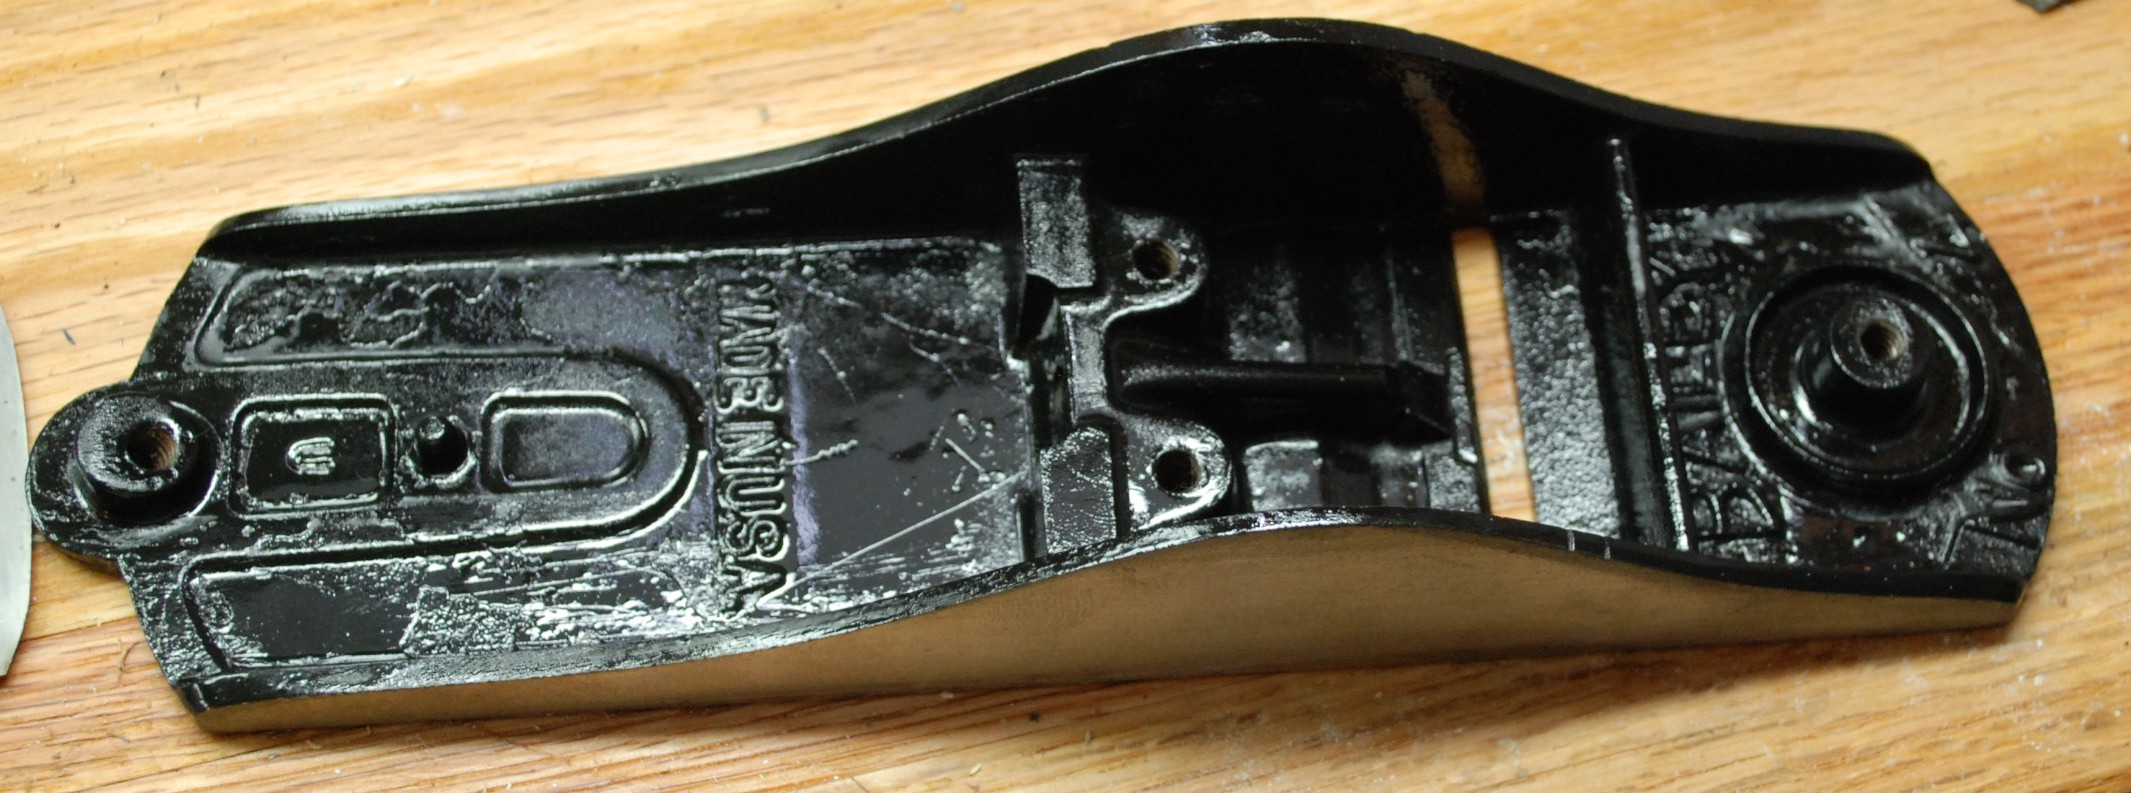
The plane got cleaned and scrubbed as much as possible. A lot of the original japanning still remains, so this might not be the best candidate. With the dirt and loose pieces off I taped the sides and plugged all the holes with cut up q-tips.
The results were ok. I only used one coat and didn’t bother with the primer. Next time I will scrub more of the paint off and do multiple coats of enamel. A lot of traditionalists will probably be unhappy with the paint, but rust is a real issue around here. Time will tell if the coating holds or not. Till then, lets move on to the scrub portion of this show.

I used a 3″ radius to set a pencil line across the back of the blade. Free handing on the power grinder got the shape close. A camber roller on my veritas sharpening jig helped hone the rough shape into a nice edge. The frog mating surfaces got their paint sanded back off, and the throat was filed to allow a bit more clearance.
Assembling the whole thing with the chip breaker moved way back I find a bit of a problem. The depth setter doesn’t fit well with the chip breaker set so far back. I could try to grind the chip breaker’s edges a bit to get it all to fit better but I will hold off. That would be a point of no return. Tapping with a brass hammer will have to do. Let’s try it out!
 The planing results were pretty good. Setting the depth is a bit tricky, but it appears to work as advertised. Working diagonal to the grain I get thick short curled shavings. You could thickness a board faster than with a standard jack and trim an edge down in short order. I approve.
