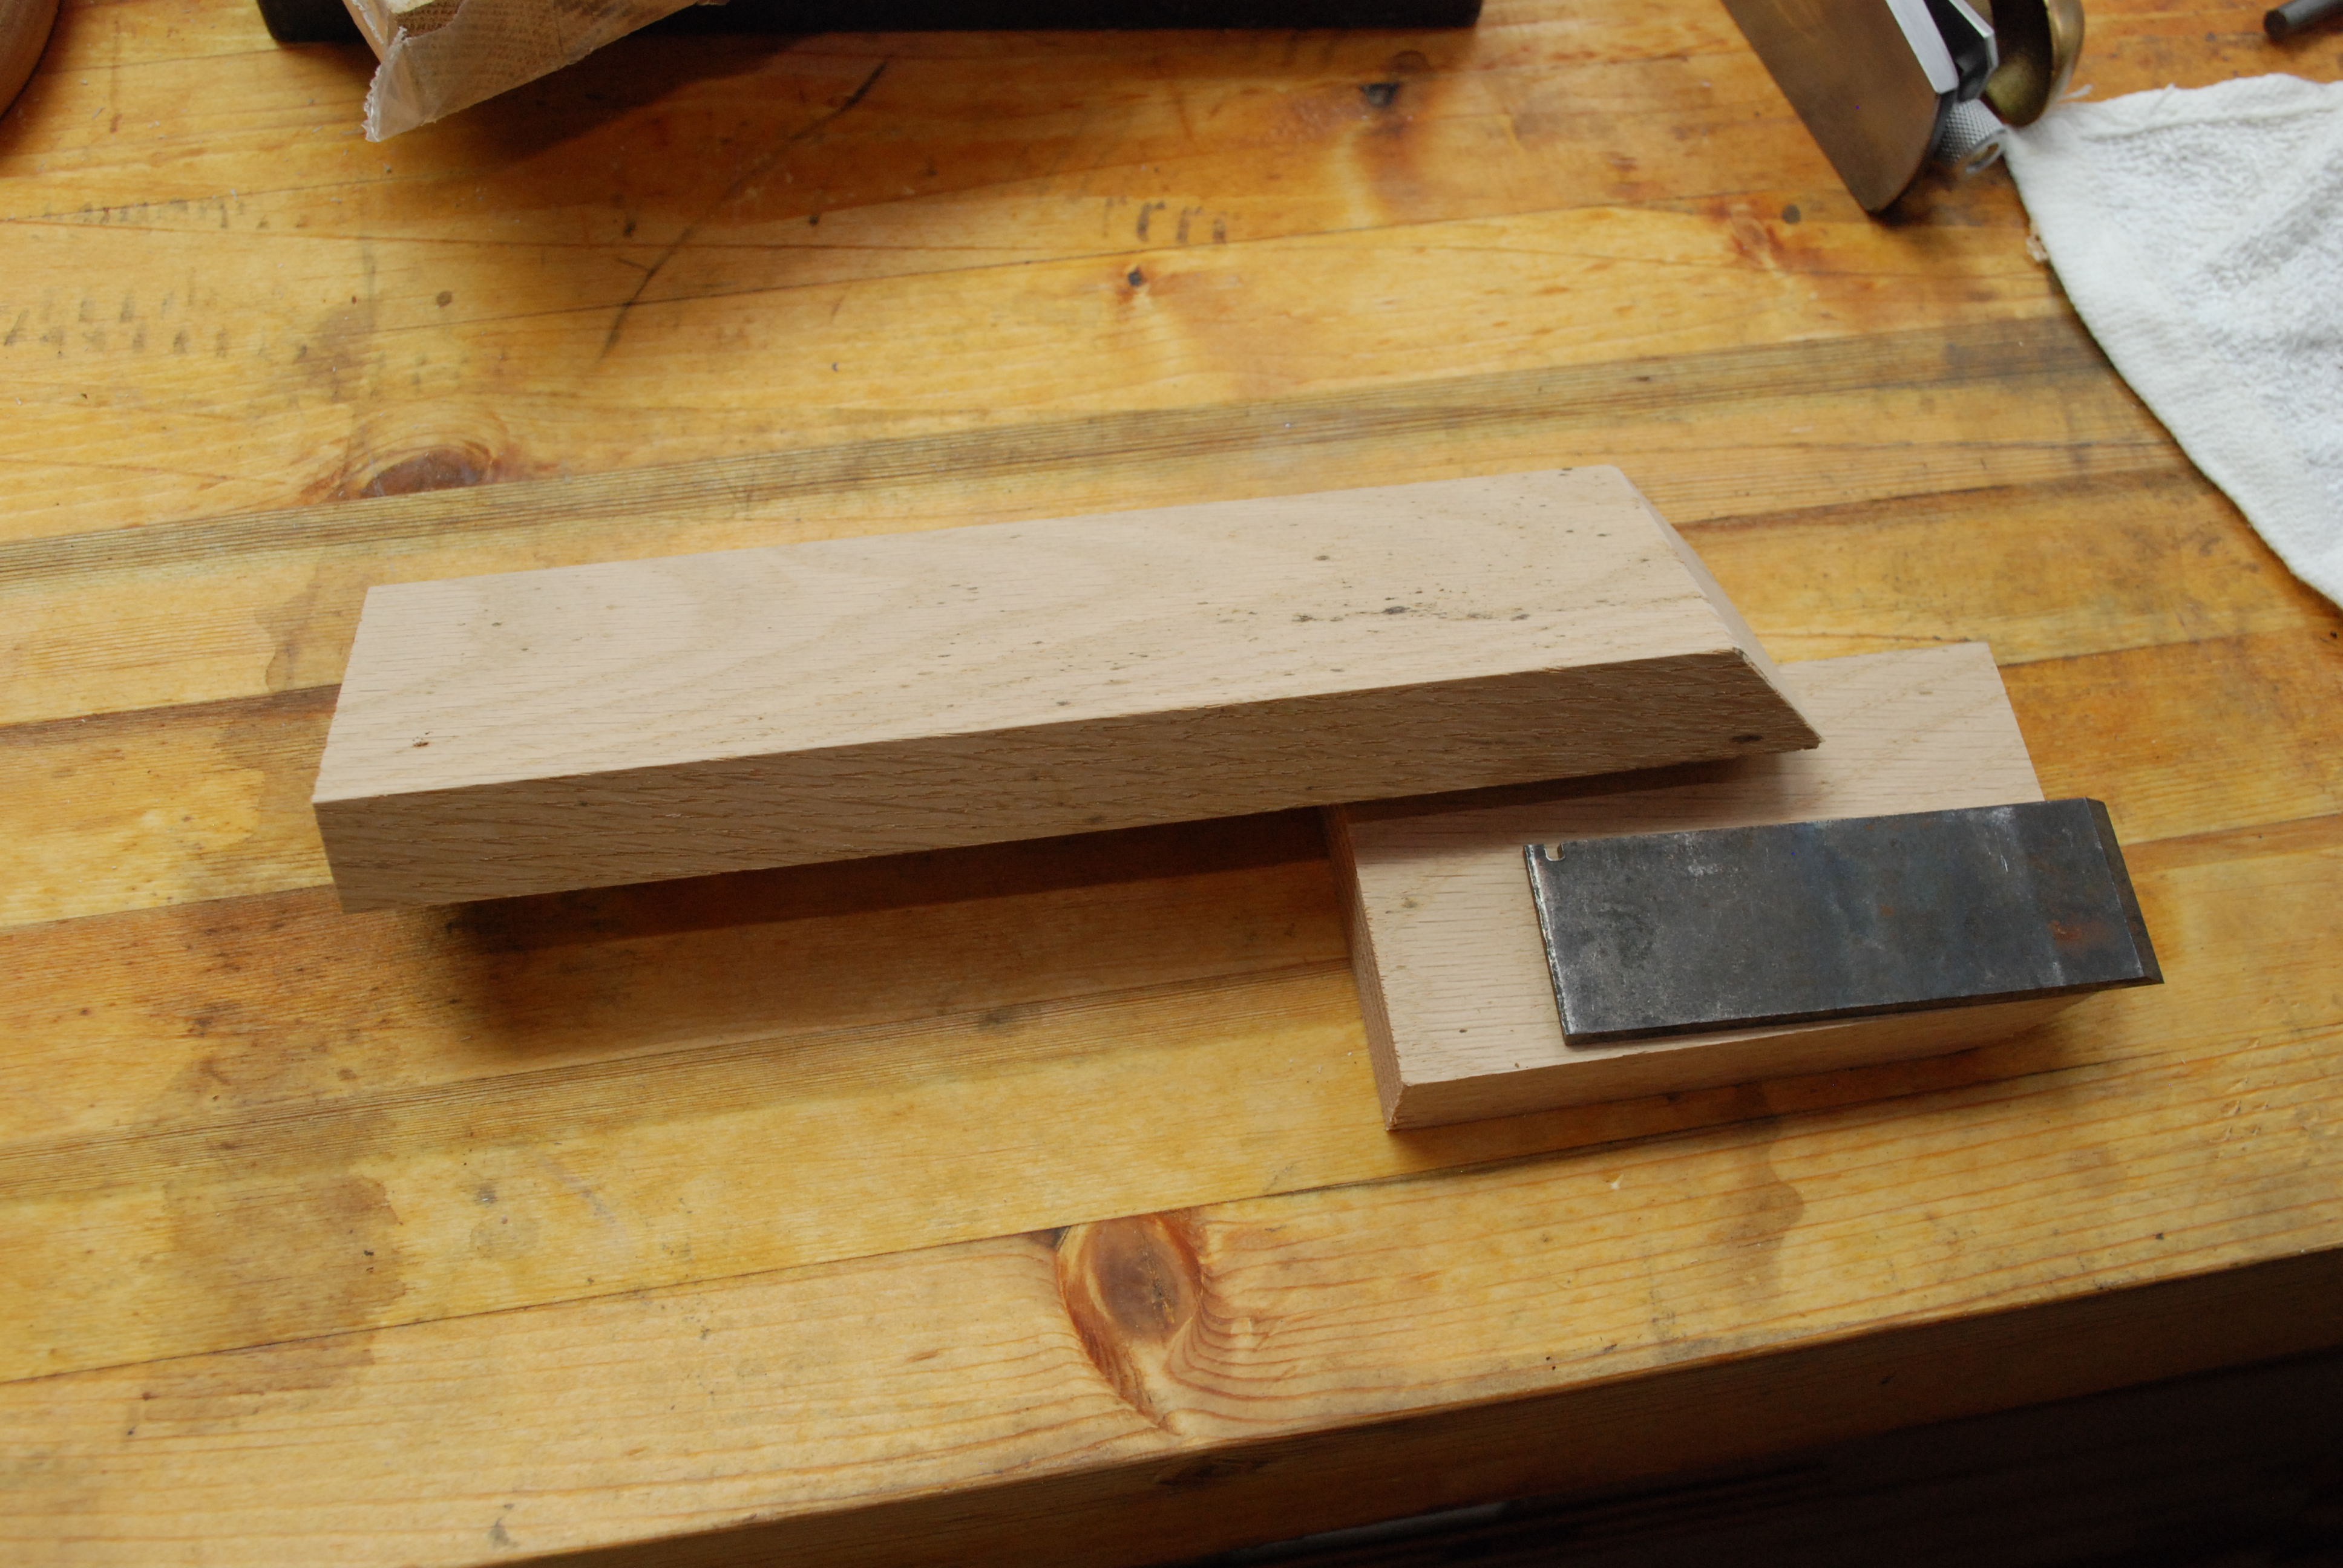
I recently picked up a Stanley no 45 plane. It has a lot of different blades associated with it. They can make beads, coves, fancy edges, and all sorts of shapes. The trick is that you have to sharpen each one by hand. There really isn’t much in the way of jigs to do the sharpening for you. That having been said, I did have an idea of how to help. A clamp that holds the small blades firmly, and indicates the angle used for sharpening. Finished product first!
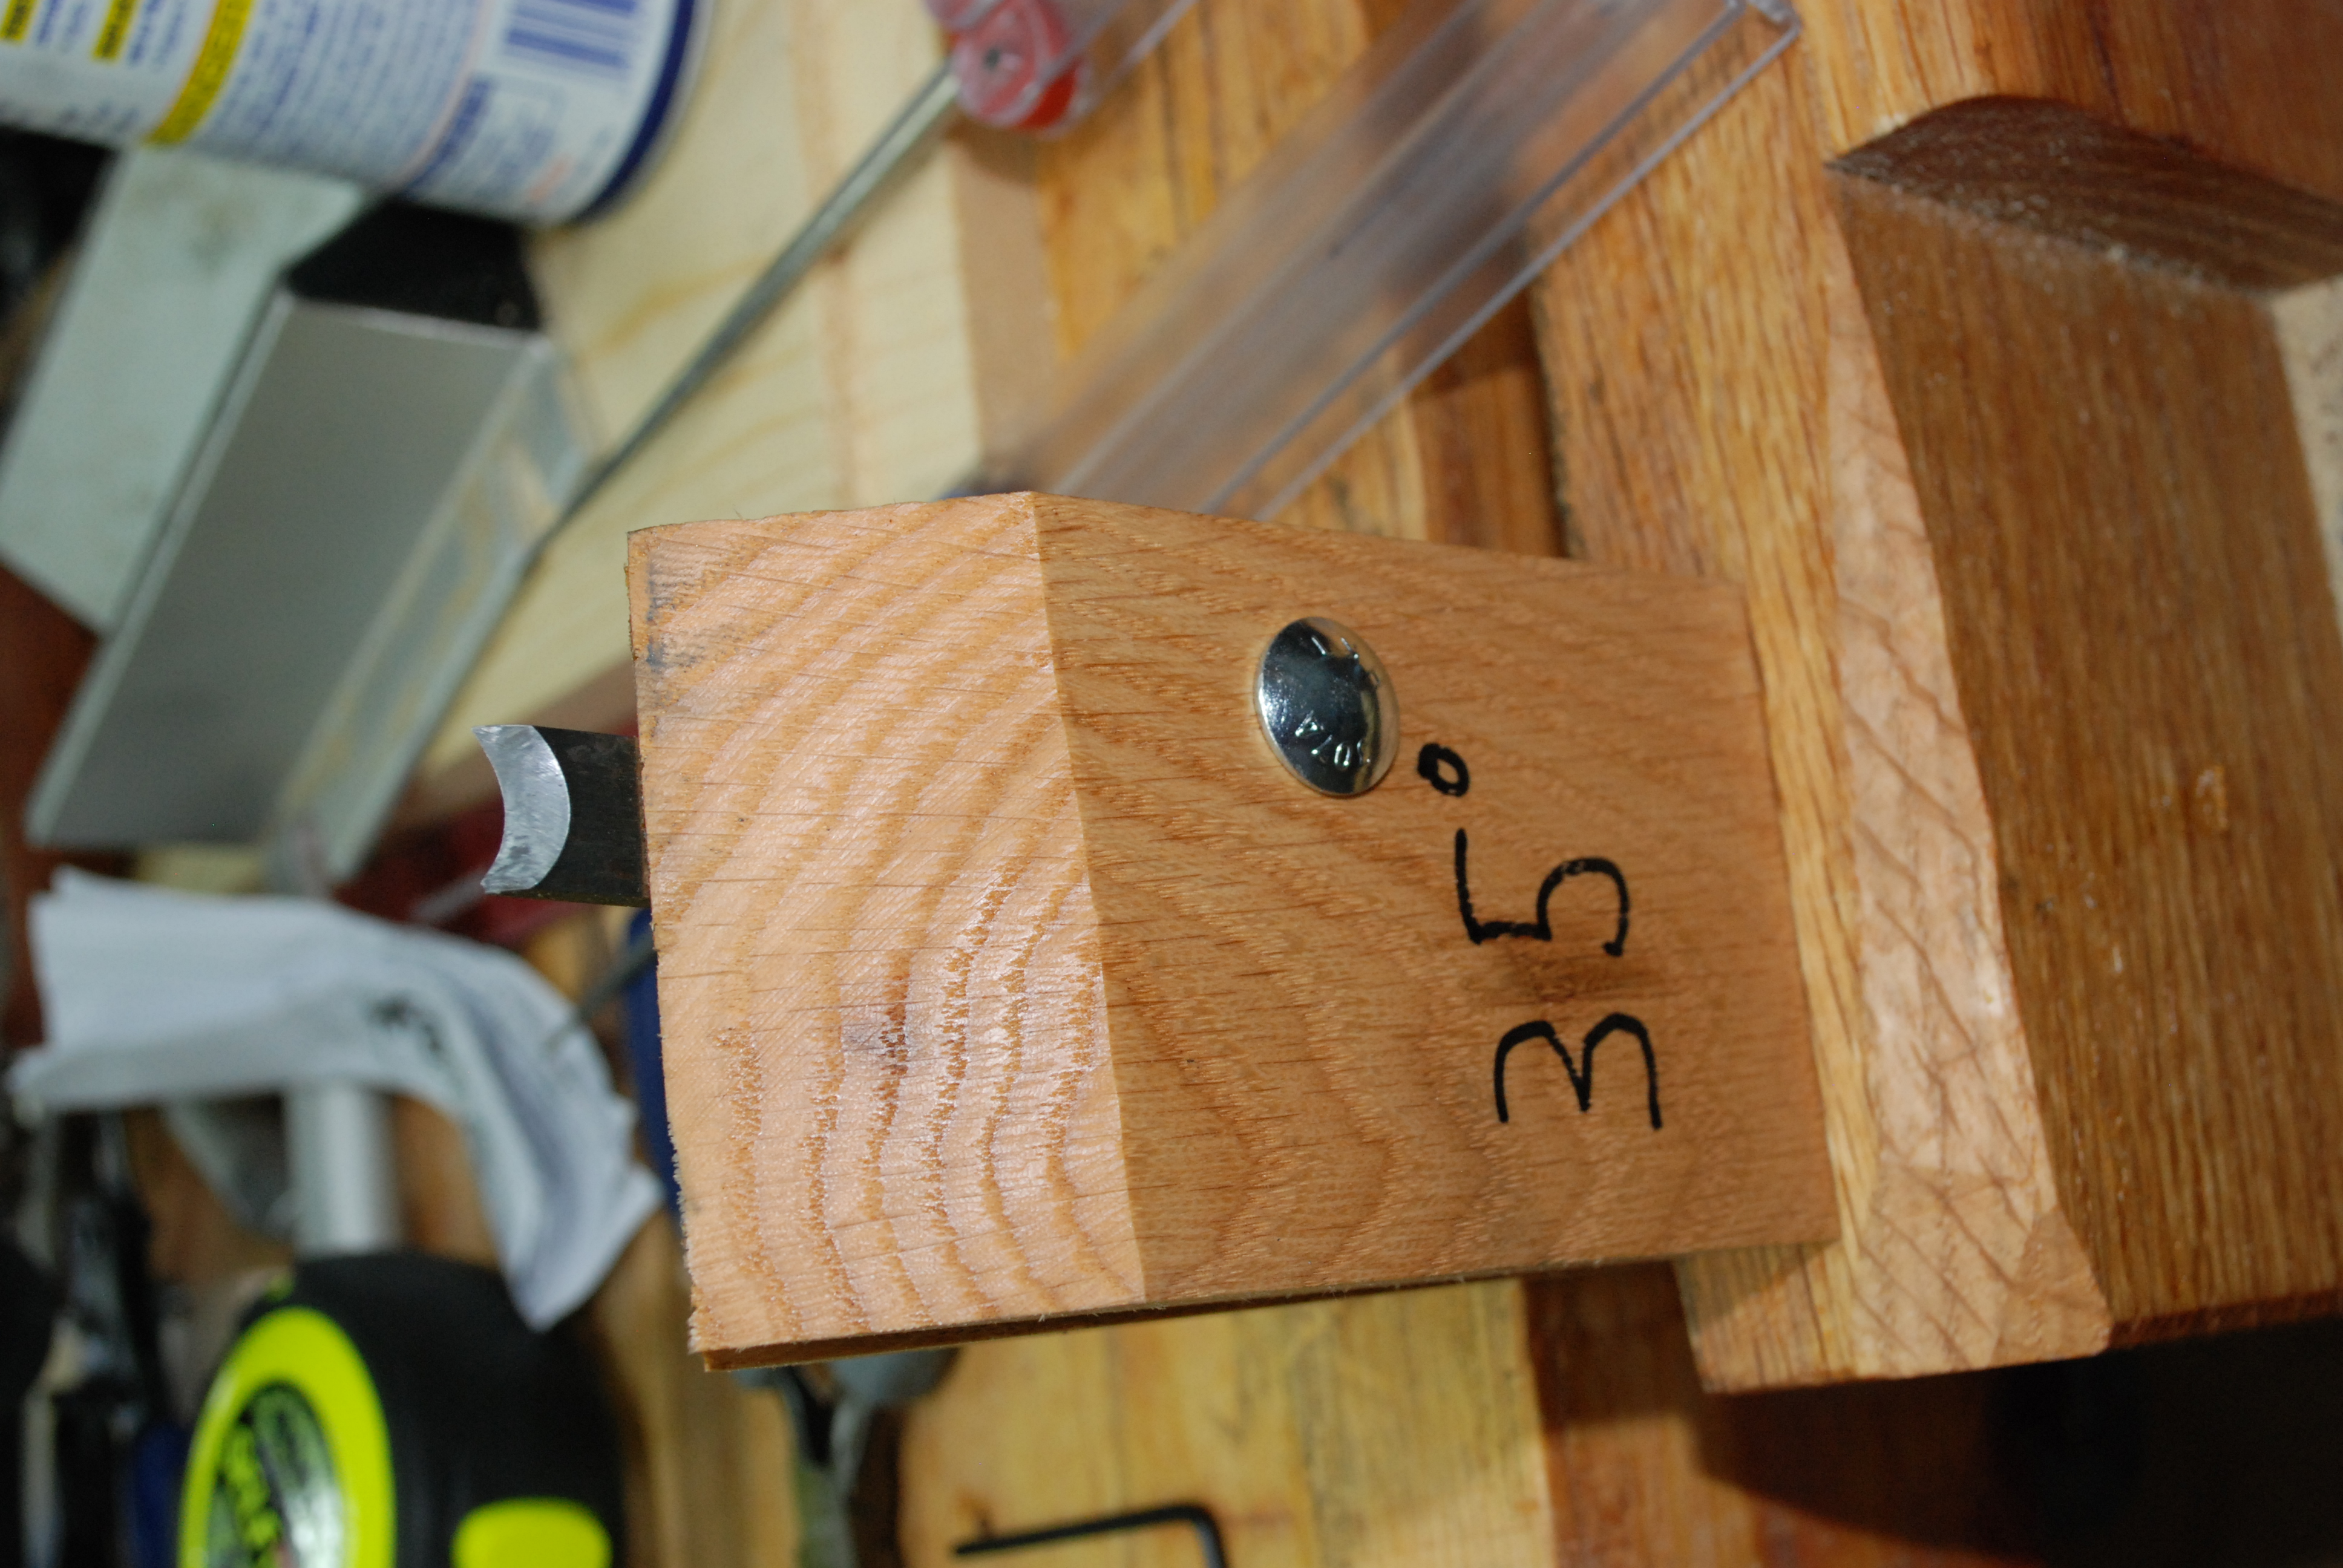
 There is a long half the drops down into my vice, and a mobile half the opens up and lets me position the blade to be sharpened. I cut the top edges to 35 and 40 degrees. They help provide a loose guide while sharpening. It still comes down to your skill on sharpening, but it should keep me from getting too out of whack.
The build
I started with two pieces of oak and cut their ends to the proper angle. In reality, I cut the wrong angles because I used the numbers on the miter saw. Oops, I needed 90 degrees minus that number. The correct angles show up in later photos.

Next I drilled an offset hole for a 1/4″-20 bolt and threaded handle. My hope was that It would be enough to hold a single blade with out rotating too badly once clamped.

If at first you don’t succeed destroy all evidence you ever tried. I guess by posting this I am not following that rule. I grabbed a piece of scrap oak, glued it to the inside of the clamp opposite where the blade will be, and shaved it down to the blade thickness. Low and behold the extra little part helps keep the clamp aligned and gripped firmly across the face of the blade. I played with it a bit and am happy with the results. Marking the angles will help me set the primary bevel and micro-bevel without confusion. Boiled linseed oil should keep the wood protected.