"No pleasure, no rapture, no exquisite sin greater... than central air."
-AZRAEL, in Kevin Smith's Dogma
I got a mini-spit air conditioner installed in the garage this past week! The indoor unit sits up high near the ceiling, and supply lines are run out to a small outdoor heat exchanger and power source. It uses no indoor floor space and all gets controlled from a single remote.

I wanted to maximize the chances of this thing keeping the garage at a reasonable temperature when I got out there, so I am going to insulate the garage doors like I did at the last house. First though, I had some repair work to do.
My large garage door is very large. It is 18 feet wide, which is bigger than your typical double wide door. The extra size means more weight and stress. I had a garage door tune up done and they pointed out some damage. Replacing this would be crazy expensive, so I am going to try to patch it up and get a few more years out of it. The smaller door gets used quite frequently, but this one only gets cycled only a few times a week.
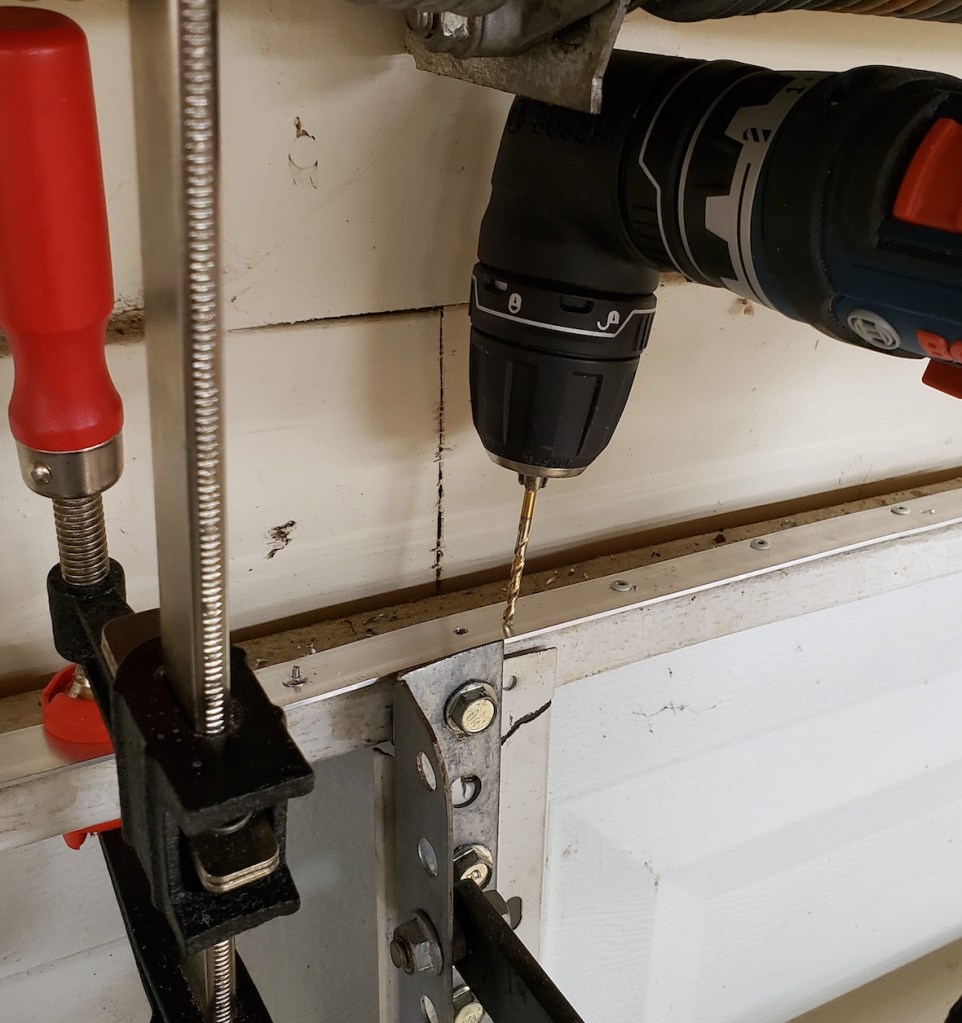
The first issue is that the main lifting arm brace broke the top central rib. Some of the panel is split as well.


I supported a series of rivets by placing a strip of aluminum across the top and drilling through it into a C channel in the bottom groove. The space was so small and awkward that I had to use a right angle drill. Maybe I should have pulled the door up to work on it. That should stop that panel split from advancing any further.

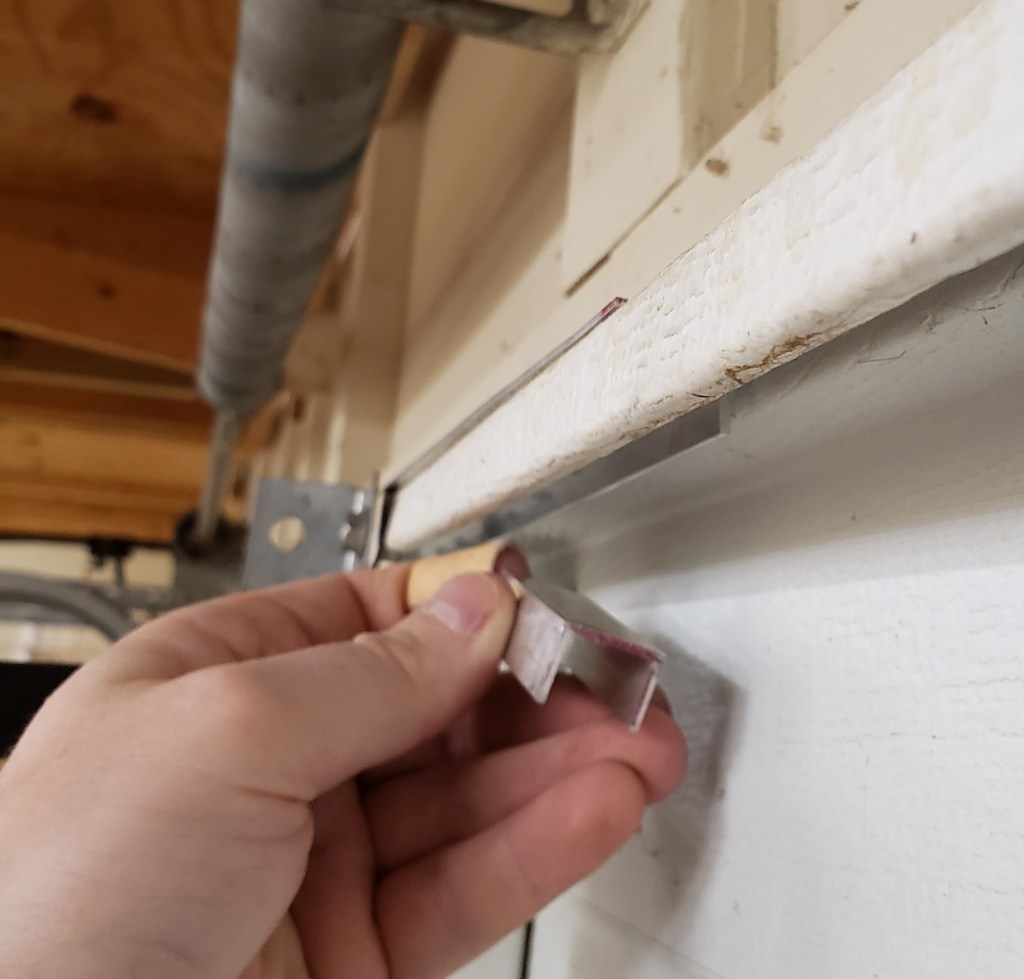
A number of the center ribs had de-bonded from the panels. They are just held on with some kind of adhesive. I guess decades of movement and thermal cycling got to them. I used a silicon adhesive between the two to try and stick them back together with a flexible bond. While that setup, I drilled and riveted through the outside panel into the inner rib.
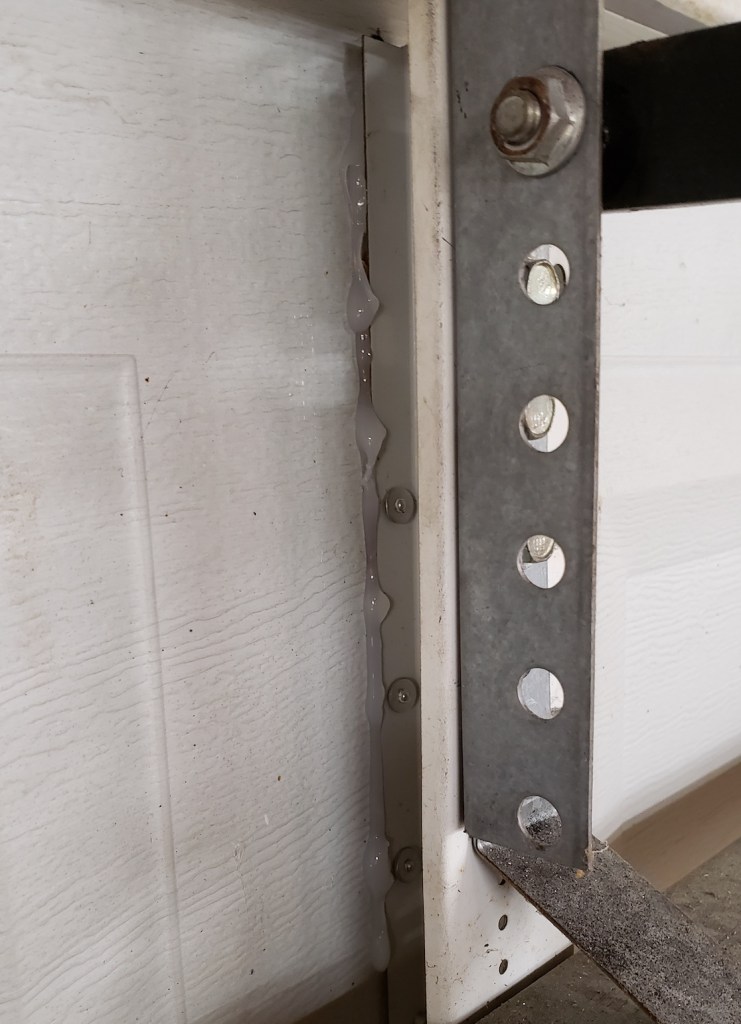


My only worry is that this doesn’t hold well enough and the rivets end up ripping through the outer panel. If that happens I am probably going to have to get a new door. Time will tell.
With the door reinforced I could add some insulation (weight unfortunately). Being mindful of stress on the big door, I went with 1/2″ rigid foam. 6 panels are enough to do my small and large doors. They are silver foiled on one side and white with writing on the other. I had the text side facing inward at my last place. I wanted this to look a little nicer, so I painted all the text side with white paint.

In retrospect the paint might have actually lowered the R value vs the original foil surface. Oh well. One coat did a decent job, but you can still see the dark text. A second coat covered it up nicely.

One Coat 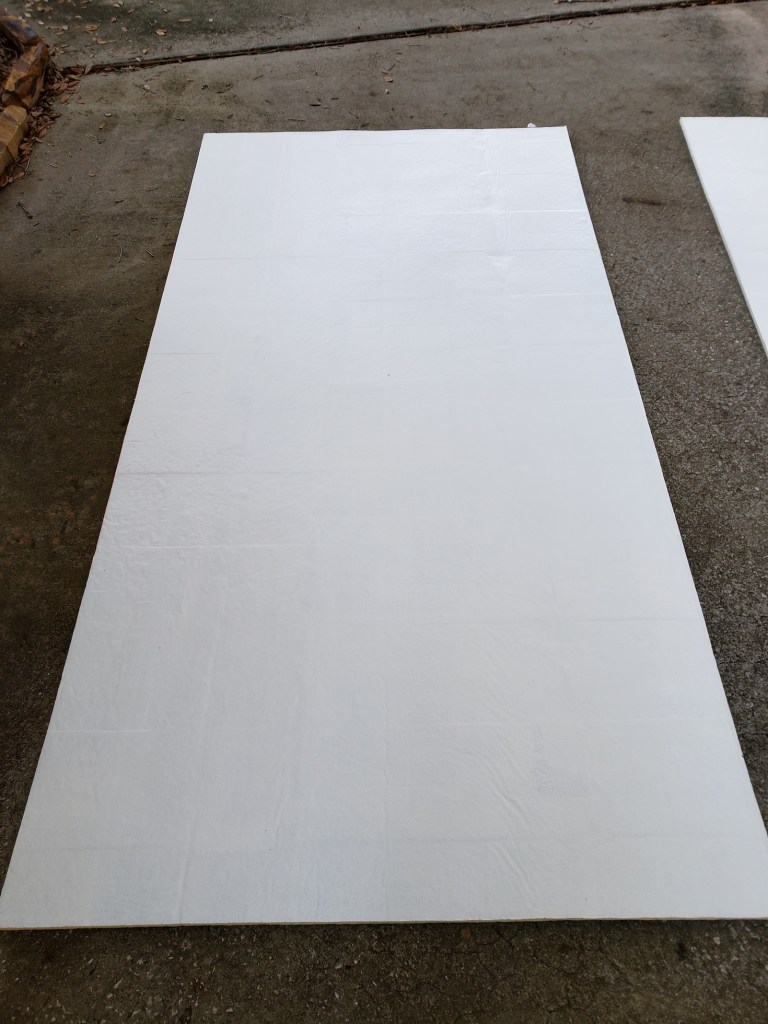
Two Coats
With all the panels painted and dry I went about cutting them up on the table saw and slipping them into the panel cavities behind the ribs and hurricane bars. Liquid nails held everything in. That stuff doesn’t seem to cure well when the glob is too thick; I would use silicone next time. A few panels needed a re-glue, but overall it was a success. The paint looks very clean and helps reflect light inside. Now I just need to wait for the dead of summer to see how well the whole system works.