Heavy Work Bench

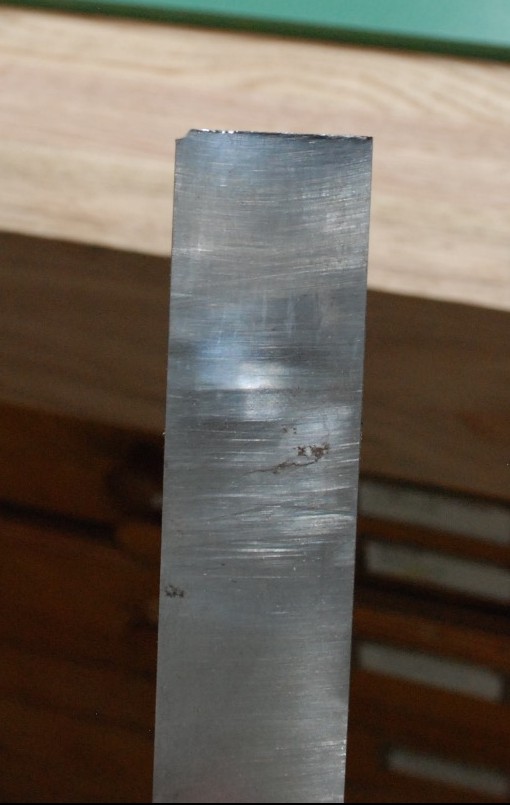
Shop work is still mostly getting usurped by home improvement projects. In moving stuff around the shop it occurred to me that there was some space for a work bench. I want something very sturdy to attach bench tools to (vise, bench grinder, anvil, etc), but also a place I could sit and do repairs. I worked out a design that requires most of a sheet of 3/4″ plywood and a hand full of 2x4s. I started by planing 2x4s square and gluing them together for extra thick legs.

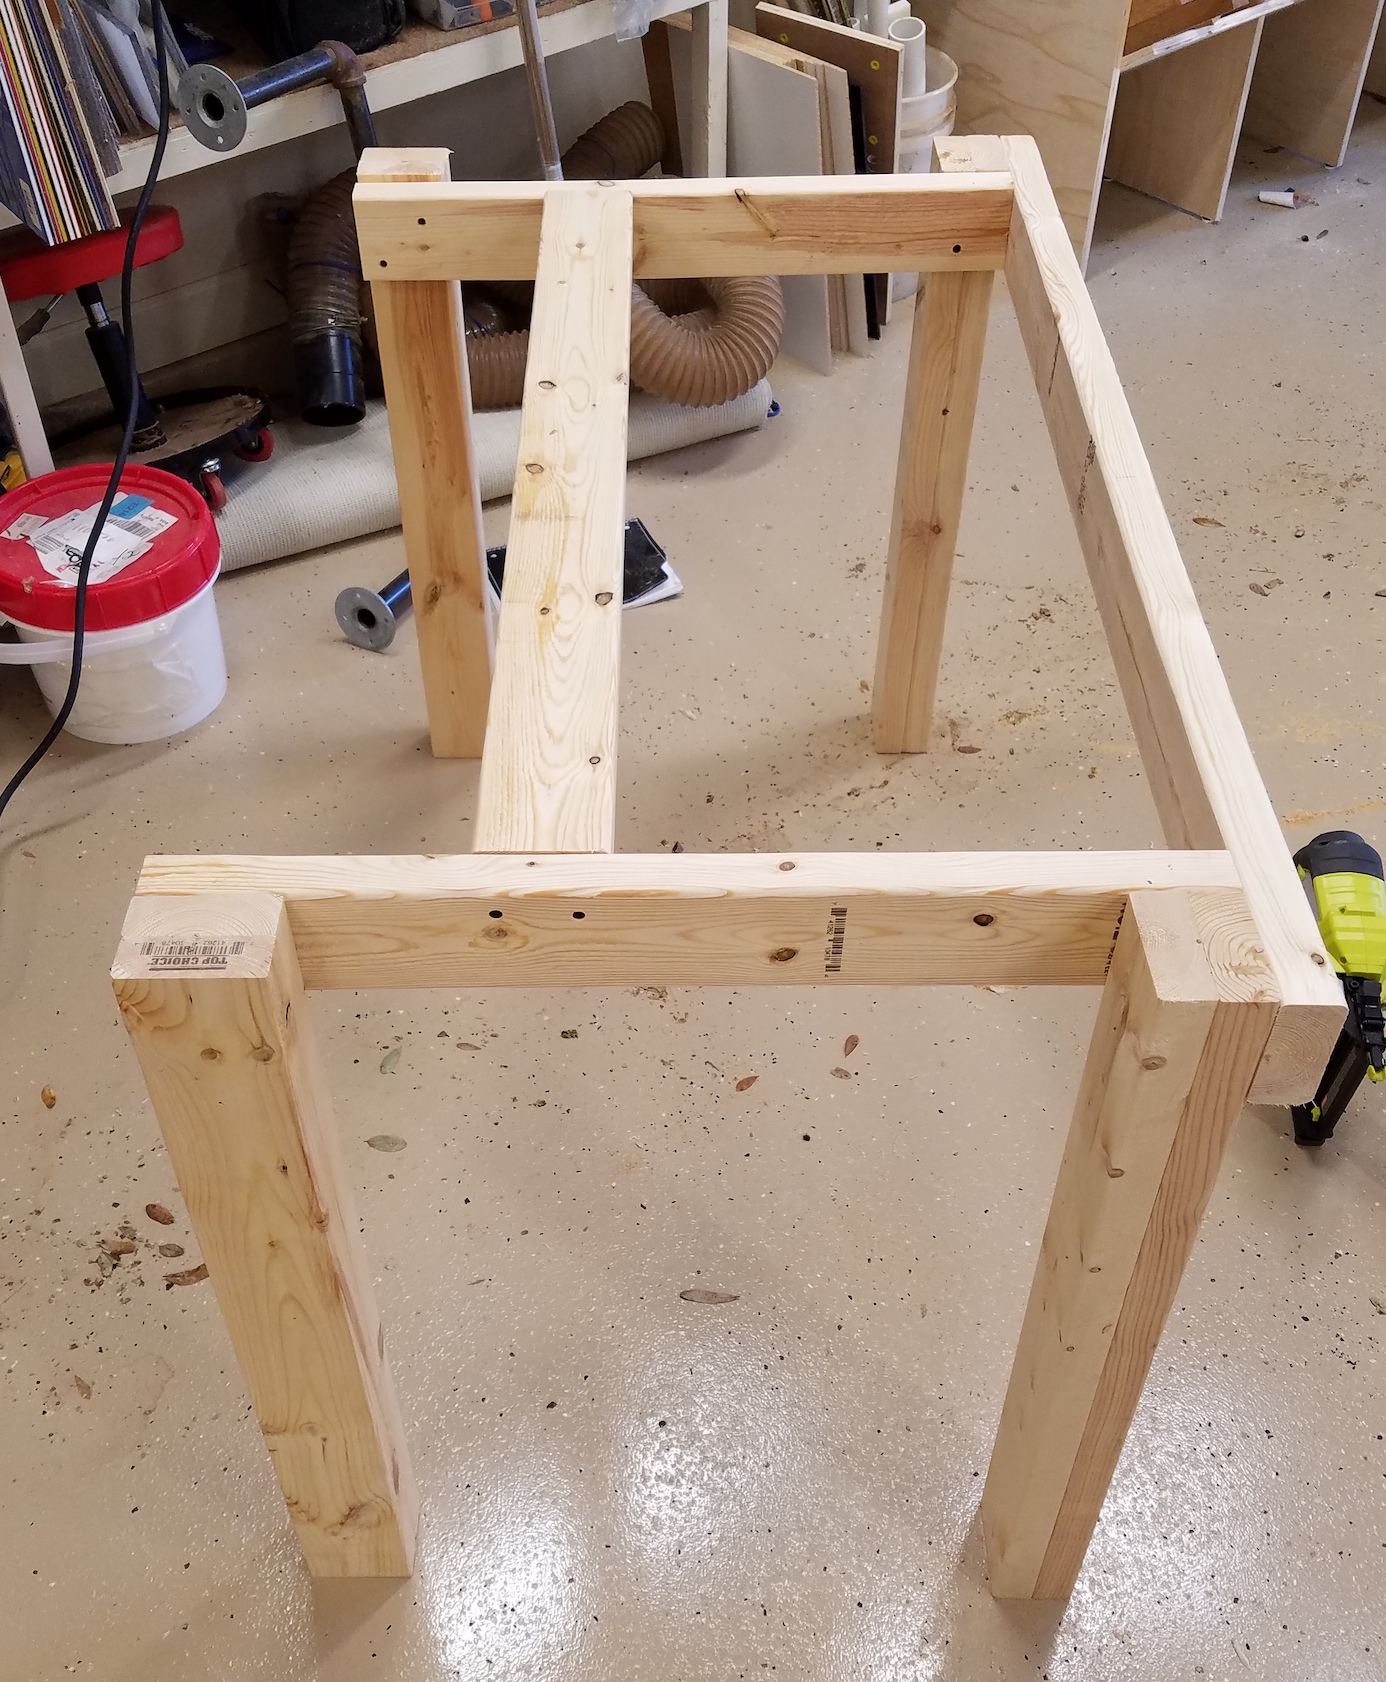
The frame is 4ft wide which goes well with a 4×8 sheet of plywood, and 8ft 2x4s. The recessed bottom shelf gives some space for storing bench equipment when not in use. It would store more and be more accessible if it was full depth, but I wanted leg room so I could sit comfortably at the bench.

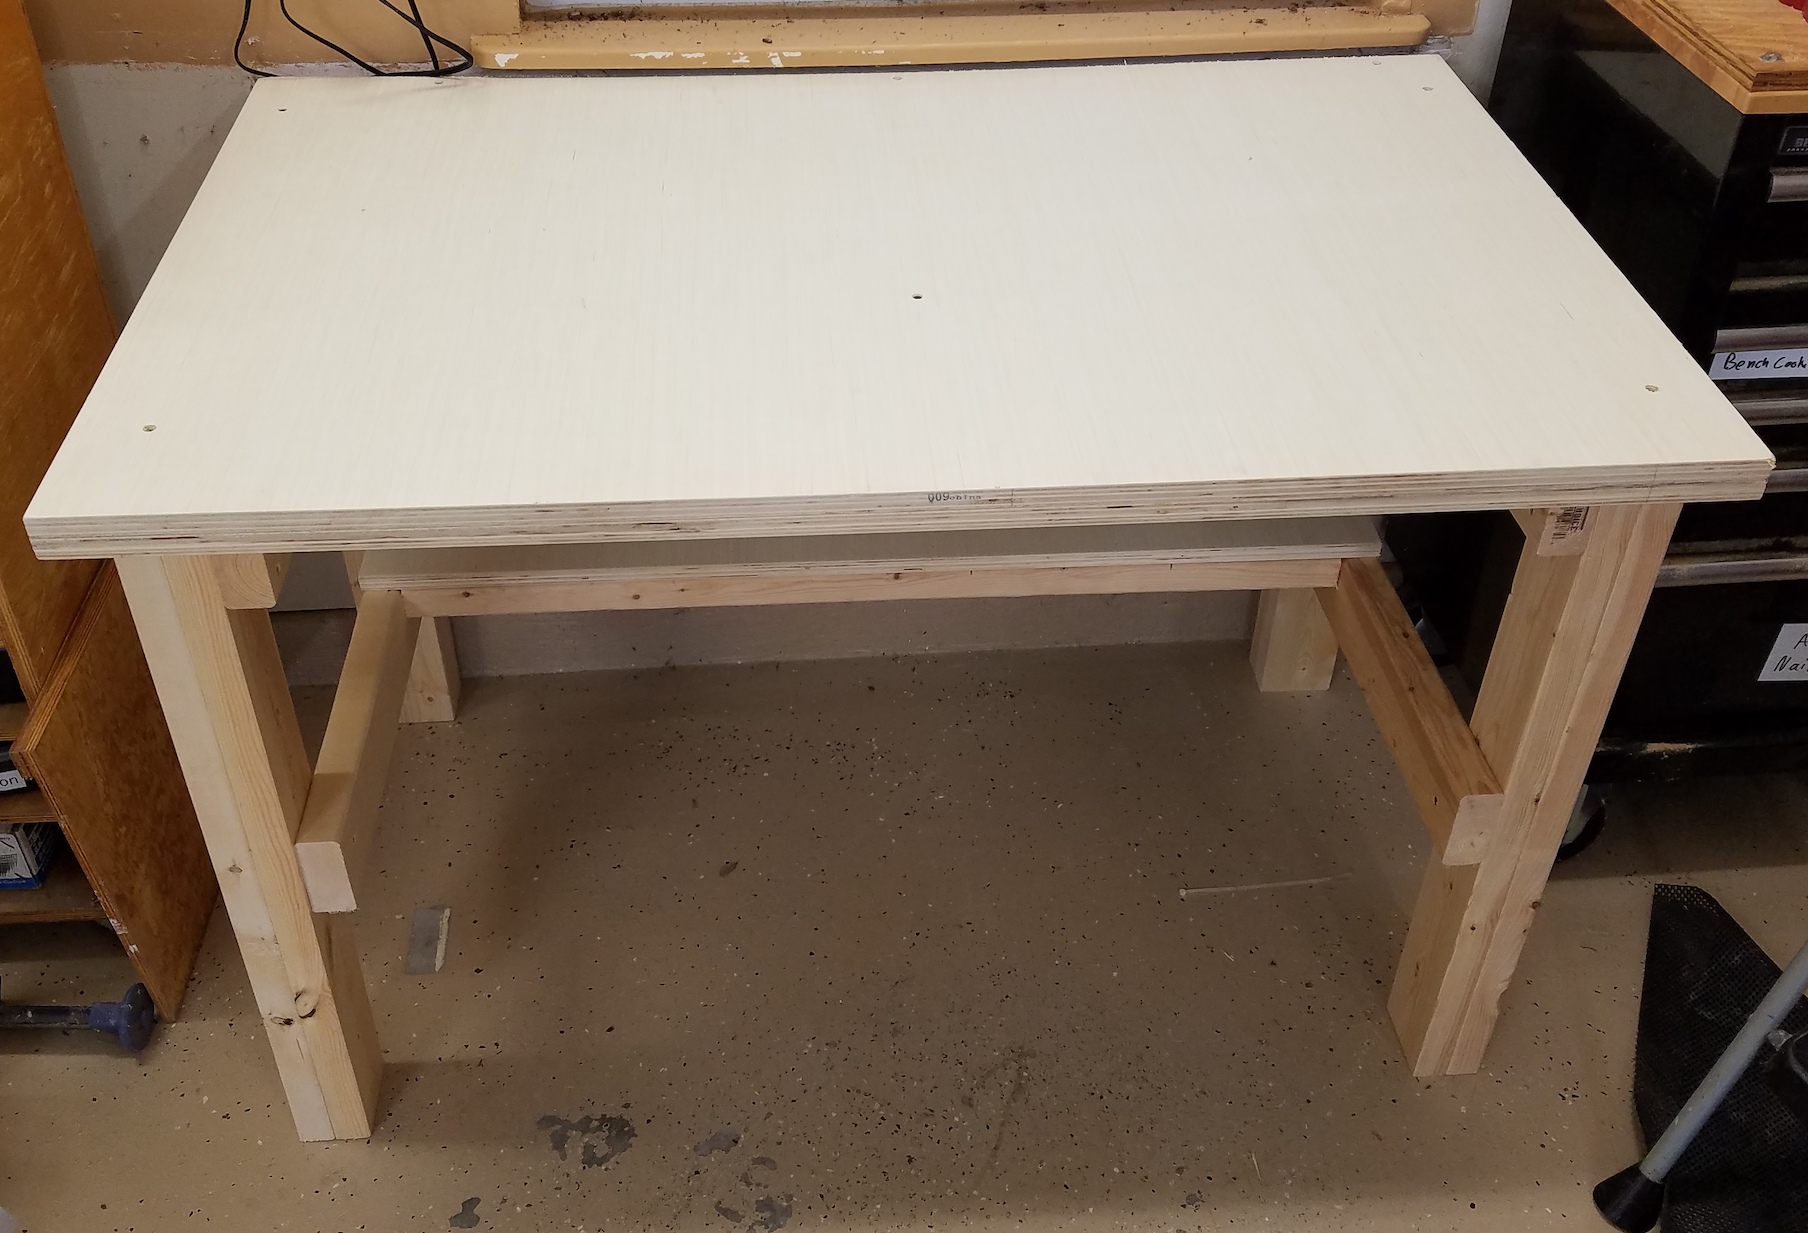
I screwed together two sheets to make the top. I was going to glue them, but screwing was good enough and I can replace the top piece if it becomes damaged. This is a very stout table.

Bare, and in its final resting place it looks pretty good. Time to load it up with junk! From left to right, my big red vise from my dad, old bench grinder turned buffer, anvil, arbor press, carved depression used to hammer bowl shapes in wood, and bench grinder on the bottom.

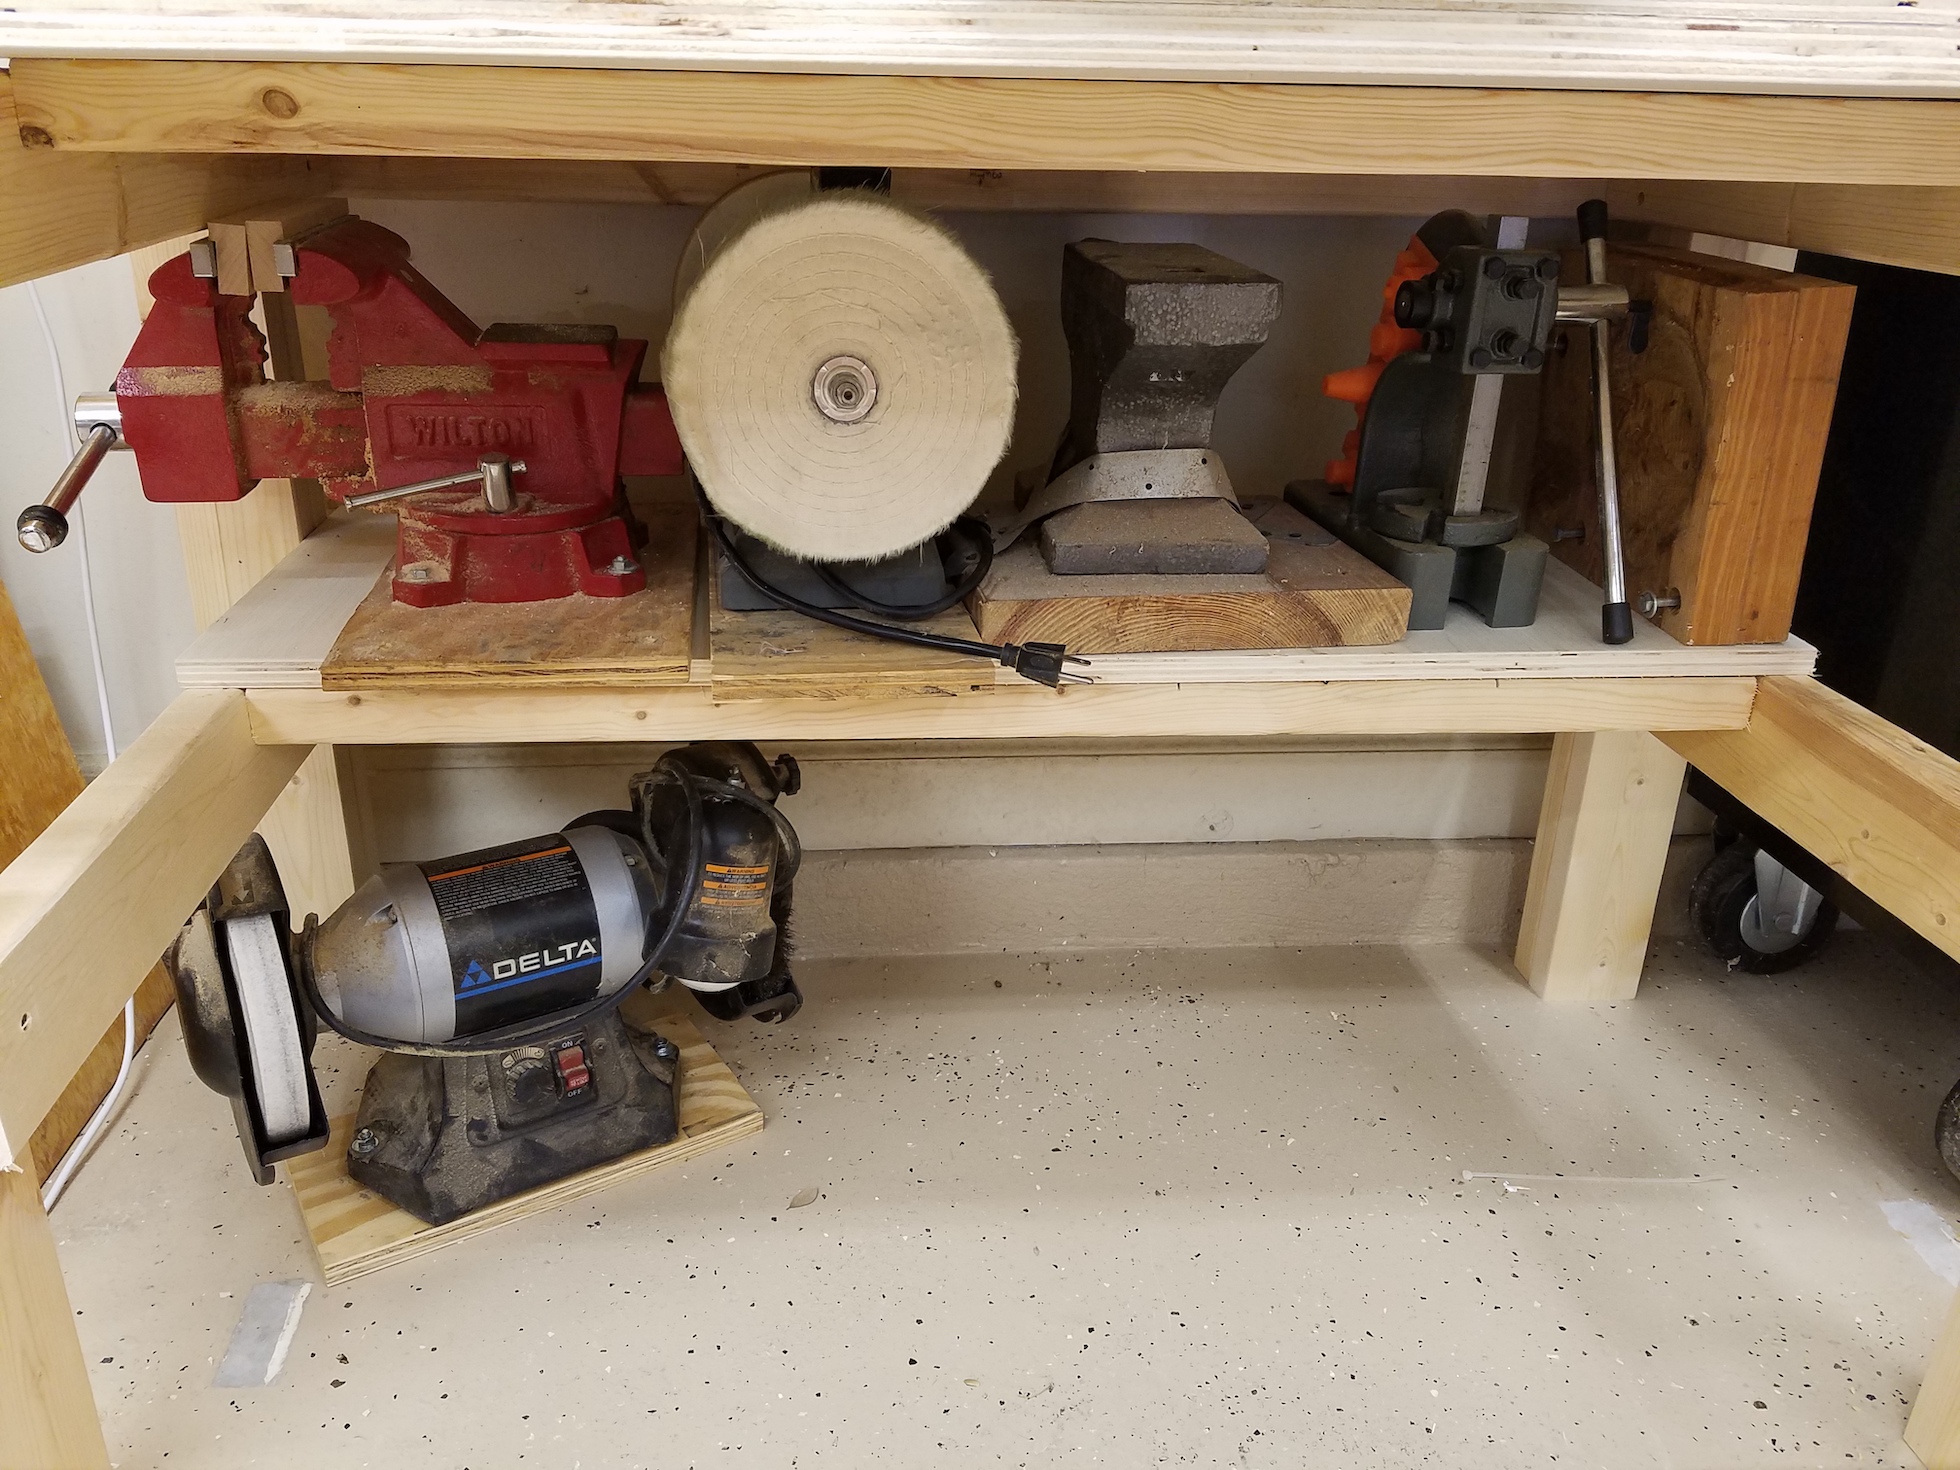
Most everything is attached to thick pieces of wood. This lets me put the tool wherever I need it and clamp them down. I made sure the table top protruded from the legs far enough so I could clamp anything across the entire width. I kept thinking of fancy dovetail sliders, or bolt patterns, or bench dogs that would let me install a wide variety of tools. In the end a thick top and some C-clamps is simple and effective.


While I was dismantling parts of the garage to make space for this bench I pulled off these shallow shelves. It was kind of perfect for what I wanted to add to the bench. These shelves can be used to store my electrical/electronics stuff. That jives with my idea of this serving as a part time repair bench. The shelves were up against the wall and didn’t have a back. I added one to keep stuff from falling out the back.

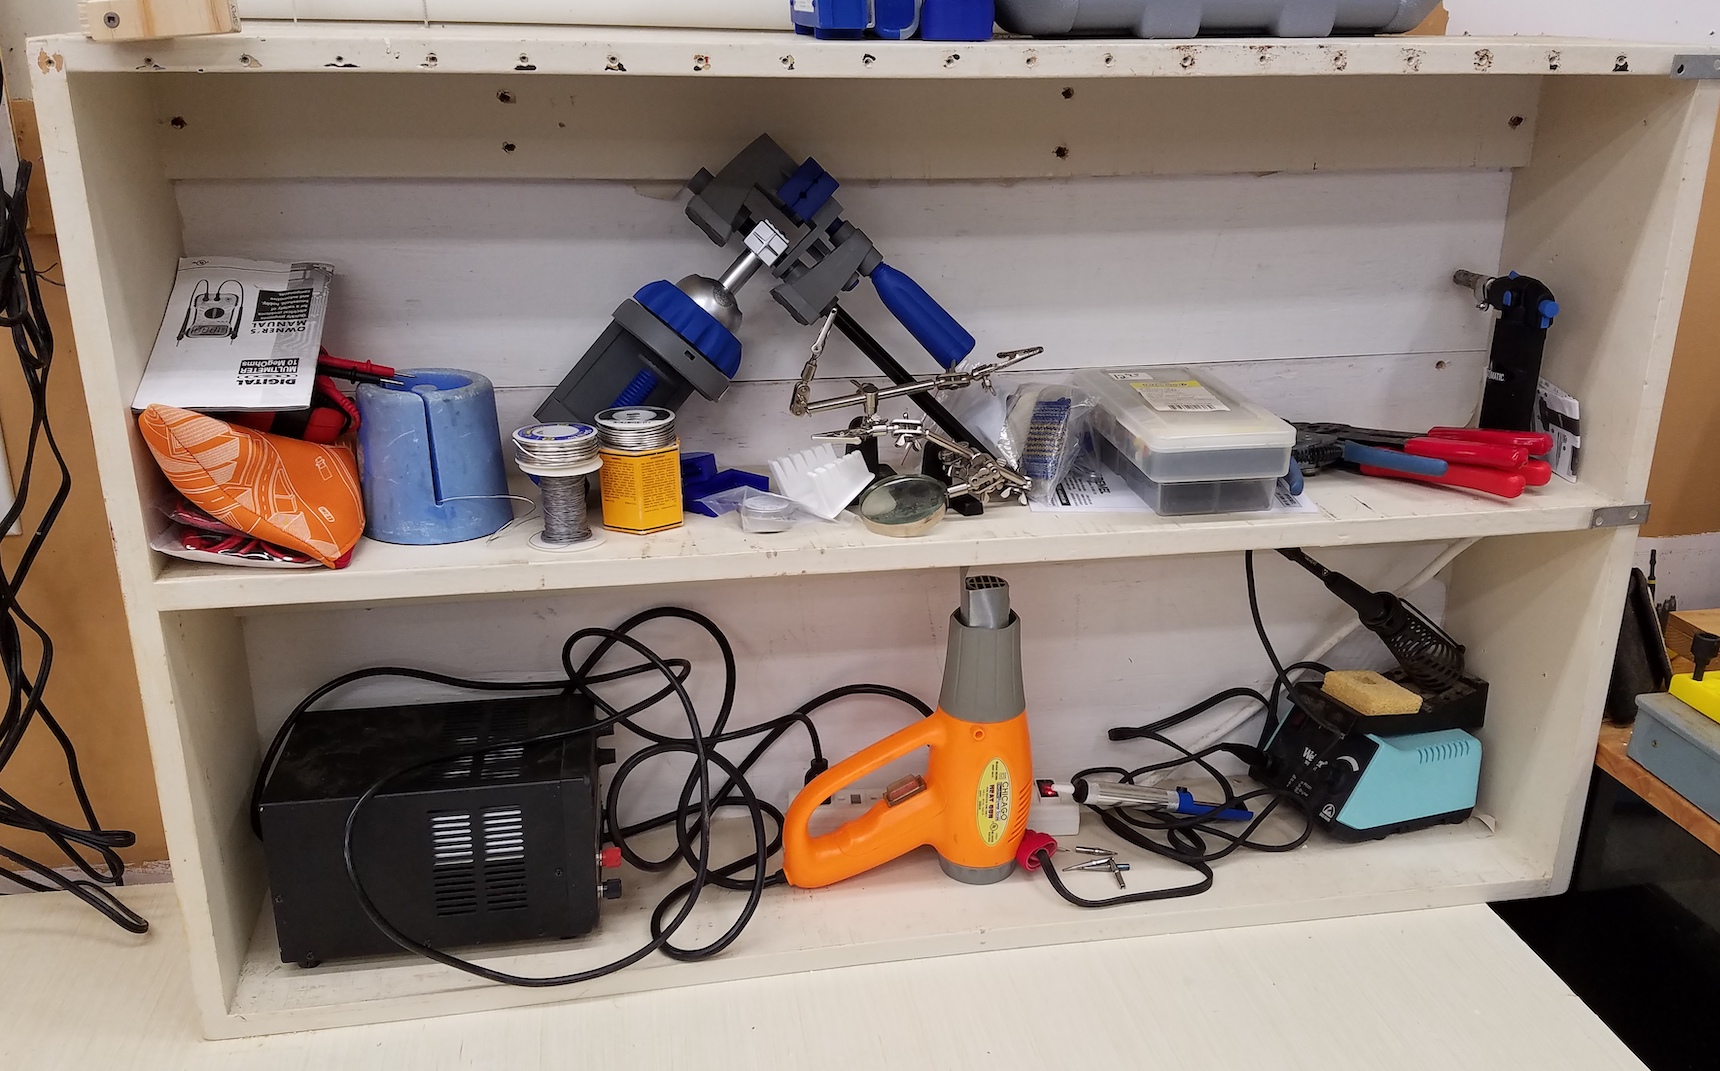
The lower shelf has a power strip and commonly used equipment. It probably needs more organization in the top shelf. For now I am going to live with it and see what gets used often, and what can live elsewhere.

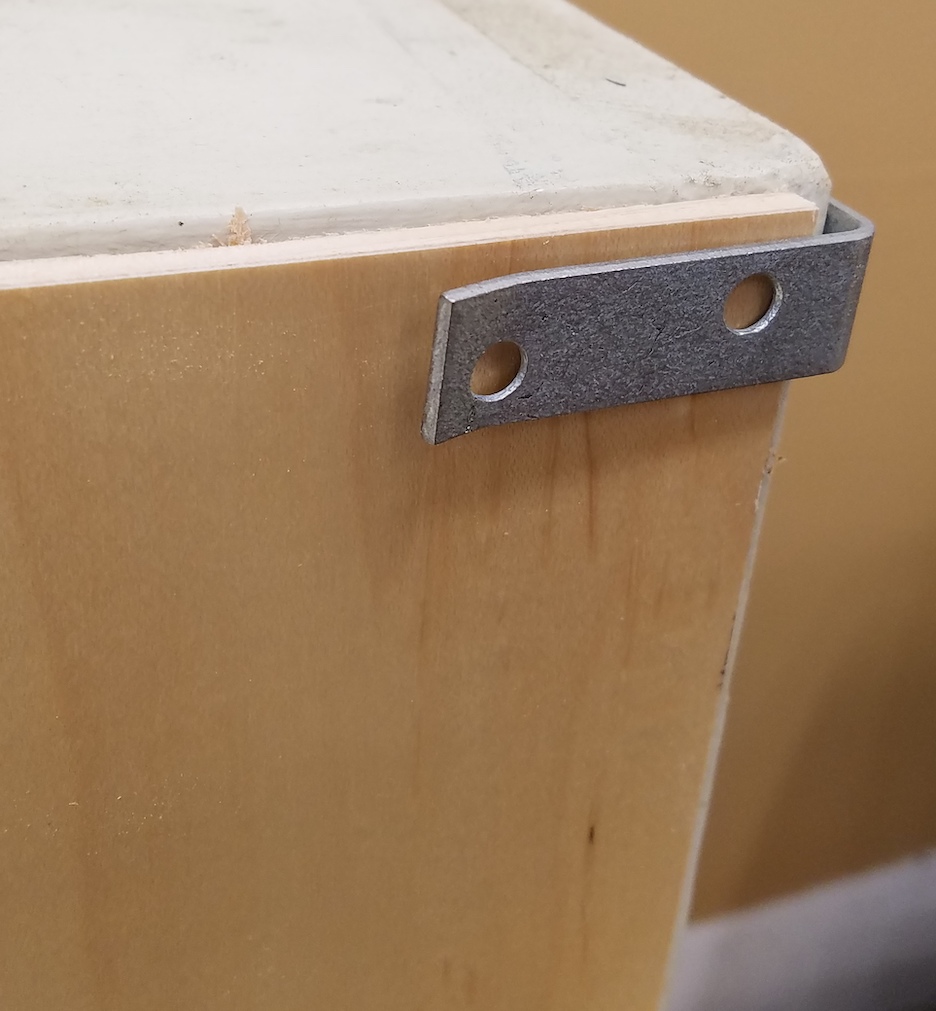
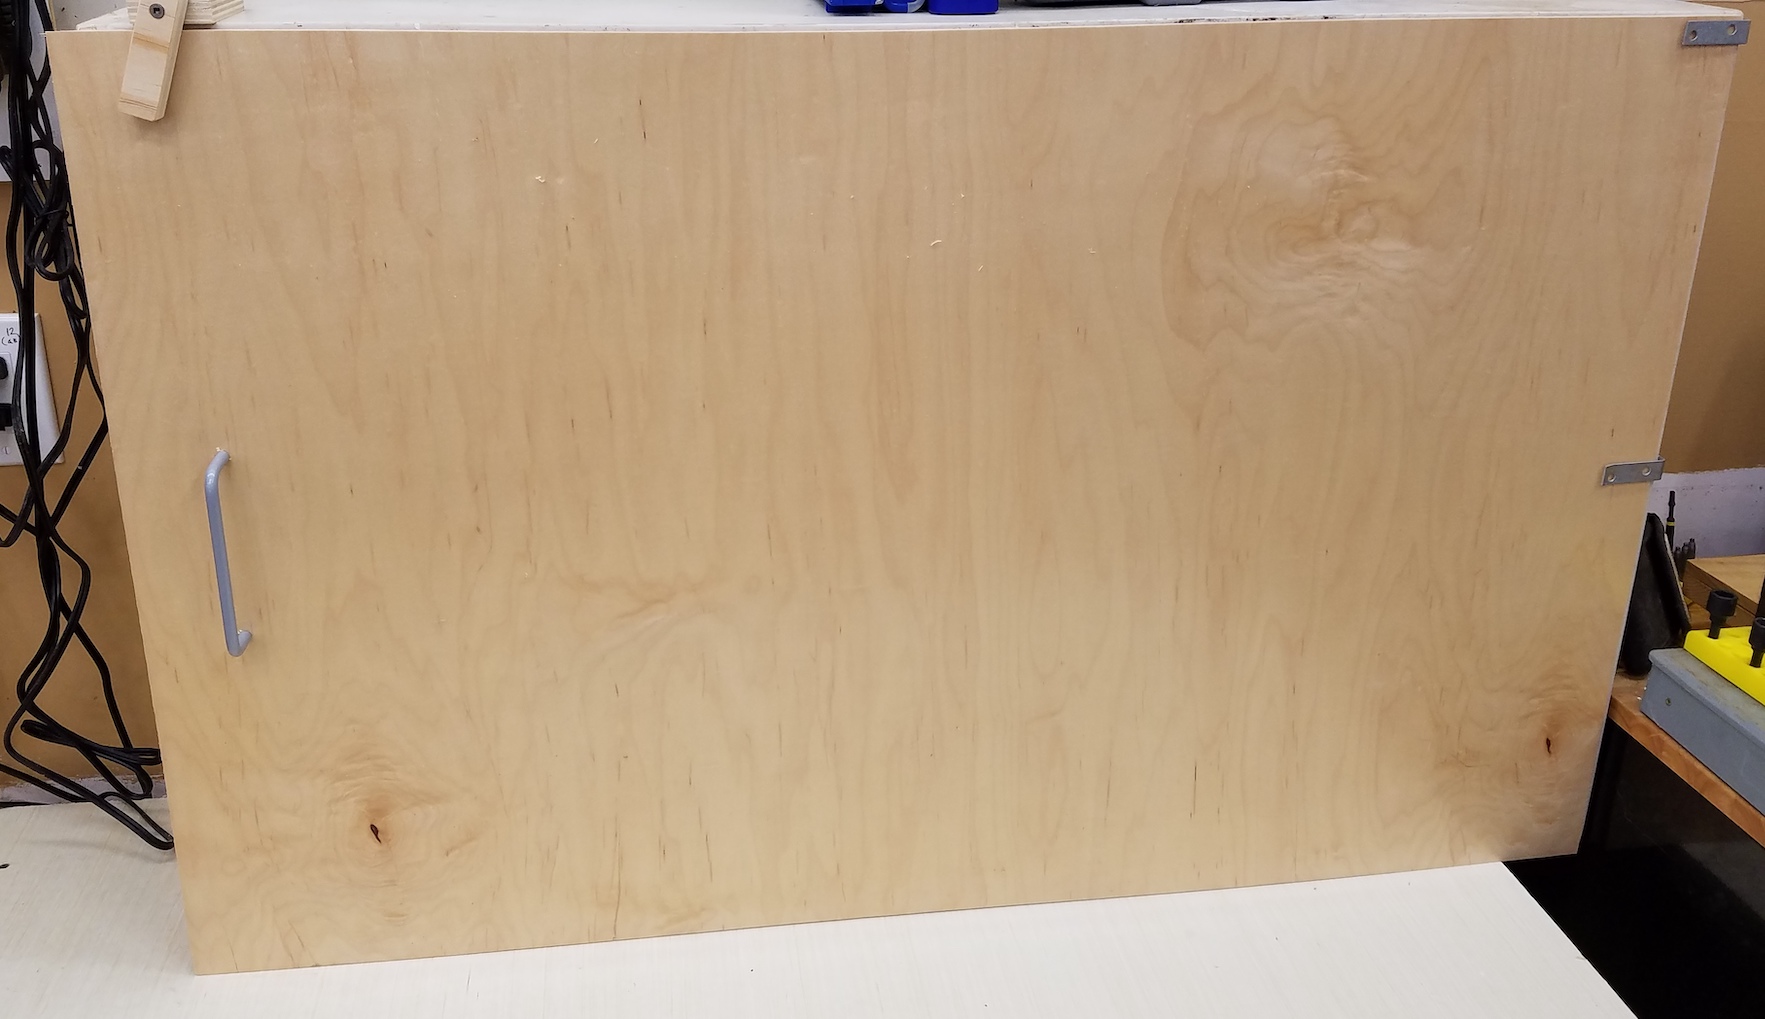
A front cover helps keep the dust out and things from falling off the shelf when banging on the table. Two bent brackets catch the front door on the right hand side, and a swiveled part holds it at the top. To remove you just swivel the one catch and slide the door left a few inches. That way it can be removed or installed even when the table is covered in junk.

I have had it this way for a week or two now and already I christened the table top with grinding detritus and grime from the next project. We all knew that pristine surface wasn’t going to last long.

Tail Vise Install

This was a hum-dinger of a project!  It took me 3 weeks to complete, which was about twice as long as I thought it would.  In short, I would never recommend you buy a woodriver tail vise.  The instructions are terrible, and the design isn’t really that great.  I guess for 60 bucks I can’t complain too much.  Most of the alternatives are 250+ dollars.  I almost think they could be 4 times better if they are easier to install.  I digress, let’s put this puppy together!


Body Box

I pulled the hardware out and read the instructions.  They show pictures of hardware for model numbers that are not the model number I bought…  oh well, Time to wing it!  The black plate will screw to the side of my bench top, and the green plates will slide along that plate.  I want to start by making a box structure around the main screw.  Two boards against the green plates are a good place to start.  One clears the center screw head, but the other needs to be cut down.  I could thin it, but why not get fancy!  I used my No. 50 to remove the wood that interferes with the round portion of the green fixed nut (I will call it a screw head), and a No. 78 to groove a clearance for the base of the screw head.  It looks like a fit.  In retrospect, I really should have just thinned it.  It would make later steps simpler.

I filled in the groove areas and trimmed them flush at the two ends.  This let me put solid wood in between the bolts that hold the two plates together.  With the ends covered I will need clearance to get this thing over the screw head for installation.  A chisel cleaned out a little section between the hollow and groove I made.  Another filler board runs the length to help stiffen and give a give a surface to later bolt the dog hole block to.


Dog Hole Block

I laminated a few large boards together to give me a big block for drilling dog holes.  The third and fourth picture show a heavy block at 90 degrees to the screw.  I was going to add this L so I could have an extra clamping surface.  After doing lots of cutting and chopping I decided to nix it.  It didn’t fit well and I was going to have to drill out a lot of the center to allow screw clearance.  Besides, I already have a good quick release front vice.  I ended up just filling where that block would have gone, and screwed the body box to the dog hole block.  That makes it more easily replaceable in the future.


Installation

I fashioned a board with grooves and a relief hole to go between the bench top and that black mounting plate.  It was easier to make separately, then attach.  Sitting the vice on the table top I was able to pencil out the waste area, and started cutting with a circular saw.  I finished with a hand saw.  The vice is thicker than the table top, so it took a lot of chiseling to clear enough of the table support to let everything move around.  After careful fitting the screws went in, and my tail vice was installed.

It wasn’t without injury.  I ended up hitting one of the lag bolts that holds together the table base.  My biggest chisel took a beating.  It made me very sad, and this will take a lot of sharpening to correct.  Lesson learned, watch for metal hardware when you work!

DSC_0308 Resized


End Caps

An end cap with a hole covers the opening that the screw goes through.  I only screwed it in place so it could be removed if needed in the future.  I also added a few end caps where the front of the vice meets the table.  Boring vertical holes down between the end caps help for holding small round things like screw bits for sharpening.  These are also only screwed in place in case I want to replace or modify them.

Lastly there is a big section between the dog hole block and the table that needs covering.  It is mostly cosmetic, but having it there helps keep shavings and junk from building up.  I took a board and removed a volume where the green top plate will be with a mixture of rabbet planing and chiseling.  Once glued in place the vice was fully installed!


Final Surface and Finish

Once installed I cleared all the junk off and grabbed a jack plane.  When I first built the top I only had one hand plane, and I didn’t really know how to use it, so I ended up using a belt sander on most of the top.  SACRILEGE!!  Now, I spent probably less than 20 minutes planing off the old finish, stains, and gouges.  I left some plane marks behind, but I never really expect the top to be perfectly smooth.  I finished with some boiled linseed oil and left it to dry.  Gorgeous!

I reinstalled my front vice on the left side and drilled a few more holes before applying the finish.  This is how a table should be setup for right handed people like me.  That way when you stand in front and plane from right to left you push against the dog in the table, not the vice.  I didn’t know this when I first installed that front vice.  Oh well, you live and learn.  After a sweep up this never-ending project finally did.  What a pile of shavings!

DSC_0324 Resized