I have been working on this project slowly in the background since probably October. Early on, I was unable to finish printing the parts because of a mysterious heat creep issue. After a few months I had that sorted, and went on to figuring out how to smooth my prints. That went through a few iterations, then it was on to painting. Lots of trial and error, but with really good final results. Over this project I learned a lot about the hot end of my printer, came up with a new-to-me smoothing technique, and picked up an airbrush and taught myself to use it.
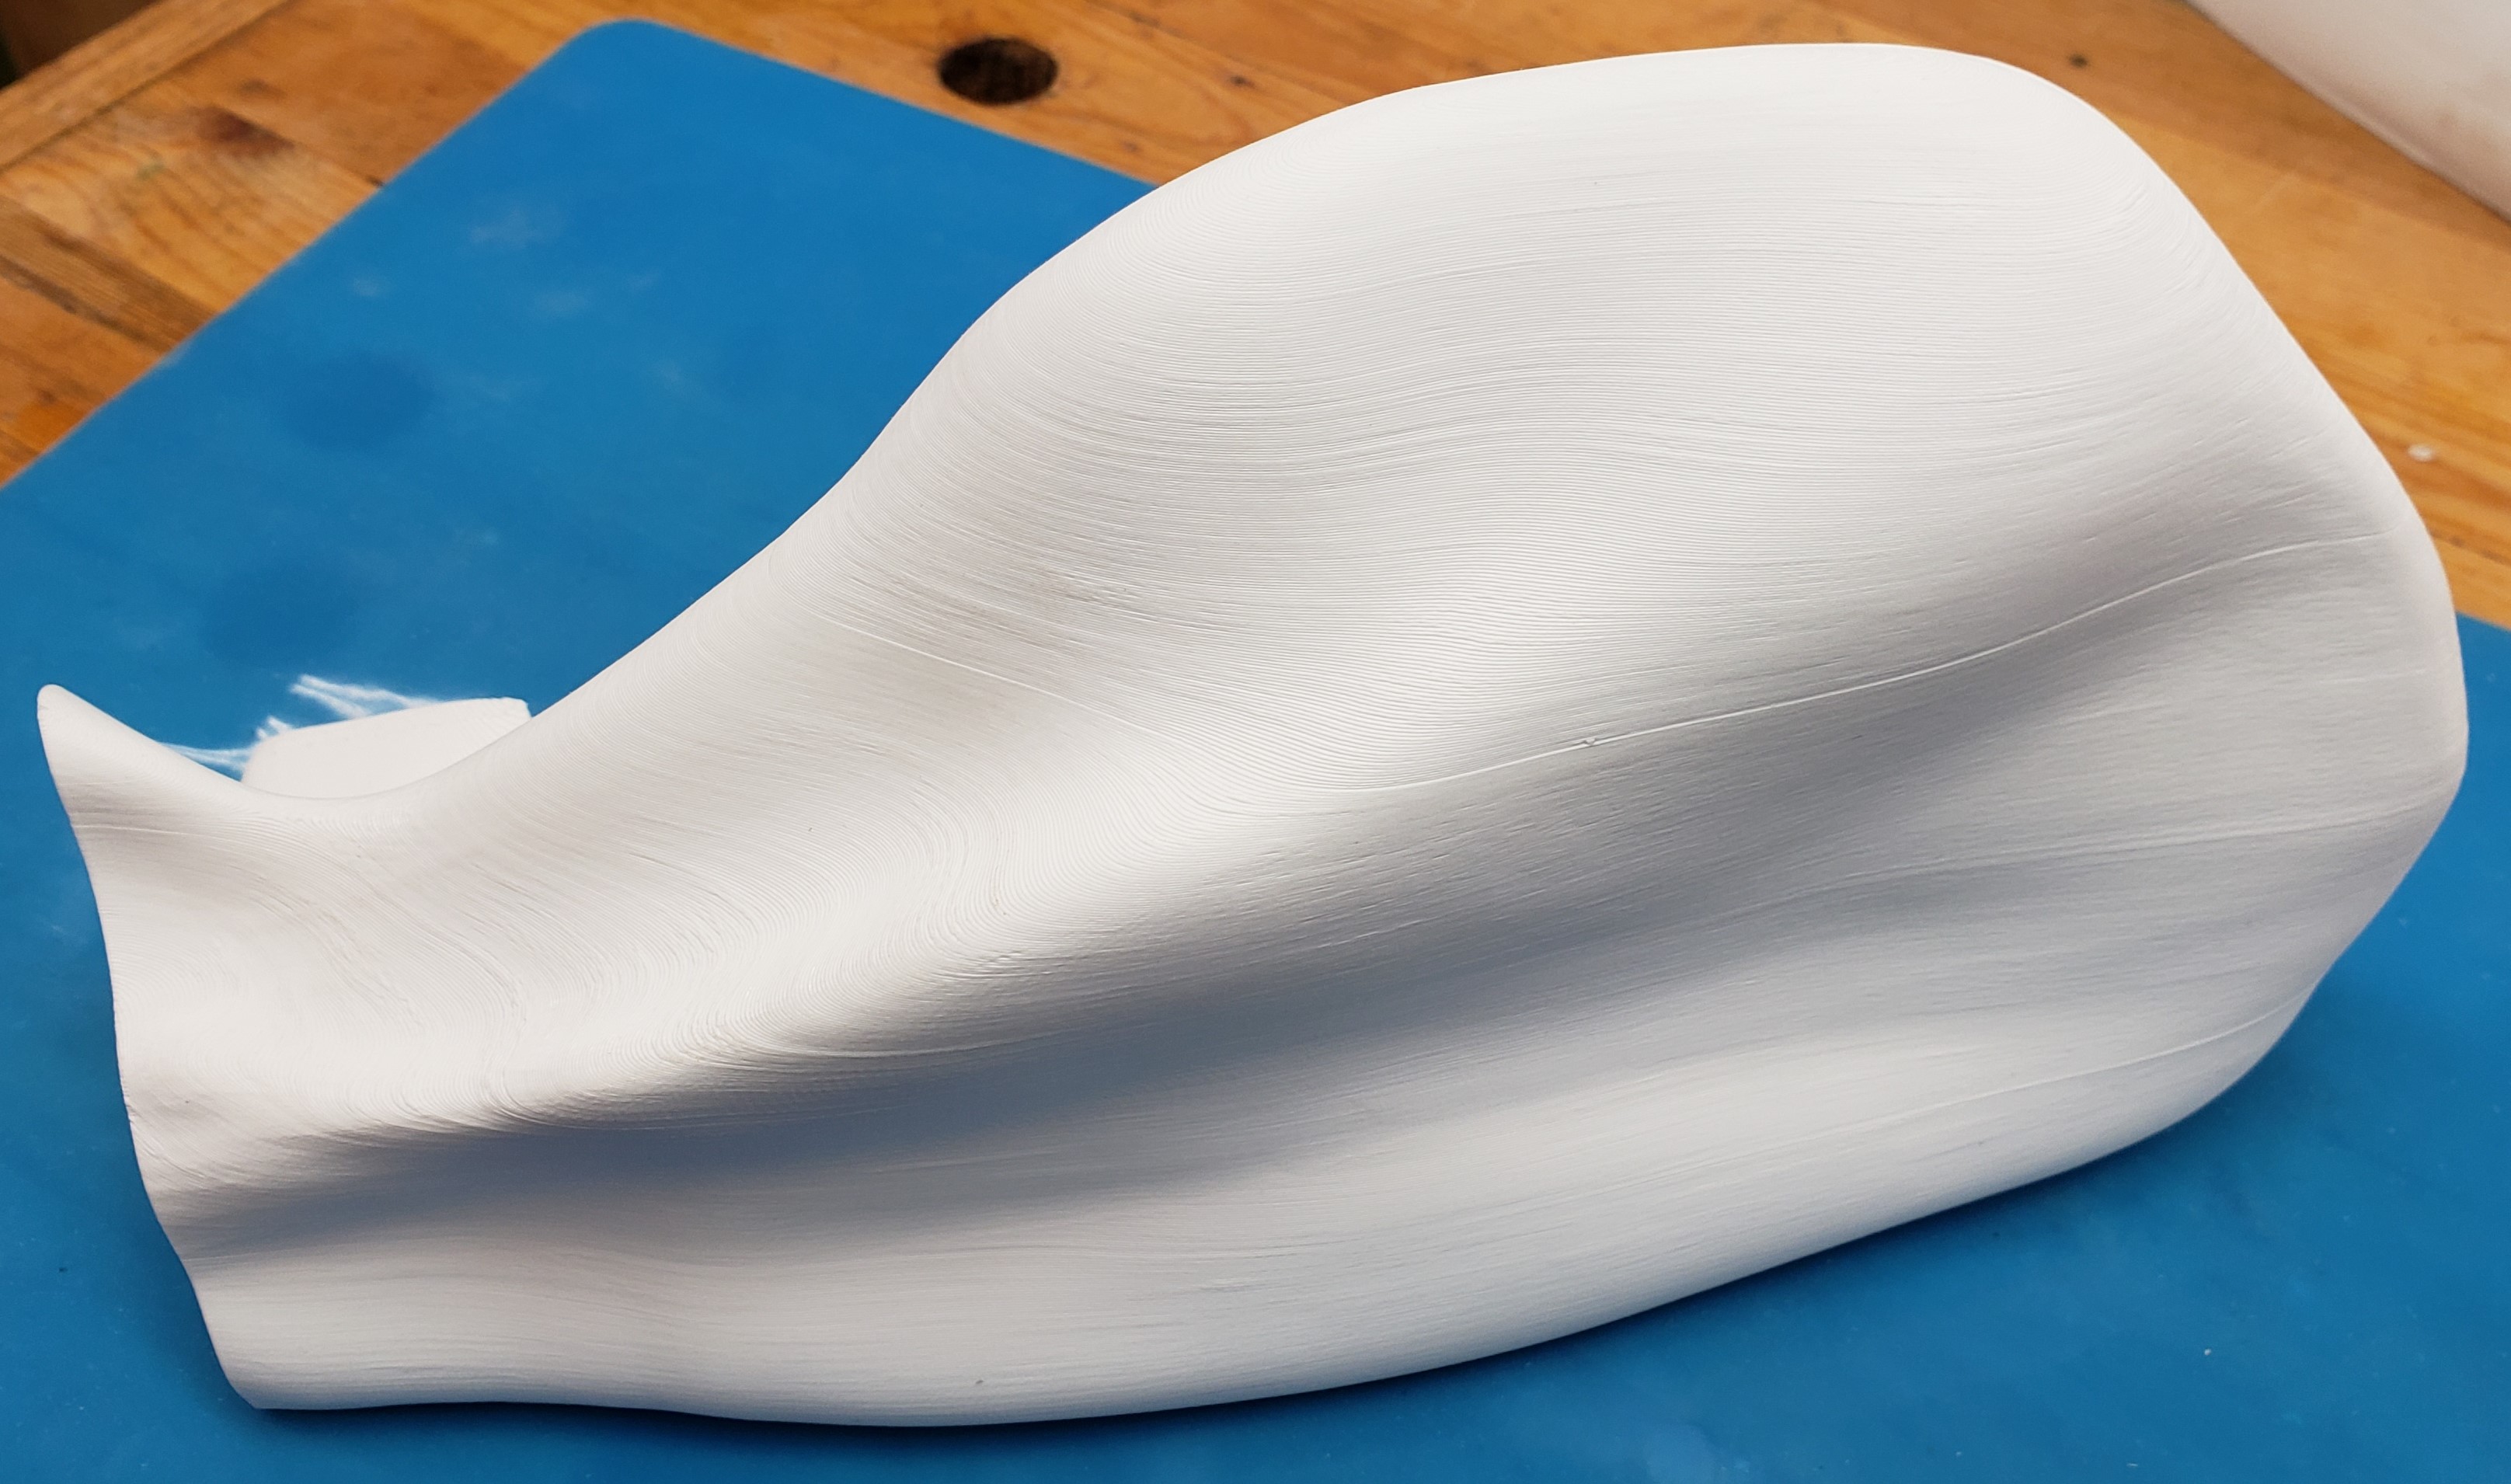
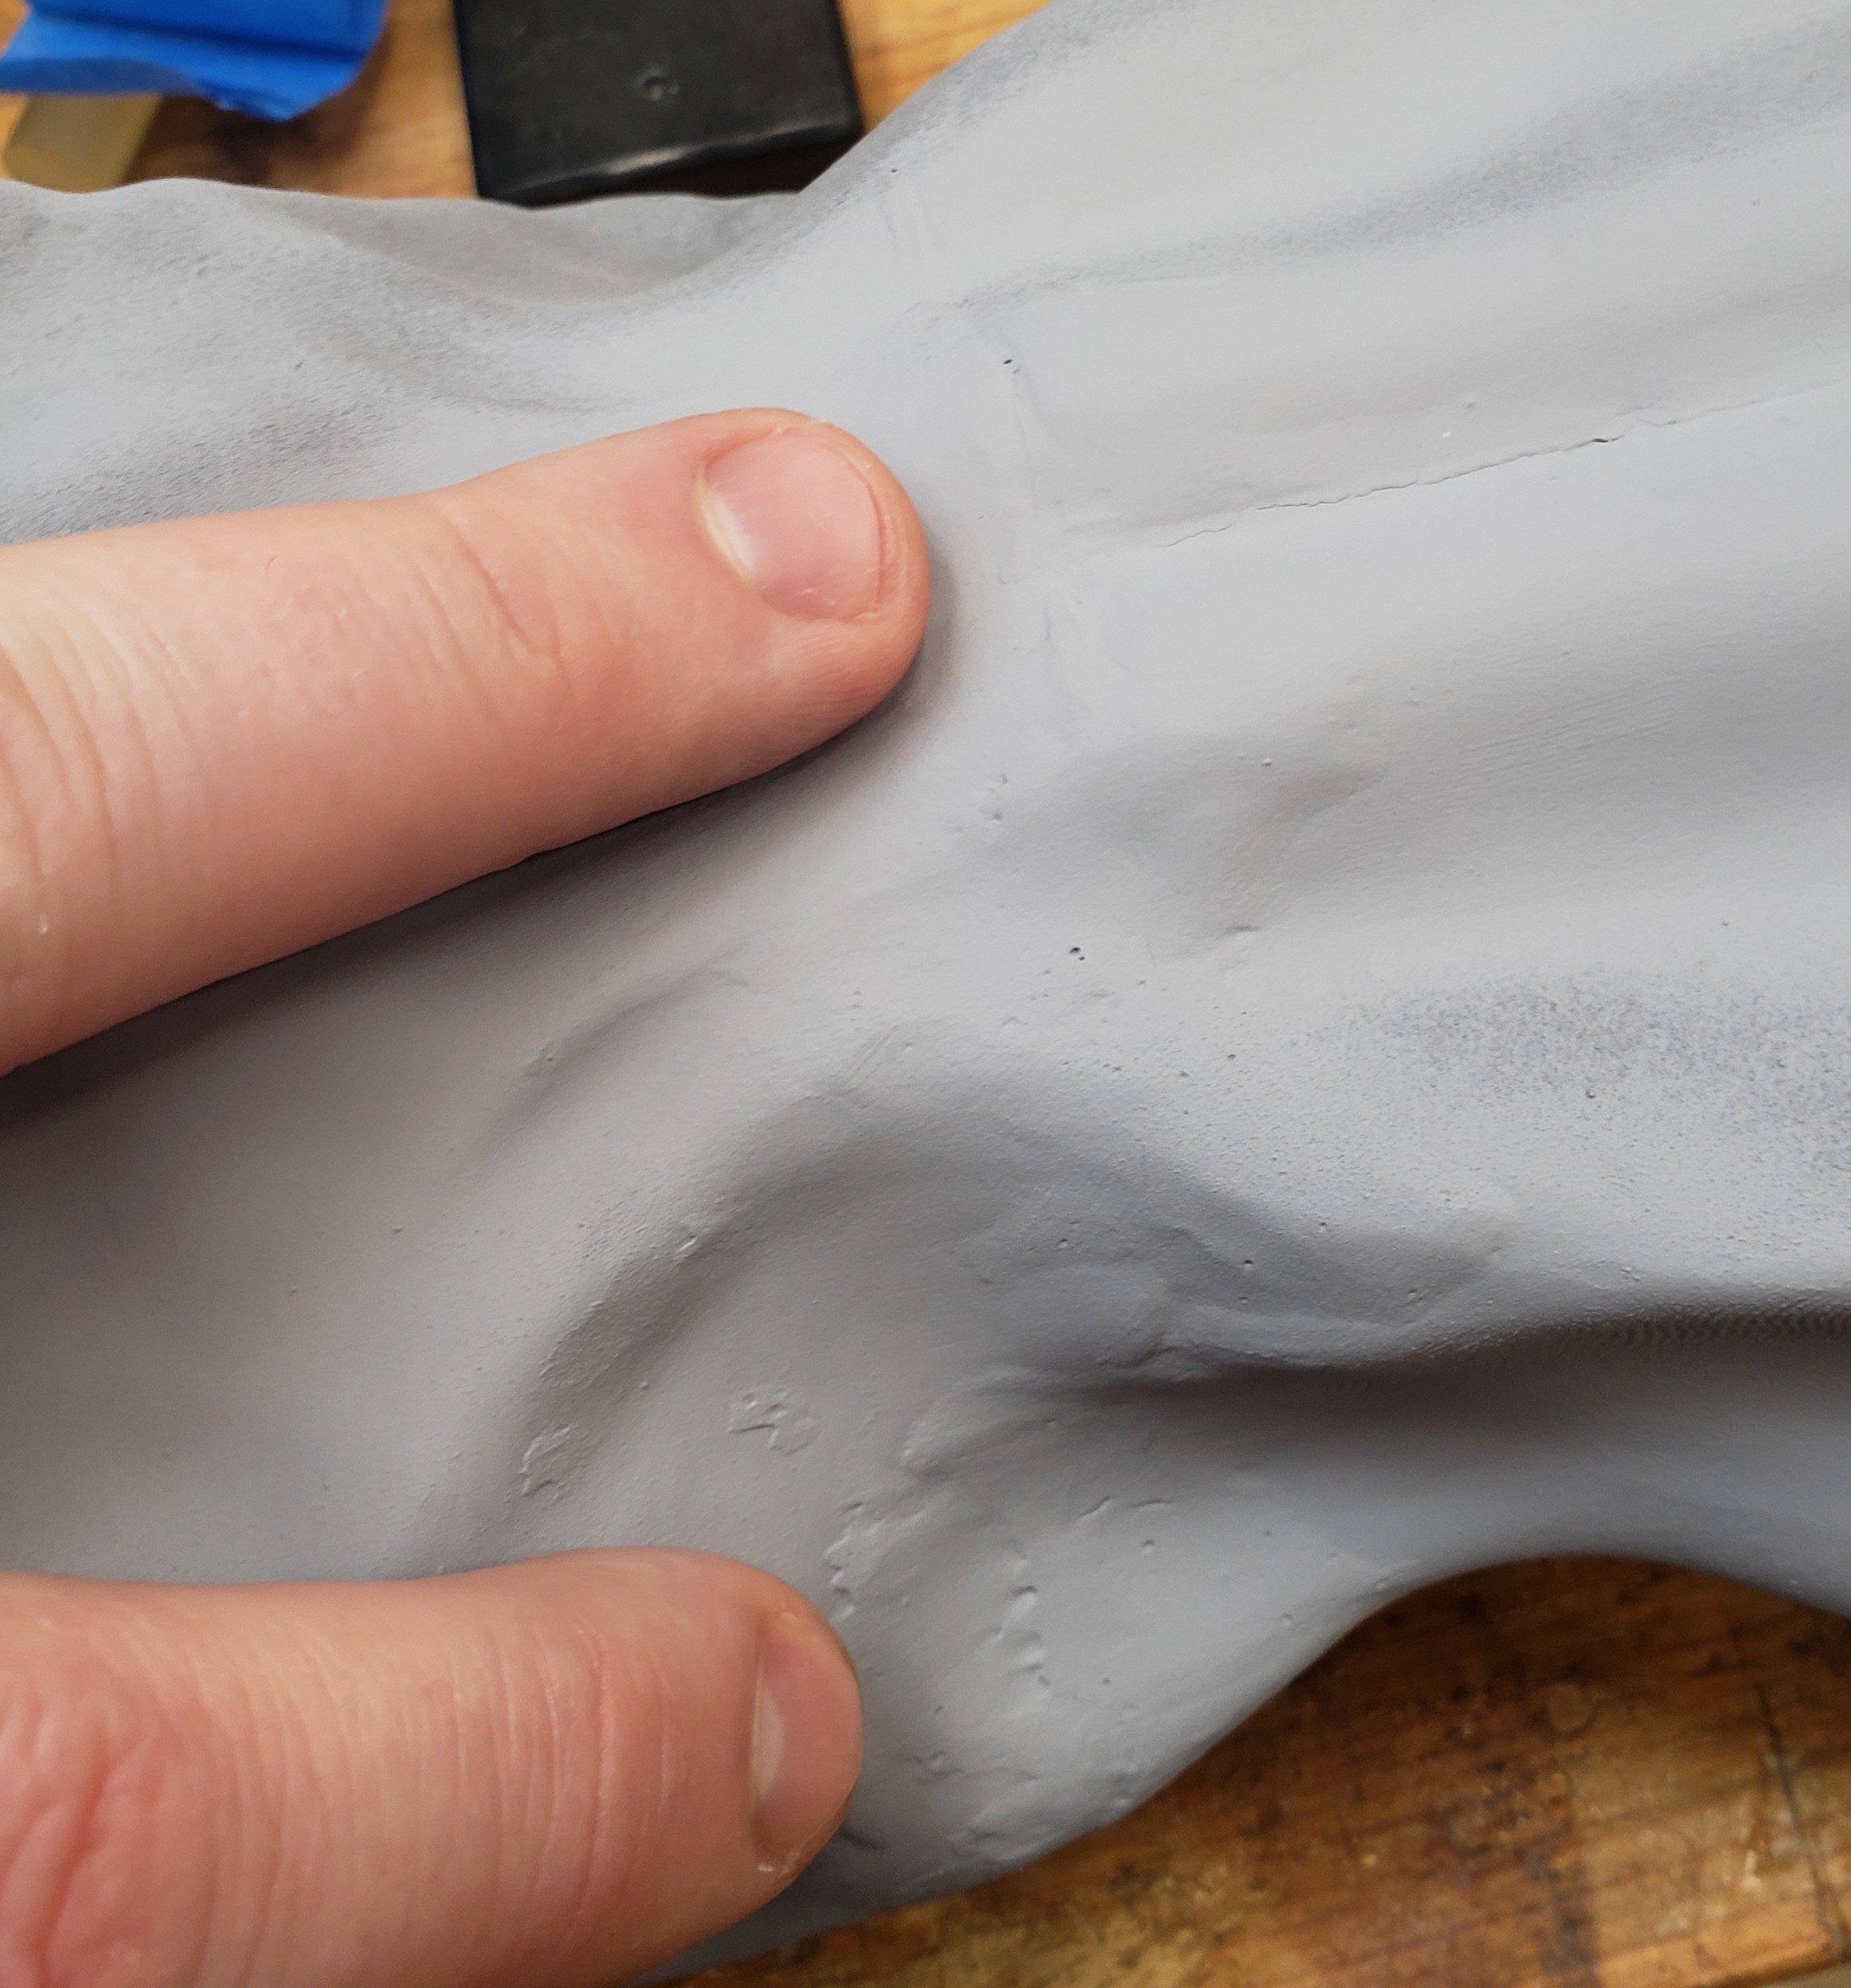
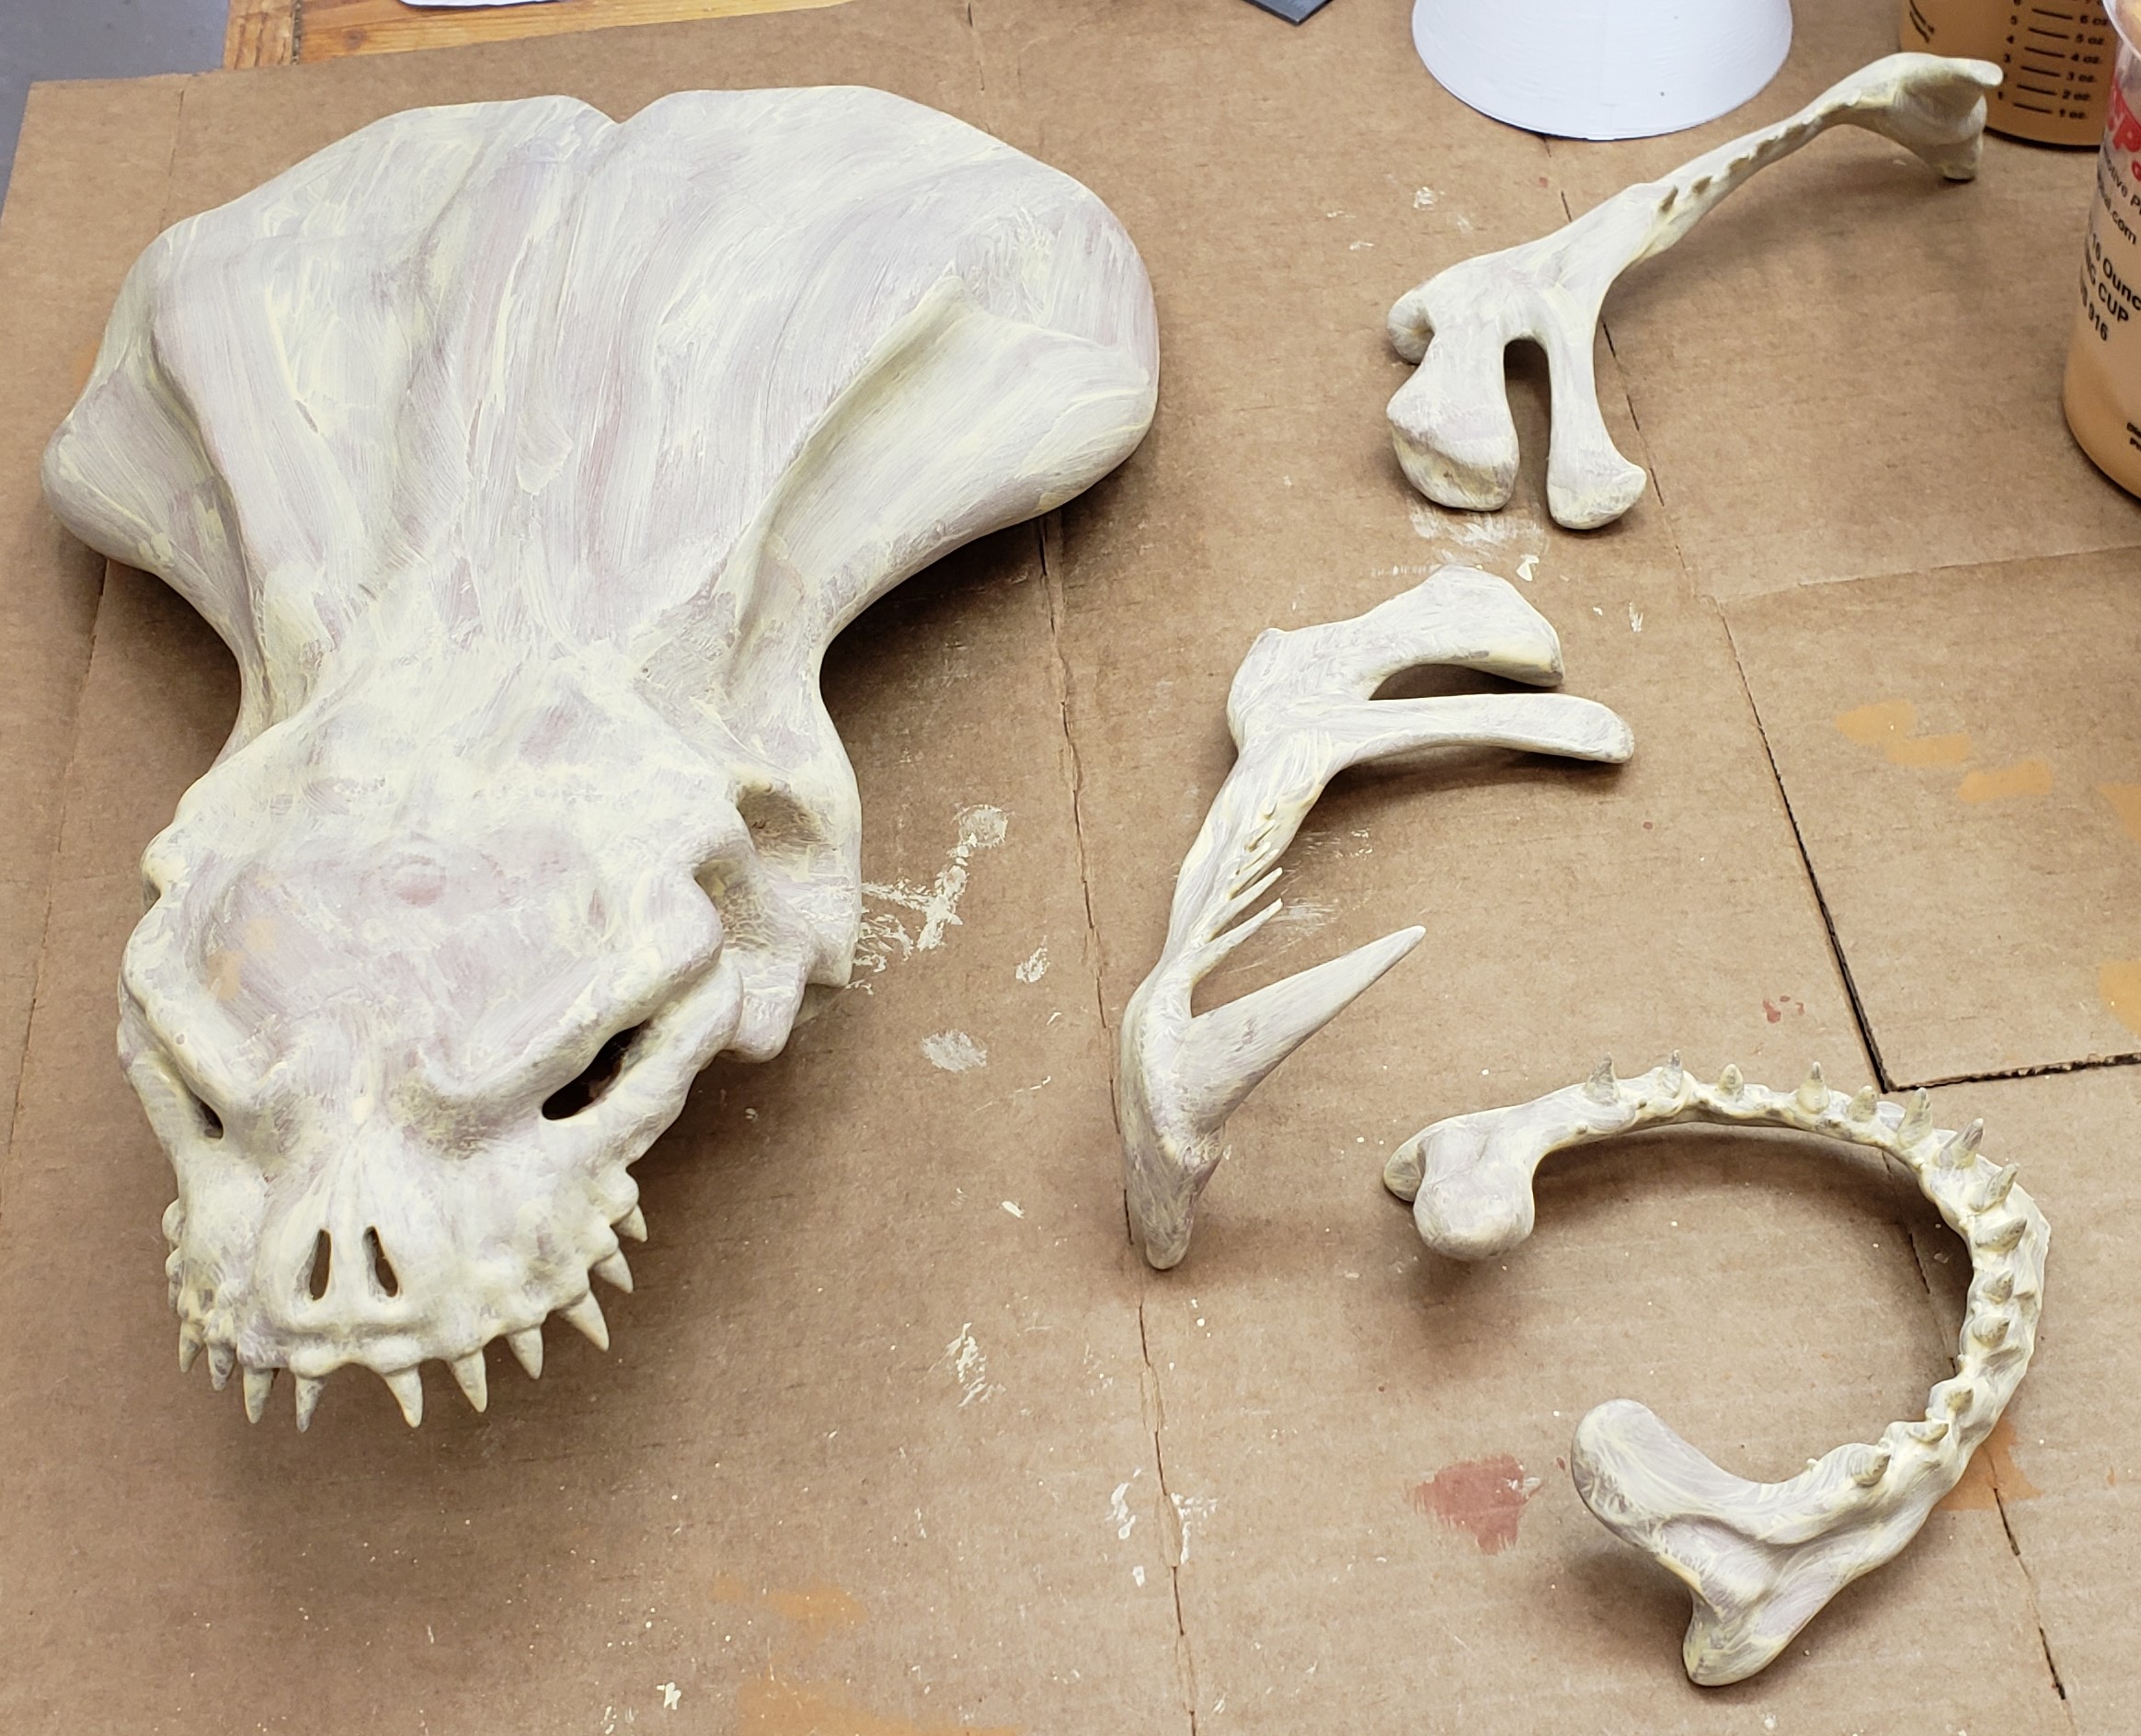
My first challenge was to smooth out the prints. The head came in 3 parts and I decided to smooth each one individually, then glue them together. Probably would have gone better the other way as we shall see. I spent a lot of time with sanding sponges, power tools and air erasers. Nothing worked well to bring down the surface roughness. My printer issues were really starting to bite me. I hit upon an idea with epoxy coating. They make special two part epoxies for over-coating FDM prints. I figured a slow two part I already had available was probably good enough. Below is one of my tests. Left side bare, right side coated.

Two part epoxy works well, but has a few draw backs. You tend to have to mix big batches, then really get working once they are cooking. It adheres well and is thick enough to hide most layer lines. Drips are an issue and once you have it in place, it can run and sag till the stuff starts to kick off. It was way better than endlessly sanding and priming, but still had some issues. Another test piece below.

I did some more research and found that printer resin is another possible option. I picked up a small bottle and a 405nm light and got to work. The results are great. It a good thickness as is, but can be thinned with IPA if desired. The trick is that you want to completely coat an area, then cure. Painting on more resin will make it hard to blend as the new stuff stays on top of the cured stuff. The resin has as much working time as you want, so you can take your time, go thin, then cure when you are ready. The part should be wiped down with a bit of IPA afterwards to clean up the sticky residue. The resin used below is black, but is transparent enough it is hard to see the effect.

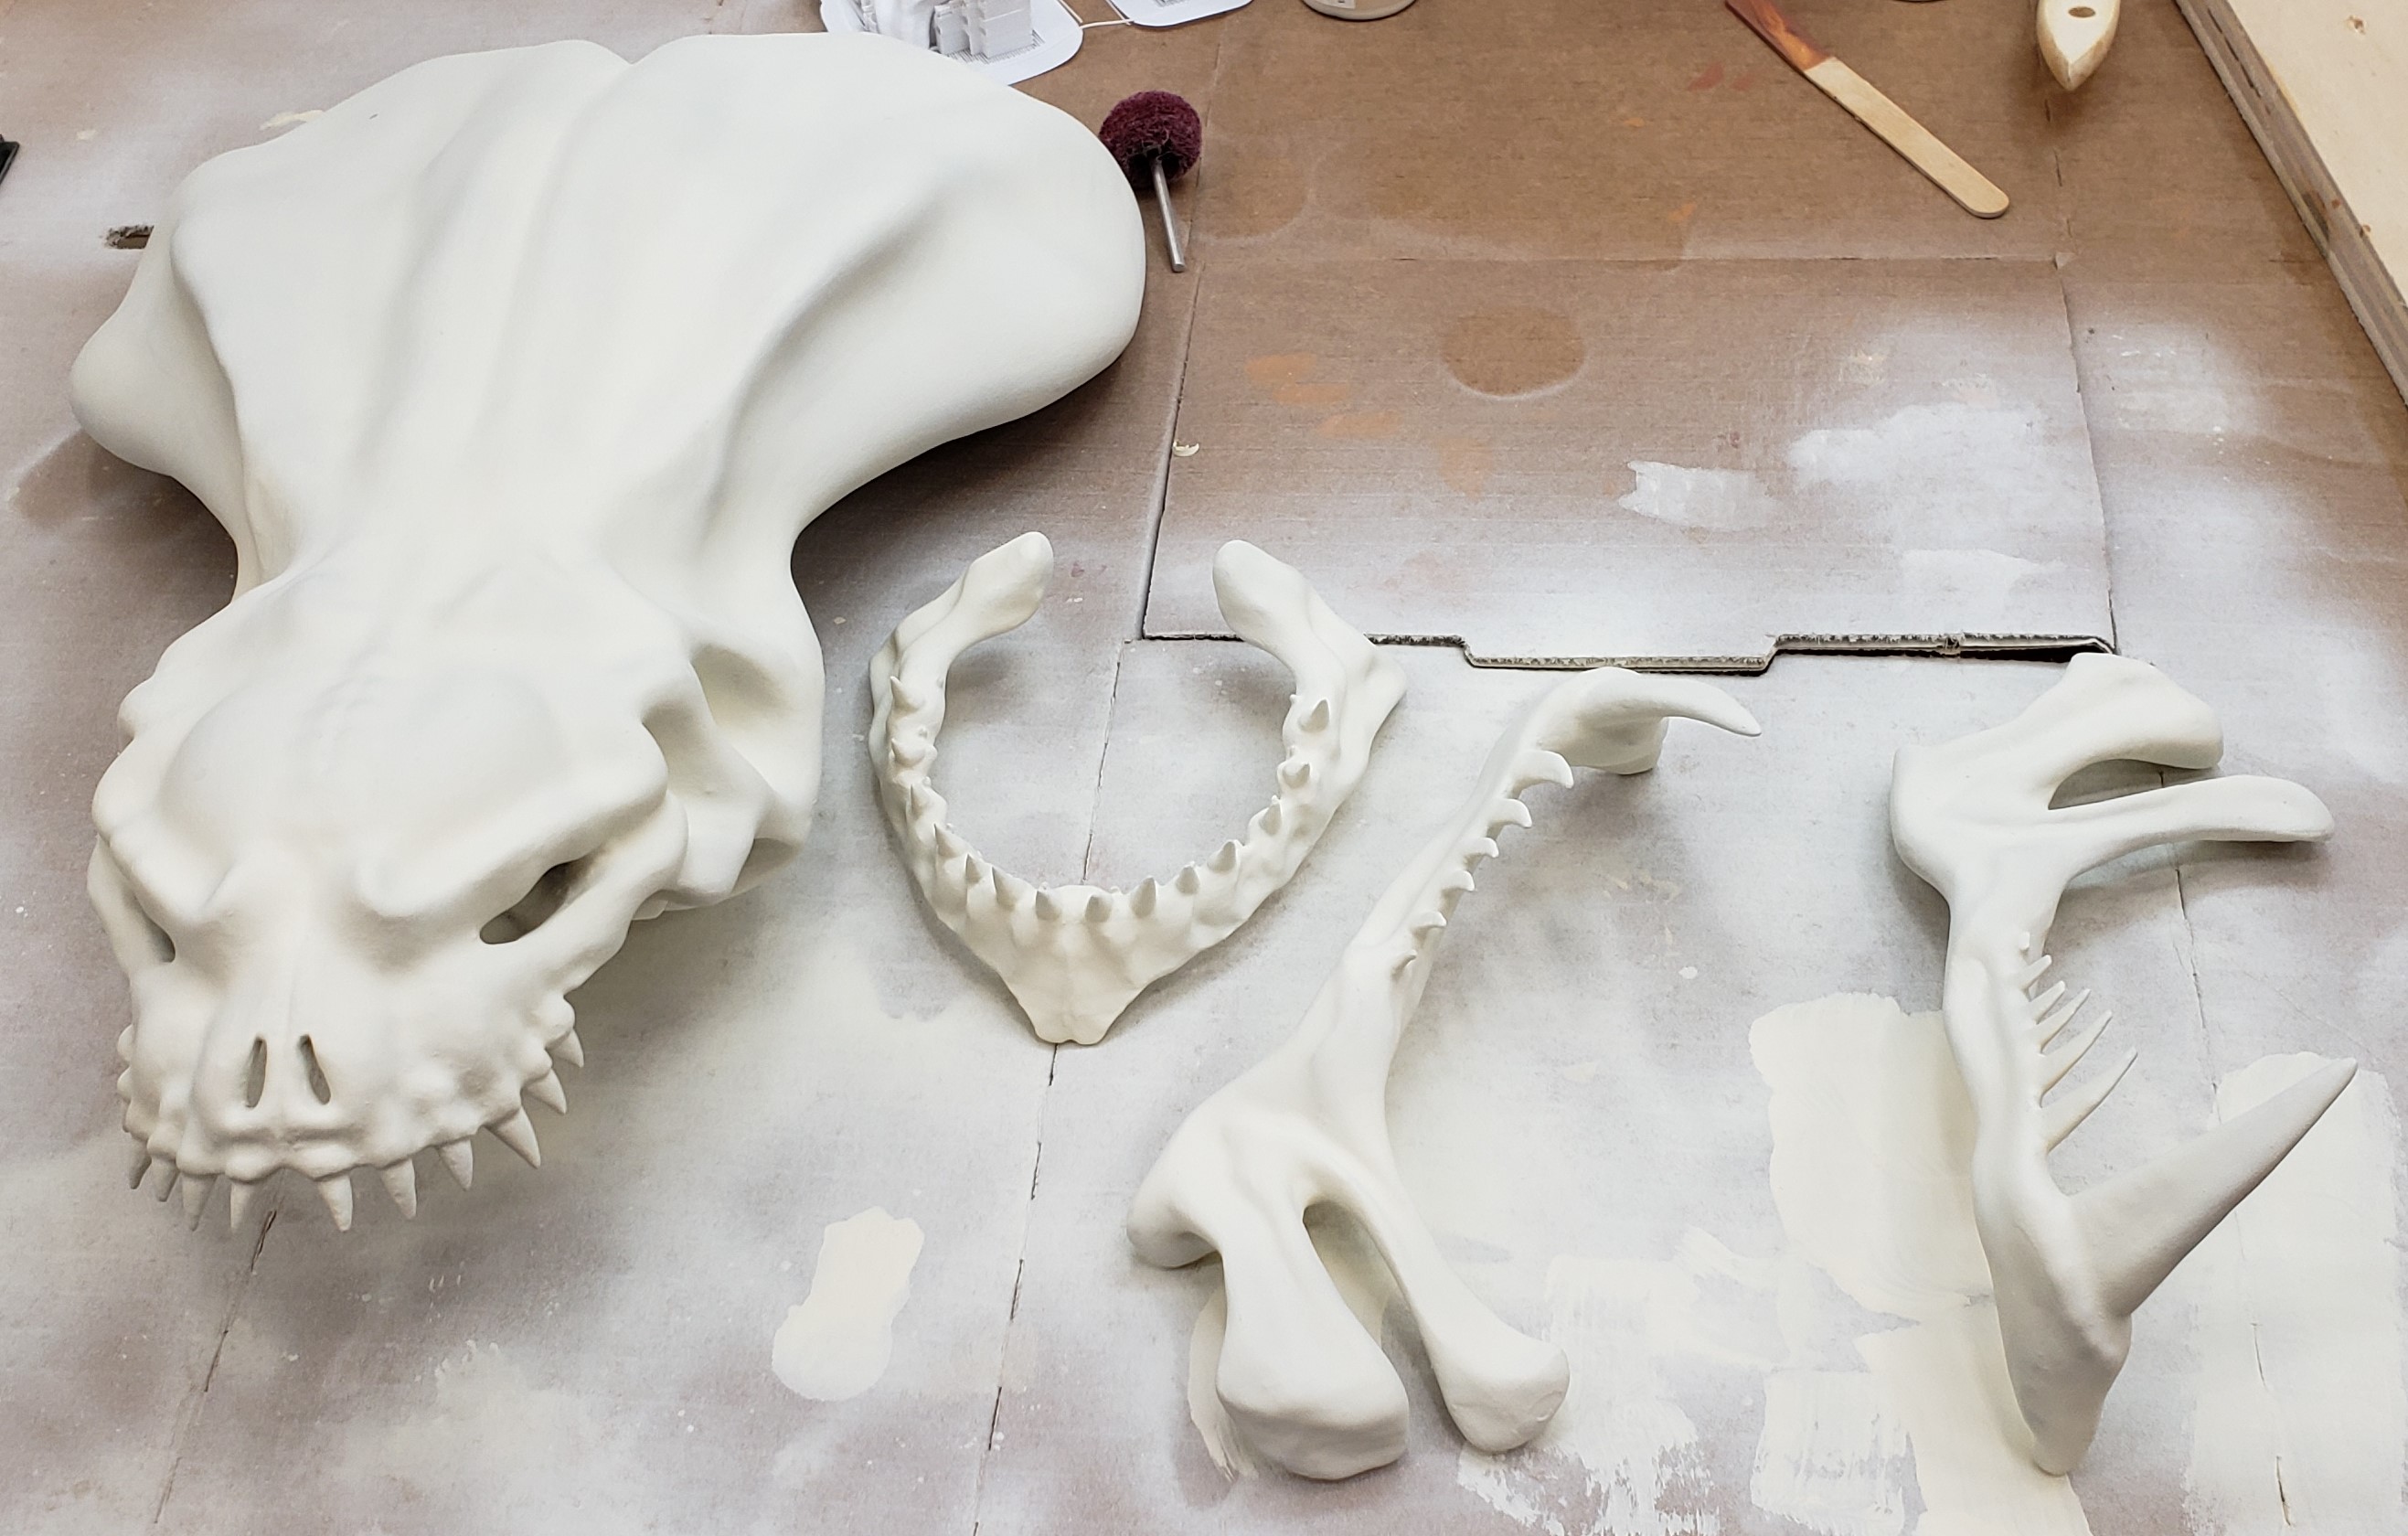
With the major parts coated and smooth, I glued everything together. There was some bed warp, so I had major gaps to fill. I used bondo spot putty. It is hard to apply smoothly, and takes a bit of sanding to get flush. It sands much faster than the resin parts, so if you get too aggressive, you make valleys. Plus, resin doesn’t stick to it, so this part was pretty tricky. I need to find a better gap filling solution. UV resin won’t cure deep enough and is too thin.

I sanded and thought it all looked good, but the bondo still wasn’t smooth in spots.
You can’t hide anything once the primer goes down. That flat color shows all. After countless rounds of filling, sanding and re-priming I got it good enough. Next came the paint.
I am not much of an artist, and this is where I got out way over my skis. I had some basic craft paints, so I tried to make a bone color. The first was way too dark, and the second went on looking like streaky junk. My paint strokes were adding up and looking really awful.

Some peas for help on the internet got me the idea that I needed to try airbrushing. I had never done it before, but a basic cheap airbrush was about 40 bucks, and I already had the compressor. Plus, the cheap paints I was using had very little pigment. I went to slightly better craft paints that came in the color I wanted. The results were becoming much better.
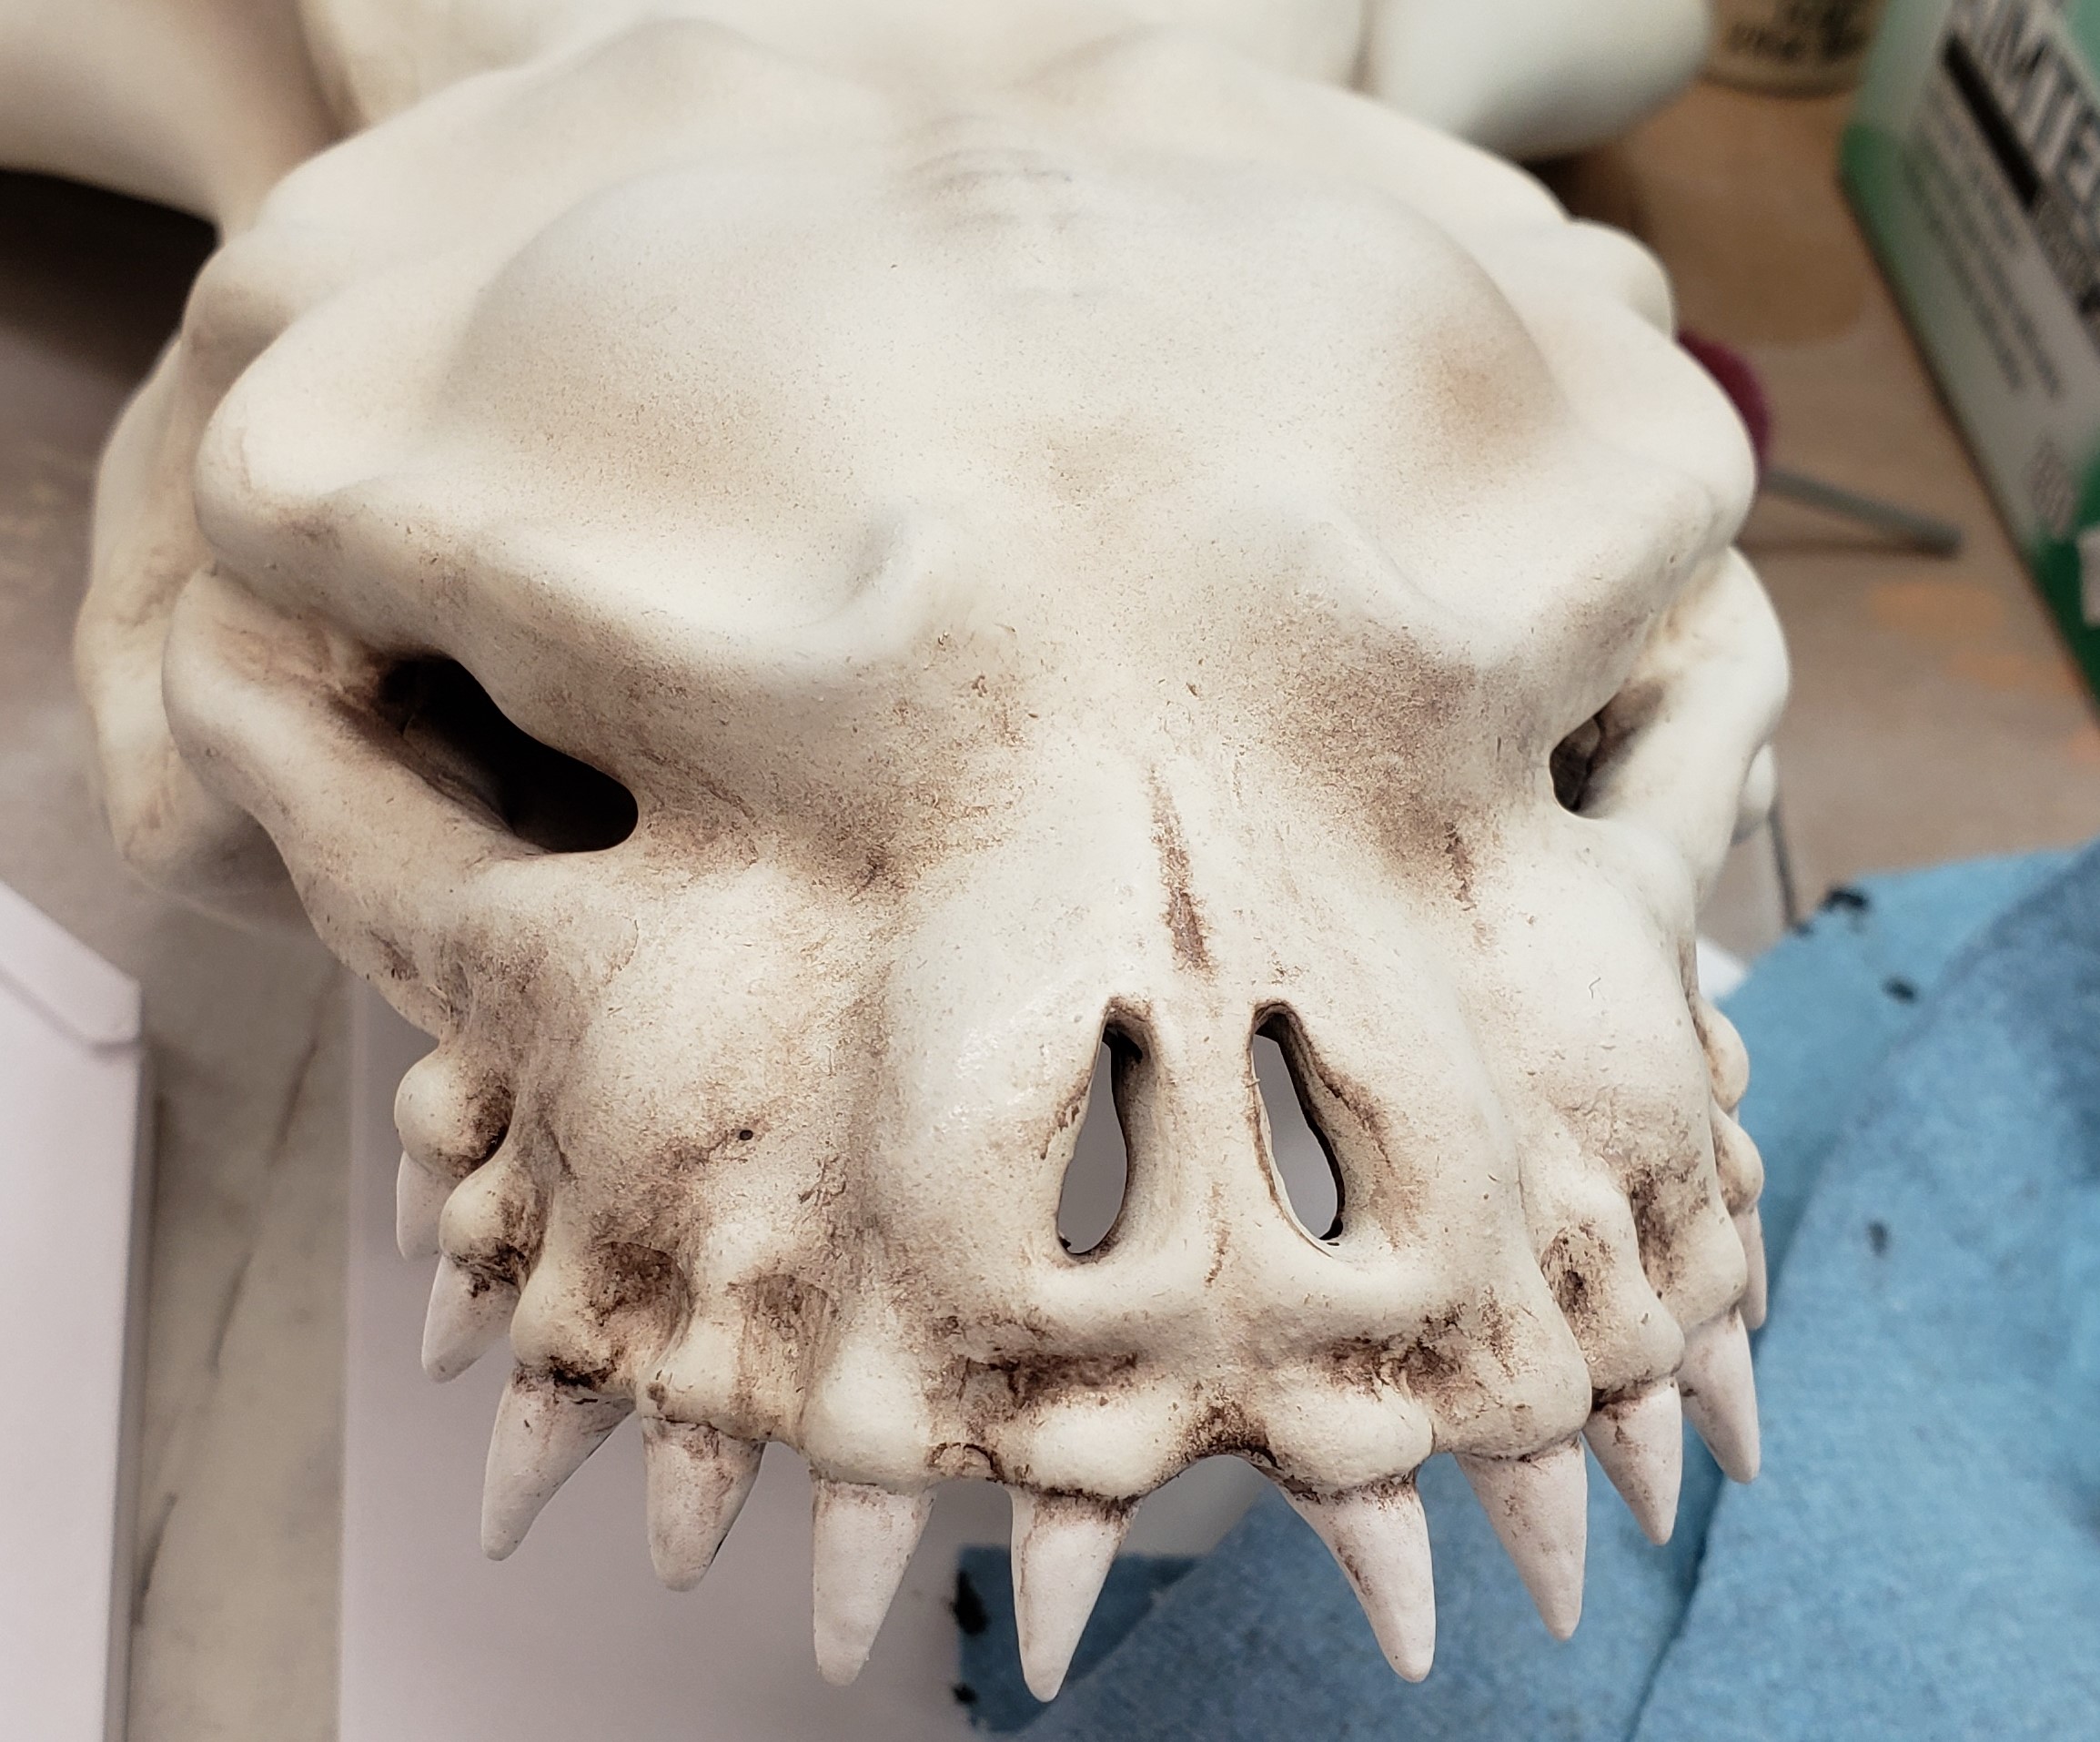
Airbrush puts down a soft subtle amount of paint that you can easily add to. The acrylics were very matte, and that matched the bone look perfectly. After getting a base layer of everything down I went ahead and mixed a darker color for shadows.
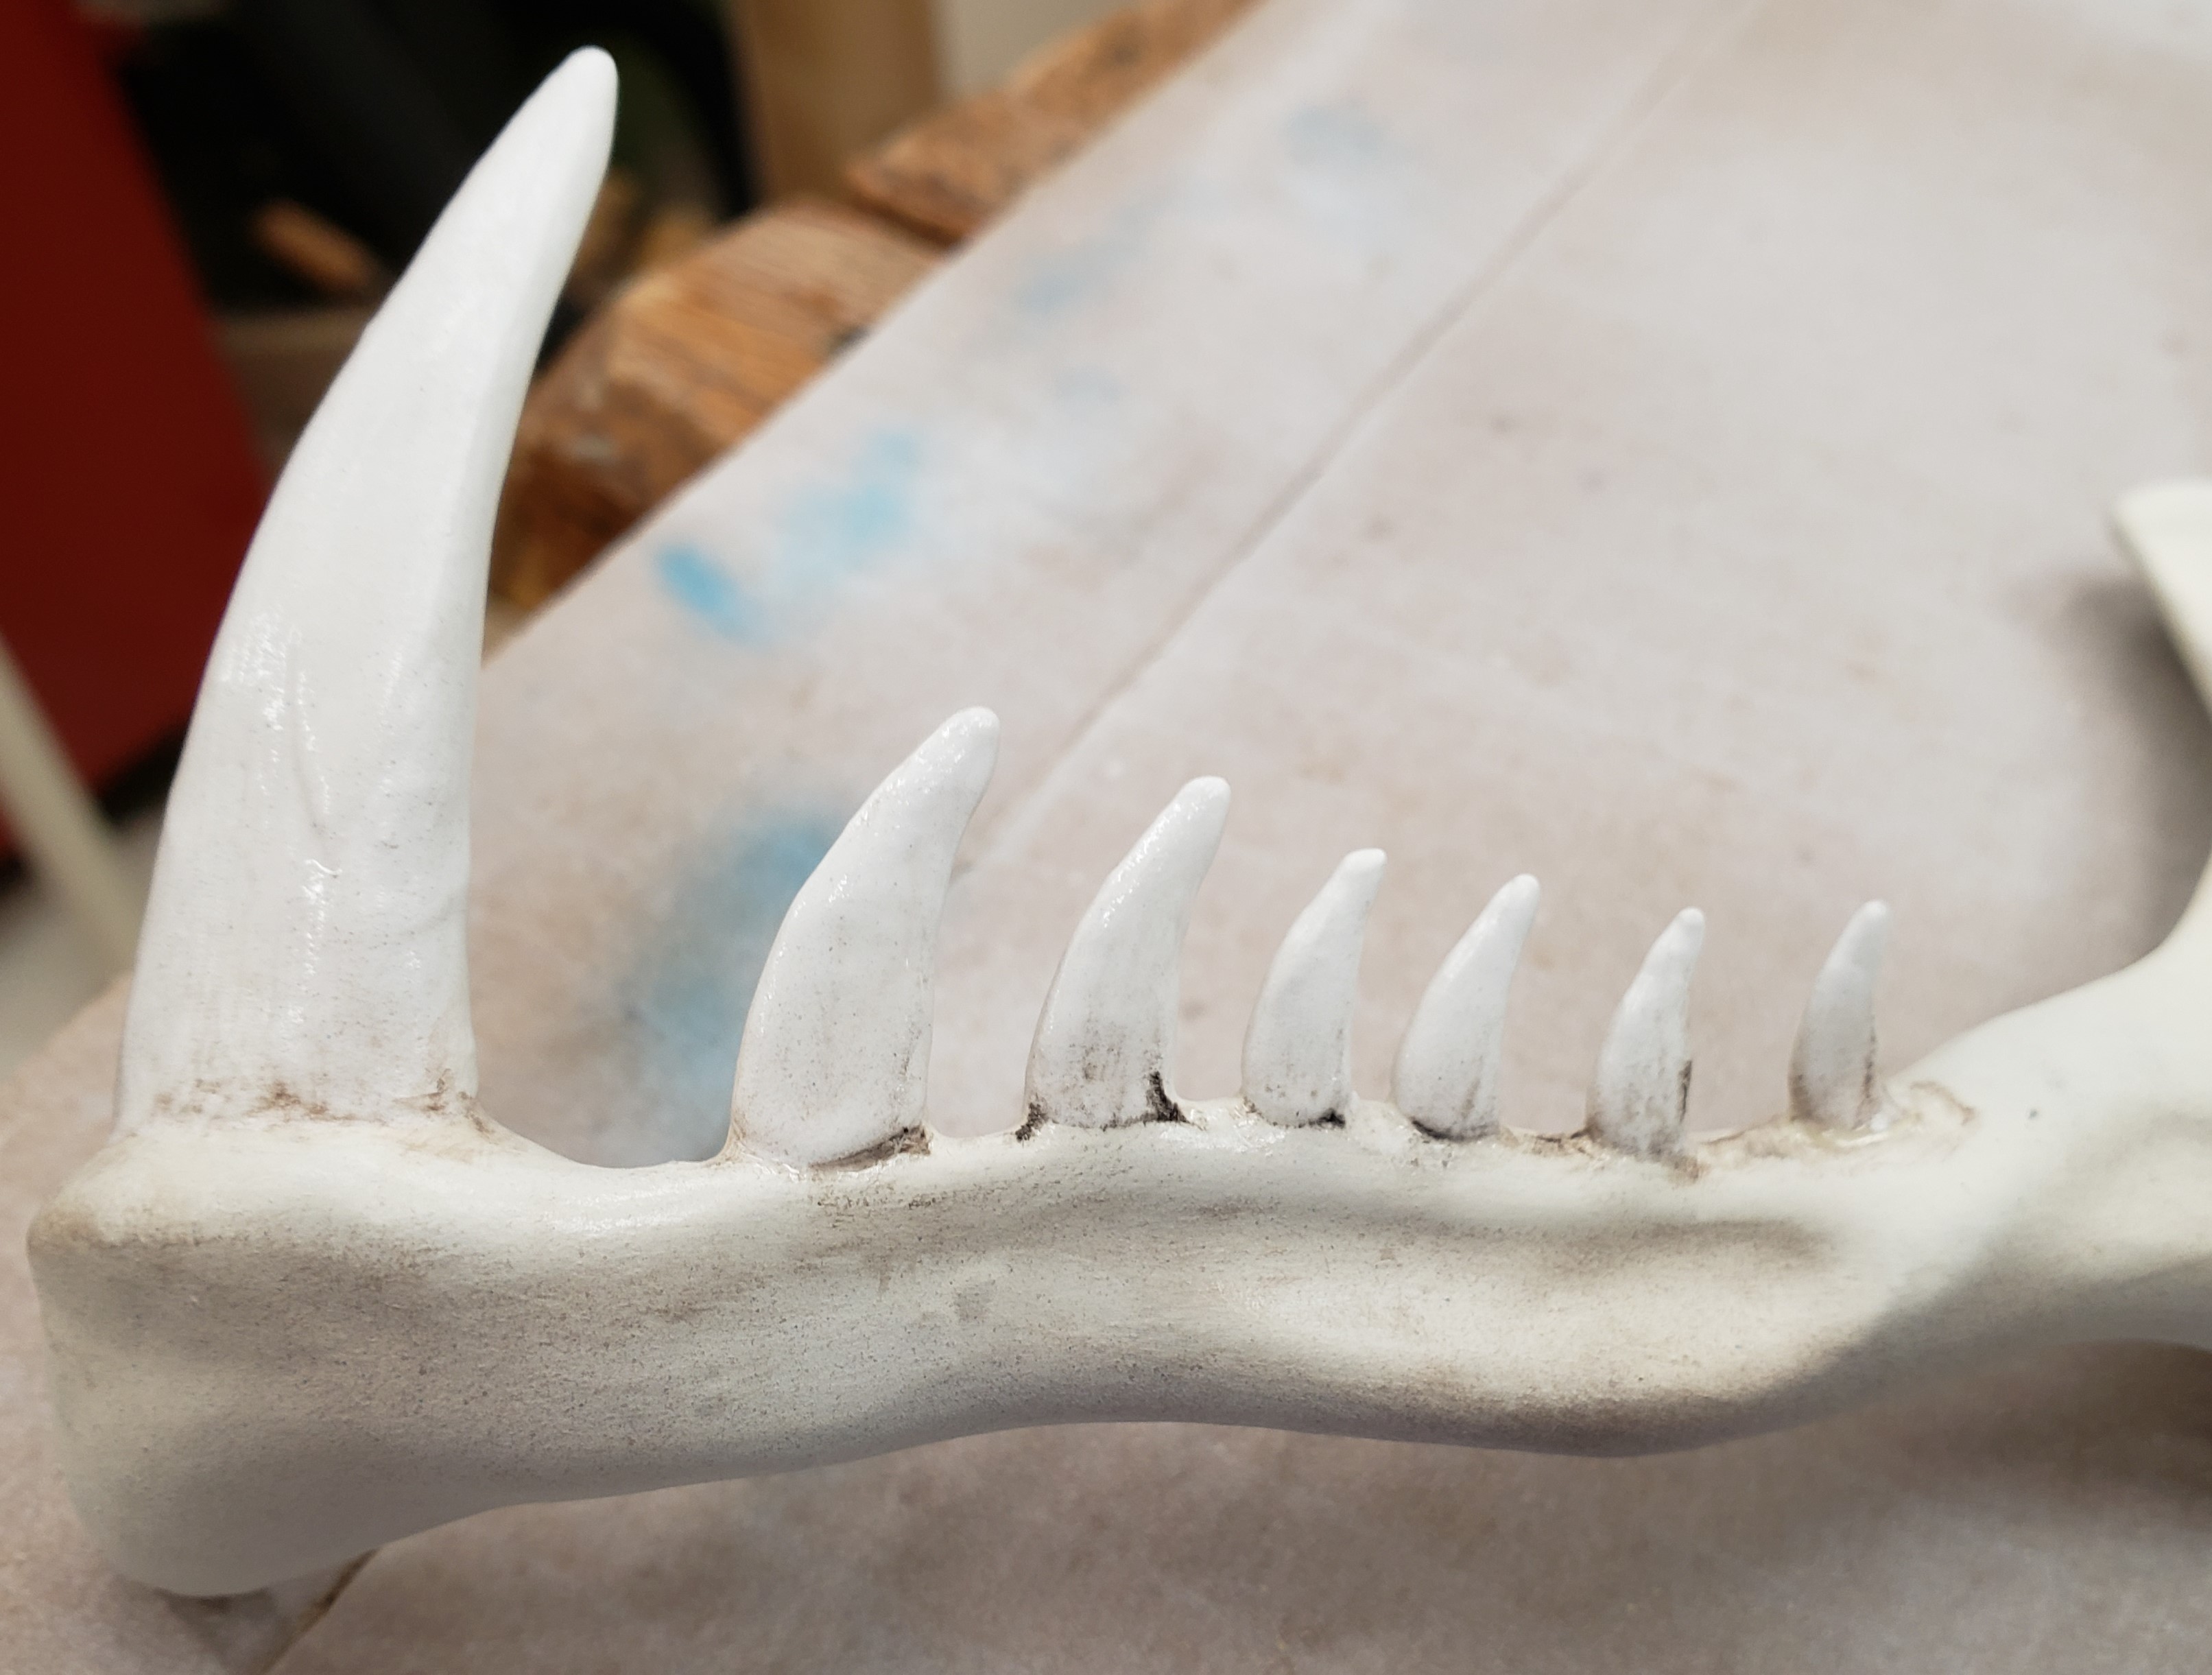
After that I mixed white with a glossing agent and made the teeth whiter and shiner. It didn’t show as well as I had hoped, but the effect is still there a little in the end.


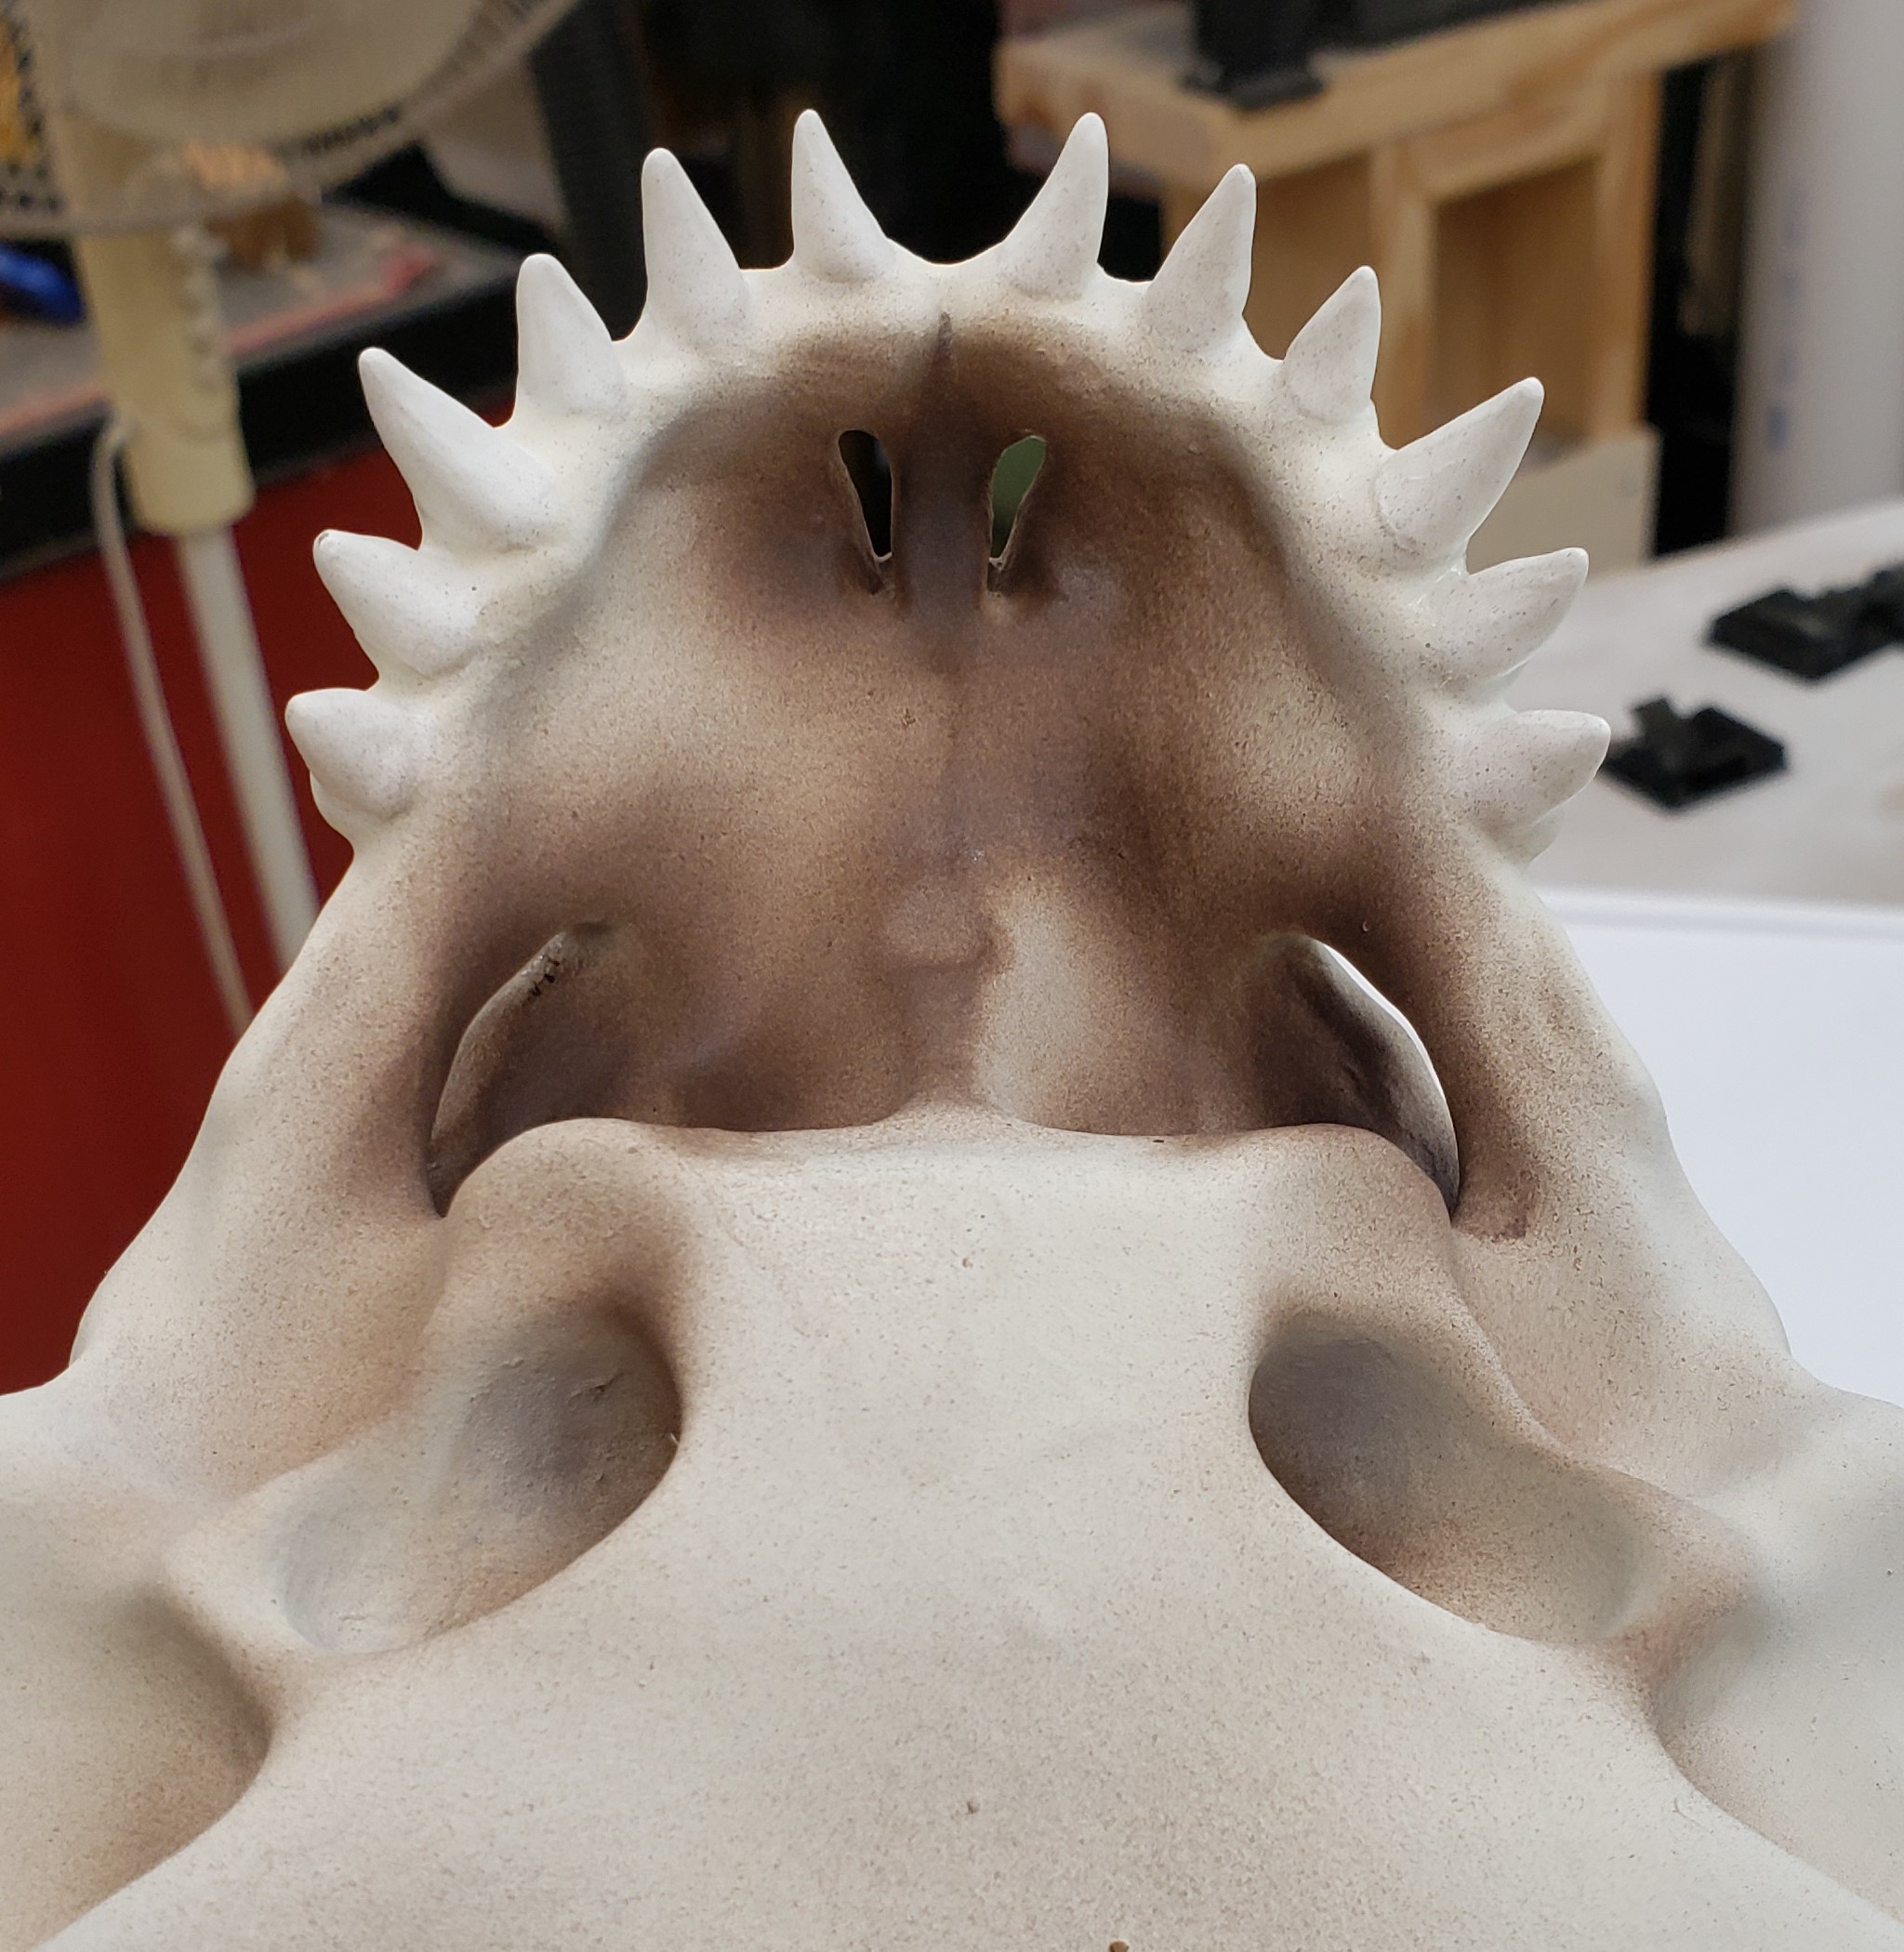
Lastly, I mixed up a really thin dirt color and started doing a weather/wash coat. I got a little carried away and the thing ended up being more dirty than I had originally set out to use. It was hard to stop though, it looked so cool. I spent extra time cleaning off the high spots and ridges so they looked a little polished, while the valleys were dirty.
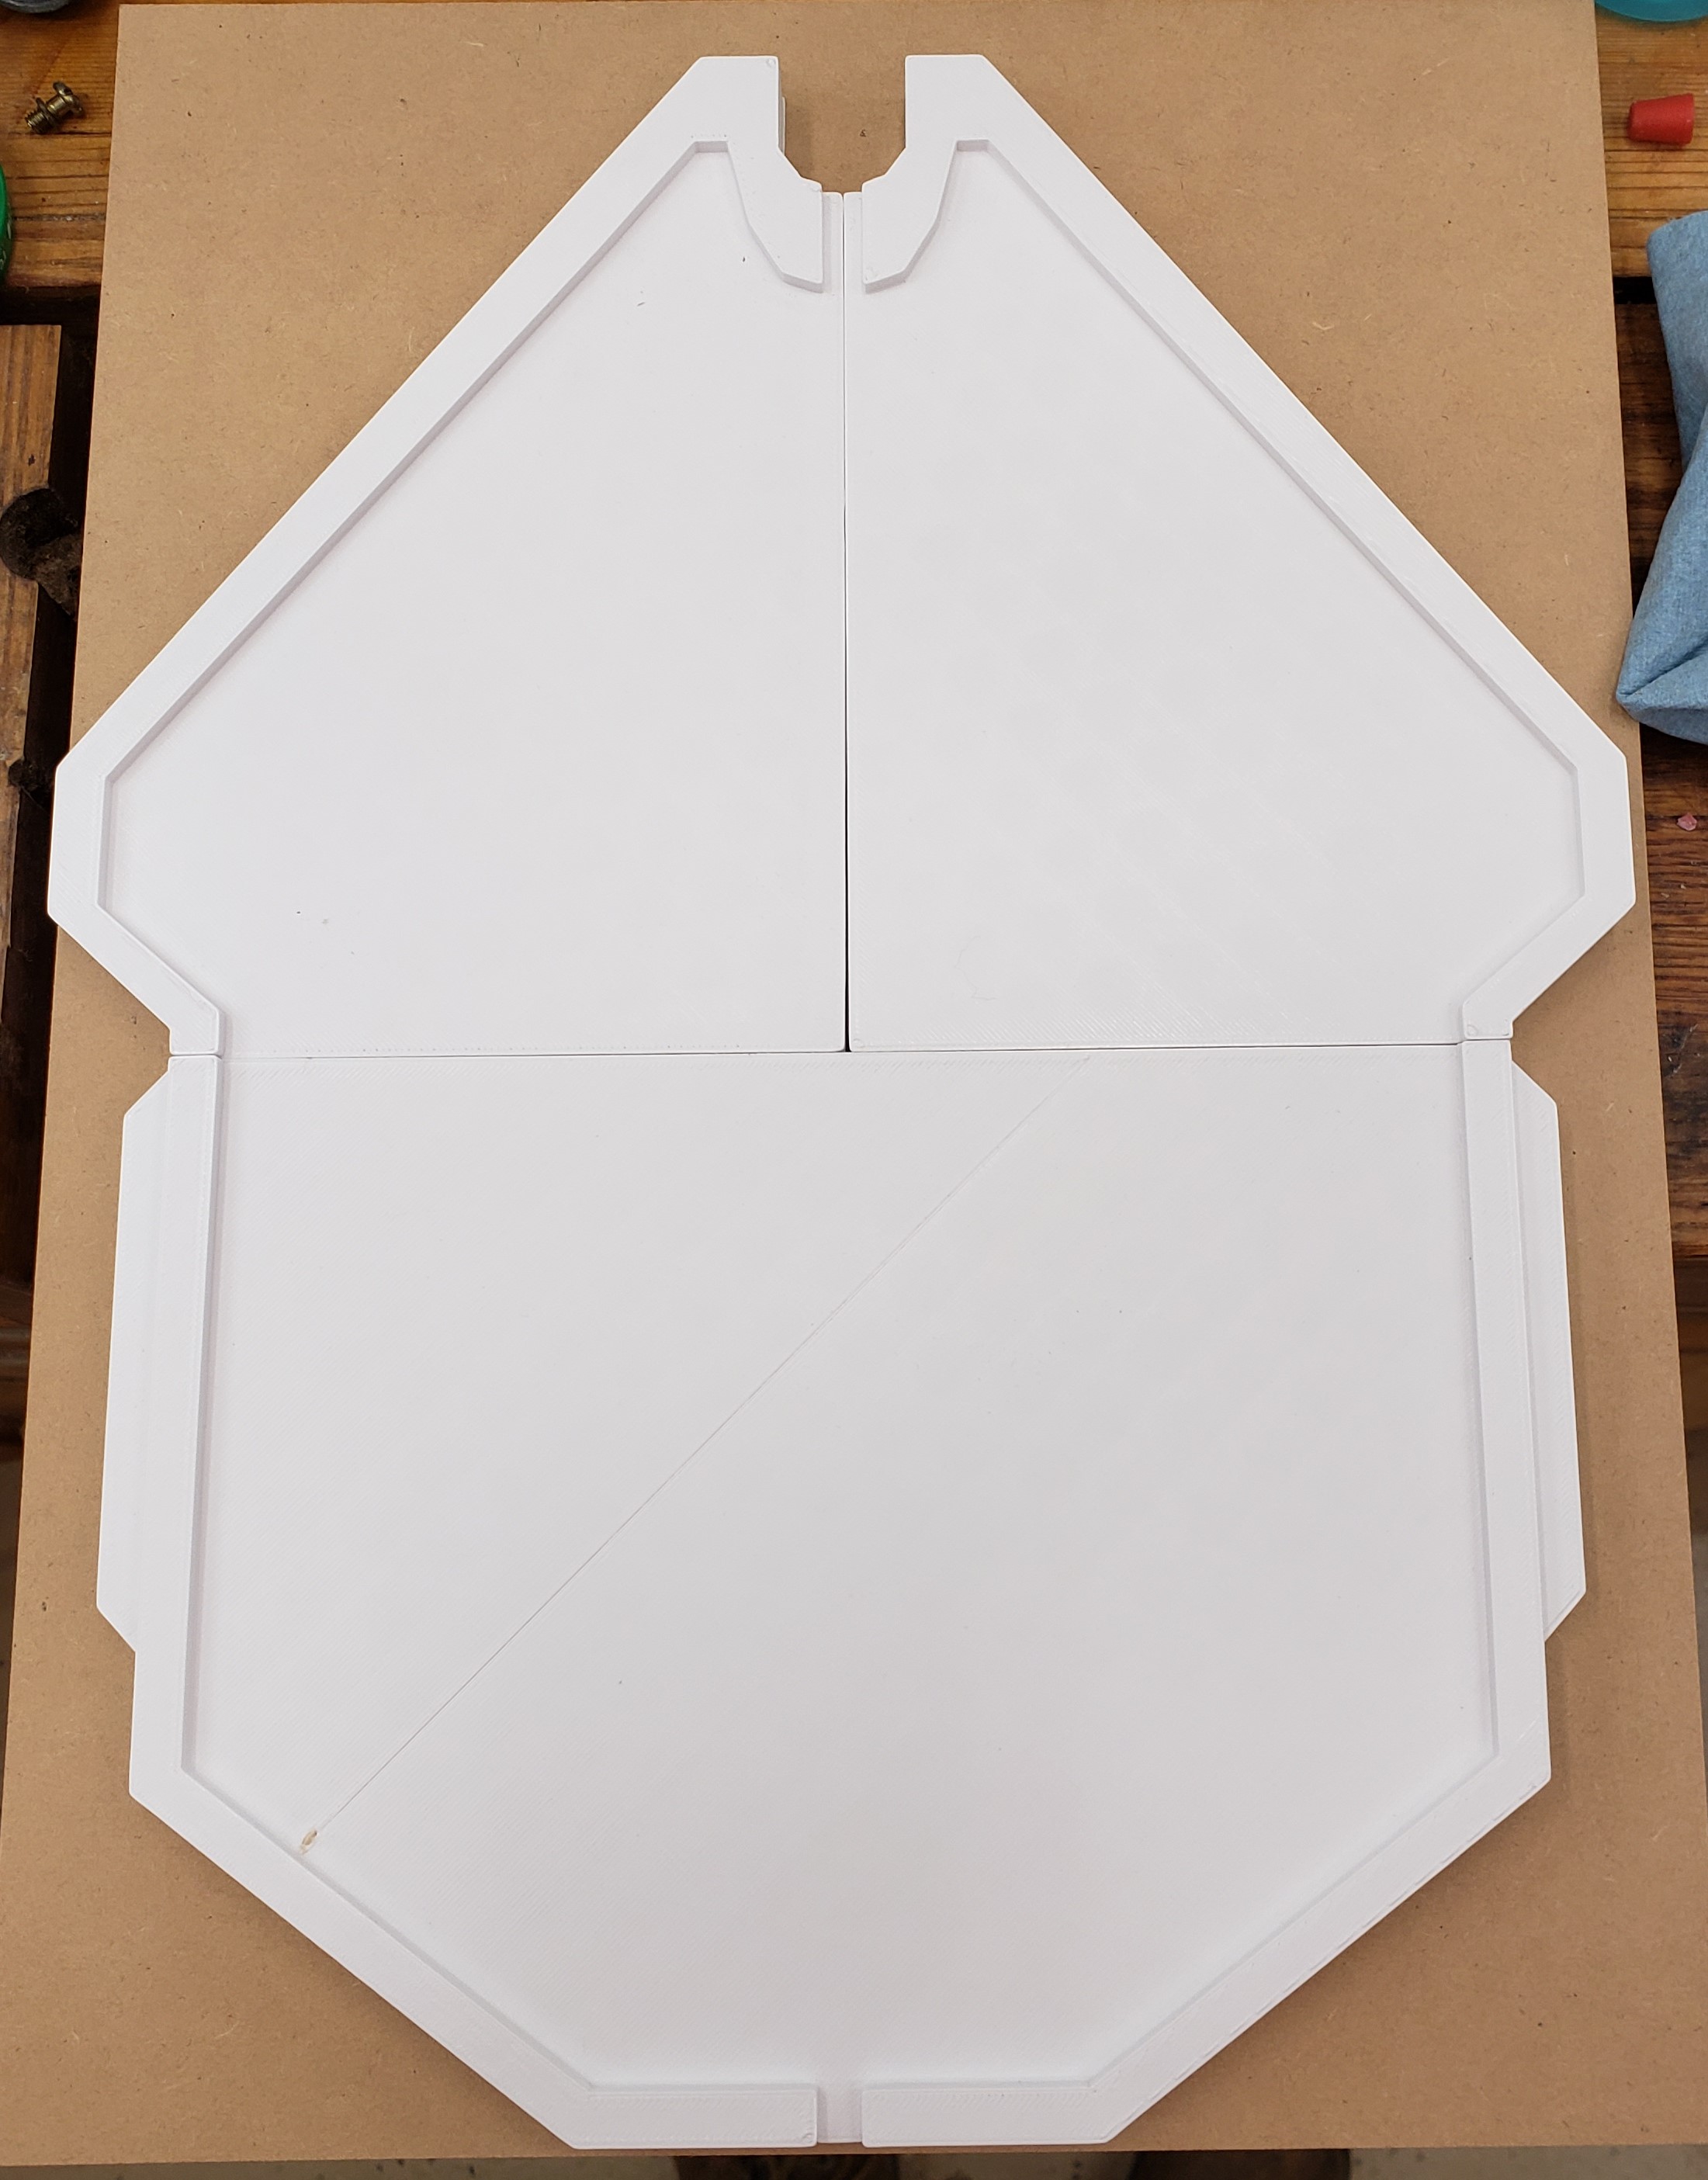
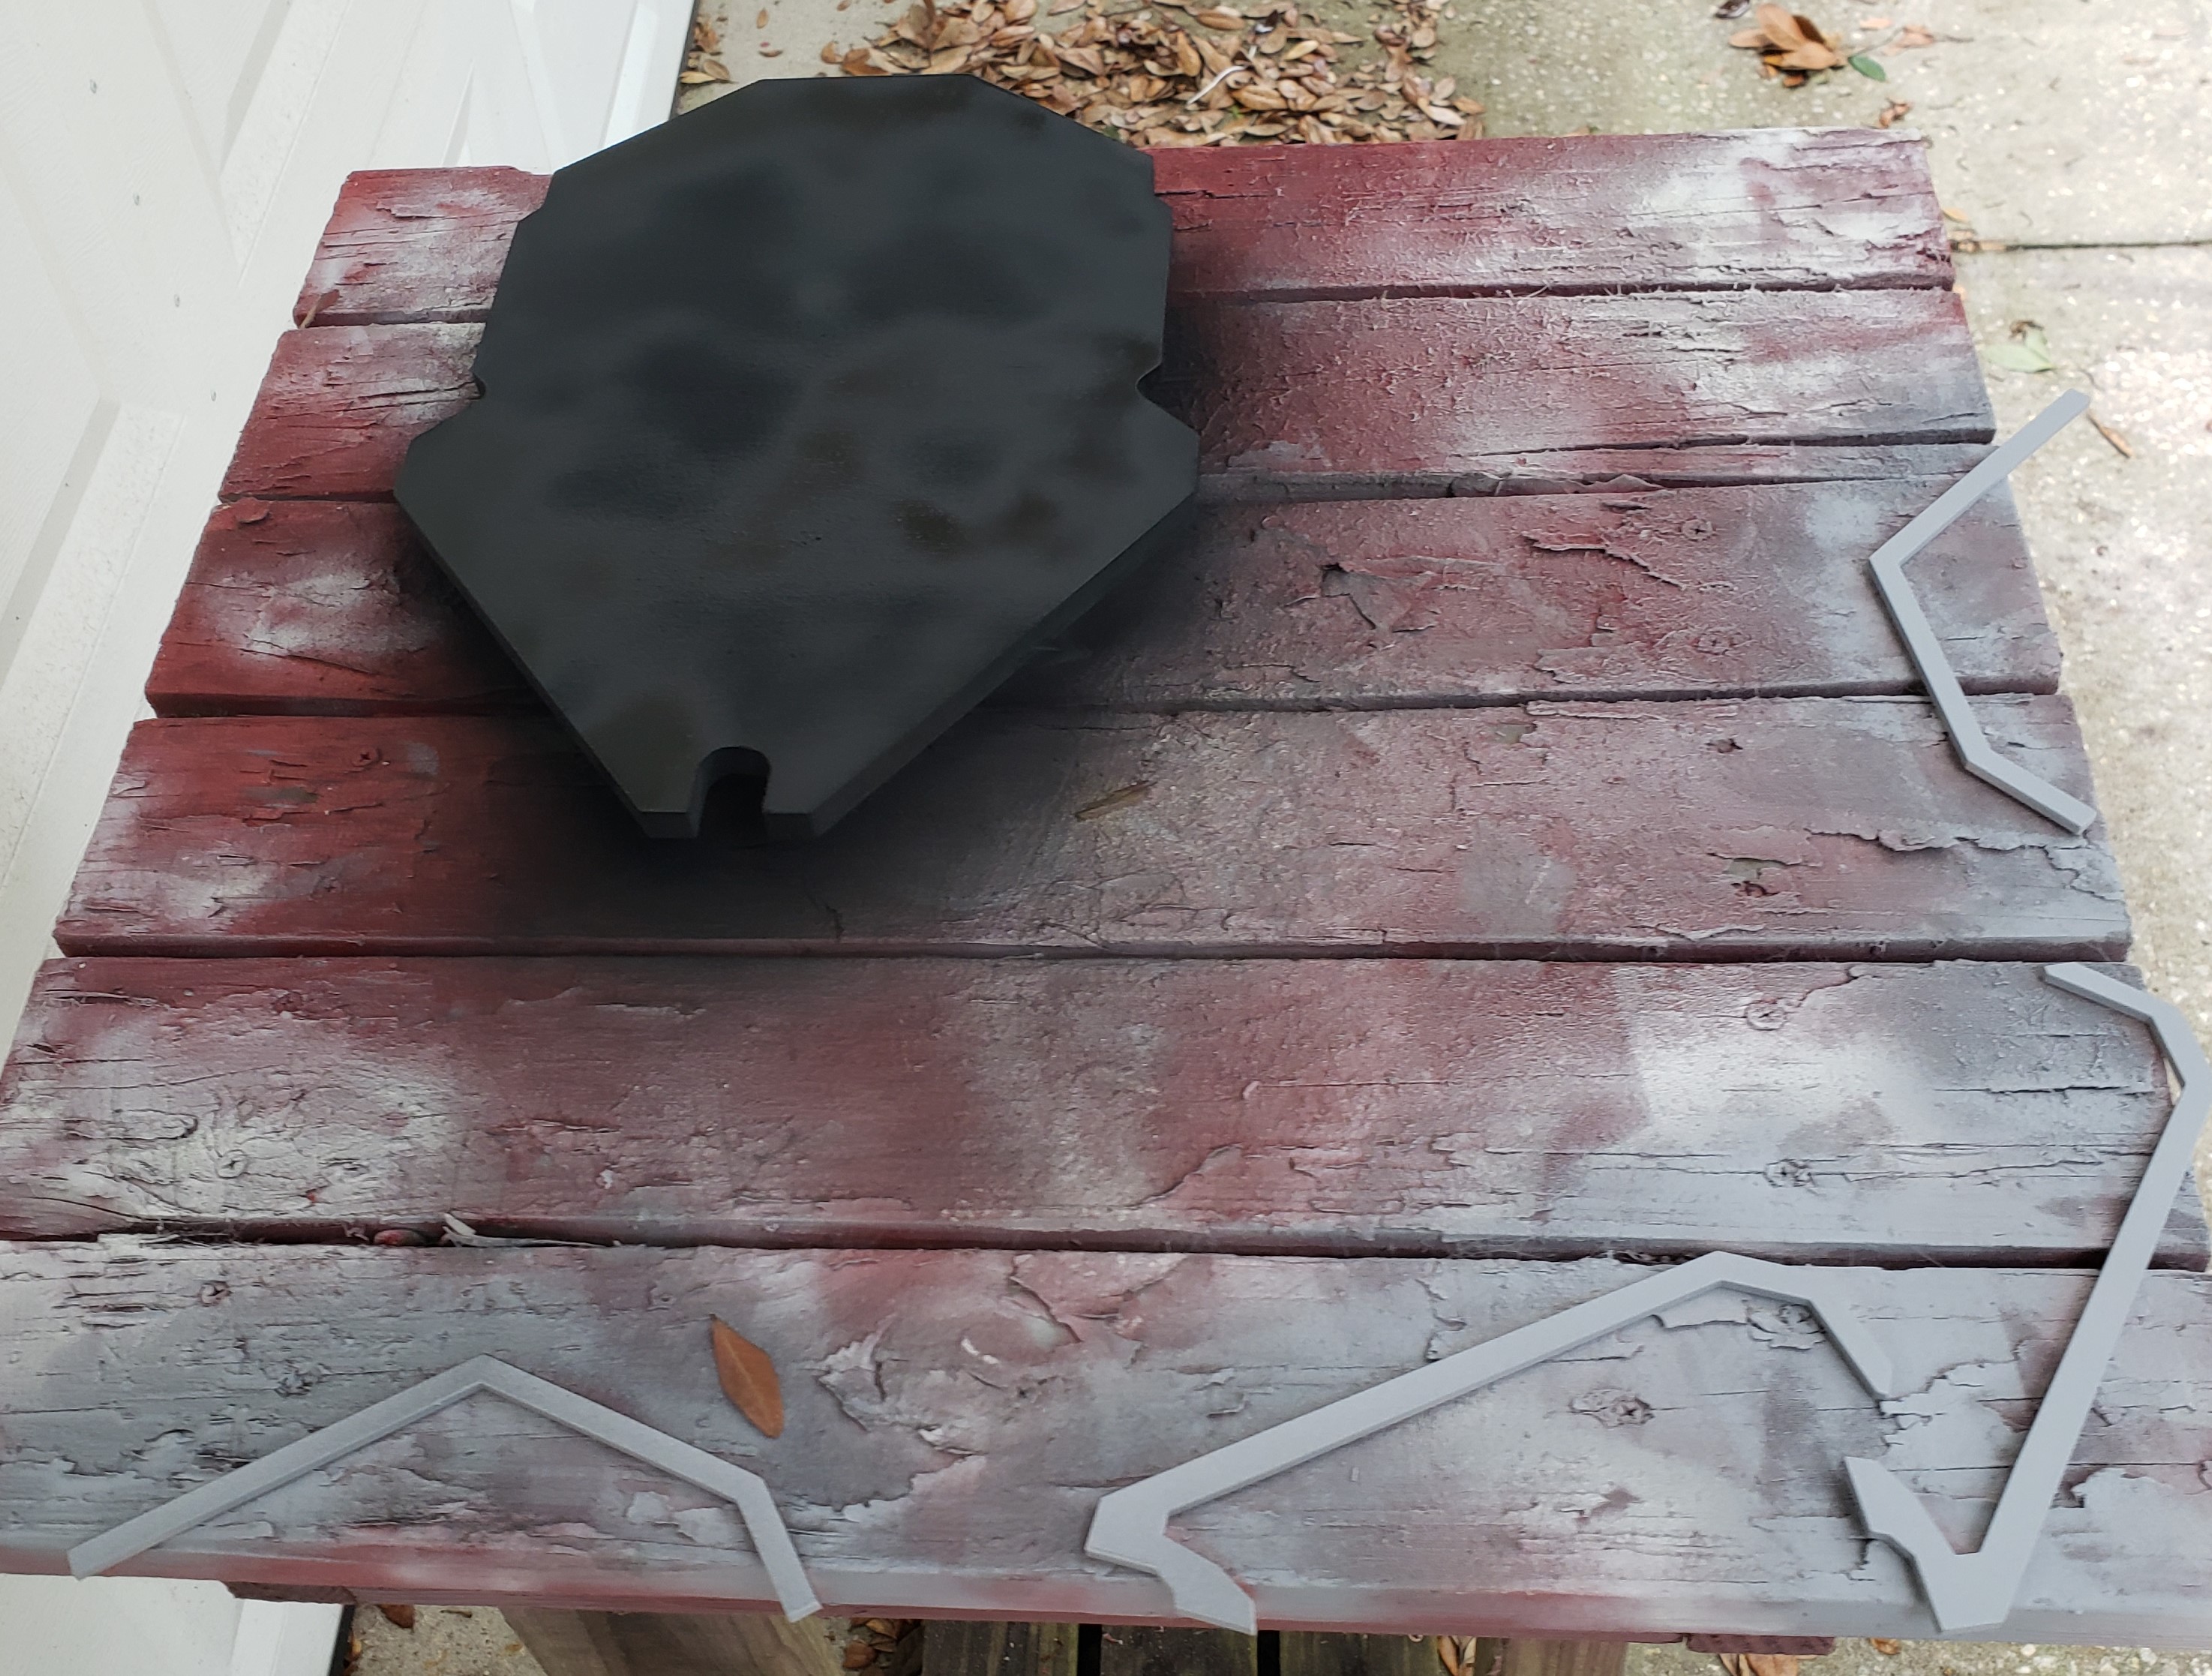
I had the head and mouth parts complete, but needed a mounting plaque. I found a design on thingiverse someone made, but needed it a lot bigger. I cut the print into multiple parts. Instead of trying to glue them together and hide the seams, I taped them down to MDF, and used the print as a router template.
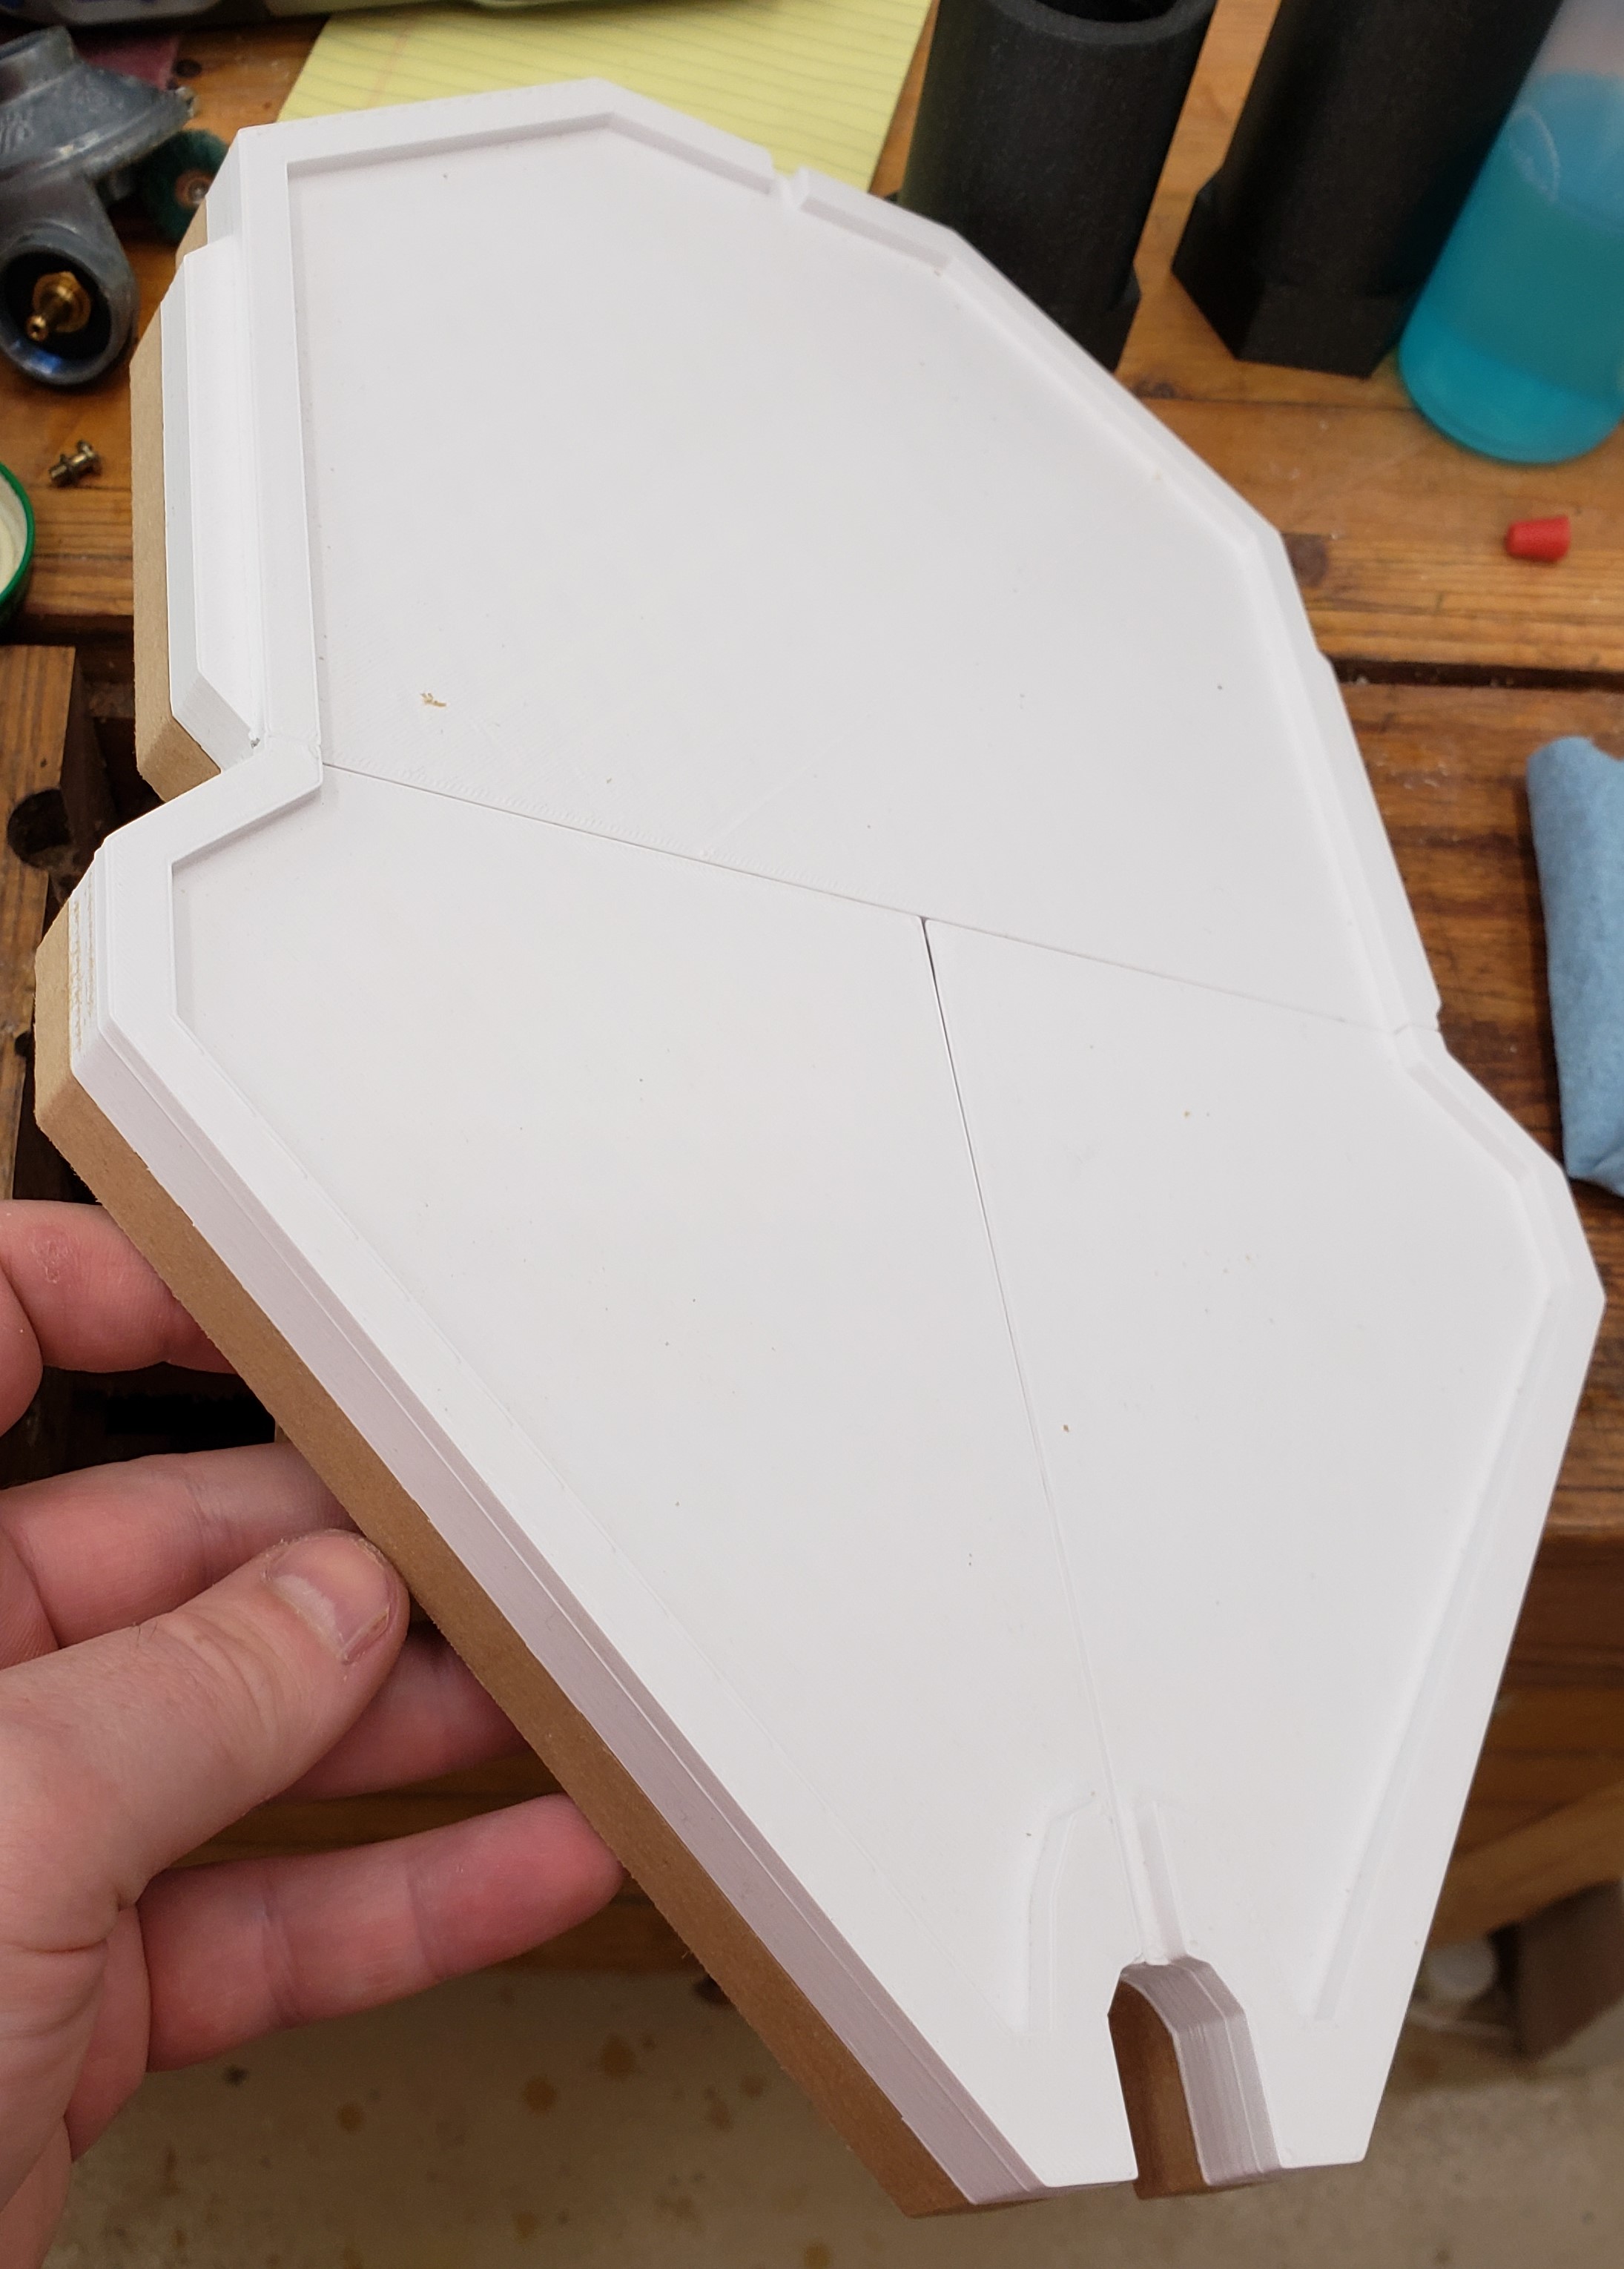
I used the slicer to cut off those raised bits, with a few alterations, and printed them separately to glue on later. They need to be smoothed, but I already had a plan for that. To keep them from getting to saggy or organic looking I used my airbrush to spray on the resin. It could be very thin and juuuuuust fill in the lines without breaking up any crisp edges. You have to make sure the fill job is good, once the primer goes on, resin won’t stick, so you have to fill and sand the rest of the way.
The MDF took paint like a thirsty beast. I eventually had to use bondo filler on the edges to seal them up.
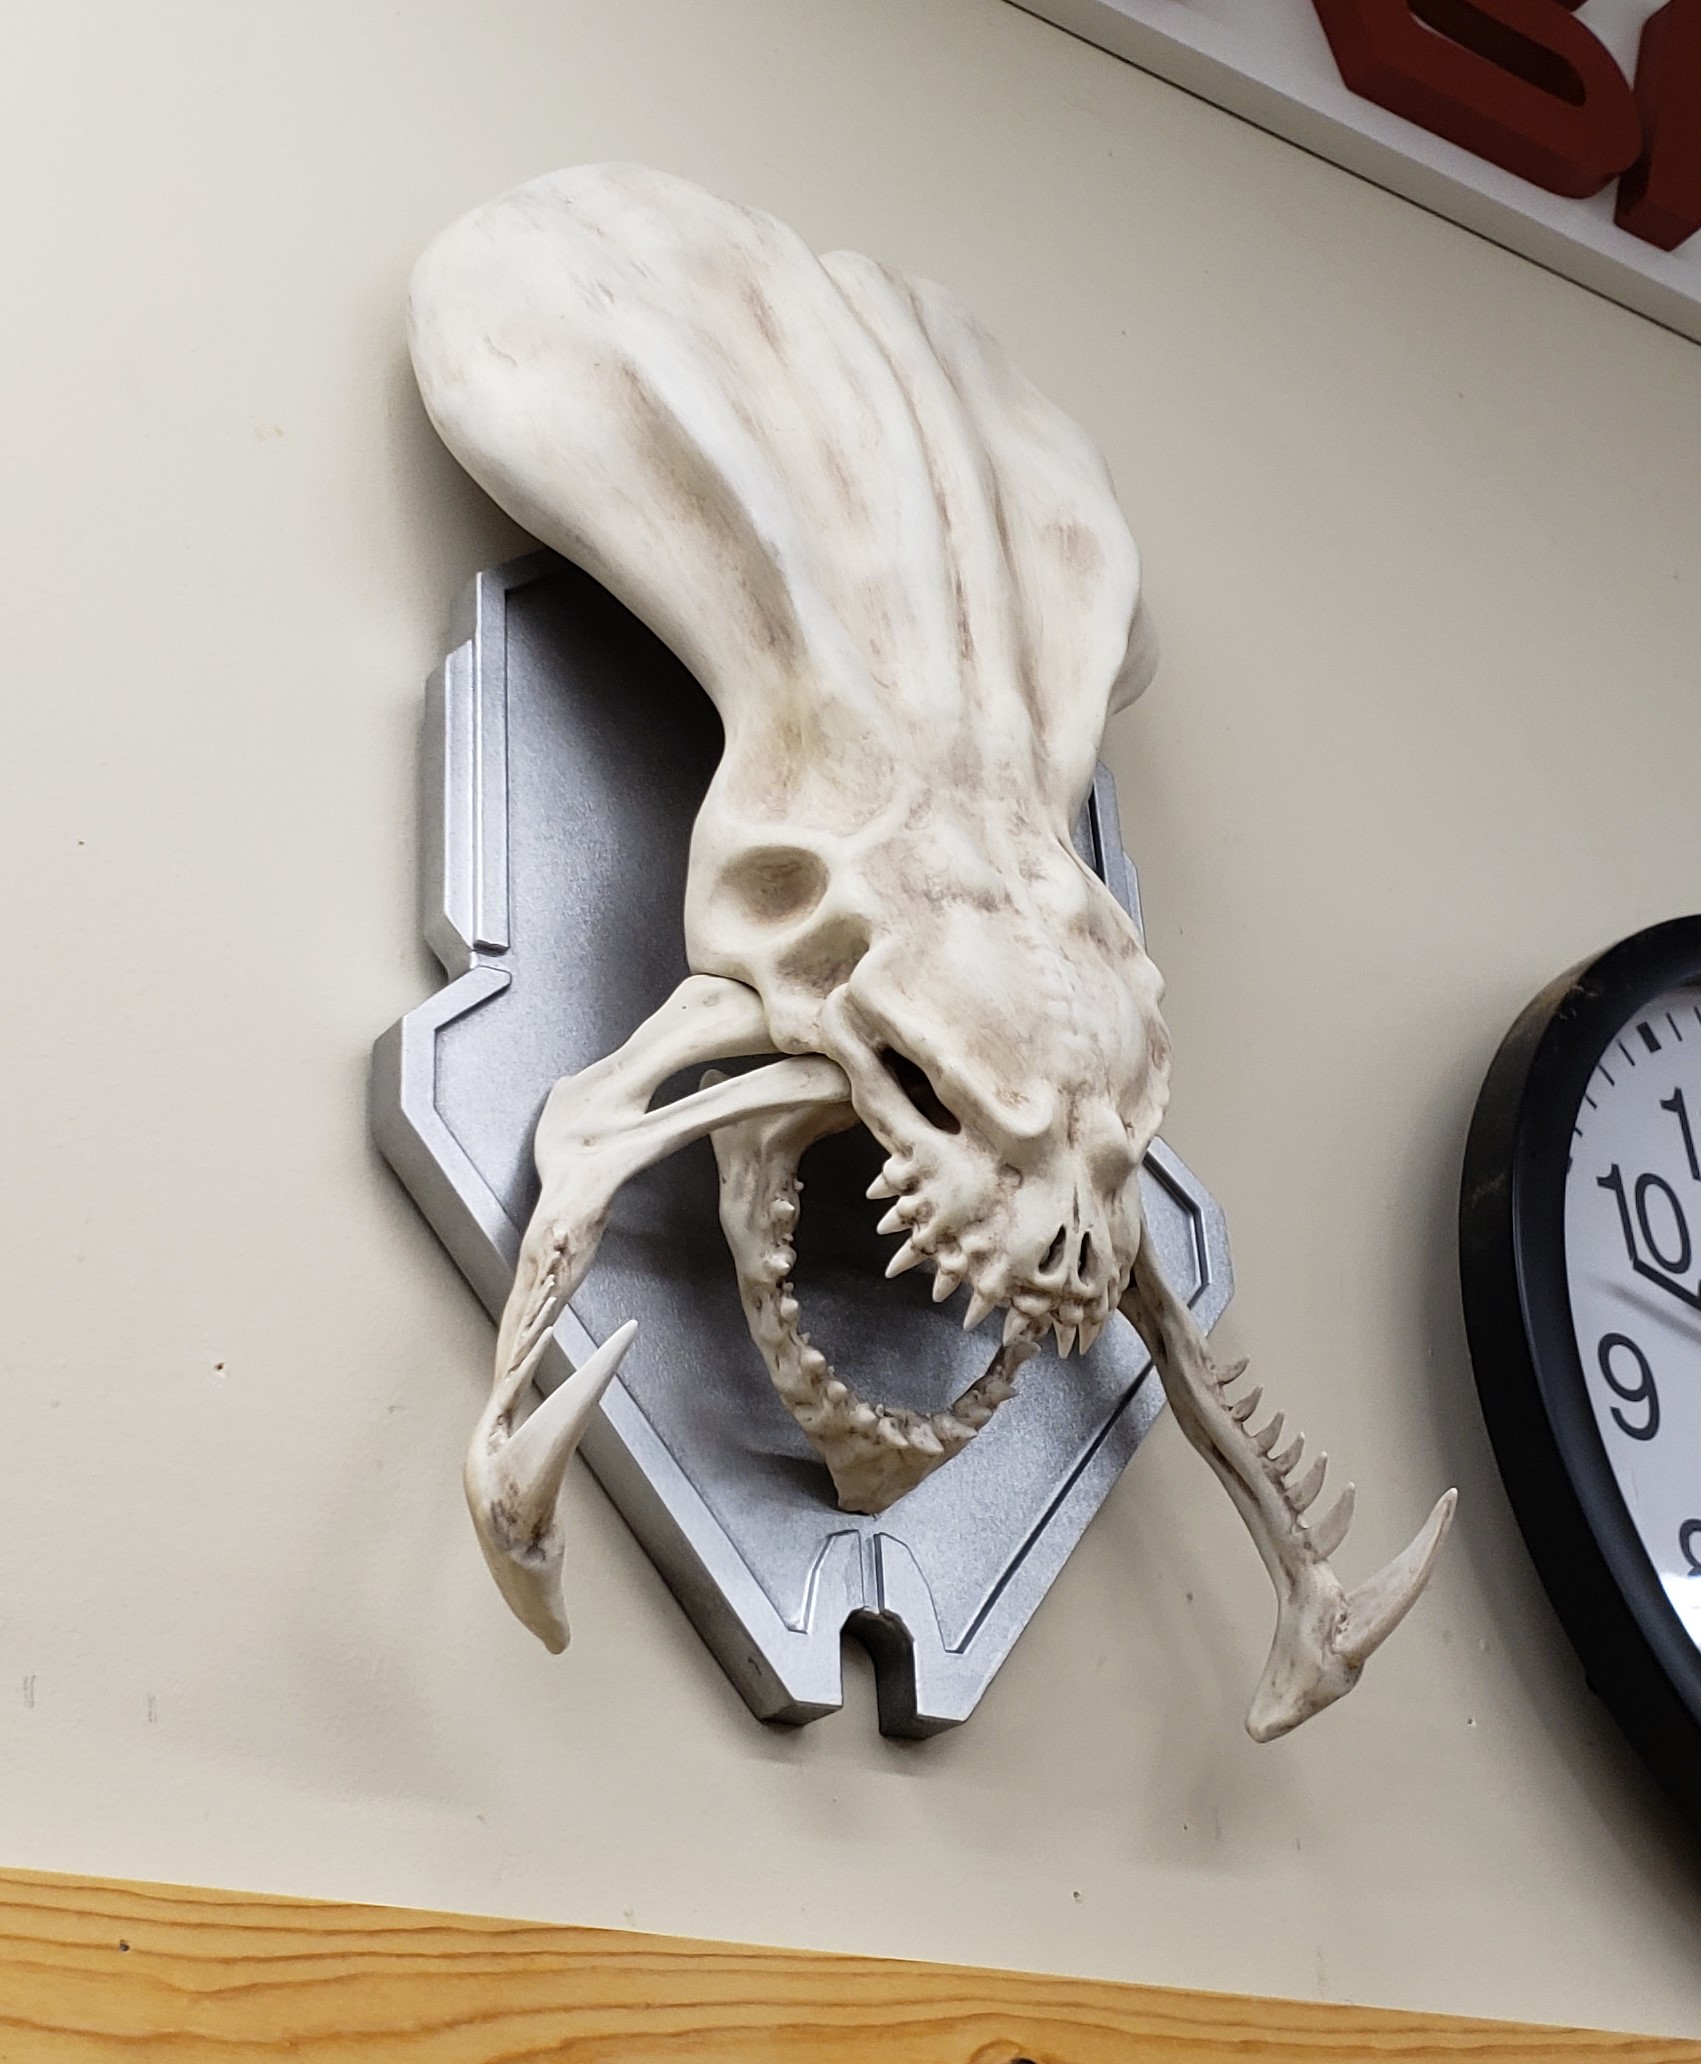
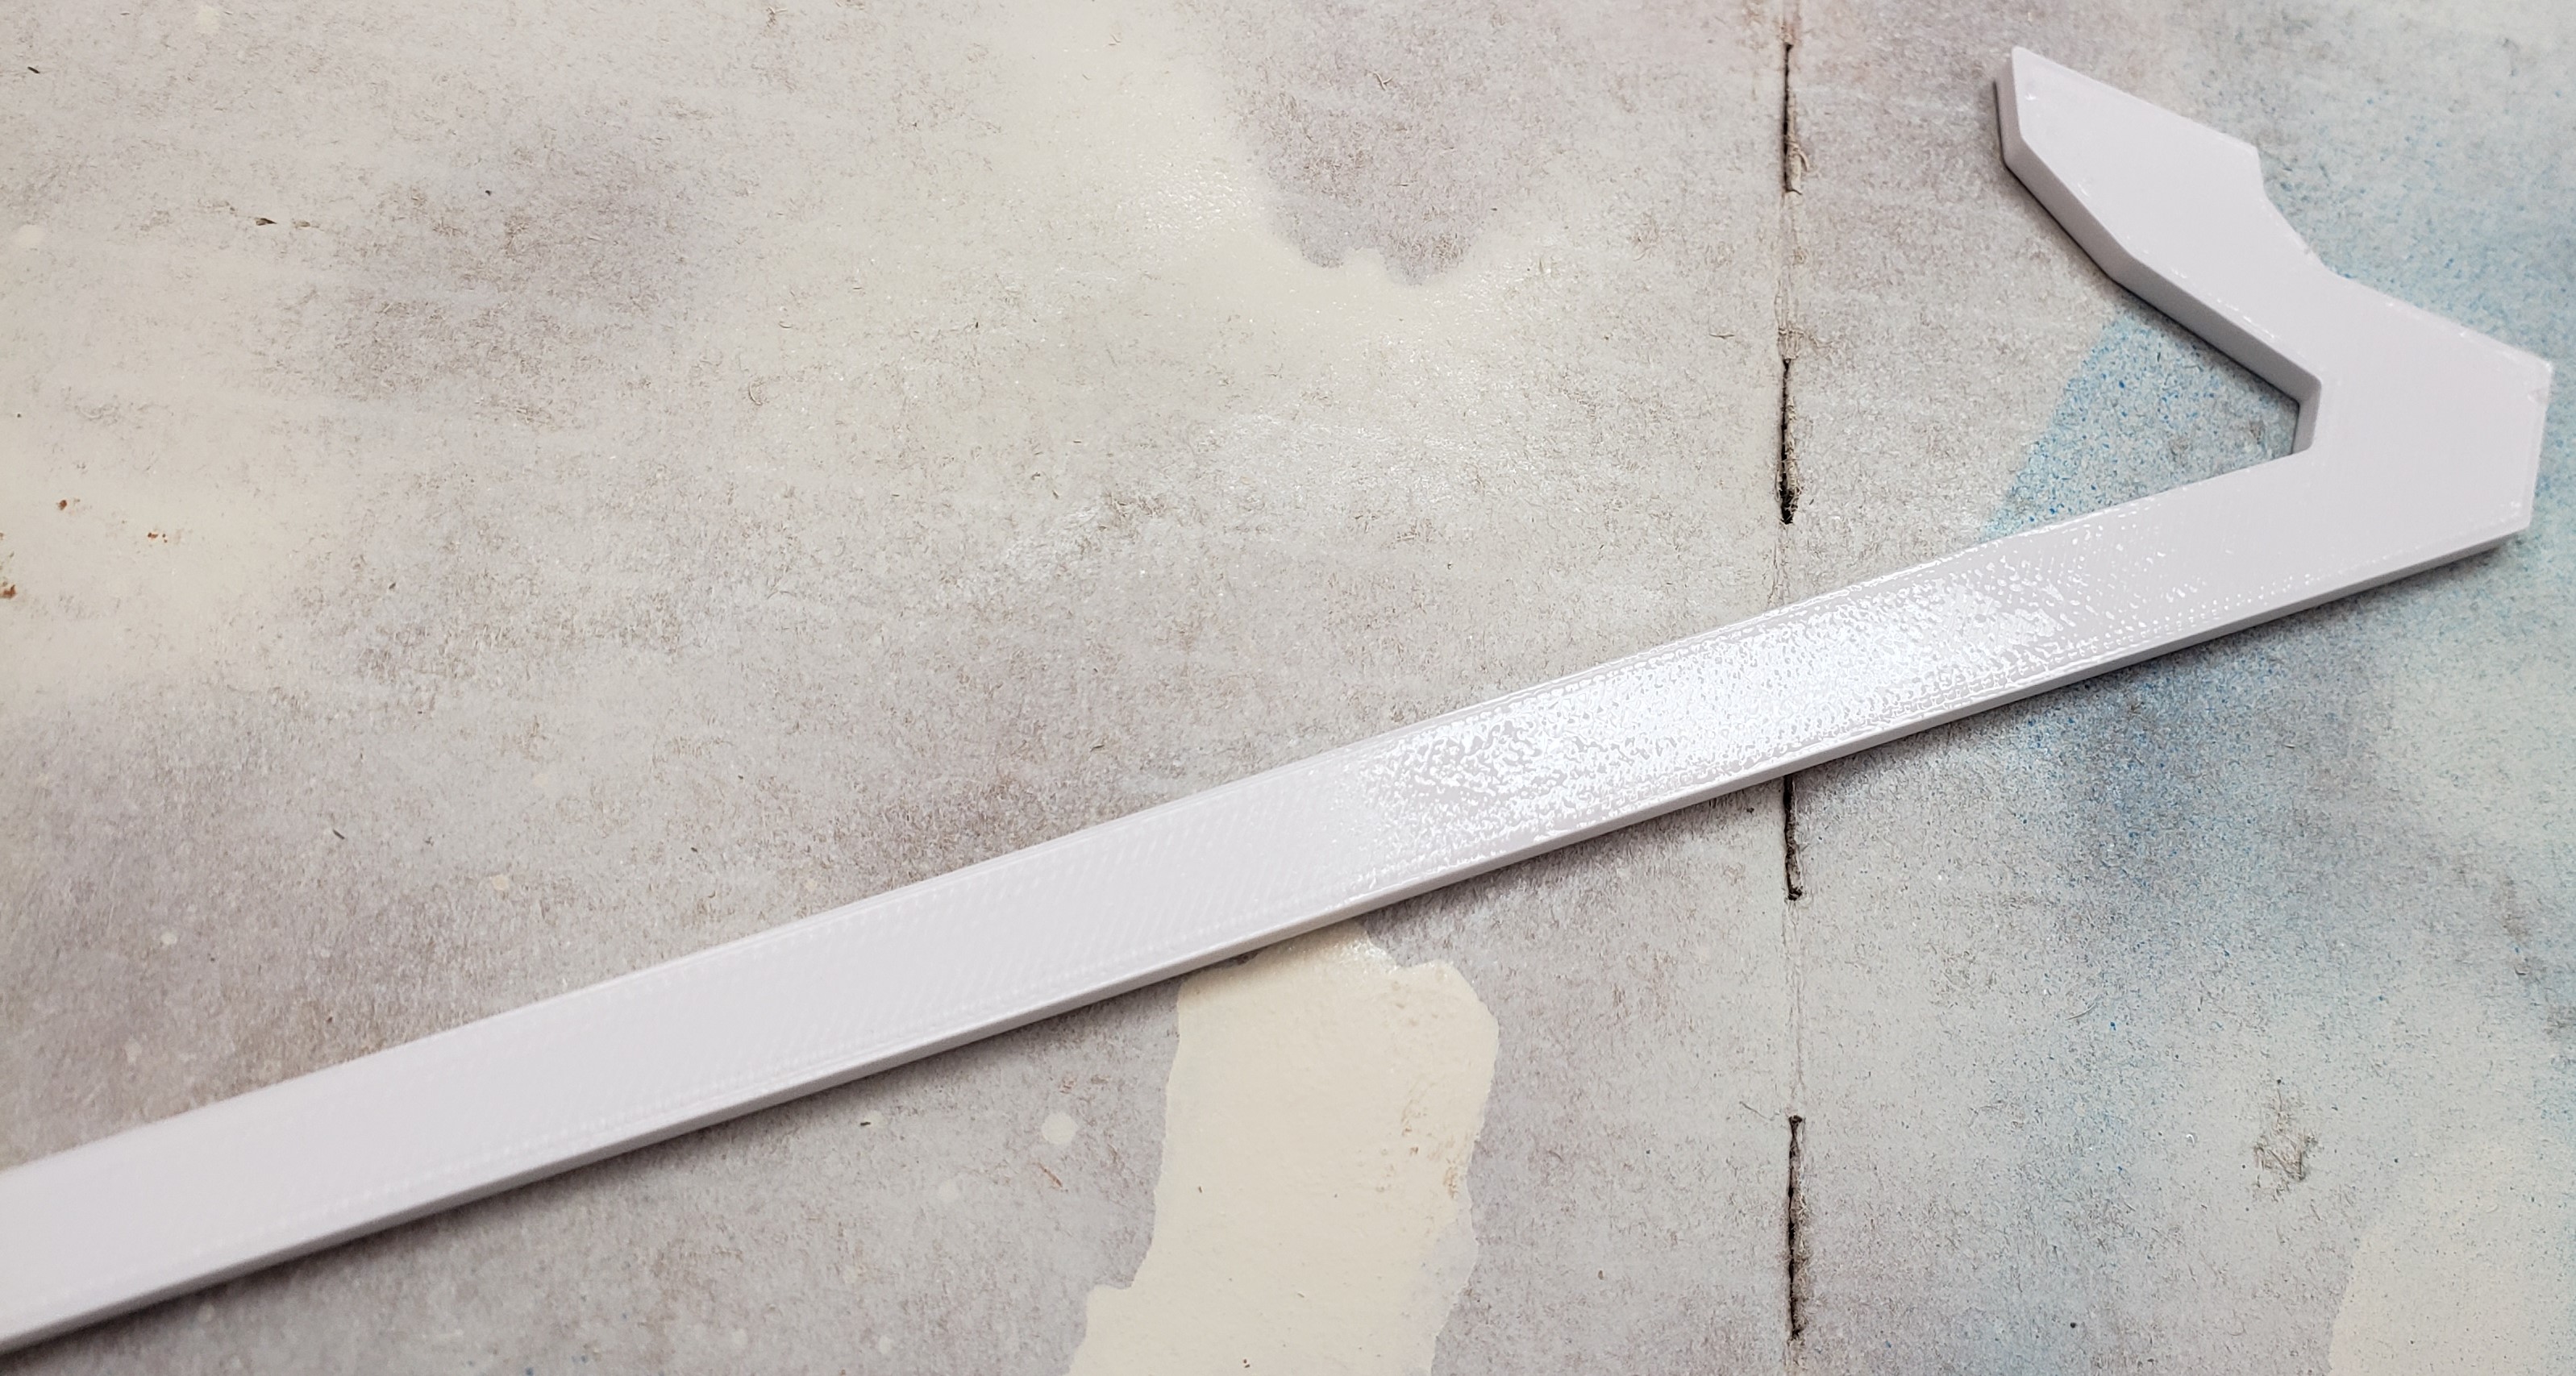
Finally it got some silver spray paint with a few black brushes and accents. I am getting better at this whole painting thing! The head was glued down and hanging hardware added.

Total length is about 18 inches from back of head to the tip of mandible and looks quite smart on my shop wall. The original files are located here https://www.thingiverse.com/thing:4622672 and the base plaque that I upsized is here https://www.thingiverse.com/thing:4768350