It is a frost 70-something degrees outside and all is right with the world. May my festive Christmas tiki bring you warm tidings and good cheers.


It is a frost 70-something degrees outside and all is right with the world. May my festive Christmas tiki bring you warm tidings and good cheers.
Another great gift ideas came from a previous post. Instead of doing a single batch of foaming hand soap at a time, you could make lots of the concentrate. It is barely any more work than doing one at a time, and you can give them away as gifts!
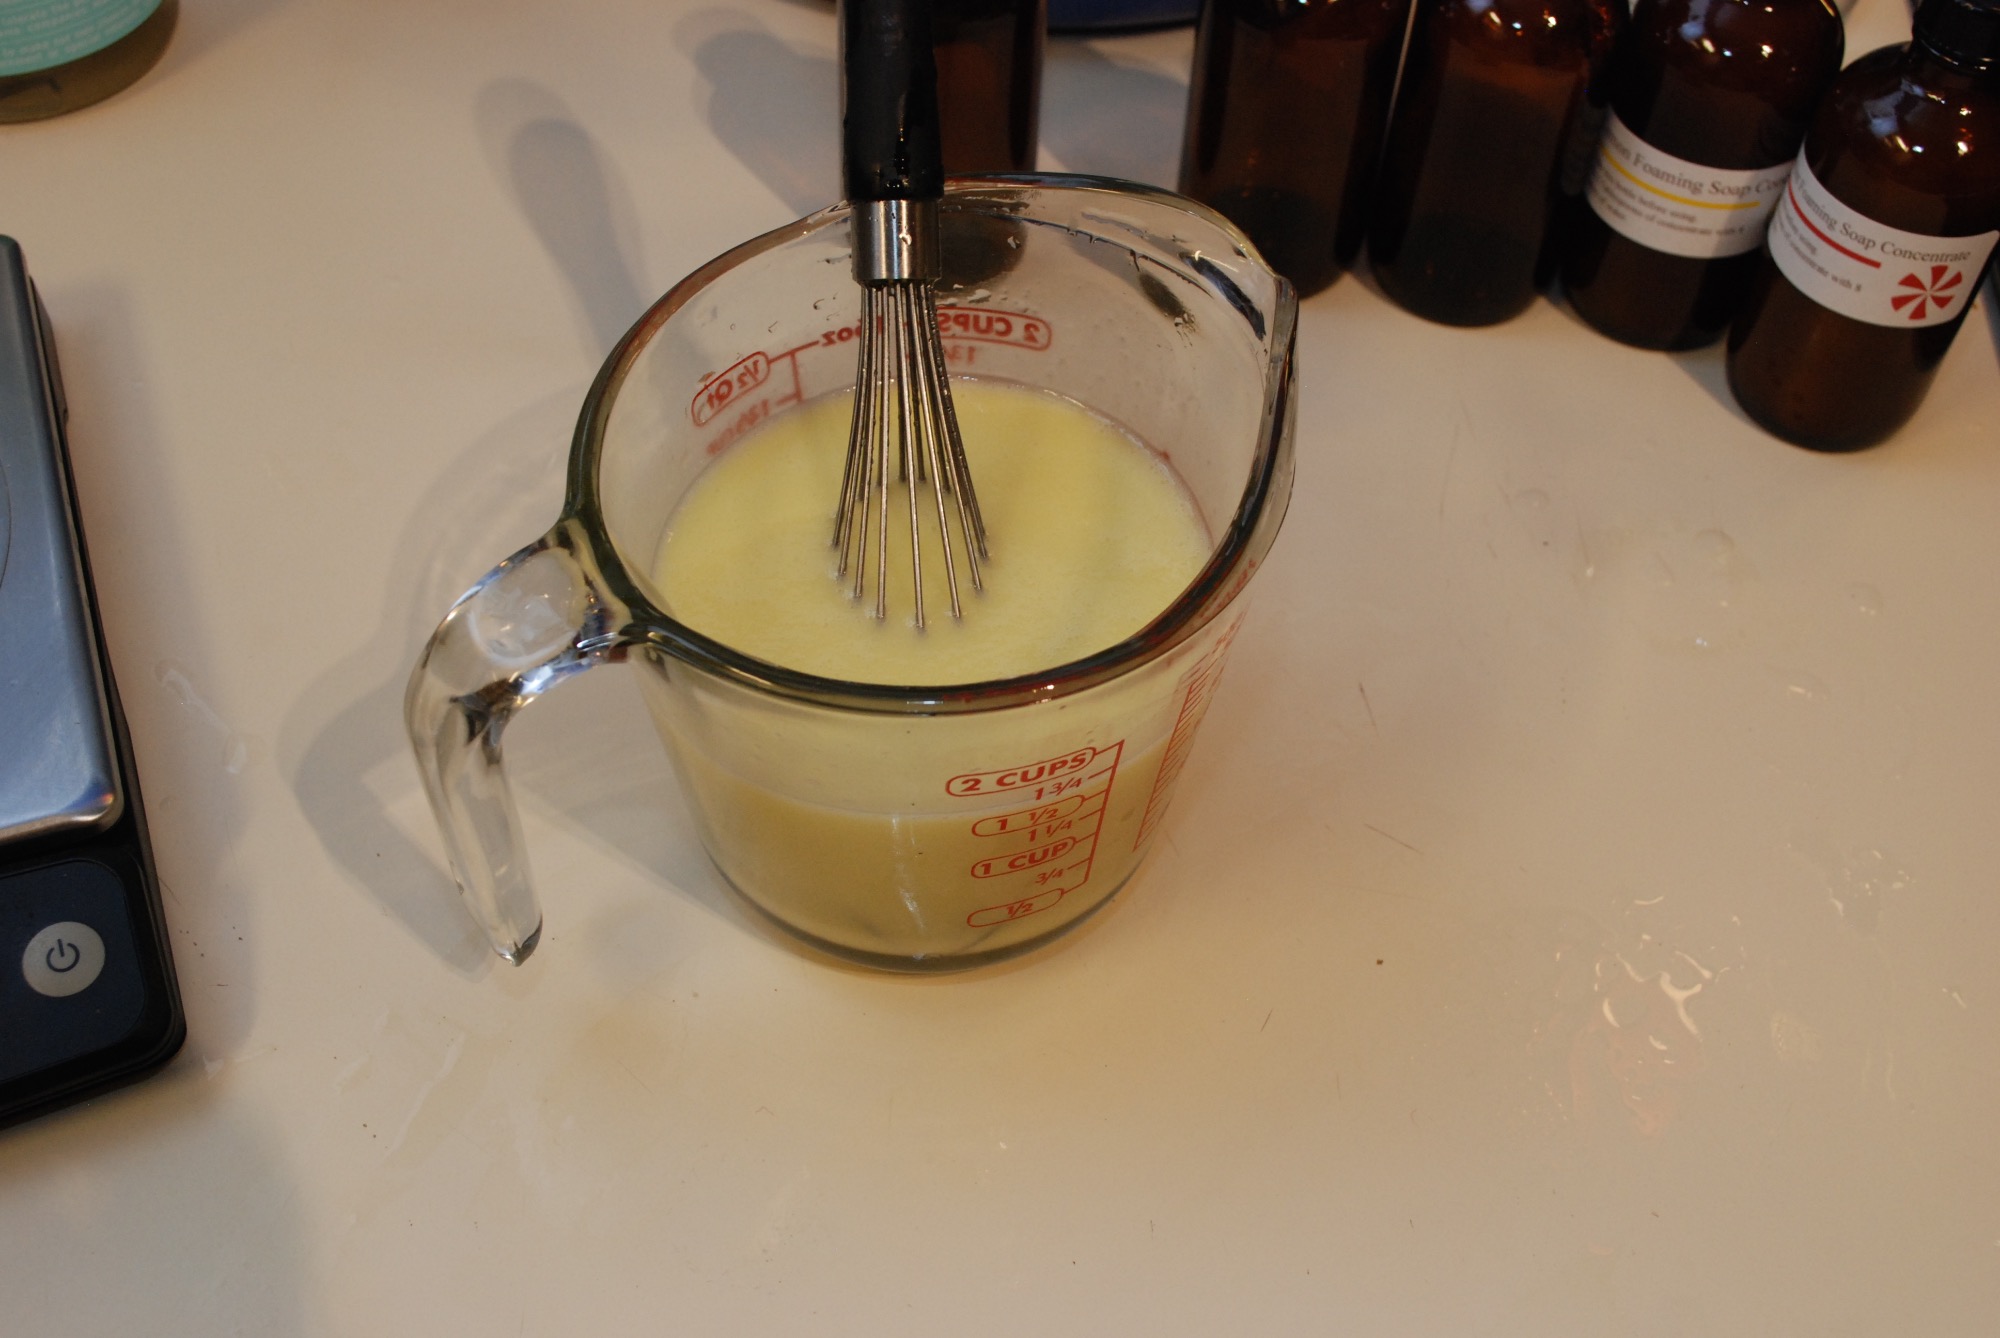
Instead of using measuring spoons I went with weight. The ratio of volume is 6 to 1 soap to oil, so I went with a similar ratio (messed up a little in the pour pictured below) to give me a bit over 12 ounces. I figured this would translate into about 12 fluid ounces and will fill three 4 ounce boston round bottles.


Once you have those two in mix the ingredients well with a whisk. It should come out looking something like this.
 Now is a good time to add any essential oils for fragrance. I didn’t measure, but rather added by smell. Looking at the bottles it ended up in the half teaspoon range of essential oil used per 12 ounce soap batch. I made a festive peppermint, a sweet smelling lime, and a nice lemony version. They were all pretty well received with lemon going the fastest. A smart little label lets you know which is which and gives instructions on it’s use.


Cheap and easy to make, it is another wonderful gift idea for the holidays. You can purchase empty foaming hand soap bottles by the dozen for a few bucks a piece if you want to hand them out.
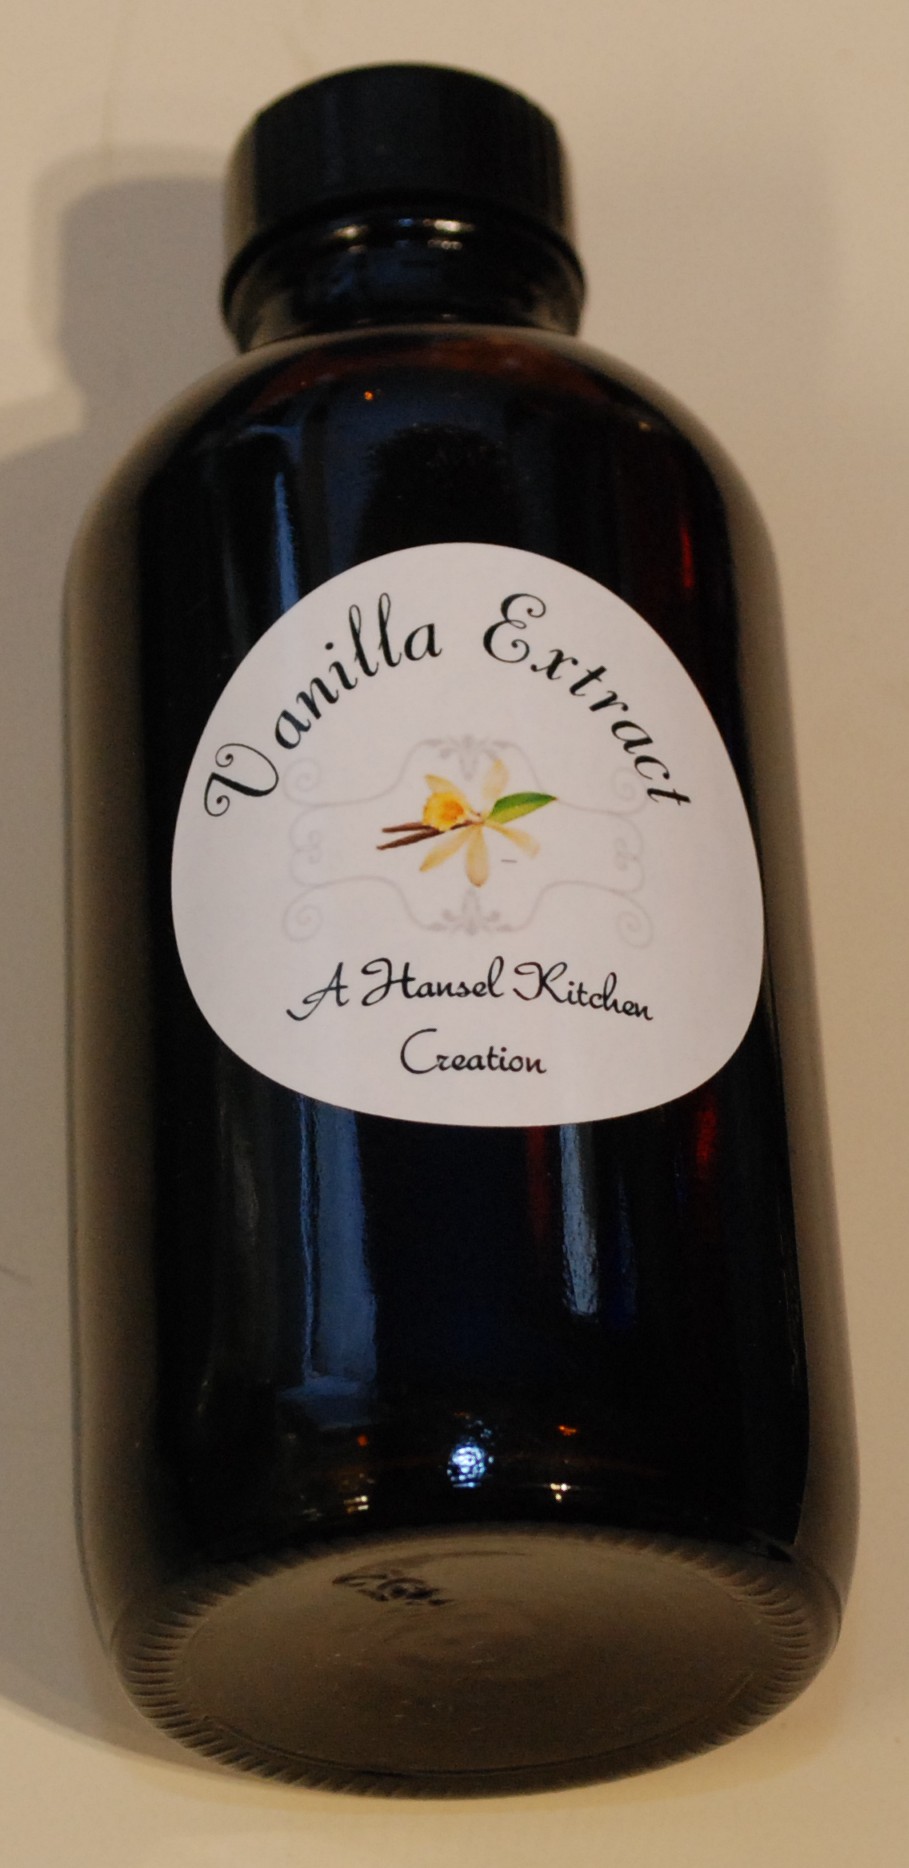
Vanilla extract is ubiquitous in baking and the good stuff is always pretty expensive. Before I started blogging I began a batch of vanilla extract back in August. The instructions said to let it sit for 4-6 months. I had enough to make two batches, so one is getting popped open now for christmas gifts and the other gets to wait another month or two for maximum vanillattude.
I got all my information from Vanilla Review. They have a good recipe and more details on vanilla beans than you shake a stick at! The quick version is to mix 1oz of beans per 8oz of vodka. Cut up the beans nice and small; splitting them is even better! Put it all in a jar, and wait 4-6 months. Shake occasionally.


While I spent maybe an hour total to start these, then bottle them, it doesn’t quite qualify as a “quick” gift idea. Still, get them started now, bottle over the summer, and they will last forever! A cute label helps the gift go a long ways. Giving your baker friends vanilla extract means more cookies for you! What a deliciously devious gift.
I think I finally finished my inlay journey. See previous attempts here, here and here. I made two different wooden projects with inlay, and aside from leaving out one important step, they turned out well. The projects are my the “Cube Sweet Cube” signs that I have attempted to make over and over again, and a baseball bat trophy thing for my little cousin. He is into tee ball, and has some game winning balls to display.
I milled out a deeper pocket (0.05″) and instead of filling it completely with paint, which didn’t go well, just tried to coat the inside surfaces with paint. Thinning the acrylic with a little water helped it coat evenly.


The results were pretty good, the color was consistent, there wasn’t a voiding issue, and the surface planed clean really quickly and easily. This was due to the very thin layer of paint on top. The only thing that went wrong was a little bleeding into the grain. It is worse on the red than the black. The oak didn’t do this as bad as the pine did. I was lazy and didn’t do any sealing, so I only have myself to blame. No we know that is important!

I used the shapeoko to mill out the somewhat complex area around the handle. I could have cut this with drill bit and band saw, but this was quick and came out really well. I don’t have enough travel to do the whole thing, so I finished the rest of it with my bandsaw. A forstner bit made pockets for holding the balls, and a quick trip around the router made a nice round over.


Christmas is right around the corner, and I have lots of co-workers and friends. I had planned earlier in the year to make pepper mills for everyone. They take at least 4 hours and 30+ dollars to make. So on second thought I will do something more attainable. This is the first in a small series of easy gift ideas for friends and family.
I shave my head and at times my face. This ends up being a lot of shaving. Over the years I have honed my process and tried a lot of products. One that I picked up recently was a pre-shave oil from a favorite company. The oil goes on before you apply shaving cream, always with a hot wet badger brush, and helps keep the blade lubricated while soothing the skin. It really enhances the shave and keeps my skin happy, buuuuuut it is expensive. Time to DIY!
I made the first batch a month or two ago and have been really happy with the results. Making it is easy! Mix a 2:1 ratio of castor oil and olive oil, then add essential oils as desired. I started by making 6 ounces of the oil base, and used about 20ml of sandalwood oil. The true sandalwood oil is really pricey, but still way cheaper than buying the finished product.


The second batch used another round of base, but instead of essential oils I used menthol crystals. It turns out menthol is a derivative of peppermint oil, and in its pure form comes in little crystals. You have to heat the oil to get them to mix. A minute in the microwave at medium power did the trick. I used 1 ounce of menthol for 9 ounces of shave oil. Everything got transferred into 1 ounce glass bottles with droppers. It only takes 4-5 drops to get a good coating on your face.
Very simple to make and use!
This was a hum-dinger of a project! It took me 3 weeks to complete, which was about twice as long as I thought it would. In short, I would never recommend you buy a woodriver tail vise. The instructions are terrible, and the design isn’t really that great. I guess for 60 bucks I can’t complain too much. Most of the alternatives are 250+ dollars. I almost think they could be 4 times better if they are easier to install. I digress, let’s put this puppy together!
I pulled the hardware out and read the instructions. They show pictures of hardware for model numbers that are not the model number I bought… oh well, Time to wing it! The black plate will screw to the side of my bench top, and the green plates will slide along that plate. I want to start by making a box structure around the main screw. Two boards against the green plates are a good place to start. One clears the center screw head, but the other needs to be cut down. I could thin it, but why not get fancy! I used my No. 50 to remove the wood that interferes with the round portion of the green fixed nut (I will call it a screw head), and a No. 78 to groove a clearance for the base of the screw head. It looks like a fit. In retrospect, I really should have just thinned it. It would make later steps simpler.


I filled in the groove areas and trimmed them flush at the two ends. This let me put solid wood in between the bolts that hold the two plates together. With the ends covered I will need clearance to get this thing over the screw head for installation. A chisel cleaned out a little section between the hollow and groove I made. Another filler board runs the length to help stiffen and give a give a surface to later bolt the dog hole block to.


I laminated a few large boards together to give me a big block for drilling dog holes. The third and fourth picture show a heavy block at 90 degrees to the screw. I was going to add this L so I could have an extra clamping surface. After doing lots of cutting and chopping I decided to nix it. It didn’t fit well and I was going to have to drill out a lot of the center to allow screw clearance. Besides, I already have a good quick release front vice. I ended up just filling where that block would have gone, and screwed the body box to the dog hole block. That makes it more easily replaceable in the future.


I fashioned a board with grooves and a relief hole to go between the bench top and that black mounting plate. It was easier to make separately, then attach. Sitting the vice on the table top I was able to pencil out the waste area, and started cutting with a circular saw. I finished with a hand saw. The vice is thicker than the table top, so it took a lot of chiseling to clear enough of the table support to let everything move around. After careful fitting the screws went in, and my tail vice was installed.


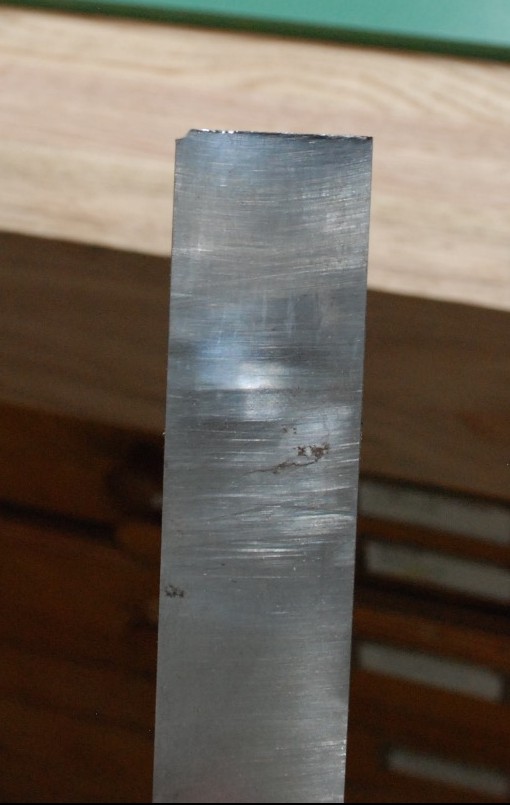
It wasn’t without injury. I ended up hitting one of the lag bolts that holds together the table base. My biggest chisel took a beating. It made me very sad, and this will take a lot of sharpening to correct. Lesson learned, watch for metal hardware when you work!
An end cap with a hole covers the opening that the screw goes through. I only screwed it in place so it could be removed if needed in the future. I also added a few end caps where the front of the vice meets the table. Boring vertical holes down between the end caps help for holding small round things like screw bits for sharpening. These are also only screwed in place in case I want to replace or modify them.


Lastly there is a big section between the dog hole block and the table that needs covering. It is mostly cosmetic, but having it there helps keep shavings and junk from building up. I took a board and removed a volume where the green top plate will be with a mixture of rabbet planing and chiseling. Once glued in place the vice was fully installed!


Once installed I cleared all the junk off and grabbed a jack plane. When I first built the top I only had one hand plane, and I didn’t really know how to use it, so I ended up using a belt sander on most of the top. SACRILEGE!! Now, I spent probably less than 20 minutes planing off the old finish, stains, and gouges. I left some plane marks behind, but I never really expect the top to be perfectly smooth. I finished with some boiled linseed oil and left it to dry. Gorgeous!


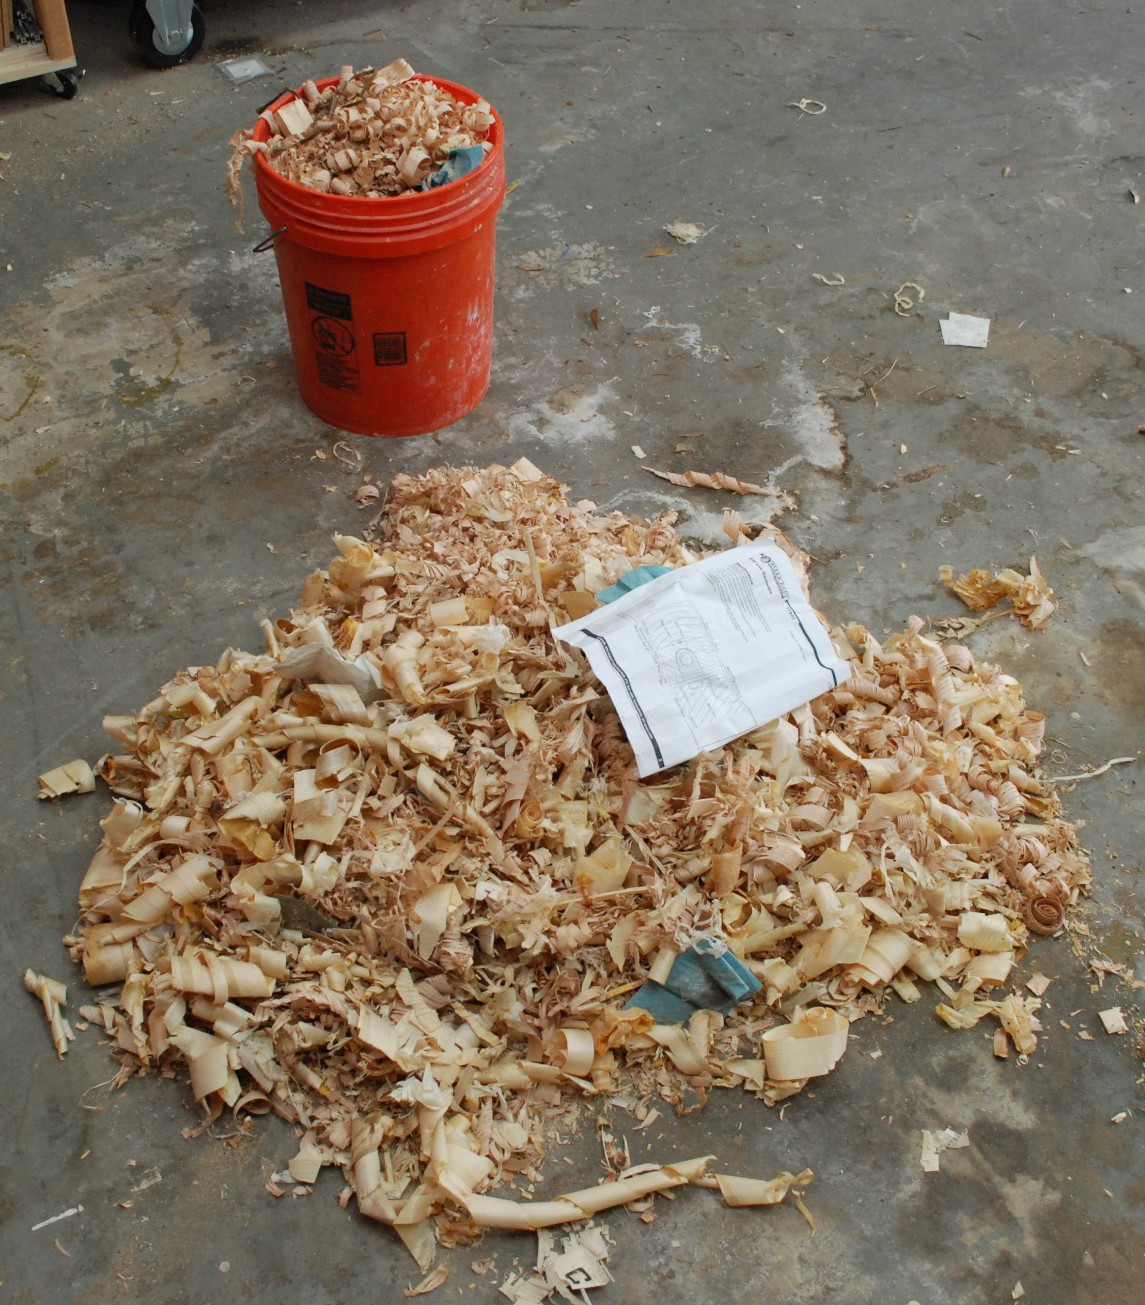
I reinstalled my front vice on the left side and drilled a few more holes before applying the finish. This is how a table should be setup for right handed people like me. That way when you stand in front and plane from right to left you push against the dog in the table, not the vice. I didn’t know this when I first installed that front vice. Oh well, you live and learn. After a sweep up this never-ending project finally did. What a pile of shavings!
I love Thanksgiving, but always end up spending it at someone else’s house. I like all of my family’s cooking, but I am passionate about good turkey! That and I typically don’t get any leftovers. Let the turkey-strava-ganza begin! There will also be mashed potatoes, stuffing, gravy, cornbread, and green bean casserole.
In the past I have smoked a turkey, I have brined a turkey, but I have never smoked a brined turkey… today is that day! I picked up a 20lb bird from the grocery store after thanksgiving. I don’t go fancy, just store brand. Some people recommend doing smaller birds because they cook faster and more evenly. I say hogwash, because If I am going through all this work, I want a lot of leftovers. Maybe I should do two small ones next time.
I moved the turkey from freezer to fridge a few days before hand so It could start the thaw. The night before I pulled it out and still had slightly frozen bits in the center. The good news with brining is that soaking it in salt water should really help ensure that no part is frozen. I used a really basic recipe because I wanted most of the flavor to come from the smoke.


That is all it takes to make a basic brine. Warm water can help ensure the sugar is all dissolved. Once I cleaned up the turkey, I placed him in a set of double trash bags. I don’t have a good container, or any other suitable bags. Improvise! With the turkey in, I poured in about 1-1/2 gallons of brine. I put the whole thing in a roasting pan for easy transport. The bag was too big and sagged out all over the place. A little more improvising shored it up with condiment containers to keep the brine level at the top of the turkey. Back into the fridge till tomorrow.

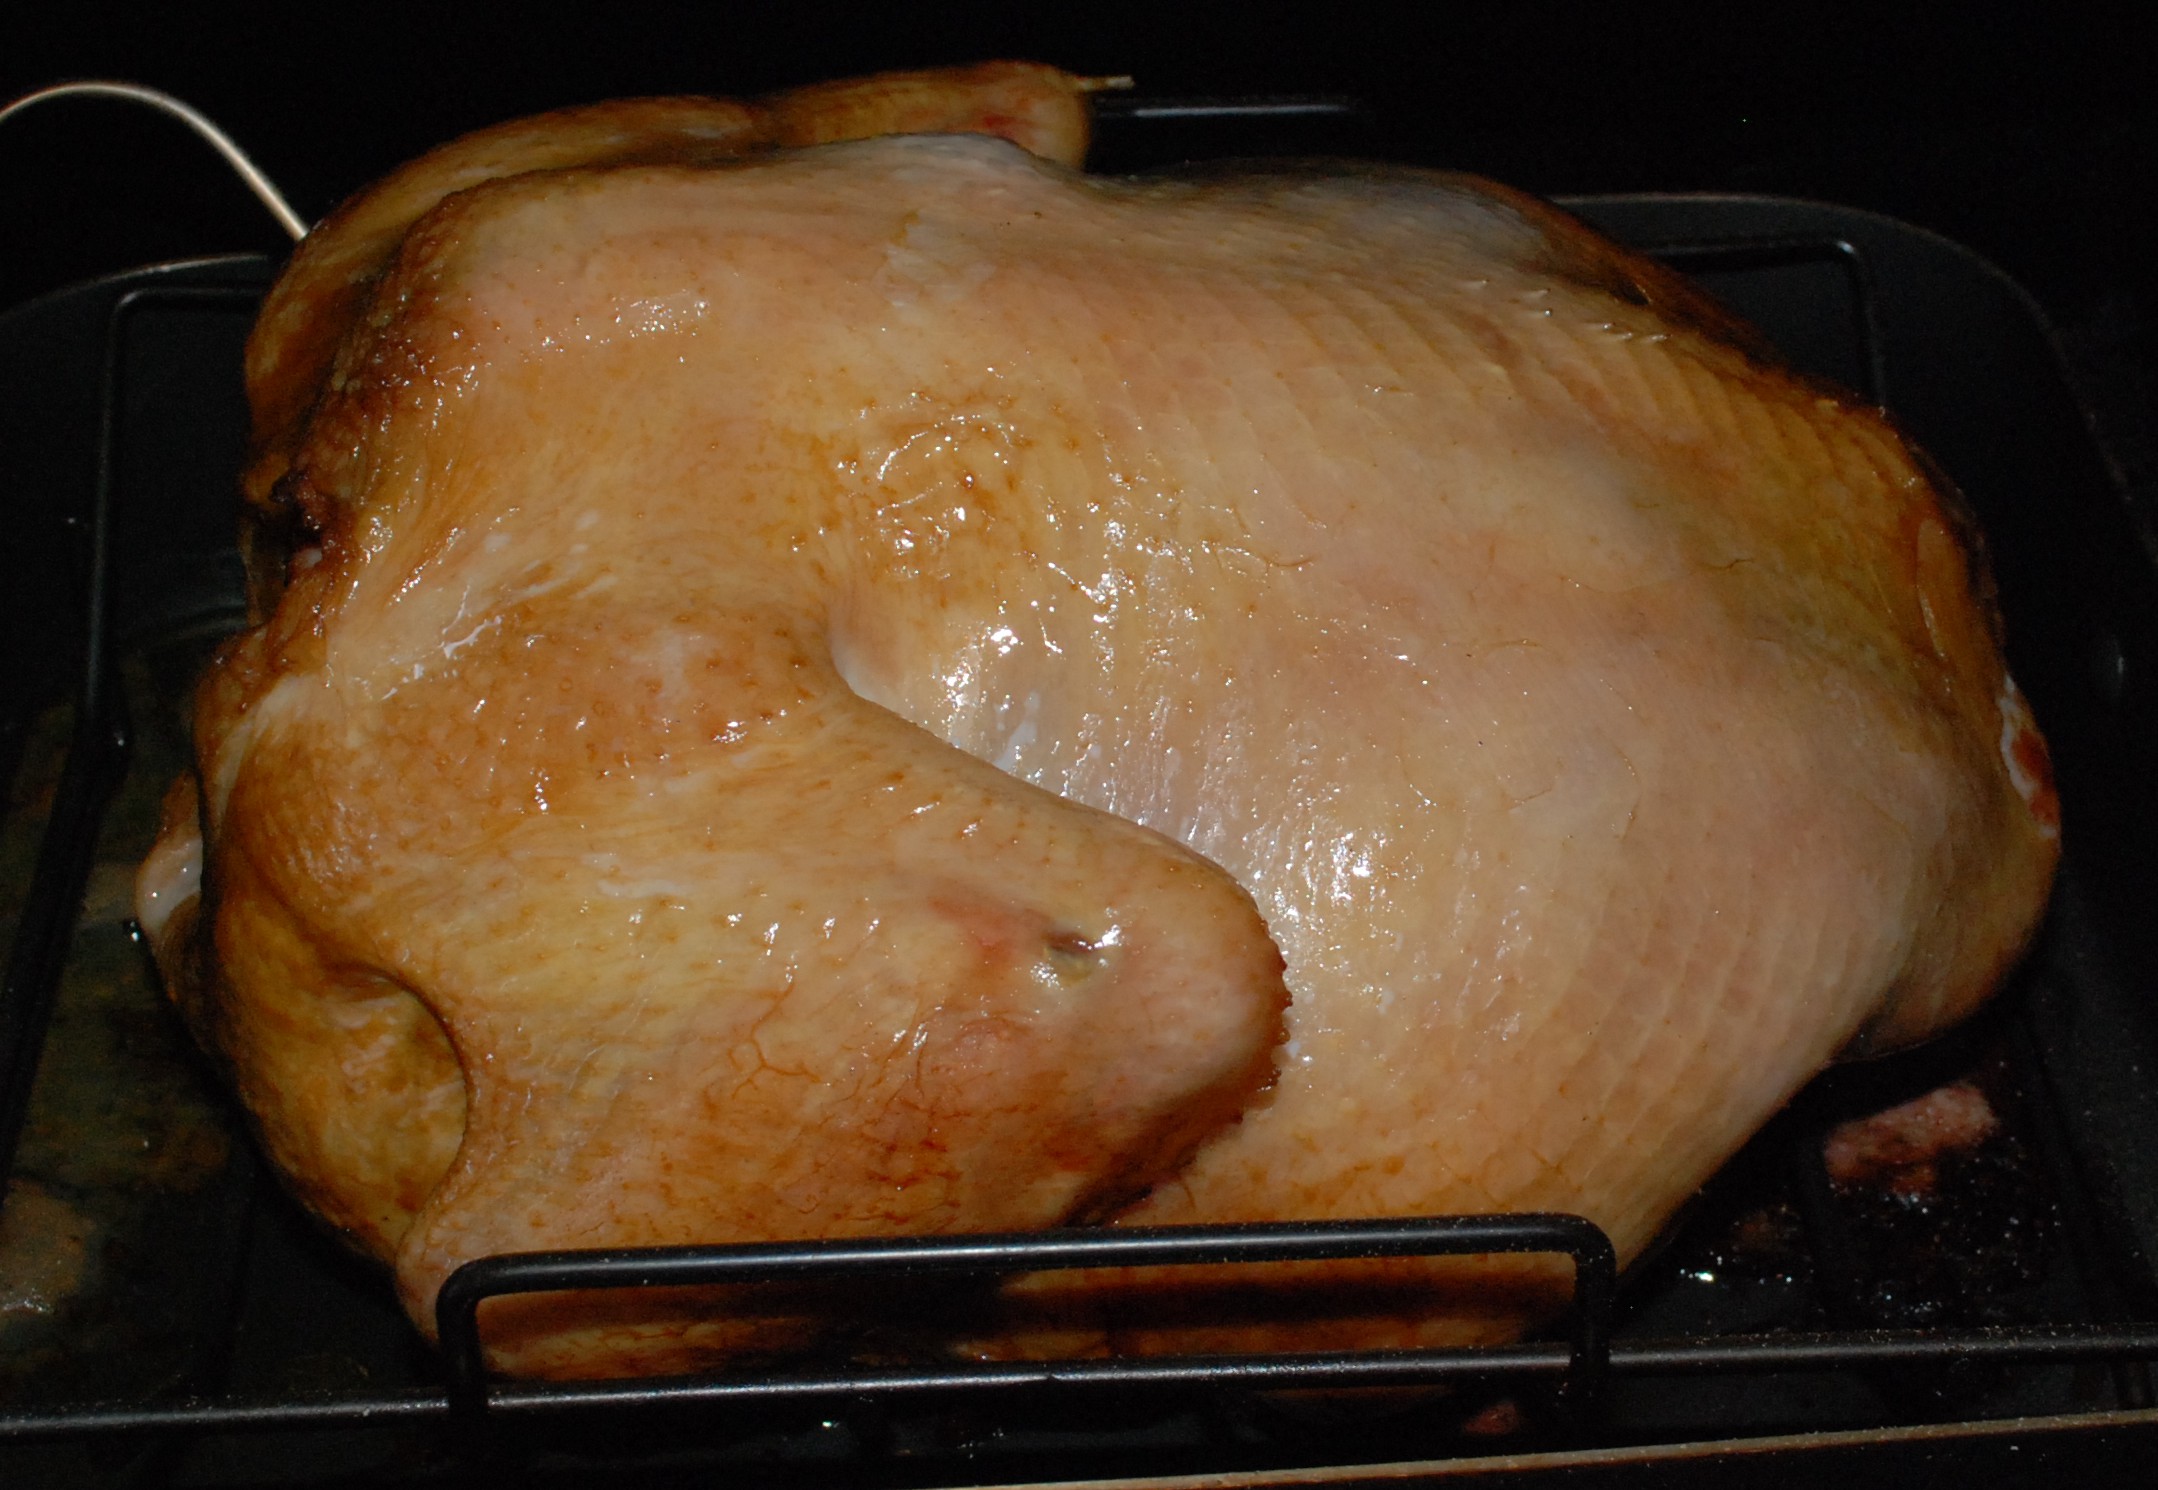
Good morning turkey, today is your big day! I pulled him out and gave a quick rinse. I put the grate in my roasting pan and placed him breast down. I have done it breast up and down, and I think down is a little better. It lets the dark meat juices flow downhill into the breast. I then give it a little rub of vegetable oil and make it a tent.


Take two pieces of foil on top of each other and fold the top edge over a few times. This makes a large sheet of foil easily without buying that wide foil. Drape this over the bird and insert a meat probe into the breast. My philosophy is to try to cook/steam it most of the time, then pull the tent off near the end for a golden color. Here it is most of the way through when I pulled the tent off.
A wireless meat thermometer monitors the meat and grill temperature. My traegar uses wood pellets to generate heat and smoke and sometimes puts itself out. Being able to watch both on the couch is pretty awesome! 9.5 hours later the desired temperature was reached.

It looks golden brown and delicious. Let it rest for a good 45 minutes while everything else took a trip through the oven. Once I couldn’t take it anymore I flipped it over and started to carve. Gorgeous!!!

Everything had a nice smoke ring and looks really good. The flavor was amazing. A light smoke flavor (I used apple so the smoke wouldn’t be overpowering) was present throughout the meat. Everything was tender and super juicy. No dry turkey meat here, just some of the very best turkey breast I have tasted. Gravy is only an option if you really like gravy. Totally worth the whole day of babysitting and waiting.
Up next, turkey stock from my freshly smoked turkey!
I don’t know when foaming hand soap became popular, but I have been buying it for a while. I love the instant lather versus regular liquid soap, but never liked how expensive it was. Not that it is a huge expense, but what can I say, I am cheap! Luckily I did some searching around and found out how cheap and easy it is to make. Now that I know, I am kind of pissed that I have spent so much money for what is 95% water all these years.
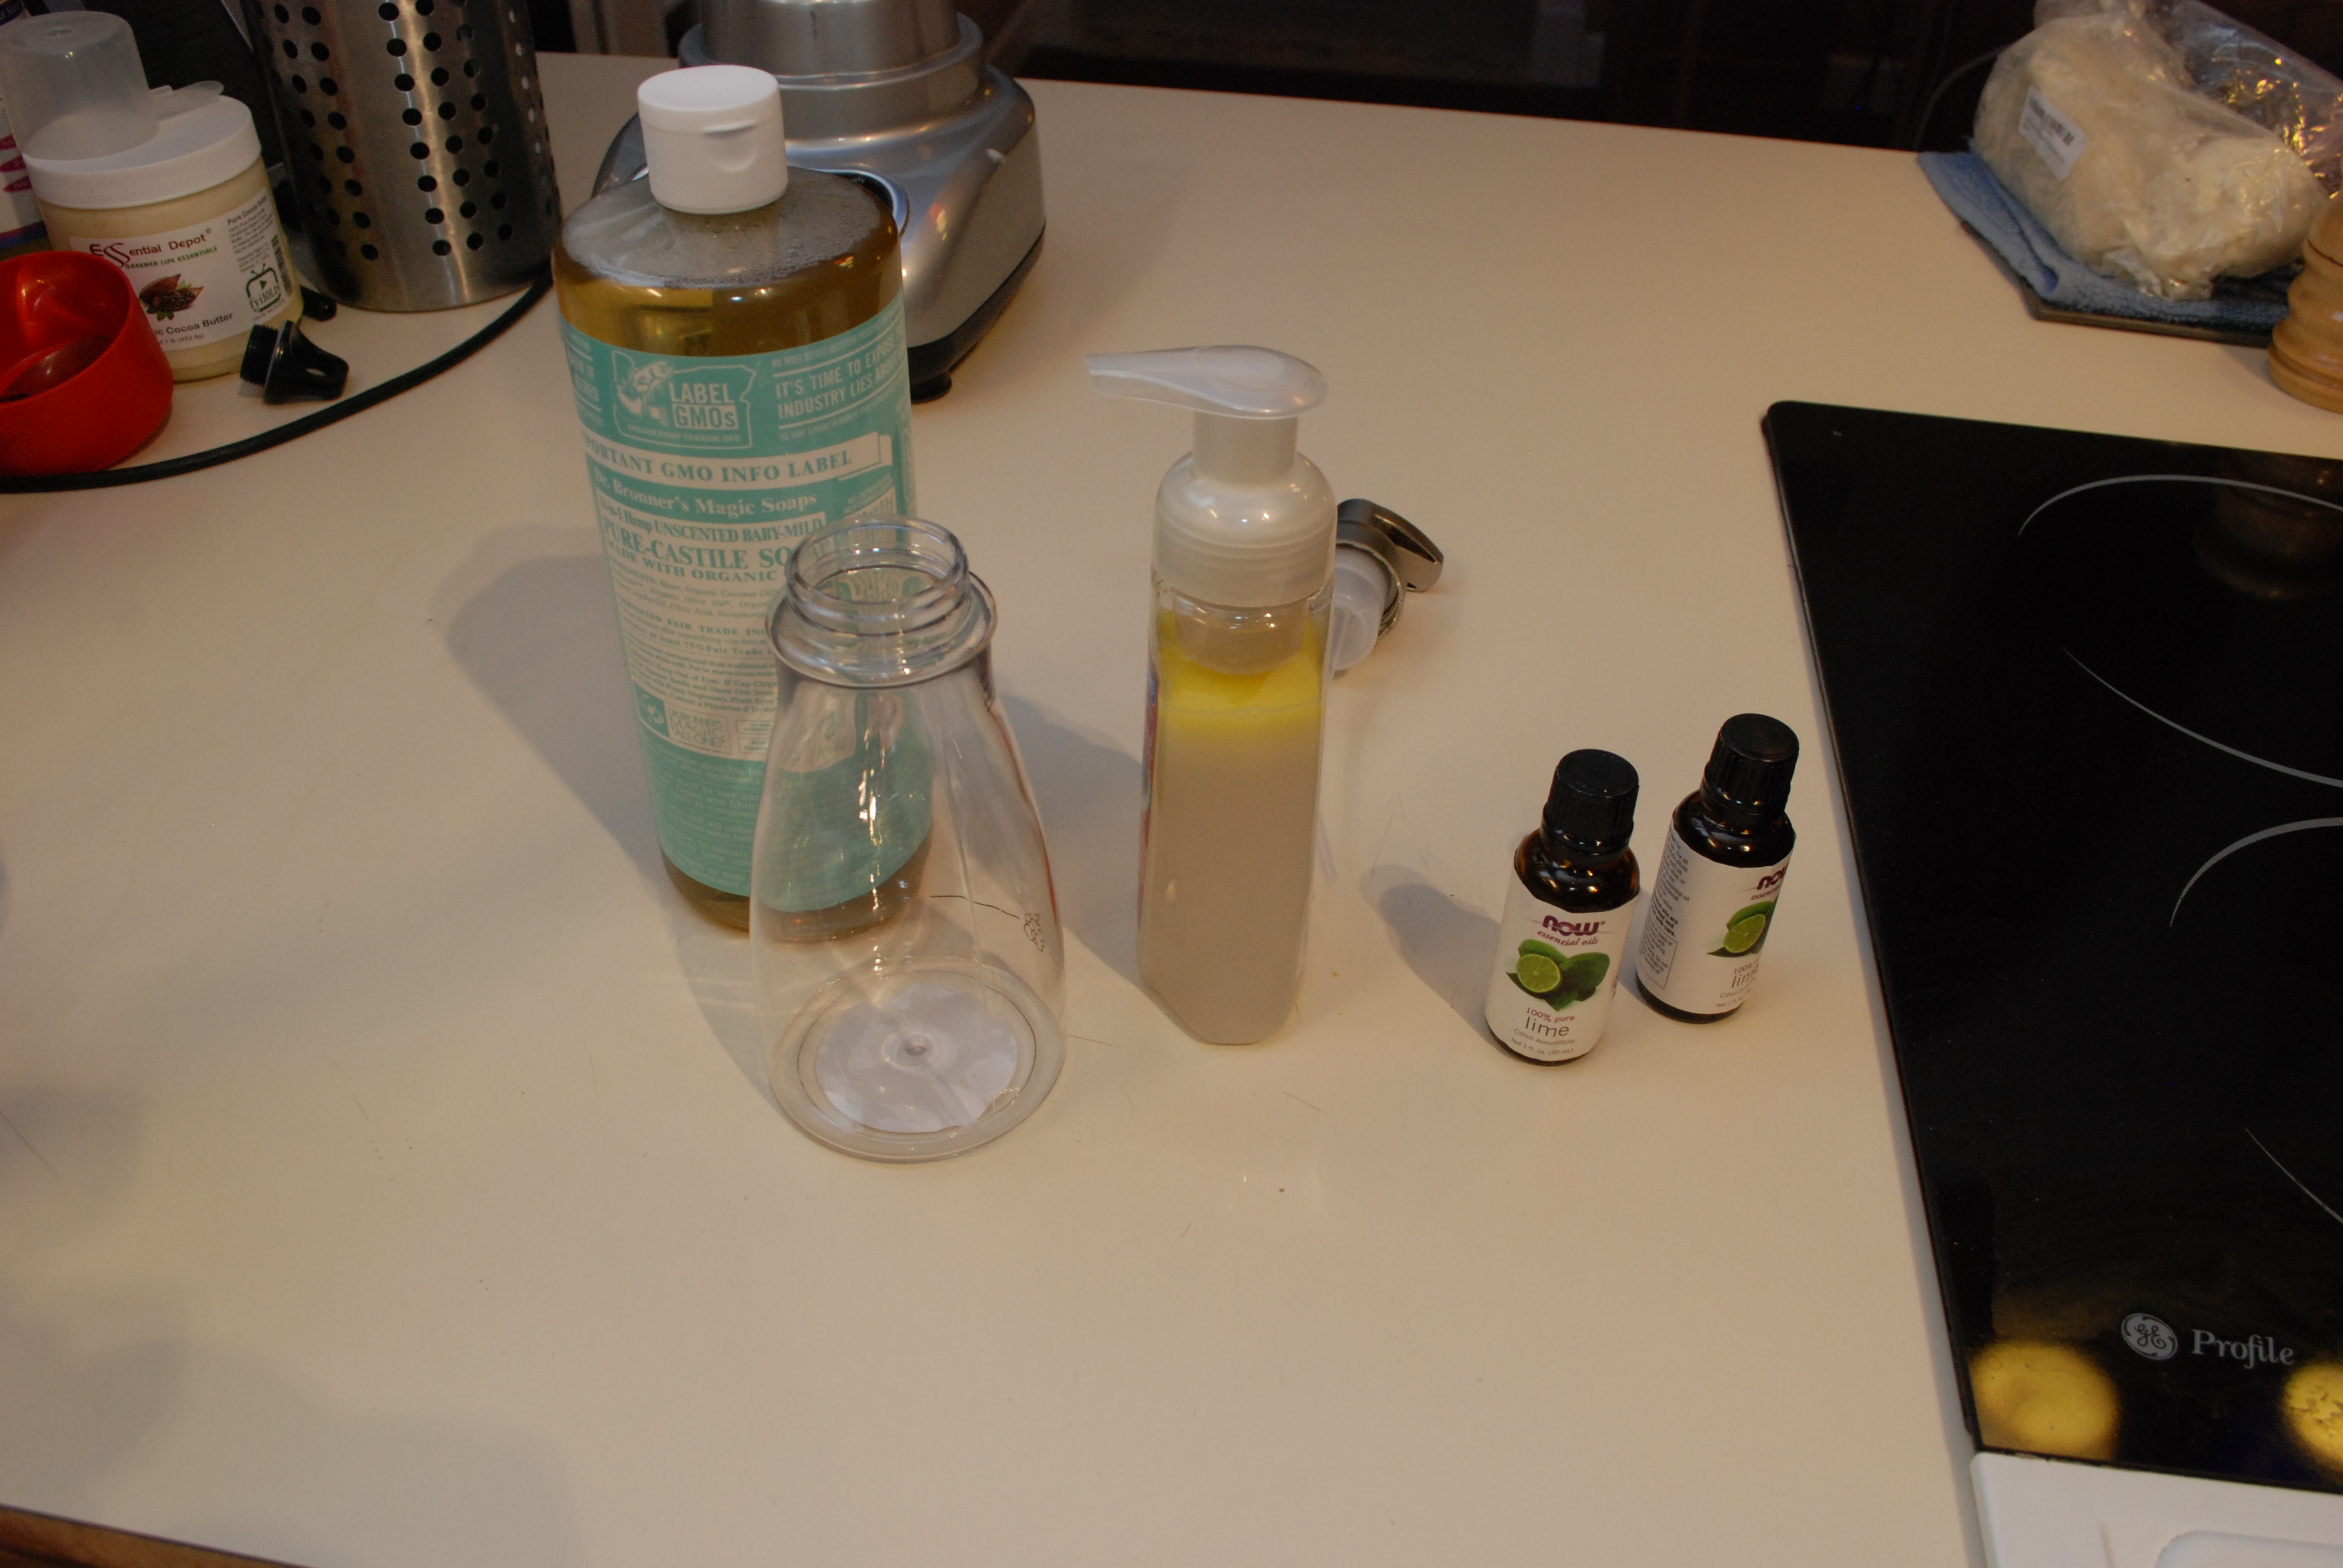
I made a few small experimental batches based on my reading and I think I have the ratios and process right. Grab your dispenser of choice. Pictured above is an old store bought foaming pump that we bought and have refilled for years, and a new one from amazon.
Fill 2 Tablespoons of castile soap (olive oil based soap concentrate) for every 8 ounces of soap required. Add any desired essential oils. I used lime oil, because limes rock! 15 drops per 8 ounces of soap is a good place to start. Swish those two around in the container to mix, then gently fill the rest with water. Done! (Note, I modified the recipe slightly, see the update below)

You can make large volumes of the stuff for quick fills later. Use the 2 Tablespoons of soap, and 15 drops of oil to 8 ounces of fluid rule to make as much as you want.
My first batch was a festive peppermint hand soap. I started with water, then added the other ingredients. They didn’t mix as easily as doing the soap and oil first, so I would recommend main ingredients first, then water. Also on my first batch I added a teaspoon of olive oil. Some sources recommended it, some didn’t. It didn’t mix well, and a left vs right hand wash comparison with my non-olive oiled batch doesn’t seem to show any differences. Maybe because it didn’t mix well? If you want to try adding the olive oil, do it first, and get it combined well with the soap before adding water.


The bottle looks great in my bathroom! All these hand made soaps are translucent for some reason. The store bought ones are clear… Probably the soap acting as a surfactant has emulsified the essential oil. AKA, lots of tiny drops of oil in suspension make it look “cloudy”. Commercial ones must use alcohol based perfumes or something. Any who, both work great as a hand wash, leave a light smell, and provide a good lather. The picture above shows peppermint on the left, and lime on the right. The size and foam differences have more to do with the pump than the soap I think.
I played around with a few more batches and have come to a different conclusion about the oil. It seems to help keep the soap and water mixed together better. Otherwise the soap wants to separate to the bottom. Also, the cloudiness fades with time. The final recipe is as follows:
Mix the following ingredients per 8 ounces of water.
Mix those all together really well in the container and add the 8 ounces of water slowly. TADA! You made foaming hand soap.
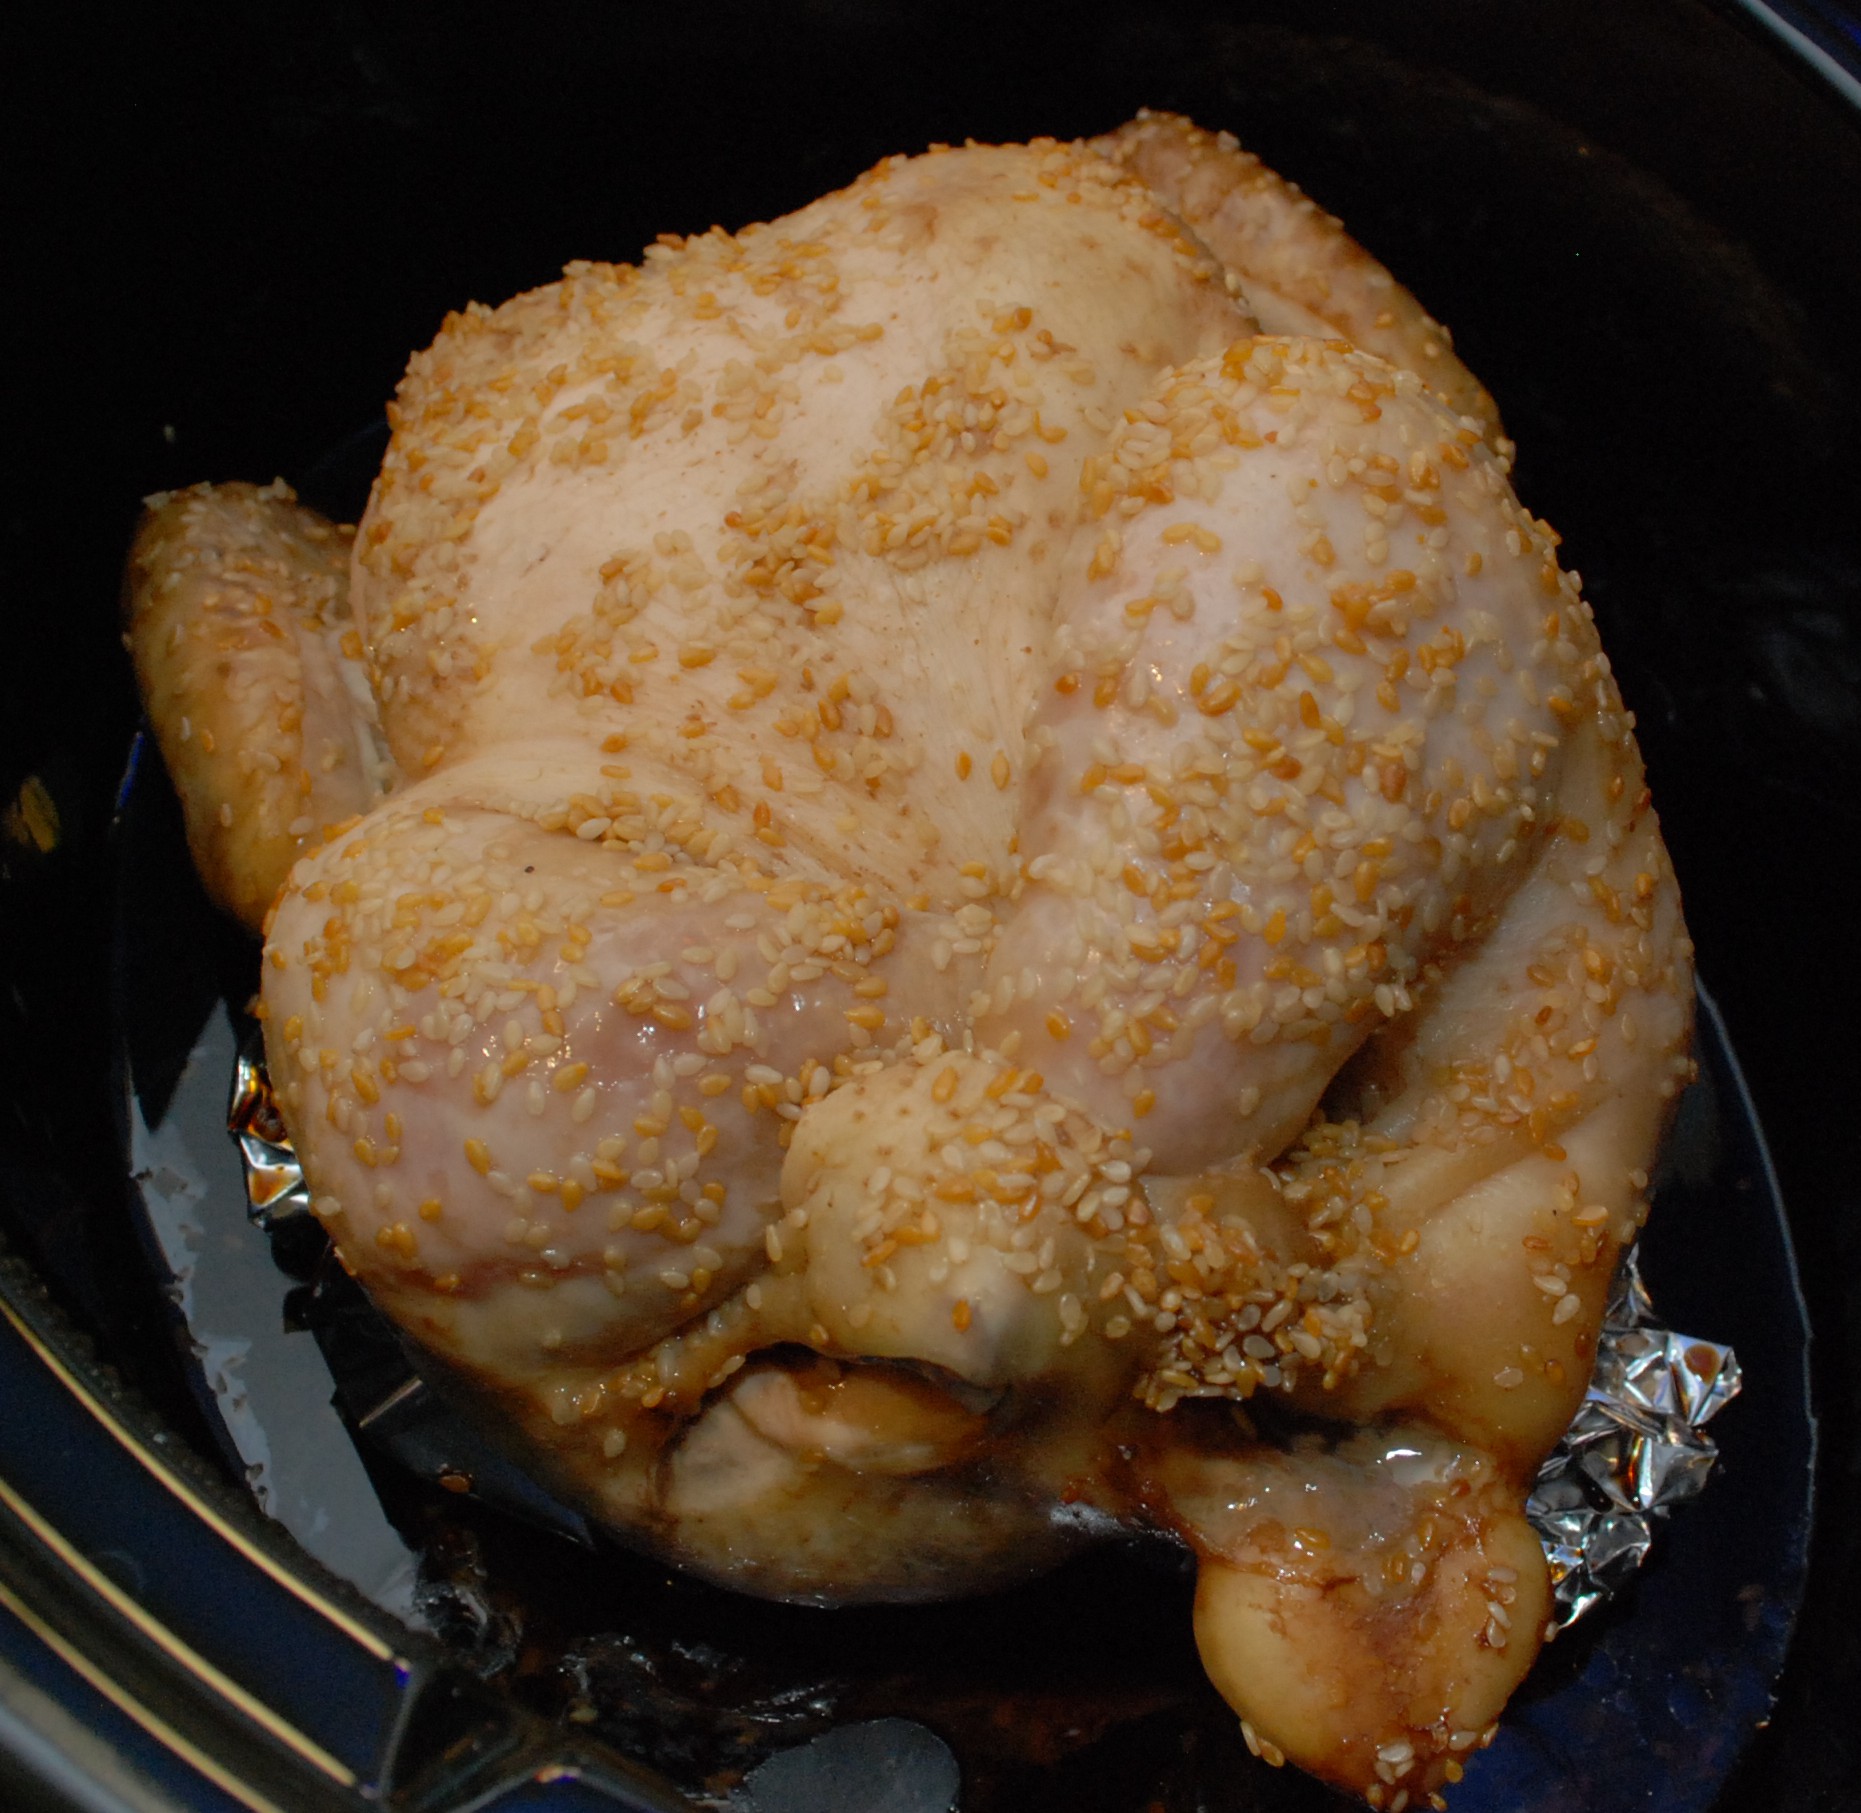
This delicious SSSCC recipe was brought to me by an ex from many moons ago. I have made it a number of times over the years, and decided to christen my sweet new slow cooker with it. The recipe is super simple and really only involves chicken, soy sauce, and sesame seeds. (Full recipe at the bottom) To my surprise I was very low on soy sauce. I poured what I had on the chicken, and threw a little more water in the bottom of the pot to help with the steaming action.


After 8-10 hours on LOW you should have something like this guy ready to go! I was shooting for 8, but this guy was a little chunky so I gave him another 30 after reading the thermometer.
 The results were wonderful. The soy flavor wasn’t as strong because I only had half of what was needed. Still, the breast was juicy and tender, the legs were pulled apart easily, but the whole thing didn’t turn to a mush pile. This is a great basic recipe and could be adapted to a long list of other sauces and flavors.
Take the basic chicken and foil, then add buffalo sauce, bbq sauce, liquid smoke, salsa, marinade sauce, various oil based salad dressings, a few strips of bacon and dry ranch seasoning, and probably 100 other variations. The cooking method makes a juicy wonderful chicken, the seasoning method is only limited by your imagination!
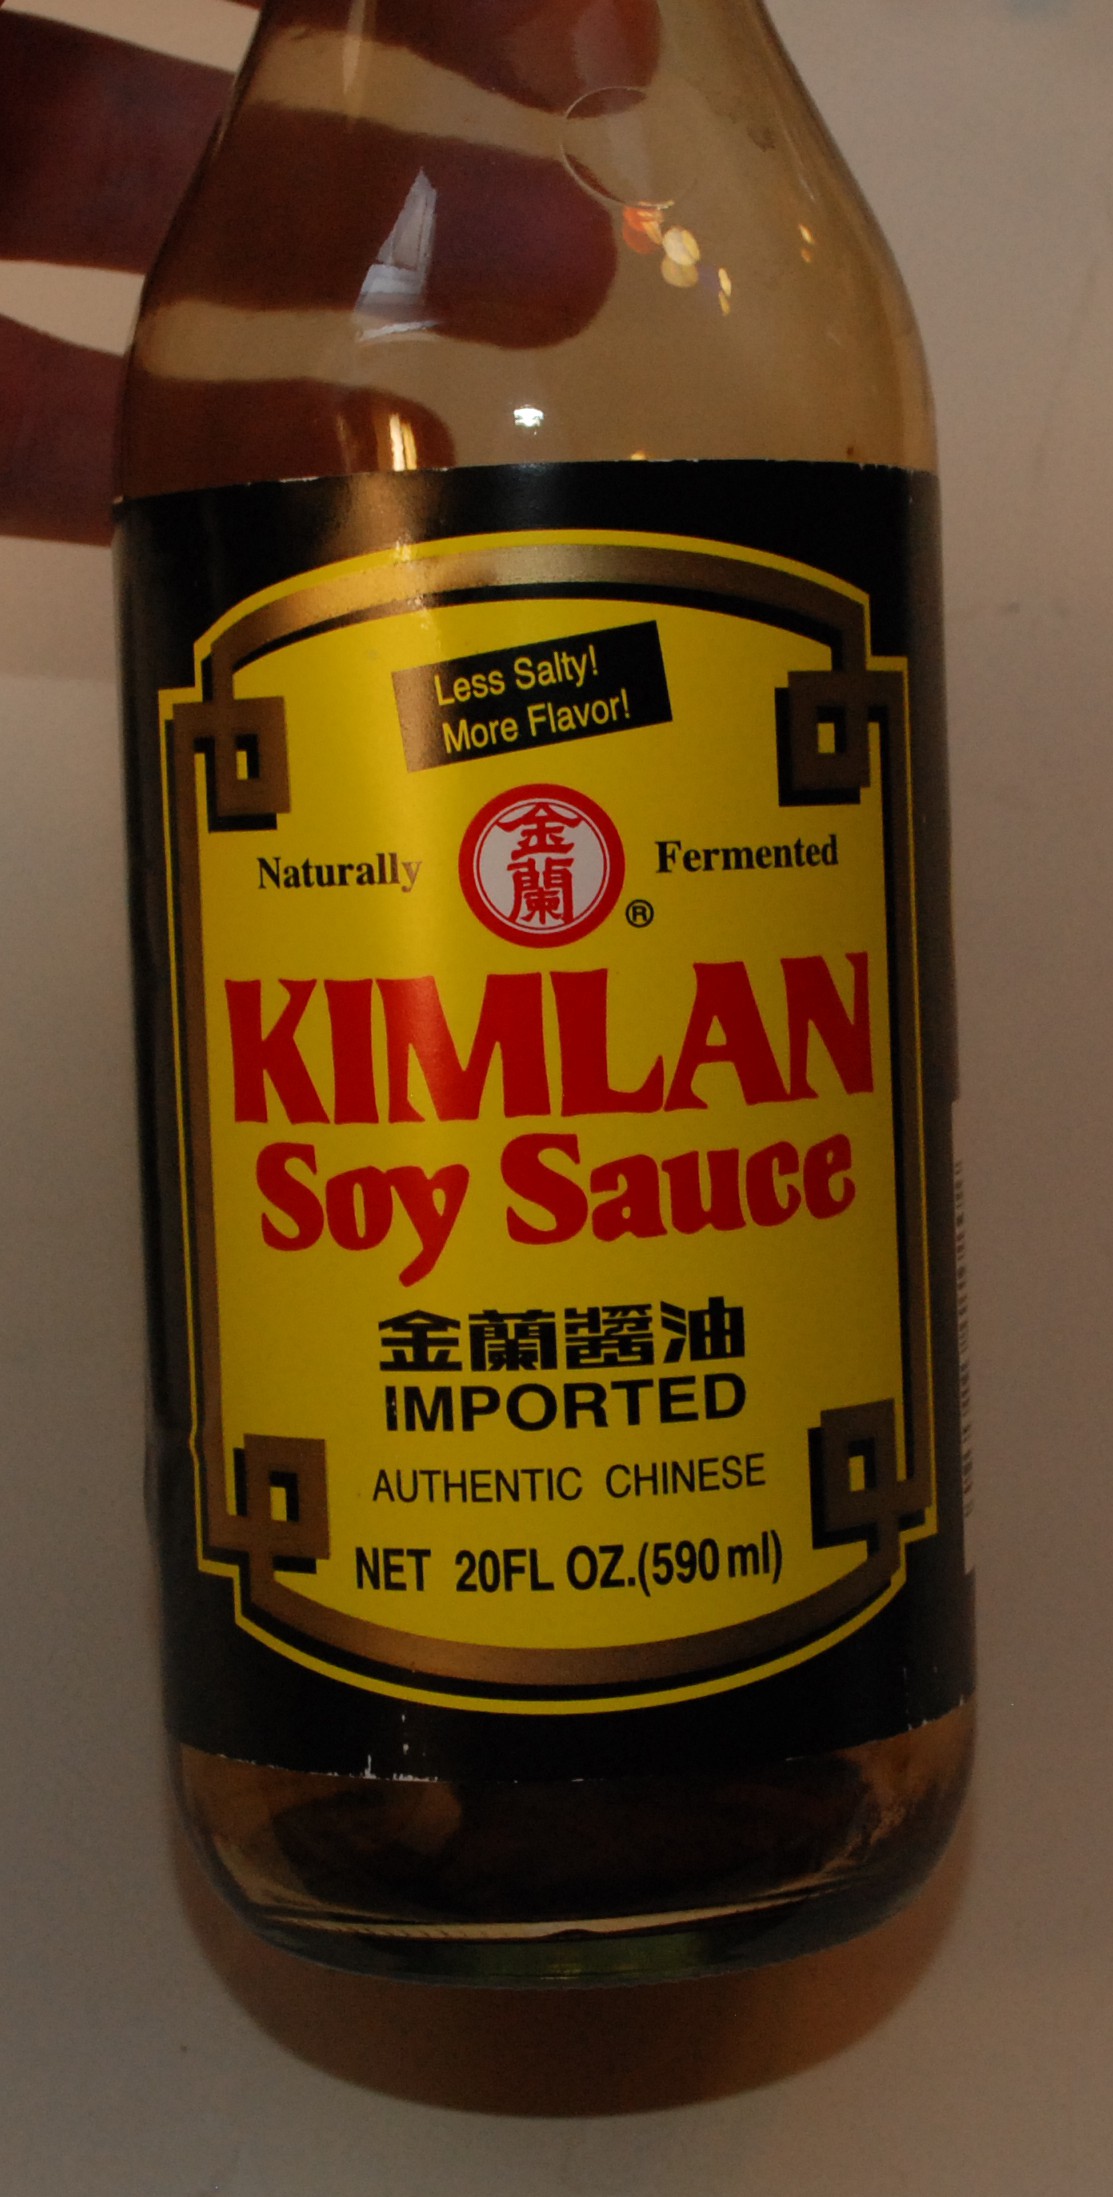
There is a word of difference between kikkoman, and the good stuff. I would recommend going to an asian market and asking for a good low sodium soy sauce. I went and was given this. It is worth the special trip. The flavor is amazing! Regular soy sauces taste like salt water to me now.
Make 3-4 balls of aluminum foil in the bottom of the slow cooker. These will hold the chicken up off the floor of the pot. Place chicken on the foil balls, and dump the soy sauce all over the chicken. Sprinkle a heavy dose of sesame seeds on top of the chicken, and toss the lid on and set to LOW. 8-10 hours later you should have a gorgeous delicious chicken ready for dinner. Smaller ones can go for 8, bigger pluckers need 10. No hard and fast rule, but always test with a thermometer.
Baking isn’t something I do super often, but I do enjoy it. My cooking style had always been more art than science. “A pinch of this, a dash of that, pour until it feels right!” That doesn’t works well for baking. Baking is much more of a science. It took me a while to figure this one out. How much of a difference does it REALLY make? I decided to find out by experimenting with flour in what I am calling the….
I am making peanut butter cookies for Thanksgiving (Plus PB chips and using homemade peanut butter!) and decided to cut the recipe in half and do half with scooped flour and half with spooned. The scooped one involves scooping out a mound of flour with the measuring cup, then leveling it off with a knife. This packs in more flour than the spoon method. Spooning means you scoop flour with a spoon and shake it into the cup. Level with a knife. Seriously, how big of a difference could there be?


Quite a bit of a difference as it turns out. The recipe called for 2-1/2 cups of flour. I cut that to 1-1/4 cups. They measure 6-5/8 oz for the scooped version, and 5-3/4 oz for the spooned one. Assuming the spooned is exactly what you want, that is a 15% increase in flour by weight. That doesn’t sound terrible, but maybe it is.
The only way to know for certain is to go through with the half batches. I creamed all the sugars as one big batch and divided them in half by weight. The baking soda, salt, and baking powder were measured, combined, weighed, and divided. This is a lot of work and a pile of dirty dishes for cookie science! Once combined I made sure both went into the fridge (1hr according to the recipe) next together and in the same container. The spooned batch was lighter in both color and texture.


They came out of the fridge at the same time and shared space on the cookie sheets. A 1″ cookie scoop regulated the size to make sure that didn’t vary between the batches.


Once cooled I tested one a bunch of each. It isn’t as big of a difference as I thought it might be. The spoon cookies were lighter and soft on the inside while having a crisp on the outside. The scoop ones were heavier and chewier. I guess I prefer the spoon, but sometimes a dense PB cookie is pretty awesome. Maybe this makes a bigger difference in sugar or chocolate chip cookies. This recipe has about half the flour as a chocolate chip recipe. If this were mythbusters we would say plausible but not confirmed maybe? Regardless, I got to eat cookies for science!!!
On a completely unrelated note, I think I have eaten too many cookies.
