My first ever all video project. They are a lot more work than the picture/text projects, but a good challenge. They often do a better job of conveying fine detail and procedure. Now for tonight’s featured video:

My first ever all video project. They are a lot more work than the picture/text projects, but a good challenge. They often do a better job of conveying fine detail and procedure. Now for tonight’s featured video:
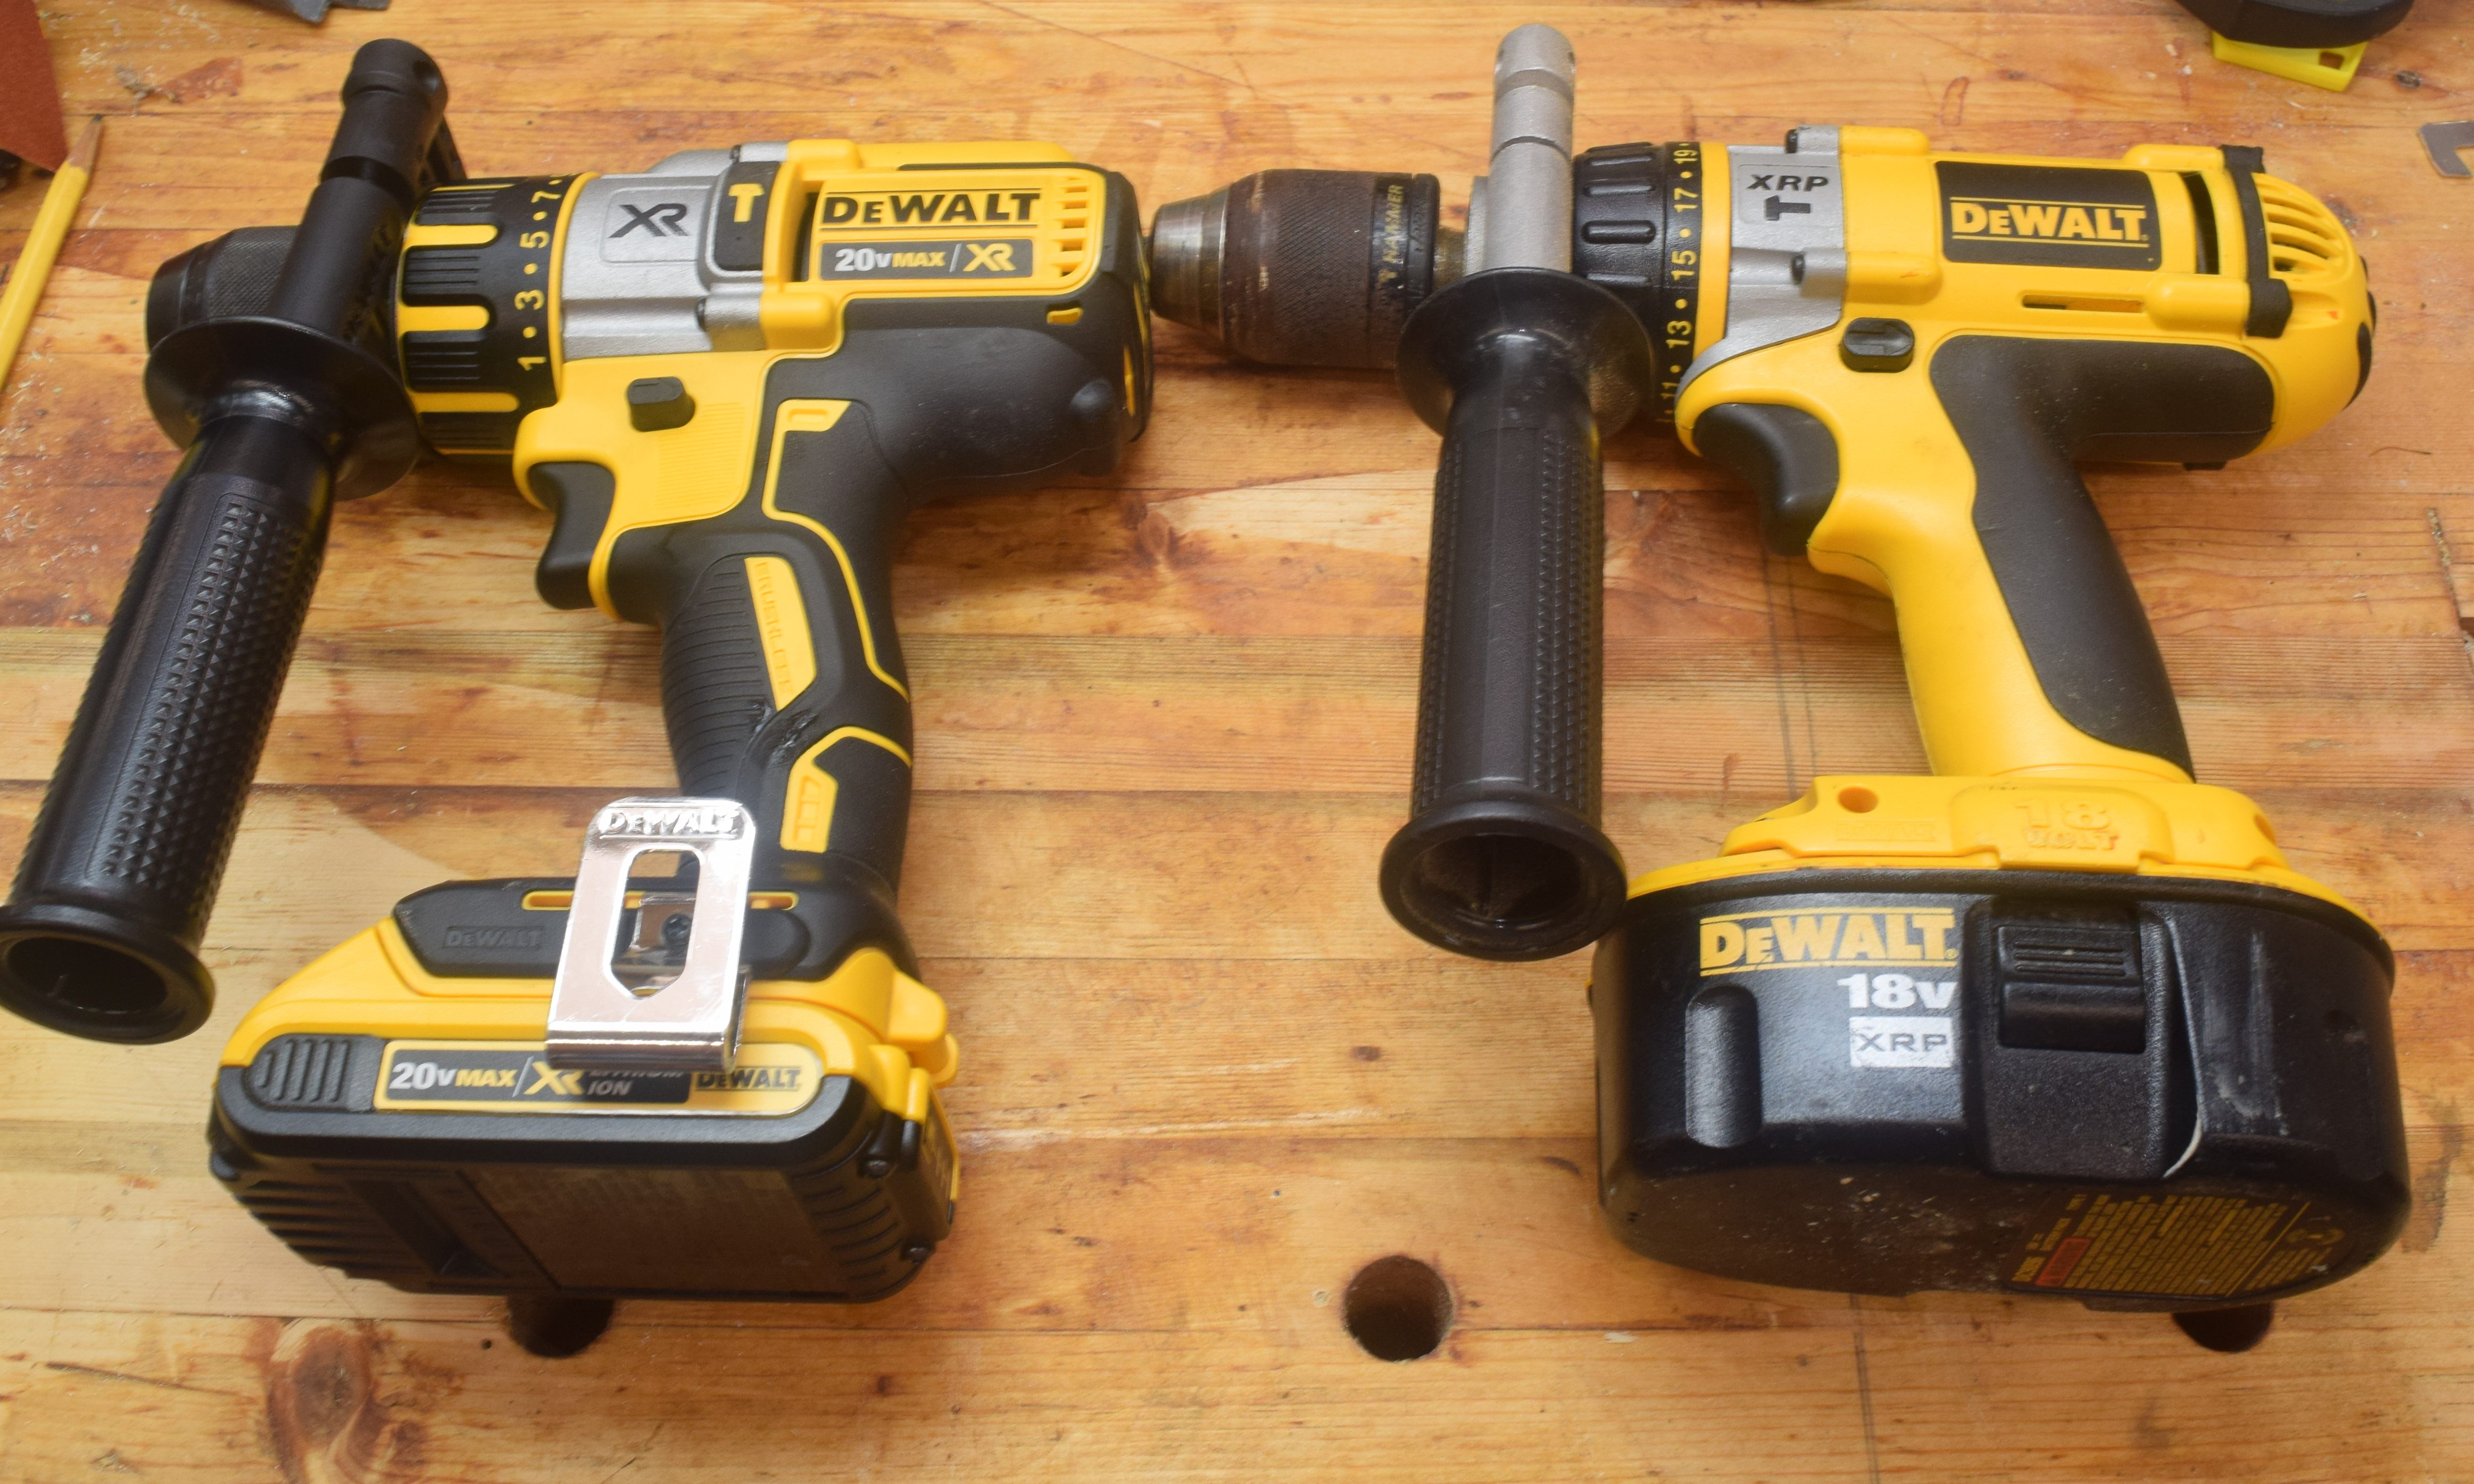
It is time for a changing of the guard. My dad bought me my first Dewalt drill when I was still in school. It is has been almost 10 years and the drill served me well. I replaced the motor over a year ago, but the gearbox and chuck were starting to give me issues. I was ok with nursing it along until a bit of a deal came my way. Lowes was getting rid of a brushless 20V hammer drill with batteries. It was a display model and lacks accessories and a charger, but was still a complete steal! My hammer drill wasn’t in bad shape, but the cost was less than I could buy the batteries alone for. I had to do it!
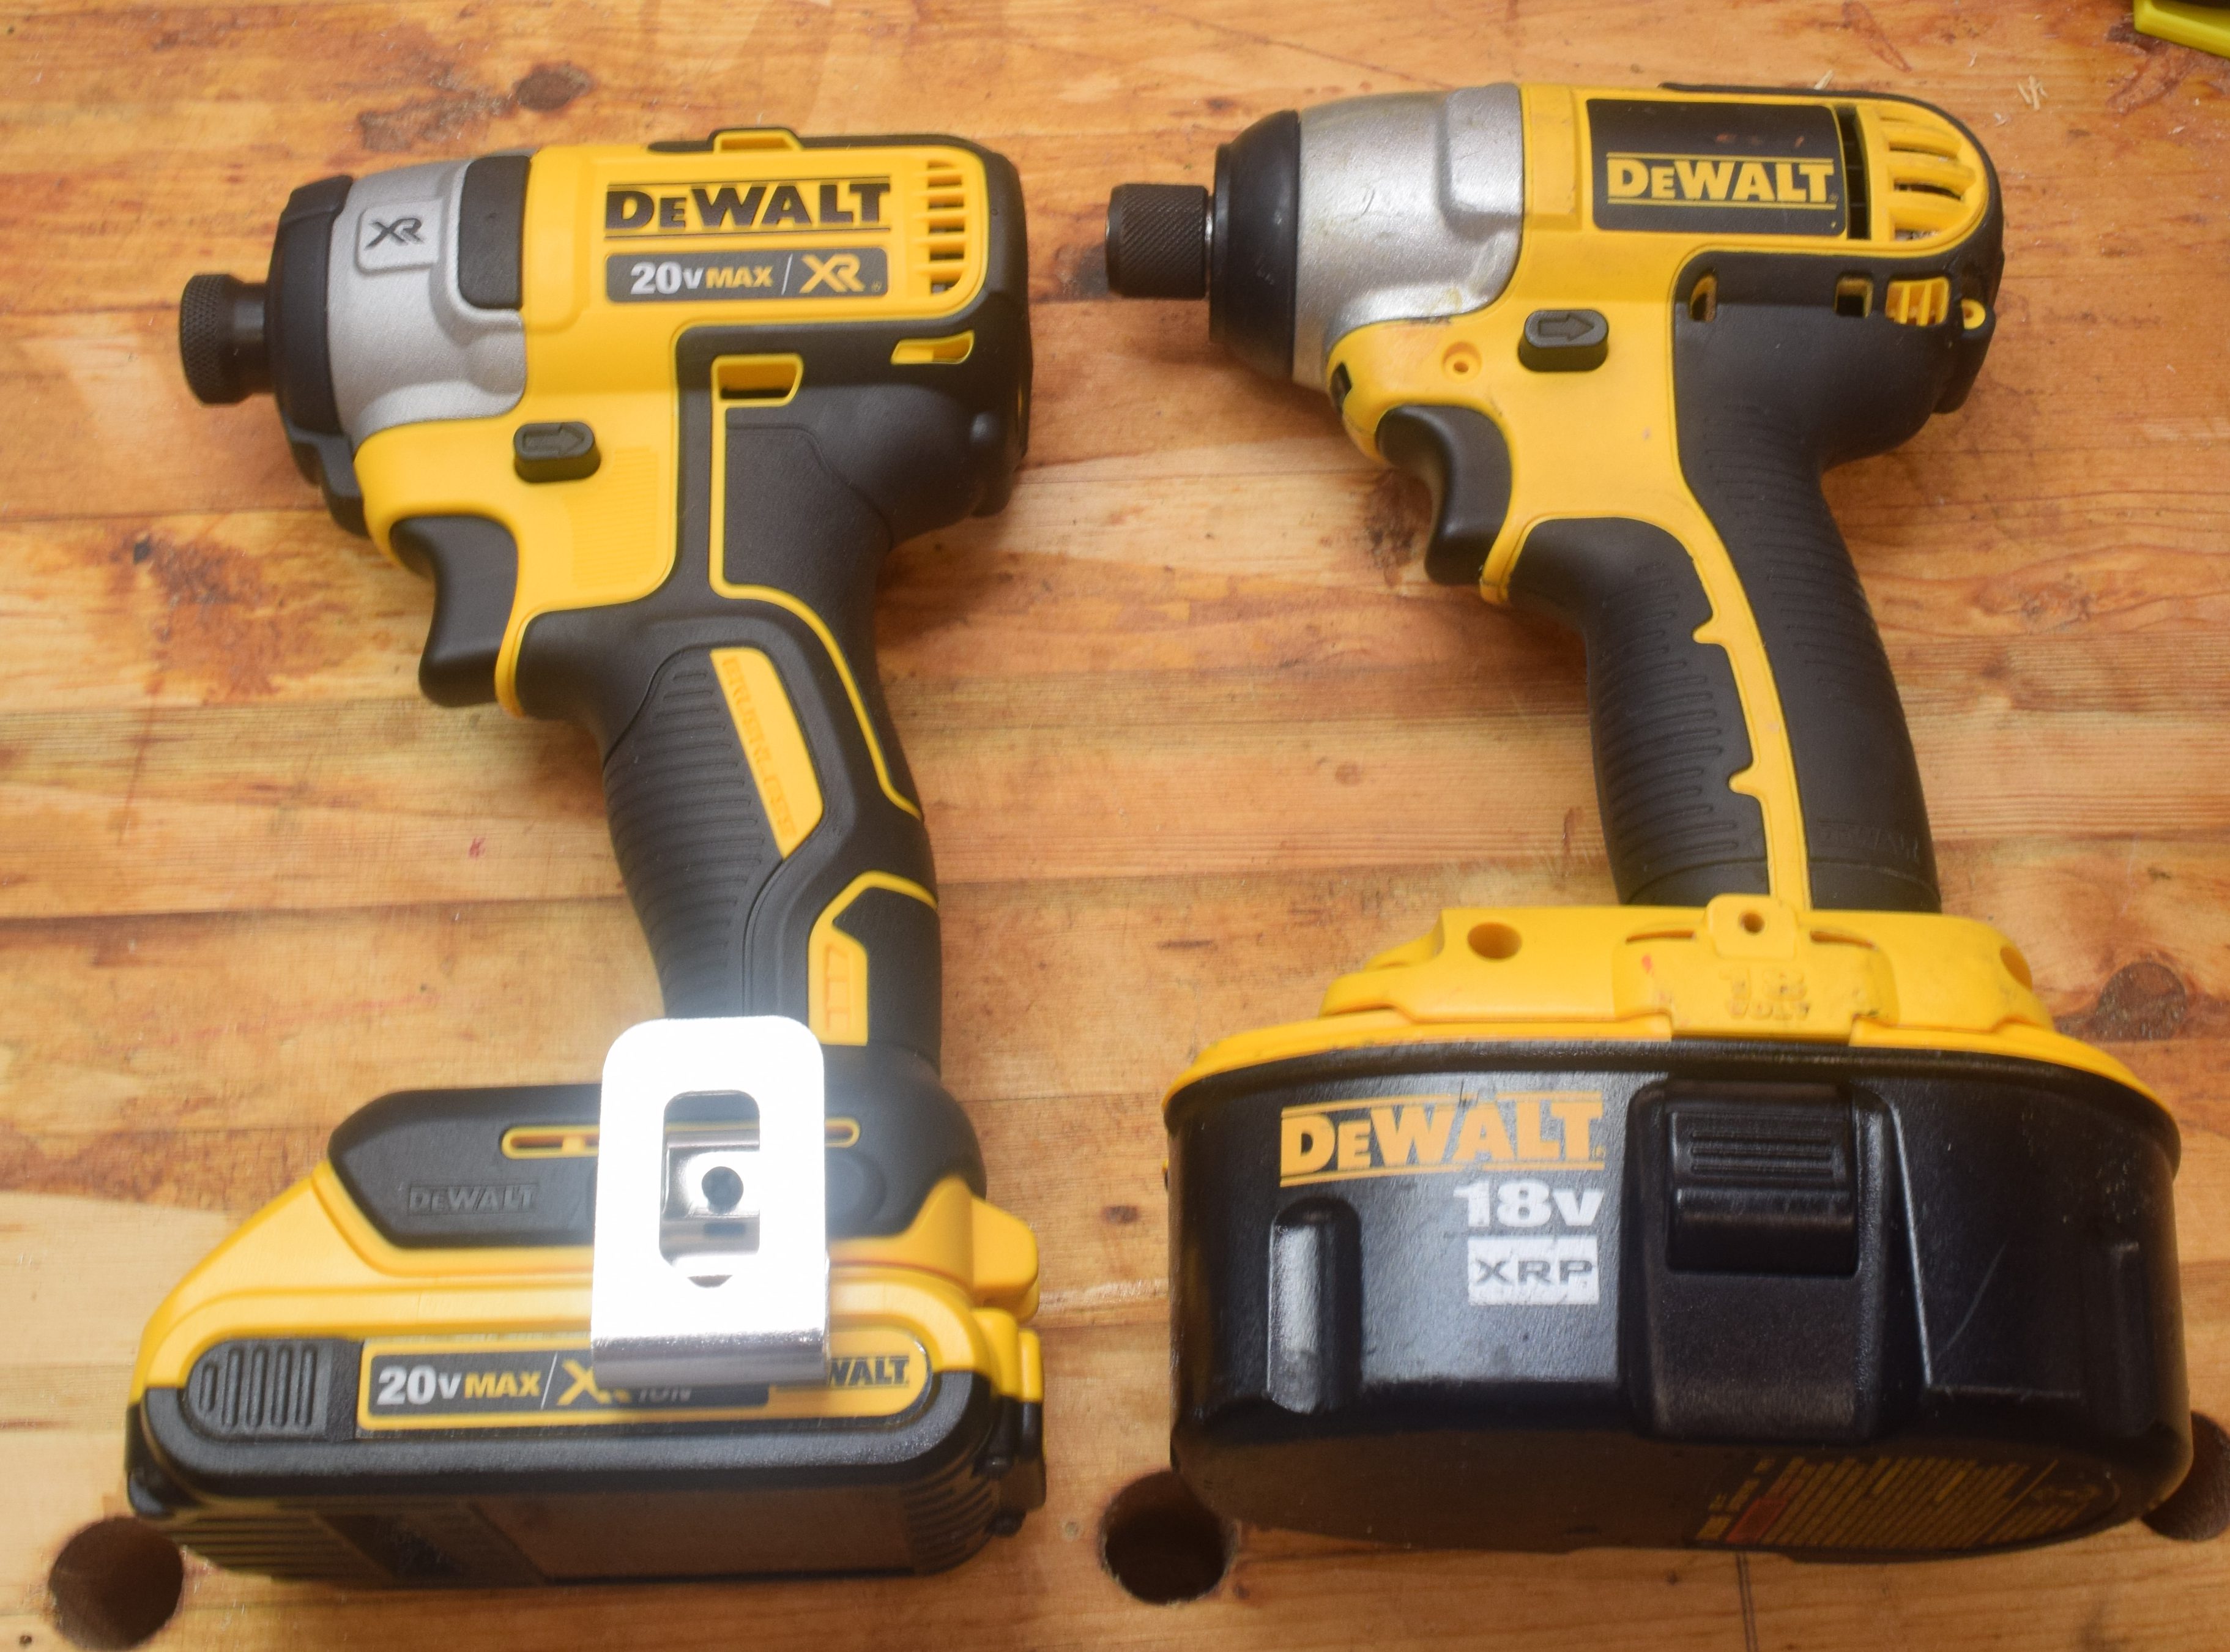
After a few weeks of using the new drill I was hooked. Fast, light and very powerful! It is like when you make a clean spot, then realize you need to clean everything. I had to replace my ailing drill/driver, but seeing the capability of the new tools meant I really wanted a new impact driver too. Black Friday swept through and provided me with a reasonably opportunity for both.

I am in building DIY heaven! Now that I have a complete set of new everything running on 20V, lets zip through the various plusses and new features.
The tools feel incredibly light and well balanced compared to the old ones. This is surprising considering that with the exception of the hammer drill (it lost 10 ounces), they weigh within an ounce of the old ones. Mostly that comes from the batteries. They go from over 2 pounds each to 3/4 of a pound per. Despite the weight loss they have a similar energy capacity to the old XRP batteries. That should go further with the brushless motors.
Without opening them up it is hard to say if they have traded a lot of metal for plastic. The chuck for the drill/driver got more compact and went all metal which is good. The hammer drill auxiliary handle went all plastic. Not great, but I don’t use it often. If they got smaller, but kept the same weight, then it would seem they are denser. Maybe they have denser packaging or the motors are heavier. Hard to say unless you took both sets apparent and compared, but they certainly don’t feel cheaper.
Aside from the brushless motors, everything got nice lighting. The drill driver even has brightness options and a 20 minute light timer if desired. Good for working in dark tight spots. They all have heavy rubber pads on their sides. When you lay them down they sit on these pads. Good for when they get knocked over, and to prevent scratches and sliding. Each one also has a built in belt hook clip. They go well on belts or pants pockets. Very handy when climbing ladders and such. The chucks have a small hexed section for tightening/un-tightening with a wrench. Last but not least, the impact driver now has 3 speed/torque settings. You can gently install or remove screws from soft delicate structures, or really punch home a long bolt.
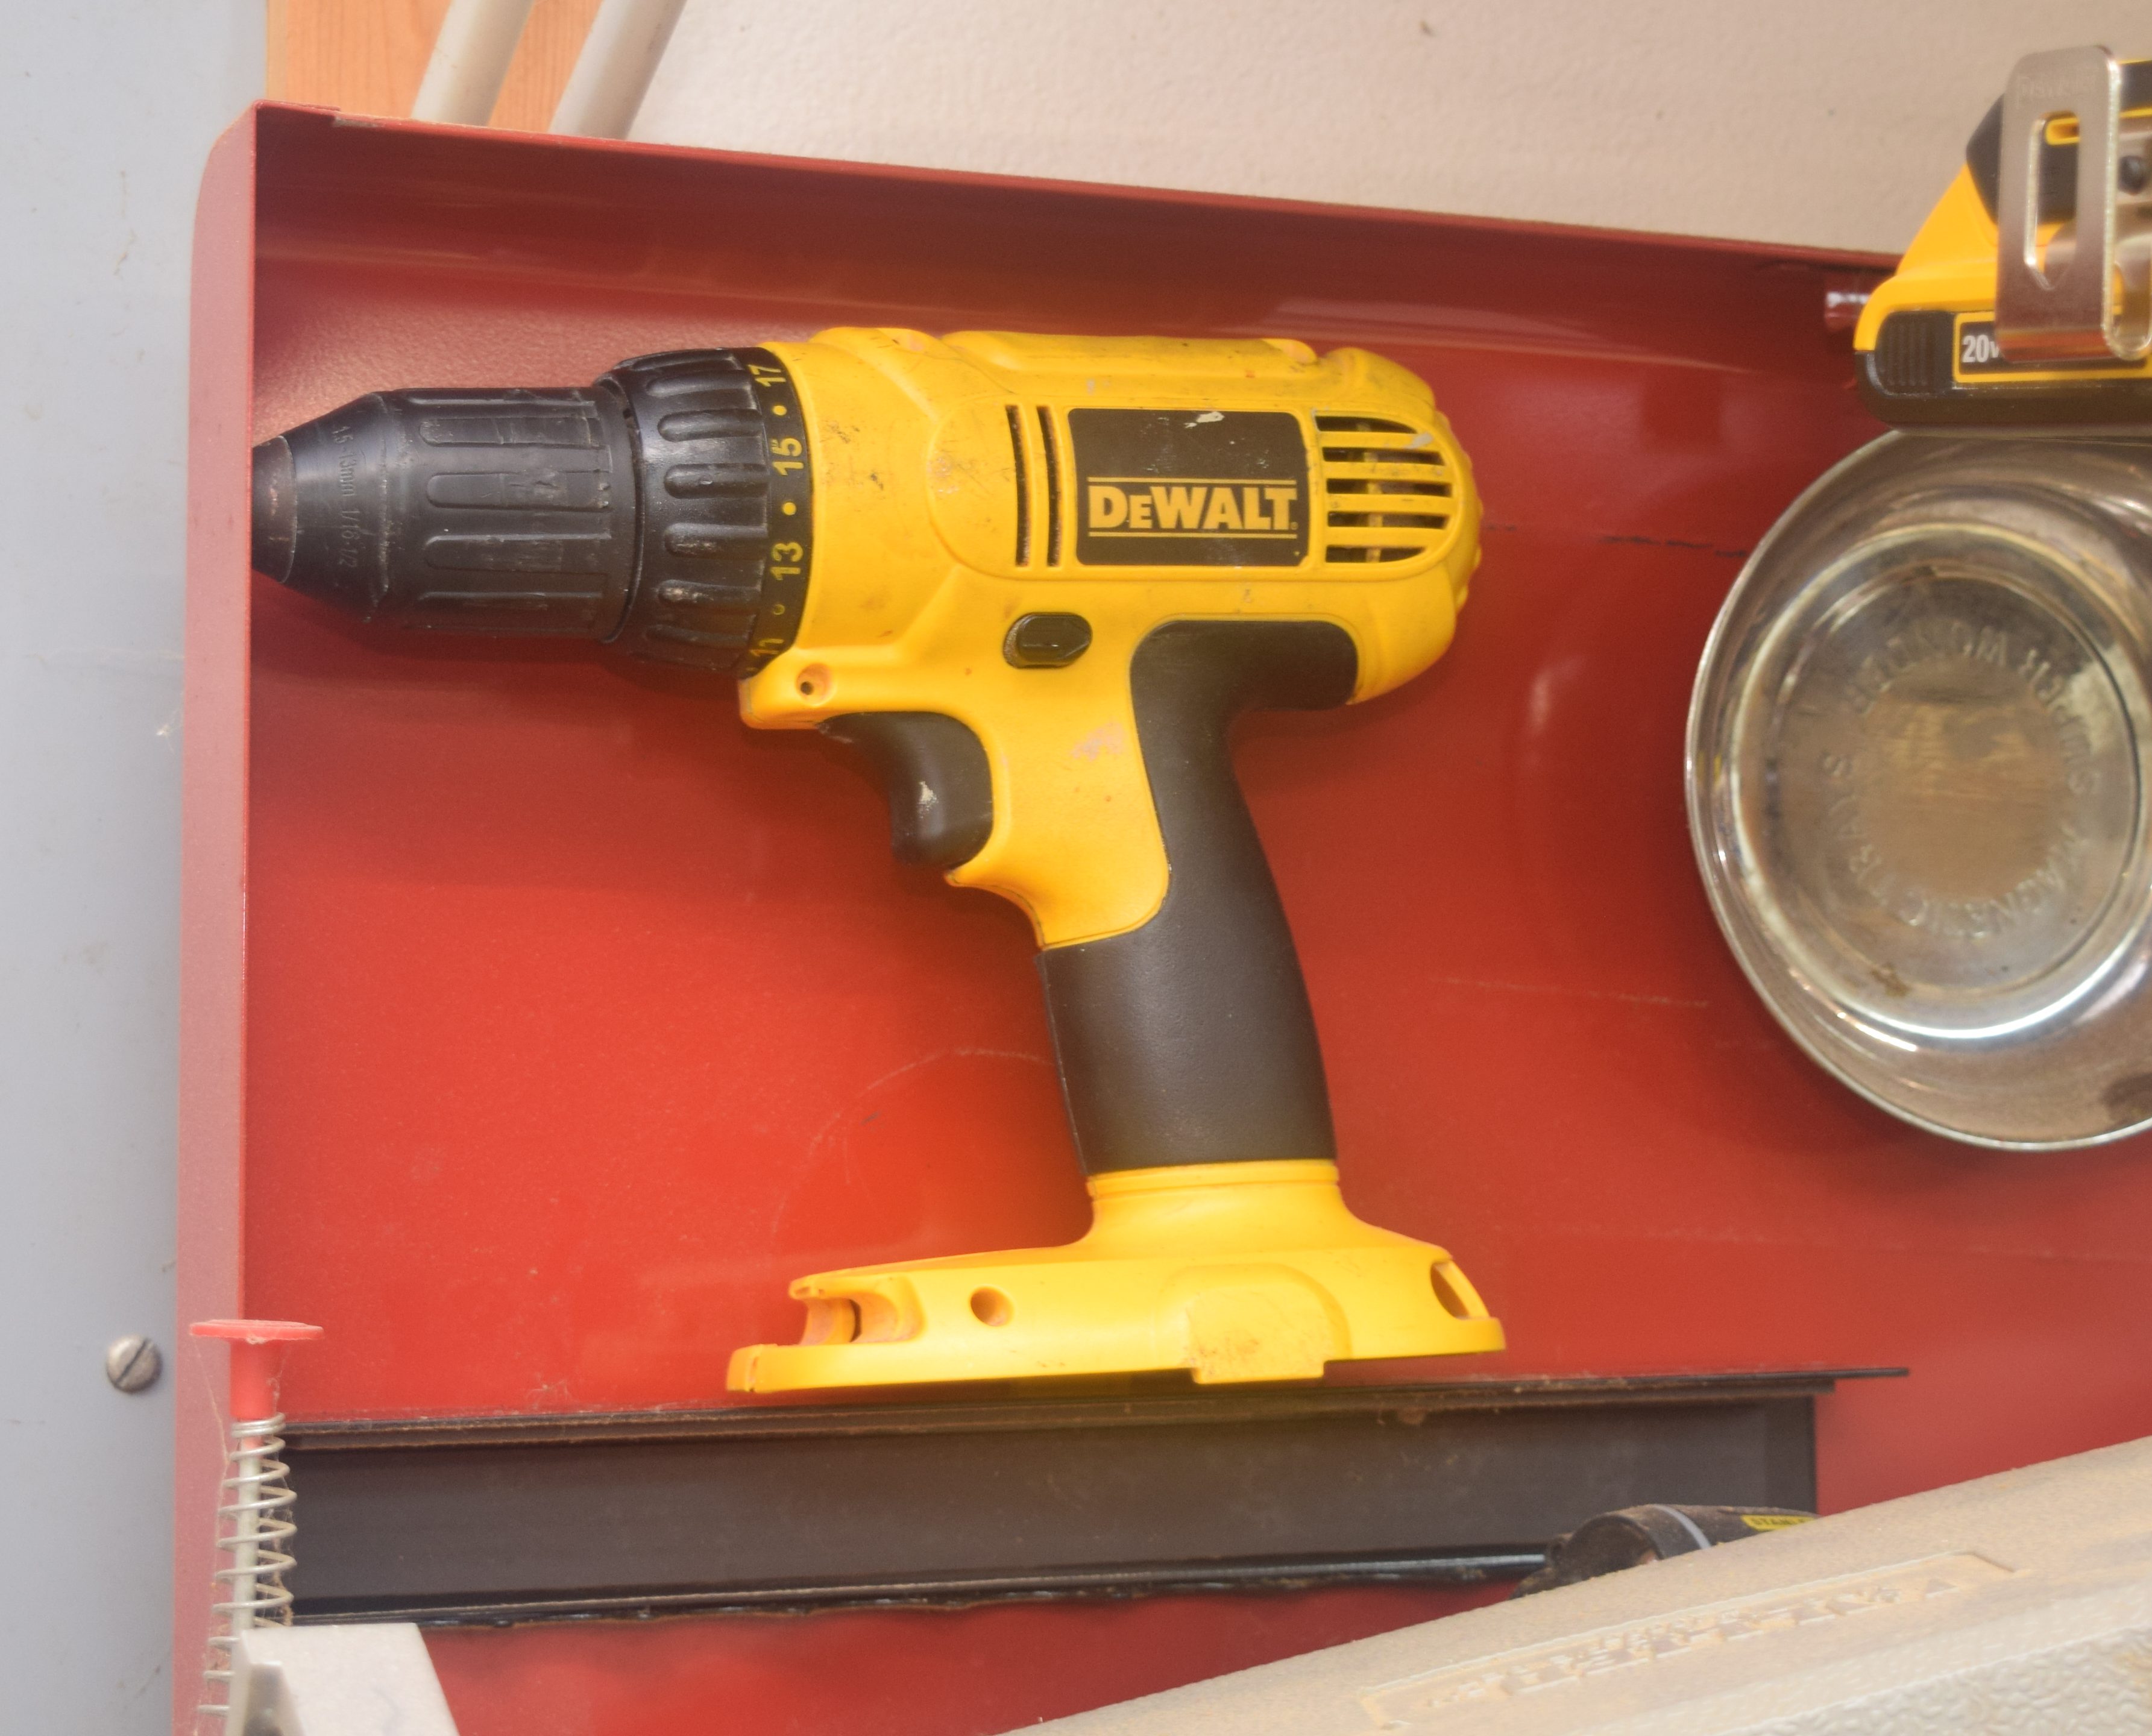
Enough gushing about my new toys, they still are going to spend a lot of their life sitting around. As it turns out, they fit perfectly in the hanging rack where my old ones went.


Most of the old tools and batteries are going to friends and family. The drill isn’t much use to anyone, and I wanted to keep it. My dad gave it to me, and it was kind of my first real tool. I hot glued some magnetic stripping across the back and used some other magnetic brackets to prop it up in my toolbox lid. Kind of a trophy or memorial to a great tool. I did a lot of work with that thing! Maybe I will get around to mounting it on a real plaque someday.
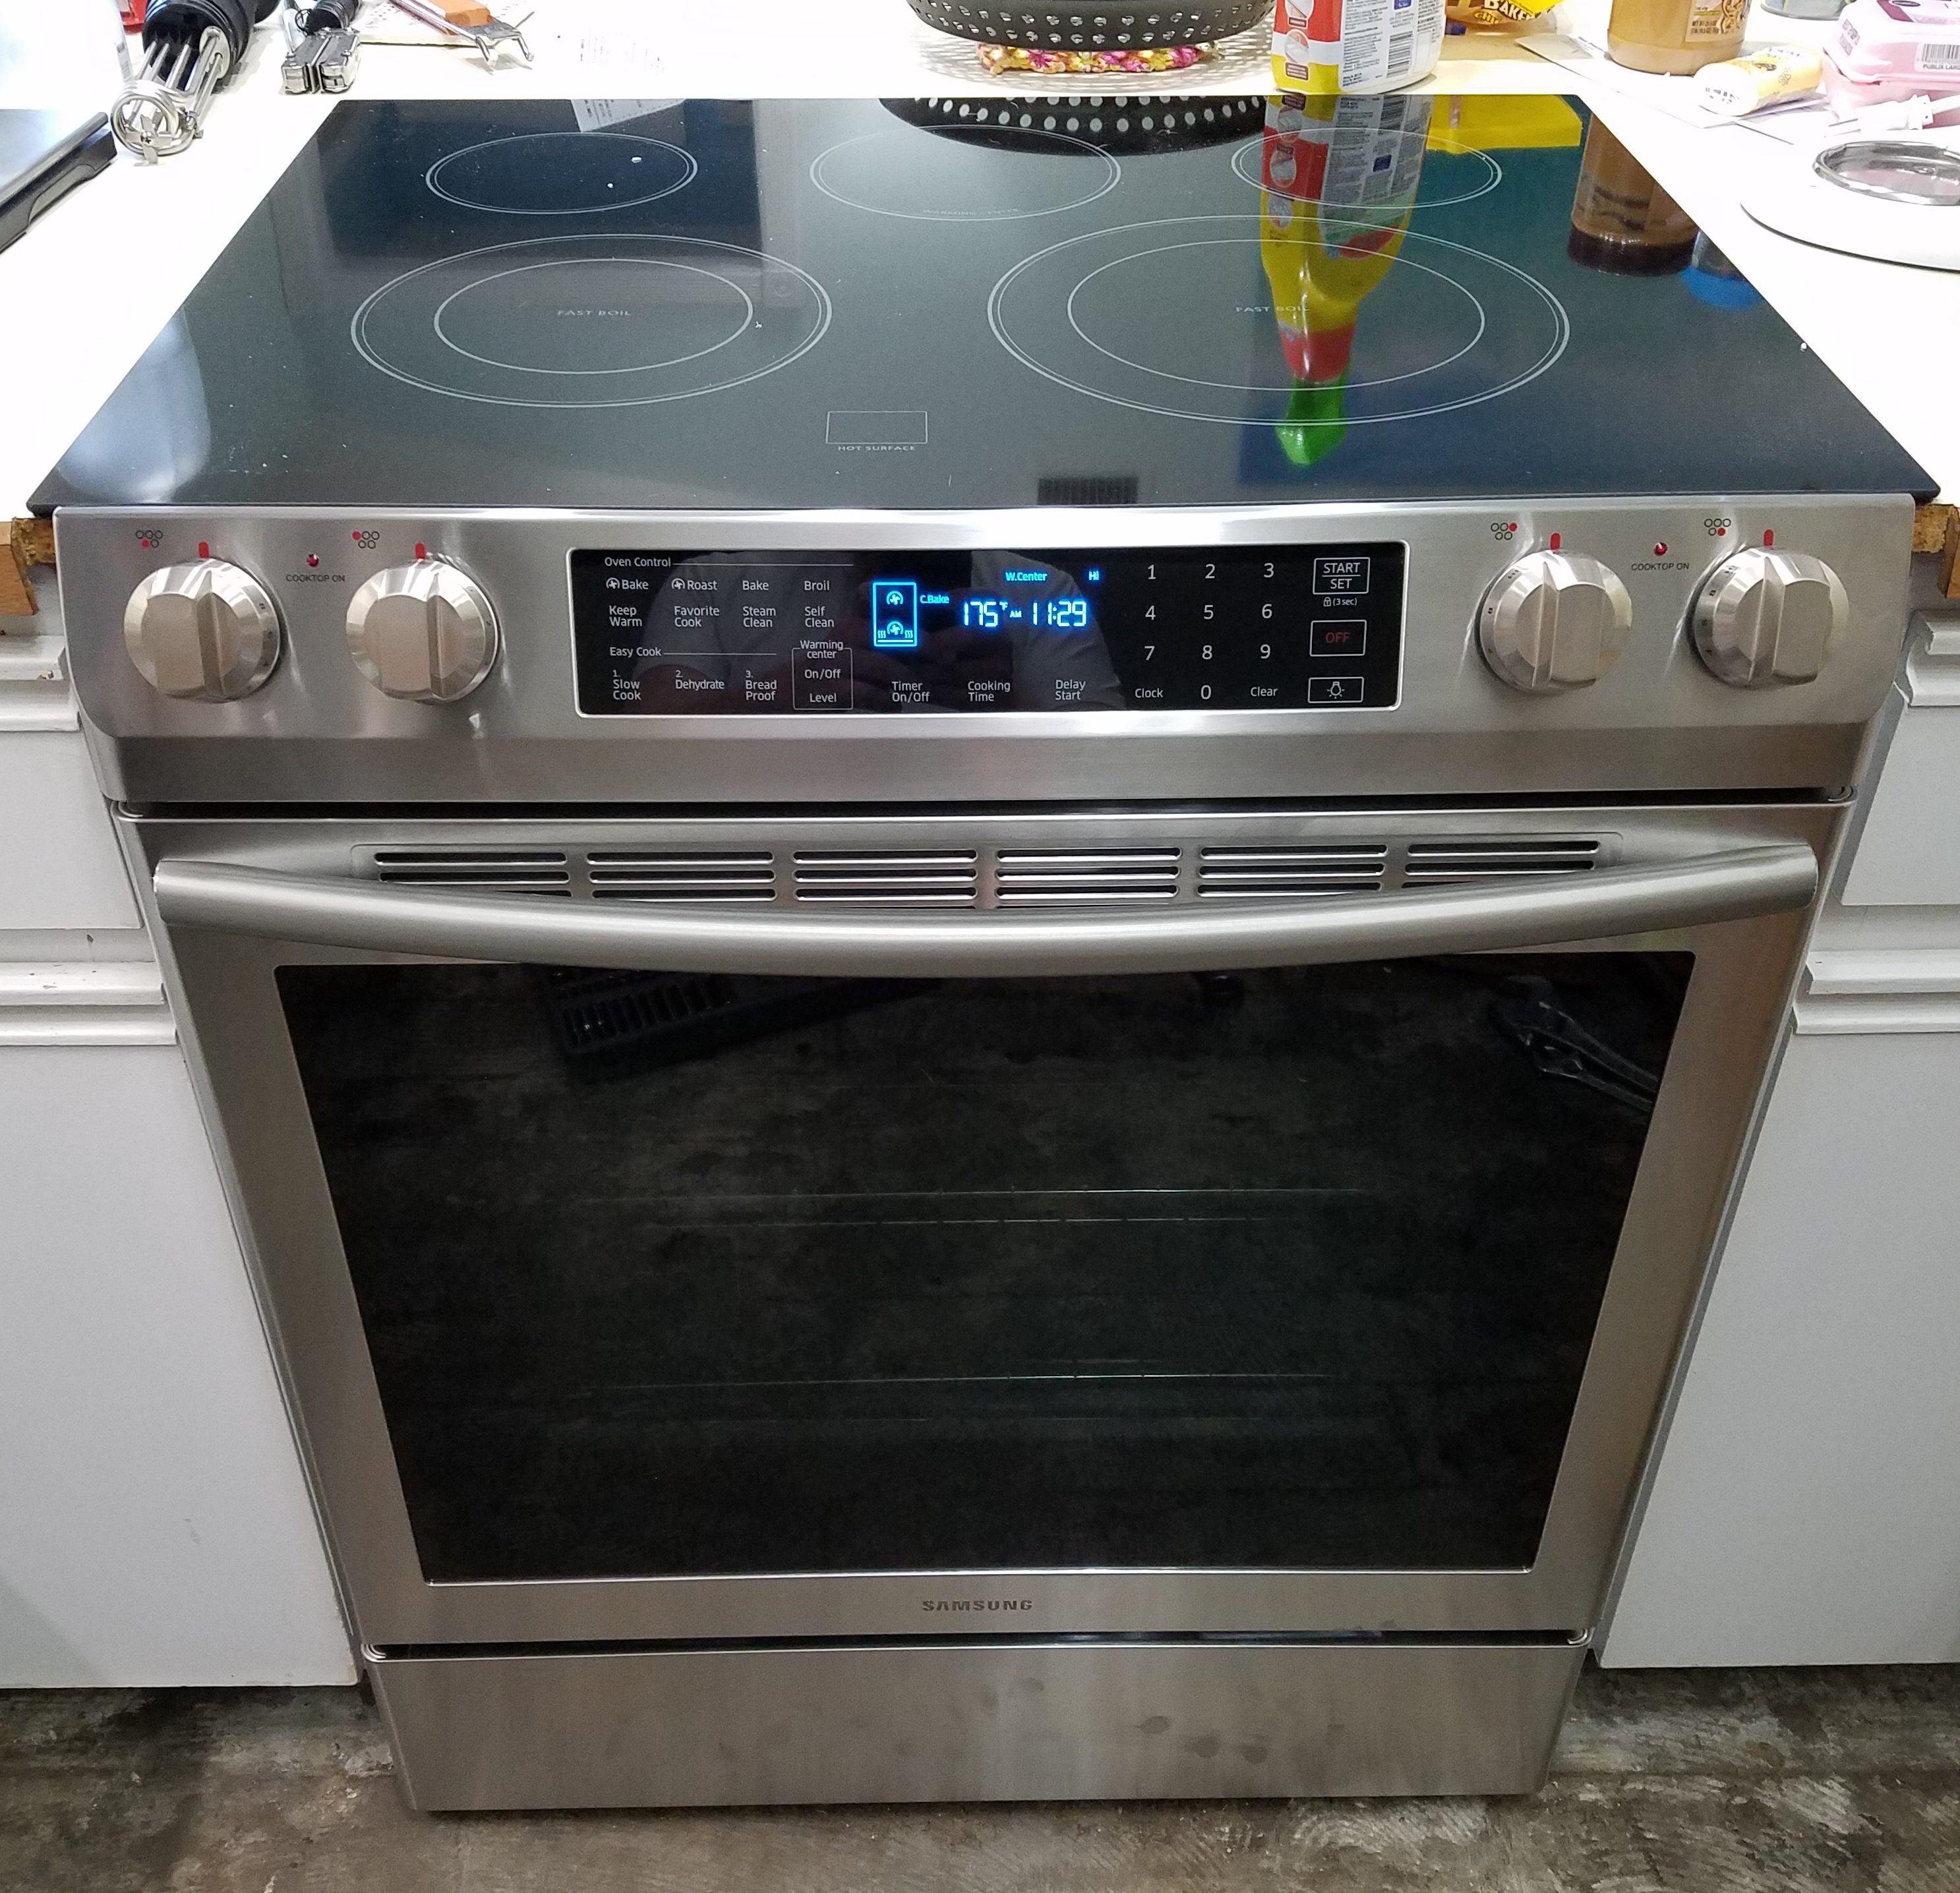
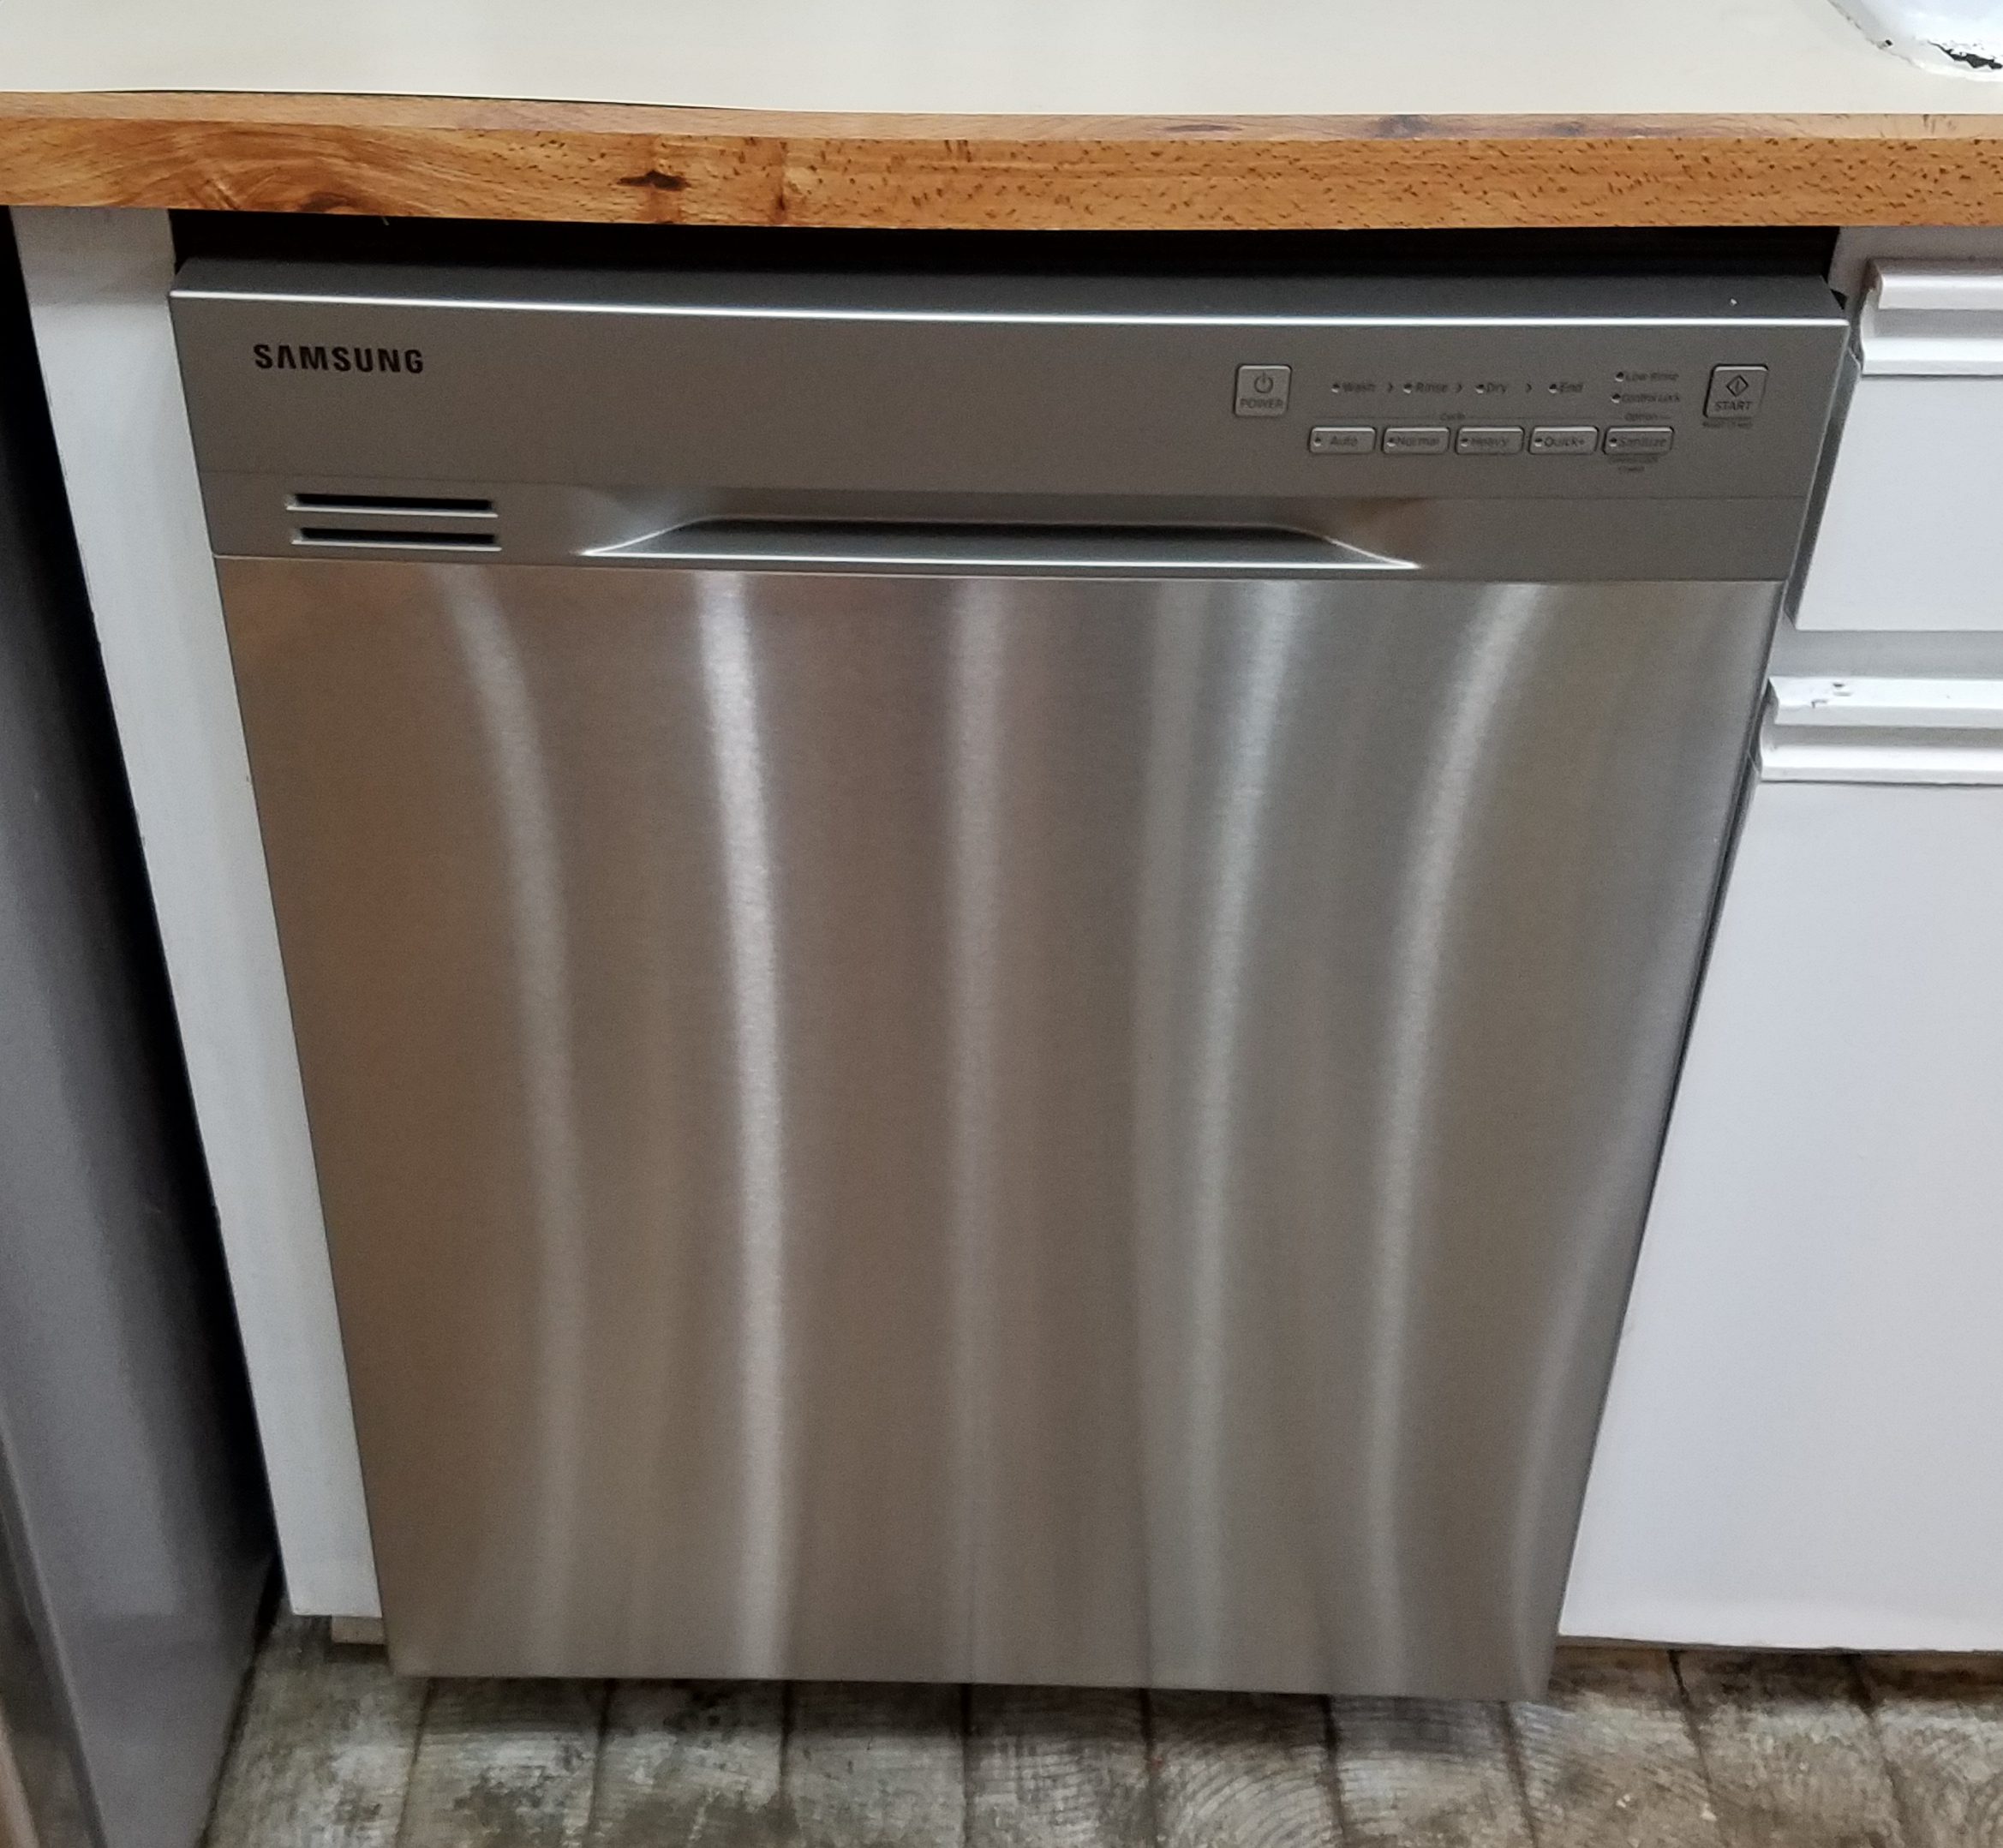
Strike number two in the kitchen renovation! I ordered a new stove and dishwasher as part of the November black Friday madness. Instead of waiting for them to arrive after the new cabinets go in I’ll do them early. To some extent this doubles my work as I will have to uninstall these in a few weeks when the renovations start. While that isn’t ideal, this lets me work out the process and guarantees I have the right parts on hand.
The two patients to be worked on are a very old chef magic dishwasher and a GE slide in glass top stove. The dishwasher was rusting out and had a broken soap door when I bought the house 7+ years ago. I thought it would die soon, but it has held on! The oven is decent, but the top was scratched badly (not by me). It worked well aside from a somewhat expensive touch board failure a few years back.


Off with their heads as it were! Well first I was able to run one final load of dishes before the delivery guys came. Just in case I spent a long time getting them all installed, I would at least have clean dishes.
First comes the unwrapping and the very careful reading of instructions. Or rather the unwrapping and the smelling of new appliances. Instructions would only come when I was really really stuck!


They really do look gorgeous! The stove was the first one to go. I had already pulled the old one out a few times for measurements and such. The cord swap went quickly, and after some cleanup and feet leveling I was able to shove the new one home. It is a good thing I got these now, the front overhang is slightly different. My old stove covered the countertop a bit differently and it leaves some edges exposed. This would be a problem, but we are getting new everything, and the countertops will be fitted to this stove. Good thing I acted now.
Next came a perplexing game of “figure out how dishwashers are installed”. The plumbing was pretty straight forward, but the electrical turned out to be an issue. It is barely long enough to reach the front panel let alone let you pull the unit out past an inch or so. I eventually worked everything out and got the old girl to the street corner where she belongs. The new one went in slowly but without major incident. I barely have enough power cord, so a modification of the permanent electrical system is in order.
For anyone working on this kind of thing, I highly recommend stubby wrenches. Much better for getting into those tight places under the dishwasher. Like installing the adapter for the water supply. Got lest than 6 inches of wrench room? No problem for a stubby!

The new appliances are wonderful. The dishwasher is very quiet and cleans a thousand times better than the previous junker. The stove has a lot more cook top flexibility, and gets hotter faster than the other. It even managed to get through a 7 dish Thanksgiving baking session without spilling anything! Now if I could just get the rest of the kitchen to catch up to these two beauties I would be all set.
The slow take-back of the porch continues. With all the bunny stuff gone, I have to get things organized so we can maximize the available space. I have grill stuff everywhere. Three propane cylinders for the grill, outdoor cooker, and spares for hurricane season. I put all my Traeger pellets into kingsford charcoal bins to keep them organized and from spilling all over the place. This all needs a nice storage rack.
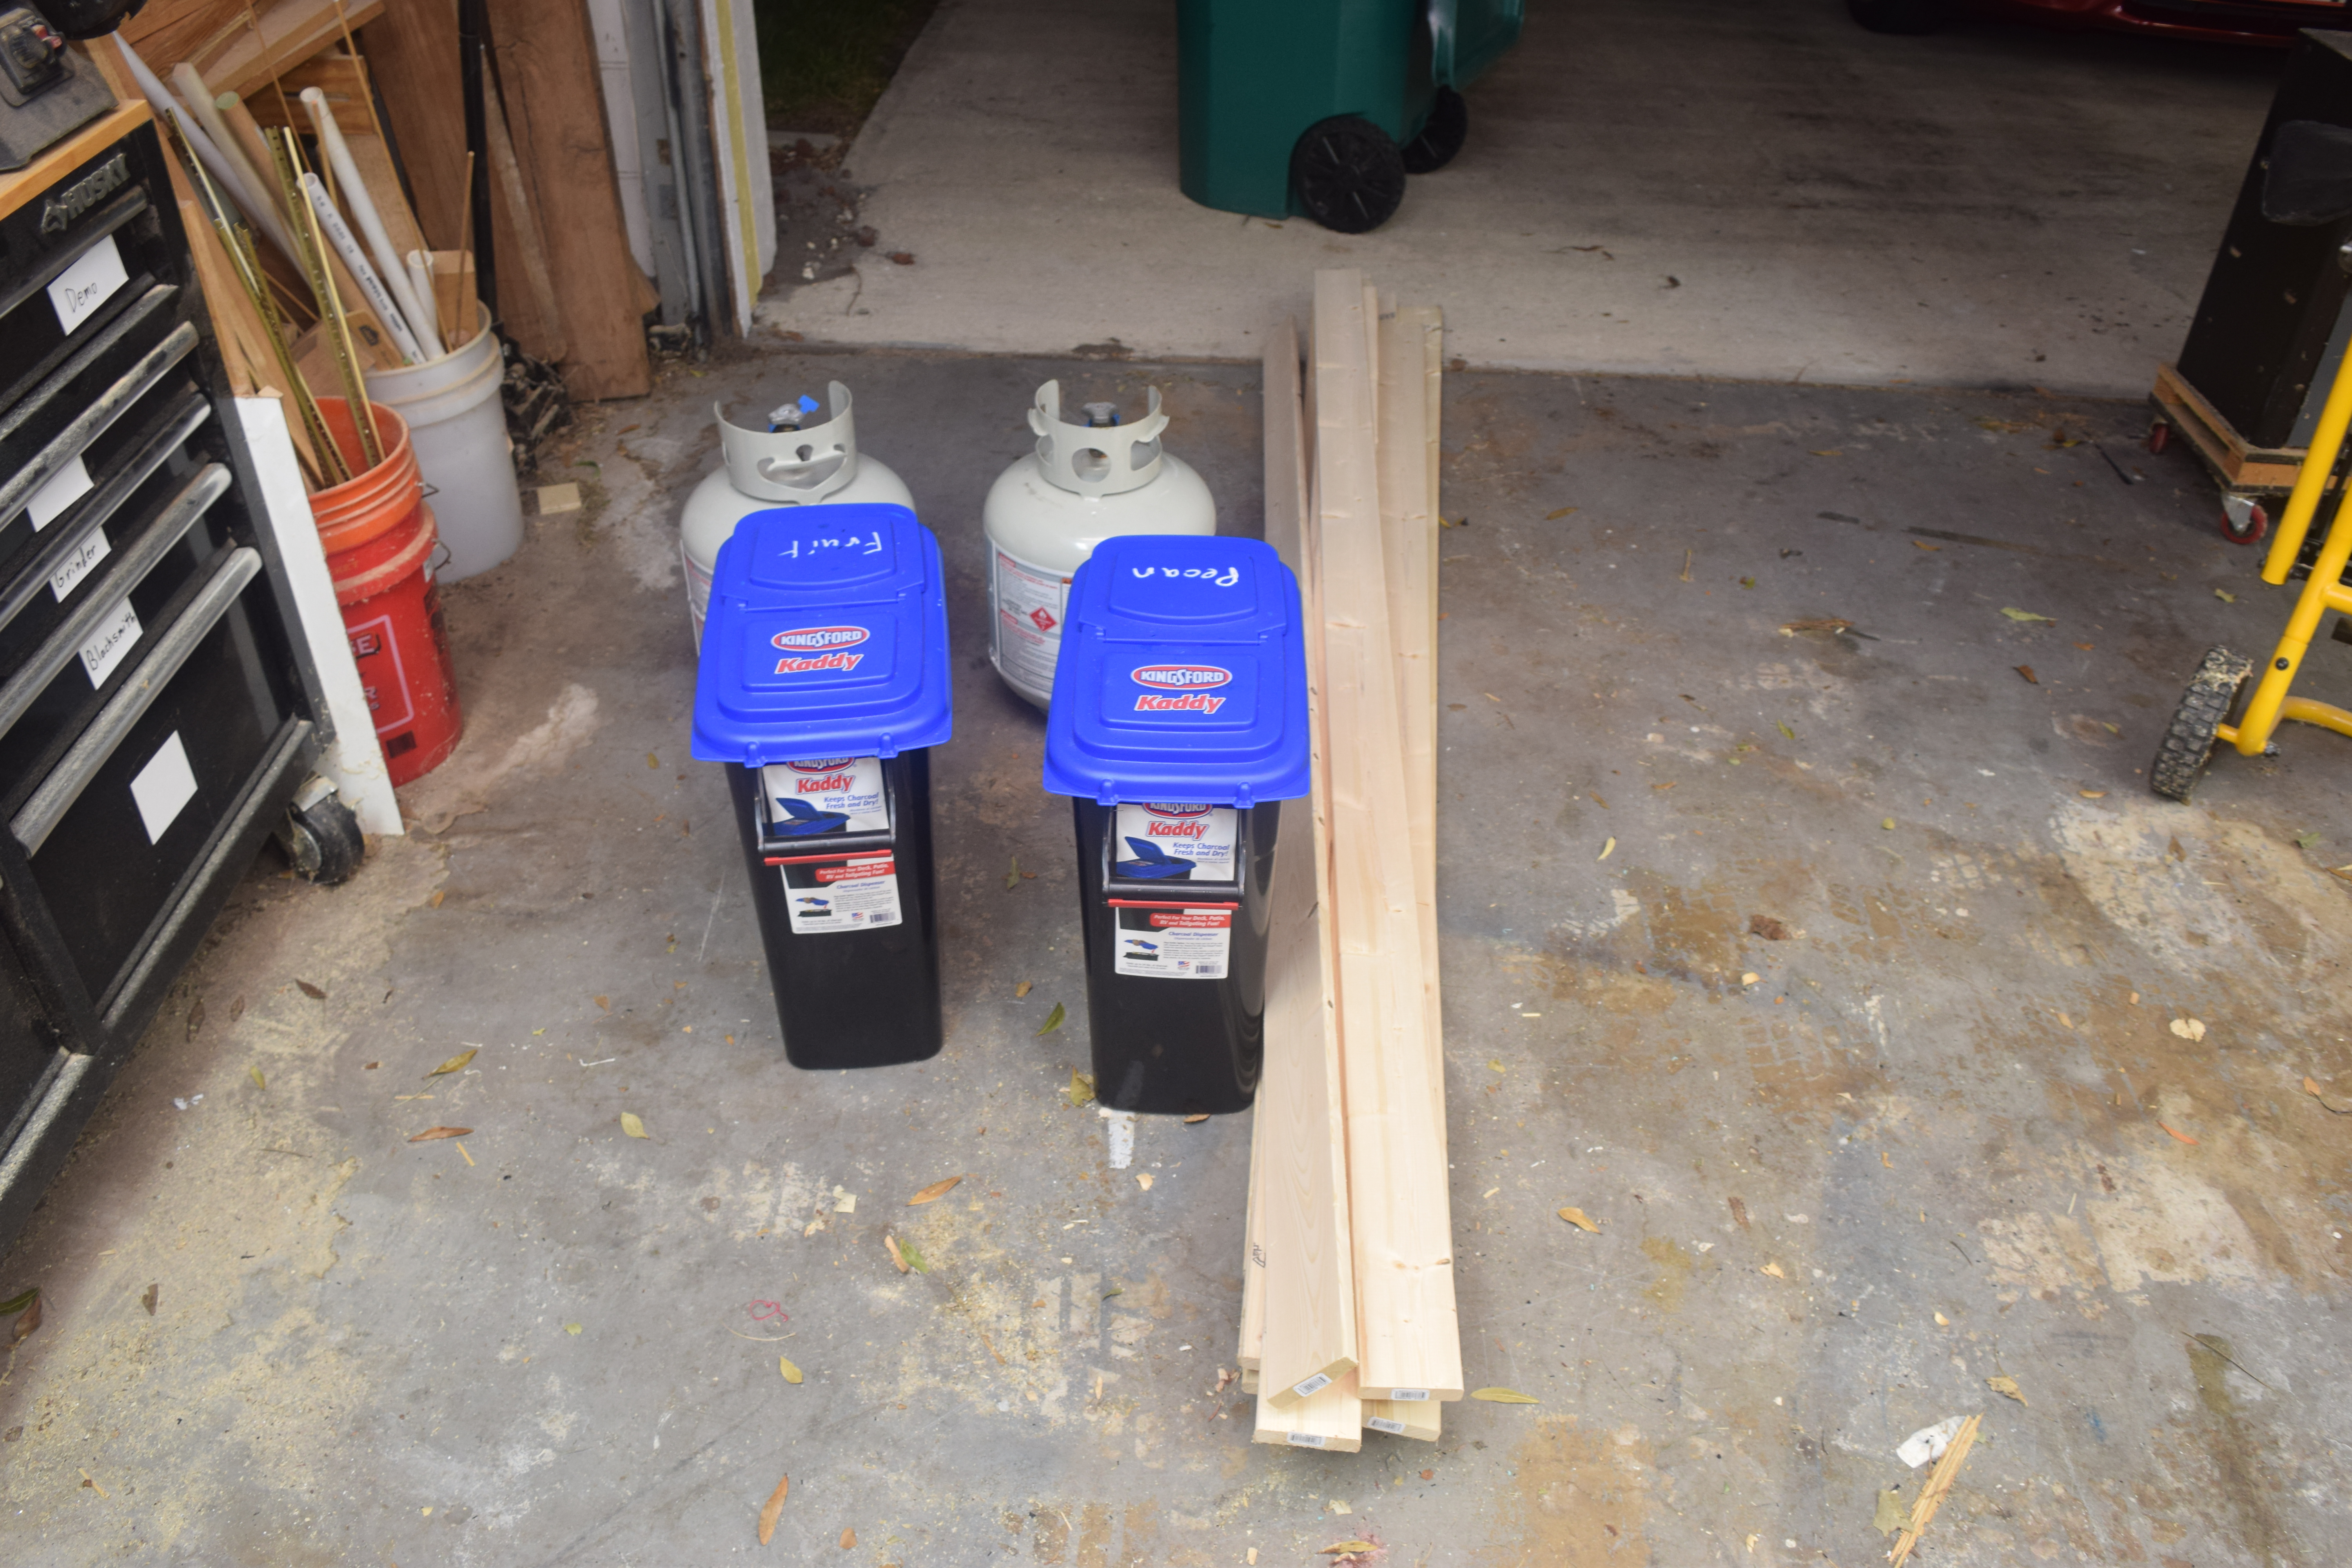 I was planning on using 1x4s to do a majority of the building, but found that the store was out of their basic grade boards. Instead I noticed their furring strips. 1×4 with nicely rounded edges for about a 1.70 a piece. The quality is terrible. They are very light rough and soft pine. Many were so bent and twisted you couldn’t even use them for boat building. Still, with enough cherry picking I got some good boards and was able to keep my whole project cost to less than 15 bucks.
A few scraps of 2×4 made uprights for the two level contraption. I set the width so that I could store the 3 propane tanks comfortably below with a few pellet bins on top. Keeping the propane low seems like a good idea. Less distance to fall.

Short pickets run between the two frames to tie them together and give the propane tanks a stable surface to sit on.

The top shelf could hold a lot of weight in pellets. To help stiffen the two existing runs I wrapped a vertical boarder around the edge. It added a lot of strength to the shelf, keeps the pellet bins from sliding off, and looks nice!


Everything fits as intended, and I am ready to give it all a heavy coating of boiled linseed oil. Never used this on an outdoor project, but it will live under cover on the porch, so it should work out.

24 hours later the coating was nicely cured, and the wood took on a lovely golden yellow look. I may have to use furring strips more often! It looks good on the back porch and helped clean up a lot of space. I wish I had gone a few inches wider though, I could have gotten another bucket of pellets up there. Oh well, next time!

I have made the first salvo in the kitchen makeover war. It needs a better name. How about instead of the war of the roses it could be the war of the spatulas? Any who, instead of leaving everything for the two weeks or so I will be doing our kitchen renovation, I am tackling small jobs that are easy and won’t involve a lot of backtracking. For example, some of the lights can be installed now and left in place throughout the renovation.
First, what did I have to start with? A fluorescent tube set over the sink, a hanging light trifecta over the stove, and on the ceiling, a spot light array. I did the one on the ceiling a few years back, and the one over the stove when I first moved in. The stove one looks nice, but doesn’t provide the best lighting. The ceiling one is bright, but kind of harsh and the color temp isn’t great.


For above the sink I went with an under-cabinet LED light. I want to put lights under the cabinets to the left and right of the sink. I figured using the same light over the sink and under the cabinets would tie together well. I found some with a good color temp and really high CRI. I installed one as a test. I love it and bought the rest of what I will need! There is going to be a second one under the window, and one under each cabinet all connected to the same switch after the cabinets get installed.

I went with a matching set of lights for the ceiling and over the stove. They are the same style from the same company with 4 lights over the stove and 6 on the ceiling. Frosted spot lights directed most of the shine downwards over the stove, while regular bulbs were used in the ceiling. The modern “daylight” LED bulbs are amazing!


The kitchen is already nicer to work in. Next will be an early appliance delivery. After that, I am out of things to do before starting a full kitchen destruction in ernest.
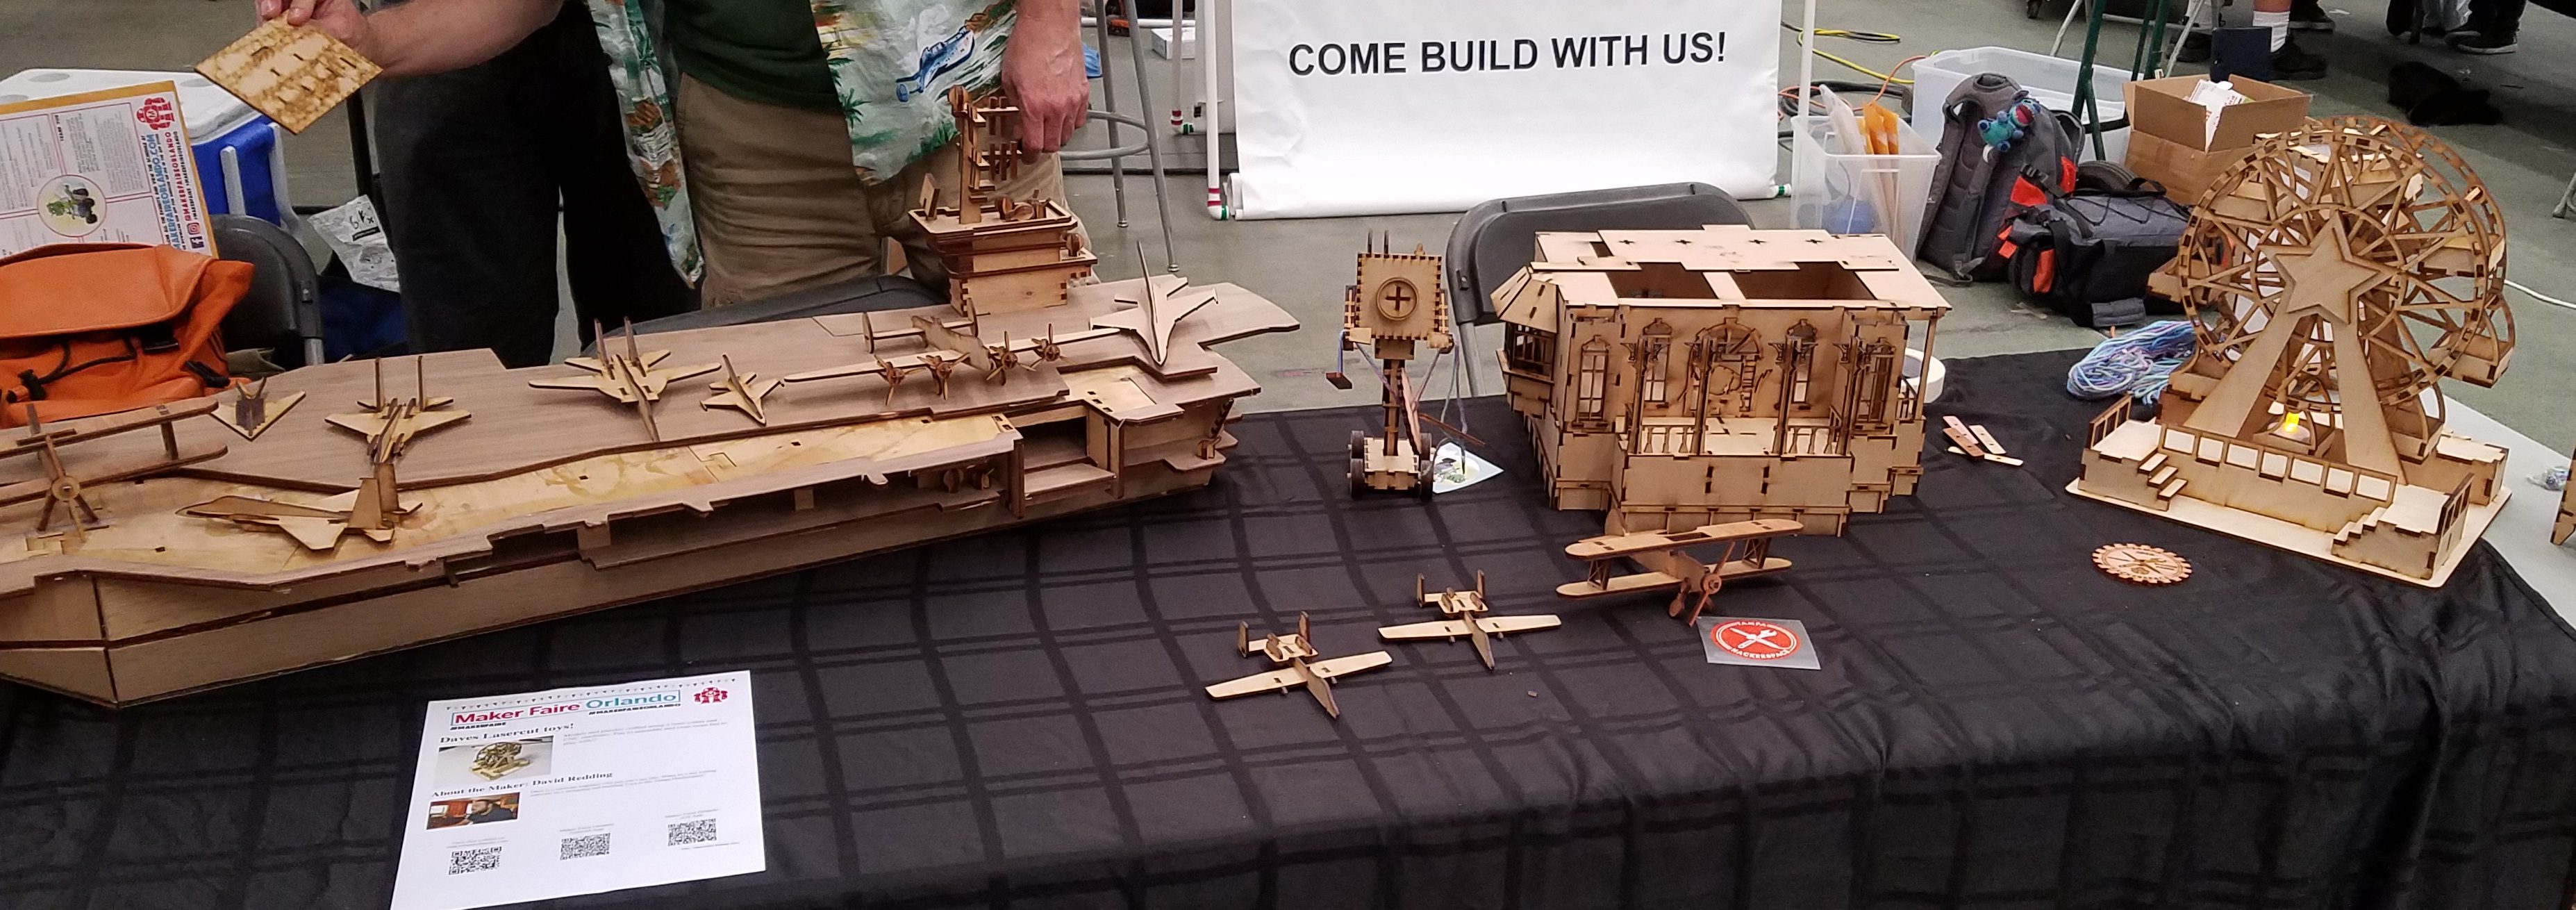
I haven’t been to the Orlando Maker Faire in years, and wow was I missing out. I volunteered for Matrix Flare because a co-worker was running it and they were doing great things for kids. We were giving away thousands of LED lantern kits and helping kids assemble them. They are basically LED throwies, but stuck inside a little plastic cup instead of thrown with a magnet. The assembly was super simple, but for young kids it was a great into to making. This was our booth.

I wanted to take a picture or two showing all the kids making little LED lanterns, but we were swamped nearly the entire time. For 8 hours I sat and helped kids from 3 to 63 assemble lanterns. It was cool to watch the younger ones figure it out and have their own glowing lamp to take home. For the brave we had a challenge of modifying the original lamp design to make it switchable. Anyone that could would get one of a variety of 3D printed prizes. We saw a lot of different solutions.
I eventually got some time to break away and check out the local displays. Many of them were neat enough to warrant a short video. Here was my collection.
Speaking of 3D Printers SeeMeCNC had one capable of prints a few feet in diameter, and 10+ feet tall. The pikachu has a Jacob for scale, the angel was taller than he is.


One group was looking to build ISO containers that could print various materials. I didn’t hear what the print dimensions were, but probably 6x6x15 feet or so. Sounds like a neat job site tool to have around.

There was Star Wars a plenty. Lots of storm troopers running around, a really good sand person, Lego symbols, and RC R2D2s.


Other movie props were represented with a few groups that did recreation and reinvision. This guy had a time machine that could drive around.


I always liked steampunk and they had plenty of booths dedicated to showing off steampunk props, leatherwork, and the reinvisioning of super heroes.

Last but not least, check out these sweet wooden models!
Speaking of wood, Darryl from Dread Knot Woodshop was doing some turning demonstrations. I should have taken pics or a video, but was practically running to see everything and get back to the booth for more lantern time. Next year, take 2 days to volunteer and see everything slowly!
We had quite a storm pass through here recently. Matthew was the highest wind hurricane I had ever dealt with, though not the biggest or most destructive. Still, I am a home owner this time, so I have a lot of skin in the game. The shutters went up, the yard was cleared, the bees were hunkered down, and we got out of dodge.
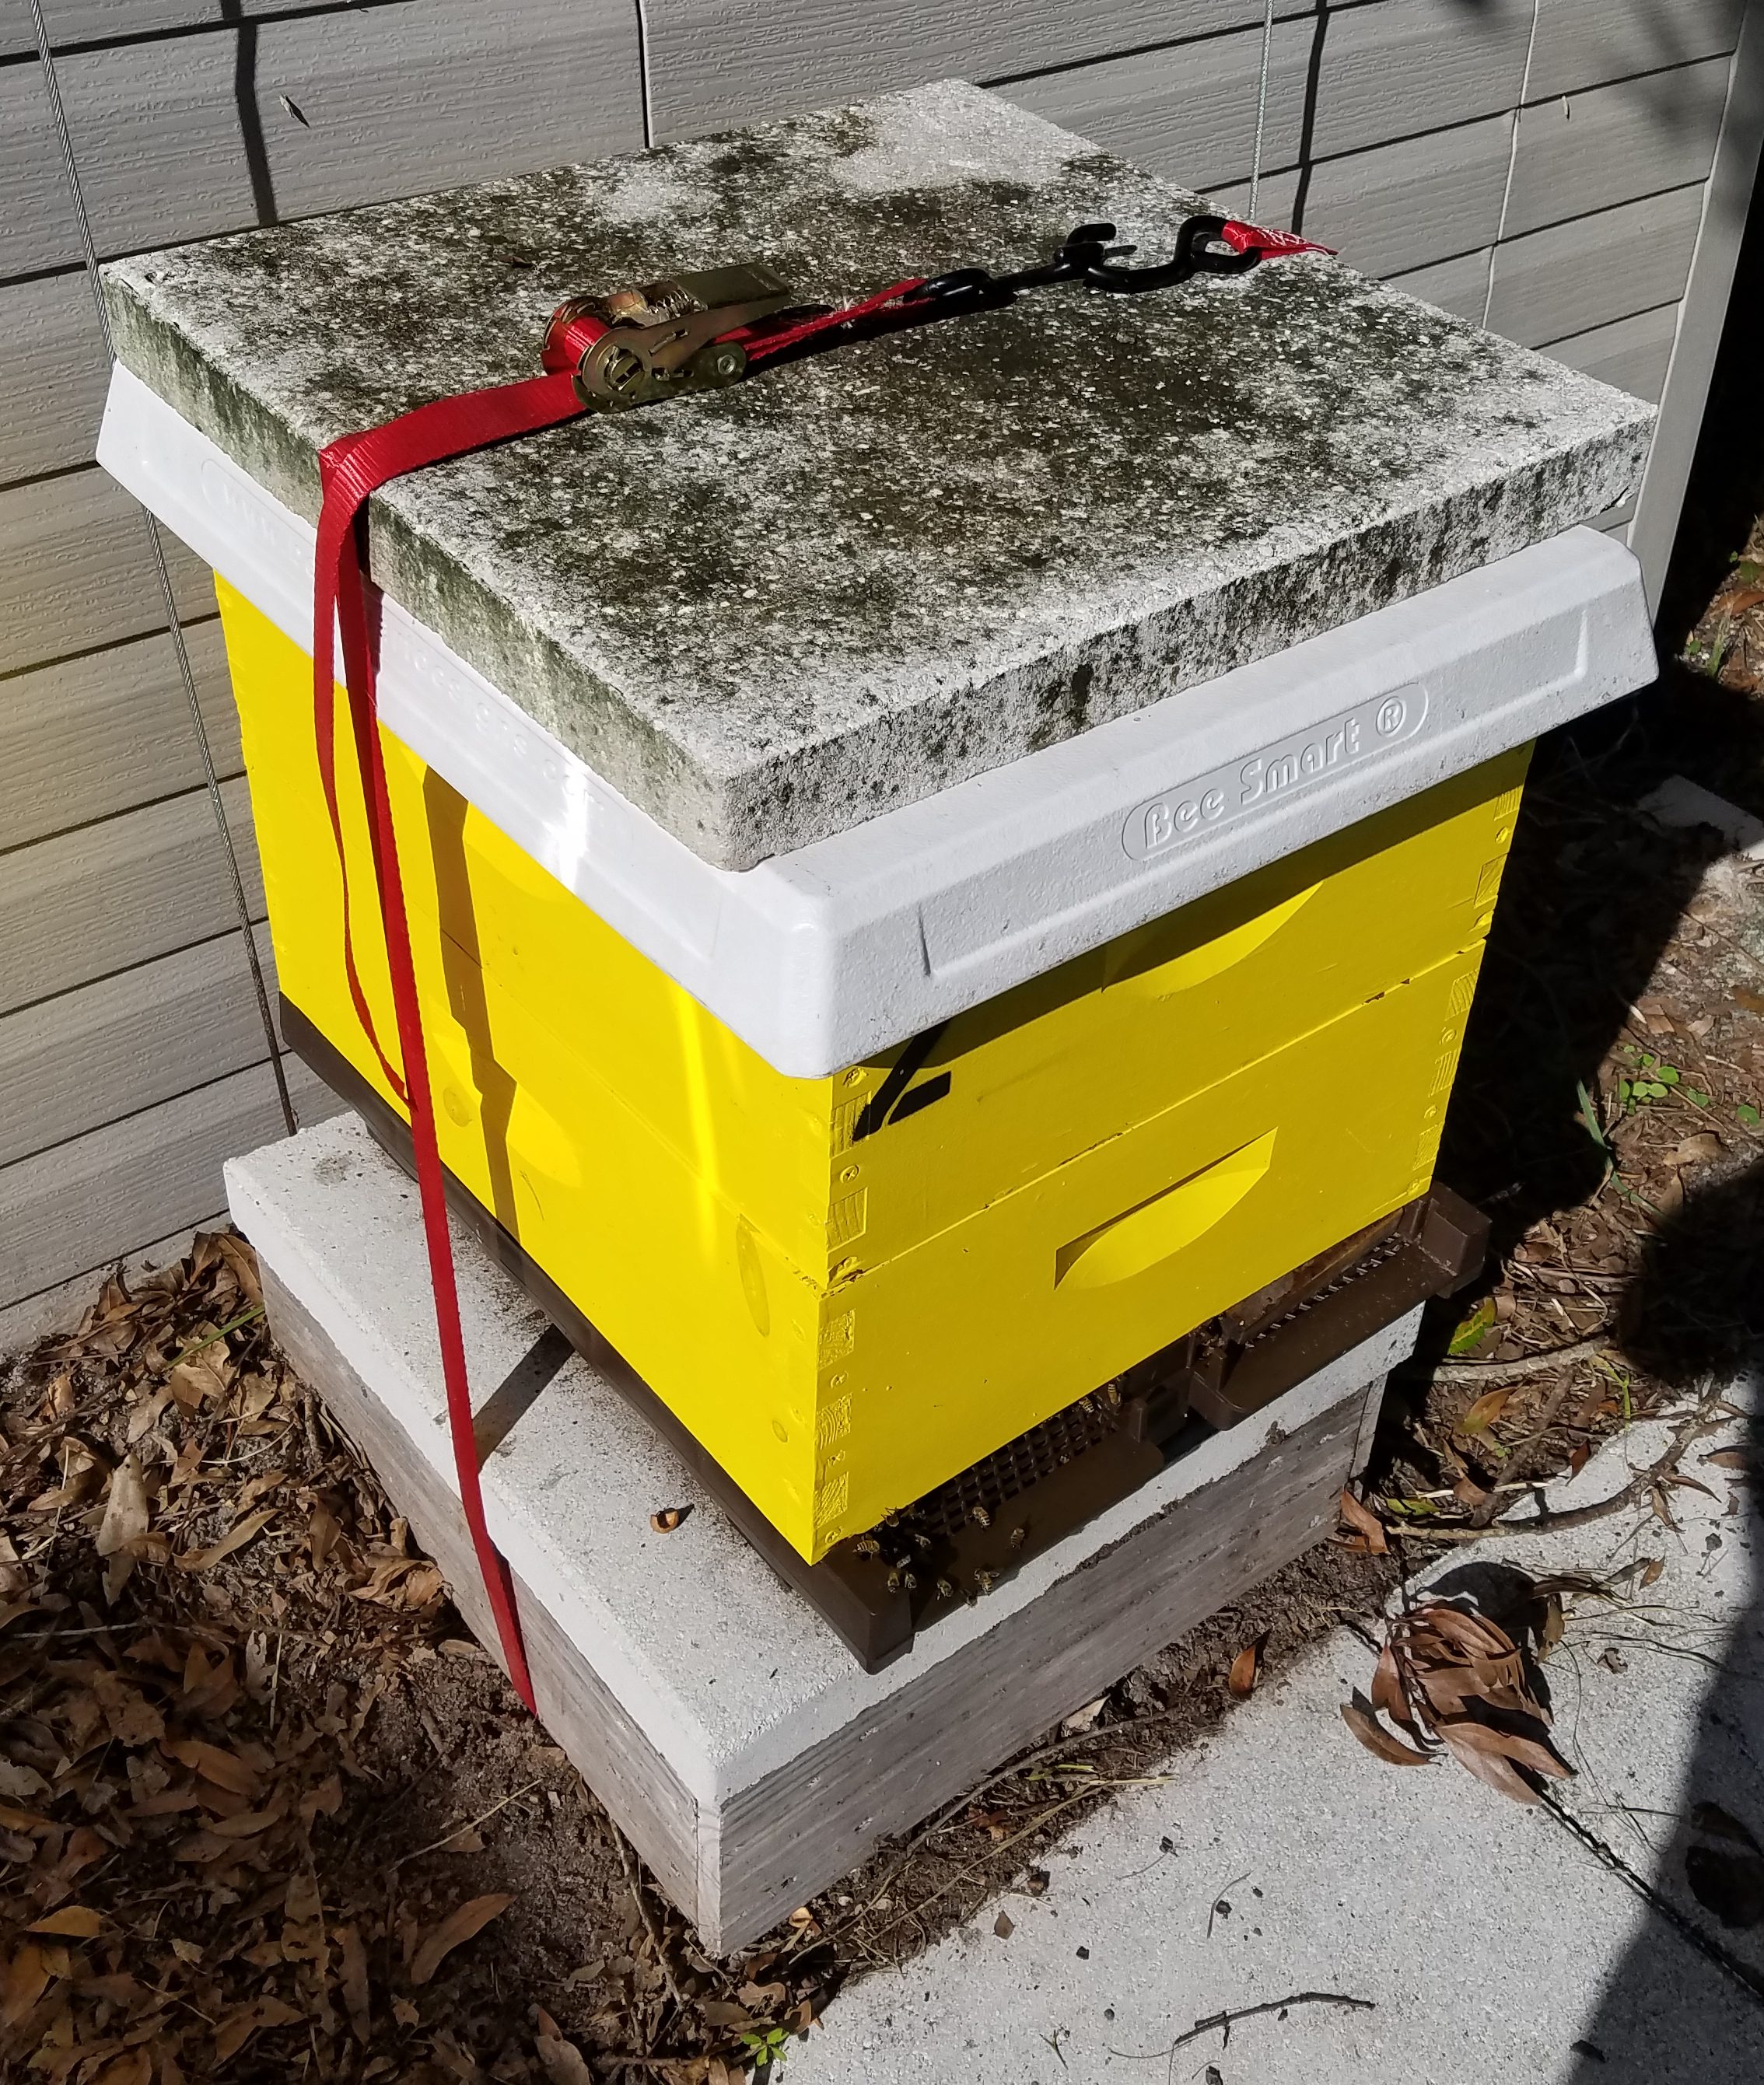
The base is quite heavy due to the paver and amount of wood. I threw another paver on top and strapped around everything so the total pile was tied together was over 100 pounds.
We evacuated to stay with friends, and came back to a yard that was a mess, but happy looking bees, and an in tact house.


My fence repair from a few weeks back was perfectly timed. No pickets were lost and the fence is still standing. There is a new lean though. Posts near the ones I repaired appear to be broken now.
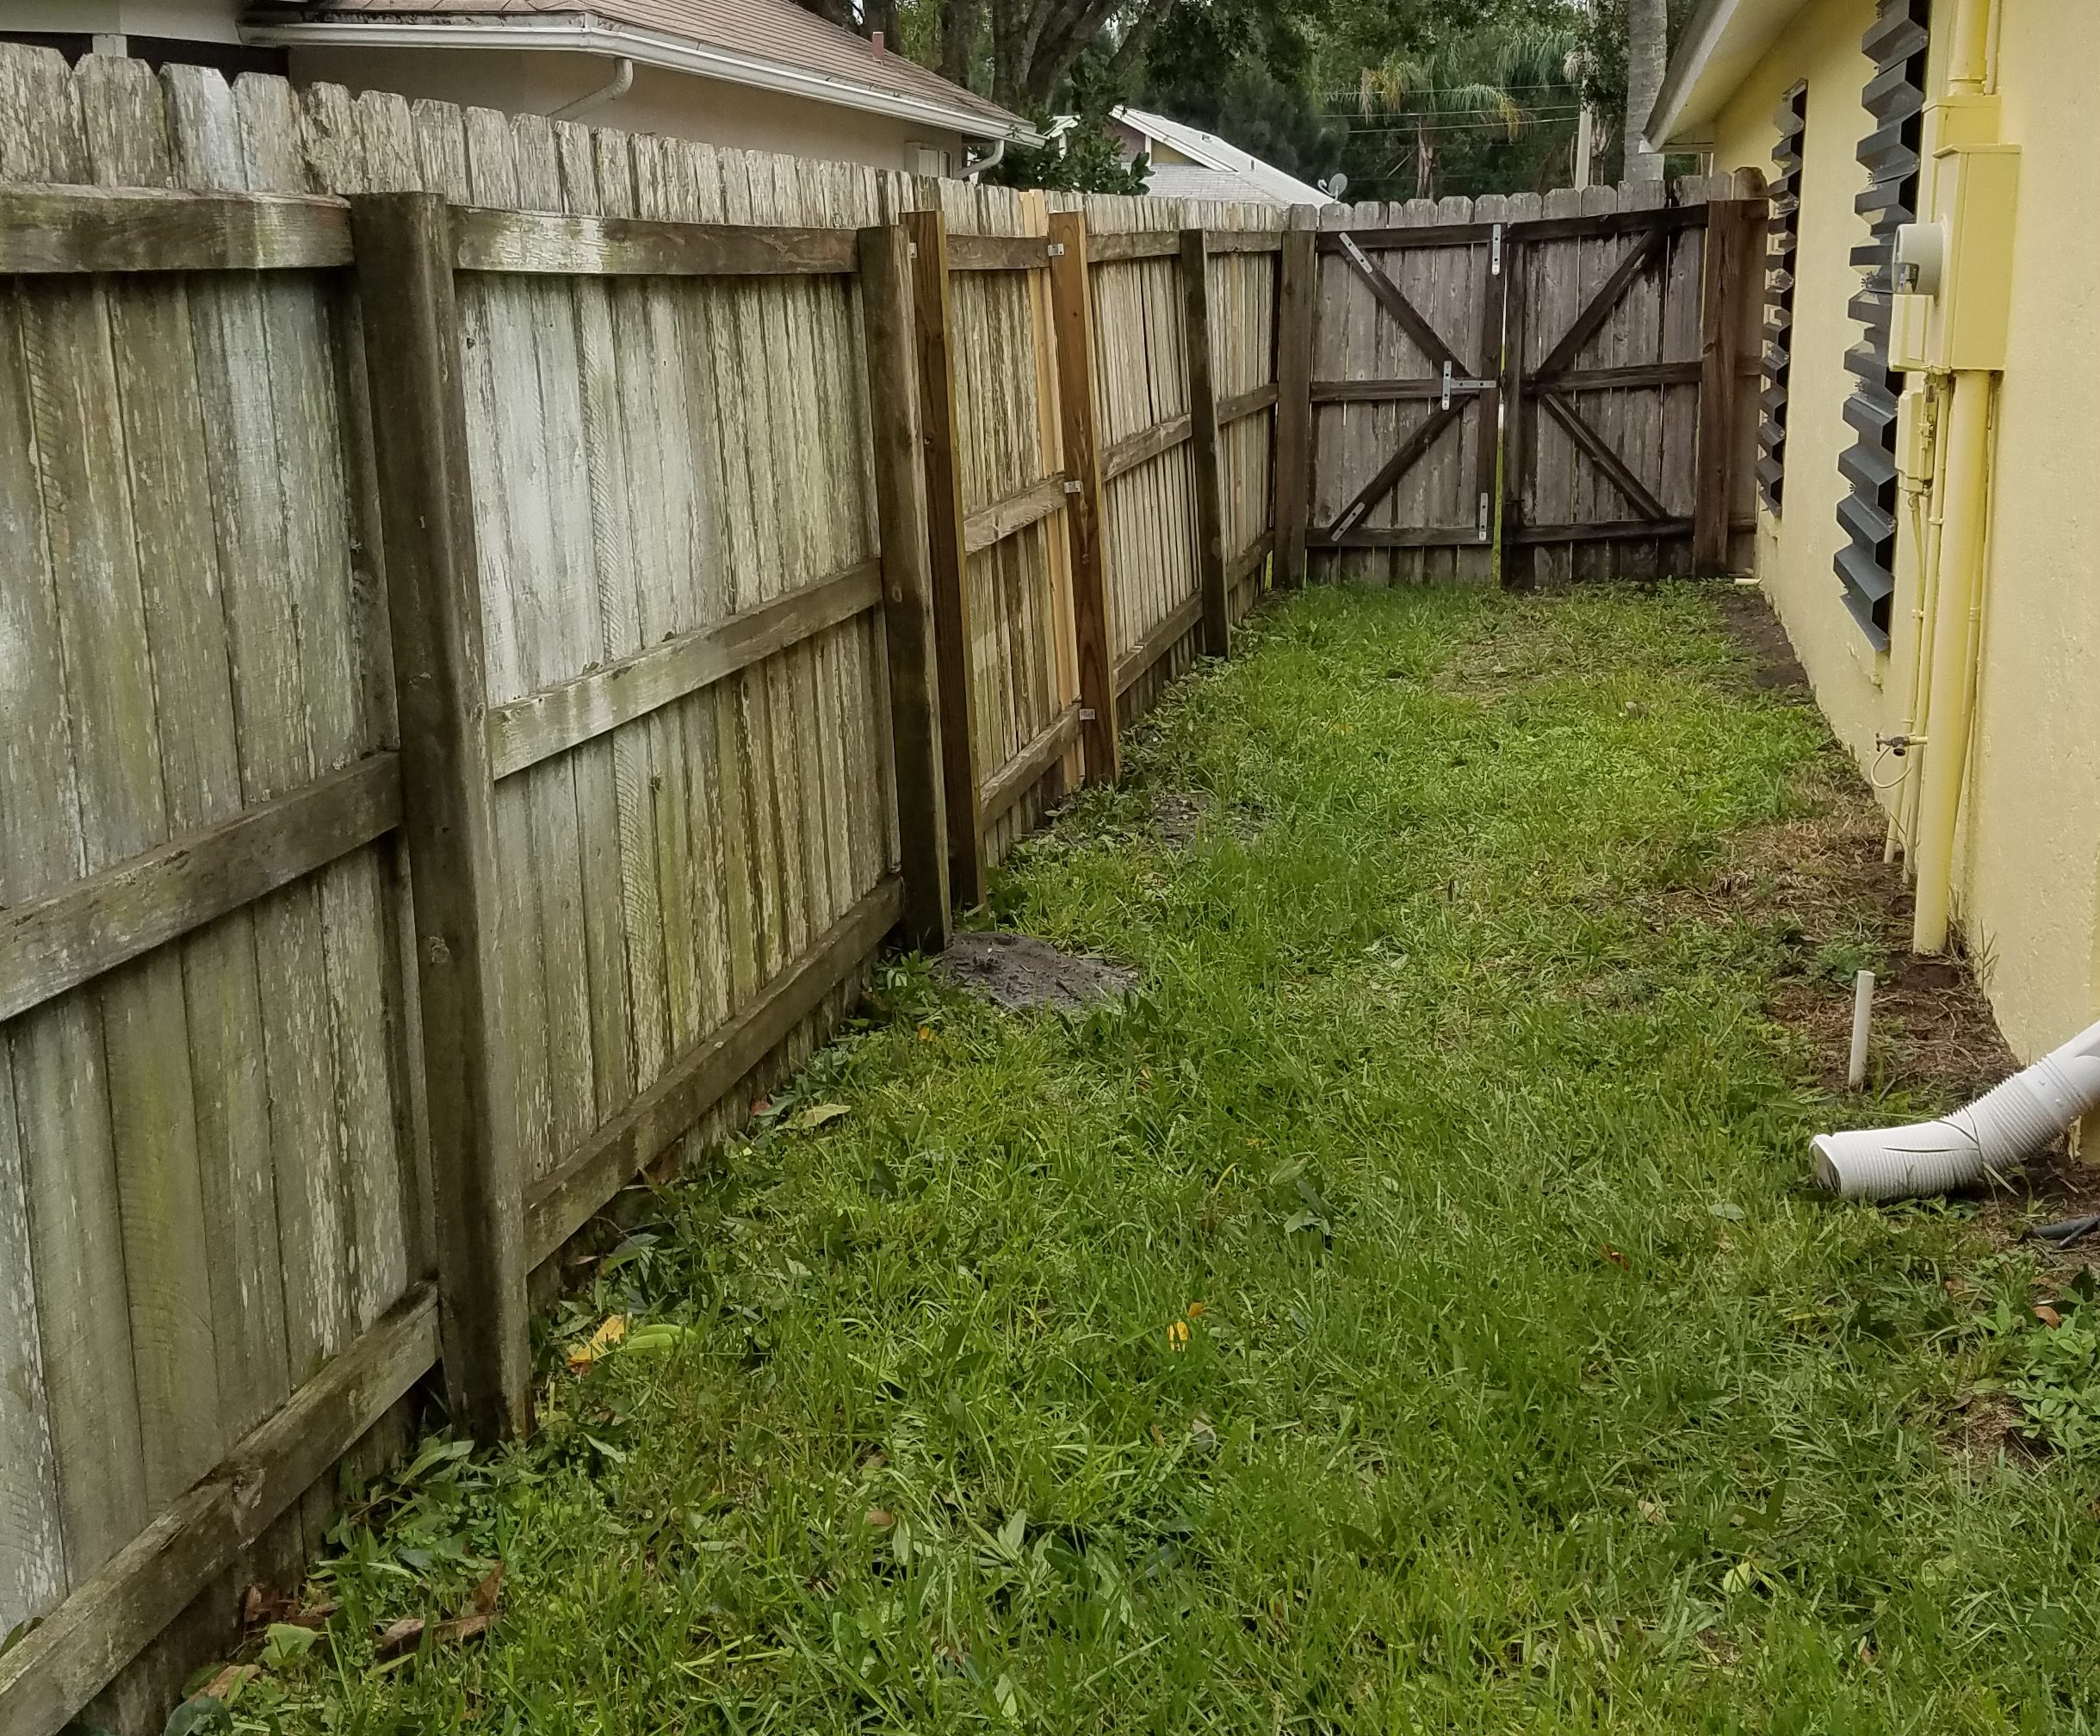
Instead of removing any of the posts like I did last time, I just put new ones in next to the old ones. It doesn’t looks as good and is a bit lazy, but was a ton less work.


I might be able to work those old posts off at some point, but for now they were too well connected to the horizontal portions of the fence. While I was at it I replaced some of the gate hardware that was in bad shape, added more connecting straps, and some anti-sag cables. The cables were past due, the two doors have rhombused a bit and rub at the tops when trying to close. Oh well, it ought to buy me another few years.
 In all, we are past the hurricane without any major issues. Now if they could just come by and get the piles of yard waste.

Yeah, it is sad. We had a great relationship at first. It was wonderful and vibrant. I was learning a lot about printing and creating new designs left and right. Then things changed. I needed to do some maintenance and started stripping threads. The cooling fan started to croak, and the hot-end died. I spent a lot of time trying to fix it, but don’t want to throw any more money at it at this point.

Trying to open it up and grease all the rails was the first mistake. I stripped some threads putting it back together. I could be blamed for this, but I assemble a lot of equipment, and stripped threads are not common for me. Once back together it seemed to be noisier than it was before.
Next the fan died and I spent a few iterations trying to get a good fan on there. Unfortunately they don’t sell replacement anything, nor do they have specs online. I got a good fan installed, but my print quality never really recovered.

Benchy on the left had blobs and a lot of strings, but at least he finished. Benchy on the right looked worse and never finished because of a nozzle jam.
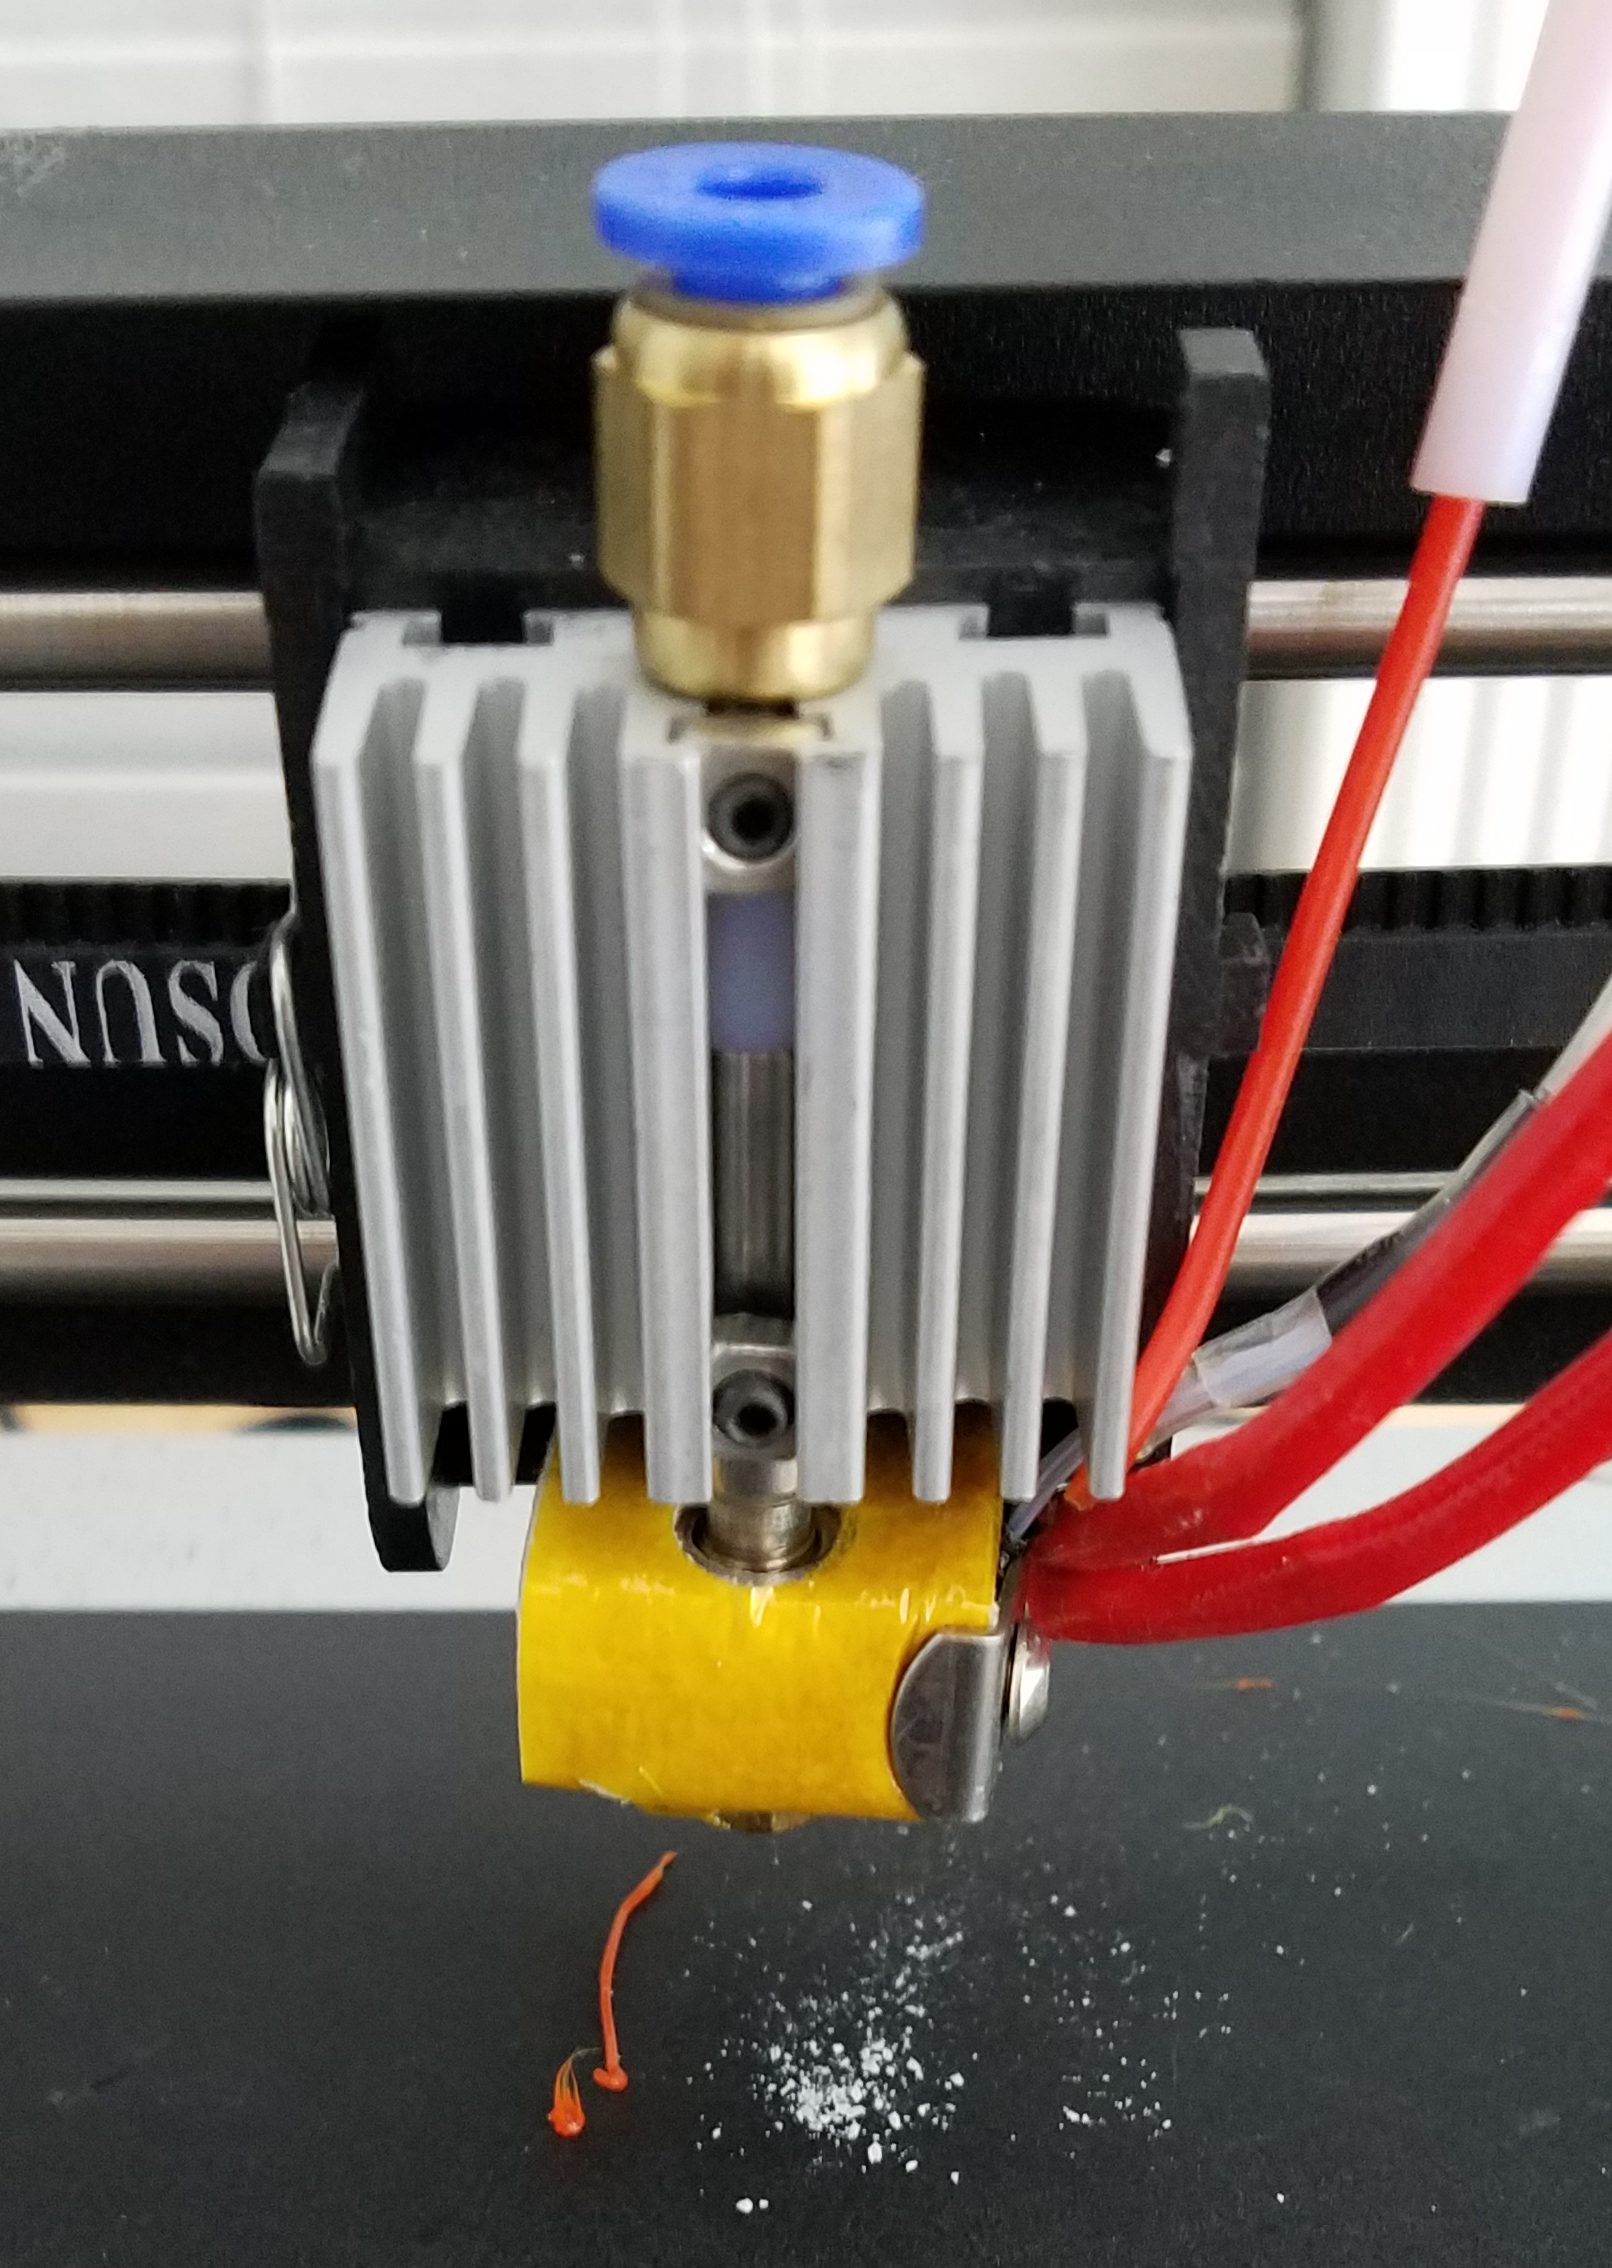 I did a few rounds of clearing the nozzle jam, reloading filament, and then having another print jam. I took apart the hot end section a few times. The threads were starting to get bad on the nozzle, and the parts are held in with a very cheap set screw. The upper brass piece accepts the boden tube. It is a threaded tube fitting that just has a set screw pushed against it. Not a robust design. The threads get all messed up, and it doesn’t hold well. After my 3rd or 4th jam, it jammed again, and kicked the boden fitting off entirely. I came home to this.

Thankfully it only chewed up a few meters of material, but I am frustrated. From my reading, I likely have damage in the PTFE lining of my heat break. I tried drilling it out a little, and cleaned up the nozzle, but still got jams. I don’t know what the issue is, I am using gcode that worked fine a few weeks ago. It is time for a new hot end, but I am done throwing money at this hunk of junk. At least it taught me what I need to know to make an informed decision on my next printer purchase.
I have had my printer for a little over a month now, and boy have I been busy. Something has come off the assembly line almost every day. I got octoprint up and running within about a week of getting the printer, and it keeps a log. I clocked in 325 hours of print time and over 450m of extruded filament. Considering there were 720 hours last month, that is a lot of printing!
There was so much cool printing going on, that all I can do is hit the highlights.
I tend to carry water bottles around a lot at work and while doing stuff outside. These clips help me keep water close at hand at all time. Pretty blue custom clips. Thingiverse link.


I have lots of cool tactical flashlights for warding off the darkness when our power decides to go out for the 2nd or 3rd time this month. They have flat backs, but often don’t stand well on their tails. Tail standing a good flashlight can provide great lighting to a whole room. This print keeps them from being easily knocked over. I will have to get glow in the dark material for next time. Thingiverse link


I felt this needed to be in my shop somewhere. While it isn’t my design, the painting was my idea. I painted the raised surfaces with a foam brush and some acrylic paints. Two coats made it look really snazzy.
I am going to be volunteering at the upcoming orlando maker fair for a co-worker. She has a lot of great activities for younger kids, and I thought such an event warranted a custom name tag. The letters were pressed in using my c-clamp method as demonstrated in a previous post. Magnets keep it safely secured to my shirt.


I got a RTIC mug for cheap on a daily deal, and have been using it a lot. It keeps ice for ages, and doesn’t sweat a drop. The handles are expensive, so why not print one. I had to make a two part version because the others available didn’t fit on my little bed. A single 1/4-20 bolt of 1″ length along with a nut is needed to combine the two parts. Thingiverse link


I was in the process of building an enclosure for my printer to add lighting and reduce the noise. It was kind of a disaster for reasons I won’t get into. A few things got designed specifically for that project. I am not using them at the moment, but will find something for them later. Thingiverse link to flat bracket and right angle bracket

I did a stress test on the right angle brackets by printing some at 20 and 80% and loading until failure. Turns out, it was 66% stronger with the greater infill percentage.
Last but not least I printed a nice pretty blue badge holder for work. I wanted everyone to know how crafty I am as soon as they see me. Thingiverse link

Honestly there are a ton of other things I printed. Some designed by me, lots downloaded from others. I can’t write up everything, so this is a pile of stuff I made this month that isn’t living elsewhere in the house, or hasn’t been given to someone yet.
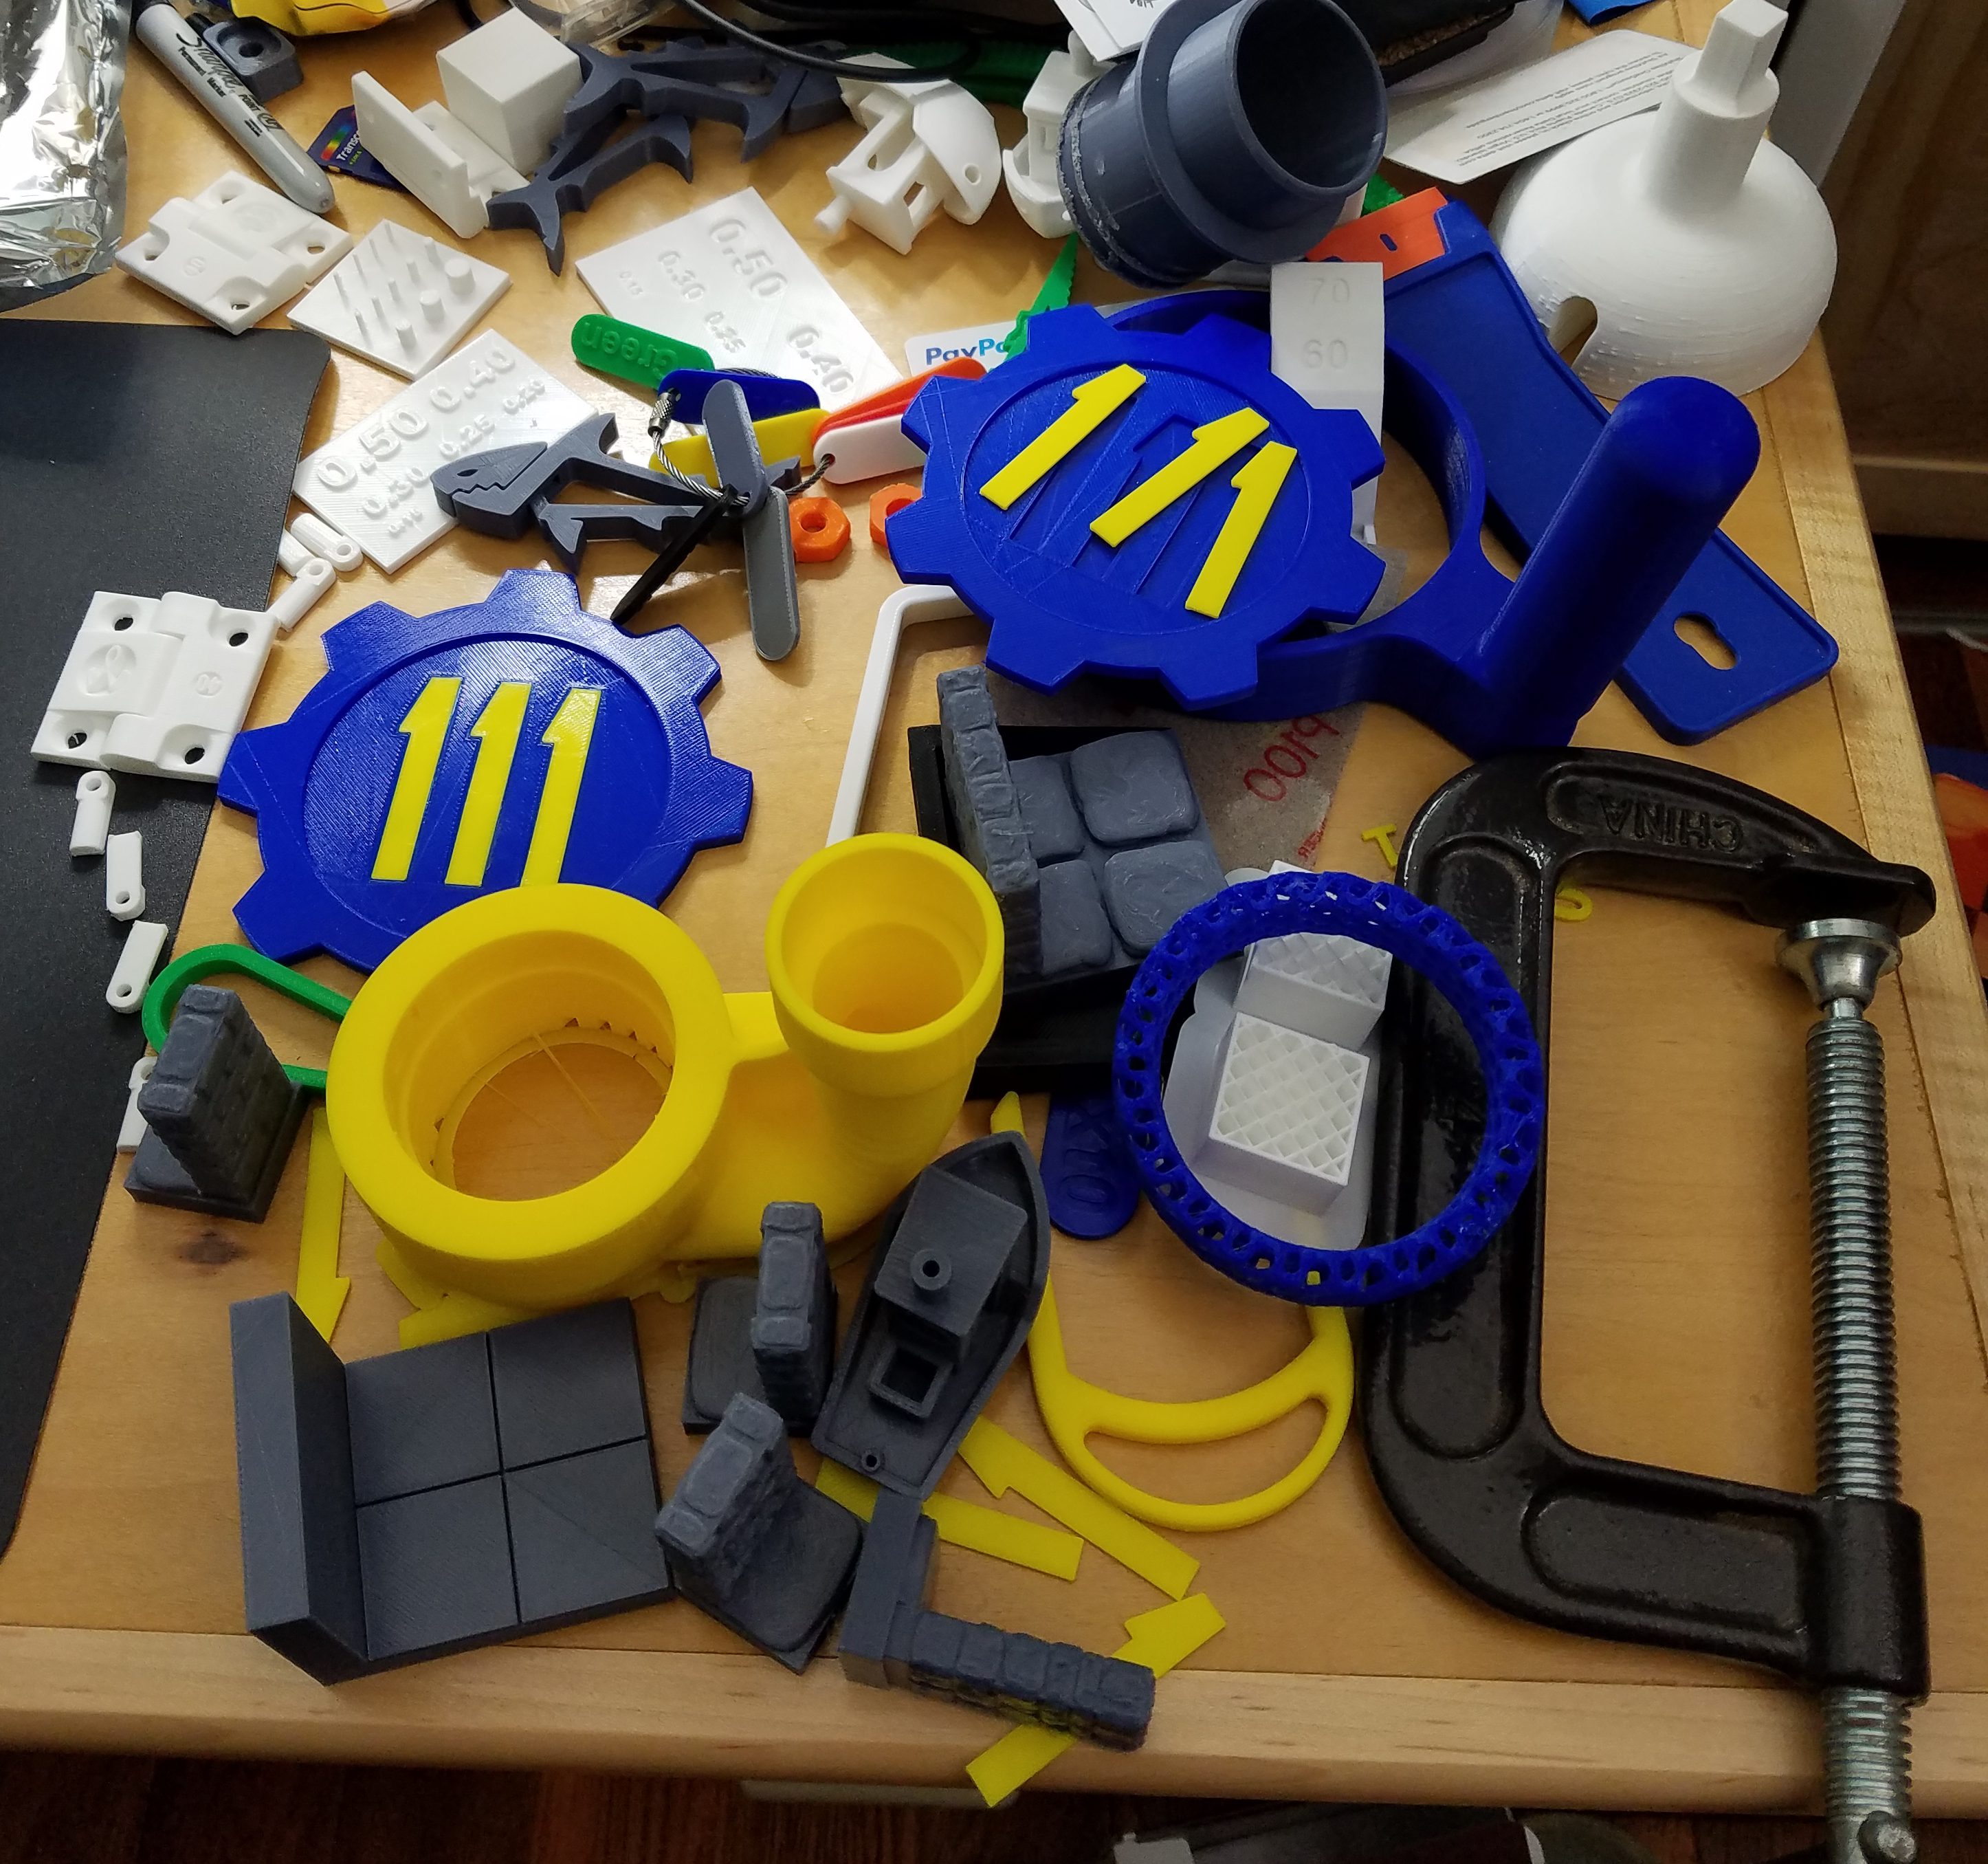
My name is Chase, and I have a serious printer problem.
I have been expanding my 3D printer experience this past month and have done a number of press fit parts. The general principle is to take a piece of hardware, measure it, and print a hole in that shape that ranges between that exact size, to less than 0.01″ smaller. It depends on your printer performance. Mine tends to undersize holes a touch, so printing the exact size of the hardware works well.
Once printed the hardware has to be pressed into place. An arbor press would be perfect for this, but I don’t have one and am too cheap to buy one. I used a C-clamp instead. This video demonstrates a few uses of said clamp press.
Most of the parts were very specific to my needs and probably not worth uploading to thingiverse. The only exception is the quick release plate for my tripod. I didn’t see any online. I need to come up with a version that captures a bolt while making it easy to use with your fingers. That will take some thinking.
