
In the beginning of December I took a look at my wood pile and decided to kill two birds with one stone. First, get rid of a lot of one off boards I have lying around, and two, make a ton of gifts. I made a big pile of handles for pizza cutters, ice cream scoops and the like on my lathe. Every once and a while I want a quick gift, and bam, there it is. Lets start with my smattering of wood.
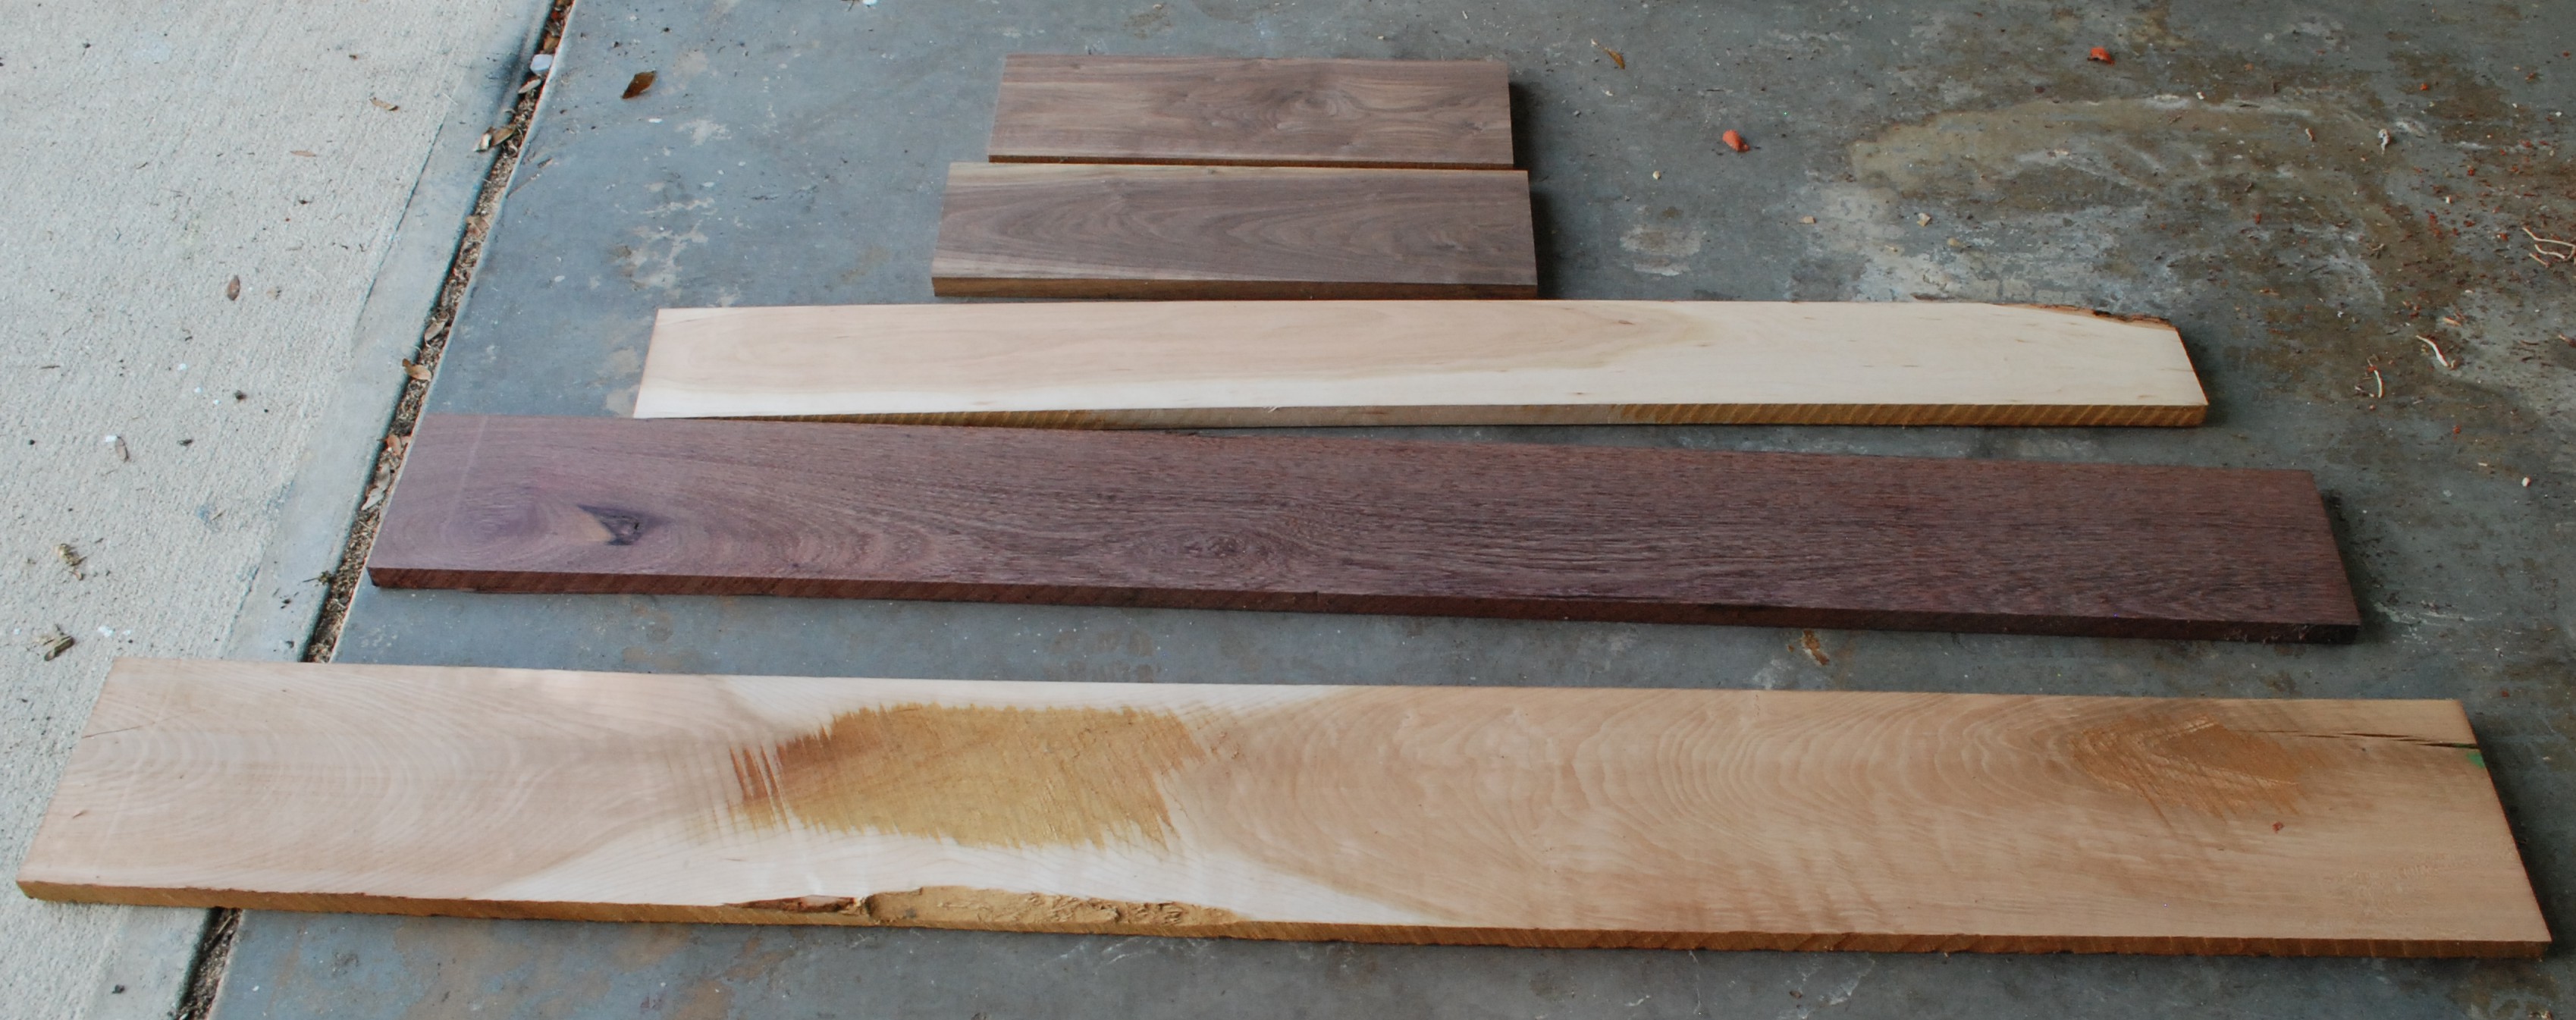

I later added my roasted hardwood to the pile. Everything got planed down to an even thickness. I started to take a picture of each board glueup, but I started going through them so quickly I forgot the pictures. The plan was to run them through the thickness planer, so I didn’t need the top or bottom to be perfectly aligned. This let me just use side clamps and ignore cawls. It was quick and easy, and I had enough clamps to do 4 or 5 sets at a time.


I glued together everything I was going to make in three big waves. Many of them I made long enough to cut into 2 or 3 cutting boards. Much more efficient than doing each one individually.

After glue-up
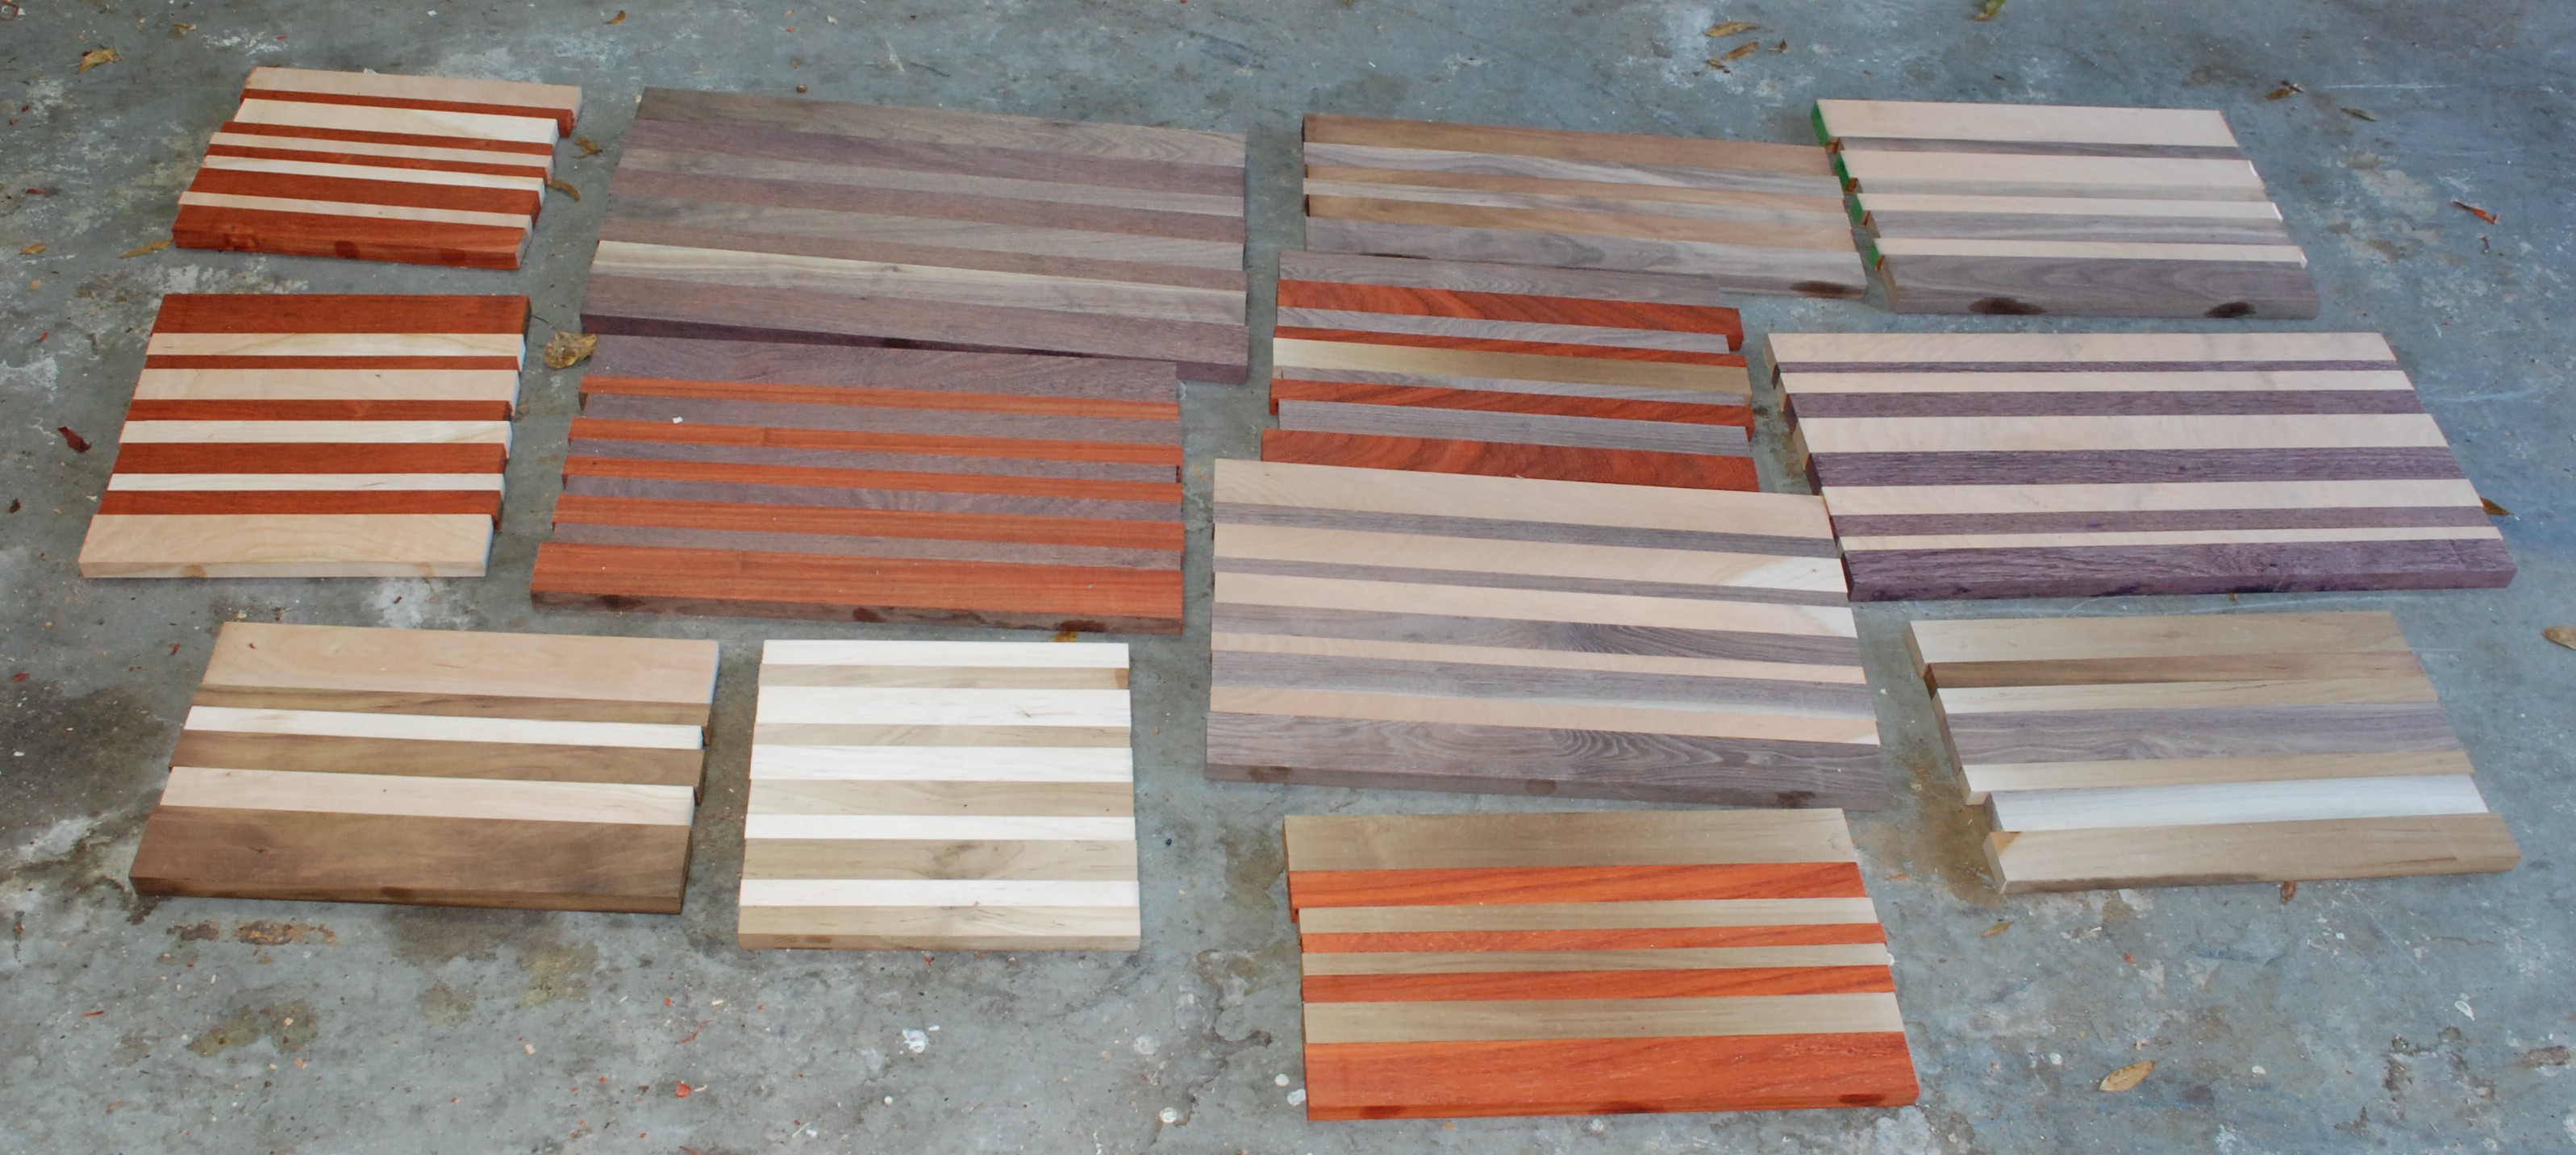
Cleaned up from the power planer
I took about half the pile and moved forward. I was running out of time before a big house renovation and wanted some to get finished before Christmas. Everything got squared up on the table saw, and a nice round-over on the router table.


After a minimal sanding on the faces and round overs, they were ready to get oiled. I like to use howard’s butcher block conditioner on these long grain cutting boards. It has a little wax in it which works better for long grain in my opinion. I love how the colors come out when you just start to hit them with oil. Below is a shot of each one half oiled so you can see the before and after color.


I have already given most of these away, and will have to get started on the next batch soon. I also plan on making a nice video to discuss the care and feeding of these cutting boards for anyone that has one.

We love our new cheese board and I got instructions from the maker! Ours is in the last photo, bottom right, on the bottom of the two piled up! Thanks CHASE!!!
LikeLike
Nice work. Your mom has your Christmas gifts from us. She told me you and Monica were at her house for Xmas. So brought them there.
LikeLike
Pingback: Cheese Board Mishaps | Kilted Craft Works
Pingback: Cheese Boards (Part 2) | Kilted Craft Works