
I picked up my current harbor freight dust collector probably some time in 2010. For the price it is an awesome deal, but after these years it is time for an upgrade. The motor (lower left in left picture) pulls in dust and blows it into the upright section. Everything swirls around so big dust falls to the clear bag while finer dust gets filtered in the white upper section.


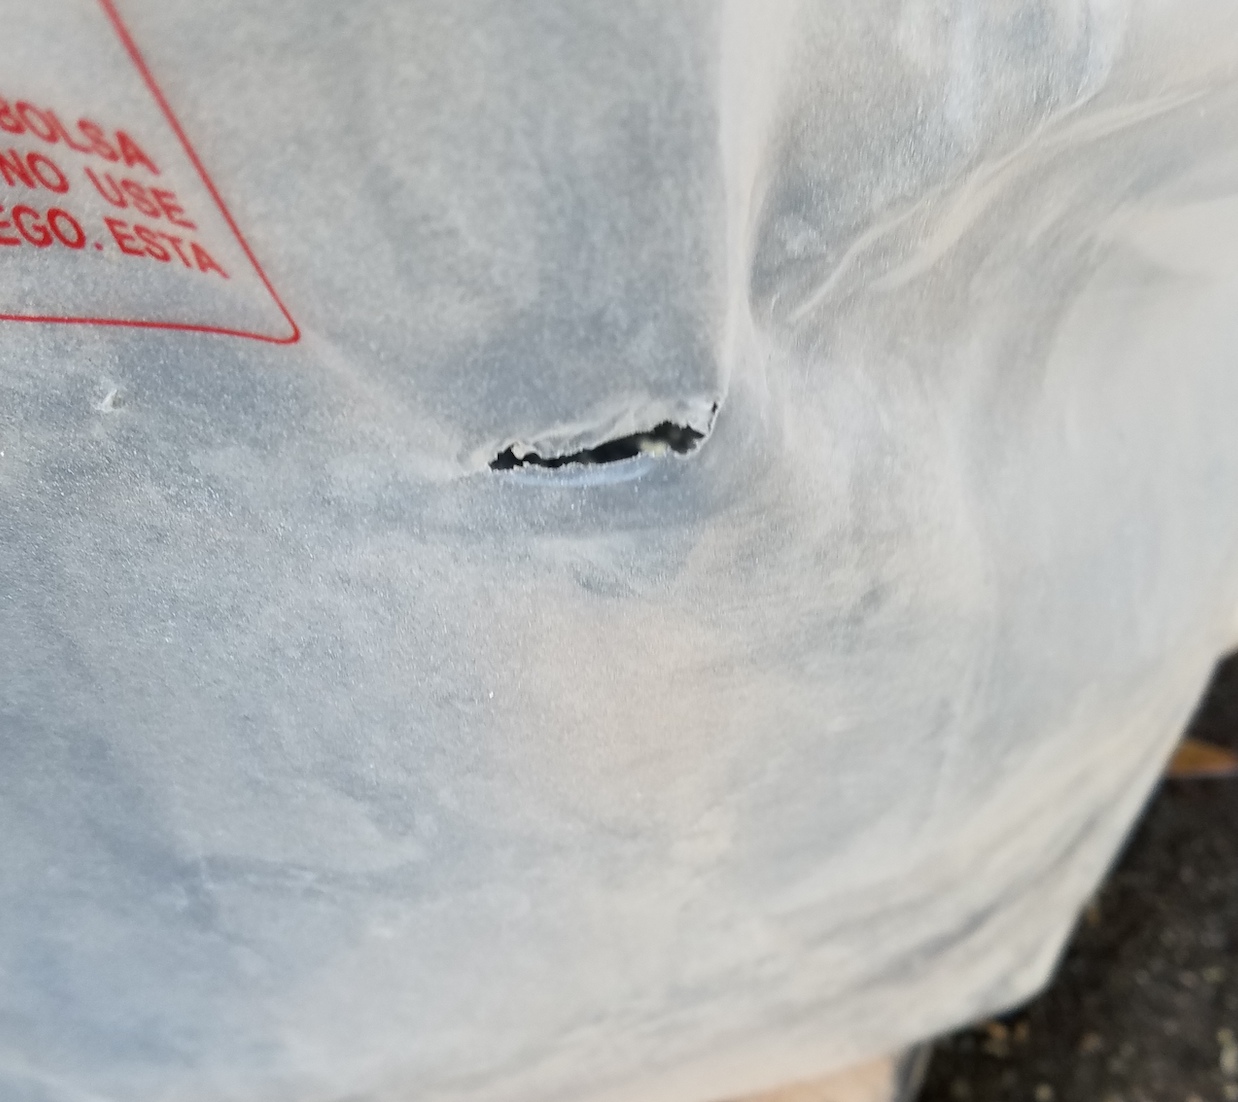
It is an ok principle, but has issues. The upper bag filters down to 5 micron, but no further. A very fine dust will land on everything in the shop when using this for a while. Those finer particles are bad for your lungs. The bag is a pain in the butt to replace and often gets rips in it from sucked up chunks of wood.
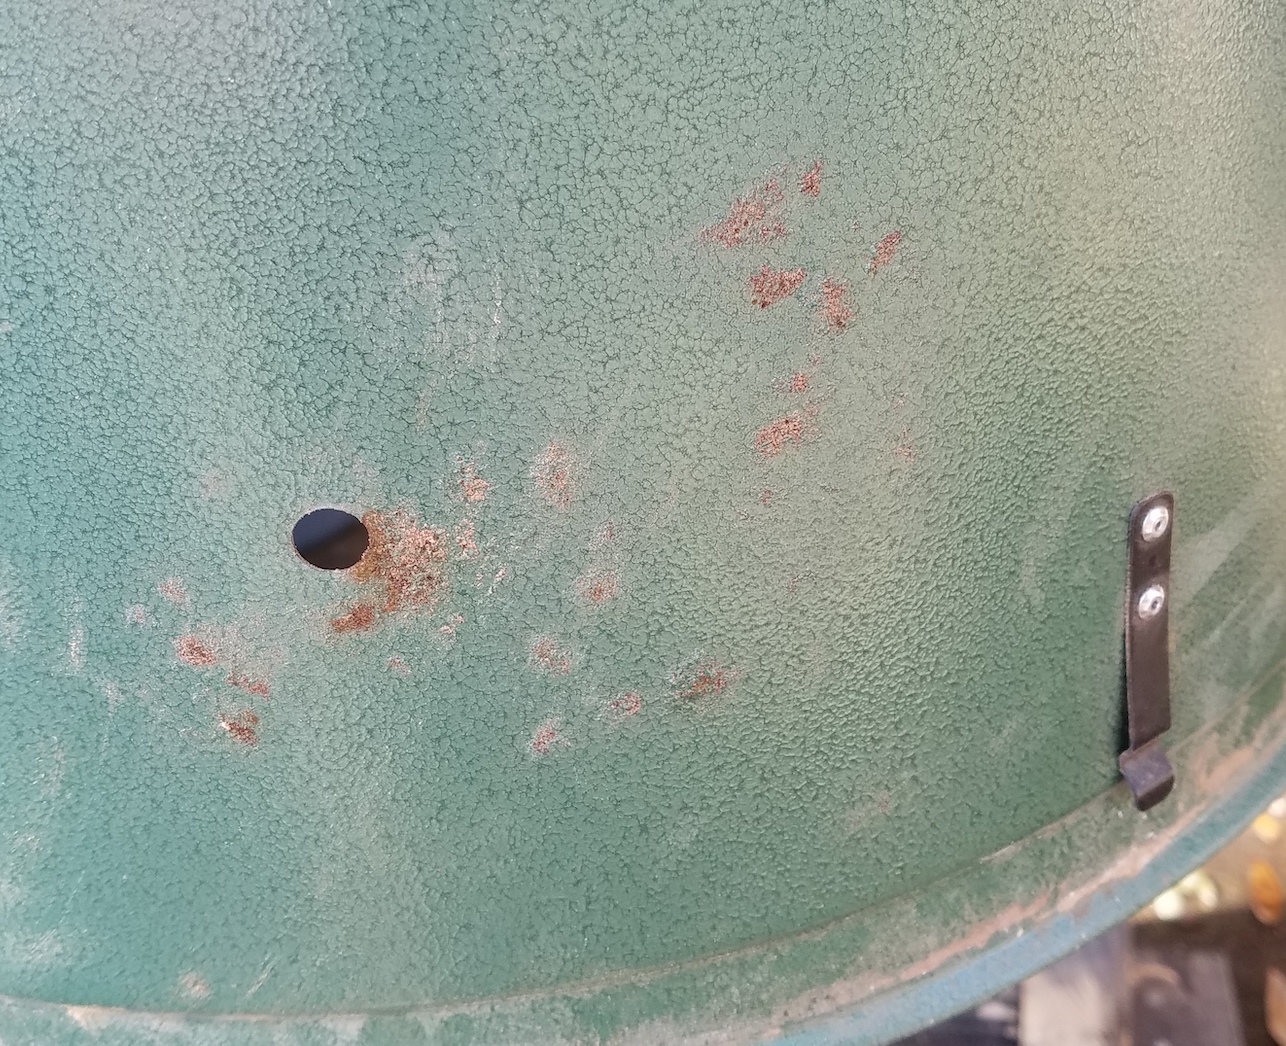
I spent about $350 on this upgrade. Over half of that was the filter. Considering a new harbor freight dust collector can be had for about $180, that is ludicrous. A new tool with good filtering and easier disposal is in the $1,500 neighborhood. We have had a ton of house expenses, so maybe a diy upgrade isn’t so ludicrous after all. I want to keep my lungs clear, so let’s get started. With a dust mask on, I ground off some rust spots and repainted with whatever green I had lying around.

I had thought about doing a lesser version of this many years ago, but never got around to it. I spent a lot of time thinking about how to do one upgrade and make it count. I will show where we are going, then explain the journey in steps.

The motor has been turned sideways from where it originally was. Below it is a pre-separator (red). It pulls out most of the junk before it gets to the filter area. As everything swirls in the upright the leftovers fall into my new bag replacement (blue), and finally out through a new hepa filter (green). Everything gets attached to a mobile base. Let’s start there.
Dropping Some Base
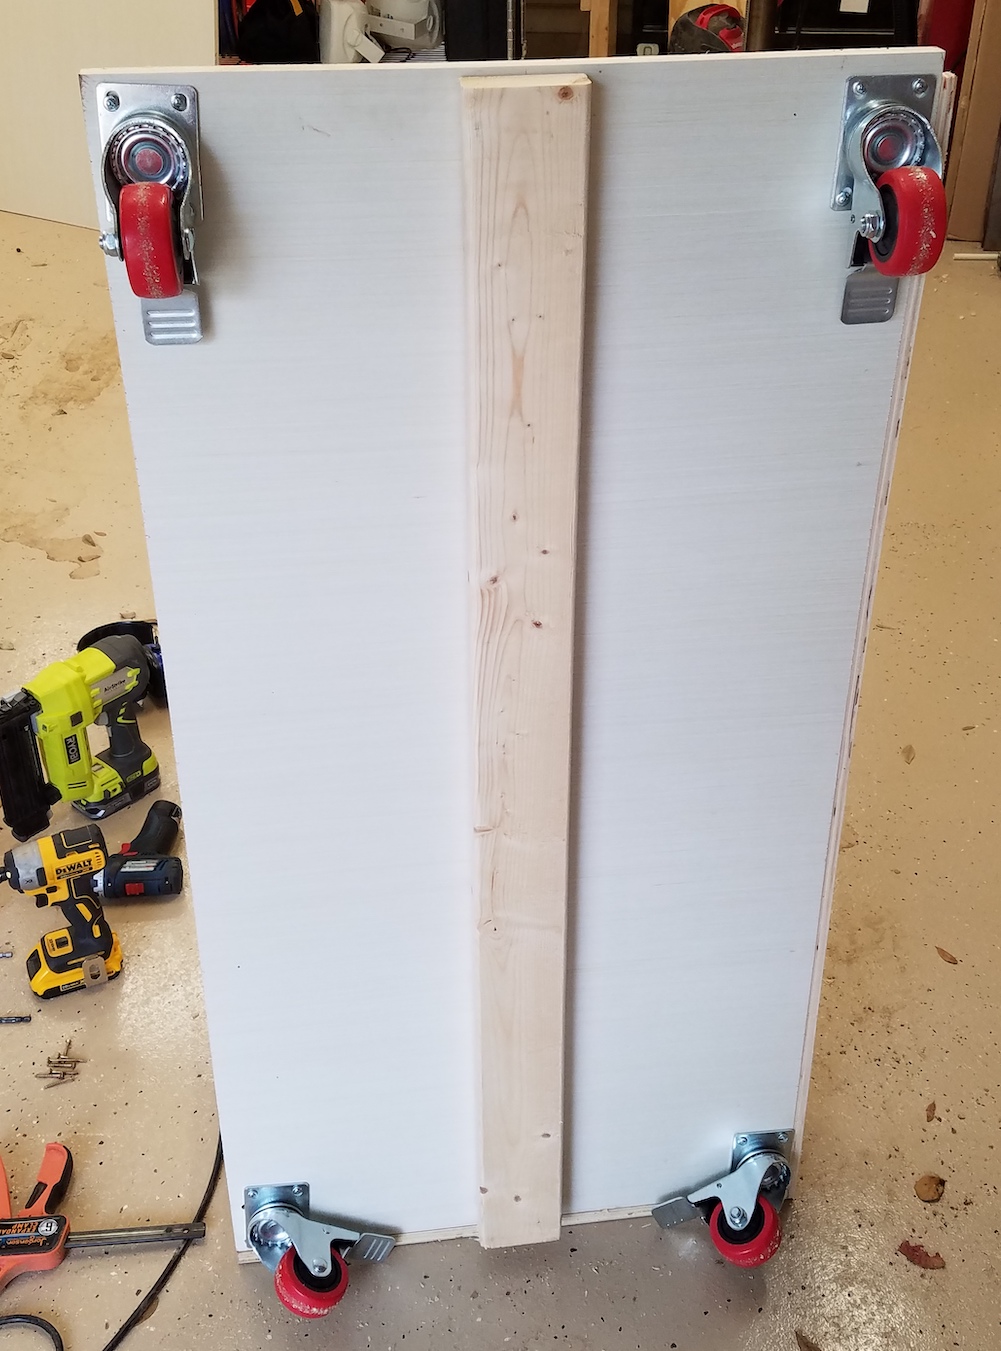
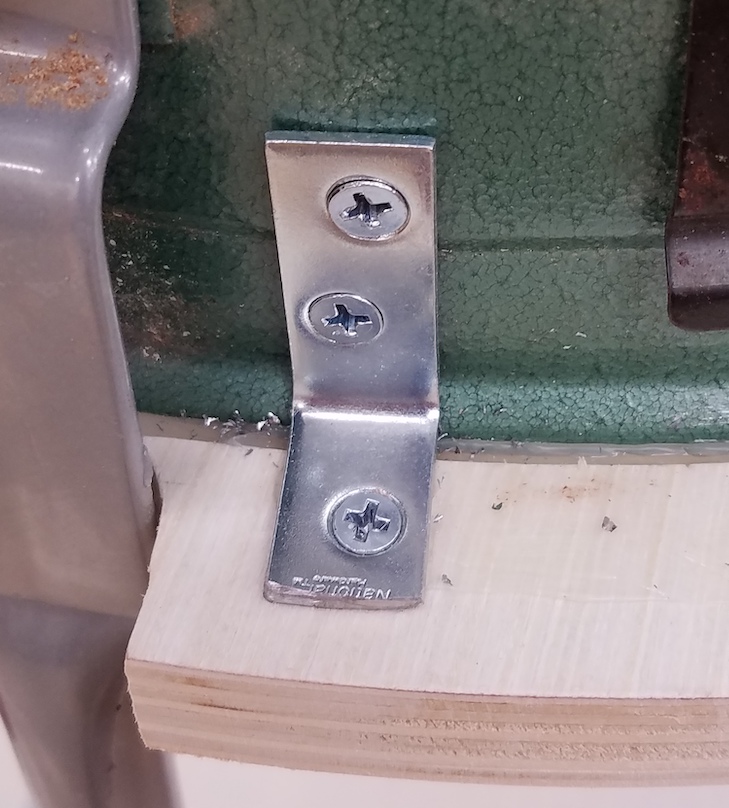
I was going to need more space for the pre-separator and wanted nicer casters than the original assembly, so I started with a cut bit of 3/4″ plywood. A set of 2×4 uprights with plywood and angle brackets support the motor in its new configuration.

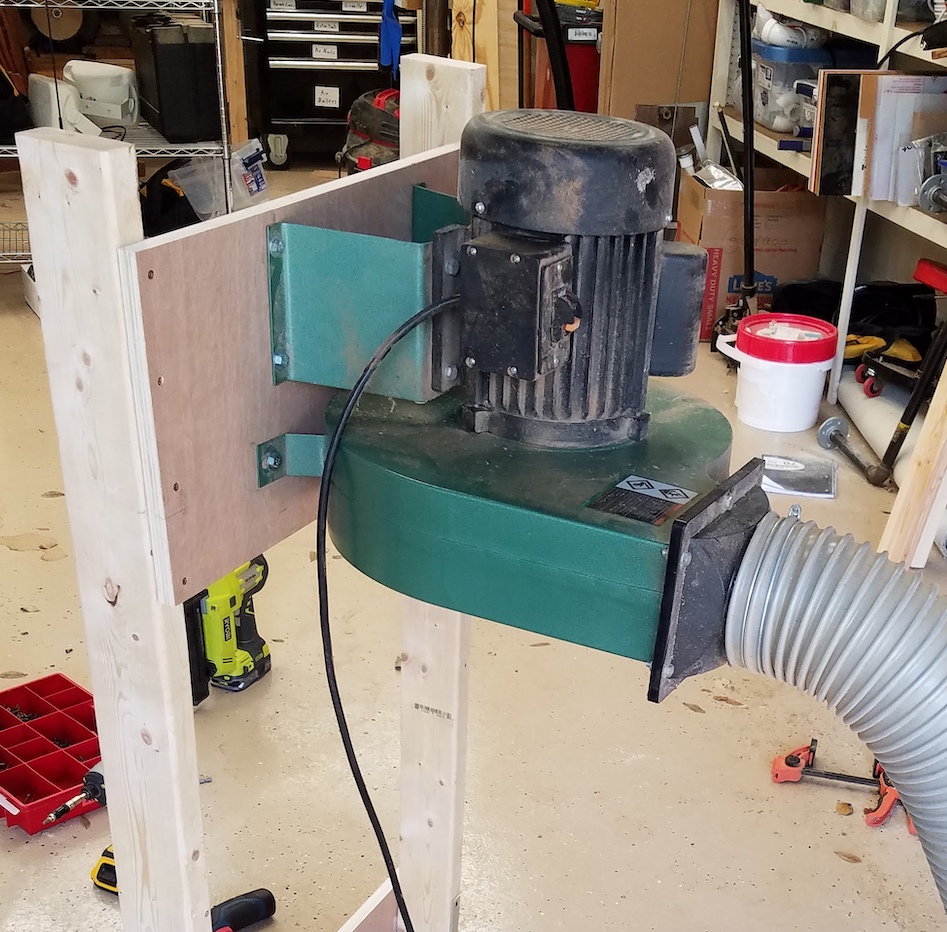
The motor is really heavy and caused the base to flex a lot. I added a rib along the right side and eventually a 2×4 underneath to further stiffen the bottom. With that I had a good mobile base for my new dust collector.

I reused the circulator and upright rods to attach that section to the base.

Pre-Separator
Before hitting the motor or clogging up the filter most dust will be caught in the pre-separator. The design is called a Thien Baffle. The exact dimensions seem to be debated, so I just made it up as I went along. Basically everything comes in through a right angle port so it swirls around and gets flung to the edges. Gravity takes over for the particles and the air goes up through the center.
My circle cutting jig came back in full force with a lot of inside and outside cuts. I love this thing! I cut out a top for the separator and added a groove for the weather seal that would go up against the trash can top (left). Next I cut the baffle that keeps dust in the bin from getting pulled back up (right).
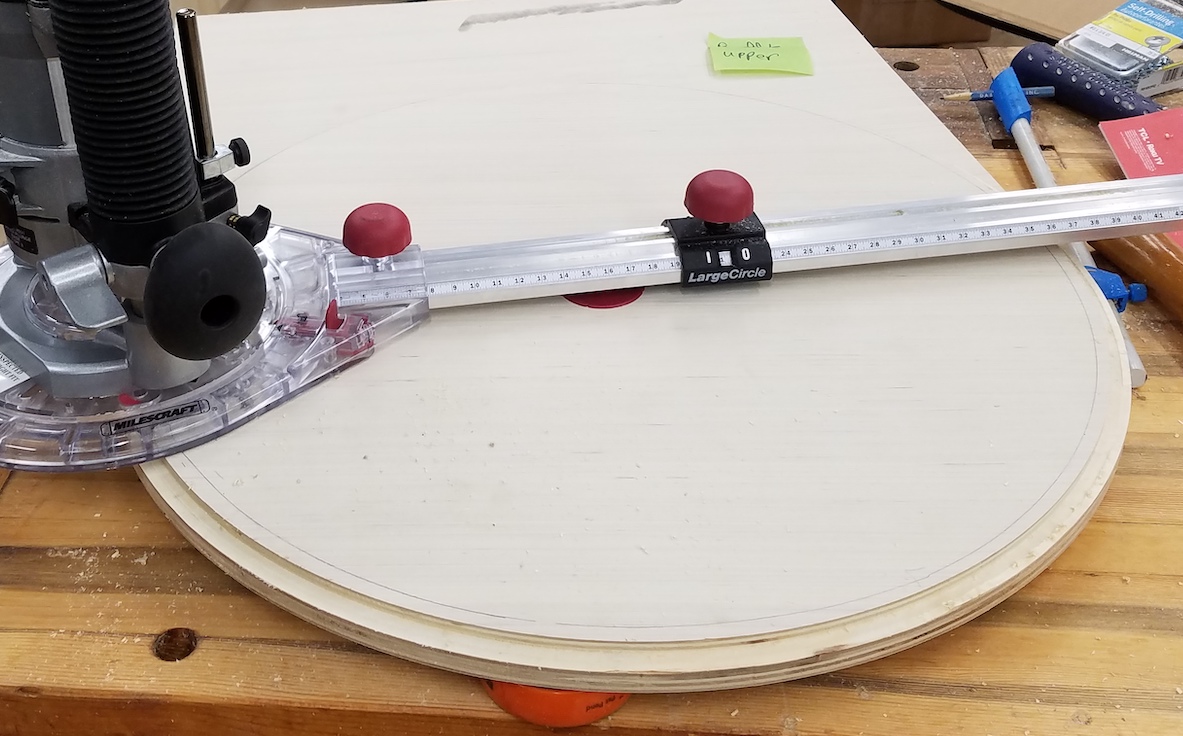
I clamped the two together and match drilled the 1/4″ threaded rods that hold the two sections together. I used the circle jig to drill out the 4″ inlet and 5″ exhaust ports. The inlet port is sized to allow a 4″ right angle dust fitting to slip into the top. The bottom goes onto a 4″ tight PVC drain elbow. I custom printed this to work with the parts I had around. I used silicone calking to seal it and screws to hold it in place. The center is larger and will accept 5″ hose to go between the separator and motor. Same method of silicone calking and screws to seal and hold.


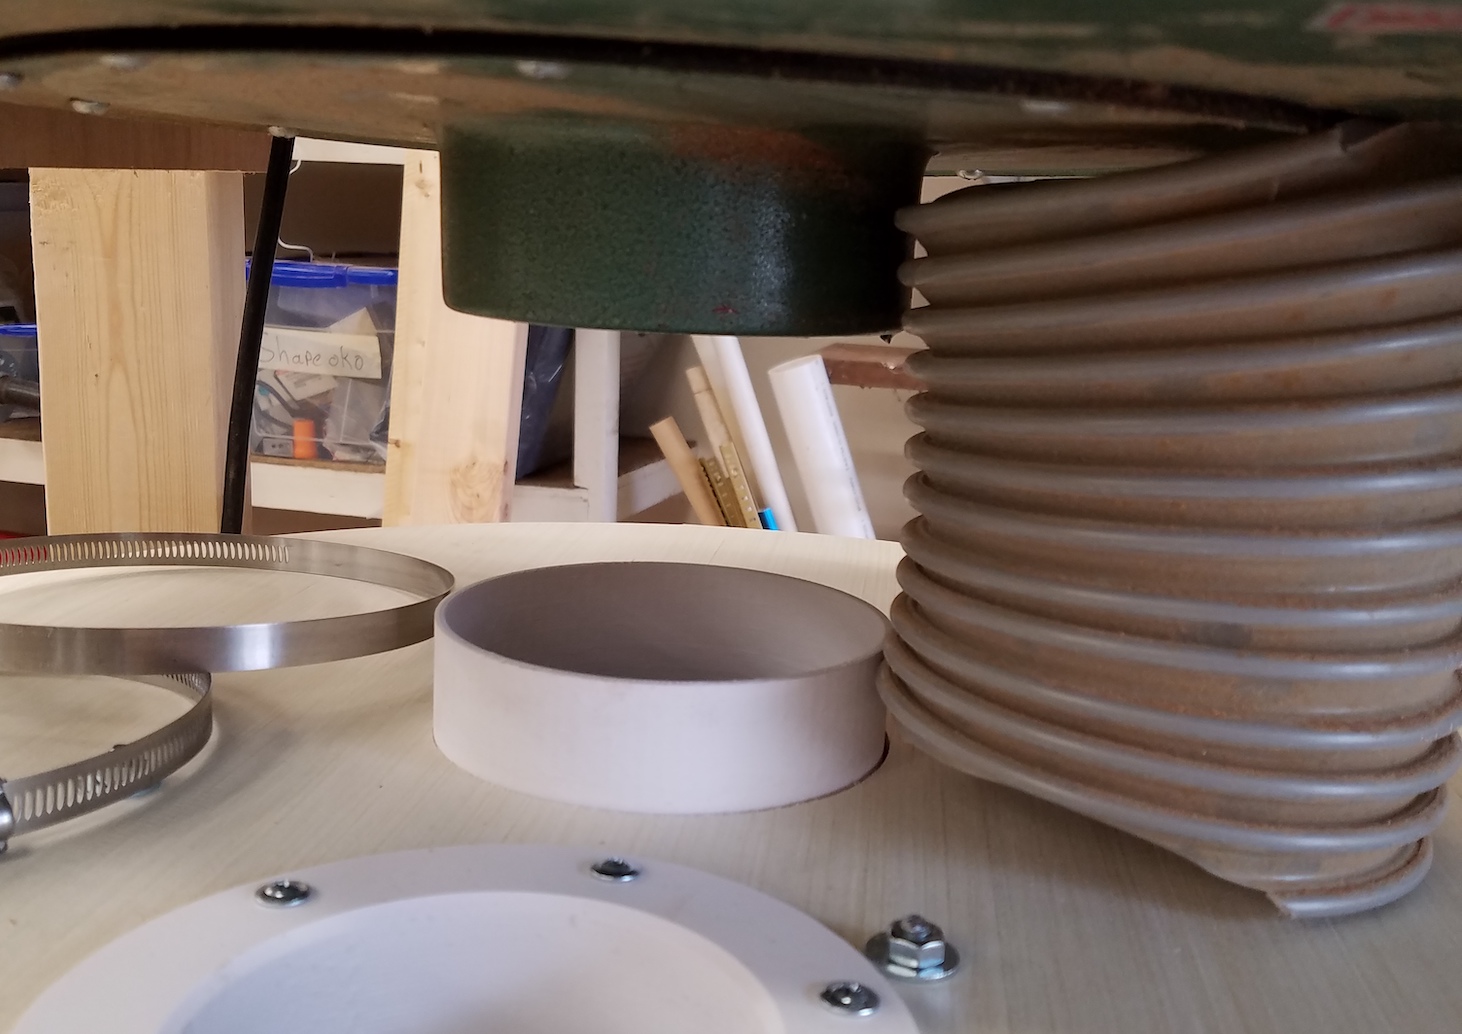
I bolted the bottom baffle on and fitted it all to the metal trash can. This section is before the motor, so it will be under vacuum. I think the metal can will do better than a plastic one in preventing collapse.


I added weather stripping to the lid where it interacts with the trash can overlapping the interface to help form a better seal. With everything underneath I just needed a short segment of 5″ hose to attach the two.


Here is the pre-separator fully assembled and in place.

Bag Replacement
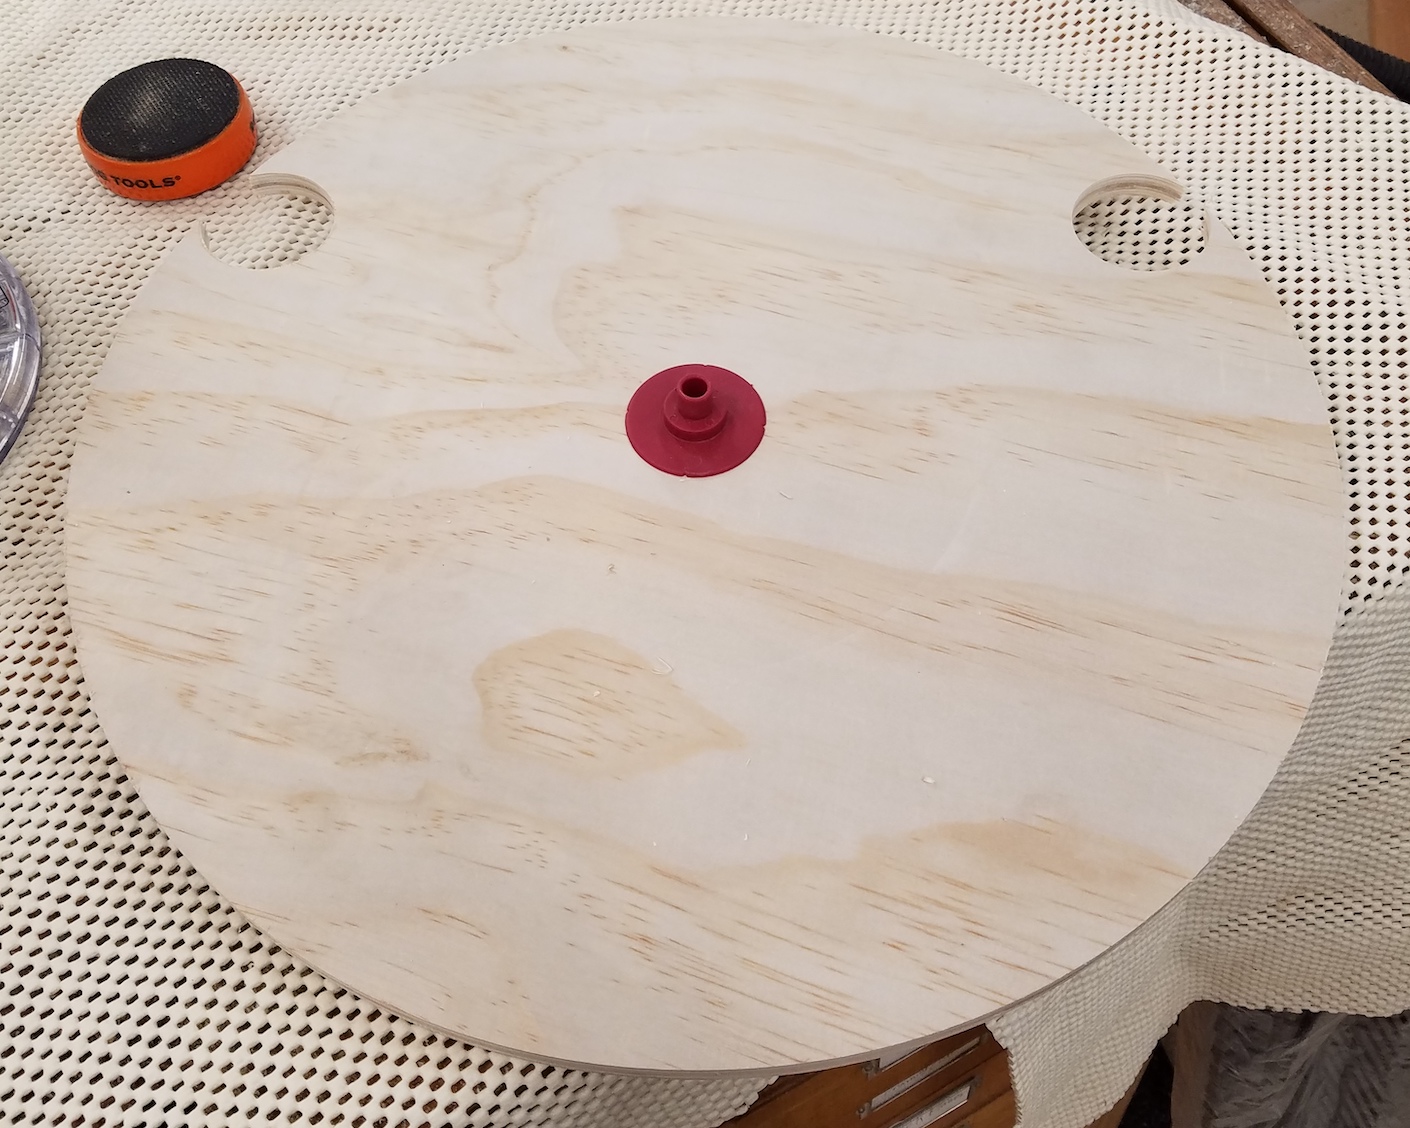
Ideally, most of the dust is already out by the time it passes the motor. Some will still exist and it will need a place to go. Instead of a thin plastic bag that rips and is difficult to install, I wanted another rigid bin. A 20 gallon rubbermade can was just about the right size. I temporary attached two pieces of 3/4″ plywood and match cut the interior and exterior diameters, the cutouts for clearing the metal upright bars, and holes for screwing the two halves together.

The upper section had a groove in it to lay a generous bead of silicone calking to help it seal with the metal ring of the circulator. It turns out that ring isn’t very circular, so the gap in that groove varies wildly.

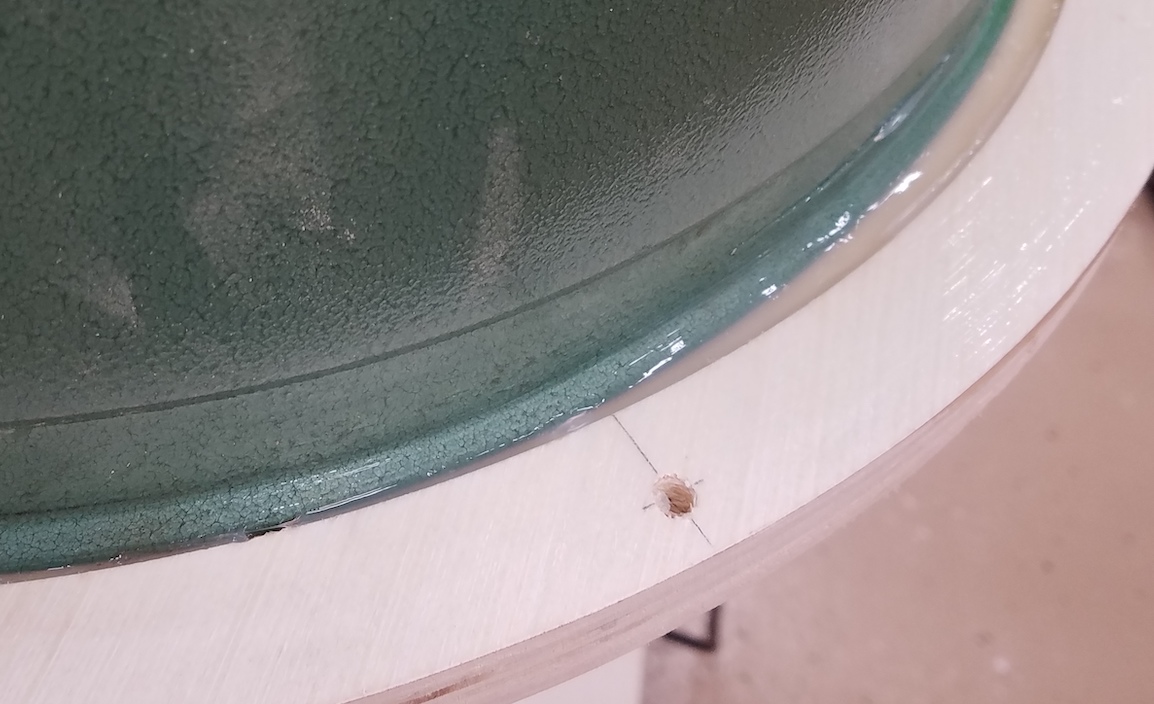
I didn’t trust the calking alone, so I cut down some right angle brackets and drilled/screwed them into place to help support this mating ring.

The bottom half of the mating ring will attach to the 20 gallon trash can. I installed 1/4-20 T-nuts so a bolt can come in from the top to draw the can up and seal it. I put another thick bead of silicon calking on the ring and screwed the can down through the lip. The combo of screws and silicon made for another slid connection.


It is pretty important that you don’t let this section get too full. Otherwise the circulation of dust might get up to the filter and damage it. I cut a thin section of clear plastic and added a viewing port to the can.


Last but not least is the filter. Made in America from Wynn Environmental, the filter is a majority of the cost of the project. The new filter gets down to 0.3 micron instead of 5 micron. That doesn’t hamper flow though, instead of the 30-something square feet of filter the bag had, this one has over 200. The kit comes with little cleats that look like modified hose clamps to strap everything down from the inside.


To test out my new vacuum rig I had 20 board feet of 4/4 maple to plane. I got through all the boards and looked into the grey plastic bin. I was horrified to see a pile of shavings in it. I thought the pre-separator had failed to… well separate.
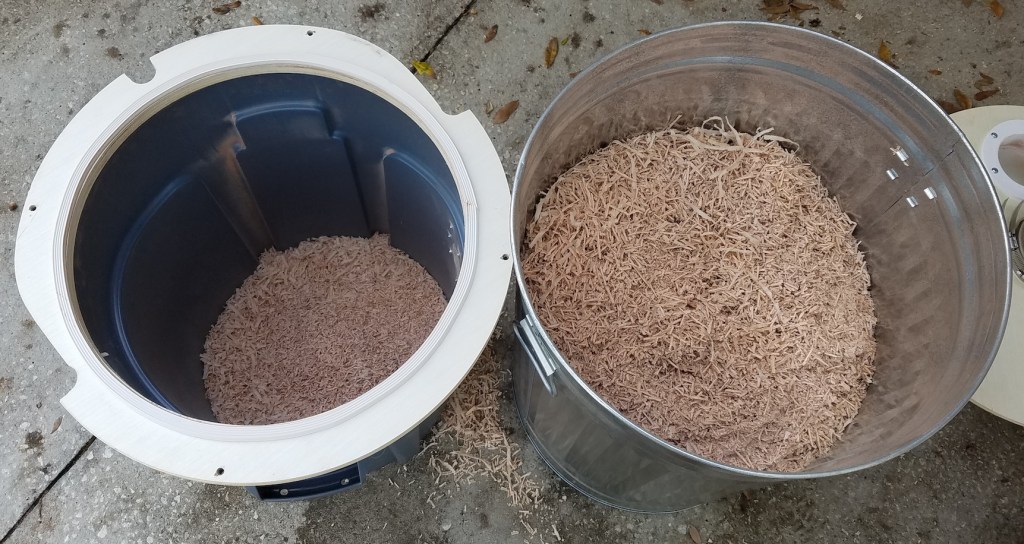
Turns out the pre-separator was past full and the shavings had gotten up past the baffle into the final stage. Good thing emptying both sections is easy and only takes a minute. The newly revamped dust collection rig works well and the pleated filter on top makes it breathe even better than before the pre-separator was added. Very happy with this upgrade.

Pingback: Miter Saw Dust Collection | Kilted Craft Works