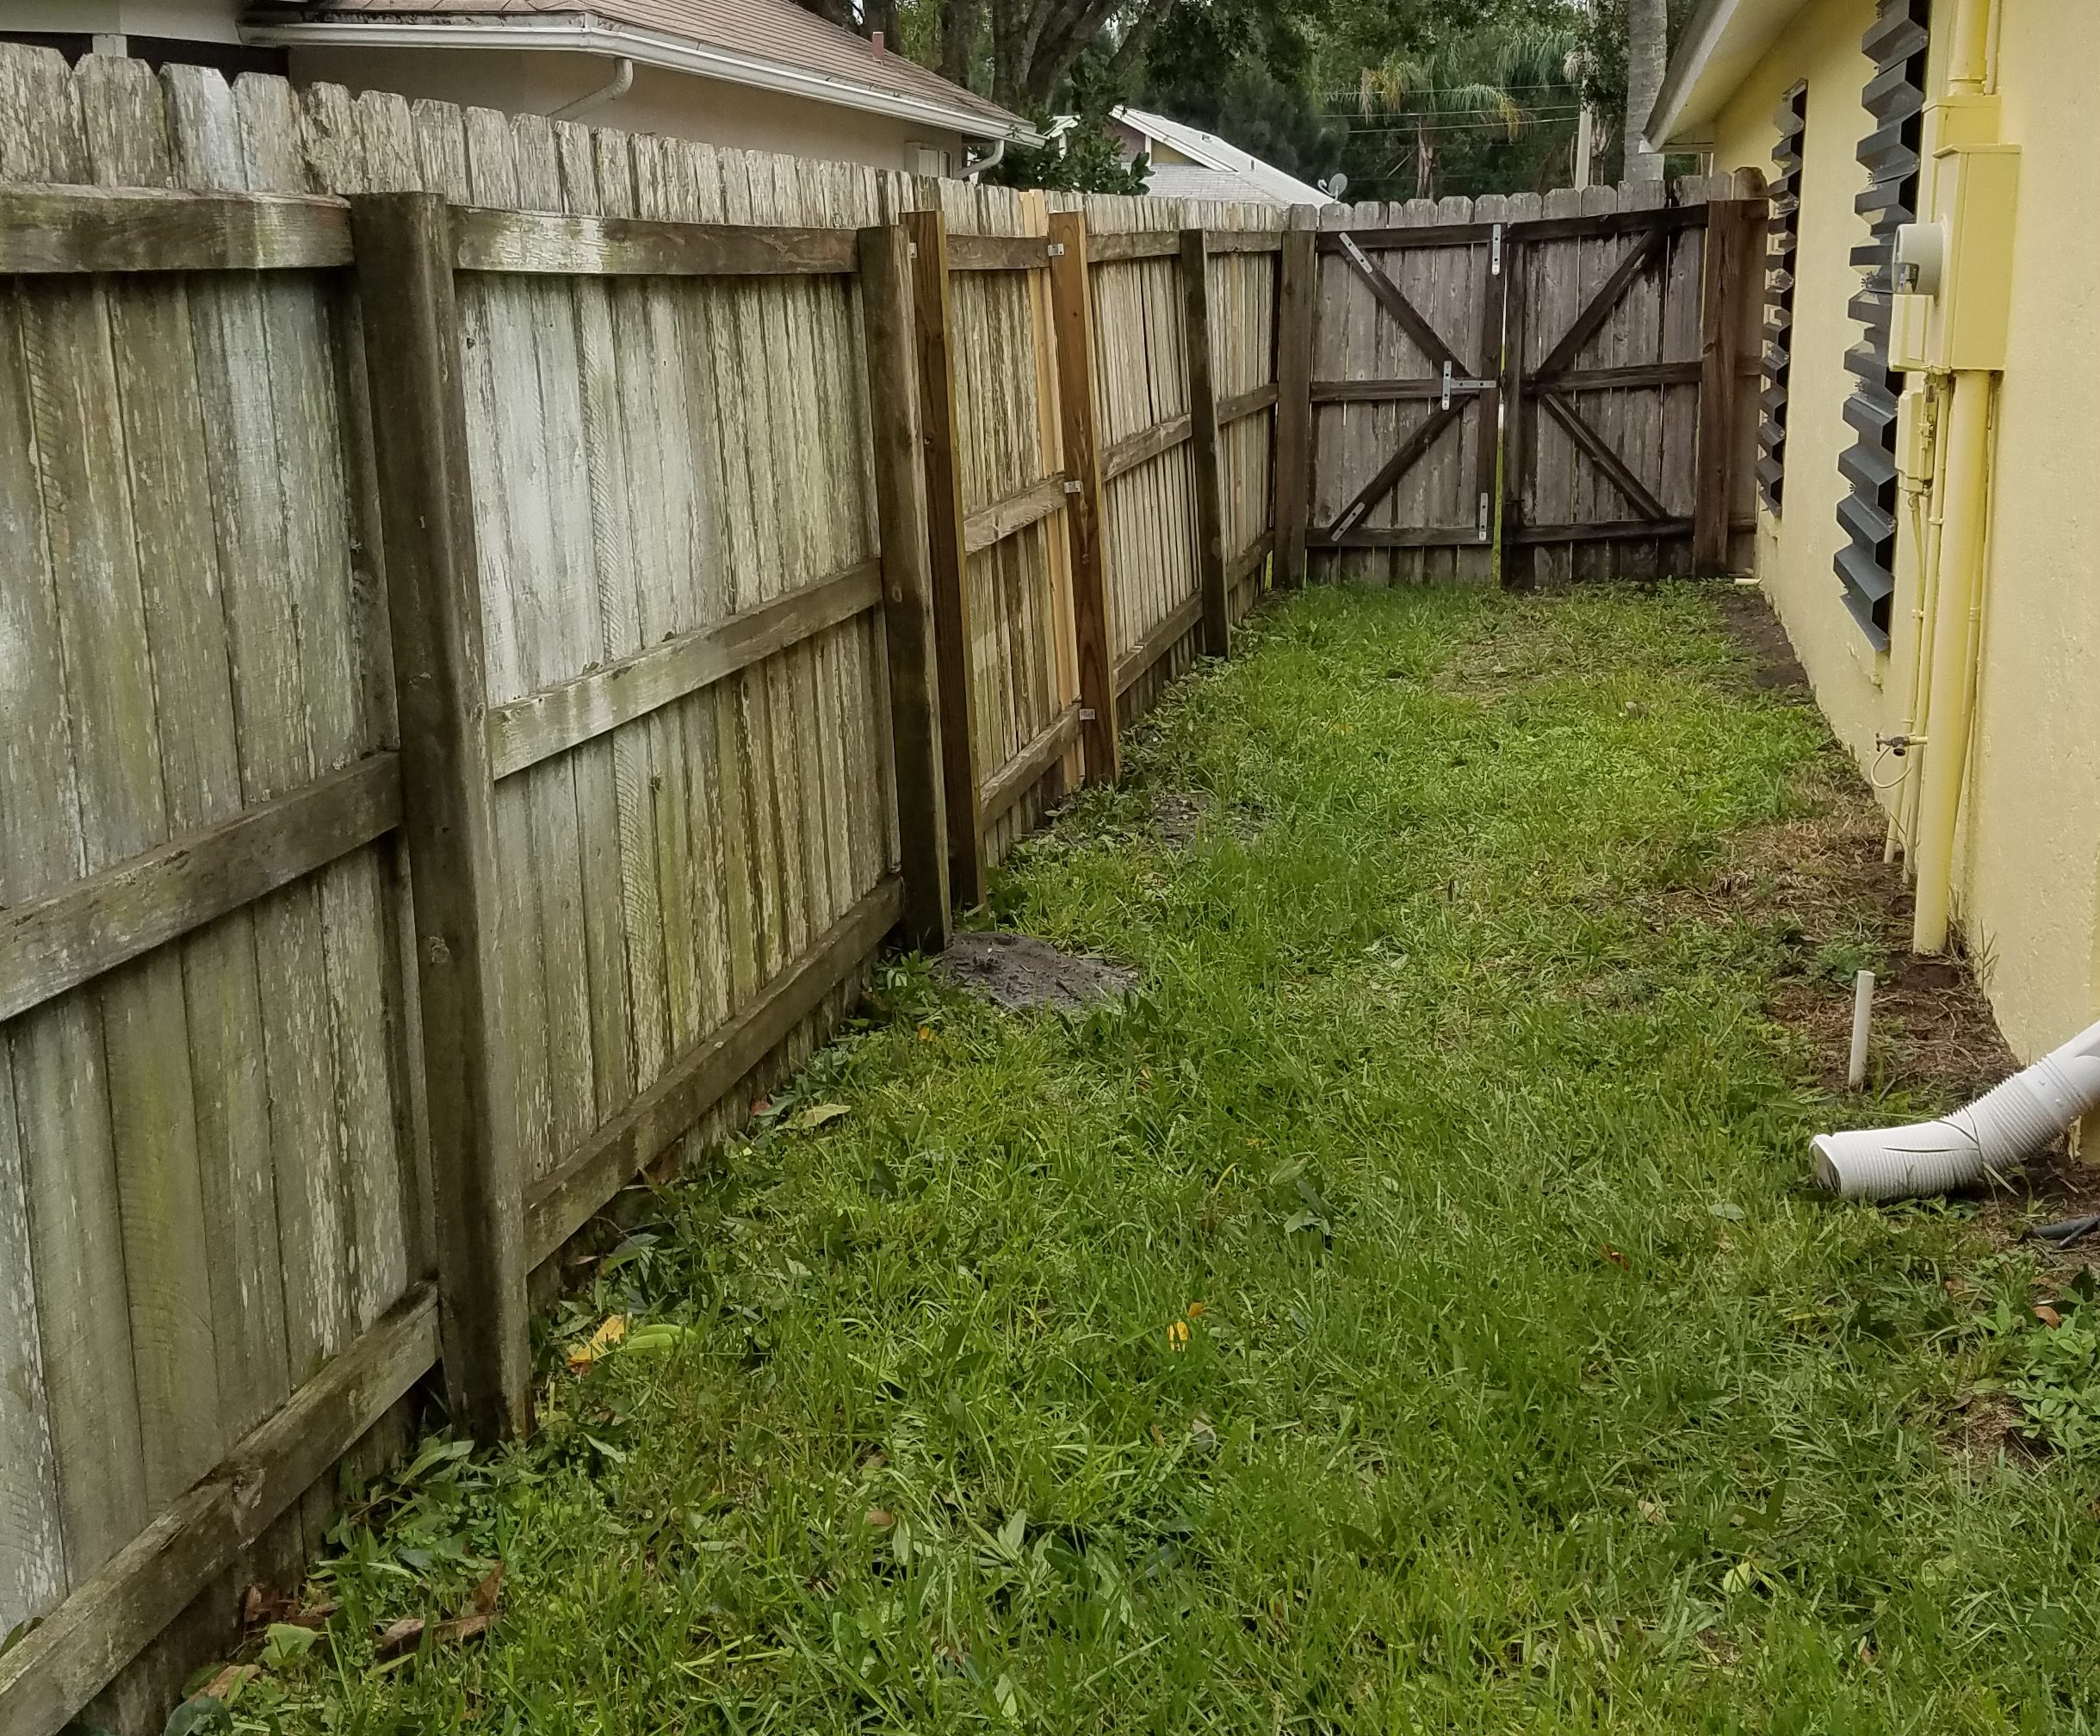
I have a bit of a fence issue

For no apparent reason other than age, one (maybe even two) of my fence posts has given up on life and is starting to lay down on the job. How to affect repairs on something like this? I started by sinking two 2x4s on either side of the main broken post to act as temporary supports.
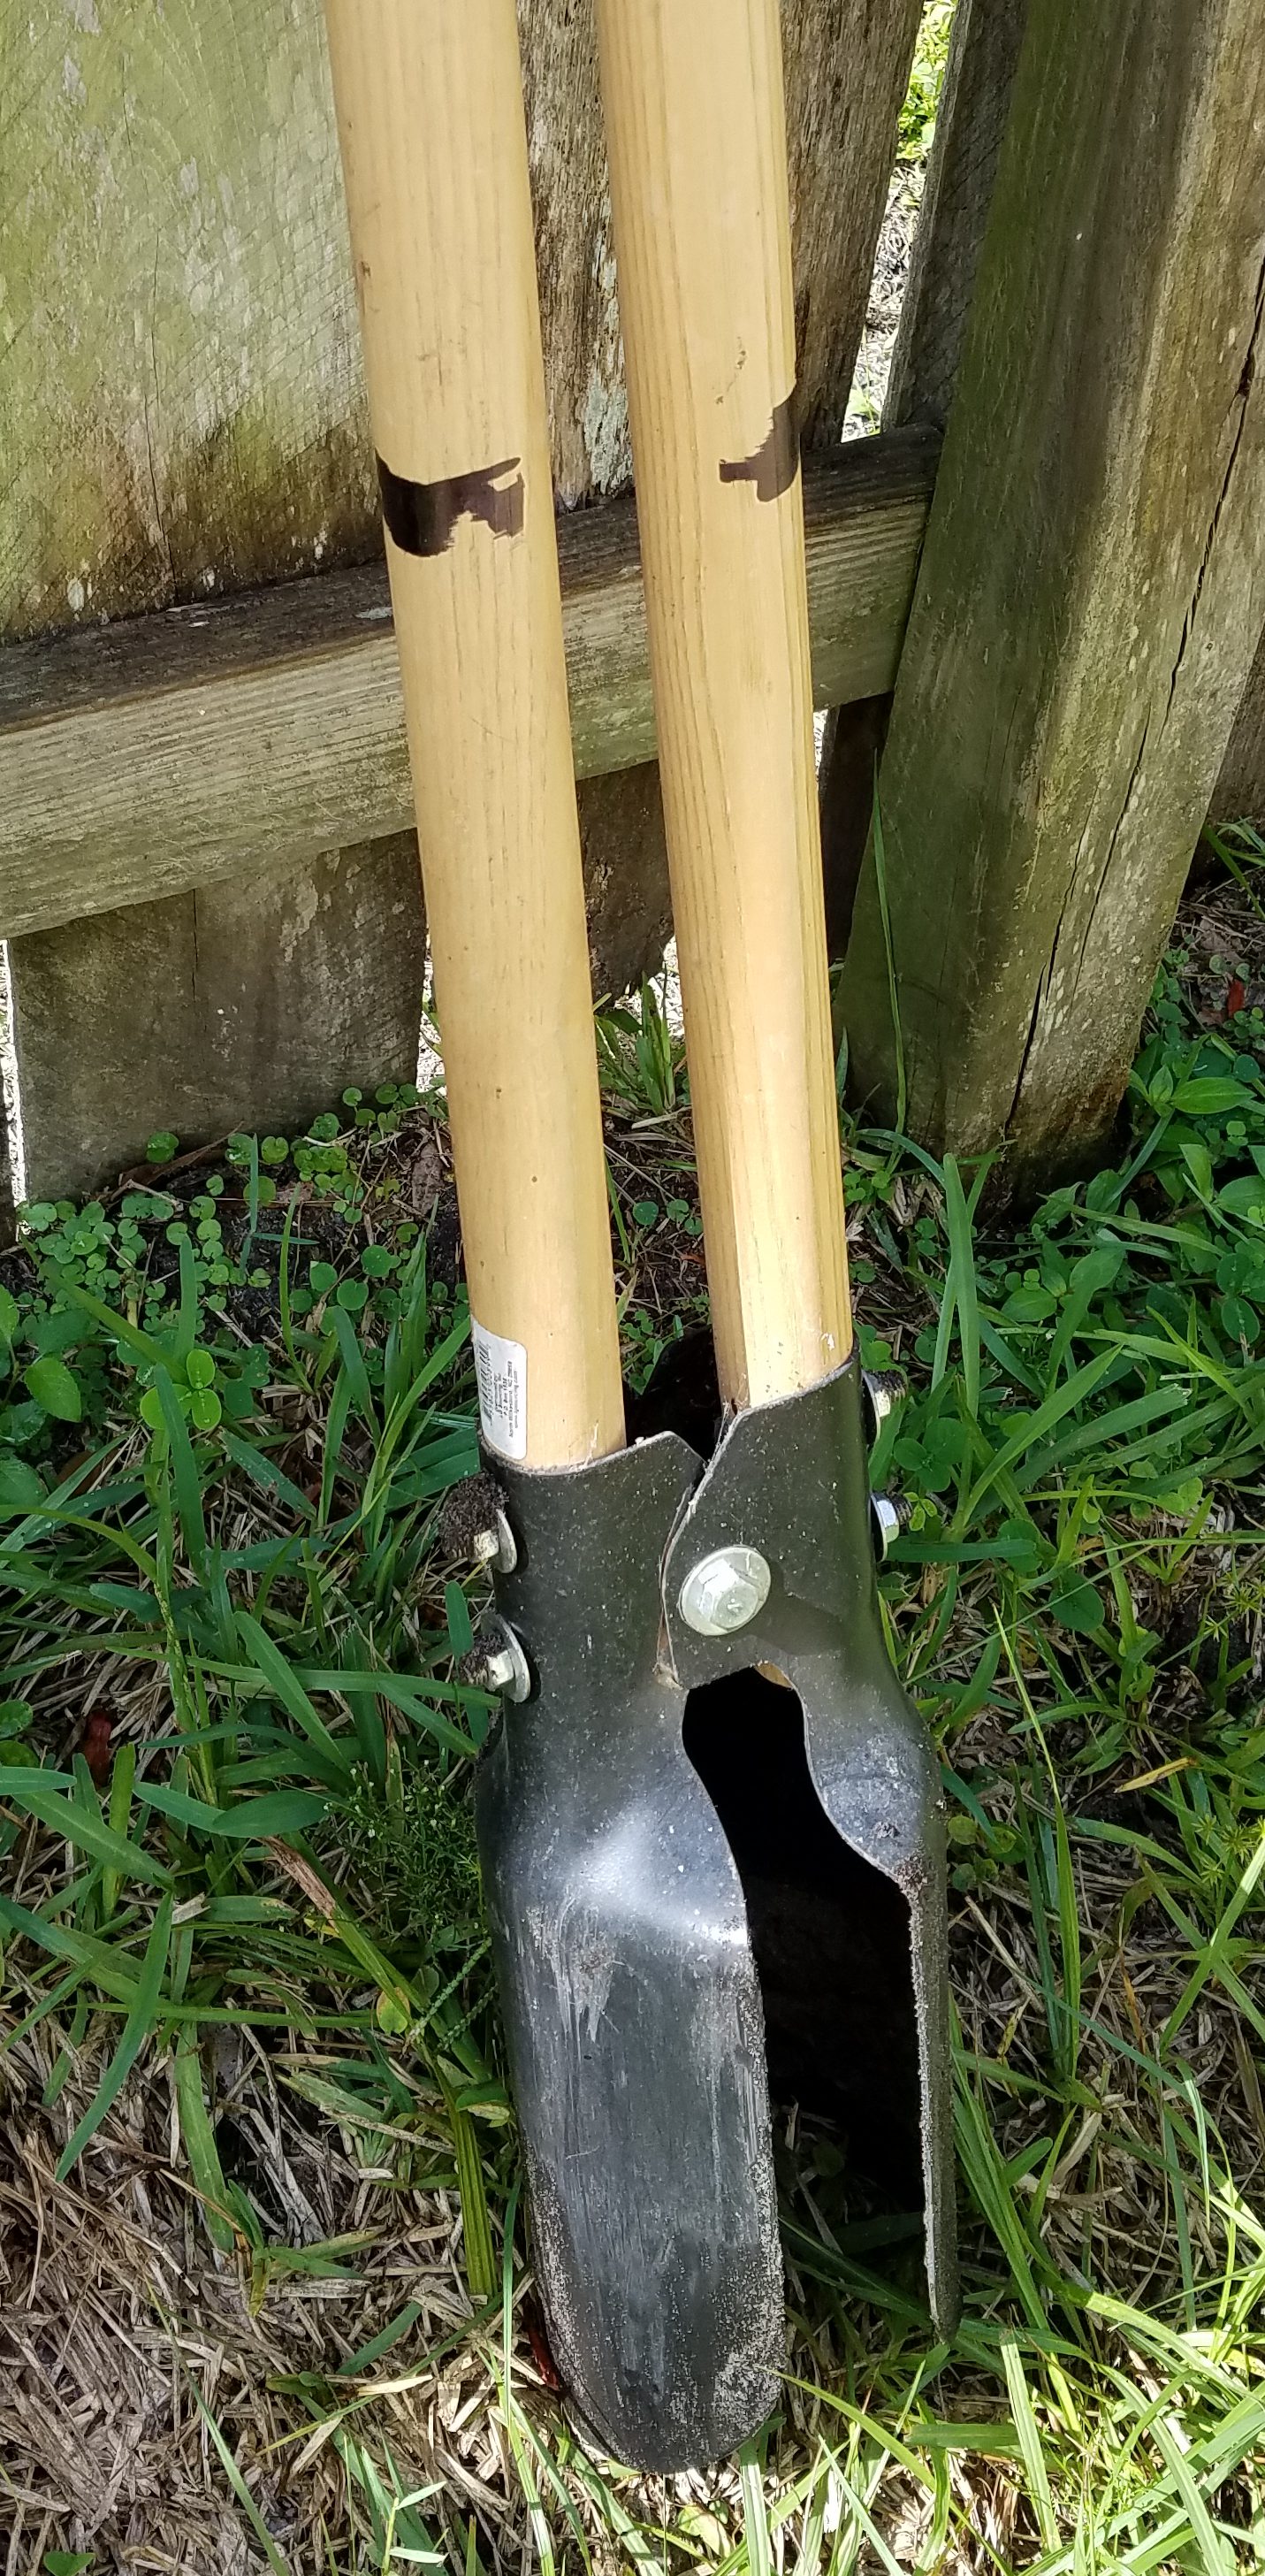
I had a brainy idea and used a big marker to put lines at the 2ft depth on my post hole diggers. Now I know exactly when to stop.

I screwed the fence into the two 2x4s and was able to move on to removing the old post. Getting the old post disconnected from the fence was easy, and it was, unsurprisingly, completely broken off at the ground. Getting the old concrete out of the ground was another story. It took a lot of prying, digging and grunting.
It might not look like much, but that sucker was heavy! With it out I was able to put the new post in its place. I thought about trying to dig out the other post that had a slight lean, but after wresting with this one for so long I punted. Instead I sank another post right next to the leaning one. I don’t think it was completely broken yet, and the horizontal 2x4s that hold the pickets didn’t end at that post.

 Fast forward a week later and the concrete was all set well. I pushed everything back onto the new posts and screwed it down. The 2×4 temporary supports came out, and I added a few right angle brackets to make sure it all held well.
While I was out working on the obviously damaged section I replaced a few bad pickets, and did some preventative screwing. I sunk 3.5″ screws through all the 2x4s into the posts. I have been buying only torx head screws recently, but had a lot of old exterior philips to get rid of.

Lowe’s basic grade of 3.5″ exterior screw managed to break not one but two dewalt philips head impact drivers in about 20 minutes. I had two screws left, but had to toss them and move on to torx. After that I put a shorter screw through the center of every picket I could reach, and burned through most of a 5 pound box of screws in doing so. My arms hurt by the way.
A new fence will have to happen in the next year or two, but this should help keep it all together until then.


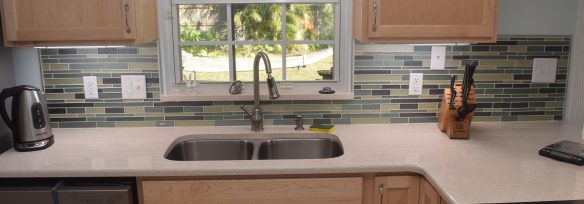
 he gaps between each tile varied between 1/8″ and 1/16″. It made any errors on my part easier to hide, but keeping everything looking right meant I needed a variety of shims. When installing the tile I did my best to keep the gaps clean, but sometimes the mortar squeezed through. It is tough to clean without disturbing the wet tile too much. Instead I waited till it was cured and used a custom little tool to scrape it out. It is a thin putty knife ground down to make a small hook/dovetail shape. I was able to get into the gaps and clean out any stray mortar that even the smallest grout saw couldn’t get to.


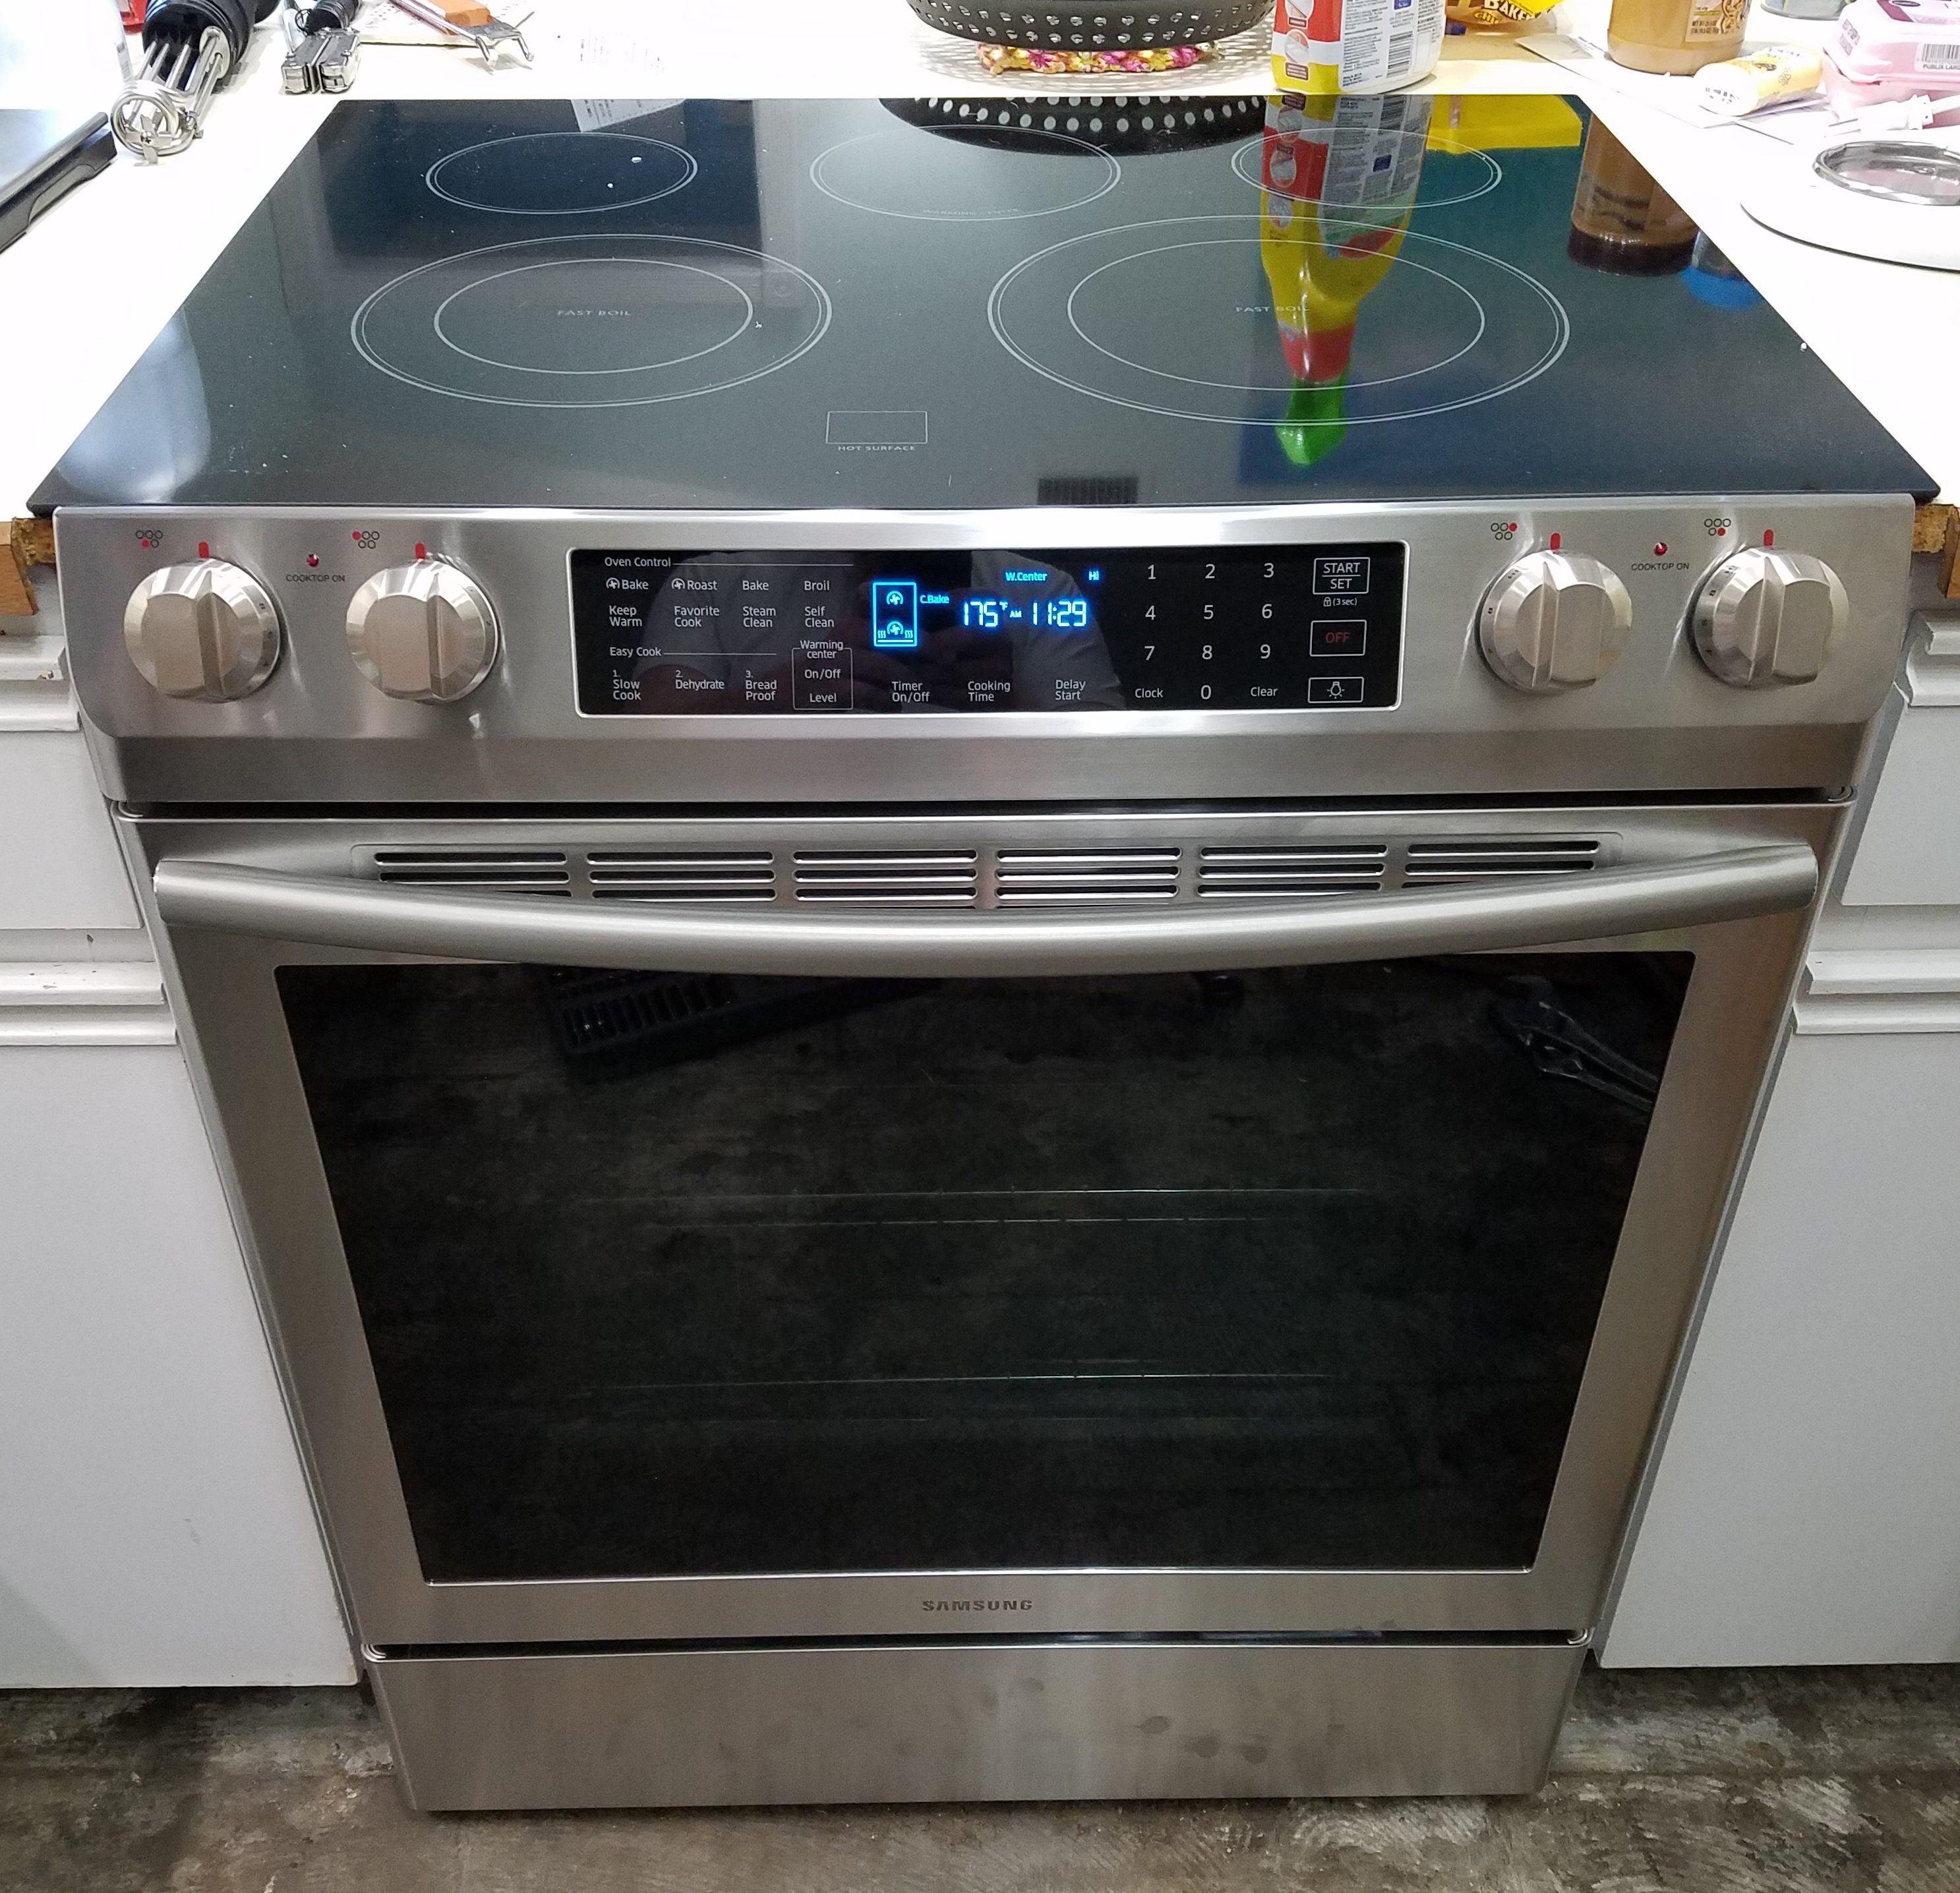
 I could now work on the small pantry without any fear of getting in the way of cabinet installation. It would give us a place to put back some of our boxed junk and help out in minor cooking adventures at Kitchen Base Camp. I went with adjustable wire shelves and wired an under-cabinet light in the top that goes on with the lights over the stove. Some basic molding happened on the inside, but most will wait till I can do everything after the cabinets are complete.