I have been trying to adapt a swivel cutter to my Shapeoko for months. Not constantly, but I have been making lots of little attempts. Swivel cutters enable you to easily cut small thin materials with CNC regularity and precision. Paper, plastic and foam sheets, stickers, and hopefully leather.
I started by trying to chuck the swivel cutter directly into my spindle. The spindle spins fairly freely on its own, and is already well attached to my Z-axis. Most of that previous statement turned out to be true. The spinning part wasn’t good enough as it turns out. The blade didn’t rotate, it just grabbed.
The cutter has a wide flat head where the blade sticks out. This helps keep the material stuck down and should prevent puckering. Also, the blade spins much more freely in the cutter than in the spindle. So ditch that idea, I really have to hold this thing somehow. Time to build a support. I went through a few iterations of holders till I came up with this version. I wouldn’t call it perfect, but I think this will keep me going for a while. The “square” cutout does a great job of holding the round cricut head once I saw cut it in half.

Machined delrin pieces

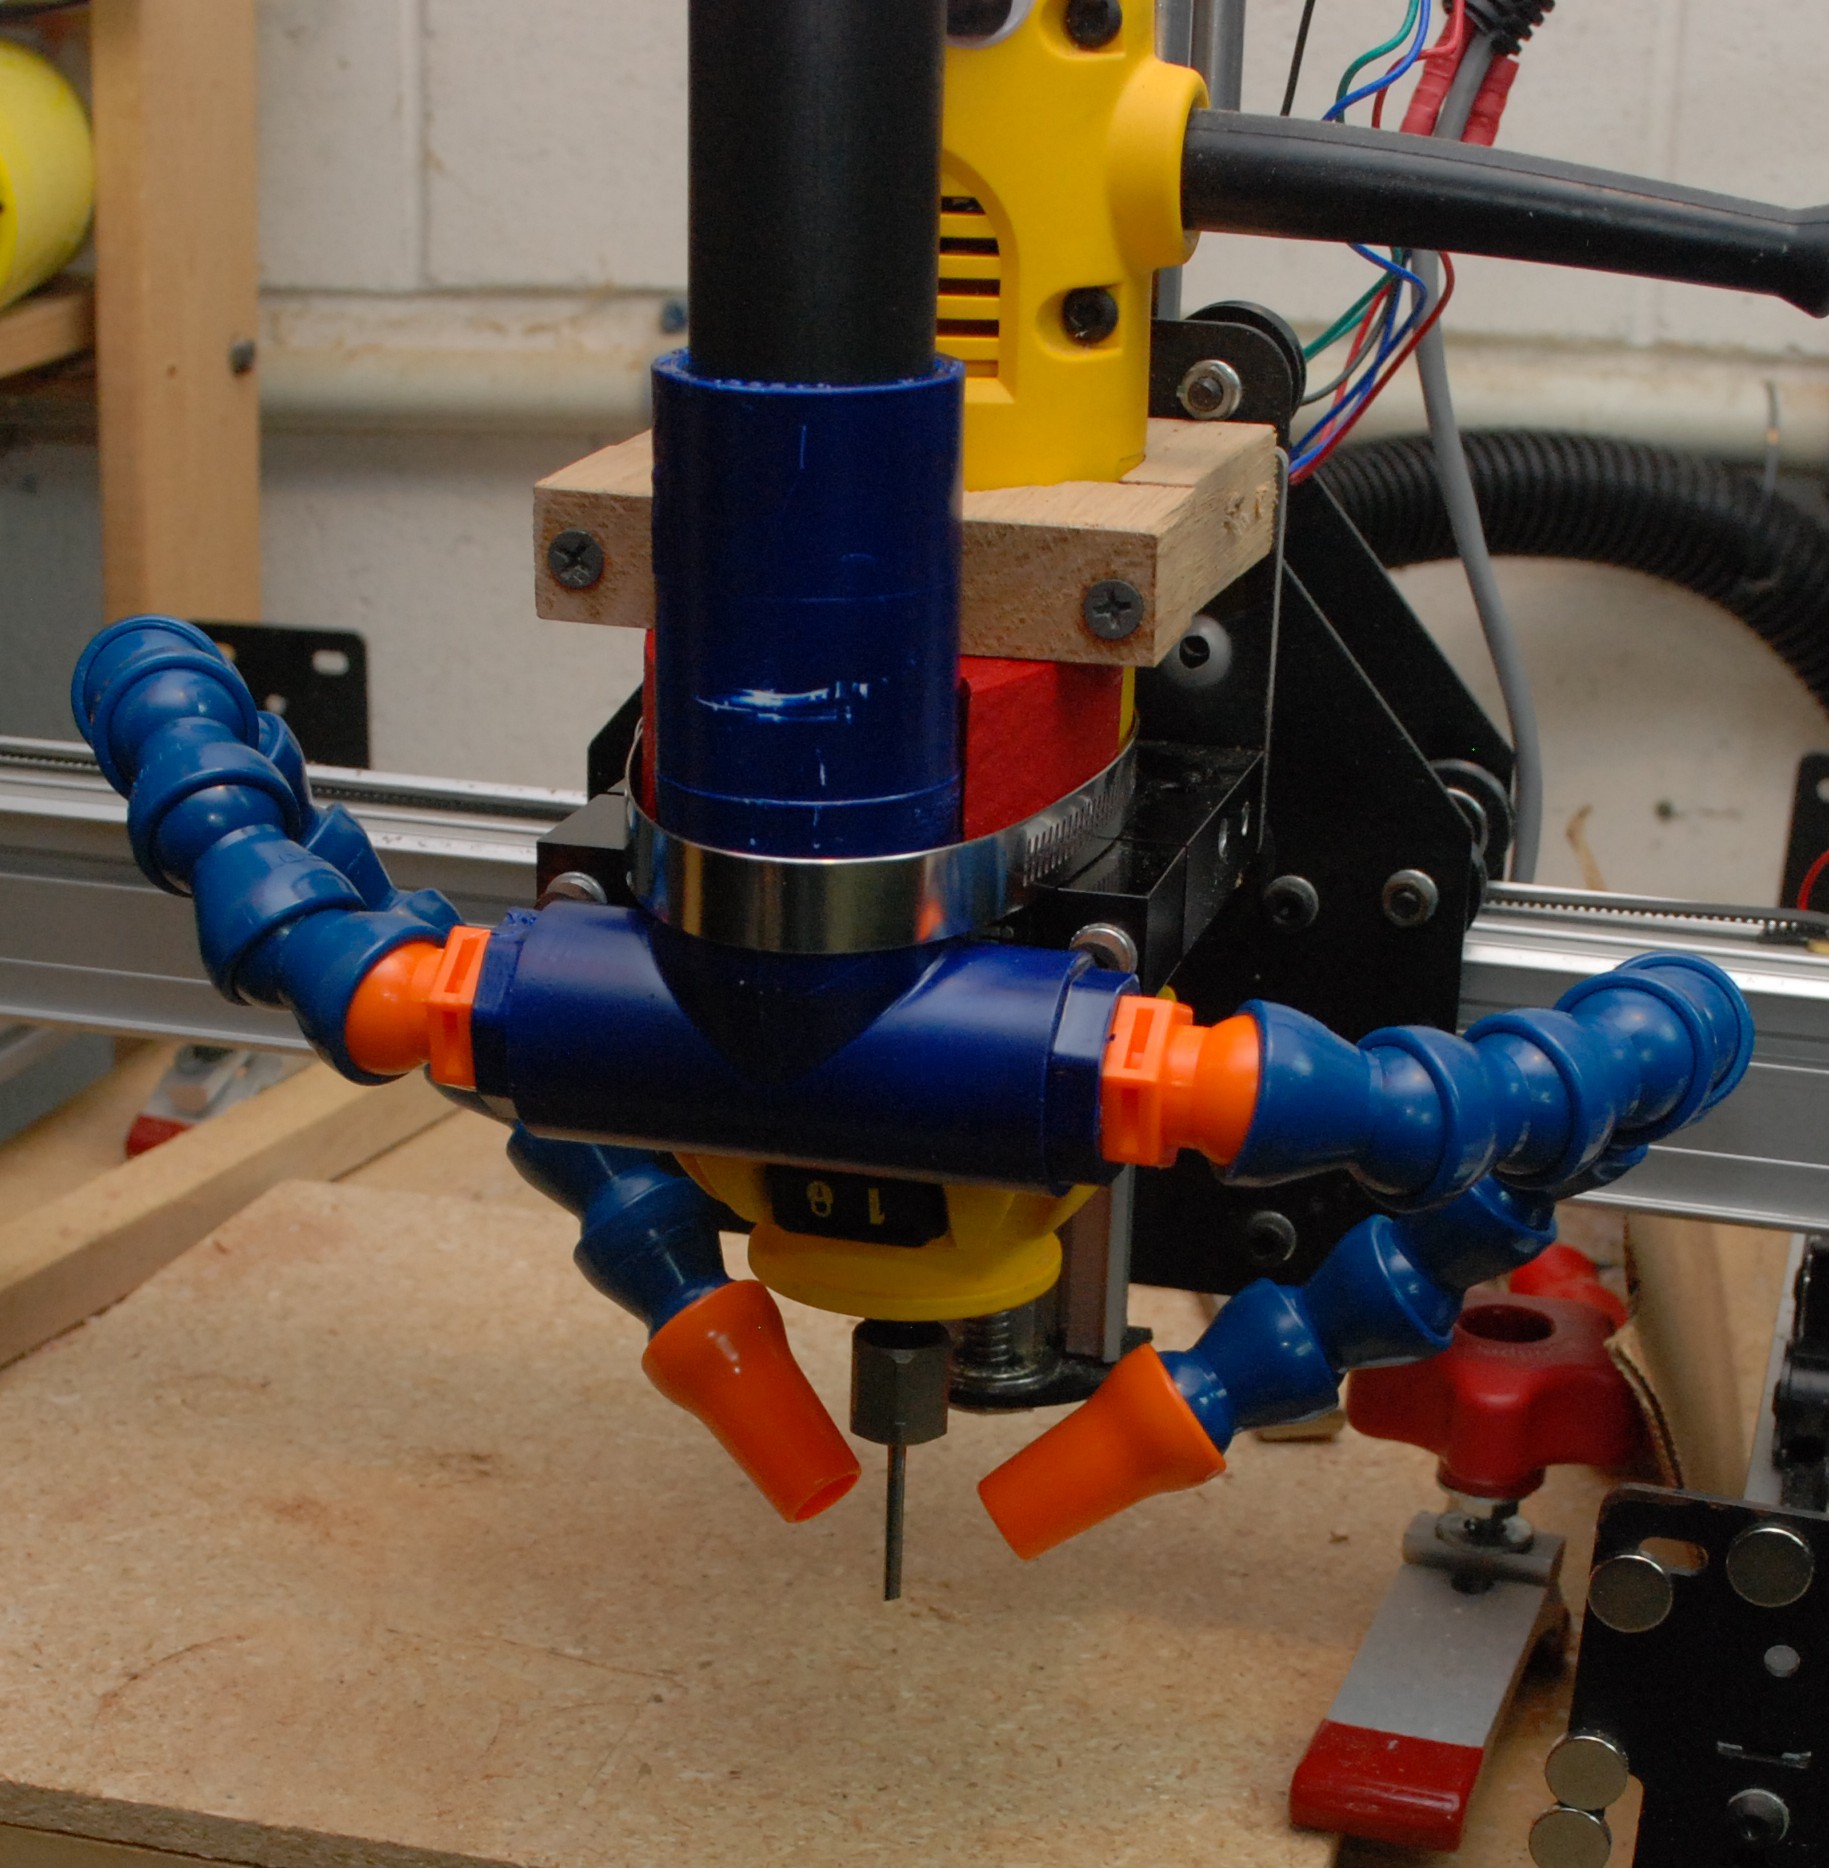
Blue cricut head in its holder
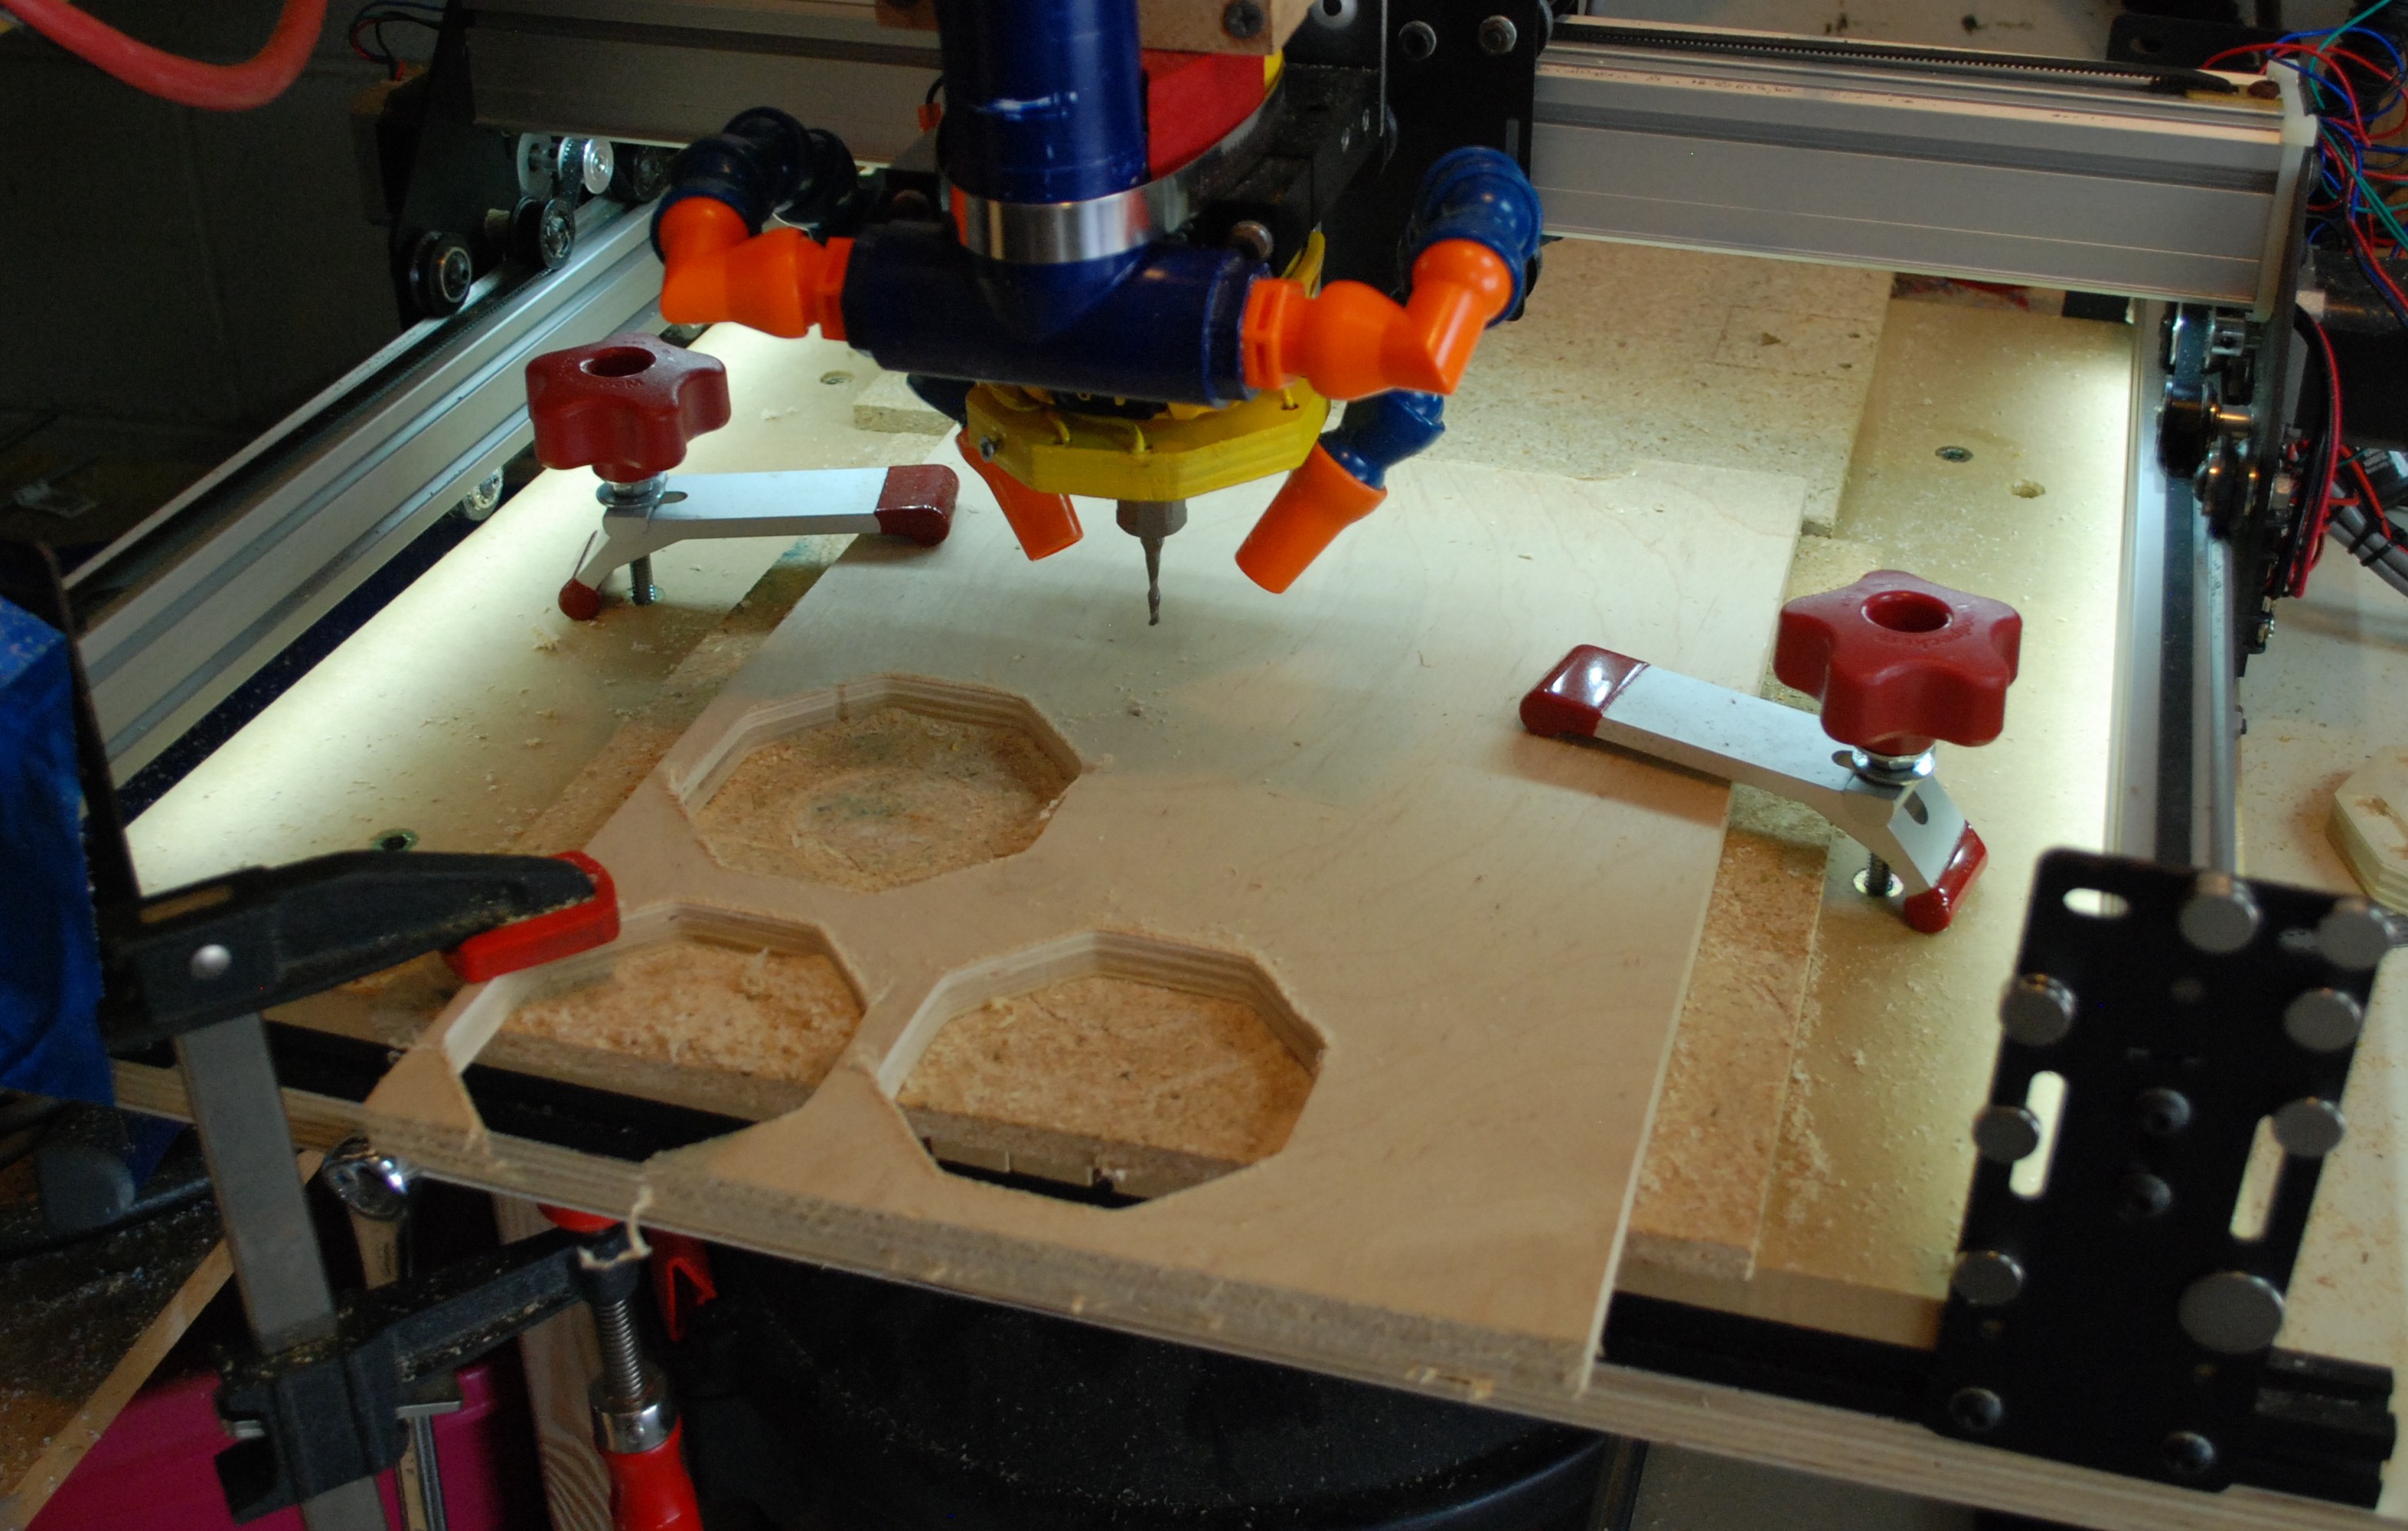
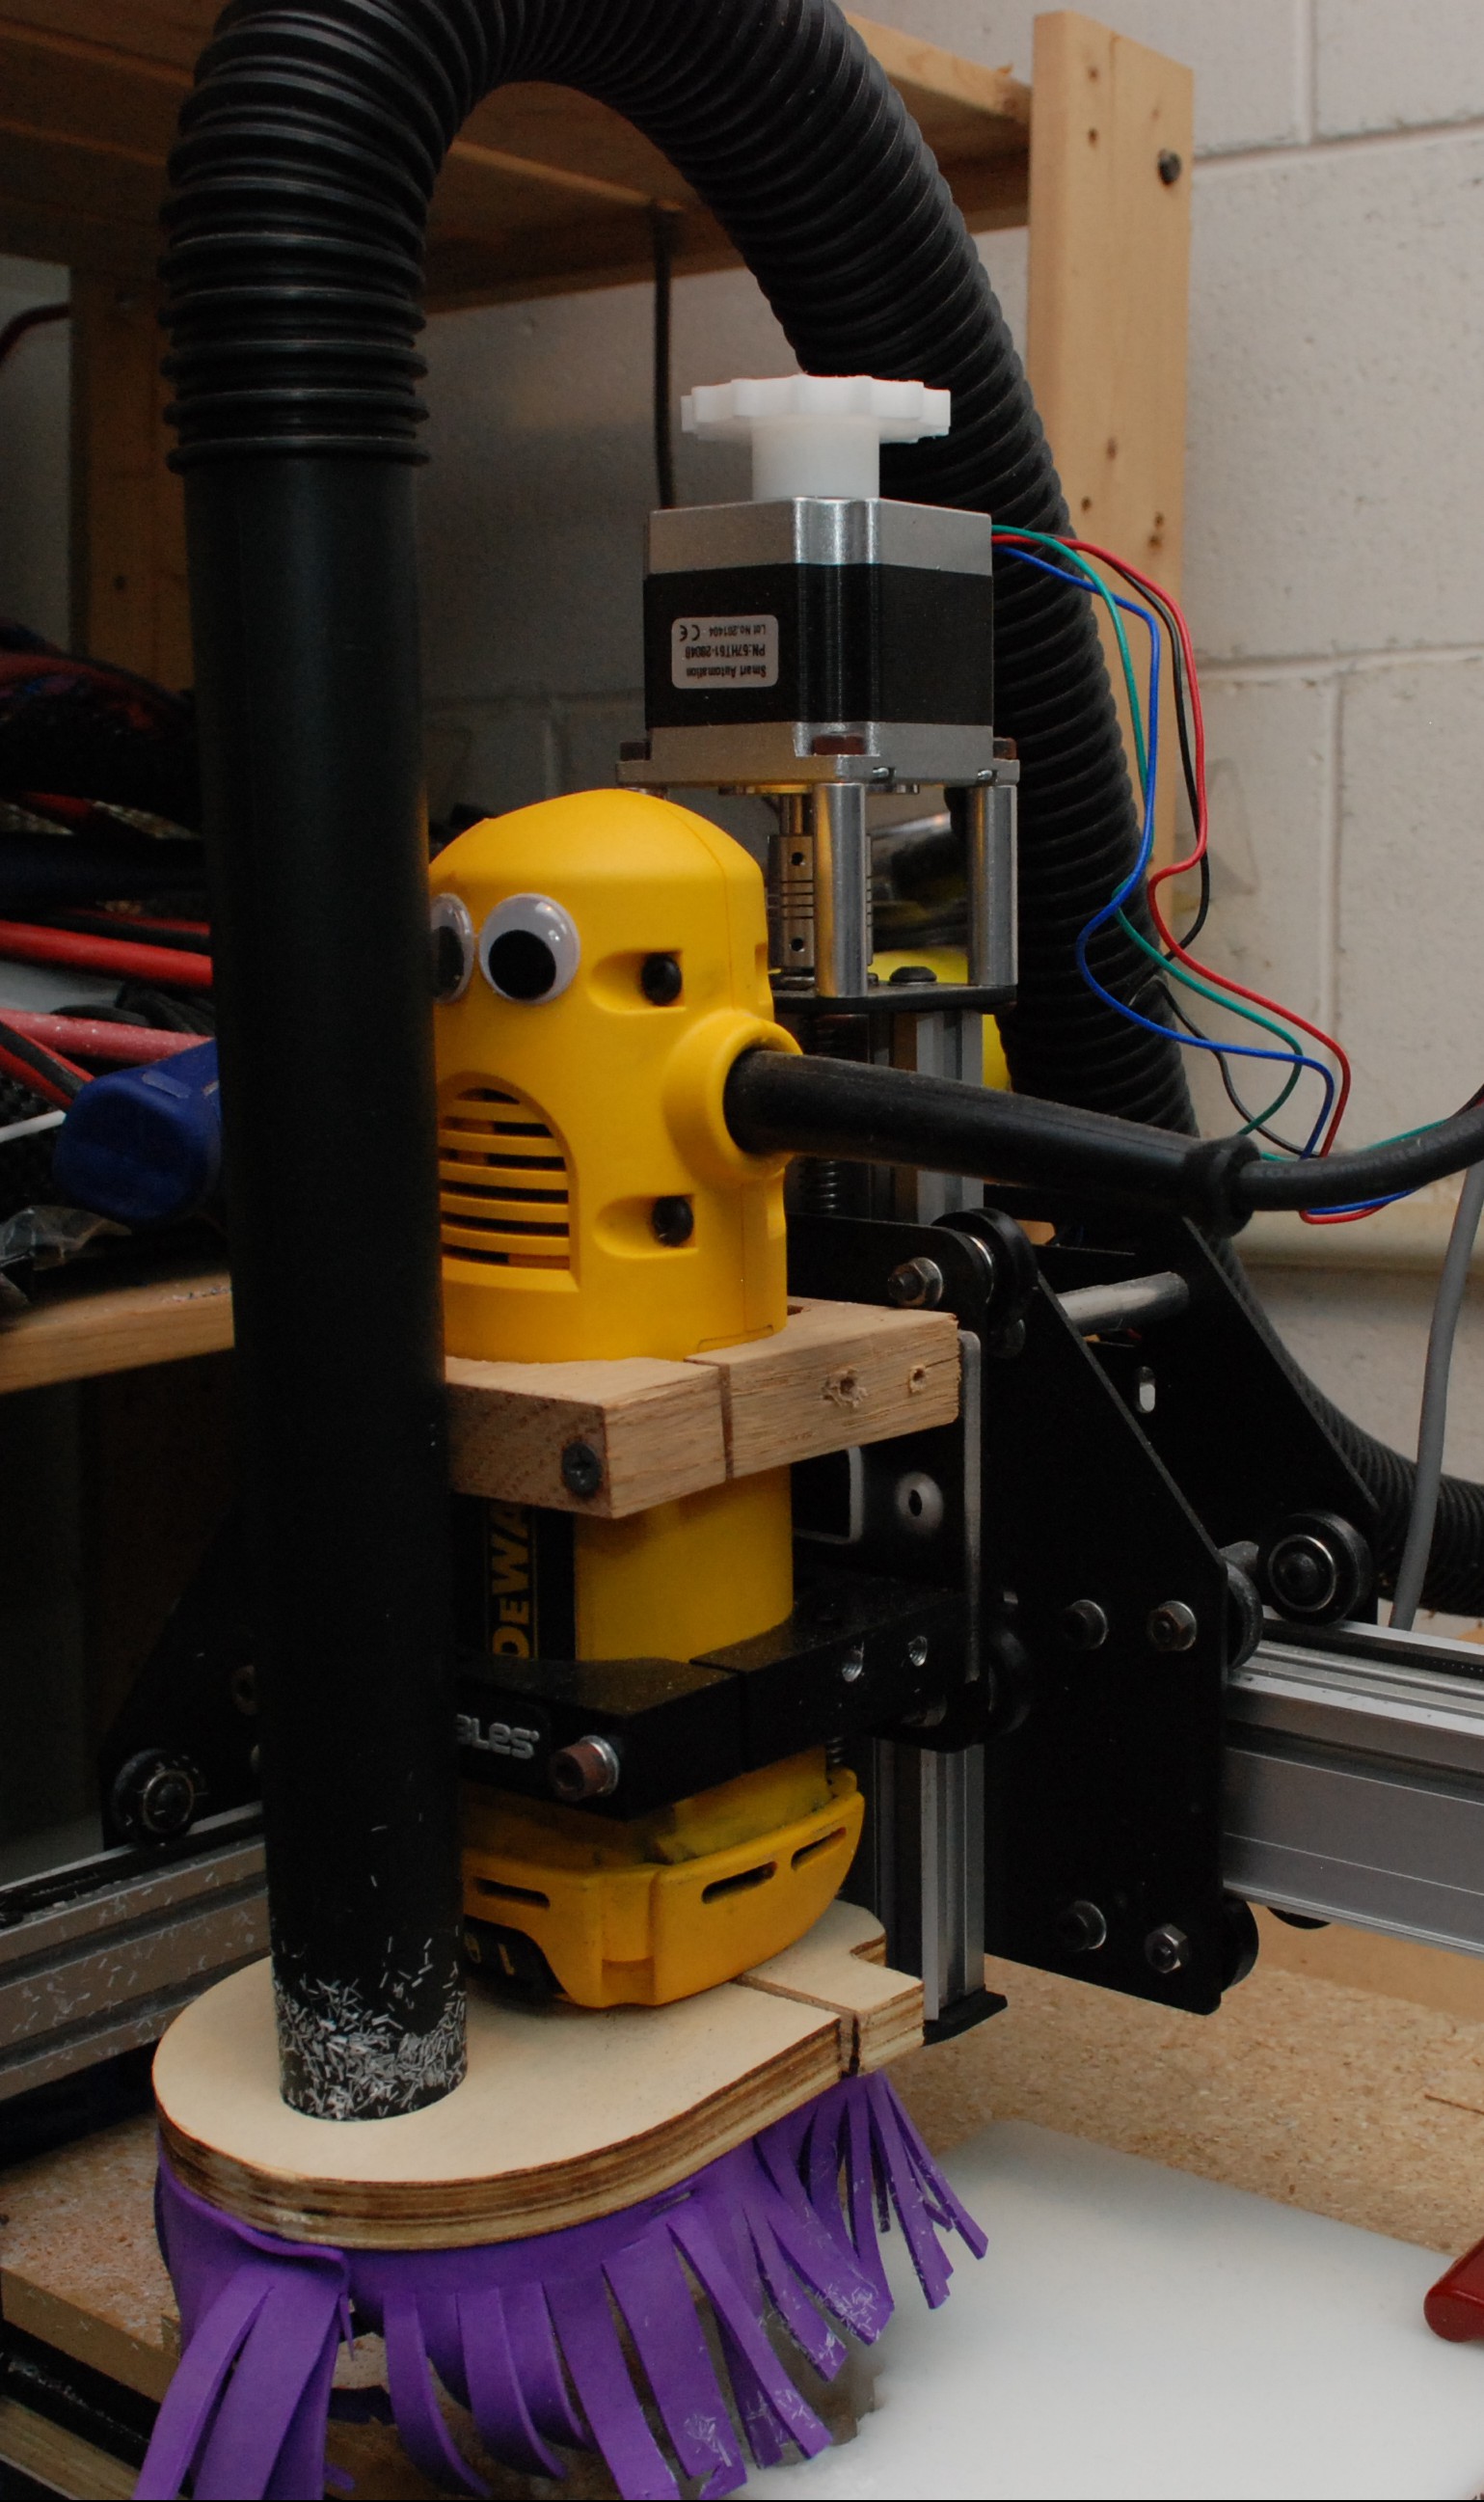
I machined 1/2″ delrin to hold the cricut head and attach to a 3/4″ down bar. All the screws were #10-24s with a counterbore. it made for a cleaner look and keeps the screw heads from interfering with anything. I attached it to my shapeoko Z-head using two tapped screws into the aluminum bracket that holds my spindle, and two wood screws into the wood version of that bracket I made. Attaching it to the side lets me keep the spindle in place. Four screws to add or remove any time I want to use the swivel cutter.
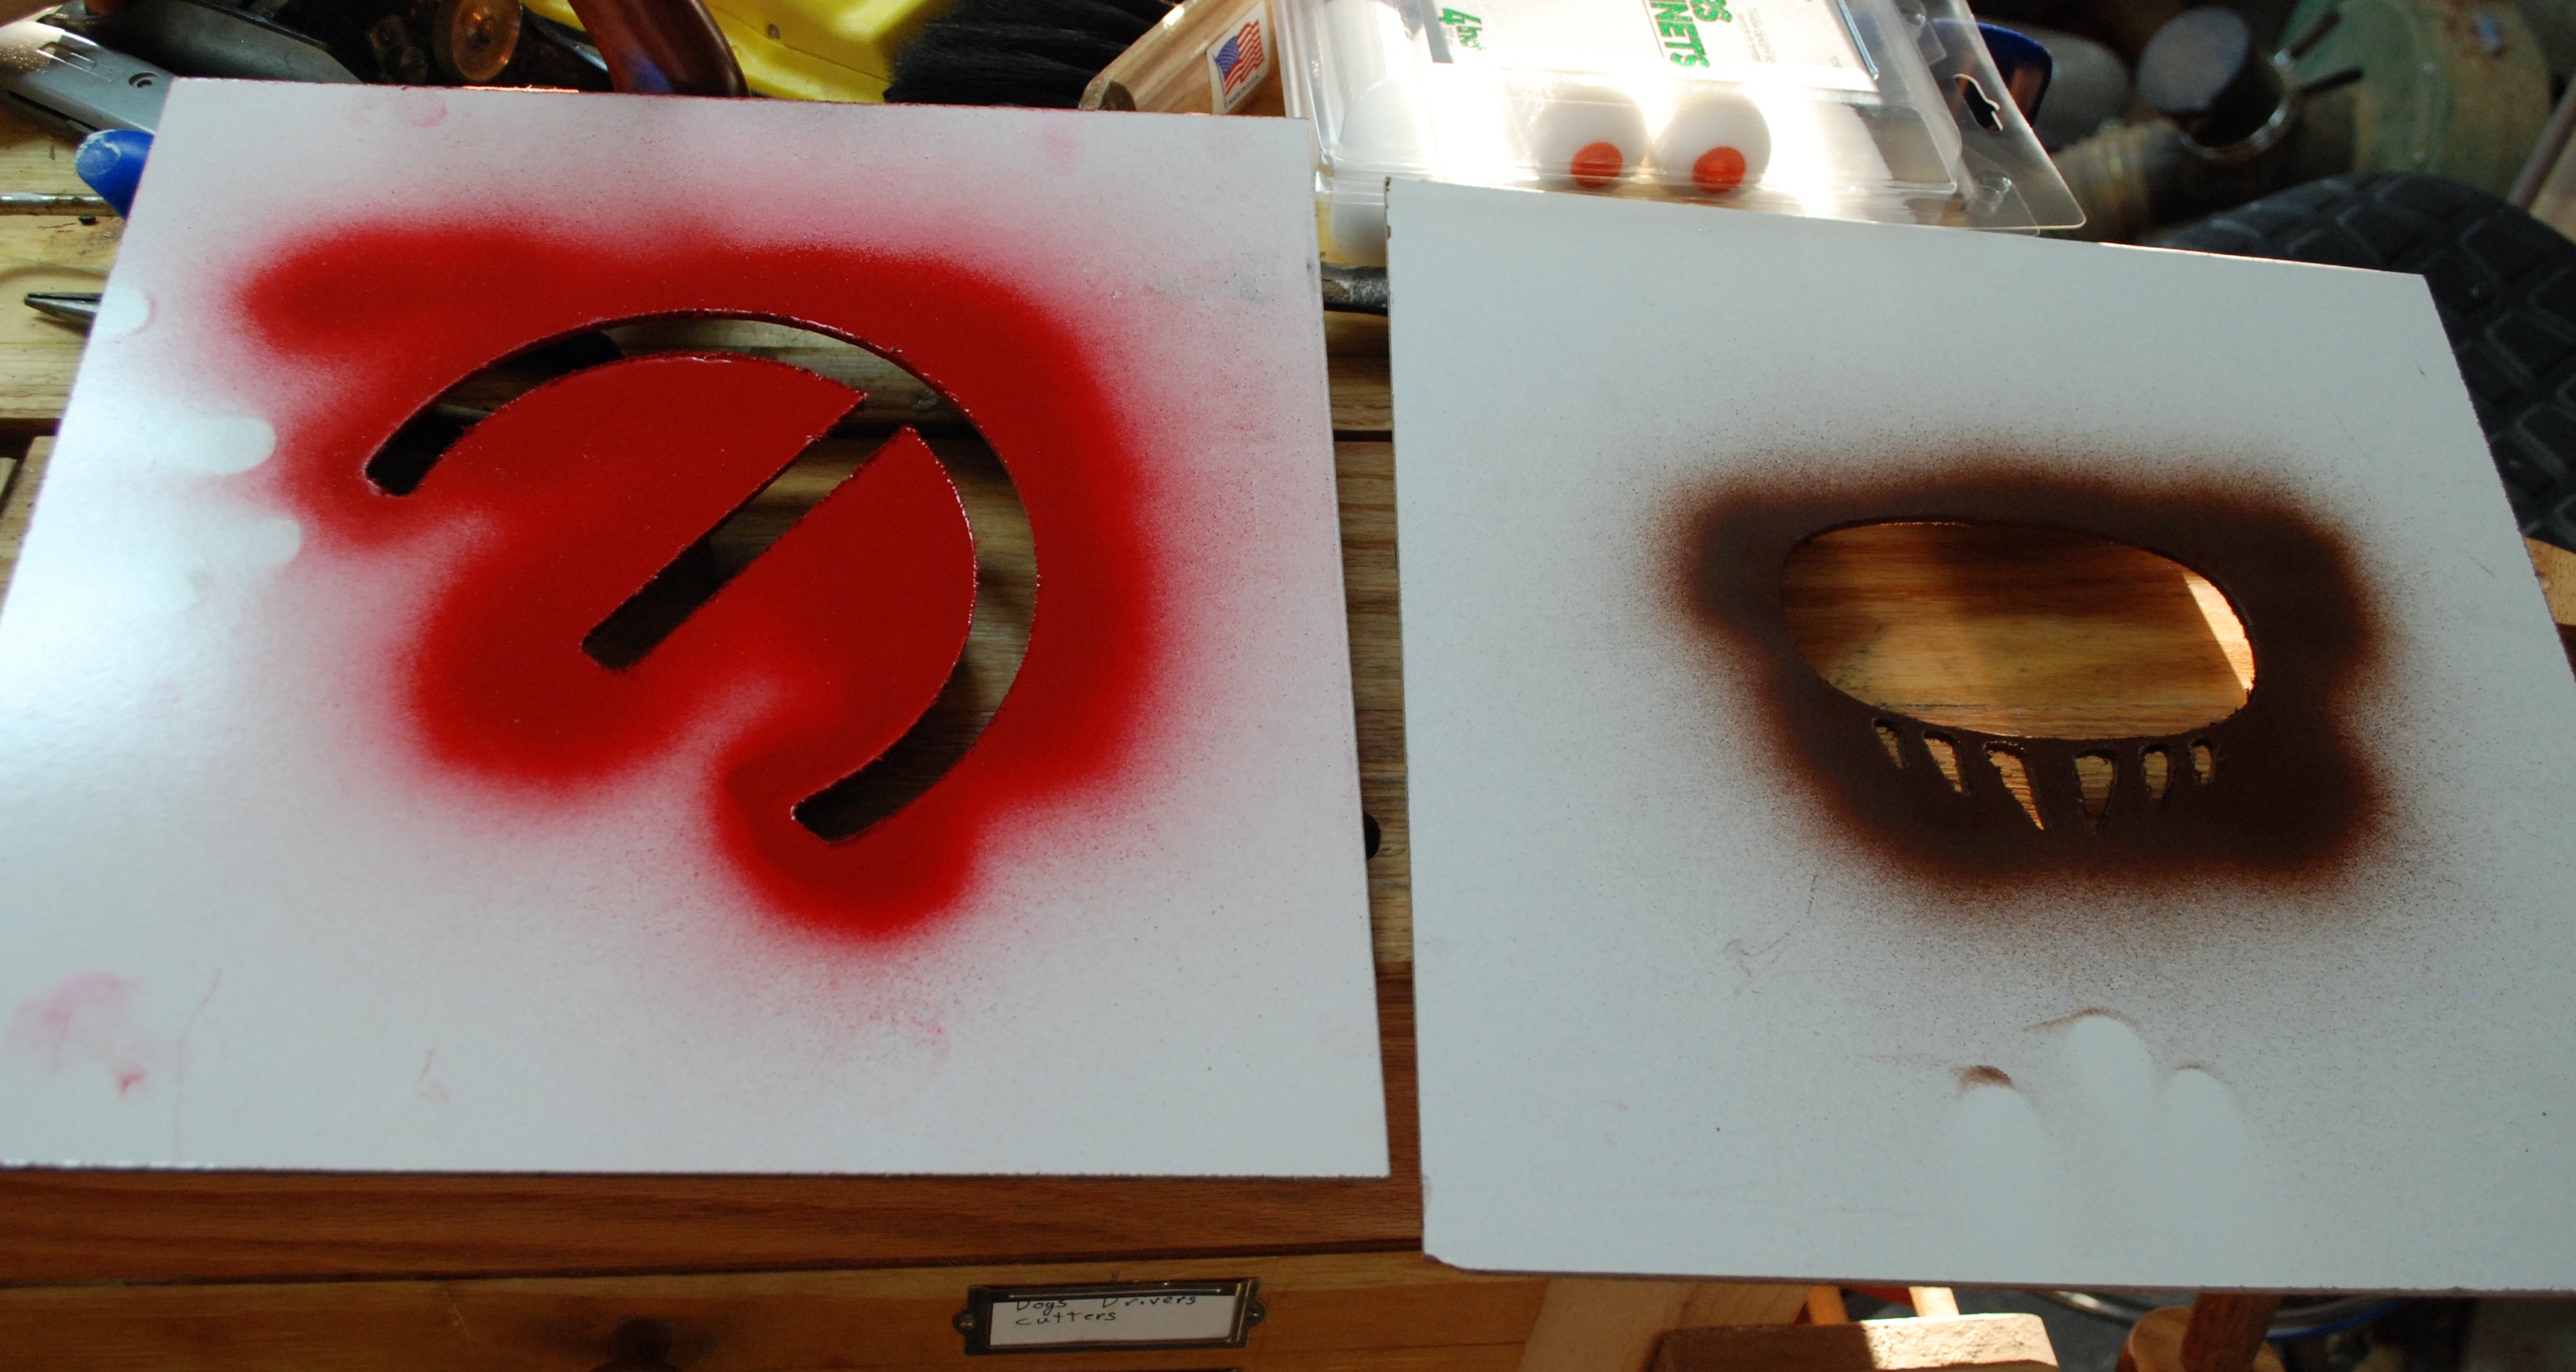
Once everything was attached I made a simple circle with the follow patch operation from maker cam. It cut well, but I held everything by hand. My fingers slipped a little and the circle had a zag in the side of it.
 The blade works well, but the clamp doesn’t. Time to use the little grey cells! I found a big 16gauge plate of metal, and stuck it under my cutting mat. Magnets did a good job of holding the paper while keeping a low profile.
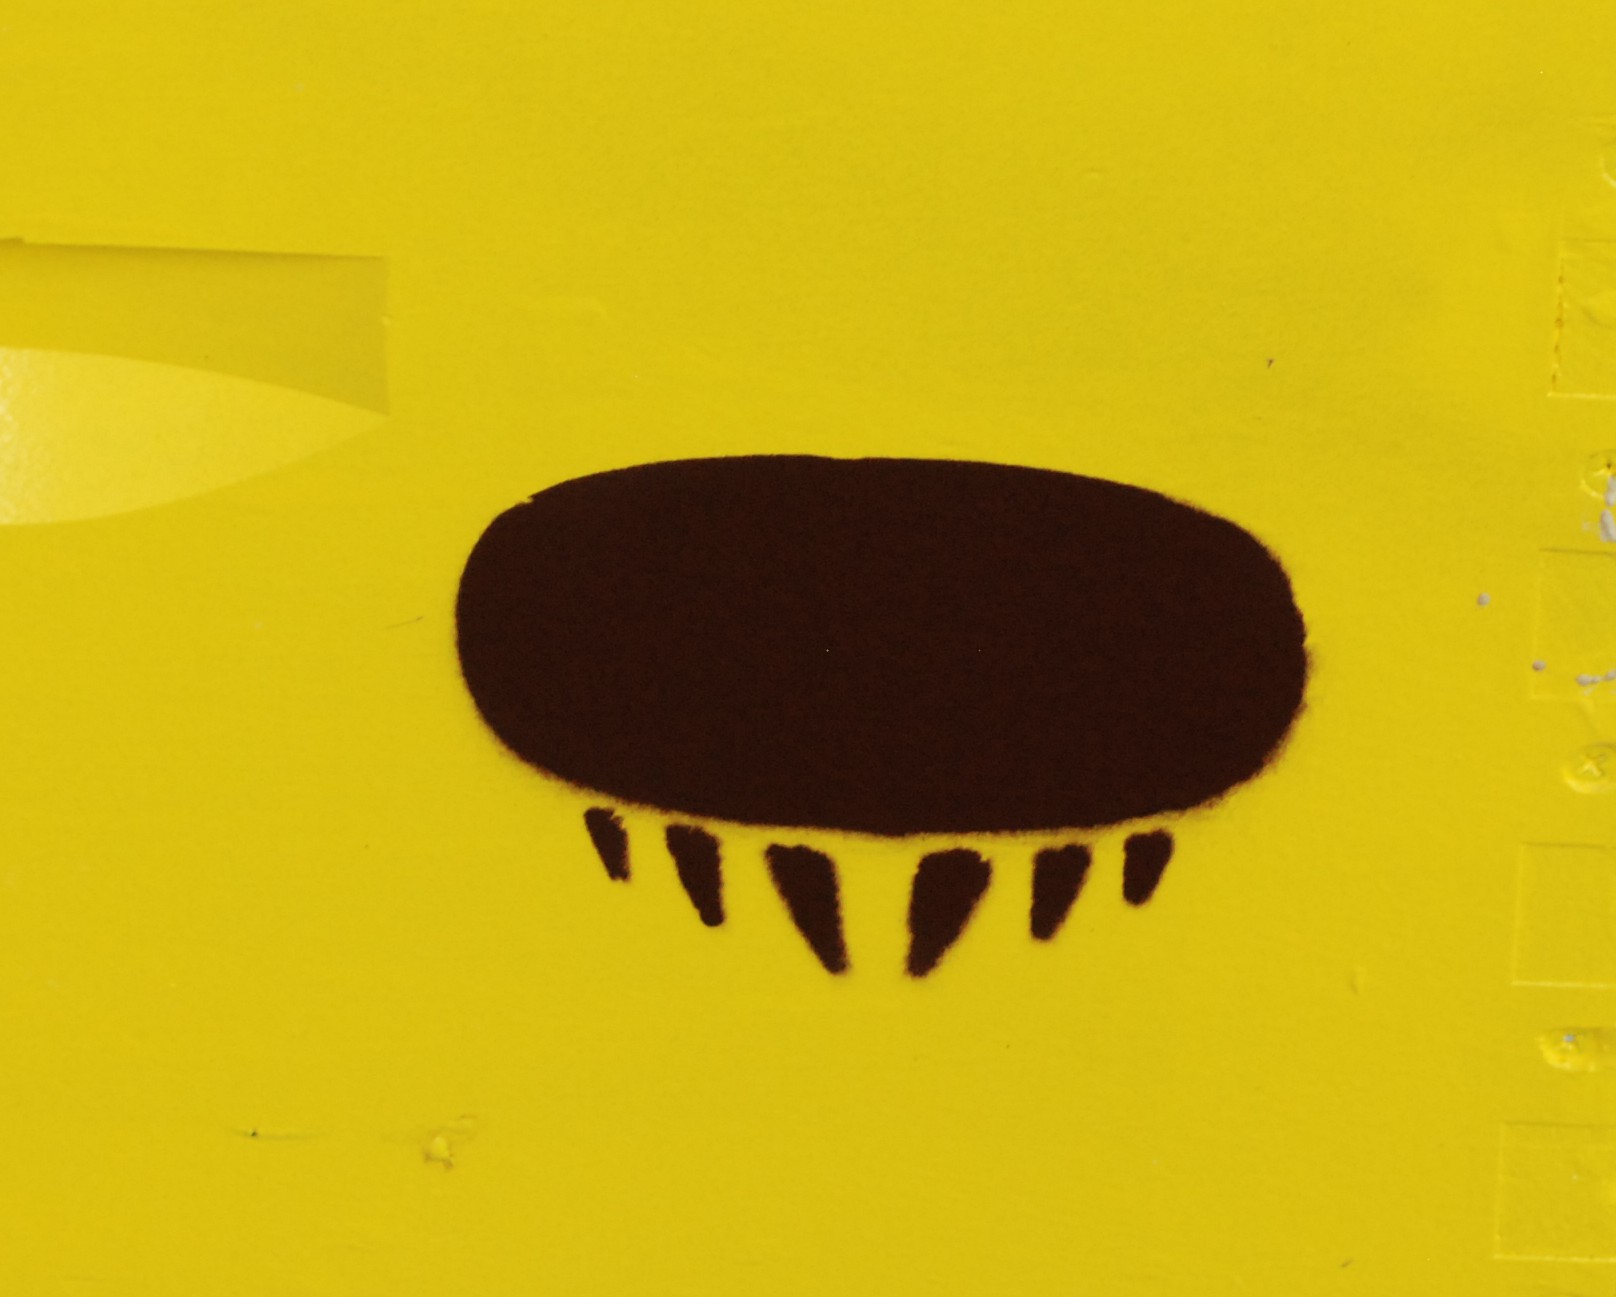
 Now that is a pretty decent looking circle. I like it, lets move on to something more complicated and see if the swivel cutter can keep up. If you search “fancy rectangles” you get a lot of great results.

Another small tear where the magnets didn’t hold well enough. I am getting some monster half inch ones on order. Until then my clamping is going to be a little dodgy. I used the same pattern to cut out some fancy rectangles from a sheet of vinyl chalkboard material. Now I can make custom labeling stickers for anything I want.
 Paper CHECK! Vinyl stickers CHECK! I was feeling confident and went on to leather cutting. It didn’t turn out well. The blade can protrude far enough to get through the leather, but my Shapeoko lacks the power to drag it through. Trying to do multiple passes didn’t work out well either. The machine lifted after each pass and tried pulling the blade out. The blade is only held in with a small magnet, so any pulling force will pluck it out. The leather gripped it well enough to partially remove the blade. When it tried to move the blade was stuck and it ended up breaking the tip off.

My best results scored the leather but did not cut through. I will order more blades and try again, but it doesn’t look good for leather.