Two years ago I pulled my old smoker out and gave it a complete overhaul. It needs a little help again. Nothing dramatic, but the paint is chipping up with rust blisters in places. Best to get to that before they become dramatic.


A heavy grit flap sander pad on my angle grinder did a good job of cleaning off the paint and exposing fresh metal. I think I used a wire brush last time, but this works a lot better. So much better in fact that it revealed a lot more bad paint than I had originally thought. I had sites all over the smoker that needed grinding and repainting.


Out came the high temp primer and paint. I basically ended up repainting 75% of the smoker. That was a lot more dramatic that I set out to do, but I figure it is a lot cheaper than having a rusted out smoker.


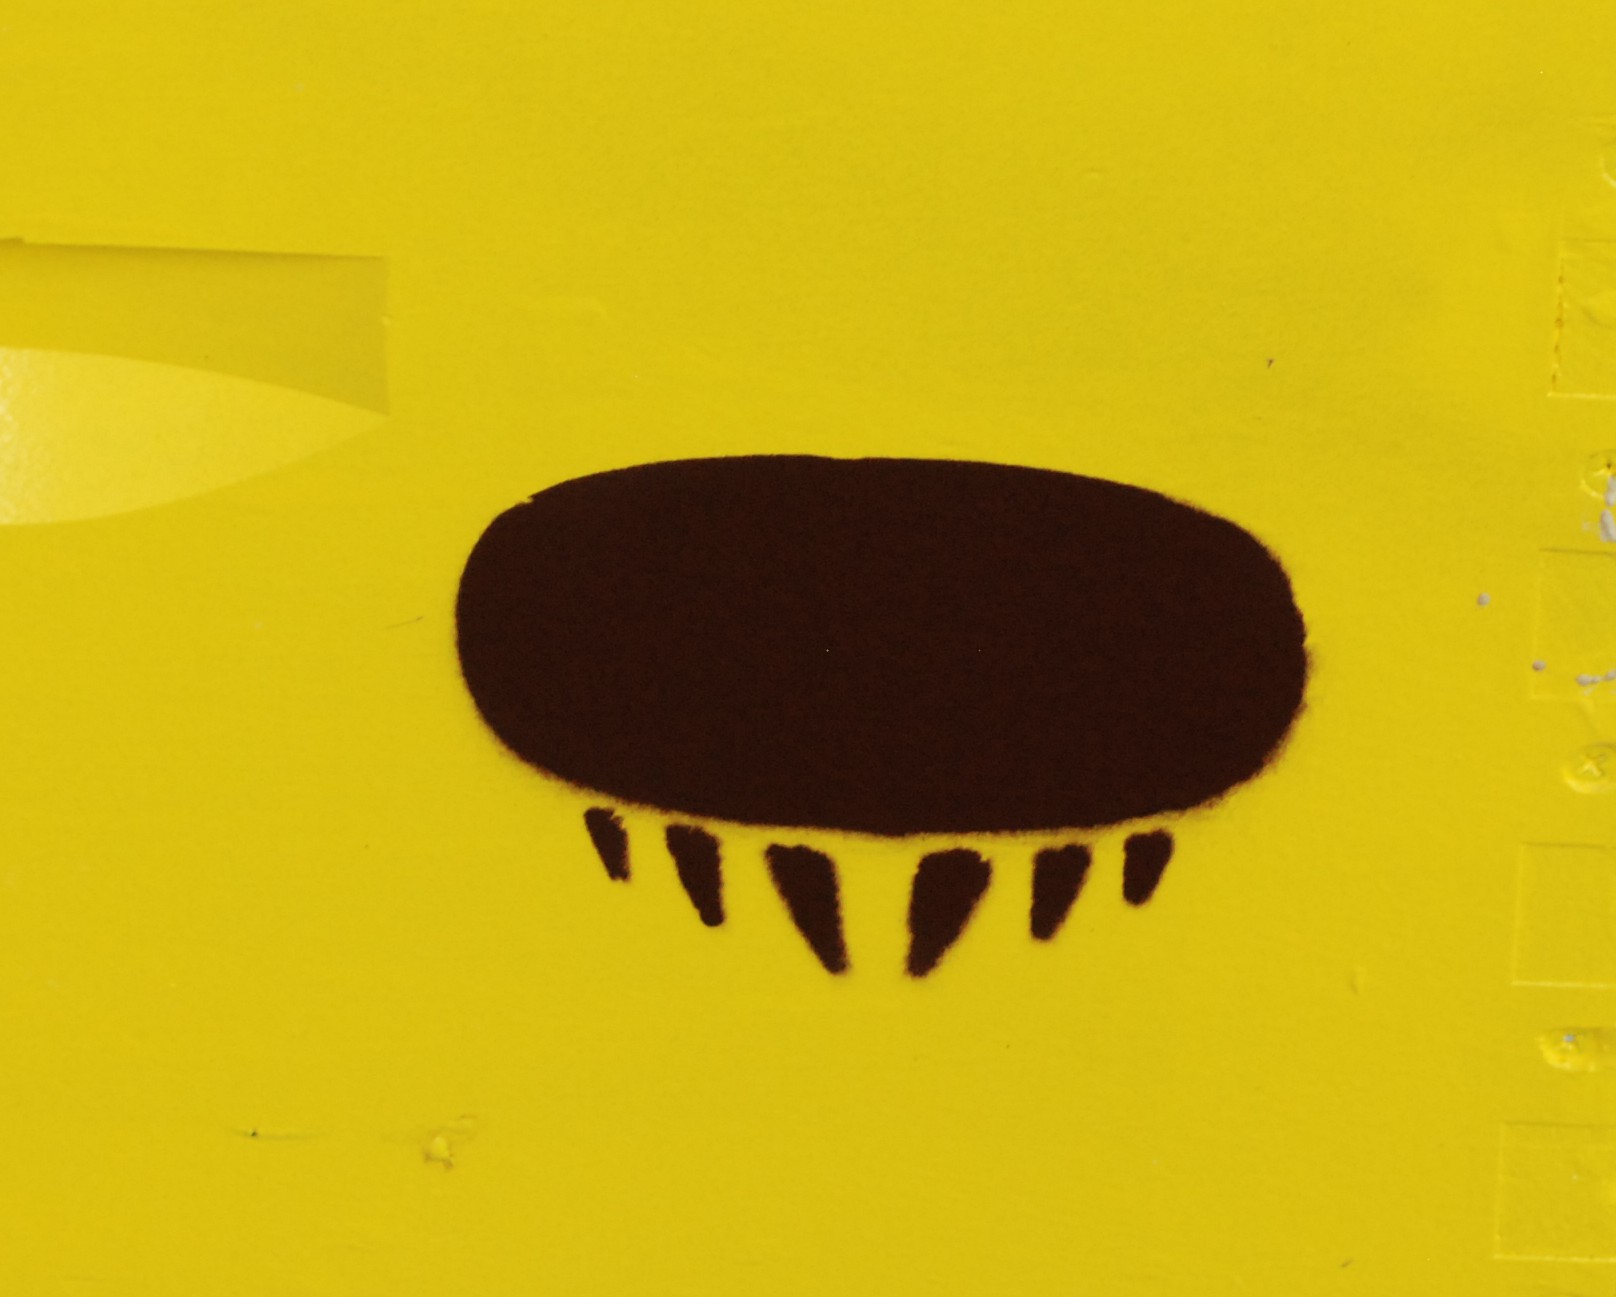
With it safe from the elements for a few more years I had one trick to install. I wanted to customize the front fold out table. I figured some kind of Florida BBQ sign was in order. I was going to make it look like a caution road sign, but then thought that would reflect poorly on my cooking. Watch out for this guy’s food!
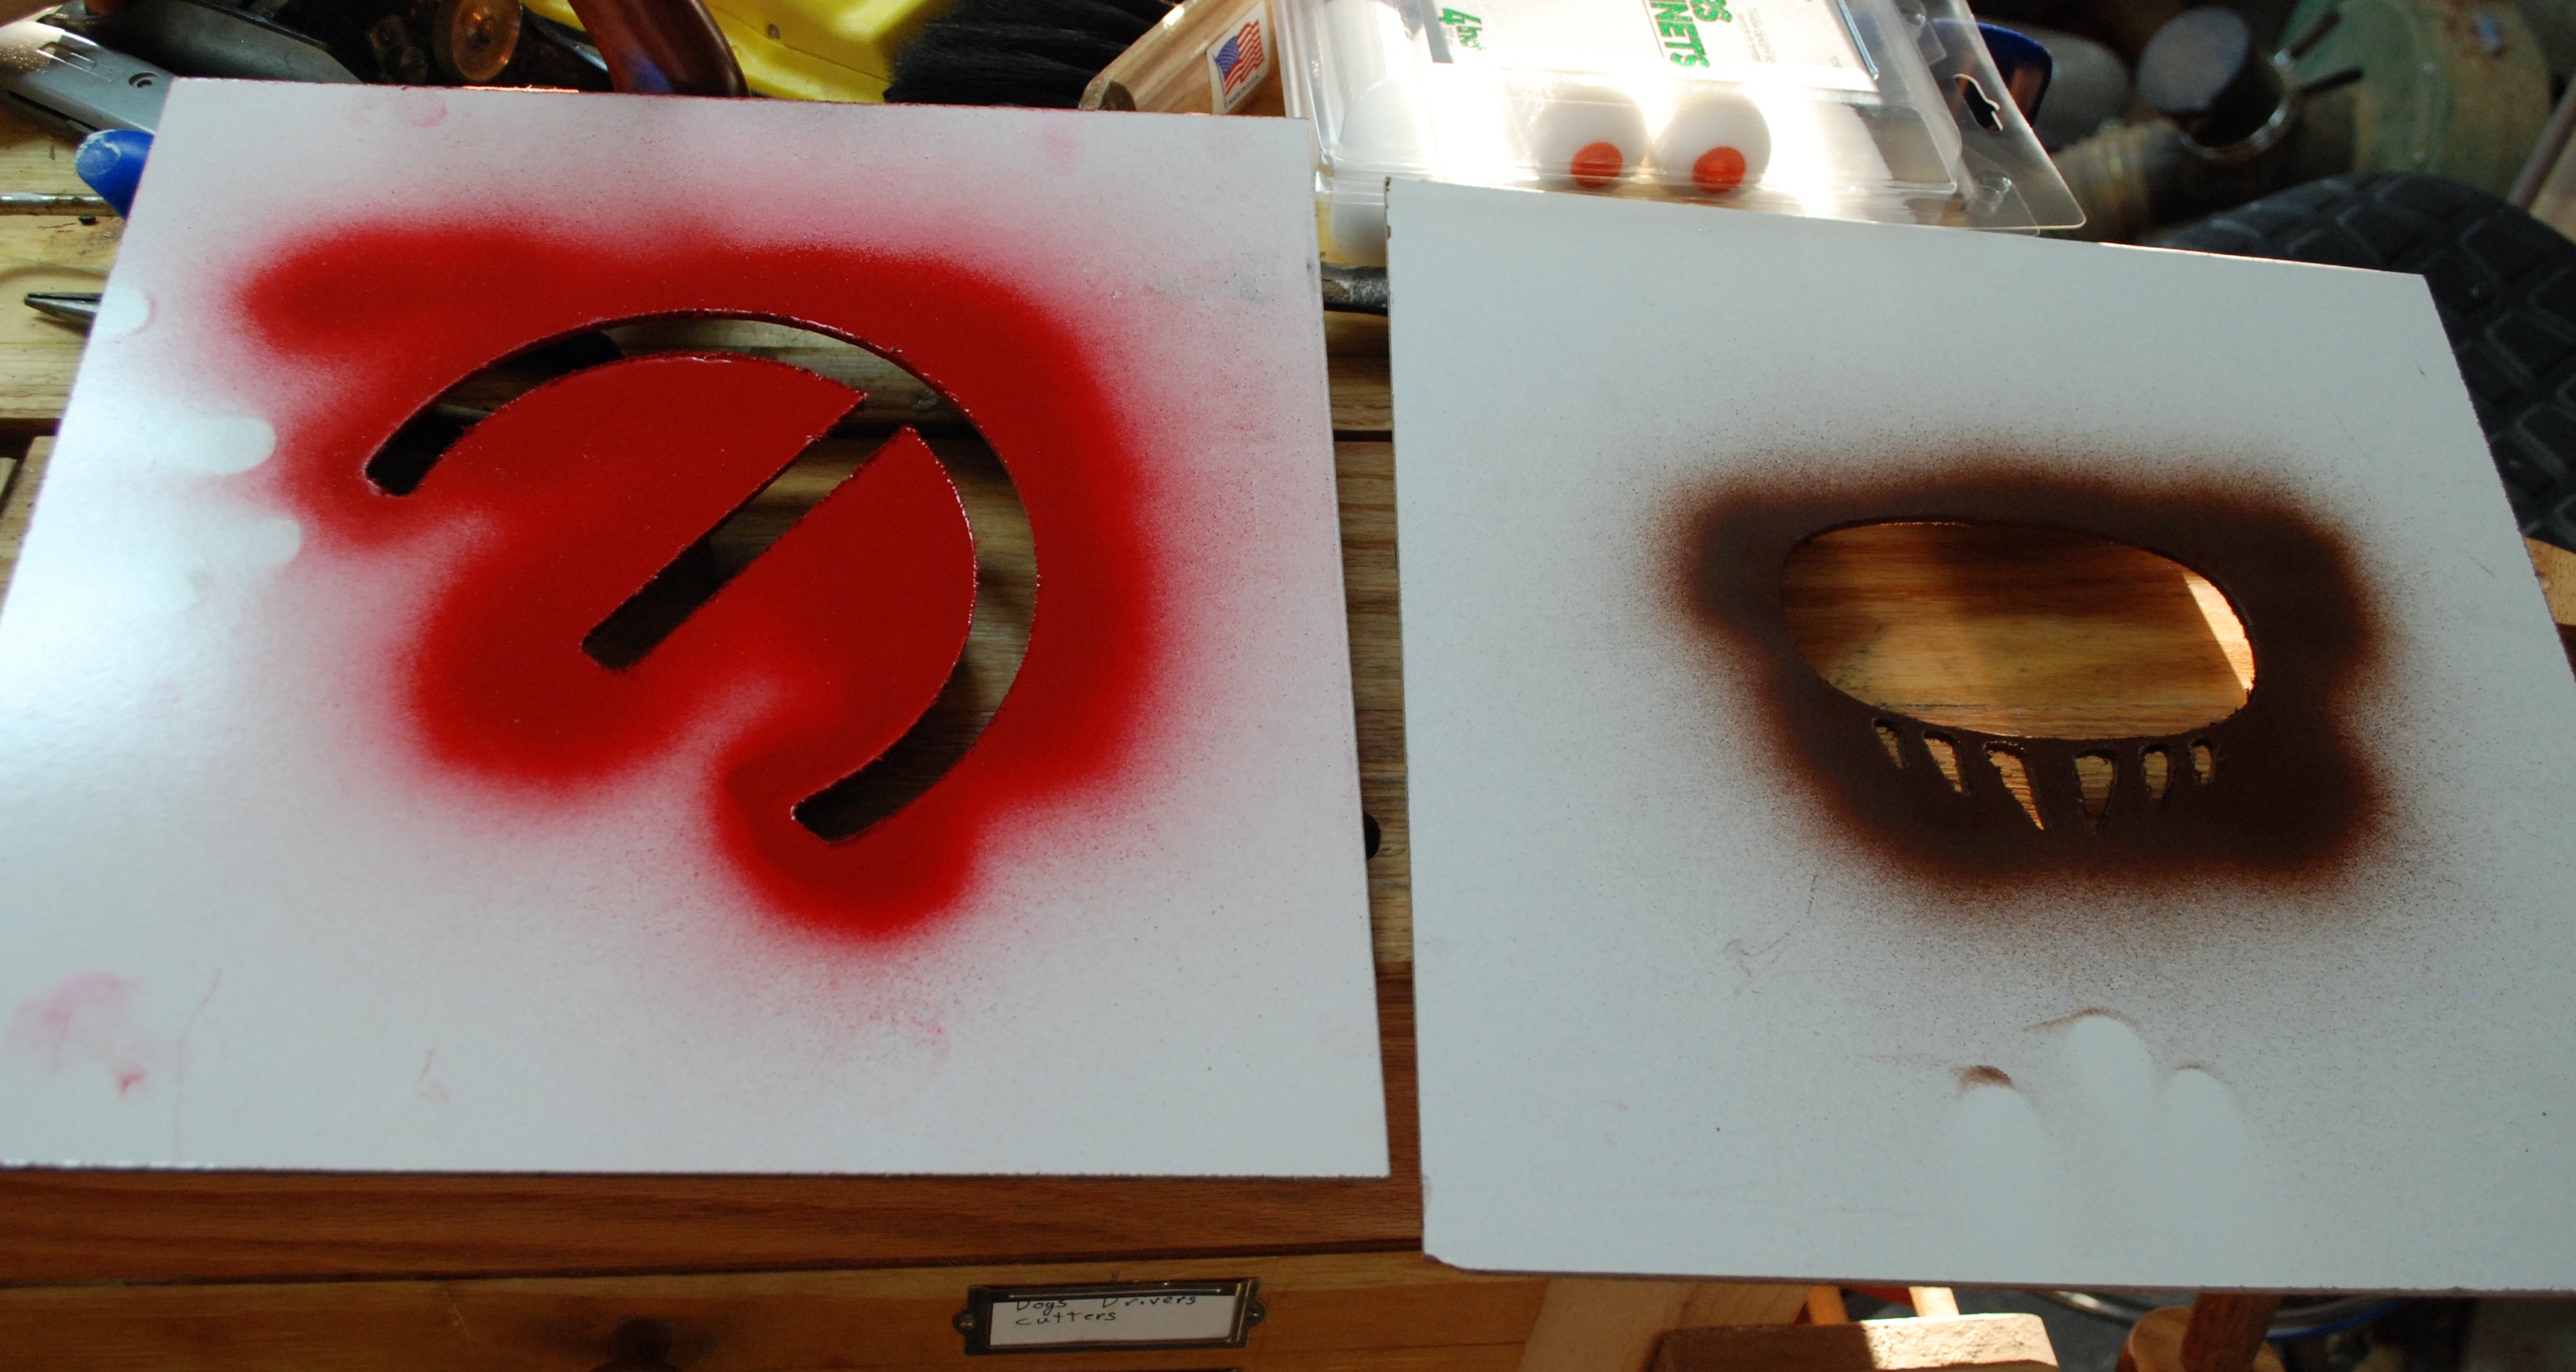
I would historically use my mill to cut a stencil from thin plywood or hardboard. I haven’t used it in ages and need to spend a day on repairs and re-learning how to use it. Instead I tried to 3D print a stencil. It can make finer curves and lines anyways.

I sprayed the back with some light hold adhesive hoping that would keep spray paint from seeping under while letting me pick the stencil back up. I masked around it and sprayed away.

The edges weren’t as clear as I had hoped, so for the BBQ letters I sprayed more adhesive and make sure to rub it onto the grill table really hard. That probably would have gone ok, but I sprayed too much paint and it seeped under. Multiple lighter passes would have worked better. I used too much adhesive and it left residue on the table. I will wait a few days for the paint to really cure well before hitting it with a solvent. I also didn’t mask enough and got a little over spray on the grill.

Up close it has a lot of issues, but from afar it isn’t bad. All lessons learned for next time. Maybe in 2 more years when it needs another paint touch up I will have a better plan for branding it. The smoker will be 11 years old at that point!